Gary Jackson: Fire When Ready Pottery
A Chicago potter’s somewhat slanted view of clay & play
Categories: bowls, pottery, process, stamps, YouTube

I just posted my SECOND pottery video on YouTube!!! Whoo-hoo!!!
And let me just say for the record, this one went a LOT faster in iMovie… and I remembered to shoot the footage in landscape mode so it fills the screen this time!

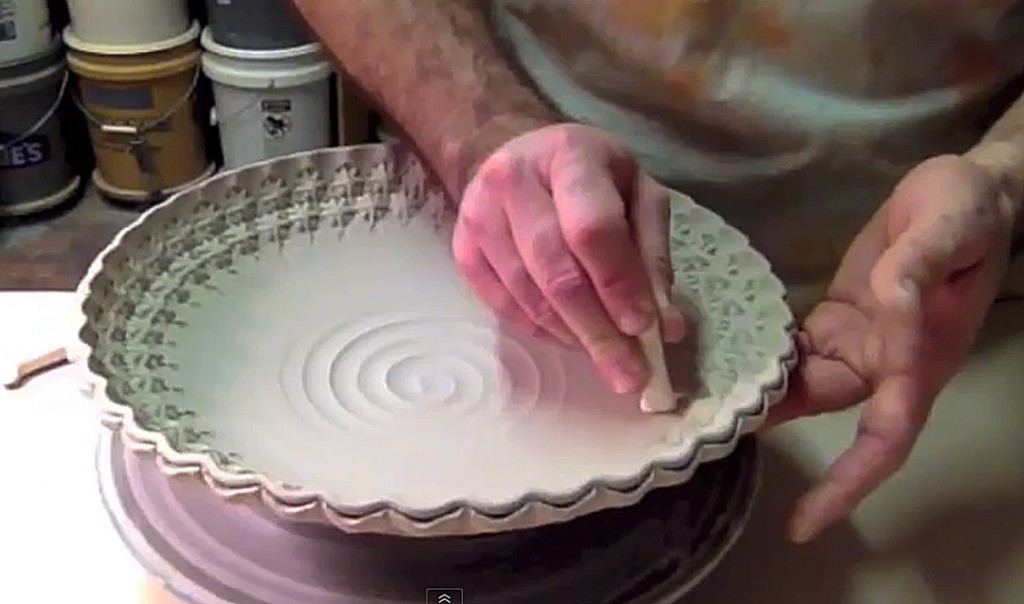
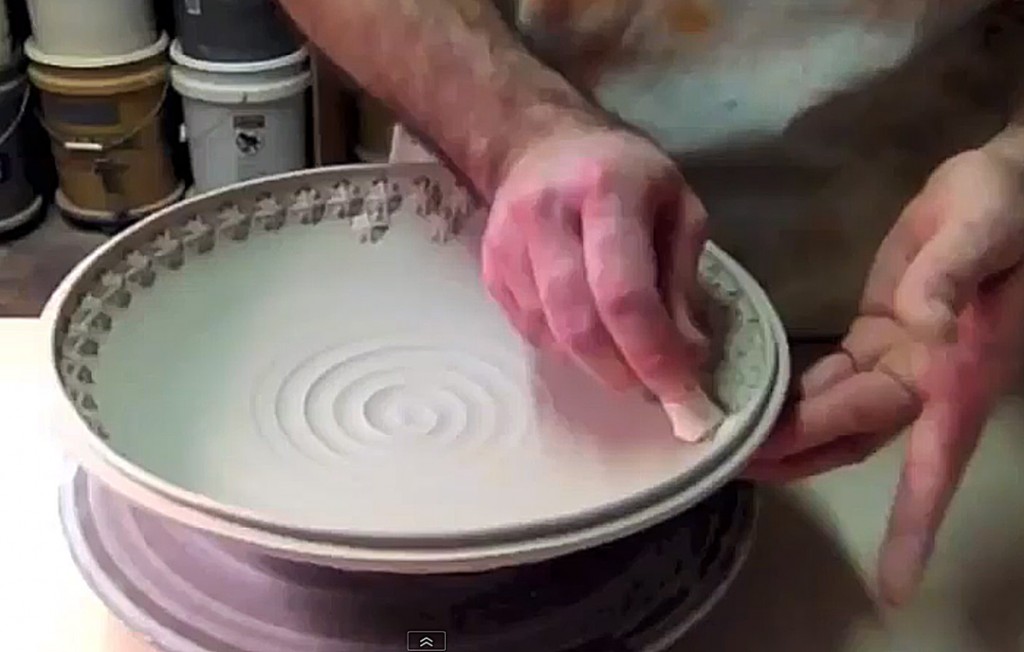
Click here for the YouTube video : Bowl Stamping by Gary Jackson.

Categories: pottery, process, production, stamps

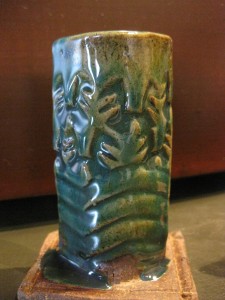
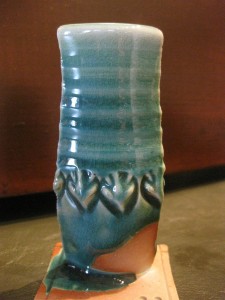
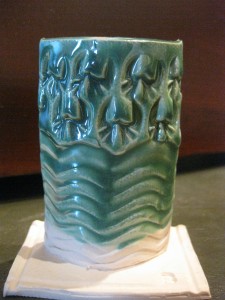
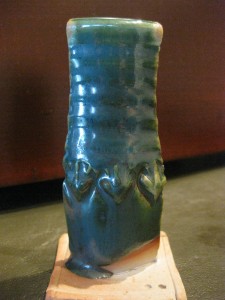
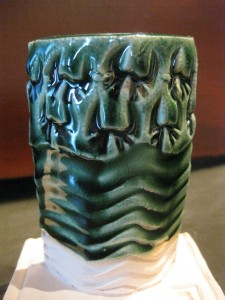
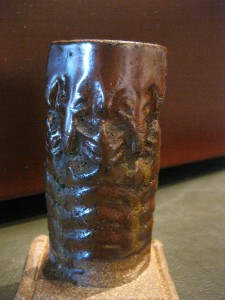
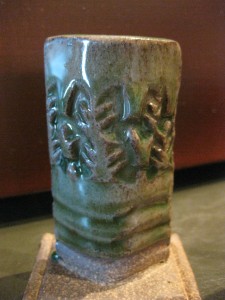
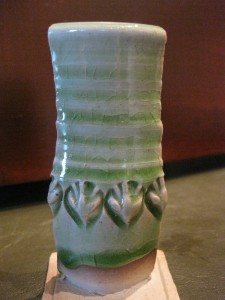
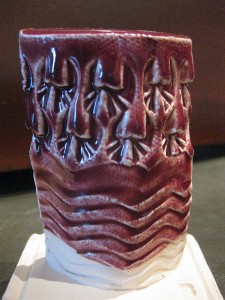
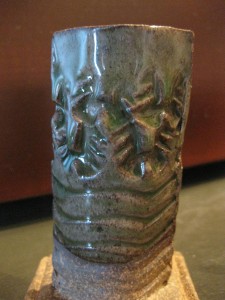
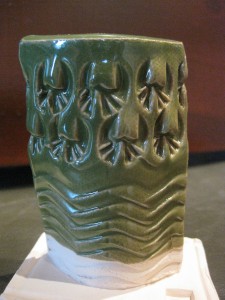
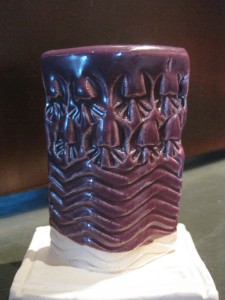
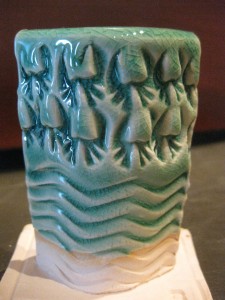
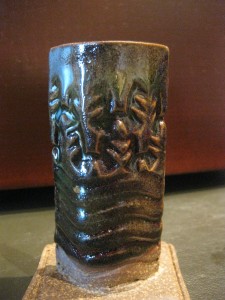
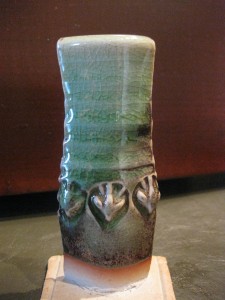
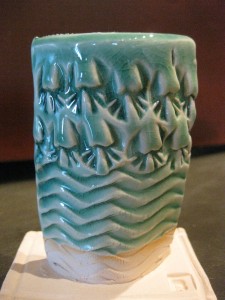
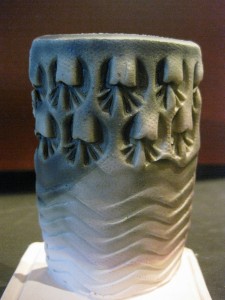
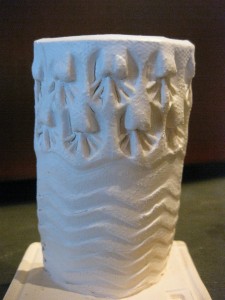
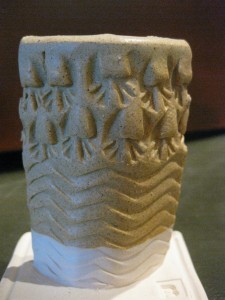
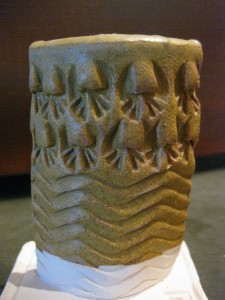
I think it might have been the hint of Spring yesterday that “inspired” me to make flower pots. So I spent the day in the studio throwing tall flower pots. I decided to make them in two pieces, instead of the attached water drip plate version. Today I focused on the flower pots… the drip plates will be another day.

It was an extra productive day today… as I not only threw all of the pots, but I also had the time to stamped them all as well. It was great how quickly they were drying. When I finished throwing the last one, the first ones were getting stiff along the top edge – perfect for stamping. Talk about a pottery assemble line!!!

Categories: artists, friends, mugs, process, terra cotta

Tonight I had two little visitors stop by my studio.
My friend Kristen brought her two kids for an afternoon of clay fun. We decided to make mugs with AJ and Lizzy. AJ has played in the studio before so he was incrdibly excited to be coming back. This was Lizzy’s first trip in, but was quick to jump right in. We started by throwing ourt some slabs, and then they “refined” them with rolling pins… and such focus!!!

We then decided that they should press their names into the clay. AJ had done a clay project at a birthday party a couple weeks ago. And when he got his mug back after firing, it wasn’t his!!! Apparently, someone had written the kids names on the bottoms of the mugs before firing, and goofed up. He got someone else’s mug with is name on it. So this time, we were confident to NOT make that mistake again.

After they had stamped their names into the clay, it was time for other textures, patterns & details. Each of them worked very hard & stayed quite focused on their slabs.

Cute how they “almost” work together… with Lizzy always watching what AJ is doing!!!

Once their slabs were all decorated, it was time to turn them into cylinders. So a little scoring & slipping and we pressed the together.

AJ was a bit concerned that it might not hold together…

And when it did… the true AJ showed up again!!!

Then he scored & slipped the bottom of his cylinder so he could attach the mug’s bottom.

While Lizzy was a bit concerned about getting dirty.

Much better after a bit of handwashing!!!

After handles were attached, it was time to start painting. It’s a special underglaze-glaze-combo that is great for kid’s projects. You can paint it on leatherhard clay, let it dry, fire it once and you’re done!!! So they continued to focus as they painted with great detail.

When Lizzy thought she was done painting her mug, apparently she thought it was time to start painting her fingers?!!! Not so concerned about being dirty anymore, huh?

So here they are… two masterpiece mugs!!!
Of course, they could use a bit of touching up and a bit of cleaning around the bottom. But they were thrilled… and now very anxious to get their mugs back after firing!!!

Here’s AJ’s mug…

C’mon… just look at AJ’s tiger!!! Adorable!!!

And here’s Lizzy’s mug!

Categories: kiln firing, process, production

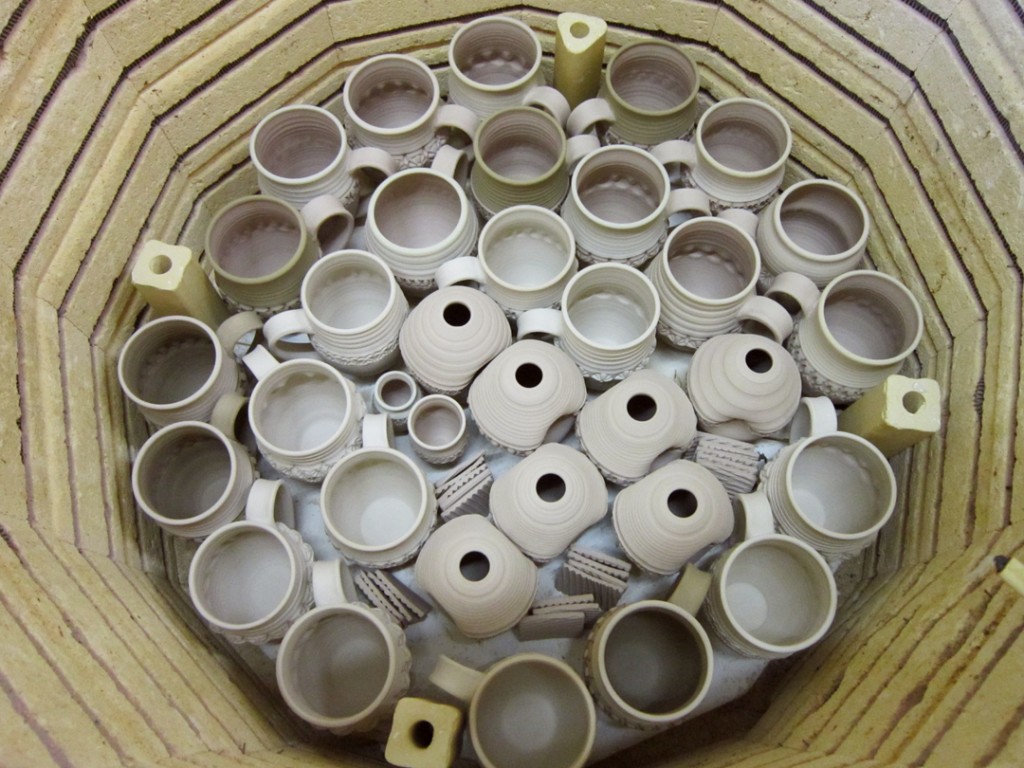
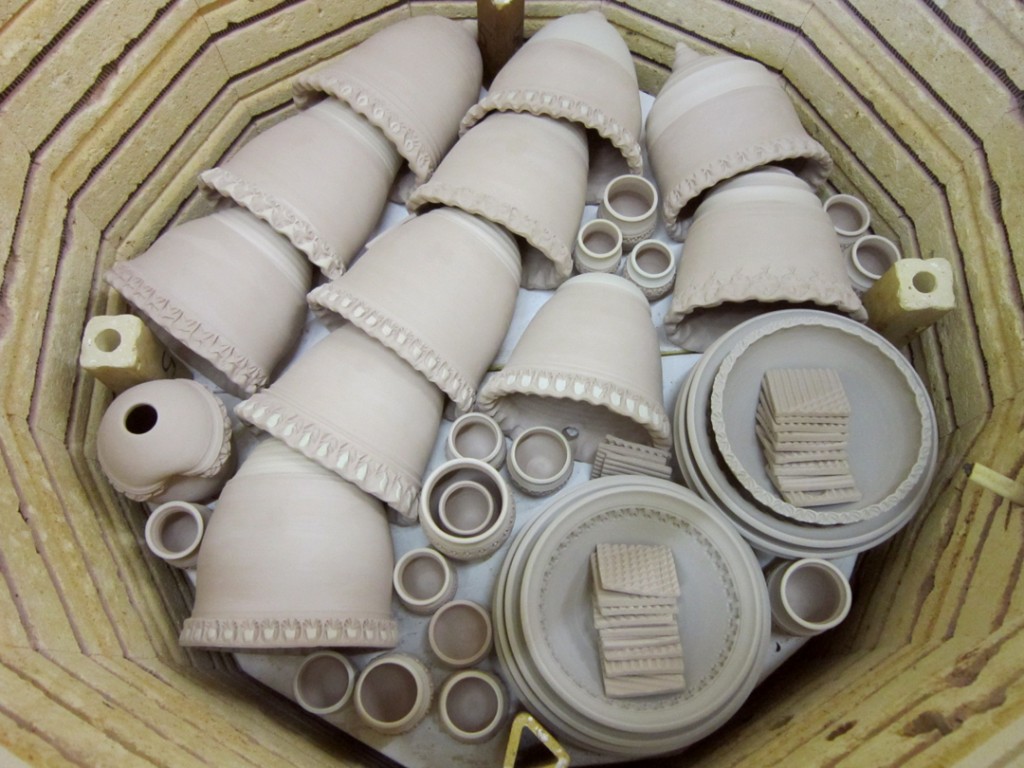
Another kiln loaded and ready to fire. I popped in the last few pieces just before sneaking off to class. A couple pieces were still a bit damp, so I set the kiln for an extended preheat before it kicks into high gear! Fingers crossed that things dry out during that time.

Kiln Layer #1 – mugs, soap dispensers, miniatures & tiles.

Kiln Layer #2 – wall pocket vases, bowls, miniature vases and tiles.

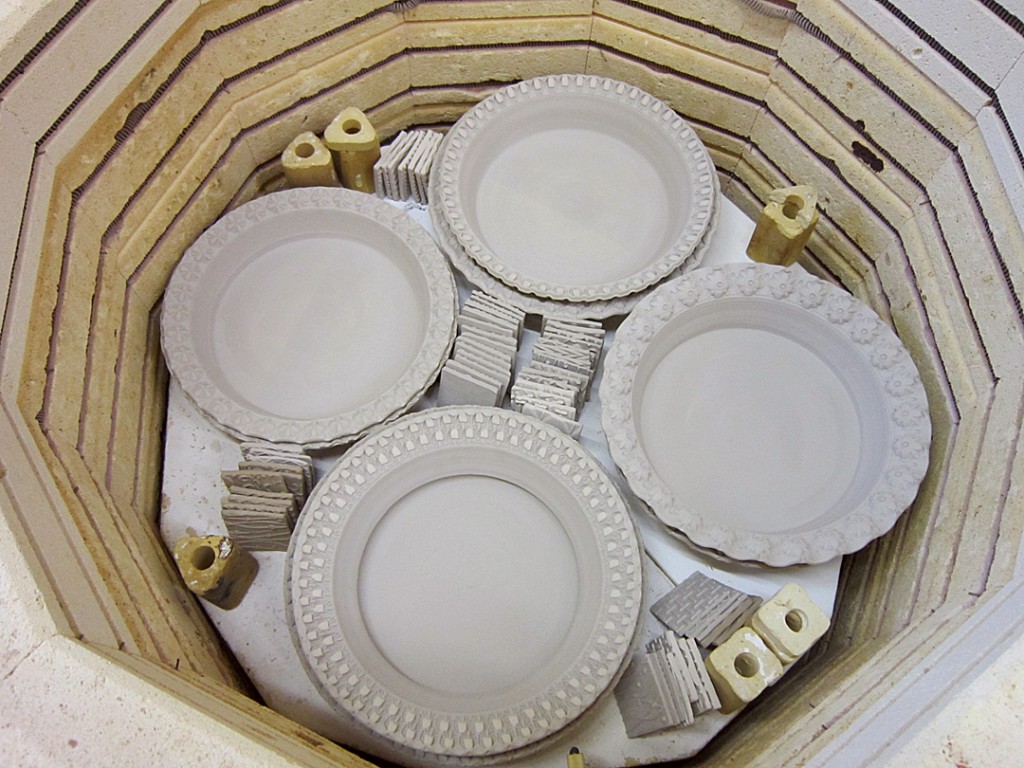
Kiln Layer #3 – new pie plates and tiles.

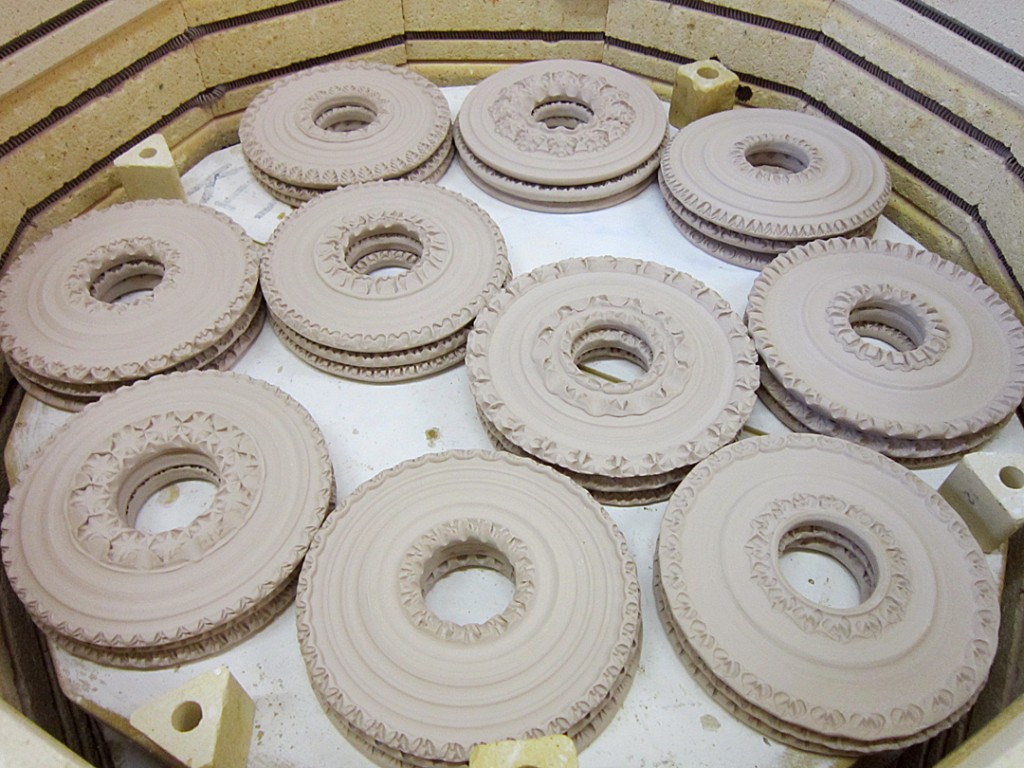
Kiln Layer #4 – stamped discs… that will eventually become ikebana flower vases.

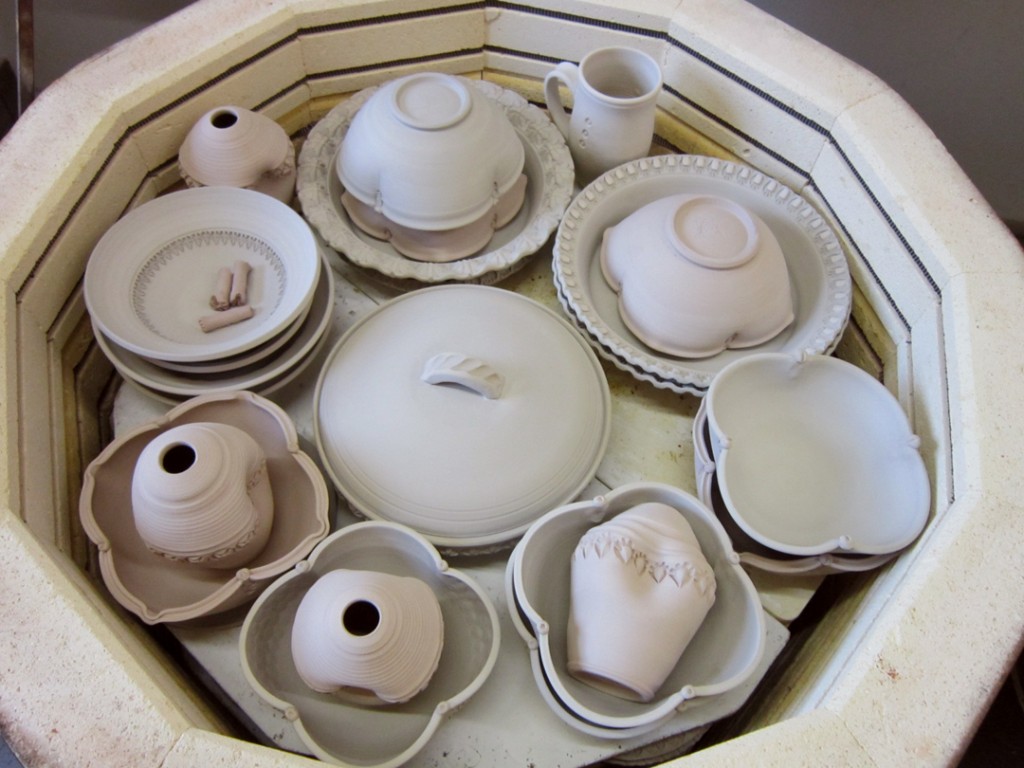
Kiln Layer #5 – pie plates, bowls, soap dispensers & a lidded casserole.

Close to the top, but still a smidge of room. If only I had planned a little differently… I’m sure I could have squeezed even more in here!!!


Categories: bowls, process, production, stamps

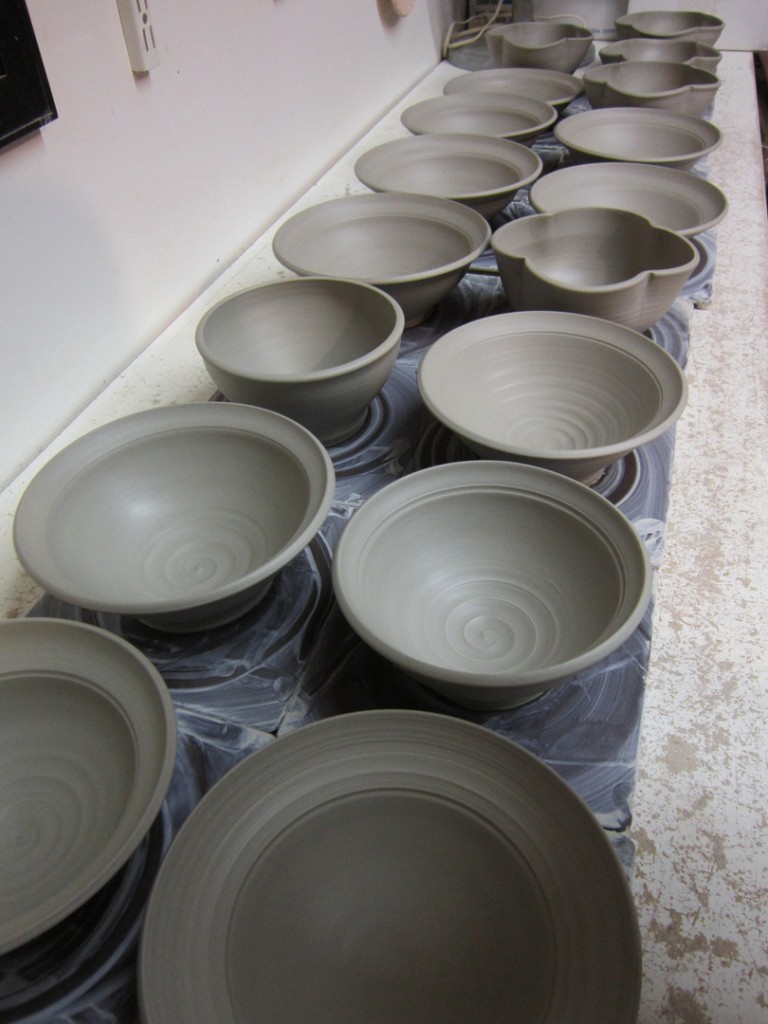
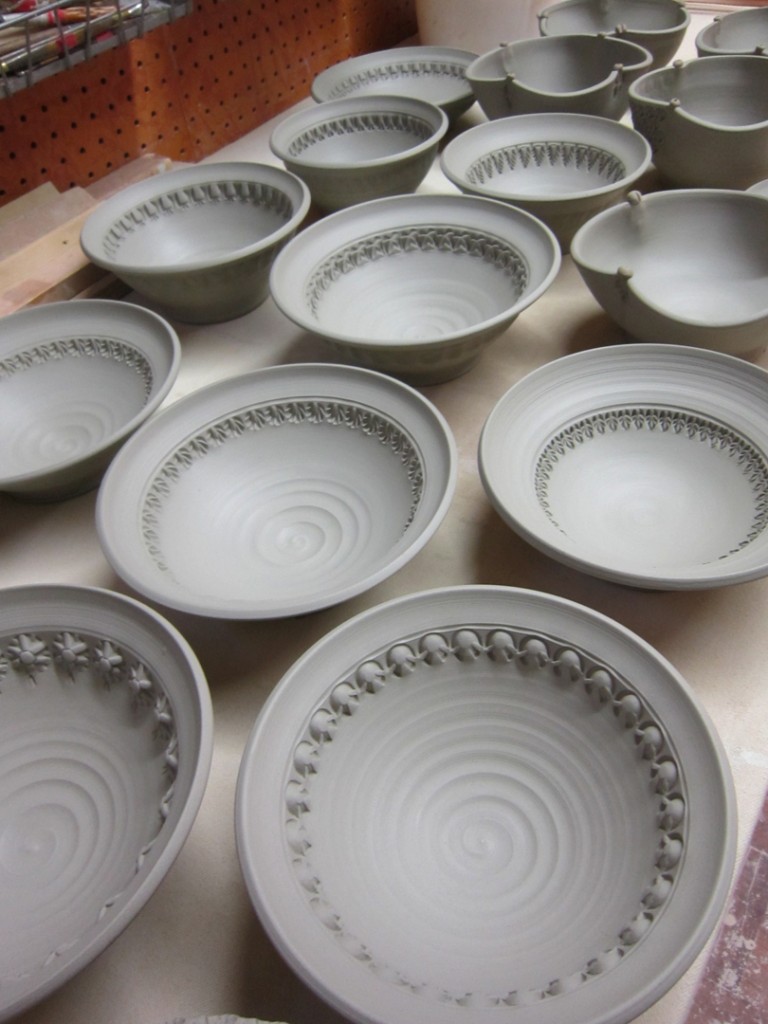
I’ve had a LOT of bowls under wraps waiting to get to the leatherhard stage.
Today was the day for detailing.
Stamping… stamping… attachments… and even more stamping!

Bowl #1 –

Bowl #2 –

Bowl #3 –

Bowl #4 –

Bowl #5 –

Bowl #6 –

Bowl #7 –

Bowl #8 –

Bowl #9 –

Bowl #10 –

Bowl #11 –

Bowl #12 –

And here’s a few of the stamps that did all the work today…

And now the bowls are all stamped & detailed… and waiting to be trimmed.

As they dried up a bit more… I tackled each one and trimmed the bottoms of them all. So now they’re all drying and preparing for their upcoming bisque firing!

Categories: friends, process, textures

After spending the afternoon at the Shamrock Shuffle Expo, my biking friend Chris came back to the studio with me to play in the clay. We got to pretend we were “athletes” at the Expo, and then we got down & dirty in my studio. Chris has done a lot of other crafty projects, but this was her first time actually working in my studio. We decided to start “small”with some textured slab plates.

So first I showed her how to pull a slab by hand. And she rolled coils to create her own “slump” mold edges. Then we added textures to the slab… and Chris decided to go with some squiggles on the bottom of her plate using a plastic trowel from the hardware store.

After draping her textured slab over the slump-mold-coils,
she gently squished it in and then cut off the extra edges.

Some more textures to stylize the short ends of her tray…

And yes, those fingernails are an OBVIOUS sign that Chris is NOT a potter!!!
Pretty, but… those nails would have to go!

Chris did a great job, and created a wonderful plate. But the cutest part was when she stopped to admire and take pictures of her own work. Adorable!!!

And not one to stop with a platter… we also made a round bowl and a square plate.

So now her plates are drying. Tomorrow we rest & carbo-load…
for Sunday we will both be running in Chicago’s 8K Shamrock Shuffle!

Categories: artists, creativity, inspiration, patterns, process

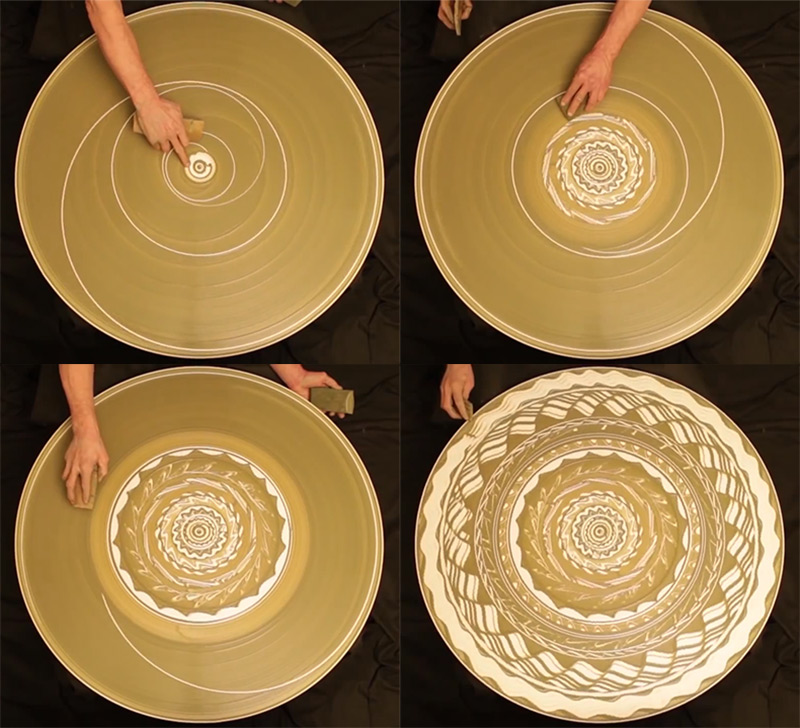
First off… this is a pretty darn impressive plate.
Second… I love the swirling, spinning, ever-changing patterns in the colored slip.
Third… looks like my Beginner’s will get a new slip demo next class session!!!

Click here to watch the beautiful demo video.
And seriously, the music soundtrack to the video is pretty incredible too.
It makes the whole process “sound” like so much fun too!!!

As seen on (and borrowed from) www.ThisIsColossal.com…
As a person who’s spent more than a few hours at the seat of a potter’s wheel I can attest to the strangely soothing act of doodling around with wet clay sludge (called slip) before or after throwing a pot. As fun as it is, it’s still somewhat surprising to see the act elevated to this level of artistry by “Michael Gardner” who blurs the line between performance and visual art as he creates pattern after pattern on an empty wheel. FYI: the artist’s name is a Google translation from Russian via YouTube, if anyone have more concrete details on the performer/artist, send it over.

Categories: artists, process

500 pounds of porcelain clay.
Three guys throwing… in Jingdezhen, porcelain town of China.
Now THAT would make one really huge pie!!!

Impressive, huh?! Now I want to see the pie that fills it!!!

Categories: glaze, process

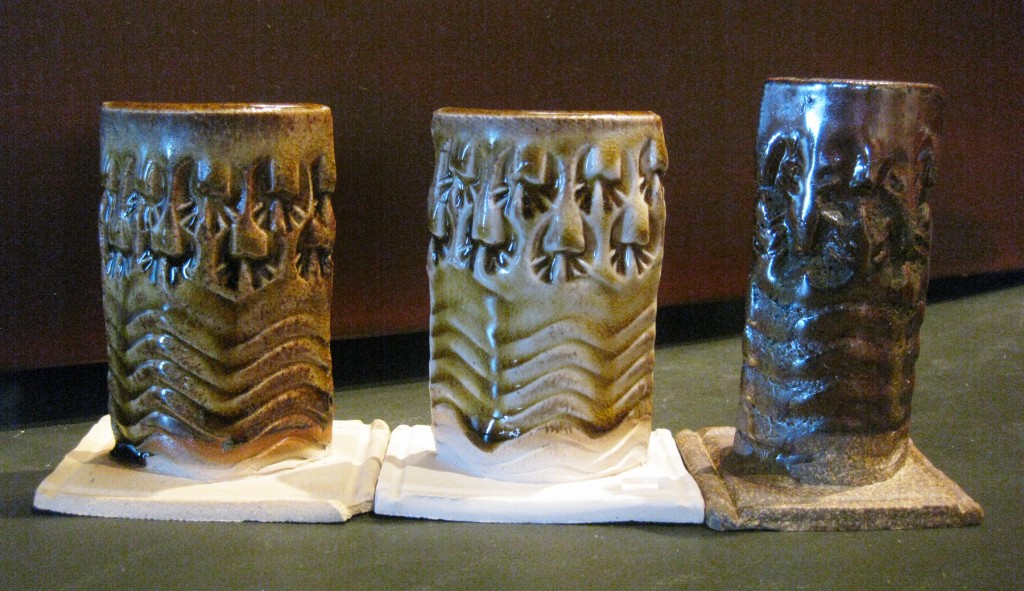
Well, it’s been a few days now that I’ve been living with these new test tiles. They’re spread out all over my dining room table and I keep looking at them. Sometimes picking them up for a closer look. Sometimes to feel the finish, the smoothness, the gloss. I finally took some time today to take pictures to share – and give them a little more critical look to see what’s really going on… and where to go from here.
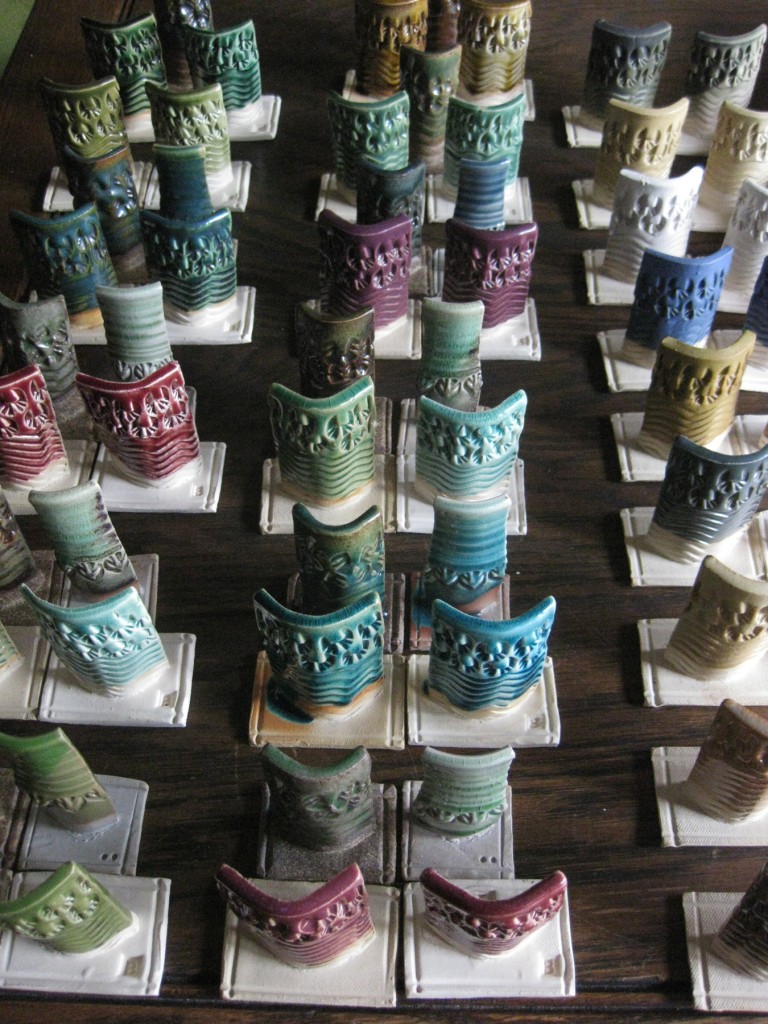
So here we go. Lots of photos. Lots of tests.
Unfortunately, there are a few of them “missing” a tile. I ran out of bisqued test tiles and had to skip a few of the cone 10 tests.

The top photo is all of the test tiles together.
The second line of photos is cone 6 oxidation – Stoneware left, B-Clay right.
The third line of photos is cone 10 reduction – Stoneware left, B-Clay right.

GLAZE A – This one is stunning. Maybe too much so?! Love how it puddles with a vibrant blue in the grooves & indentations. However, it still looks pretty runny & and a bit too much crazing for my liking.
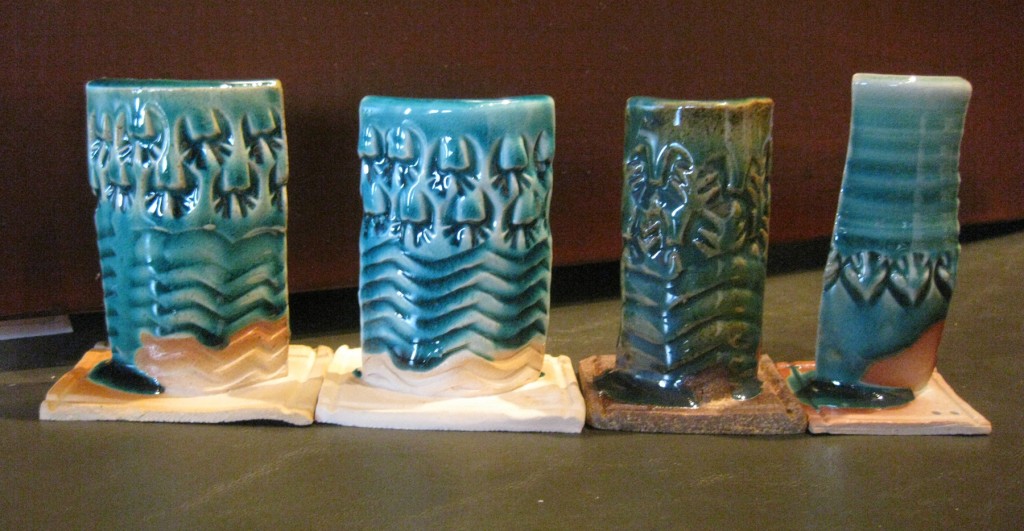
GLAZE B – I’m not a huge fan of this one, the green doesn’t seem to be doing much and there’s a weird “haze” in there somewhere… plus, I think there are better greens in my tests. It is however a nice base glaze. So I might want to consider switching colorants up a bit.

GLAZE C – A nice Oribe looking green glaze. I think it is a little too “gloppy” in places. And I’m not a huge fan of the metallic sheen.
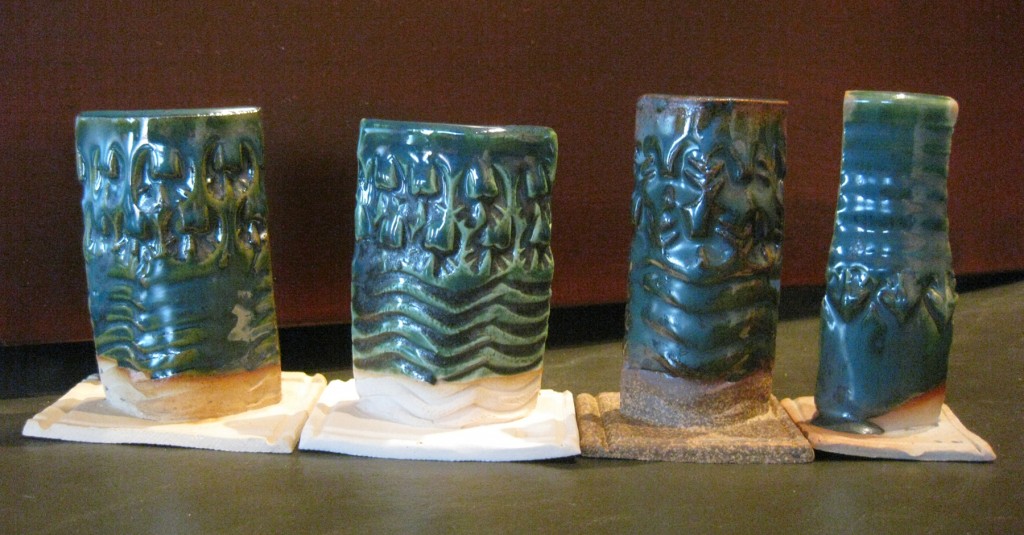
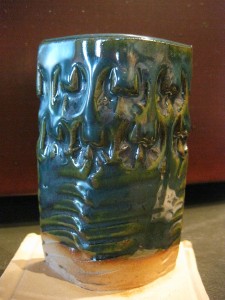
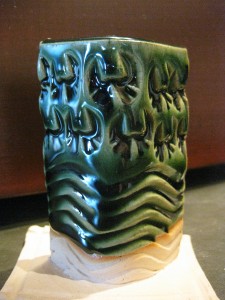
GLAZE D – Now THIS ONE is my favorite of them all!!! Love the saturated green, the pooling & breaking on textures. Doesn’t do much at cone 10… but I do think this one might be graduating up to a large bucket pretty soon for cone 6 firings!!!
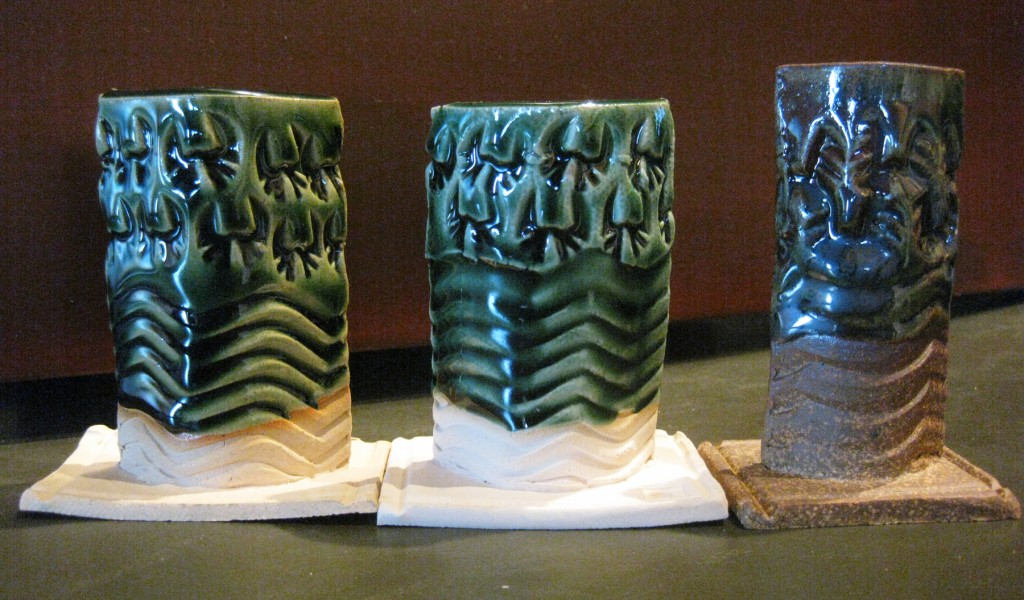
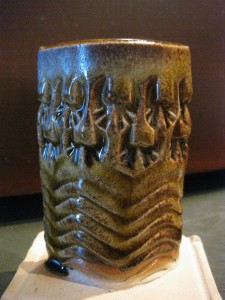
GLAZE E – A bit of a honey amber-ish temoku look. I do like it on B-Clay in cone 6, but that little drip hanging there might become a problem?
GLAZE F – While everyone is looking for a great red glaze, this isn’t it… at least not for me. Not a big fan of how “white” it breaks on the ridges. A bit to much contrast for my liking. I do like it in cone 10 on B-Clay… minus the huge crazing!
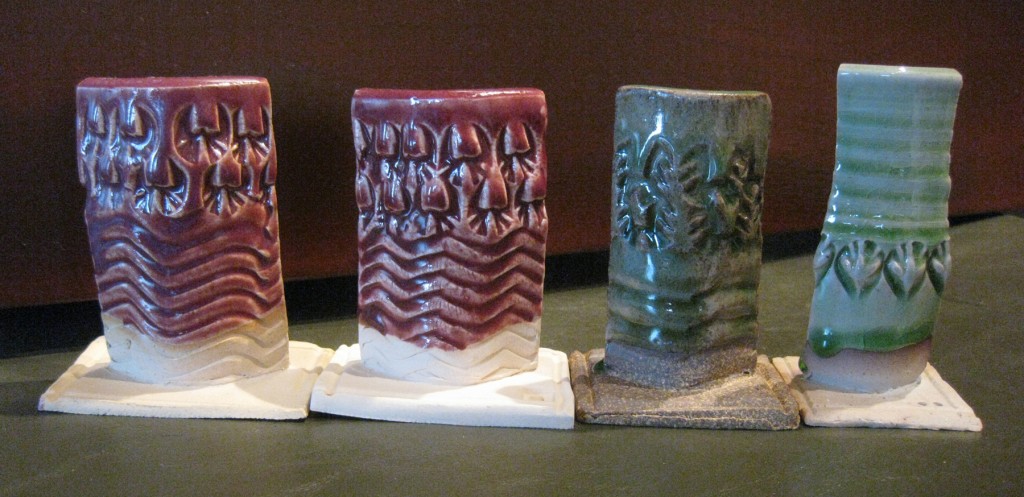
GLAZE G – Not much better. Still a little too much white-to-red-contrast for me. Although the cone 10 firing on B-Clay is still nice with less crazing?!
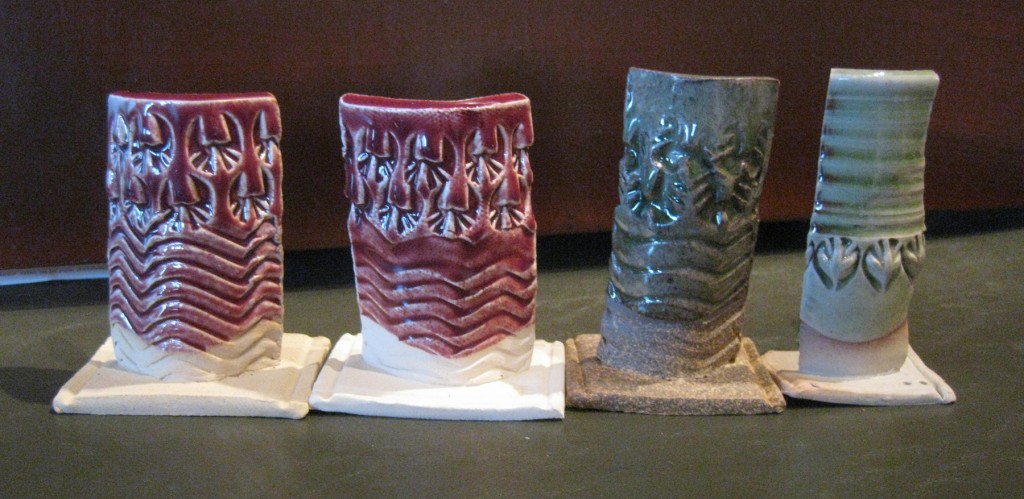
GLAZE H – Pretty even. Not much breaking or pooling. Looks like a pretty safe glaze for cone 6… not so good in cone 6 on stoneware.
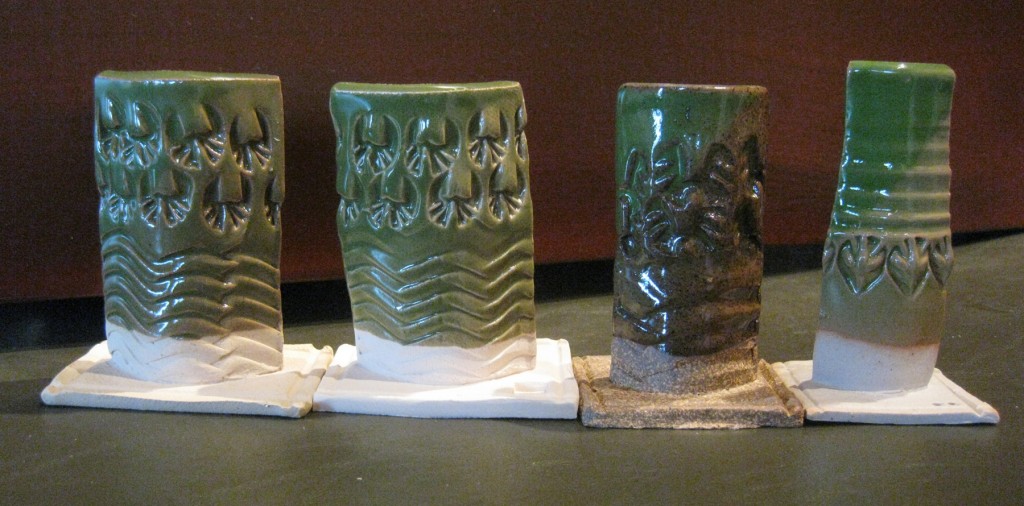
GLAZE I – Okay, so these reds are a little better… not so much “white” where it breaks. The real kicker is how much I LOVE the cone 10 on B-Clay grayish-blueish effect. Might be worth mixing a bucket just for that?!
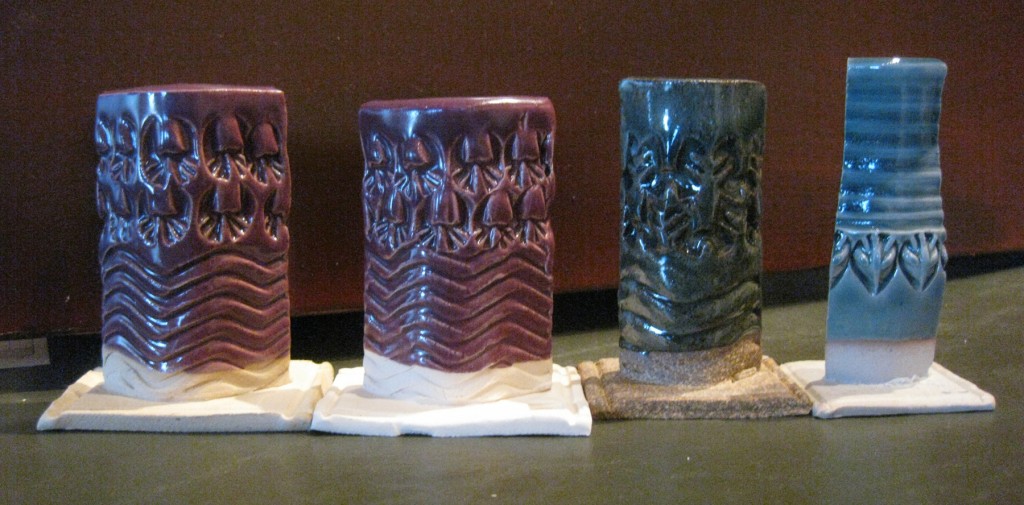
GLAZE J – Very similar to Glaze A – not quite so “over-the-top” dramatic. It’s a bit more subtle… and I like the “greener” on stoneware, “bluer” on B-Clay. Practically two different colors just based on the clay body.
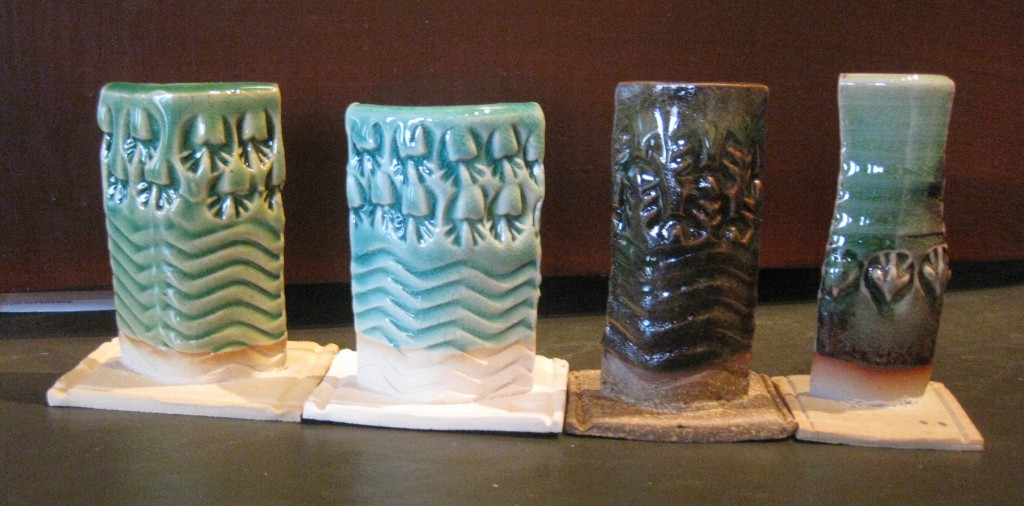
GLAZE K – Deja vu?! Nope, you’re not seeing double. This is NOT a repeat of Glaze J. Although it does appear pretty much the same. The colors are a smidge less vibrant, but makes up for it with lass crazing. I do also like the carbon trapping effects on the cone 10 B-Clay sample.

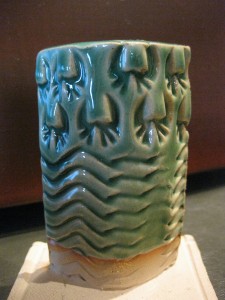
And then I got a little tired of mixing new glaze recipe tests…
but I figured since I was already doing a test firing, I might as well do some cone 6 tests of the glazes that I already have in my studio. They’re originally cone 10 recipes… but wouldn’t it be great if they worked well at both firing temperatures?

GLAZE L – I do think this one has possibility. The finish is more matte eggshell, but it still feels nice. The colors don’t break quite as well as at cone 10, but is does have some potential
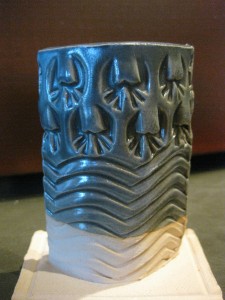
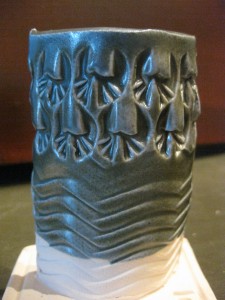
GLAZE M – Nope. Needs to go much hotter to melt in. Still kind of chalky & scratchy. Crackly in places. Not good at cone 6.

GLAZE N – Blah. Blah. Blah… Not a big fan of beige!
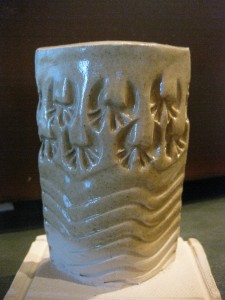
GLAZE O – I do think this one has potential as well. It melted fairly well and the colors pool & break pretty well on the stamps. Not a huge difference from what it looks like at cone 10, but good to know if I need to fill a cone 6 kiln and I’m looking for existing glaze buckets to dip into?!
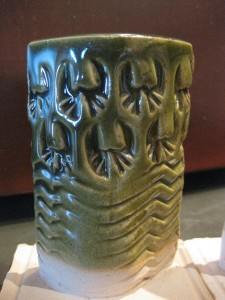
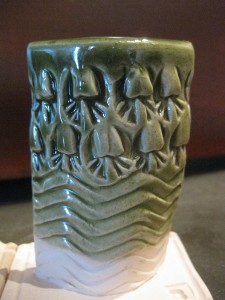
GLAZE P – Not only does it need to go hotter than cone 6, it just kind of looks anemic.
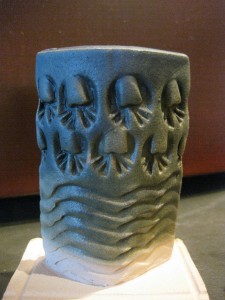
GLAZE Q – Yuck. Feels like rough, plaster wallboard!!! Definitely a no-go!!!
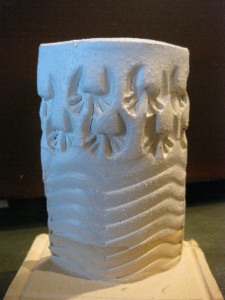
GLAZE R – More beige. More blah.
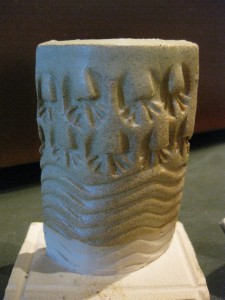
GLAZE S – Pretty flat & even. Kinda looks like Dijon mustard spread all over it?!
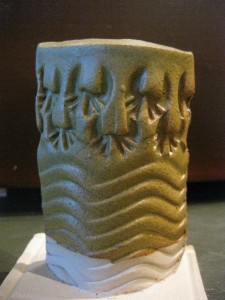
GLAZE T – This one might do in a pinch. Looks like it melts fairly well and has a good finish. Not so sure about the color though?… what do you call it?… Linda Blair Green?
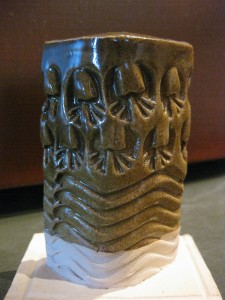
GLAZE U – Works. But not do well. Melts… but that’s about it.

So there they are so far. There are obviously a few that are NOT good at cone 6.
And a few others that have some crazing issues. Now I need to go through and spend some more time analyzing them a bit more critically. And for some of them, considering if the “base” is good and can have other colorants added.

Before the questions start about sharing these glaze recipes, I feel like I need to make sure they are all good, stable, well-firing glazes. And that I have some experience with them, tweak them a bit more, and make sure they are good glazes BEFORE I even consider sharing recipes! And I would hope that other potters would do the same – make sure it’s a good recipe BEFORE they share it with other potters… like me.
Categories: bowls, classes, clay, pottery, process

Every session my Tuesday night Wheelthrowing Class “challenges” me with something new & different. It’s usually Week Nine when I get to do the challenge piece. We’ve tackled things from goblets to Menorahs, from oyster plates to lotus fluted bowls. Never one to turn away from a challenge, tonight we tackled yet another one… MARBLED CLAY.

So I did a little prep work ahead of time in my studio. I started with two different clay bodies that fire to a dramatic color difference. The clay on the left is Stoneware With Ochre which fires to a dark chocolate brown. The clay on the right is B-Clay which fires to a light gray color.

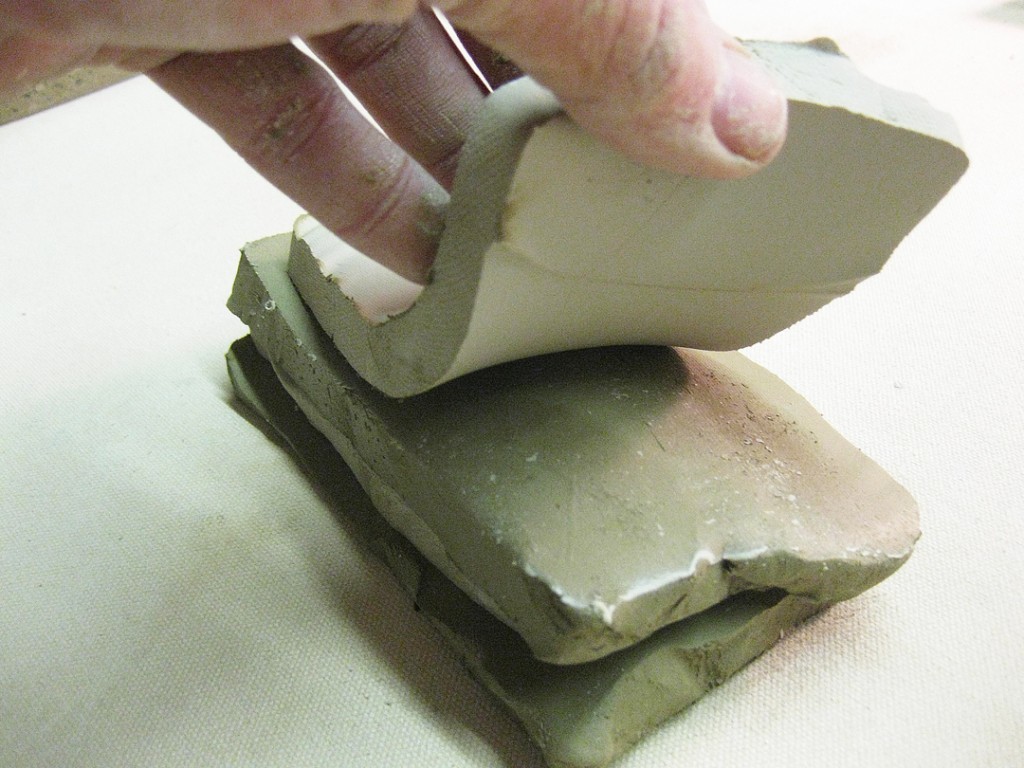
I cut thin slabs of clay and layered them together.
Trying carefully not to add air bubbles in between the layers.

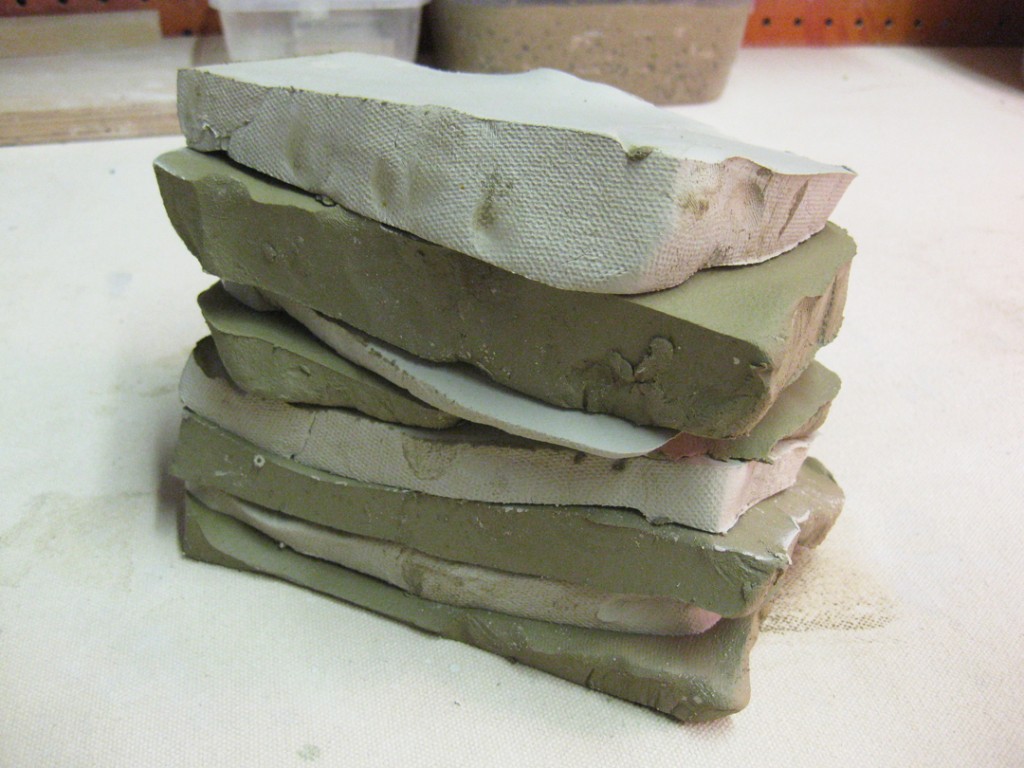
Here’s the stack of layered clay from the side.

A quick pounding on the table, and a slice in half…
followed by stacking them one on top of the others.

I did some very minimal wedging to “mix” the two clays, but not enough to totally blend them together. Remember, we’re going for marbled clay. So I may need to deal with a few air bubbles along the way from not completely wedging the ball. But keeping a “good swirl” is more important at this point.

Let the throwing begin… slap it down, get it wet and start throwing!!!

Notice how the marbling effect disappears pretty quickly when it gets all blurred together with slip & slurry. If you look close, you can see a hint of marble… but not much.

Center. Open. Widen. Curve. Compress. Throw. Rib. Suddenly it turned into a bowl.
The bowl stayed loosely under wraps as I wanted it leatherhard for trimming in my class.

Fast forward to tonight… when the bowl had stiffened up to a leatherhard state…
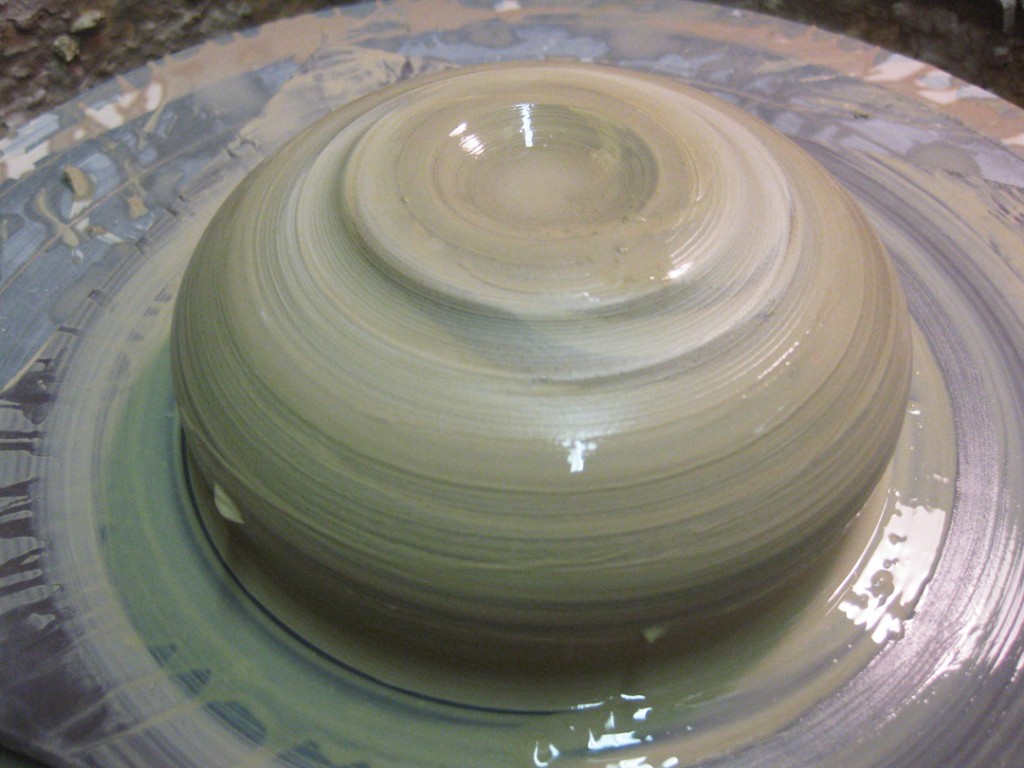
ready for trimming. As you can see, the “blurred’ color mix”skin” is still there
hiding the marble effect.

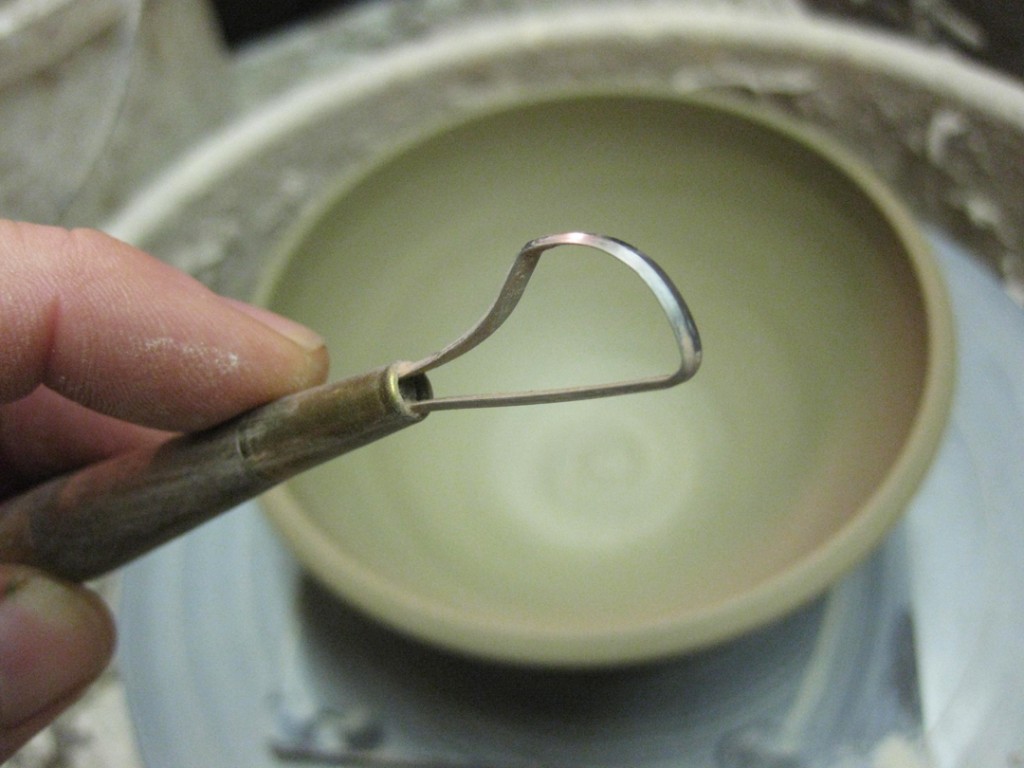
So for one time only, I told my students they can trim the “inside” of the bowls. Generally the rule is they can only trim the outside & foot of a piece. Never on the inside!!! But for the marble effect to show, you need to trim off all of the “skin” from the pot. Luckily, I kept the bowl attached to the bat. That way, when I put it back on the wheel the bowl was still perfectly centered. So I started with my a wide loop tool to trim the inside. I wanted to make sure my loop tool didn’t have any corners.

After a quick trimming of the “skin” the marble effect is revealed. Keep in mind that I’ve marbled Stoneware With Ochre with B-Clay. So my hope is that the white clay will stay light, while the brown-ish clay will fire to a dark chocolate brown.

A quick flip, and I did the same on the outside and trimmed a foot ring. Let me just say, it was a little mesmerizing & a little tough to see as I was trimming the foot. Too many swirls. Too much contrast. Too many stripes all spinning around. Good thing I don’t have vertigo!!!

So there it is, my bowl thrown with marbled clay. I’m sure every bowl would turn out different with this marbled clay trick. It’s a matter of how much you layer, how much you wedge and probably even which way the clay is sitting on the wheel?! It’s a pretty fun trick… and my students were impressed. Especially when I threw a fresh, new bowl with marbled clay as a demo… and then did the “cooking-show-switch-out”… and produced the leatherhard one to do the “skin” trimming right in front of them!