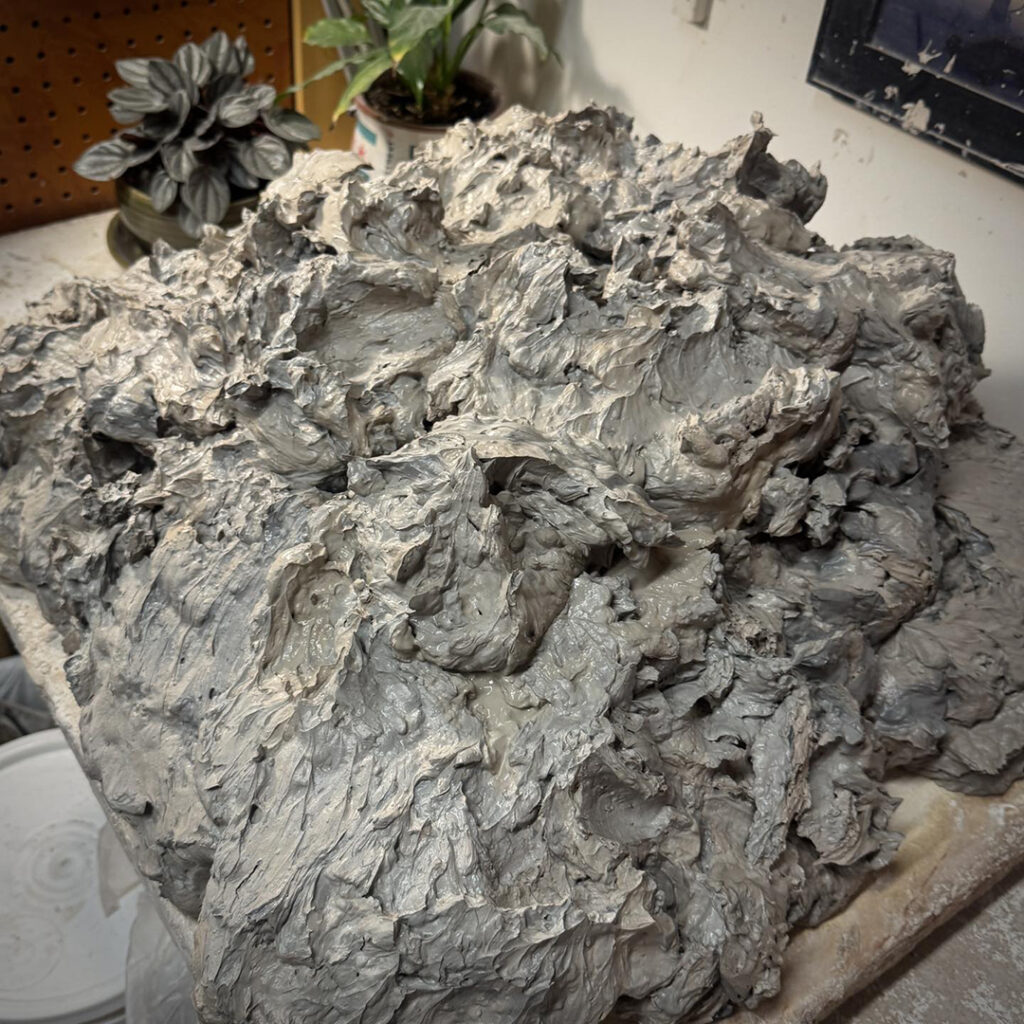
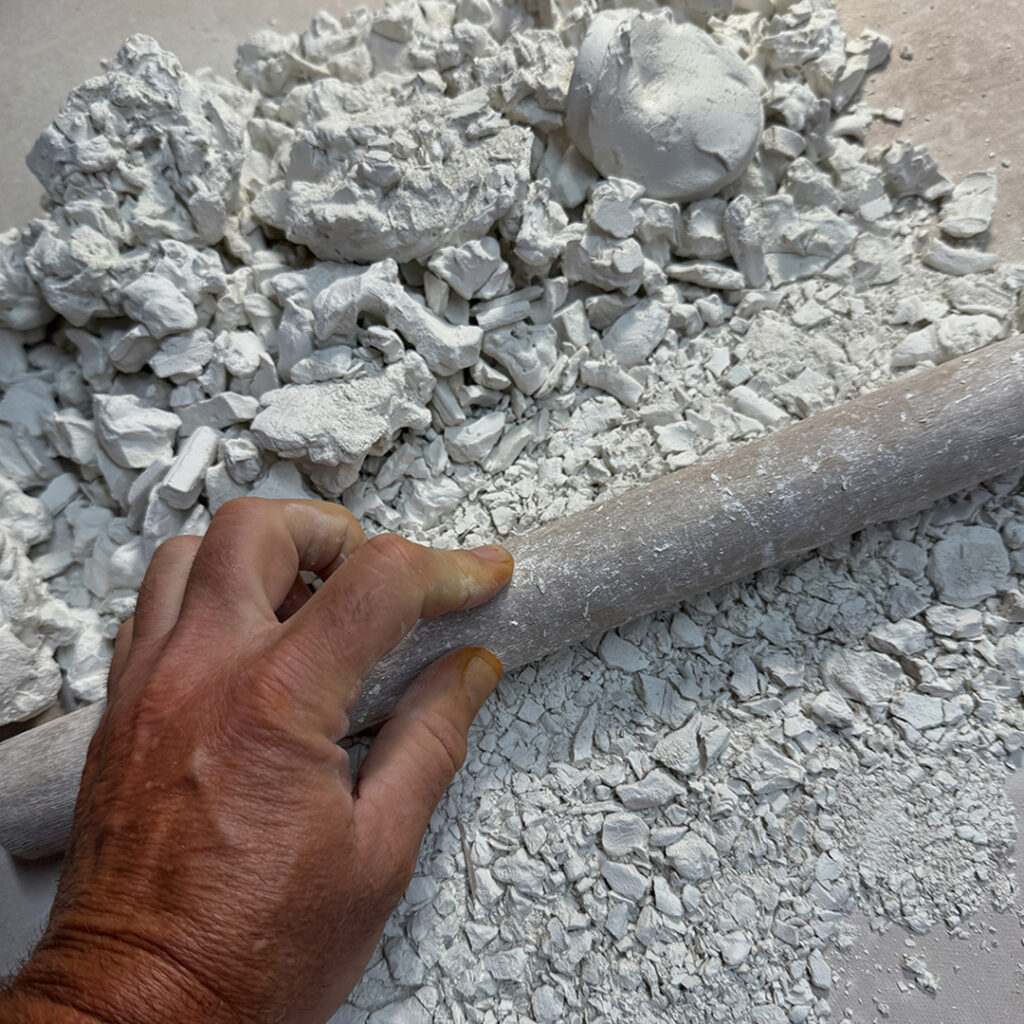
When I came into the studio today, I intended to make more pots. But then saw my huge pile of reclaimed clay sitting there waiting for me. So I decided today was the day to finish processing my reclaim.
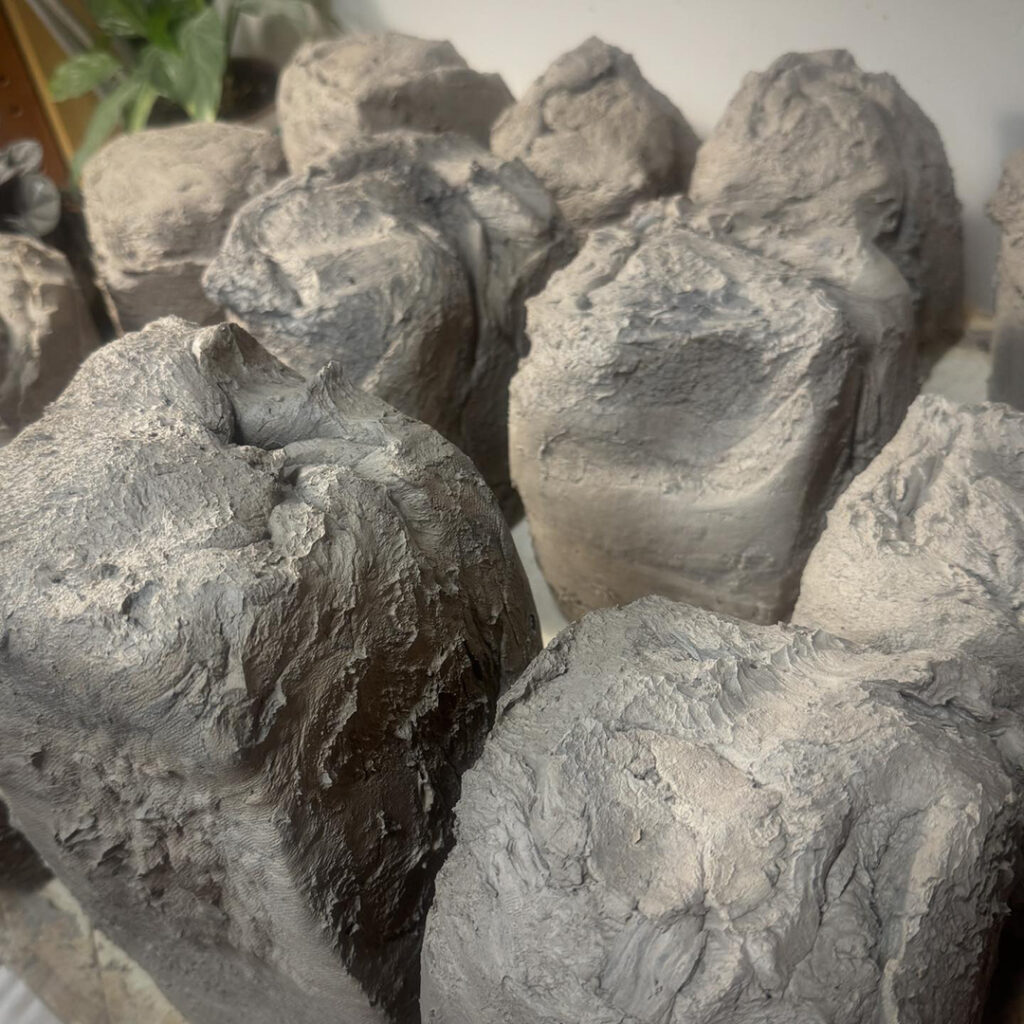
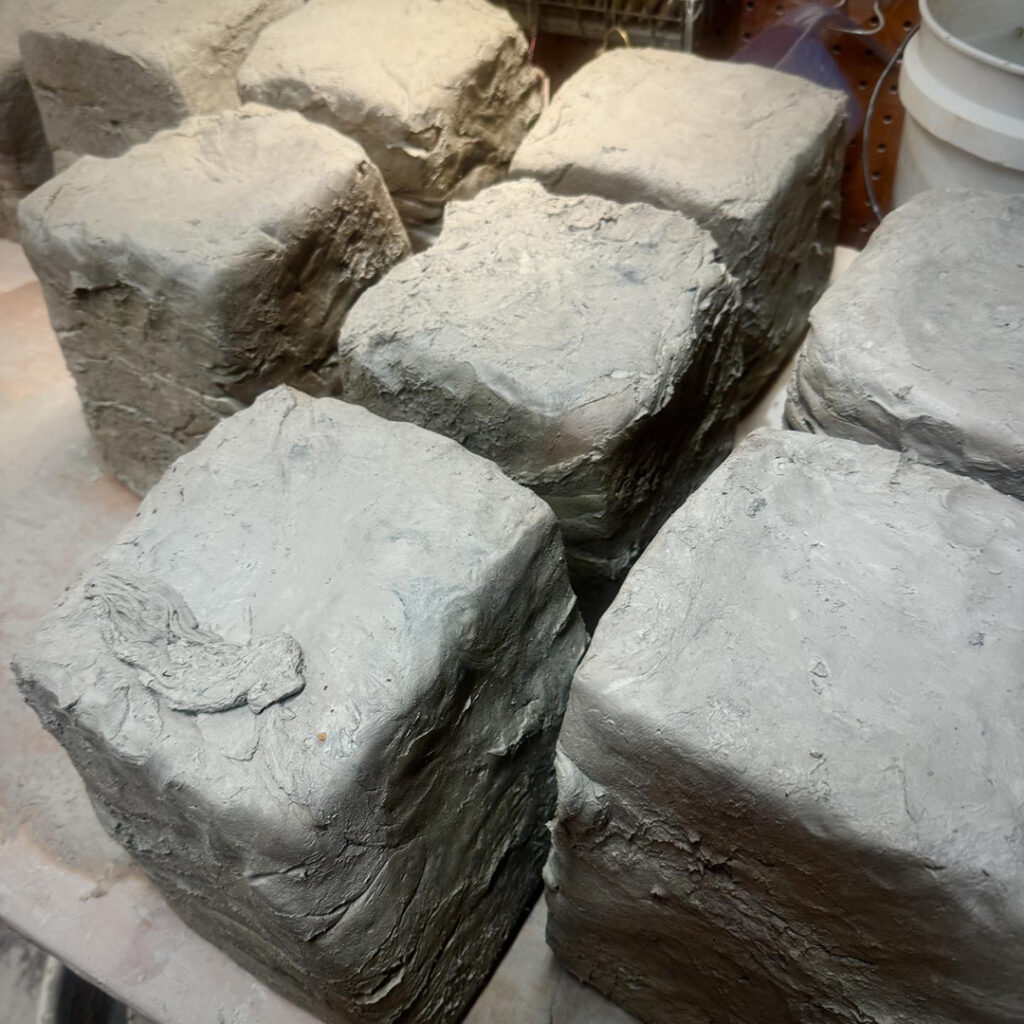
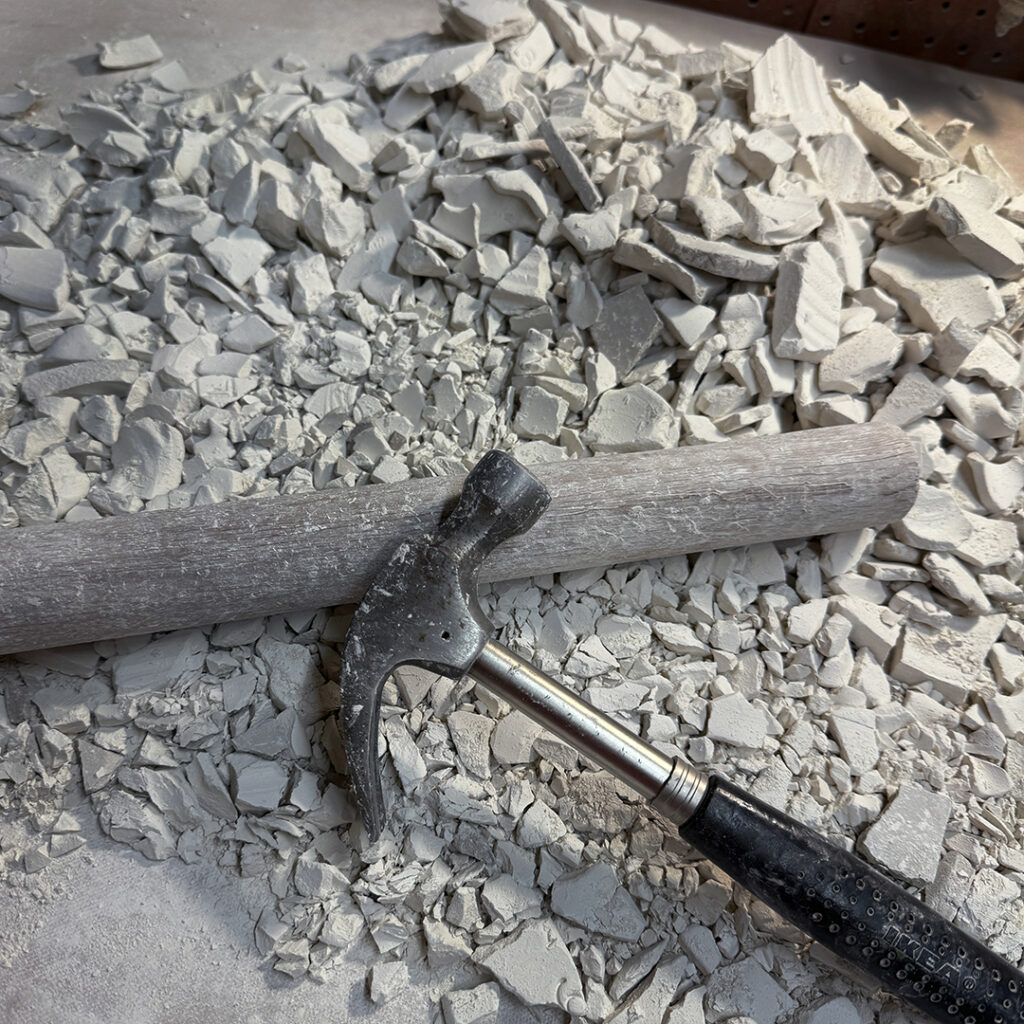
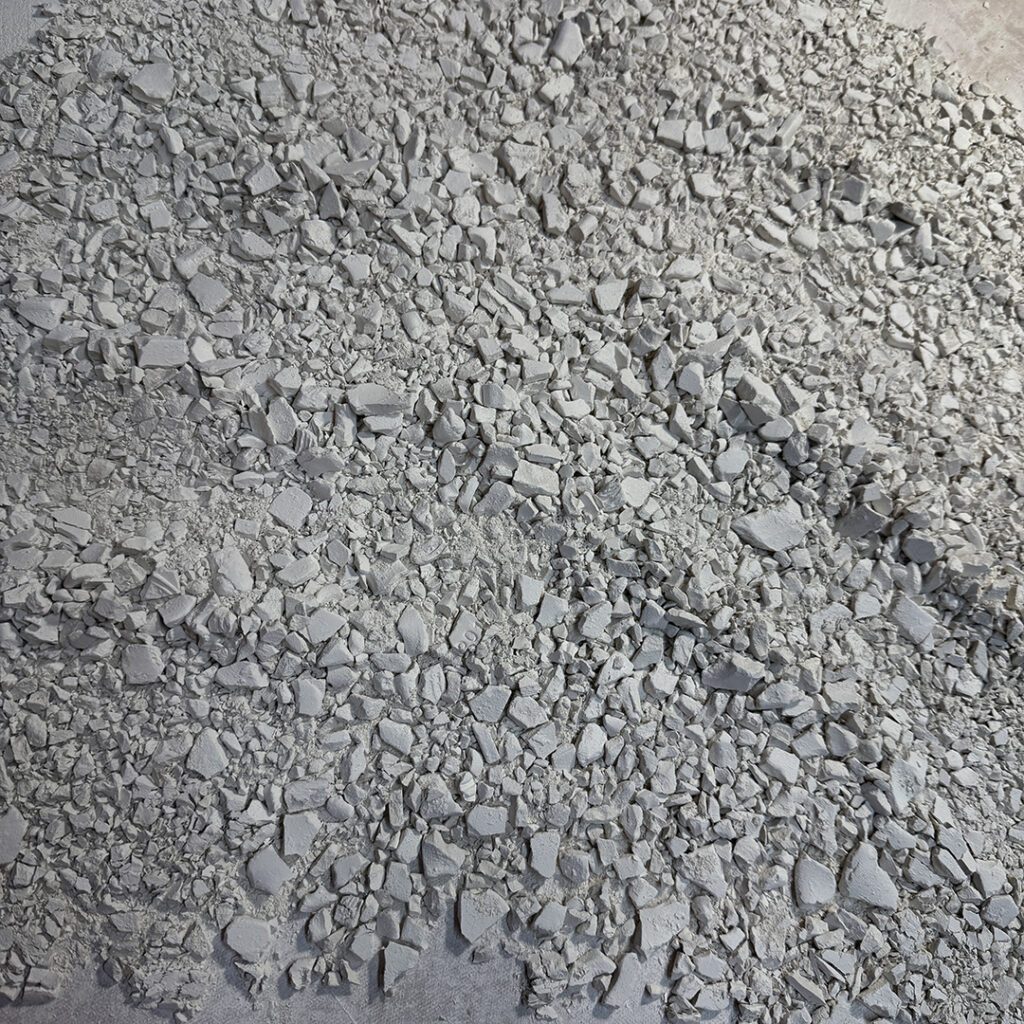
First I chunked it up into blocks.
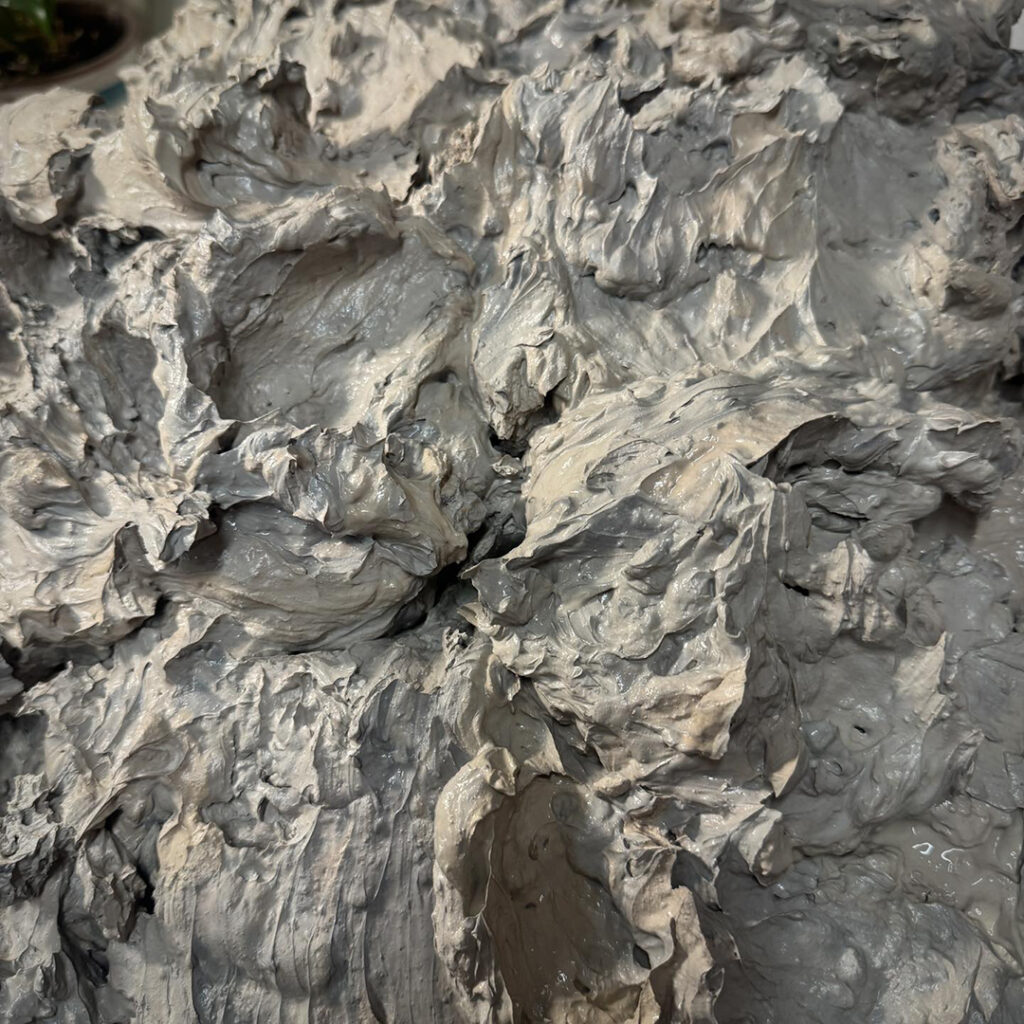
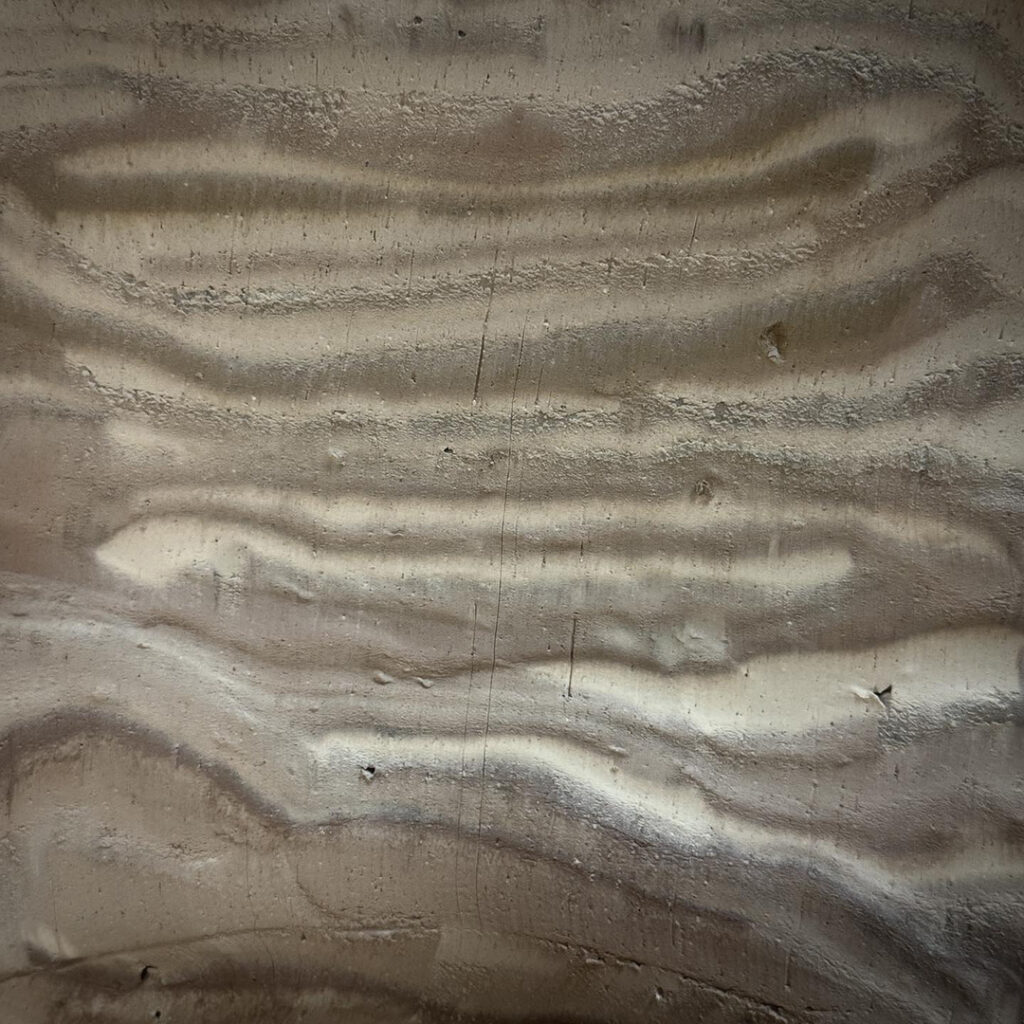
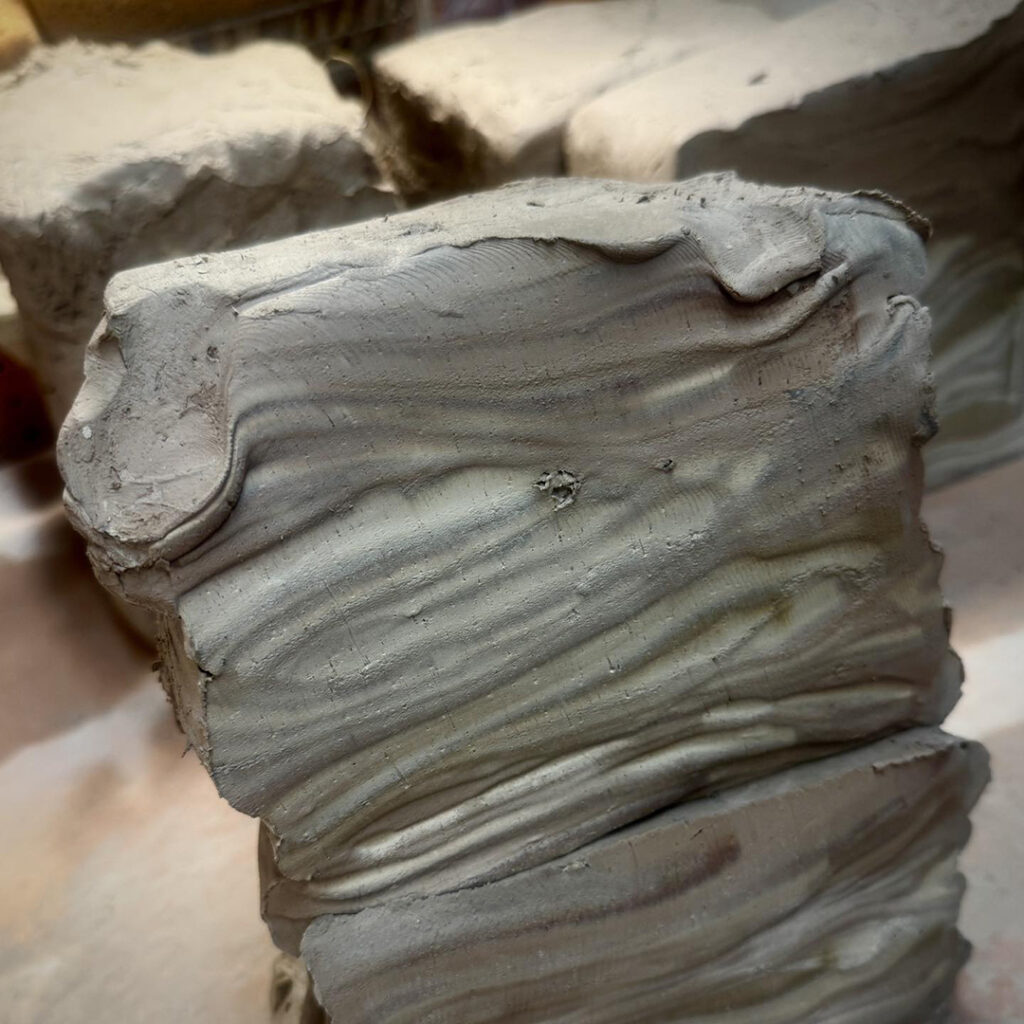
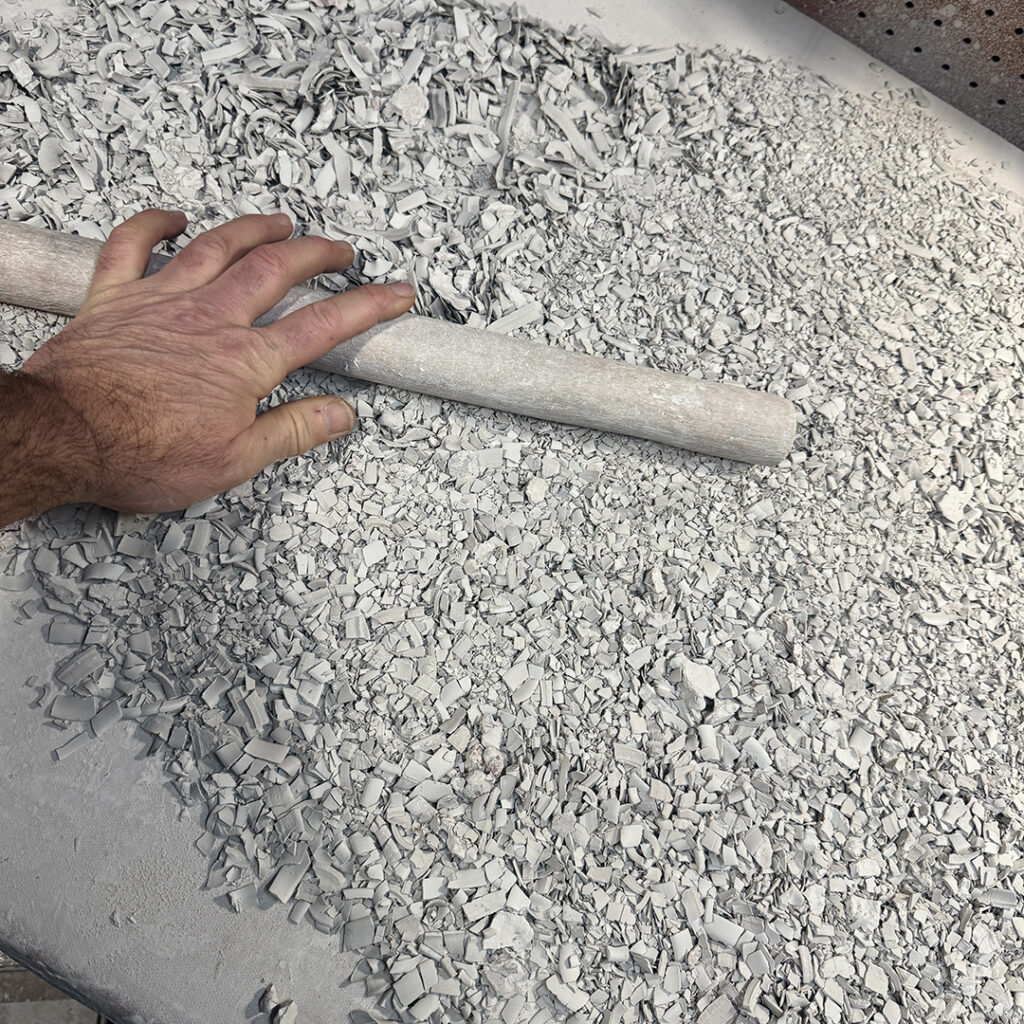
Then I cut thin slices & layered them with slices of fresh new clay & slightly dried clays. I’m not to particular… any high-fire clay can be layered in. It’s a great way to “use up” any partial bags of clay… as well as intermingling it with drier & wetter clays. A lot of slicing & stacking.
Then I tackle each pile by slicing it in half vertically… stacking it tall & slamming it down on the table. Let gravity do some of the work. Slice it, stack it, pound it, repeat. Eventually the layers get thinner & thinner. Doing a lot of blending for you.
Close enough for now… into bags to store my new batch of clay. I’ll do some real wedging when I start using the clay. All mixed. All blended. After all… IT’S JUST CLAY!!!