Gary Jackson: Fire When Ready Pottery
A Chicago potter’s somewhat slanted view of clay & play
Categories: classes

You know I’m always up for a challenge.
So tonight I tried something new… AIRobics!!!

Picture a class full of people doing aerobics while jumping, bouncing and flying
around the room… and quite literally bouncing off the walls! It’s aerobics in a room
packed with TRAMPOLINES! I got there a little late for the class I wanted, so I
started in the middle, and then stayed for the next class too! It was a lot of fun,
and a lot harder than it looks. I’m sure I’m going to feel it tomorrow in some
very strange places… especially after an hour and a half of bouncing & jumping!!!

My class wasn’t playing dodgeball like the picture.
And the room we were using was double this size. Yes, TWICE as many trampolines!
We jumped around & bounced on every single one of them!!!

I think I was smiling like a 9-year old the entire time! Sweating and smiling…

Categories: mugs, process, production, stamps

So we’ve opened the flood gates, and I’m back in studio production mode!
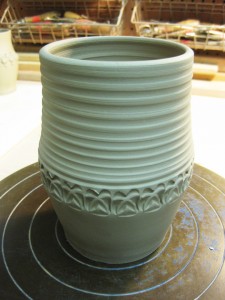
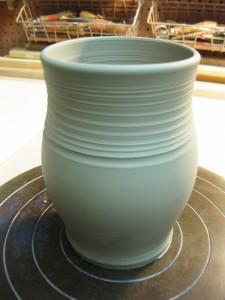
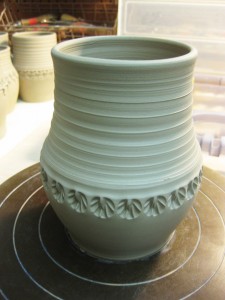
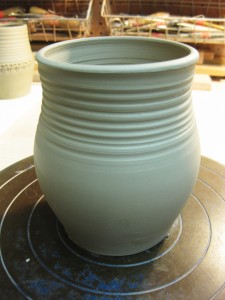
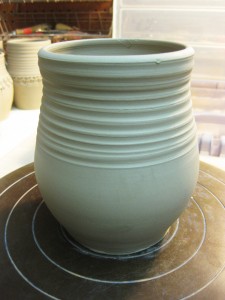
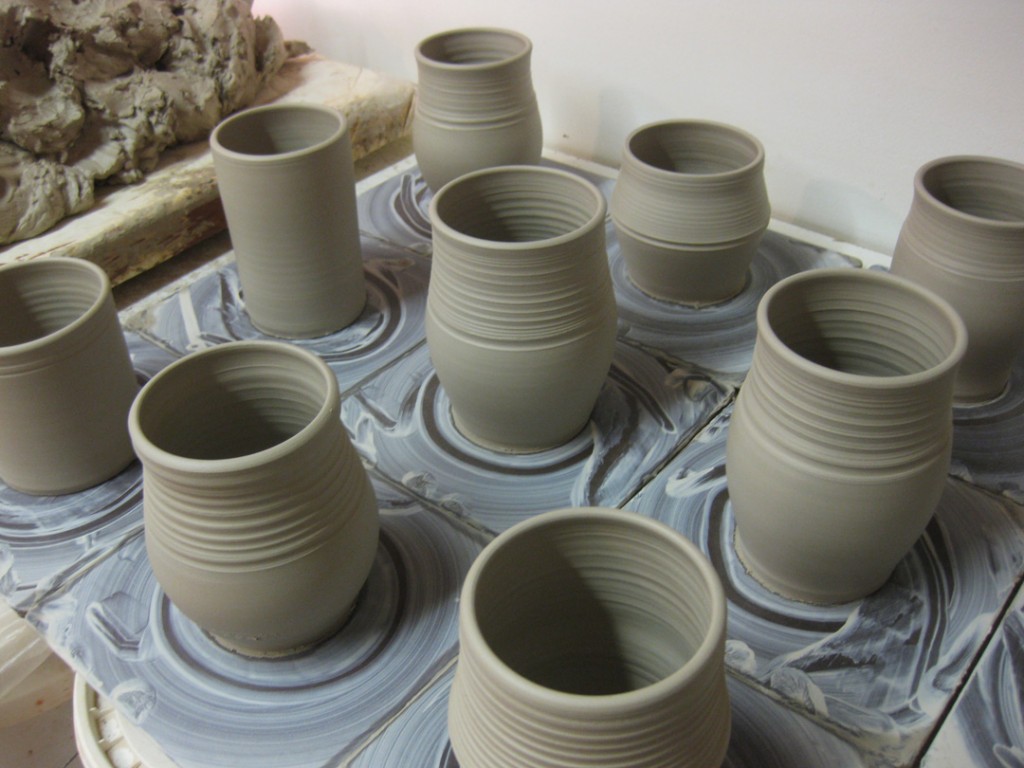
Monday night I started by throwing a bunch of cylinders that will become mugs.
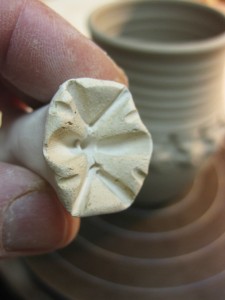
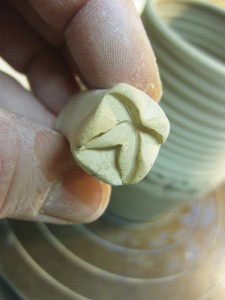
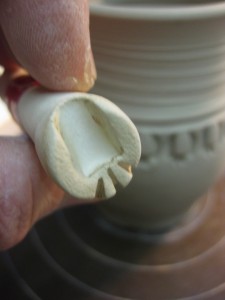
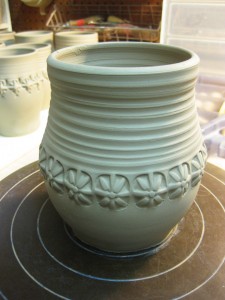
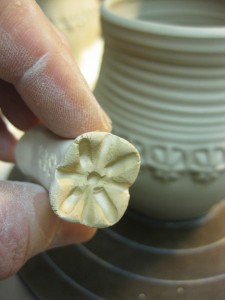
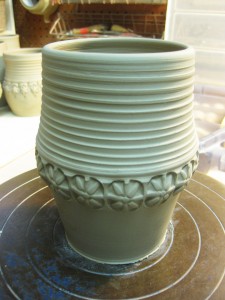
Tonight they were ready to be stamped… so I did… again, and again, and again…
And here’s the “proof”… before & after and the stamp that did all the hard work!

So now they’re all stamped, but they were still too wet to be trimmed. A little squishy still.

They’re all wrapped up overnight so they don’t dry out too fast. Hopefully they”ll be ready
to trim and add handles in the next day or so. Don’t want them to dry too fast!!!
Most people don’t realize how important TIMING is in pottery. Catching the clay at the right
moment to stamp, then a little later to trim & add handles. Waiting for “leatherhard” can be
tough. But if you miss the window of opportunity, your clay can get too dry too fast
and then it might be too late to stamp… or worse yet, too dry to trim!

Categories: bowls, classes, lillstreet, pottery, process, production

For my class last night, it was Bowls Night. Where my beginning students learn how
to make a bowl on purpose instead of a cylinder gone bad! Yes, we’ve all been there.
Thinking that cylinder flopped a bit but you “saved it” and turned it into a bowl.
Well trust me… I can tell if it was made as a real bowl, or a flopped cylinder!
Real bowls have a nice rounded bottom inside… NOT a flat bottom with a corner,
and then swooping sides that you think makes a bowl. It doesn’t.

So last night I first showed my students how to throw a bowl on purpose.
And then while they went back to their wheels to make a bowl or two, I stayed at my
wheel and threw eleven more. I then called them all back for Making Bowls Part Two.
Where we take my twelve “matching” simple round bowls and make each one
different from the next.
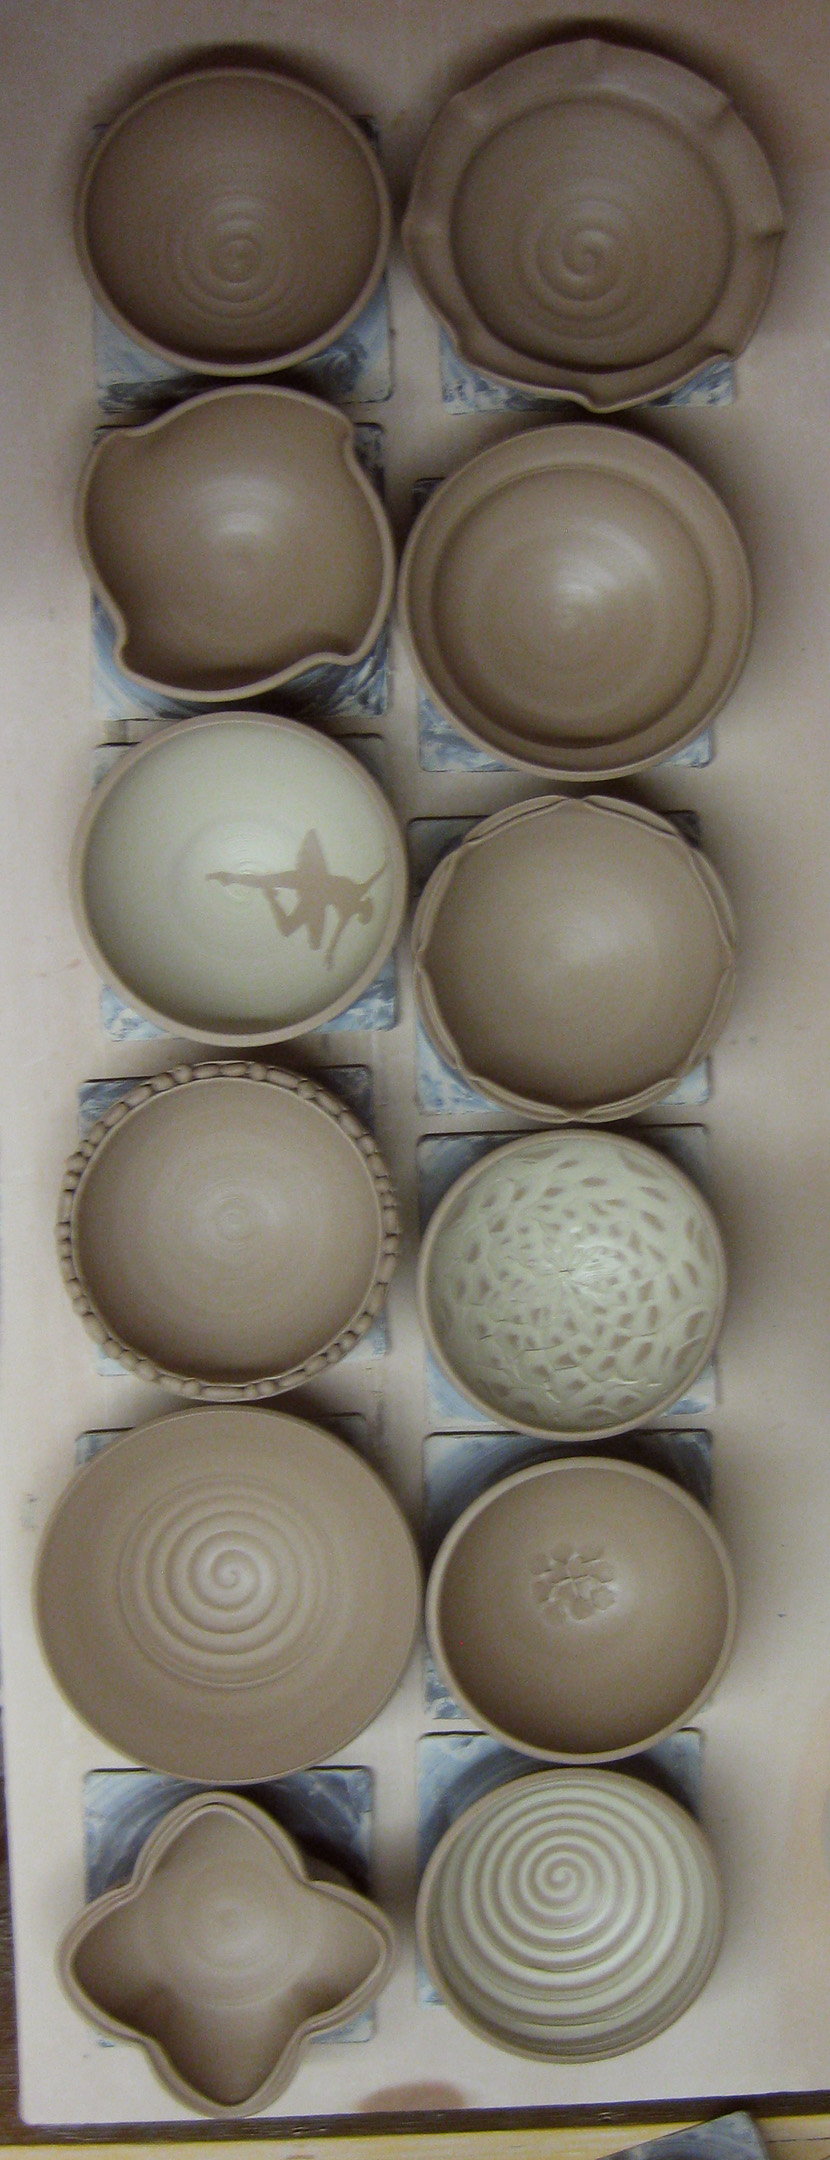
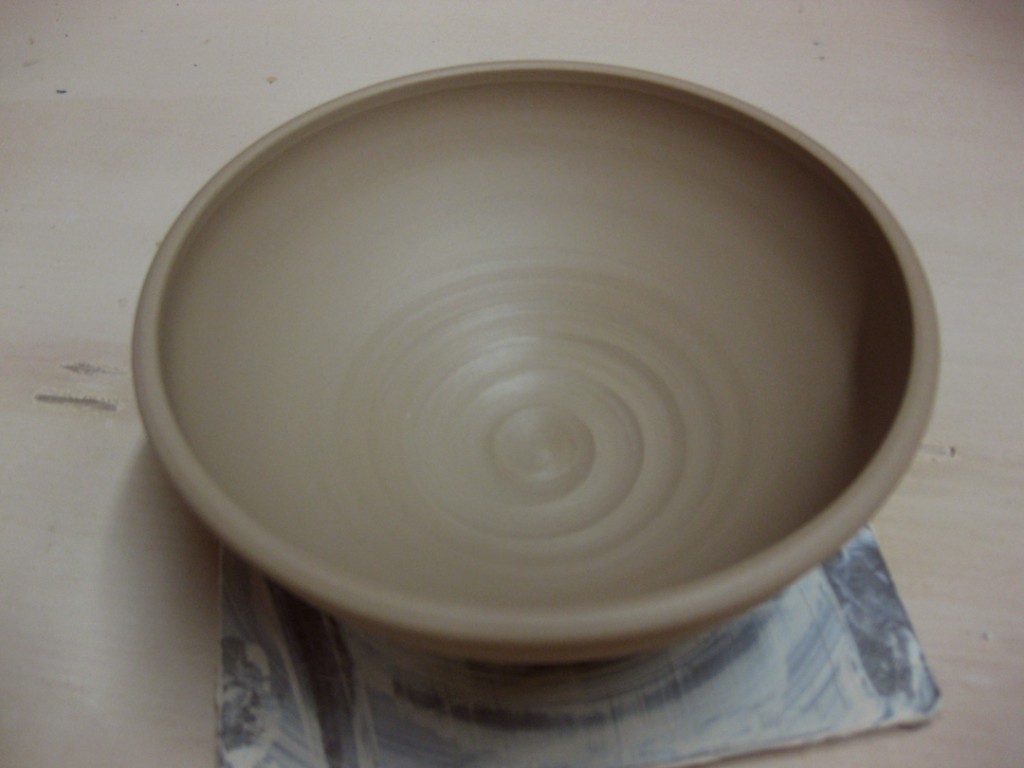
Bowl Demo #1 – Plain Round Bowl
Sure, they could all stay this way. A simple round bowl with a simple finger spiral.
Something as simple as that finger spiral put in at the very end makes that simple
bowl more personal. It’s YOUR finger that made that spiral!!! Pretty neat, huh?
Bowl Demo #2 – Plain with an Indented Flower
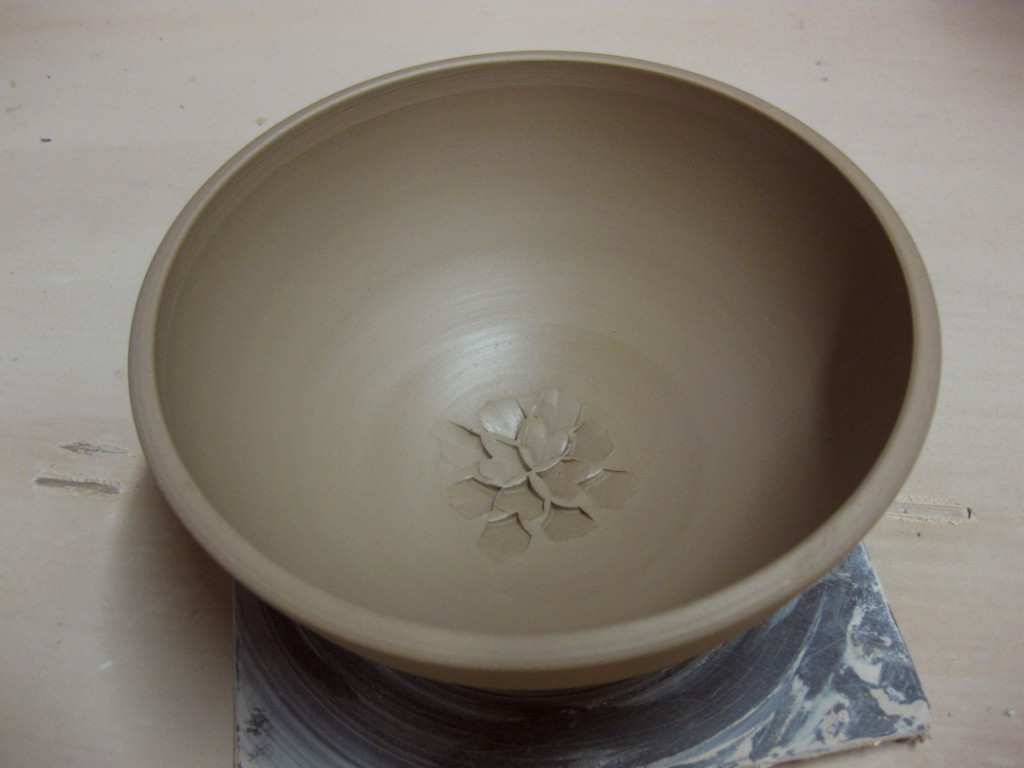
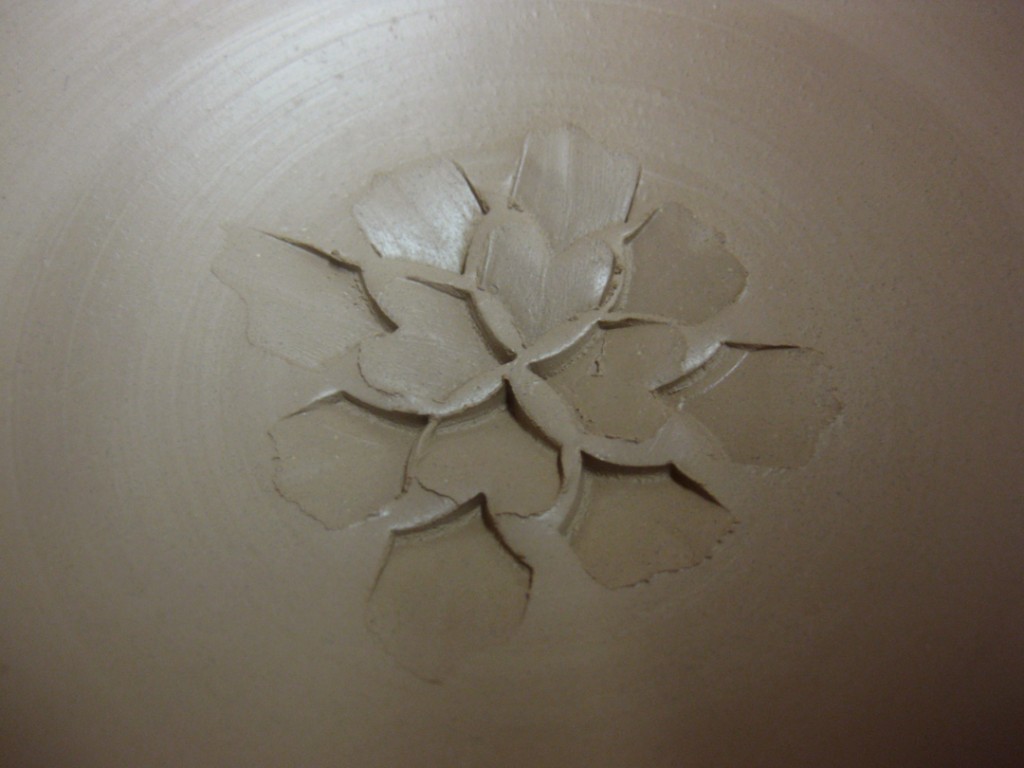
But how much fun is it if your “simple round bowl” reveals a little flower on the bottom
when you finish eating your morning Cheerios?! This pattern was created with a simple
church key tool designed for pressing dragon scales. Also, a great place for glaze to pool.
Bowl Demo #3 – Fluted Rim
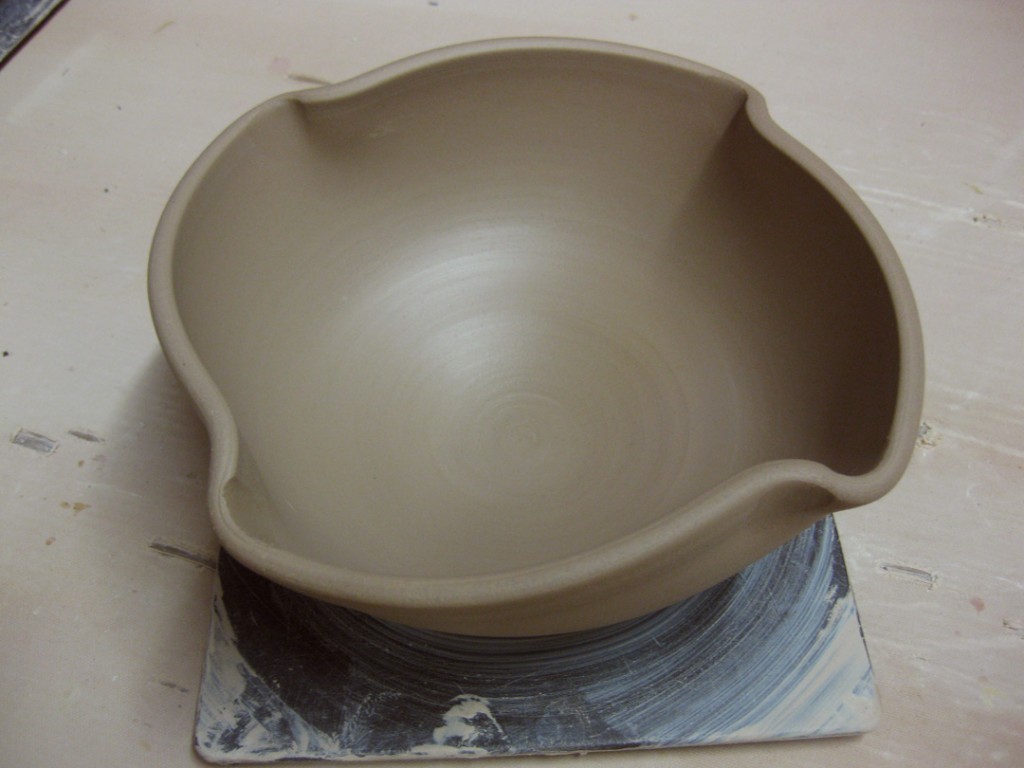
With a couple quick flicks of the fingers, the simple round bowl now has a fluted rim.
I even used the corners of my square bat to help me line up and keep my fluting evenly
spaced around the bowl.
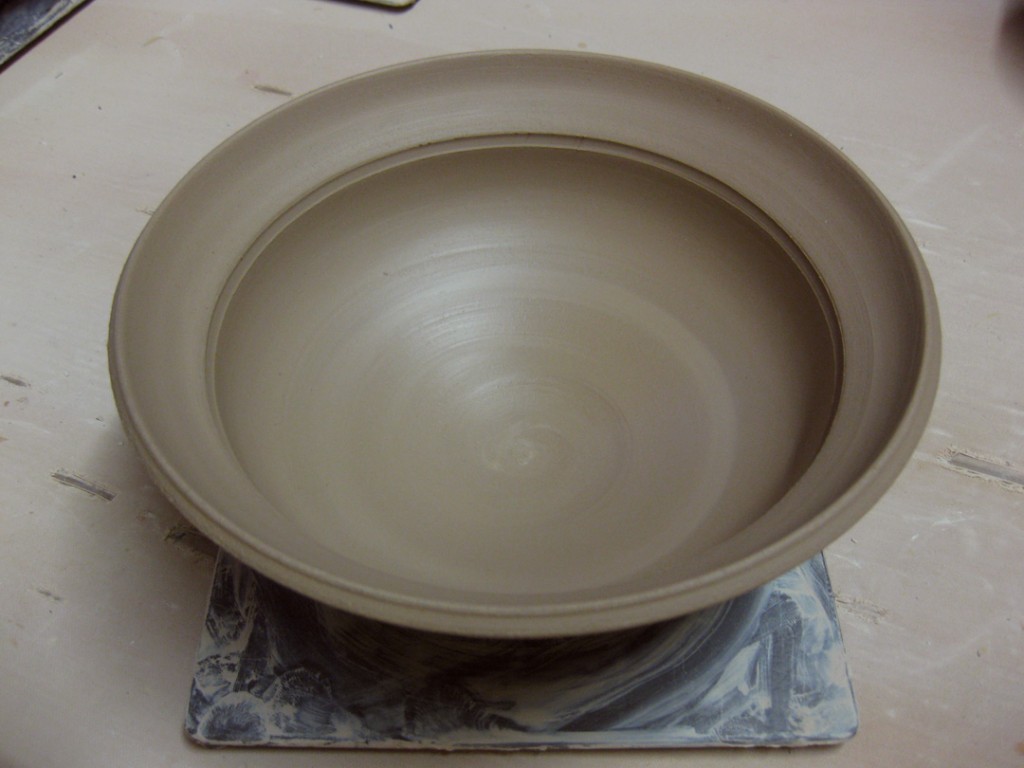
Bowl Demo #4 – Flanged Rim
So the top “inch” of this simple round bowl was flared out to create this great flange area.
I add a small indentation around the inside where the change of angle happens to help
delineate where the inside ends and the outside begins. This trick actually decreases the
capacity of your bowl, but makes it look a lot larger!
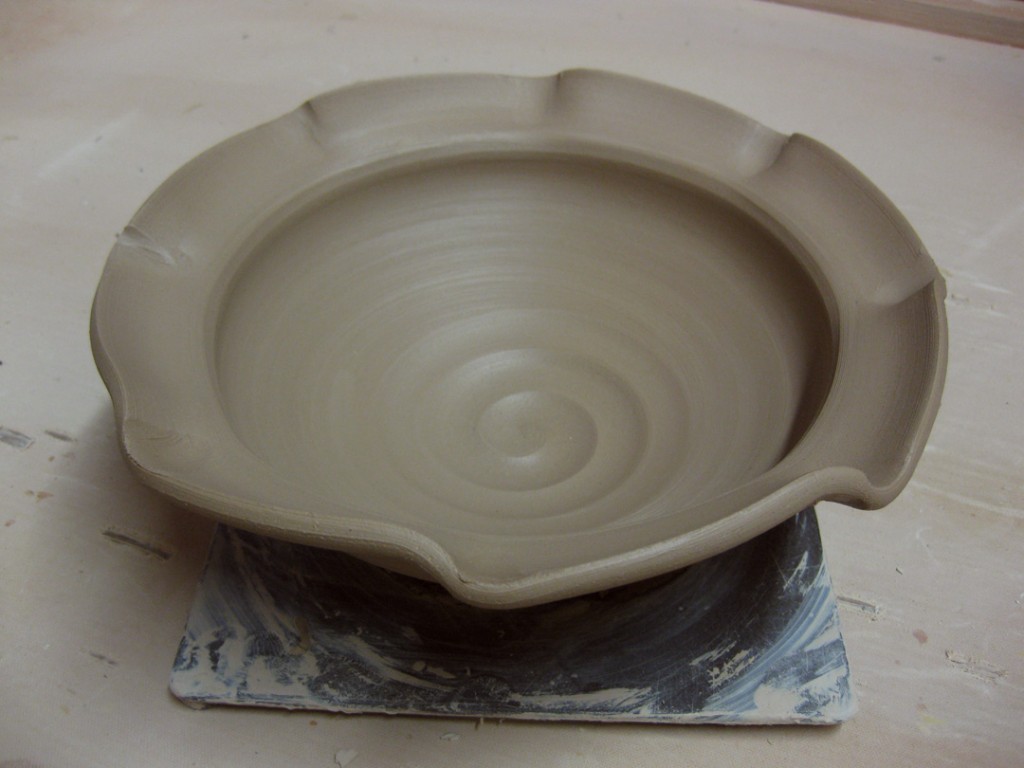
Bowl Demo #5 – Fluted Flange
Sure, you can flare out the flange. Sure you can do fluted edges. So why not both?!
Just put it together. It’s really just that simple.
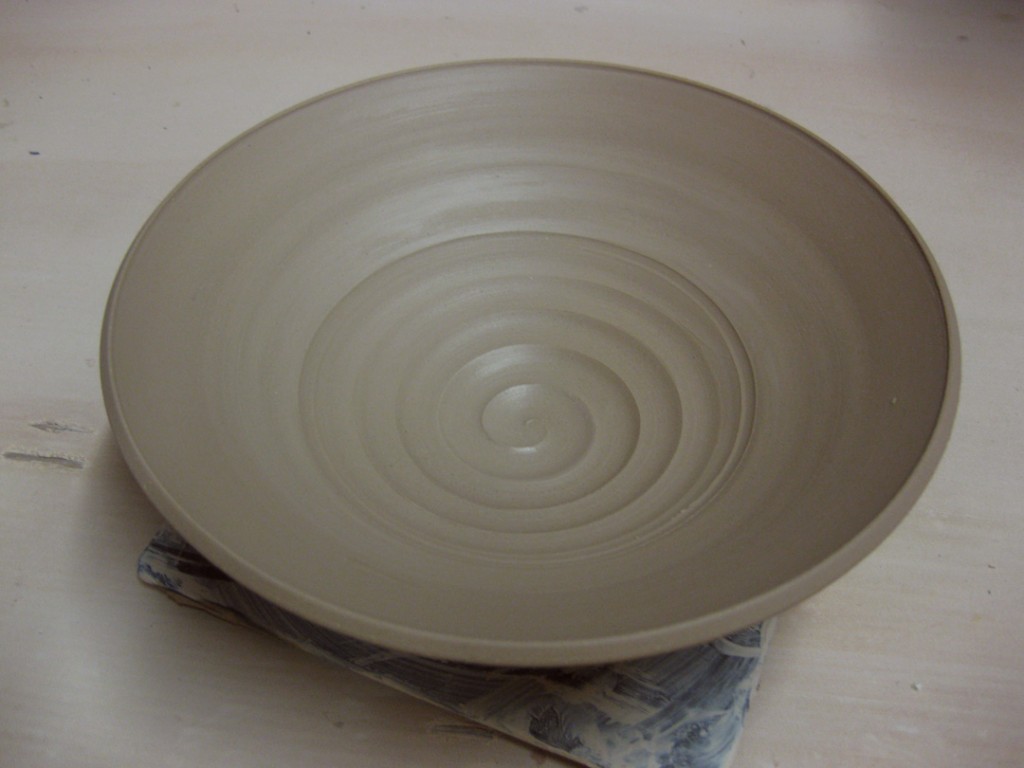
Bowl Demo #6 – Wide Flange
And if a “one-inch” flange is fun, why not knock down more than half of the bowl height
to make a very dramatic flange?! It’s the kind of bowl you would expect in a fancy restaurant
where the put one small morsel of fancy food in the middle and charge you a fortune because
the presentation is so impressive. And just wait… that extra wide flange is also a great place
for some stamped textures… still to come!
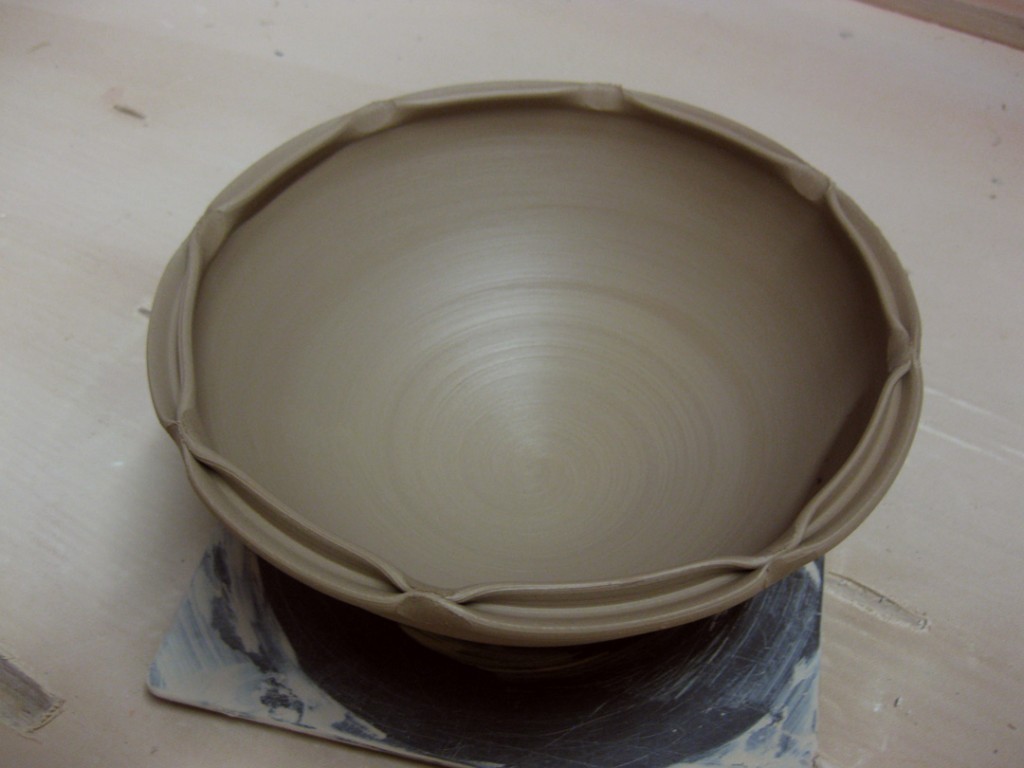
Bowl Demo #7 – Split & Pinched Rim
This time, the rim on the simple round bowl was split the point of my wooden knife.
I simple pressed it in as the bowl was rotating on the wheel. Once it was split all the way
around at a good depth, I pinched it back together in eight places.
Bowl Demo #8 – Split Rim Filled
Again, I split the rim and we usually talk about how nicely the glaze will fill the split area.
But if glaze fills it well, how about some small coils & balls of clay? Which we just placed
into the groove while both bowl & pieces were wet. Then I squeezed the split rim back
together very gently while hoping to connect all of the balls & coils. I kinda like how the
bowl is so smooth & simple inside, but the rim has this sort of unpredictable randomness.
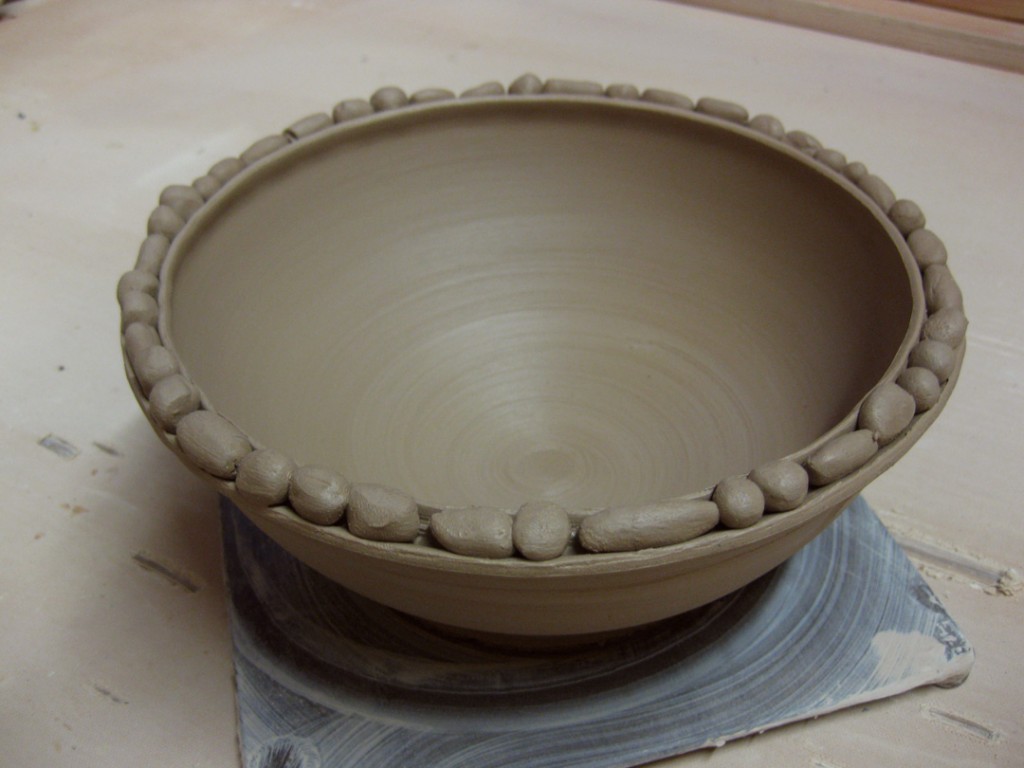
Bowl Demo #9 – Split Rim Clover
And while we’re splitting rims (and not hairs)… who’s to say a bowl needs to be round?!
Not me. So we split the rim and then altered it into kind of a clover shape.
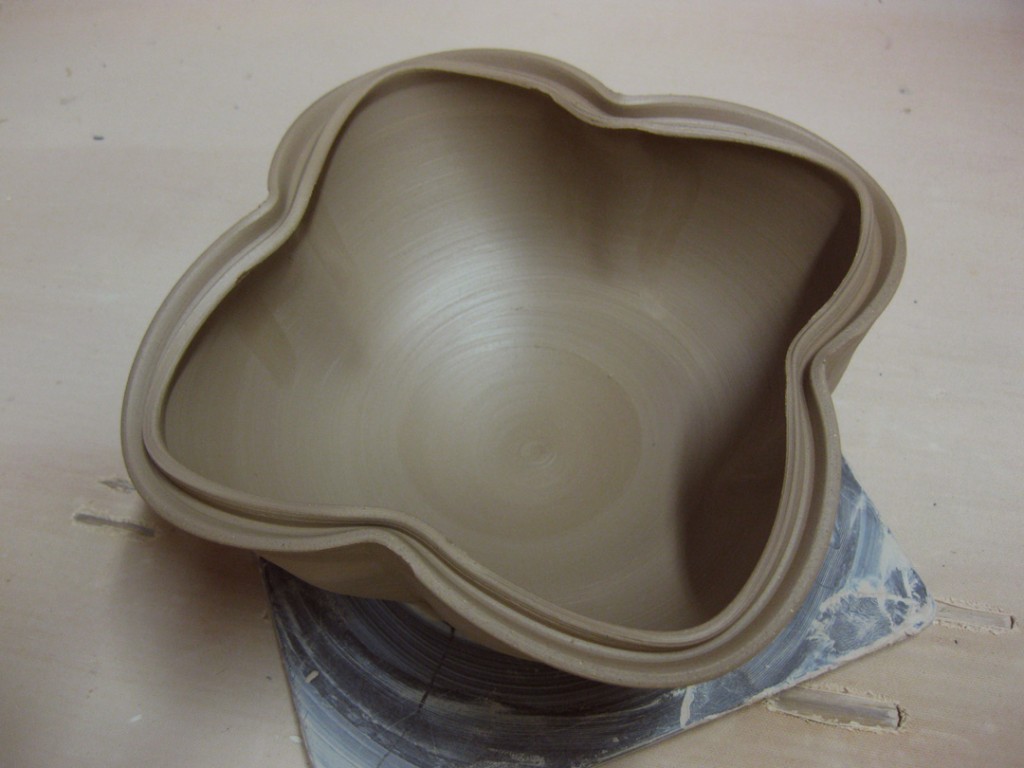
Enough altering bowl shapes… now it was time to introduce colored slips!

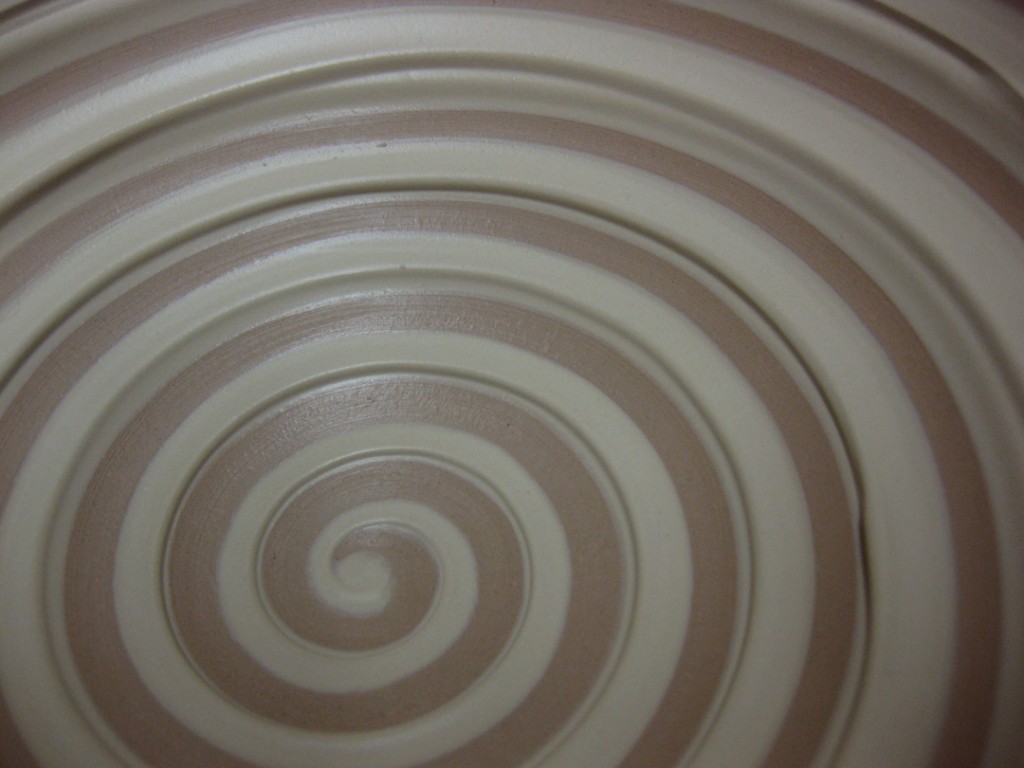
Bowl Demo #10 – Spiraled Slip
After a simple coat of white slip to cover the interior, I dragged the curved end of my
wooden knife through the slip to reveal the contrasting clay color as the wheel was spinning.
A simple technique with striking results. Plus a little textured depth from the remaining slip.
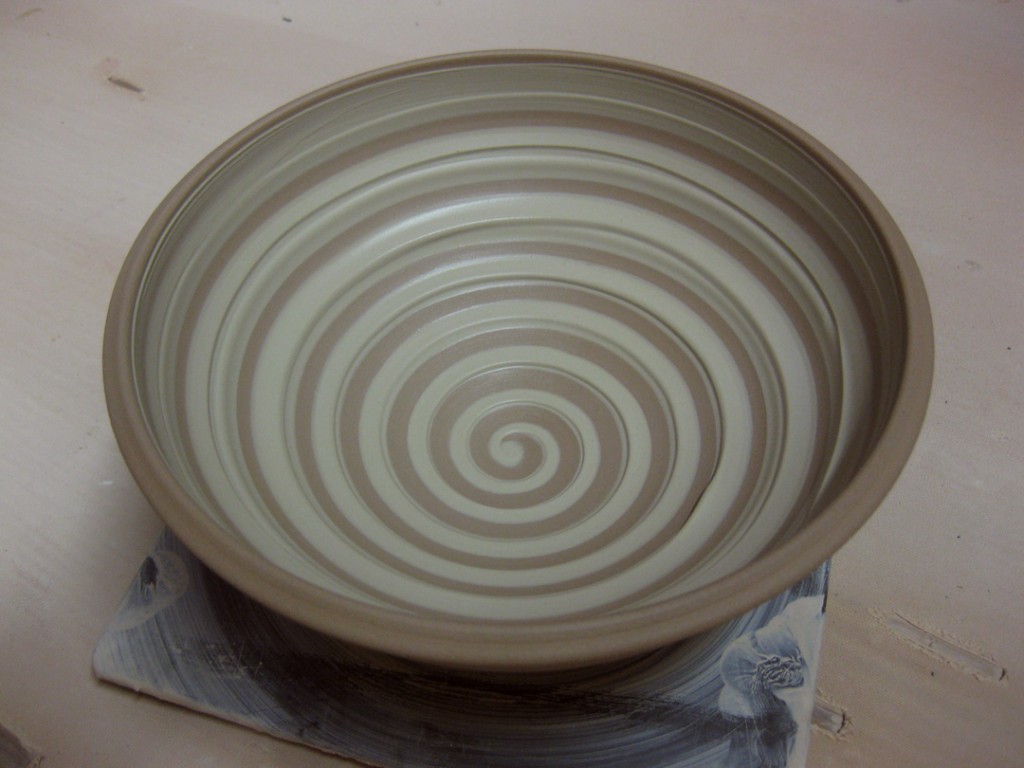
Bowl Demo #11 – Chattered Slip
A little more intimidating, but it’s a simple as covering the entire interior with slip,
then taking your rounded rib tool and chattering through the slip while the wheel is spinning.
It’s the combination of rhythmic tapping, moving up and the wheel spinning that creates this
look. But you have to commit. If you start and get flustered, you’re going to see the mistake
in the middle. Once you start – just breath and keep going.
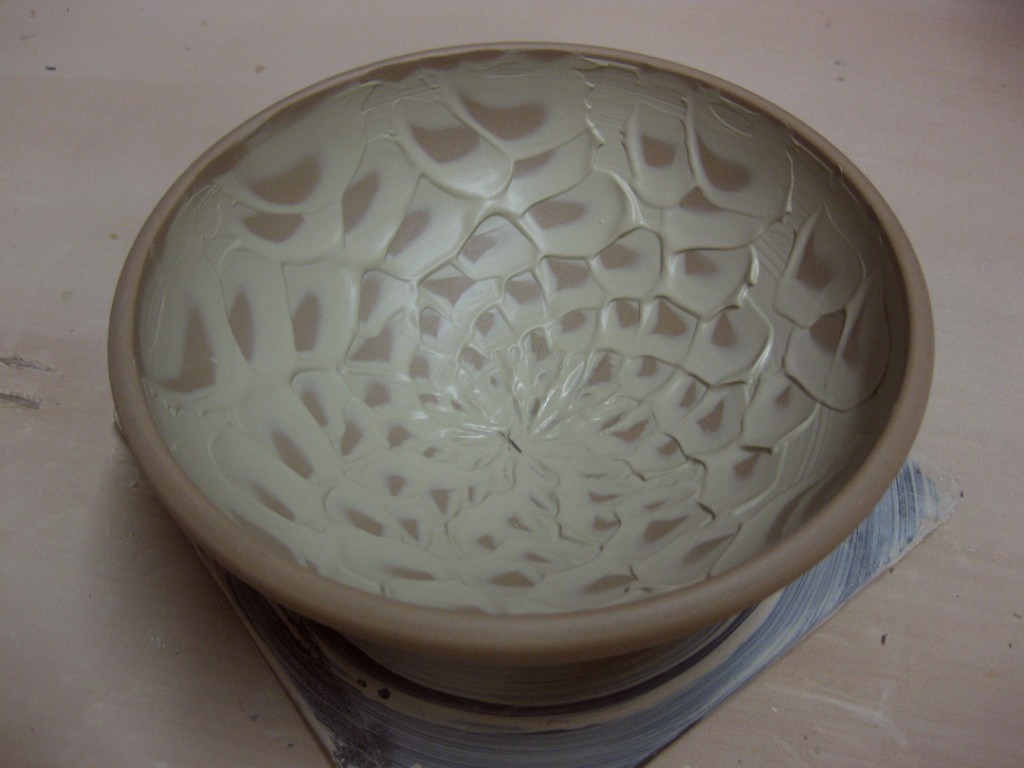
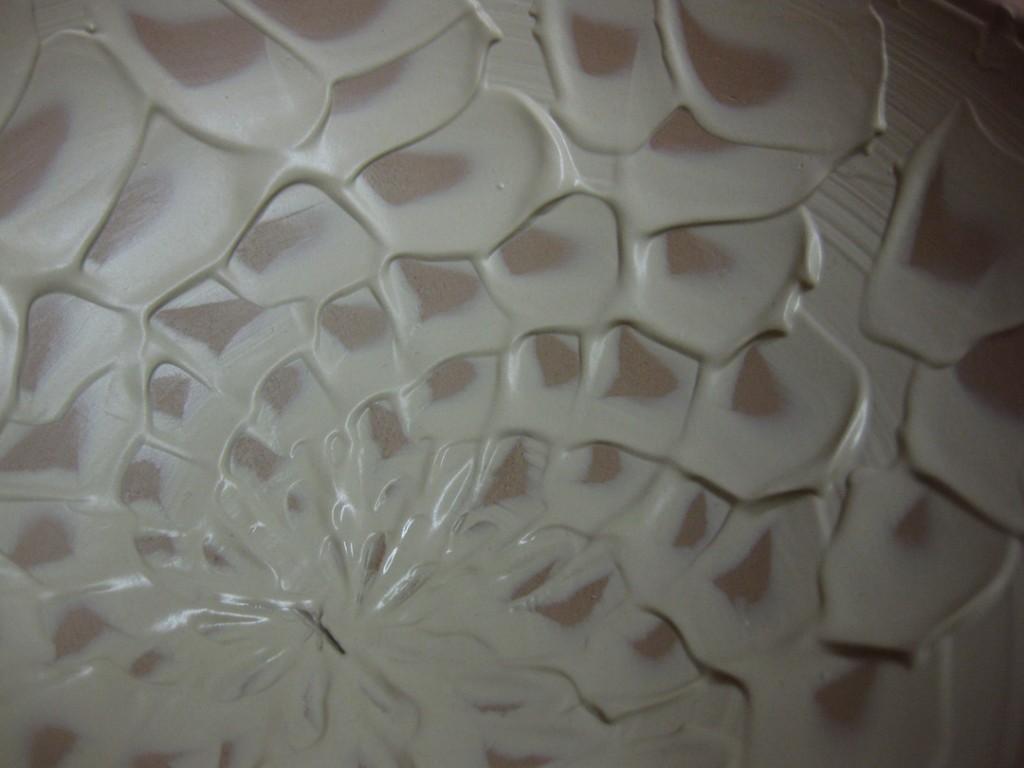
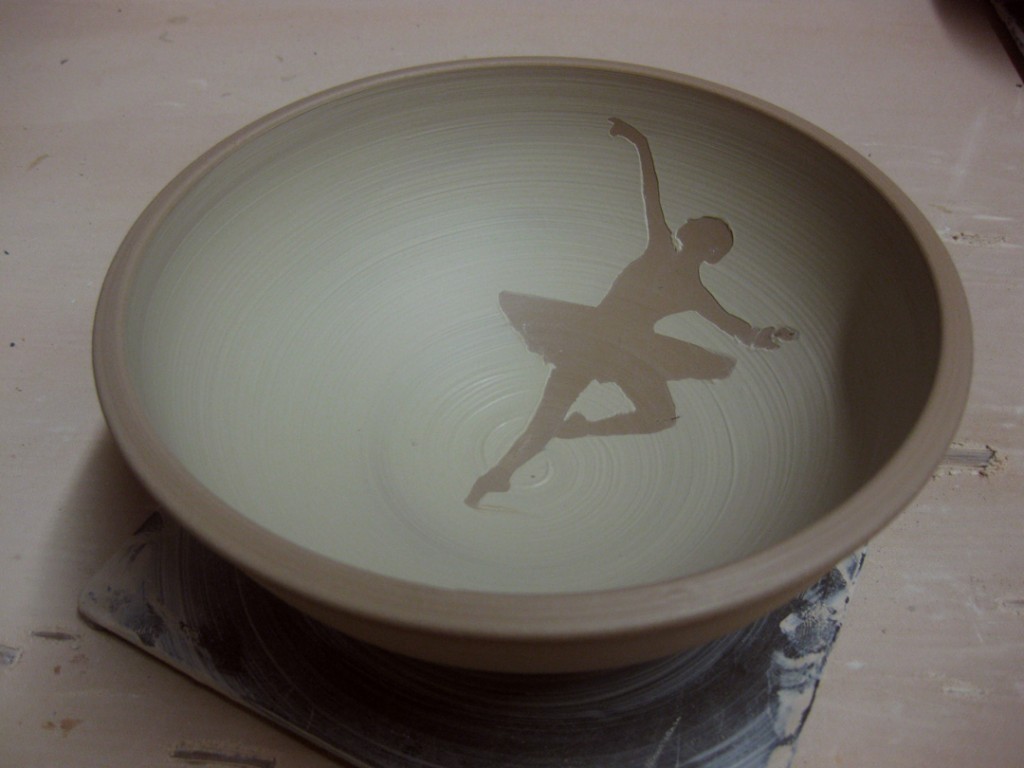
Bowl Demo #12 – Stenciled Slip
Enough random slip play… so I found a ballerina picture in the newspaper and my
teaching assistant Maureen cut it out for me. I wet the newspaper and carefully applied her
to the bowl’s interior surface. The water is pretty good at sticking down all of the edges. Then
I took the paintbrush with white slip and carefully covered all of her edges. Once covered,
I could slather the entire interior to get an even coverage of white slip. Once solid & smooth…
I had to peel the newspaper back out very carefully to revel my tiny dancer!
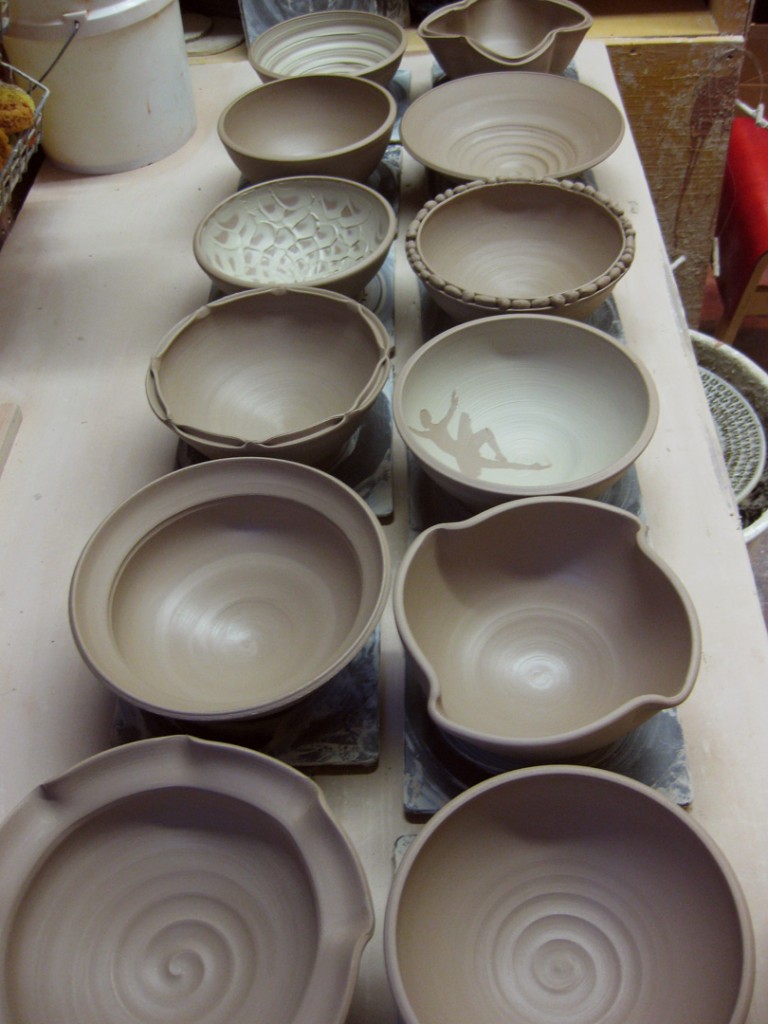
So there they are… the twelve bowls that came from my bag of clay.
Remember, all twelve bowls started out very plain, simple, round and mostly matching.
But with a little determination, my students realized that it’s not all that tough to make
each bowl different with a few basic techniques.
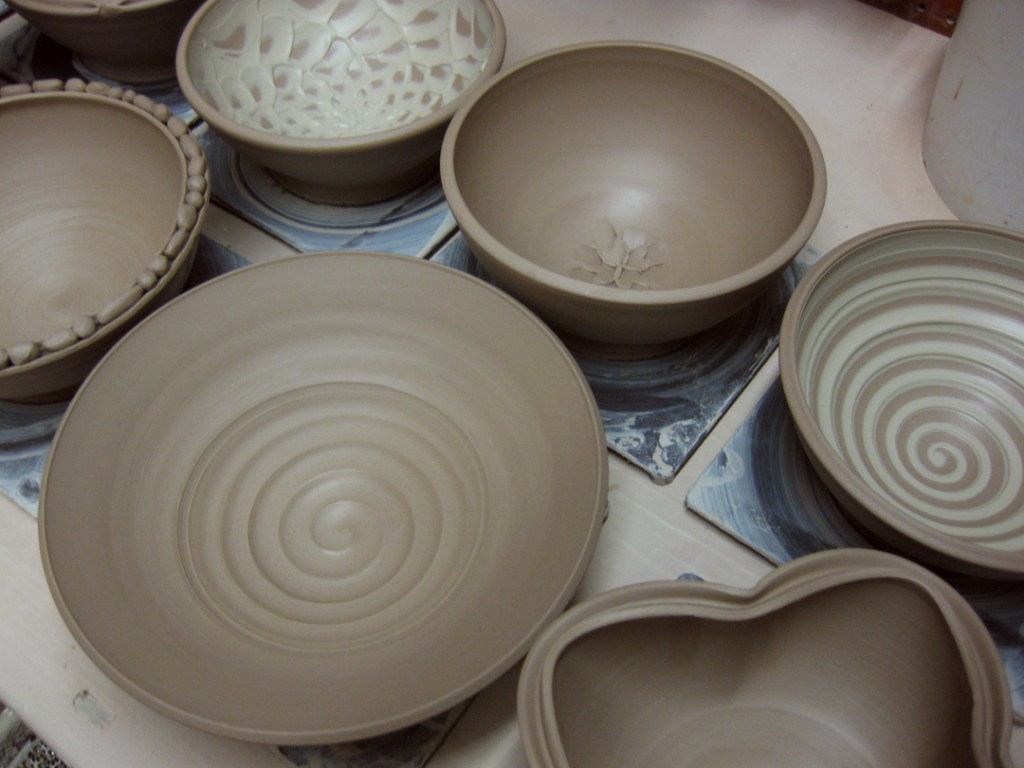
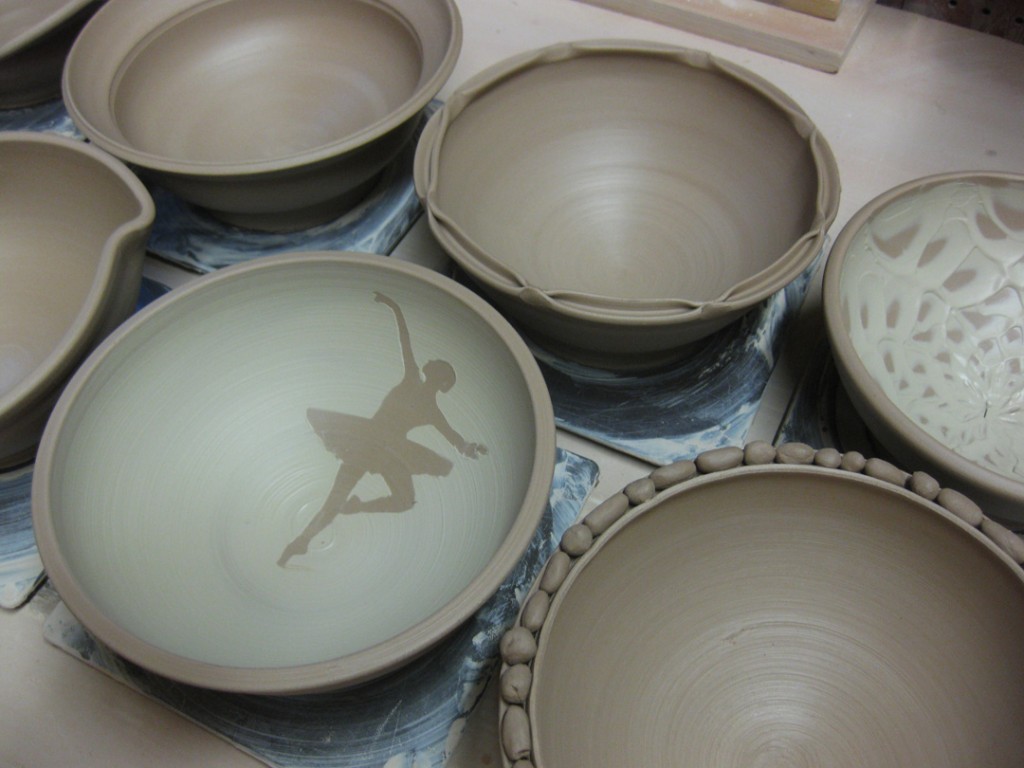
This is how they sit overnight wrapped up in plastic to keep them “workable.”
When I come back to the studio tonight, I’ll unwrap them, do a few touch-ups, maybe
some stamping and a bit more surface decorations here & there. When they dry to a good
leatherhard state, I can do some trimming and call ’em done. More photos to come…
My ultimate goal for this class demo is for my students to realize that the clay is not precious.
That they need to make more pieces and get to the point where each piece they make is no
longer considered precious. So that they are more willing to play with their clay.
Twist. Alter. Flute. And if it doesn’t work… who cares? They can make it again…
and try again… and again.. and again.. until they get what they like!!!

It’s just clay.

Categories: mugs, process, production, studio

It’s been a slow start for me getting back into the studio.
I’ve been quite the slacker through the holidays. Enjoying some time off.
Sure, a few small projects here & there. But tonight was the night to actually kick-off
some full production mode! And why not start with my favorite?!… MUGS!!!

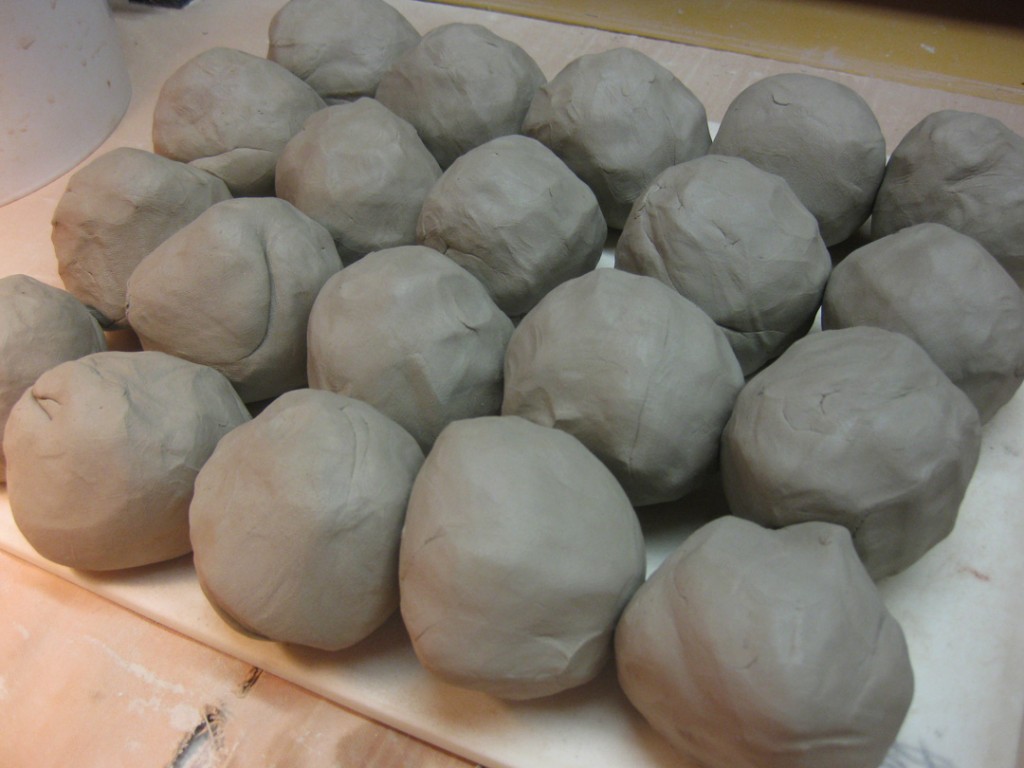
So I started by wedging up some balls of reclaim clay. Wedged and ready to go…

So then the throwing began… and it felt GREAT to be back behind the wheel!!!
And as always, I prefer to throw on my plastic bats. I have quite a few of these square bats.
Love ’em… and they take up so much less space on my work table! As you can see, part of my
table is already covered with my large plaster bat and a large pile of goo… aka – reclaim clay!

Once they’ve dried just enough to not be squishy & sticky, I wire them off the bats again
and condense them down onto my plastic ware boards. Again, it’s all about conserving space
on my work tables… so I have room to make more!!! Plus, it’s a lot easier to cover them all
with plastic like this, than if they were spread all over the place on twenty separate bats.

Next up?… stamping, trimming, handles, slip painting, drying, firing, glazing & firing.
Wedging & throwing is the easy part… and just the beginning of more to come.

Categories: bike, creativity, inspiration

With a freezing rain today in Chicago, looks like my sunrise bike rides may be
on hold for a bit!? But after watching this video, suddenly I’m feeling like my own
morning rides are a bit anti-climactic. This is a beautiful video with some
incredibly crazy riding… that I won’t be trying any time soon!!!

Maybe it’s just me… but wouldn’t you think there must have been a smooth &
obstacle-free paved road around there somewhere?!

Here’s a link to the video… click on “Danny MacAskill.”

So watch the video. It’s beautifully filmed & edited with a great soundtrack.
Love his sense of adventure & whimsy. And I hope he has a good helmet…
or even better, he should be shopping around for a good helmet sponsor!!!

Categories: clay, process, studio

You know how I LOVE reclaim clay.
It’s a little extra work for a LOT of “free” clay!!!
For those of you who might not know, “reclaiming clay” is basically taking all of your
trimmings & dried clay scraps and reconstituting them back into real, useable clay!

And since my studio is still basically clean through the holidays, I’ve been finding it tough
to really get my act together and get back into full production mode. Still on holiday?!
You know how when there’s no wet work under plastic, pieces that need to be trimmed,
or a kiln deadline approaching, it’s so easy to put things off. If you don’t get started, then
you’re not “trapped” by the calendar. I’ve been meaning to get “started” again…
but instead, I seem to be finding a lot of “little jobs” to fill my time.

Like making stamps.
Like blogging.
Like reclaiming clay.

Next, I need to finish applying to my Summer Art Fairs… and then
I may have run out of those “little jobs” and I’m going to need to start throwing again.
And I can’t wait.

Categories: inspiration, patterns

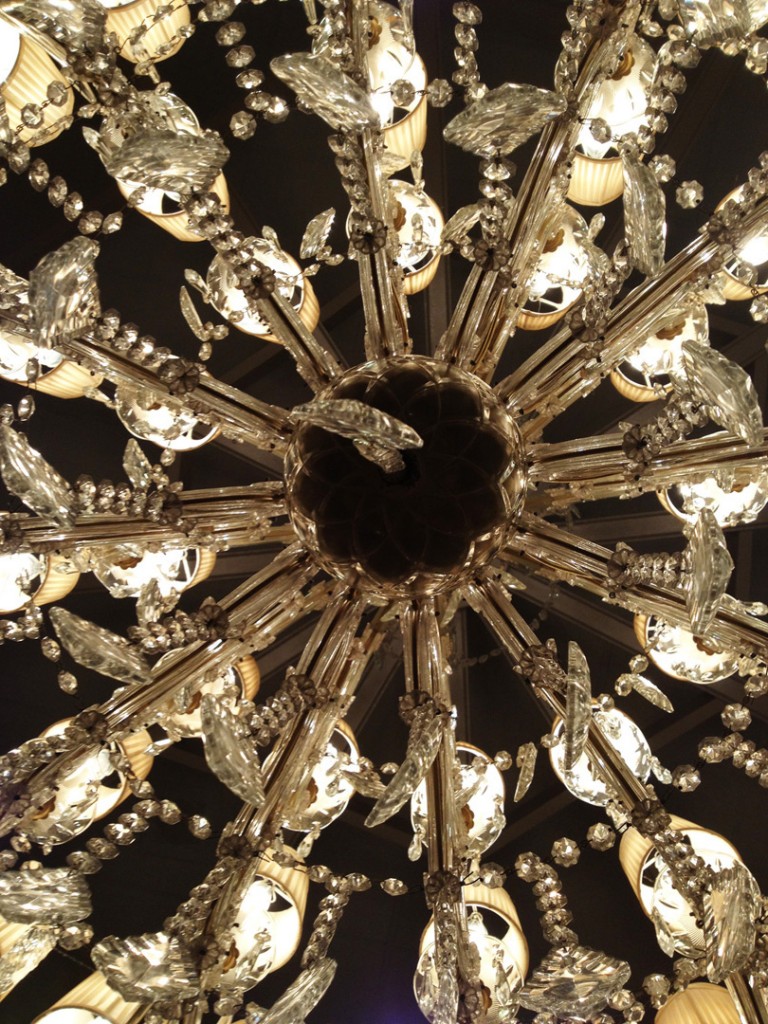
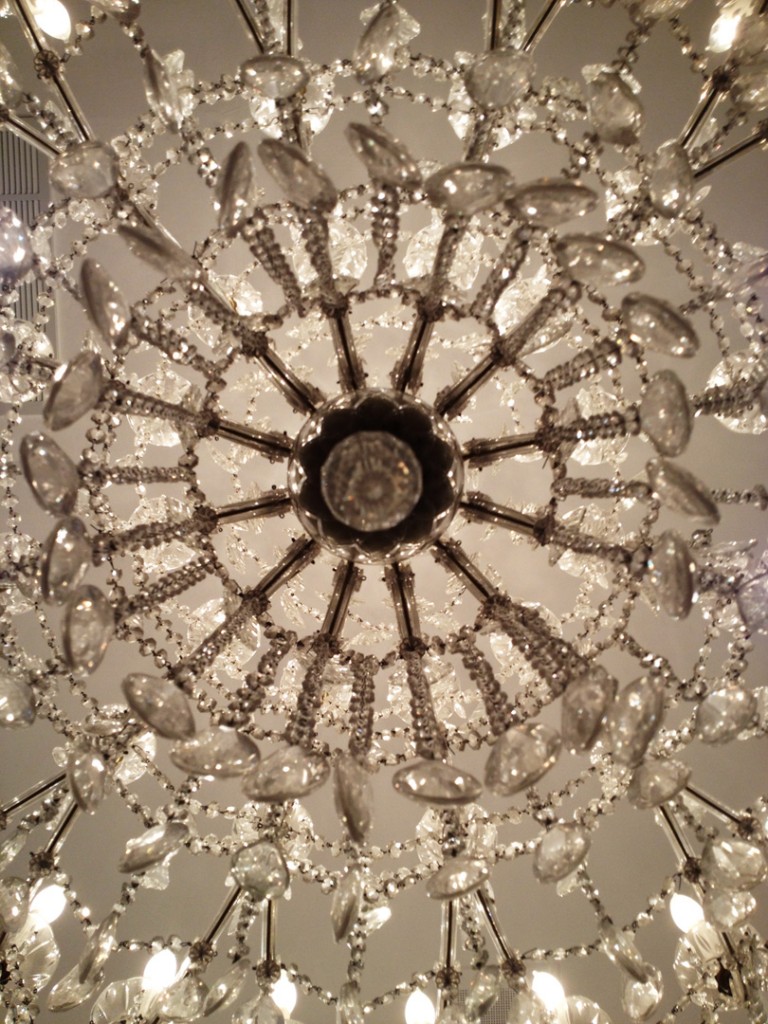
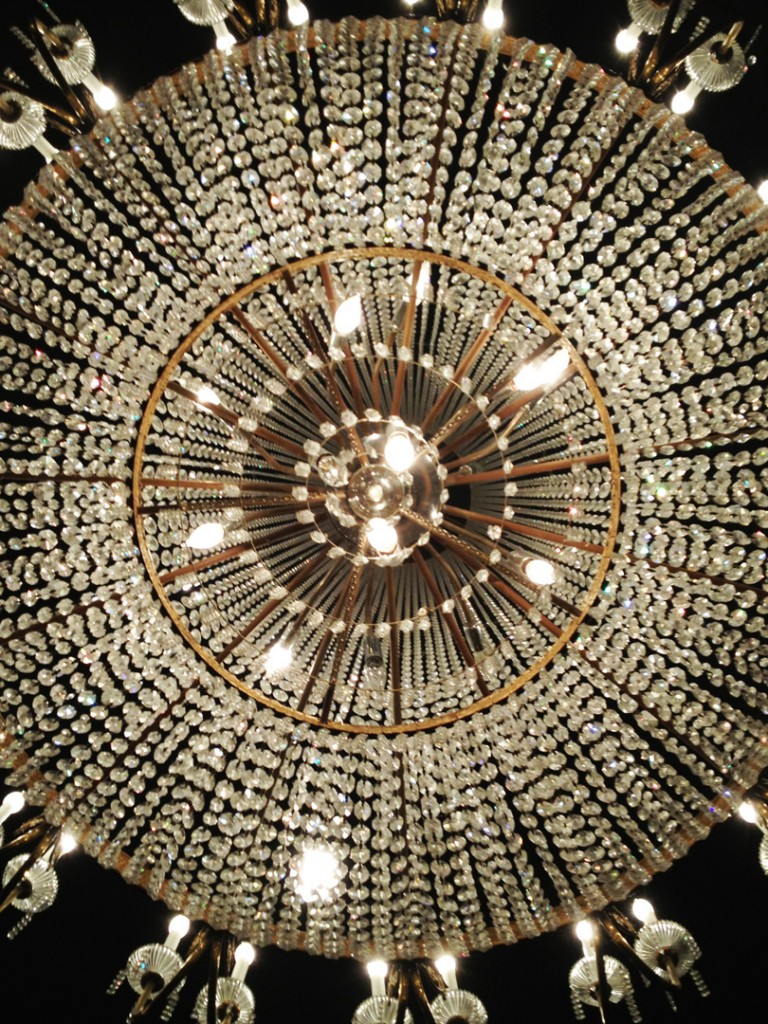
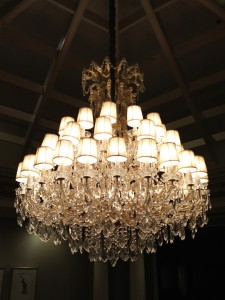
What a difference a new perspective can make?! Not the normal chandelier any more!

Categories: patterns, textures, theater

Last night I drove out to Oakbrook to see “Sunset Boulevard” at Drury Lane.
It’s a classic Andrew Lloyd Weber stage production. A musical remake of the 1950
Billy Wilder classic black & white movie. Chronicling the faded glory & delusional life
of silent screen actress Norma Desmond. To this day, the classic movie is still listed
as the 16th best movie ever by the American Film Institute. I’ve seen the movie…
and tonight I finally saw the musical at Drury Lane. It’s a good production with a
creepy, eerie & delusional Norma Desmond…. who is ready for her closeup Mr. DeMille.
Of course we had to get food first… so why not indulge at The Cheesecake Factory!?

While we were at Drury Lane for “Sunset Boulevard”, there is also a lot to see in the lobby.
Lots of things that sparkle. And since I was with my metalsmith friend Pam who is known
by some as the “Queen Of All That Sparkles”, we had a lot of sparkle to admire!

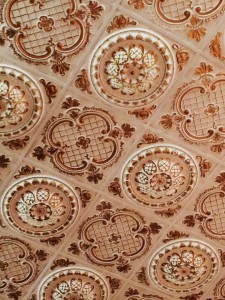
But it’s not just the chandeliers to admire… the pressed textured tile ceiling is pretty
darn impressive too! Love the pattern. Love the grid. Love the subtle coloration.

Sadly, not everything is quite wonderful at Drury Lane. The carpets are quite “lovely.”
And yet somehow I have a weird fascination with the crazy carpet designs found in
hotels everywhere! I may need to start a collection of hotel carpet photos?!


Categories: textures
Categories: creativity, rusty

While in Dover, Delaware recently for the “glitter gig” meeting, I had the chance to
tour the Dogfish Head Brewery. They’re one of the sponsors for another large event
we’re working on for this summer. I love factory tour. Love seeing how things are
made. And this time was no exception!

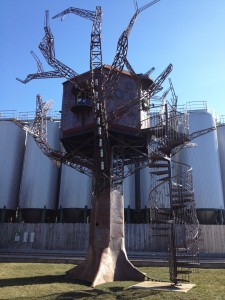
Dogfish Head Brewery is located in Milton, Delaware. Somewhere between Dover
and Rehoboth Beach. And when you pull up to their headquarters, the first impression
is a great one. Not only to they have an incredible treehouse in the front yard, but it’s
all made out of RUSTY METAL!!!… which you know it’s my favorite!!!

Once inside, you’re quickly greeted by a very friendly receptionist… and a lot of whimsical
artwork all over the place. And one pair of chatty blue jeans!!!

Your tour typically starts in the “Tasting Room” where you’re also surrounded by a lot
of Dogfish Head paraphernalia. Including these really great beer barrel tables – with
really great tops made from broken & recycled beer bottles!

And then the factory tour begins. You get to see where the beer is made!
I was amazed at how shiny & clean the entire place was. Now I know that it has to be
for health & safety reasons. But seriously…. shiny silver piping & vats everywhere!!!

Even the “hot-water-pressure-steaming-sanitizing” contraption is shiny…
and has a wonderfully whimsical name! Things are sure getting steamy in there!

Around every corner, there’s artwork, creativity & whimsy everywhere you look!
Including this incredible wall plastered with their own “branded” oval coasters…
creating their own Dogfish Head logo!

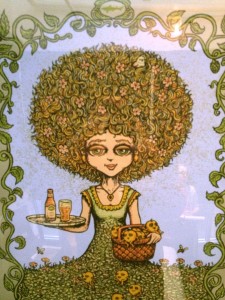
So not only to they have great “energy”… but it’s also refreshing to see how they value
artists and their artwork. All around the building, the walls are covered with artwork
created & submitted by local artisans who have sent them to Dogfish Head. Plus, every
year the folks at Dogfish Head commission an artist to create original posters for their
different branded beer flavors. Here are just four of them…

So there’s my quick visual tour. While the whole “beer thing” is completely lost on me…
I do still enjoy a good factory tour. But even more importantly, you know how I LOVE
creativity, whimsy and people who admire, appreciate and encourage the arts!!!