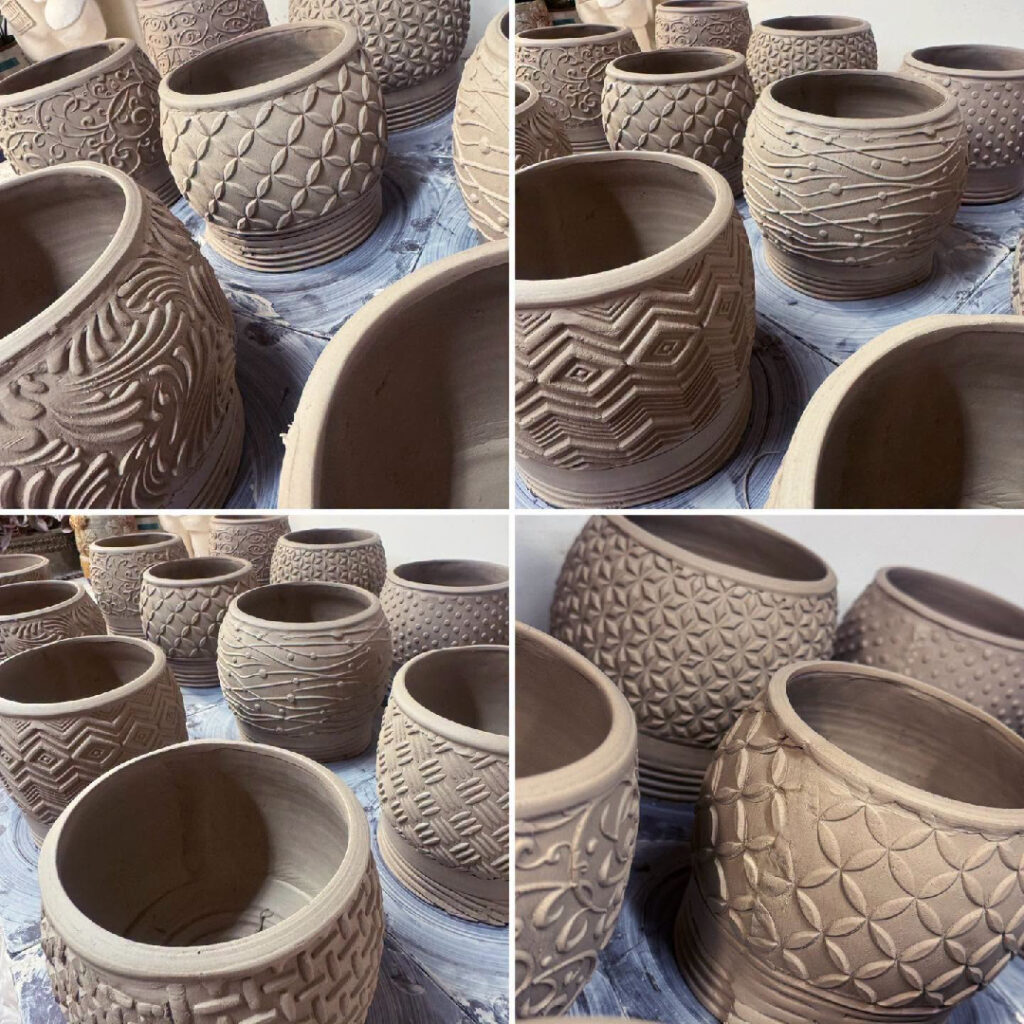
Gary Jackson: Fire When Ready Pottery
A Chicago potter’s somewhat slanted view of clay & play
Categories: Taylor, kiln firing, pottery, process

After a little splash of clear glaze… and nice electric firing…
my niece Taylor’s handmade set of dinnerware is all done! And ready for her
to cook us all dinner and serve it up on her new dishes! Shhh… don’t tell her…
I want them to be a surprise. She doesn’t know they’re done yet…

Categories: kiln firing, process

As camp was about to start this morning, I was quickly loading another bisque kiln.
Hurry… and I quickly learned that my ovals don’t pack quite as tightly as I would like.

The second layer was glazed terra cotta… my niece Taylor’s plates being fired!
Don’t panic… that groovy green color is actually low-fire clear glaze!

The third layer packed much tighter than the first. I love when there’s enough
greenware to pack the kiln tightly – and not “waste” precious kiln space.

Thanks to my friend Katie Biderbost who had some smaller mugs & pitchers
that fit in “perfectly” and helped fill the layer. Katie’s been working at Lillstreet
for years, and is now making these precious little pieces with some really
tight slip trailing. I can’t wait to see how her beautiful blue glaze breaks over
the decorations!

Once I had loaded my work, and Katie’s pieces, I had to rush off to camp. I left a layer open
on top for another studio-mate Karen Patinkin to top off with a few of her beautiful platters!

Categories: classes, pottery, process

Tonight in class we focused on making bowls on purpose…

…and not a cylinder gone bad. So I demonstrated how to make a basic bowl.
Followed by throwing eight bowls, then demonstrating some quick techniques
for simple designs, patterns & styles to make their bowls special. Anyone can
make a plain round bowl… but it’s more fun when you make it your own
with a little design along the way! Texture… pattern… slip… fun!

Categories: process, production, stamps, studio

So the cylinders are not quite so bottomless anymore!
Thanks to a couple free hours between summer camp & my adult wheel class.
Now they’re “ovaled”… as well as stamped and slab bottoms attached.
The bottoms still need to be smoothed out & finished, but they’re one step closer!

Categories: process, production, studio

Back in the studio and making bottomless cylinders.
Don’t panic… it’s just Step One.

Categories: process, production, studio

When in doubt, go back to basics and make more mugs!
Good thing I love making mugs, huh?
Trust me, they’ll look more like mugs once I stamp, trim & add handles!

Categories: kiln firing, process, production

Tonight I unloaded my latest bisque kiln… with a few pieces of terra cotta
thrown in for good measure. The bottom layer was filled with the wall pocket vases
that I made last week. I tried to fit them all in… but ran out of room. One of them
had to squeeze in sideways. And another two had to go to the top shelves!

Also in the kiln, were three new birdhouses just in time for the Evanston Lakeshore Art Fair.
I just need to find the perfect twig to stick into the hole for the perfect perch for our fine
feathered friends as they decide to move into their new residence!

After unloading the kiln, I spent the rest of the evening glazing the wall pockets…
lining them with temoku glaze, inlaying glaze in the stamps, spraying a bit of glaze
for some color accents, and wadding each of them… getting them ready for a soda kiln!

Categories: process

Who knew?…
Who knew there would be so much “busy work” being a potter?!
Who knew I would spend so much time behind my computer?!
I’ve been working all night re-typing & re-organizing my mail lists yet again.
Trying to keep everything up-to-date. Trying to keep everything current.
Trying to add all of the names from the new customers I’ve met this summer.
Updating the mail list I use for mailing traditional postcards.
Updating the mail list I use for e-mail announcements.
I’ve been typing all night – and I’m not even close to being done.
Who knew it would be so much work just trying to stay up-to-date?!

Categories: process

All of the wall pocket vases were stamped a few days ago.
Some of the wall pocket vases have been accented with slip in the stamps.
Some of the wall pocket vases were decorated & covered with flashing slips.
All of the wall pockets are now drying.
The ones with slip all over them may take a little longer?!

But don’t you love how the clay changes color and dries at different rates?!
Some sections getting lighter, some sections still wet and a bit darker.
The clay actually looks a little “dirty” as it’s drying… ironic, huh?

So they’re done for now.
I can let them sit and dry for a few more days… until they’re all chalky, light & dry.
Then it’s time to bisque, glaze and fire again!

Categories: pottery, process, production, stamps

After a couple days under plastic, the enclosed forms were stiffened up a bit…
but just enough to trim, stamp and squish. I hadn’t planned on working on them tonight.
But I checked the after class and realized that they were at the right stage of dryness.
I was a little afraid to leave them another day for fear they might dry too much.
If they get too dry, they don’t squish so much as crack when flattened.

So I trimmed some of the edges, then stamped the rim – and squished!
And now, it’s late, I’m tired… and these will have to wait for another day under plastic.
Next up – some slip decoration and a hole pierced through the back for hanging.
Then they’ll be ready for drying, bisque firing, glazing & firing again.