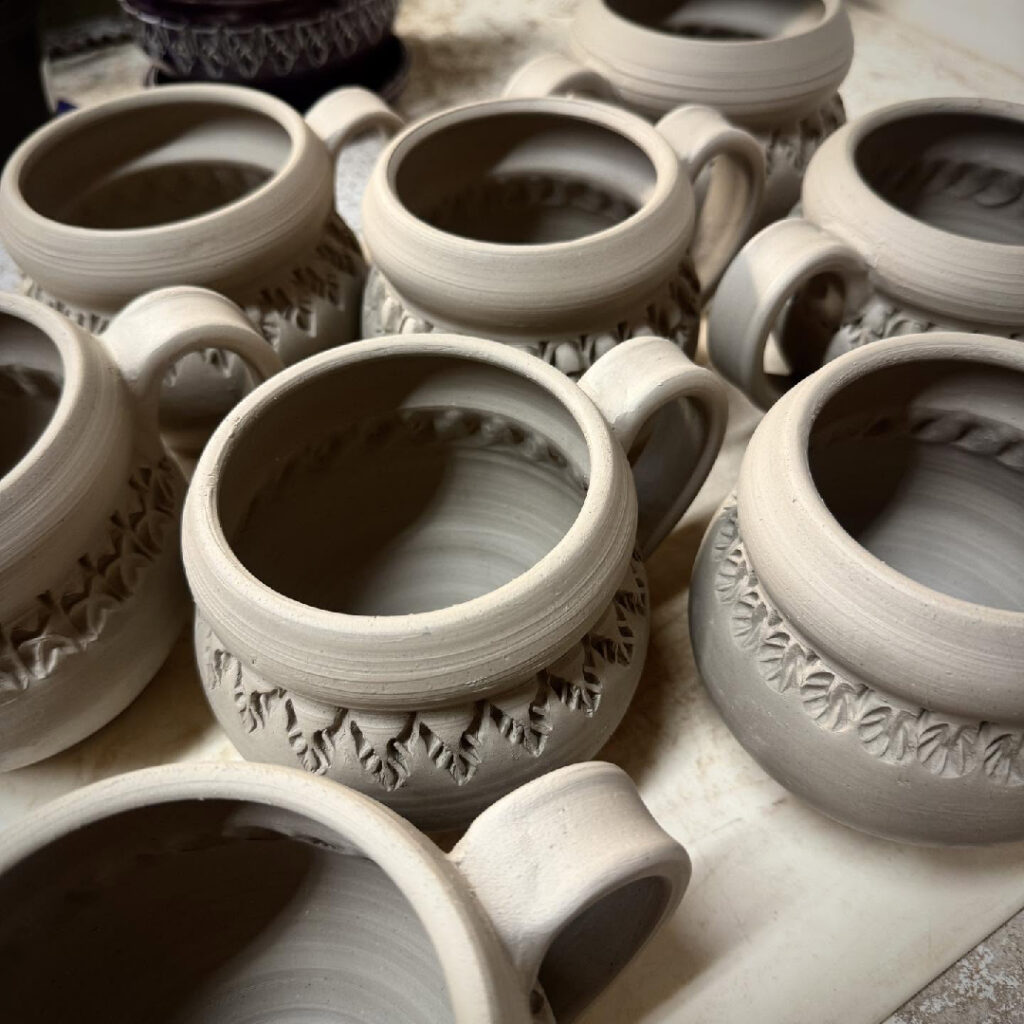
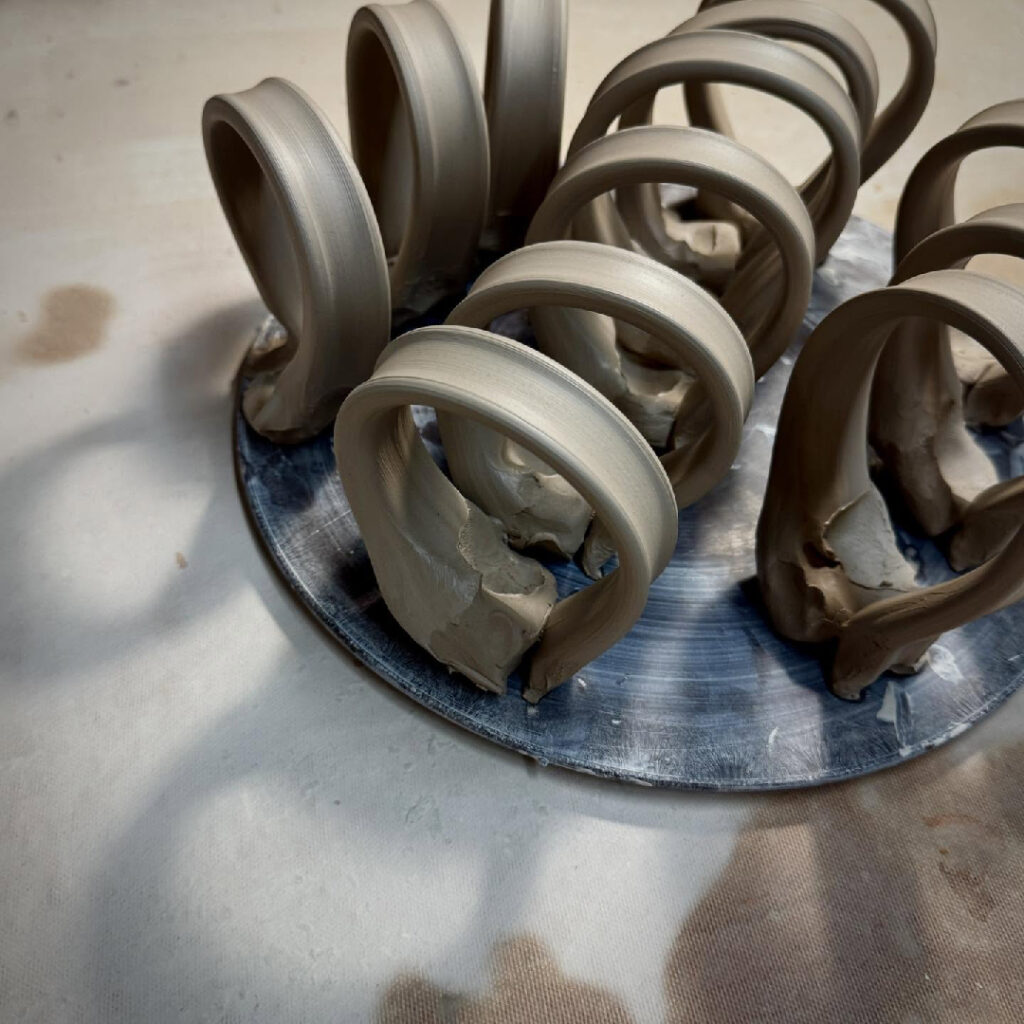
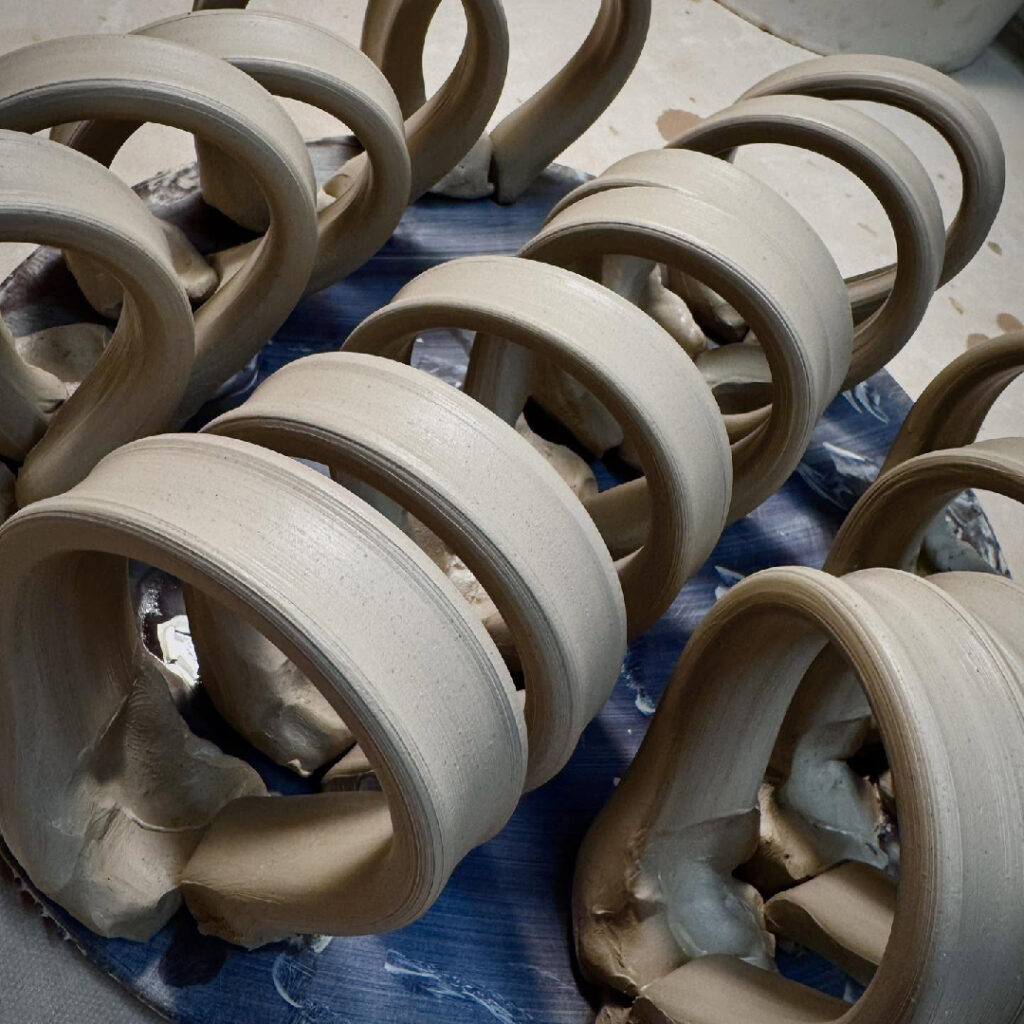
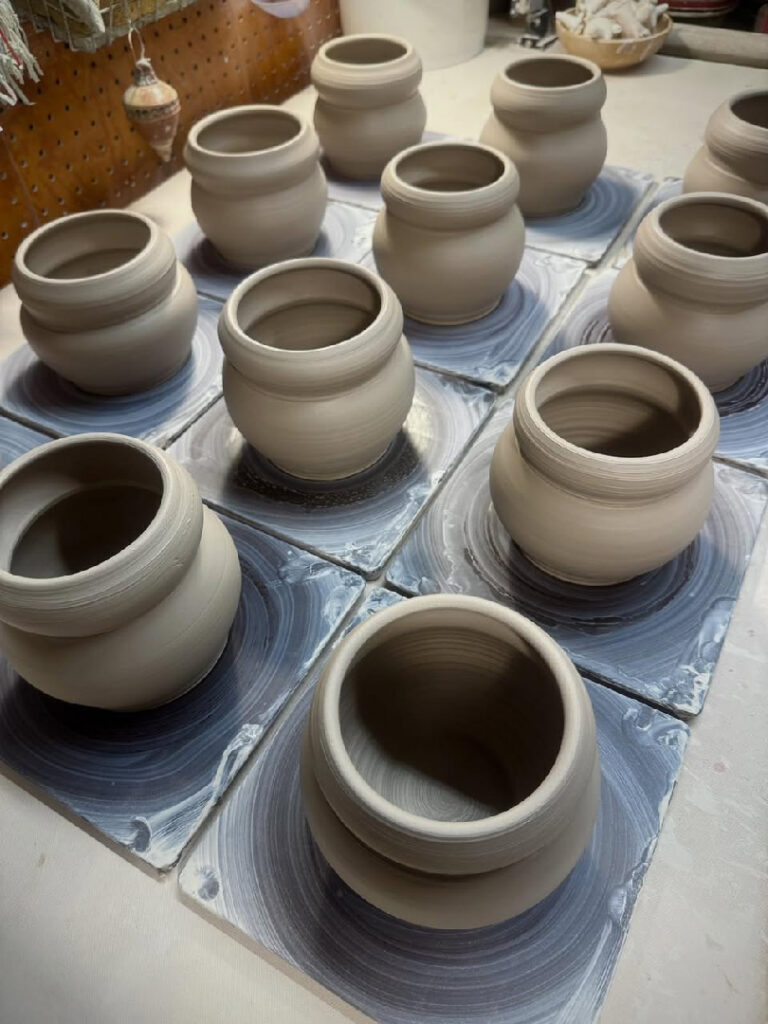
06.17.2026
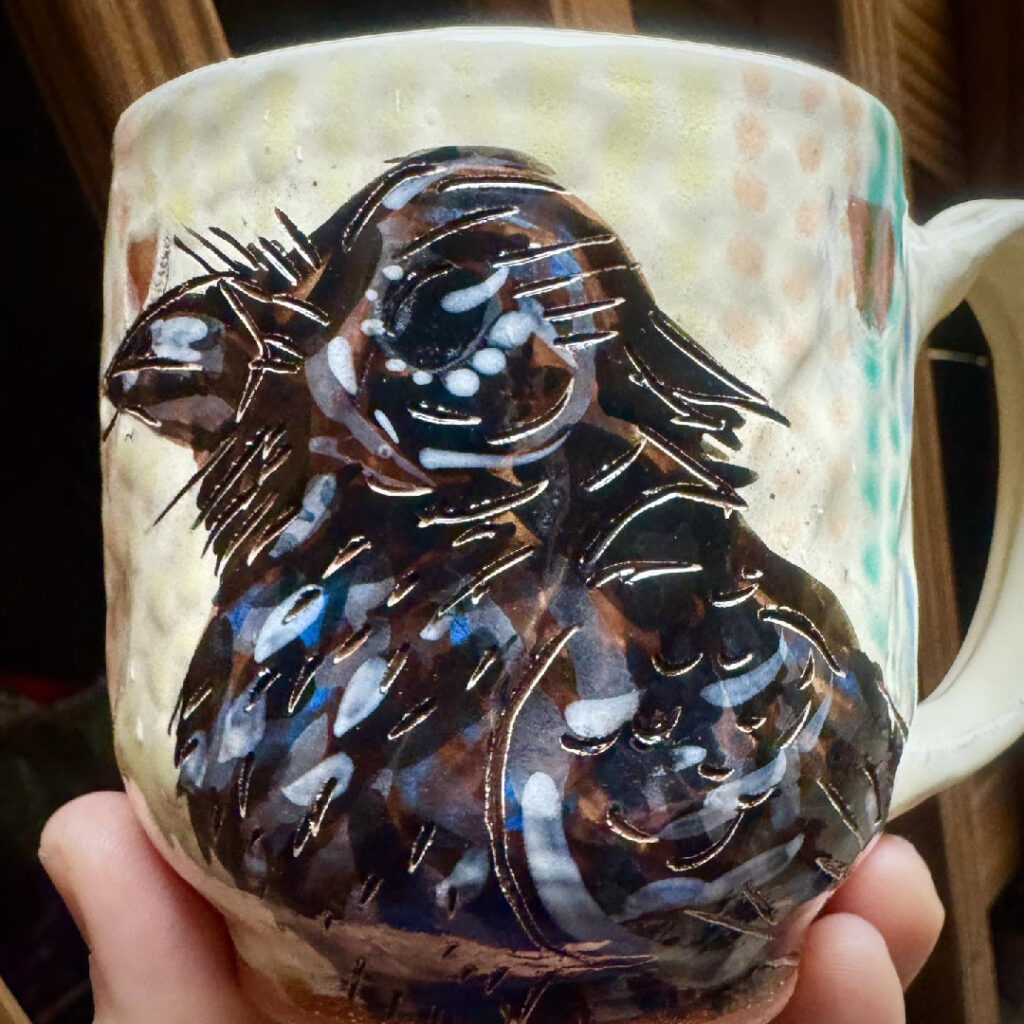
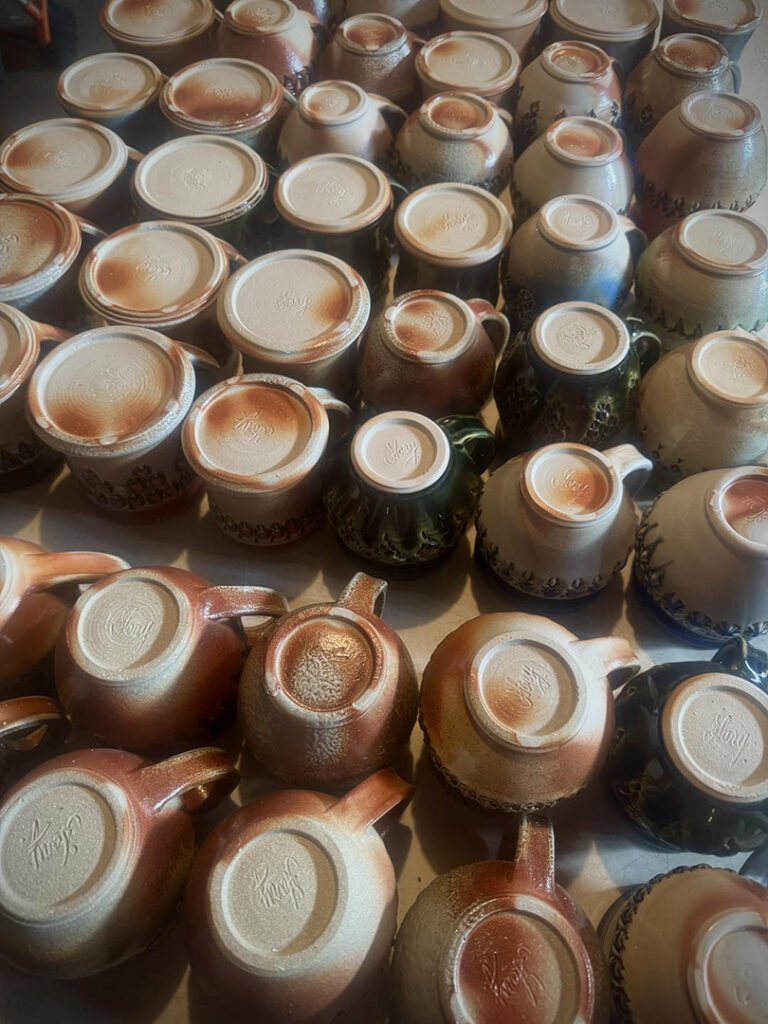
Categories: hybrid mugs, mugs
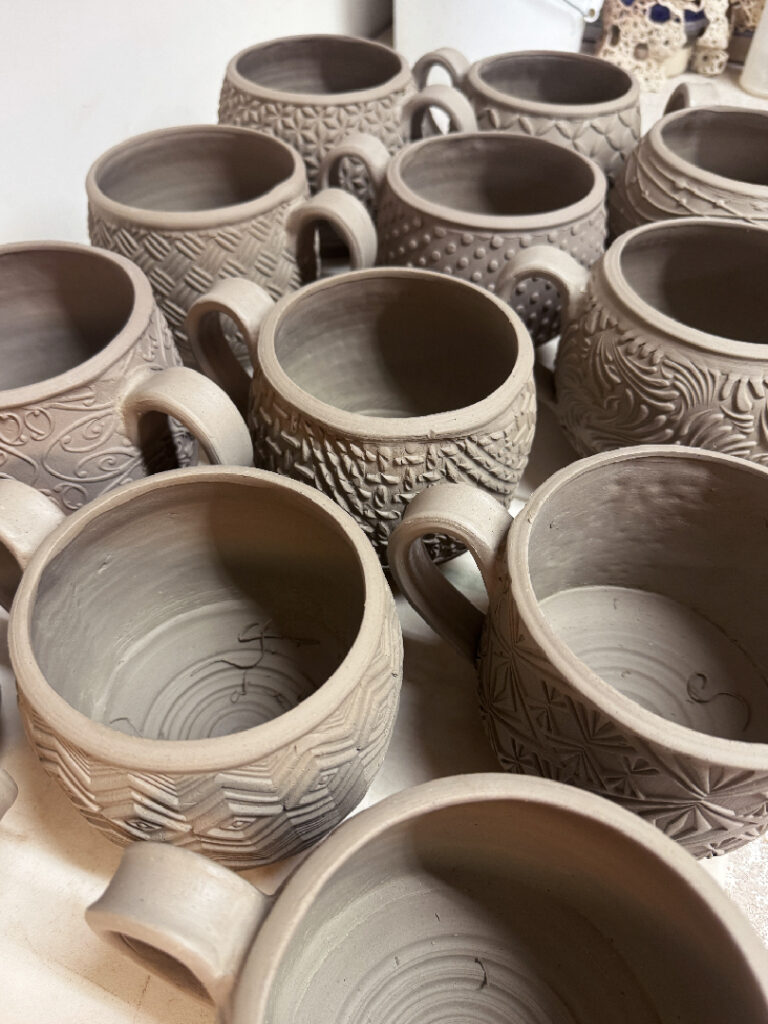
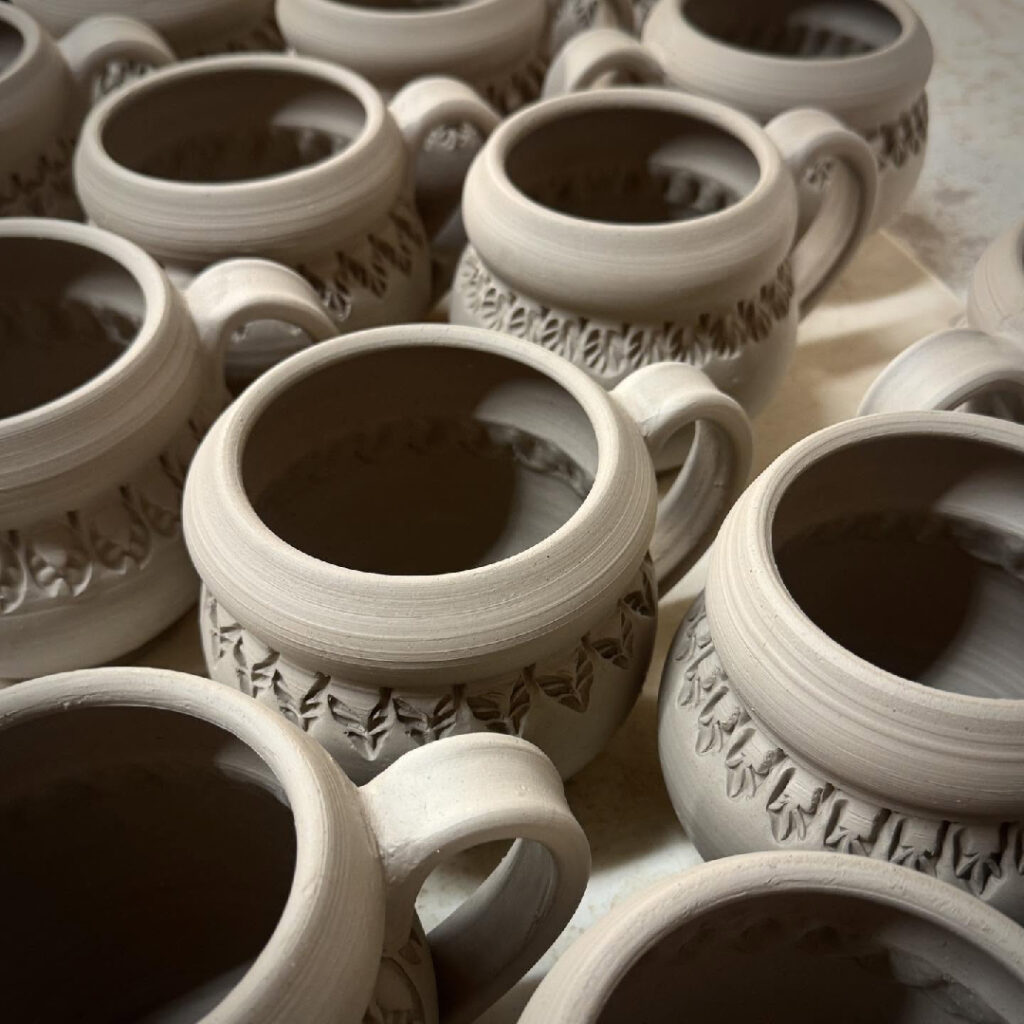
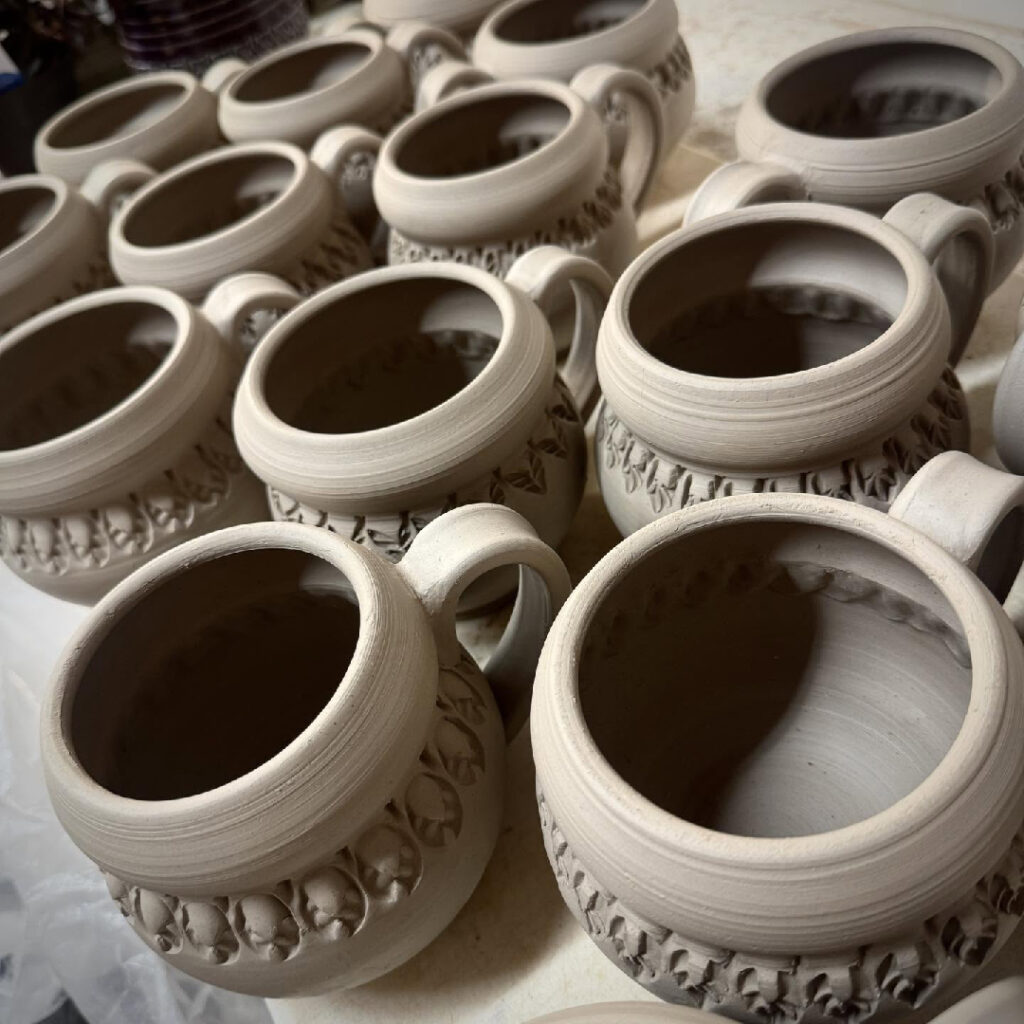
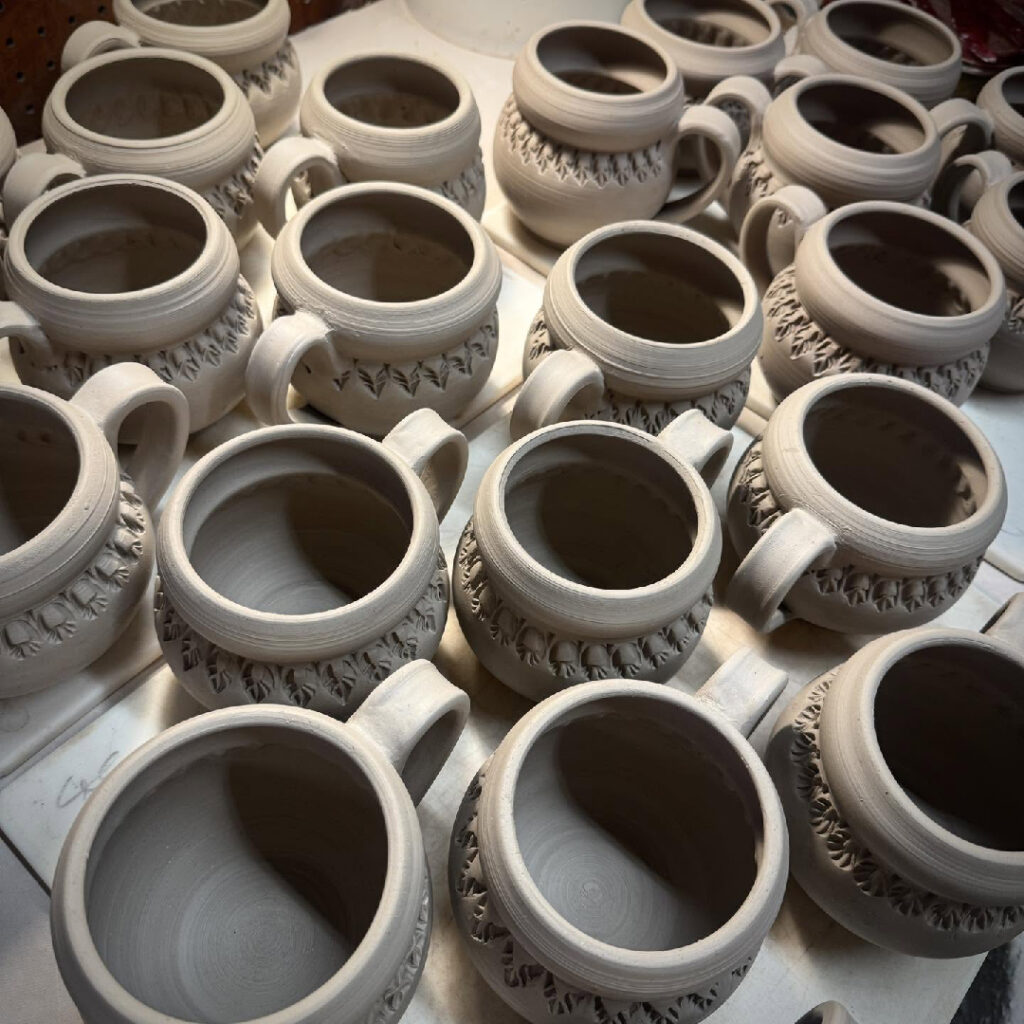
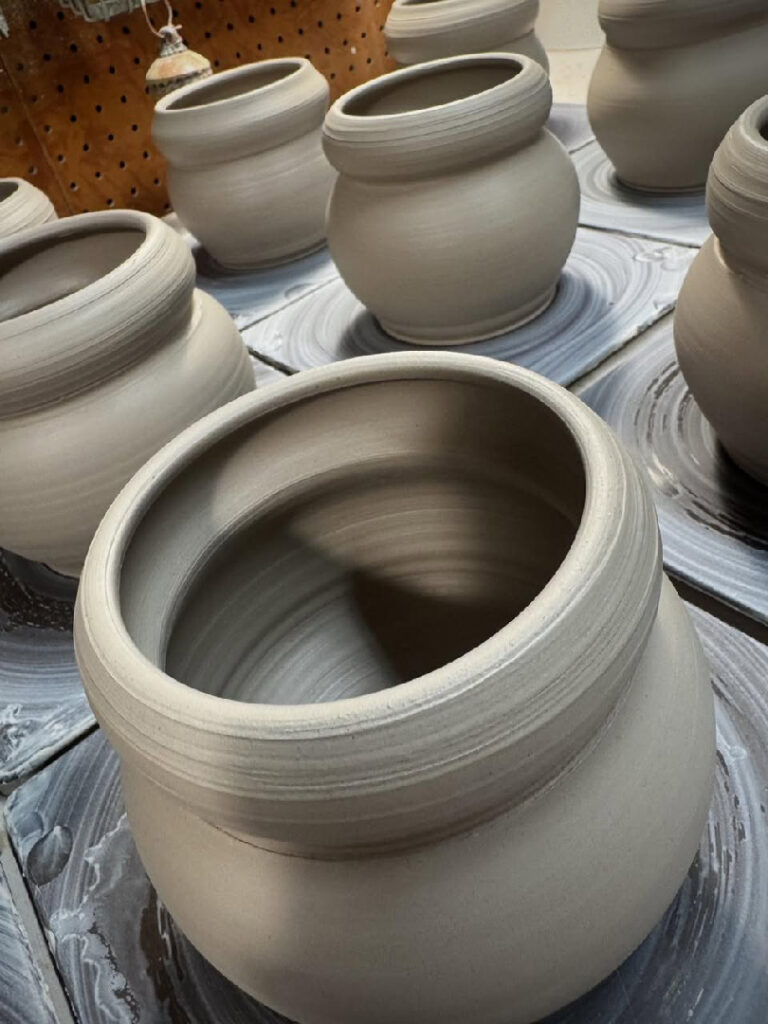
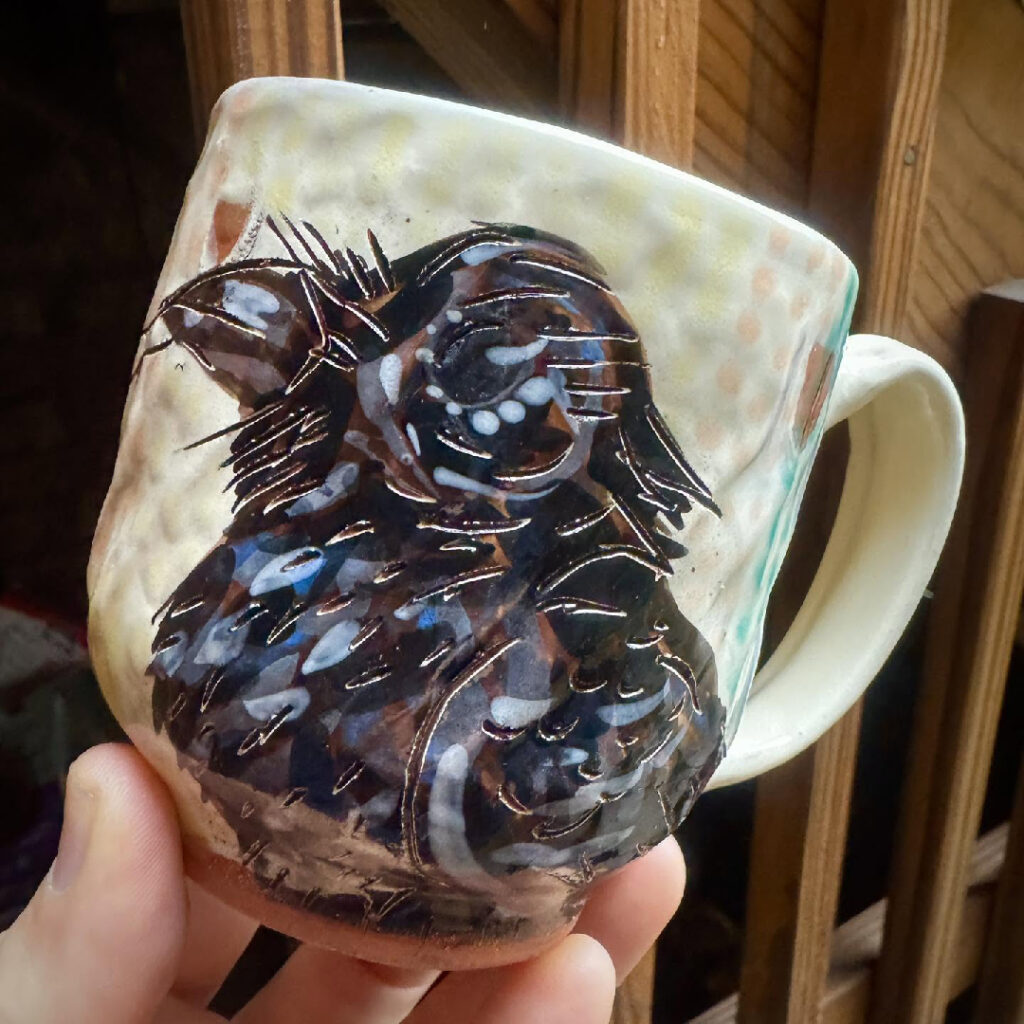
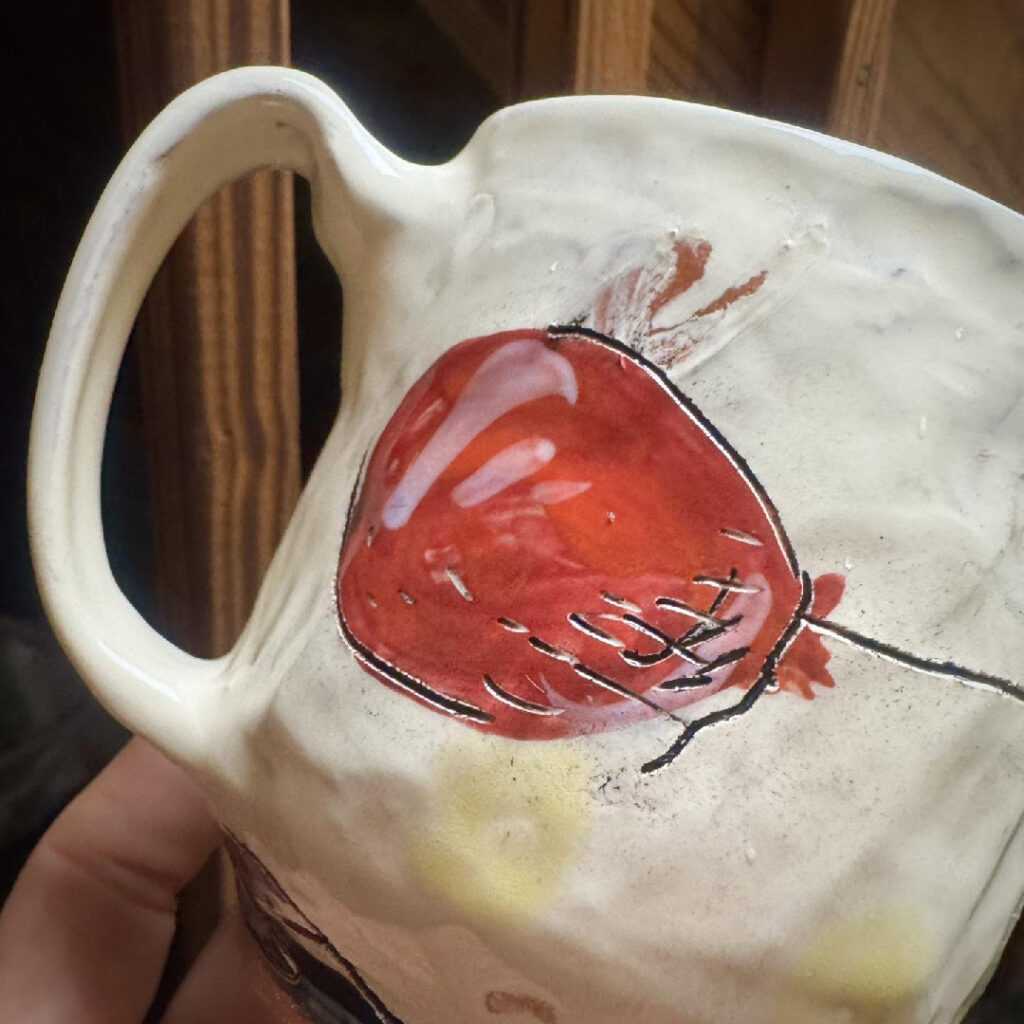
Handles attached… hybrid mugs assembled. This batch will now get some colored flashing slips before drying. Then onto a bisque kiln, glazing, wadding… and then loading & soda-firing next weekend!