06.26.2026
Categories: kiln firing, textures
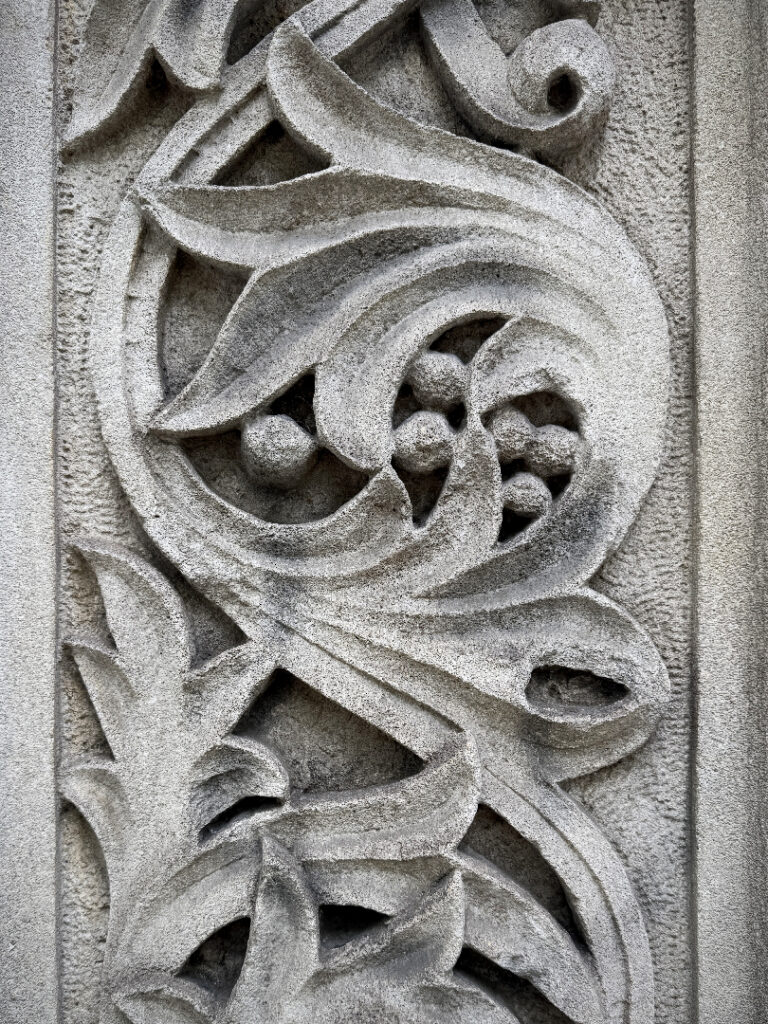
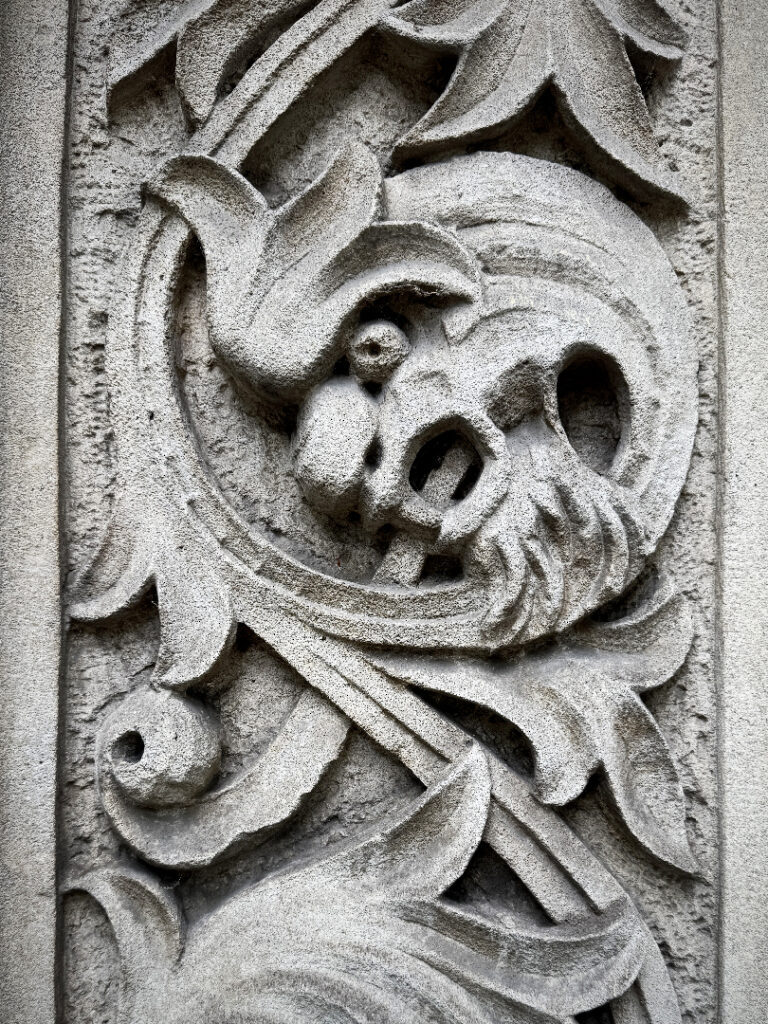
Late night texture… the back side of the soda kiln’s steel door!
Gary Jackson: Fire When Ready Pottery
A Chicago potter’s somewhat slanted view of clay & play |
Late night texture… the back side of the soda kiln’s steel door!
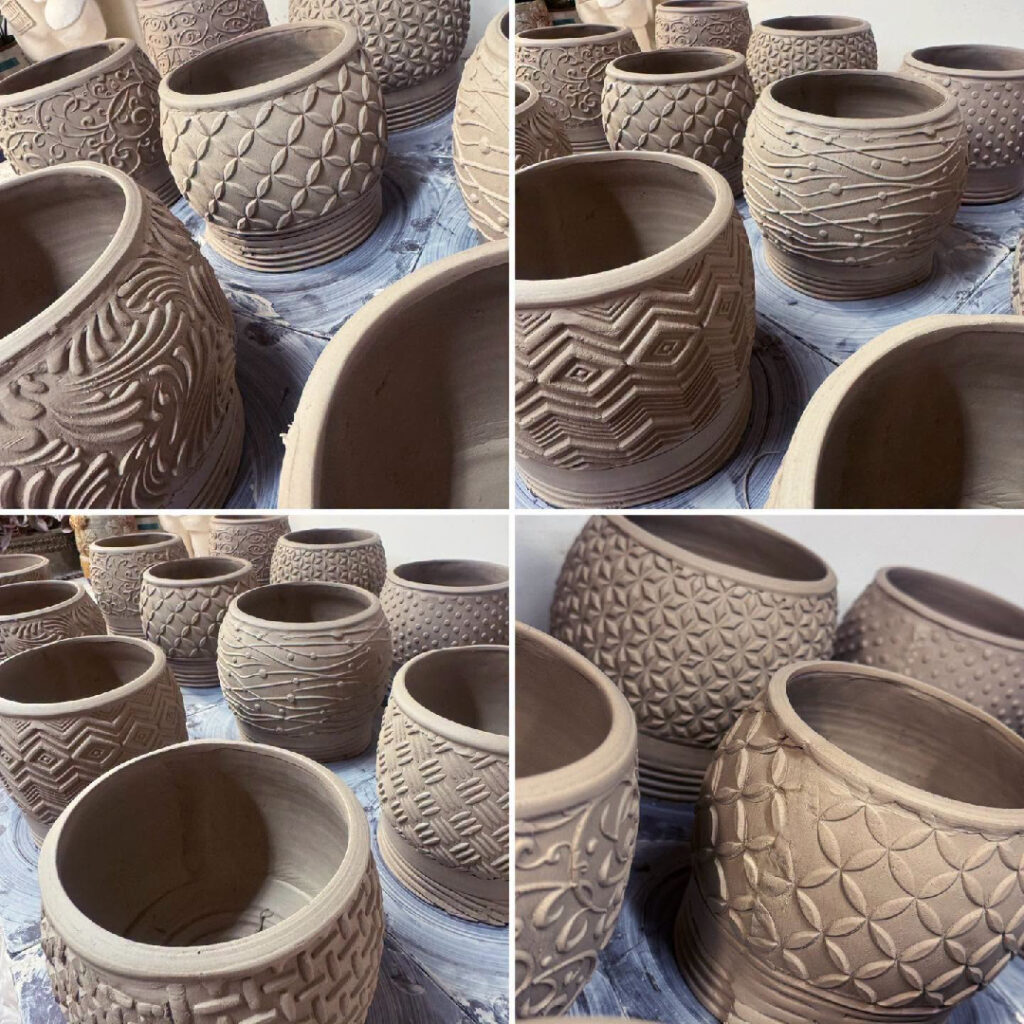
Textured sides attached… one step closer…
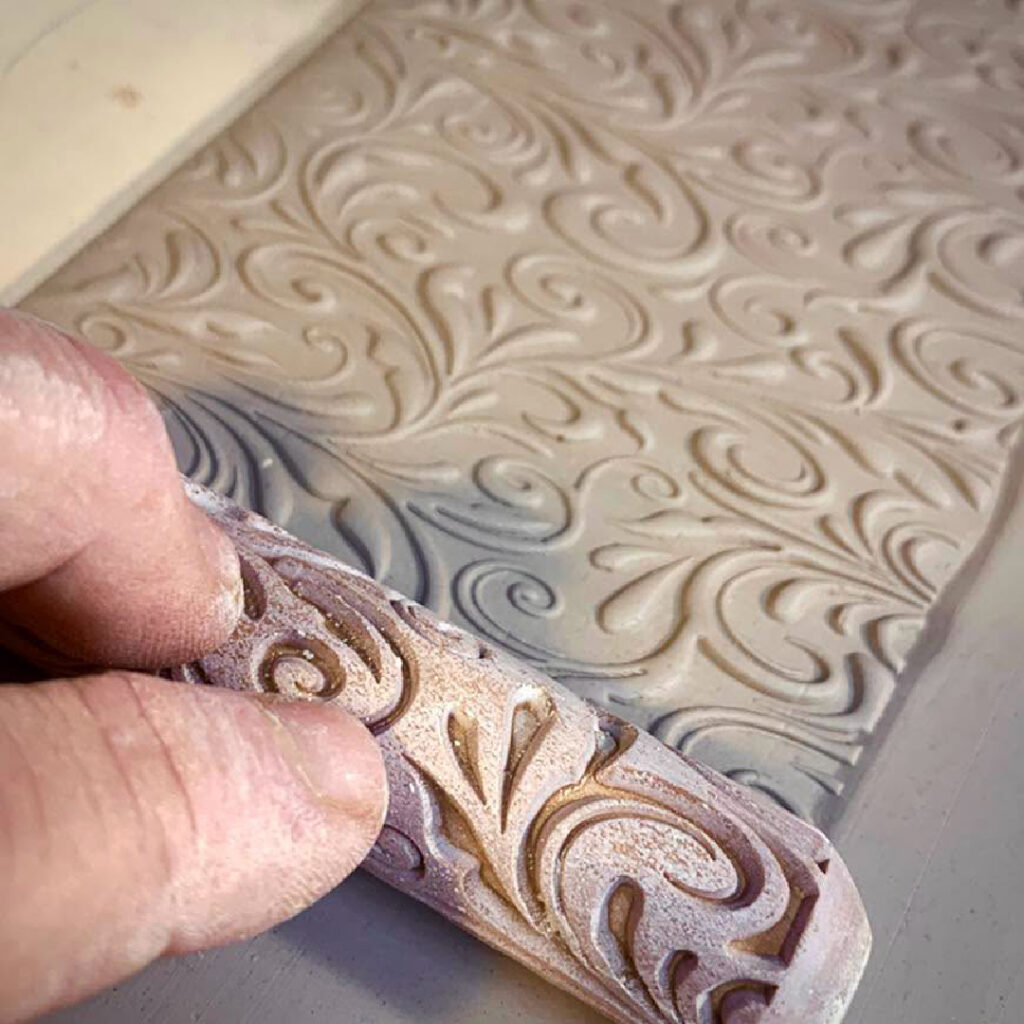
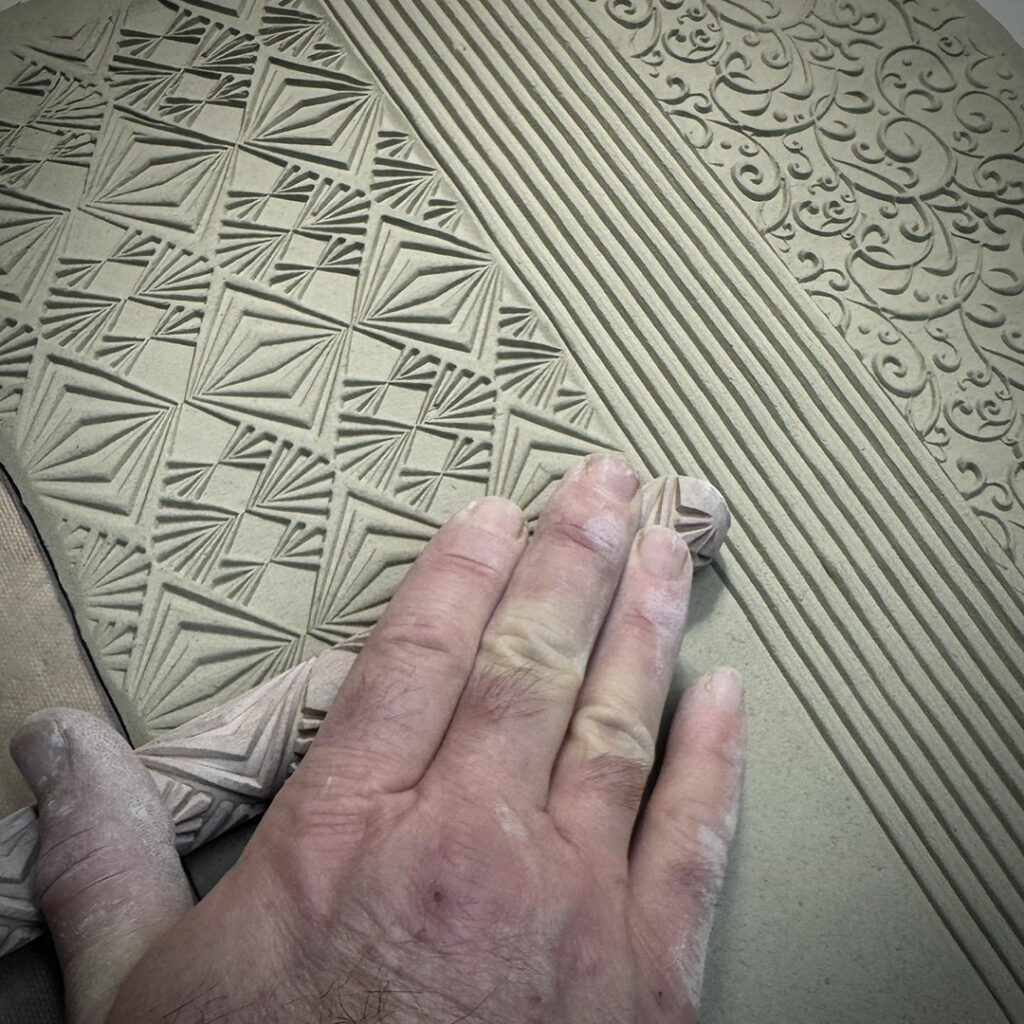
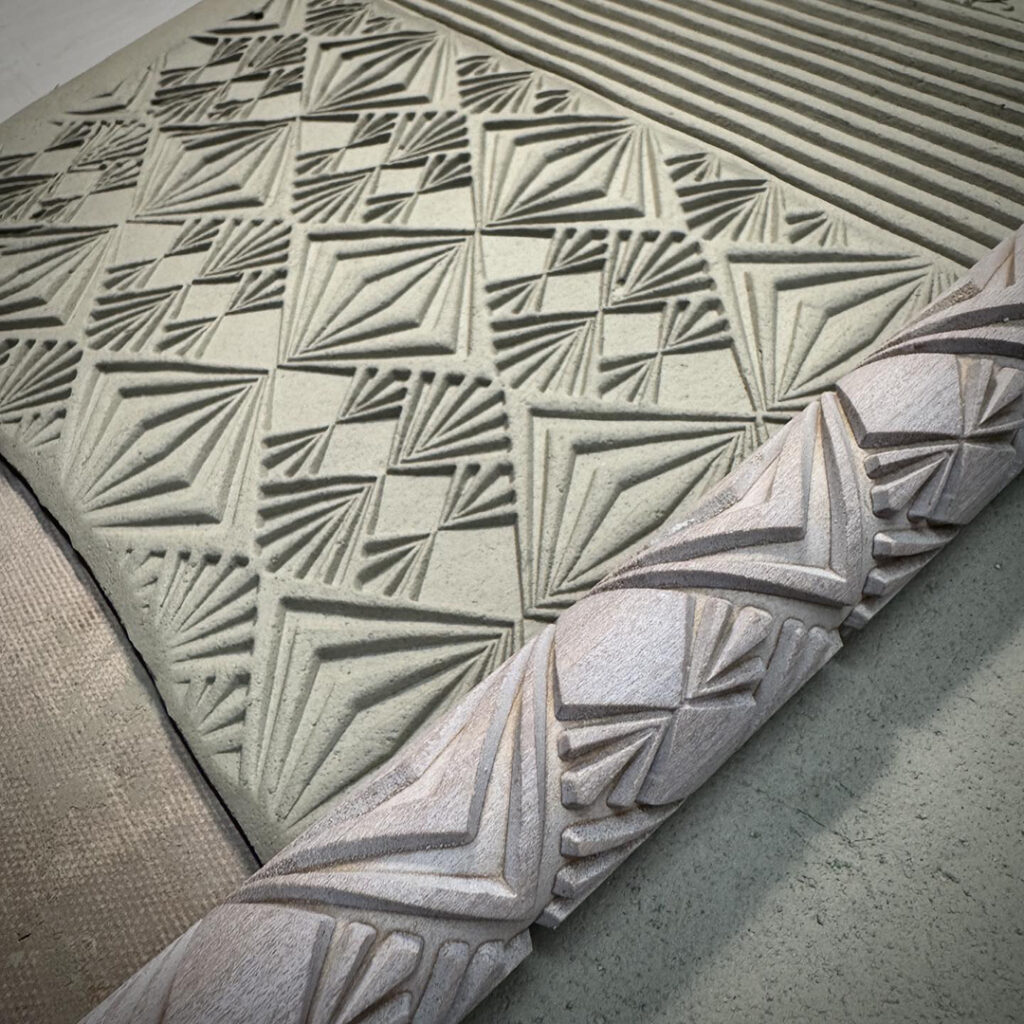
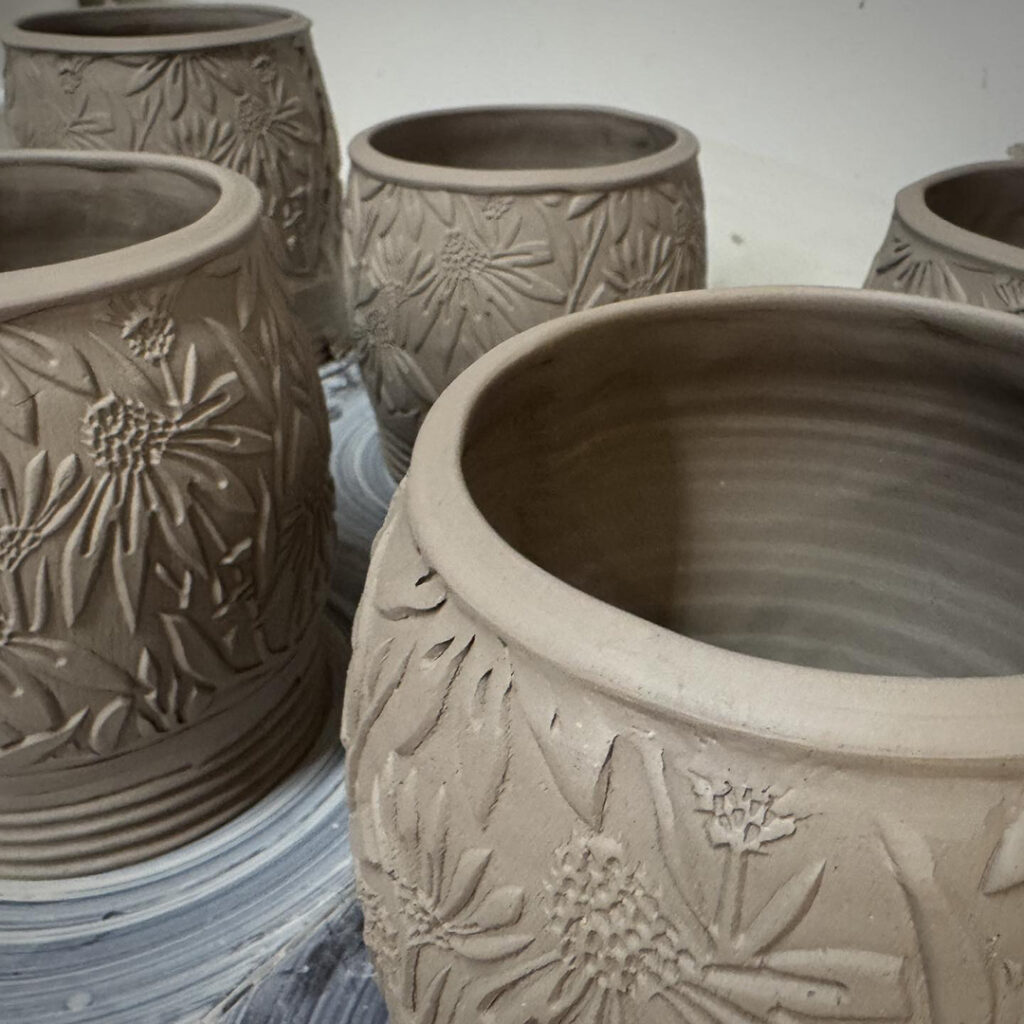
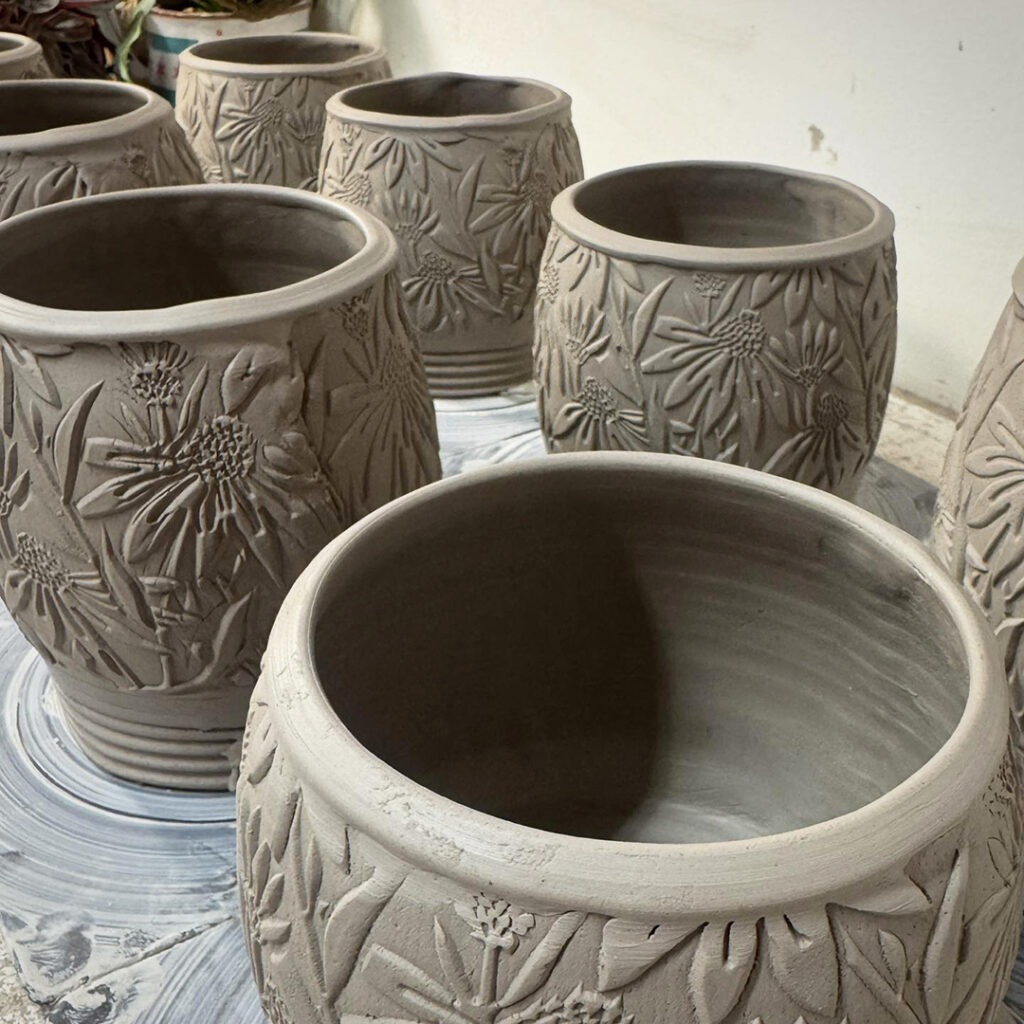
thanks to the “groovy” handrollers from MKM Pottery Tools.
After that they went back on the wheel for a little shaping & refining!


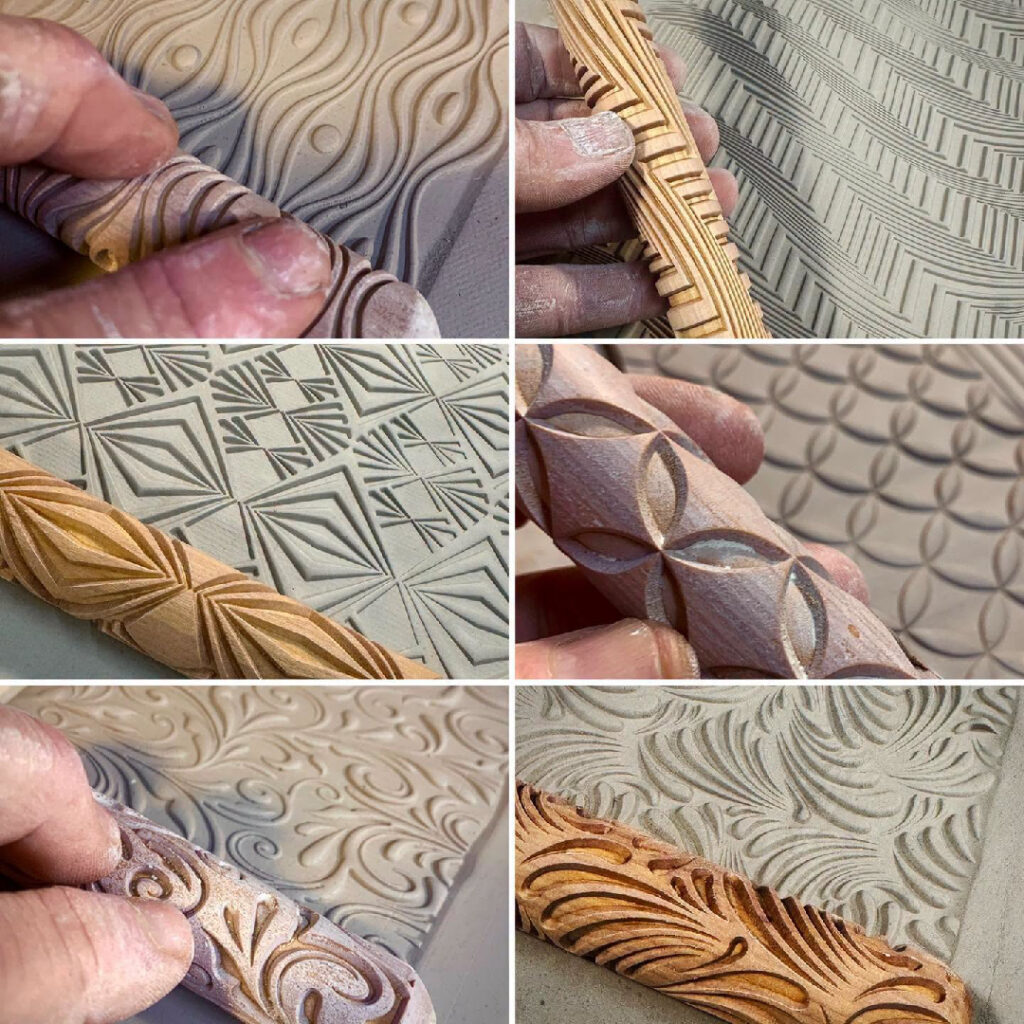
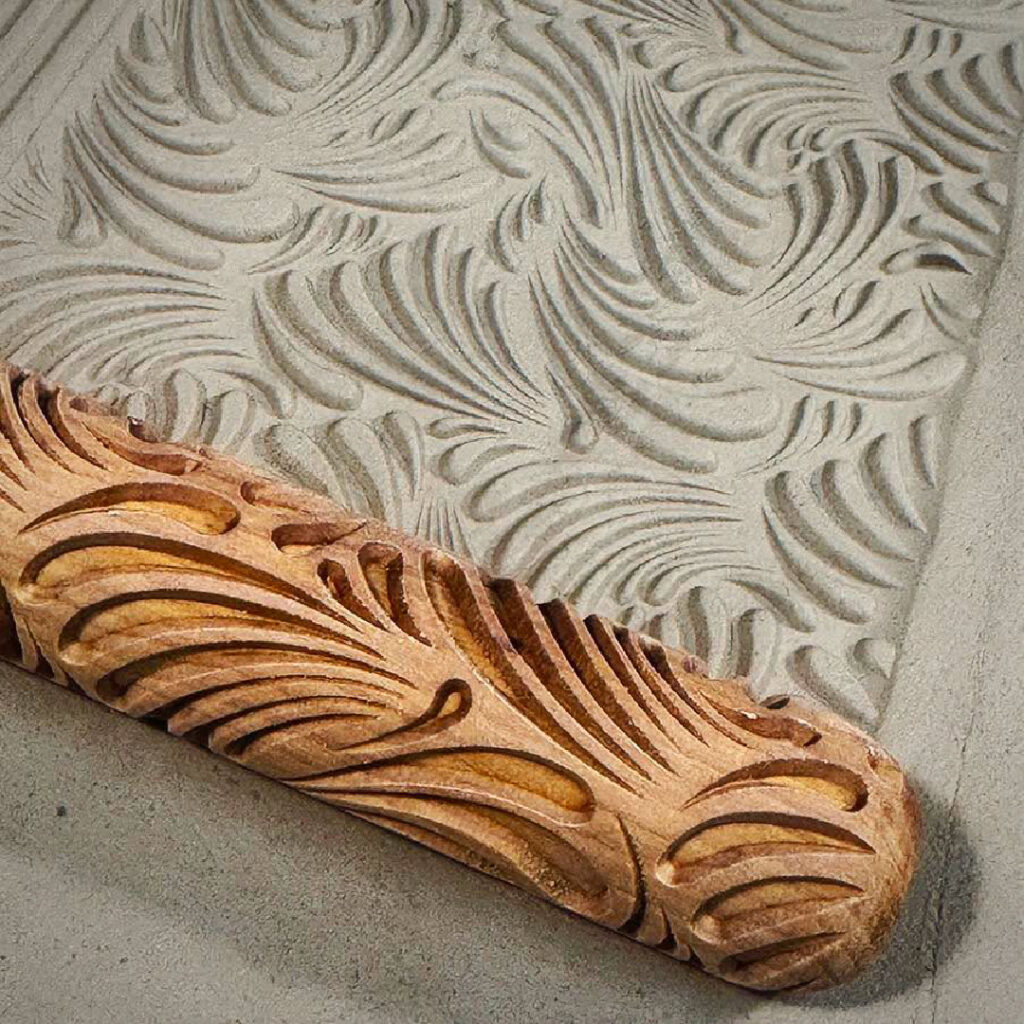
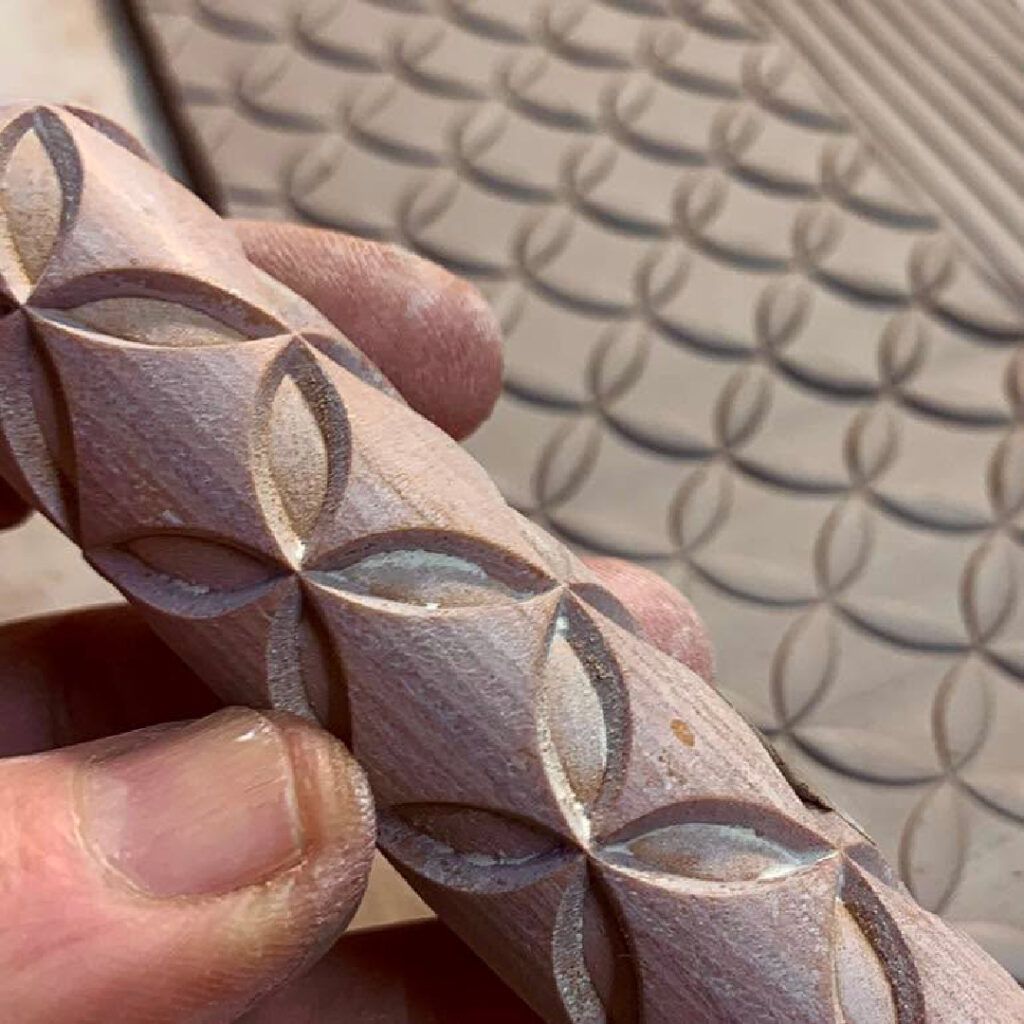
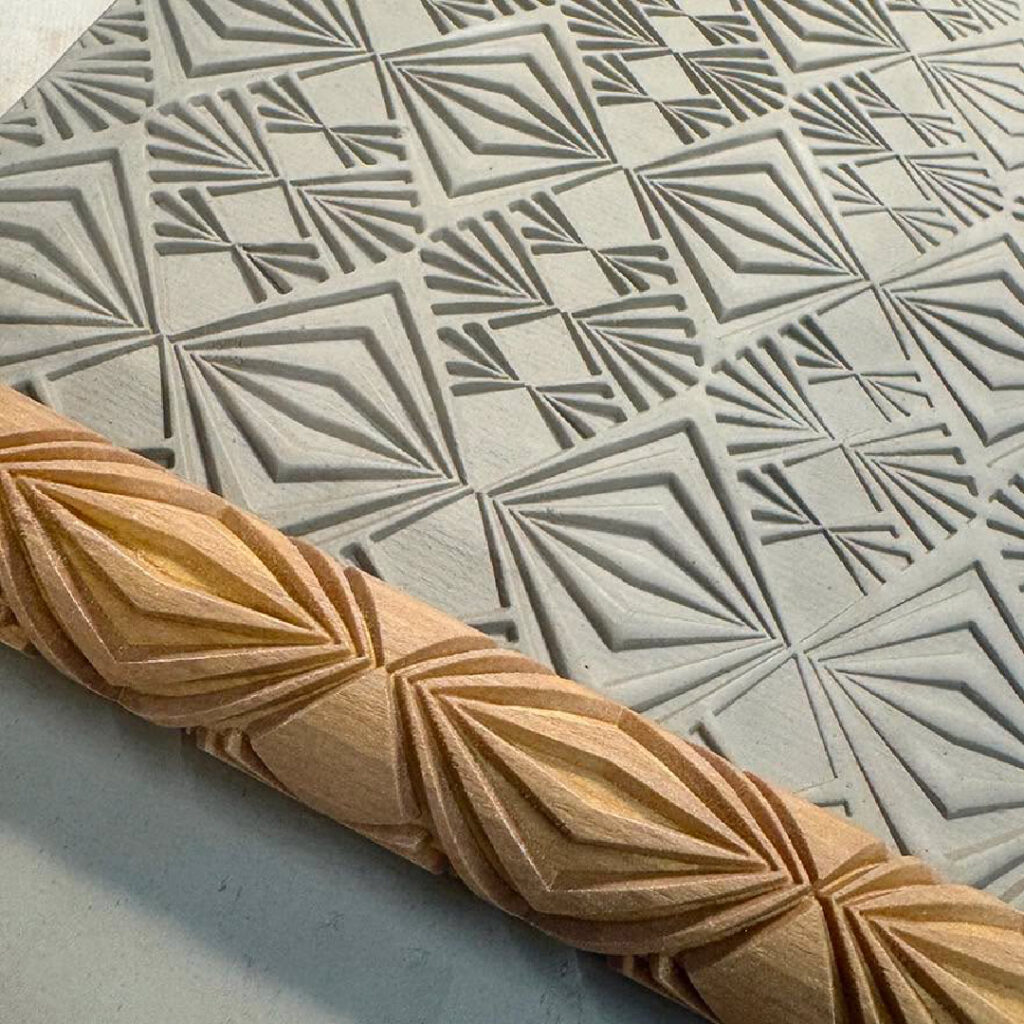
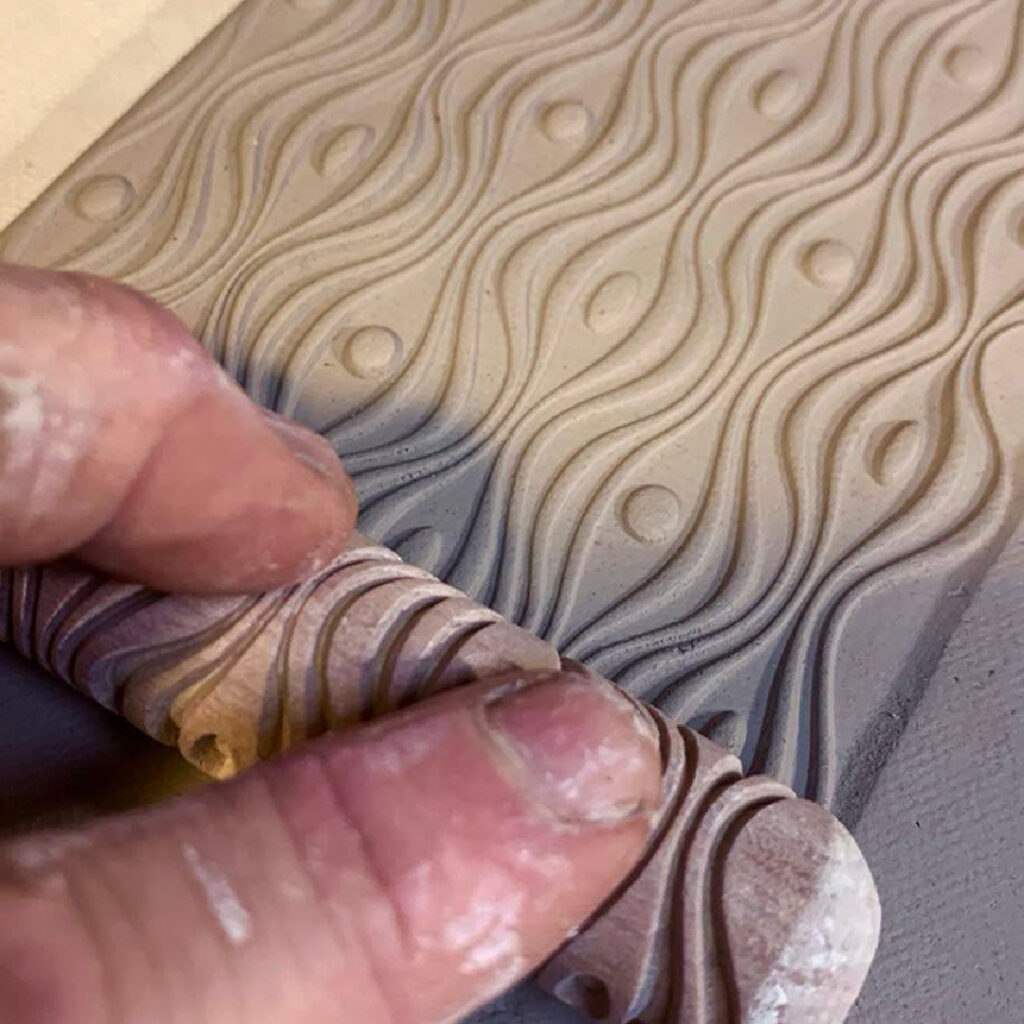
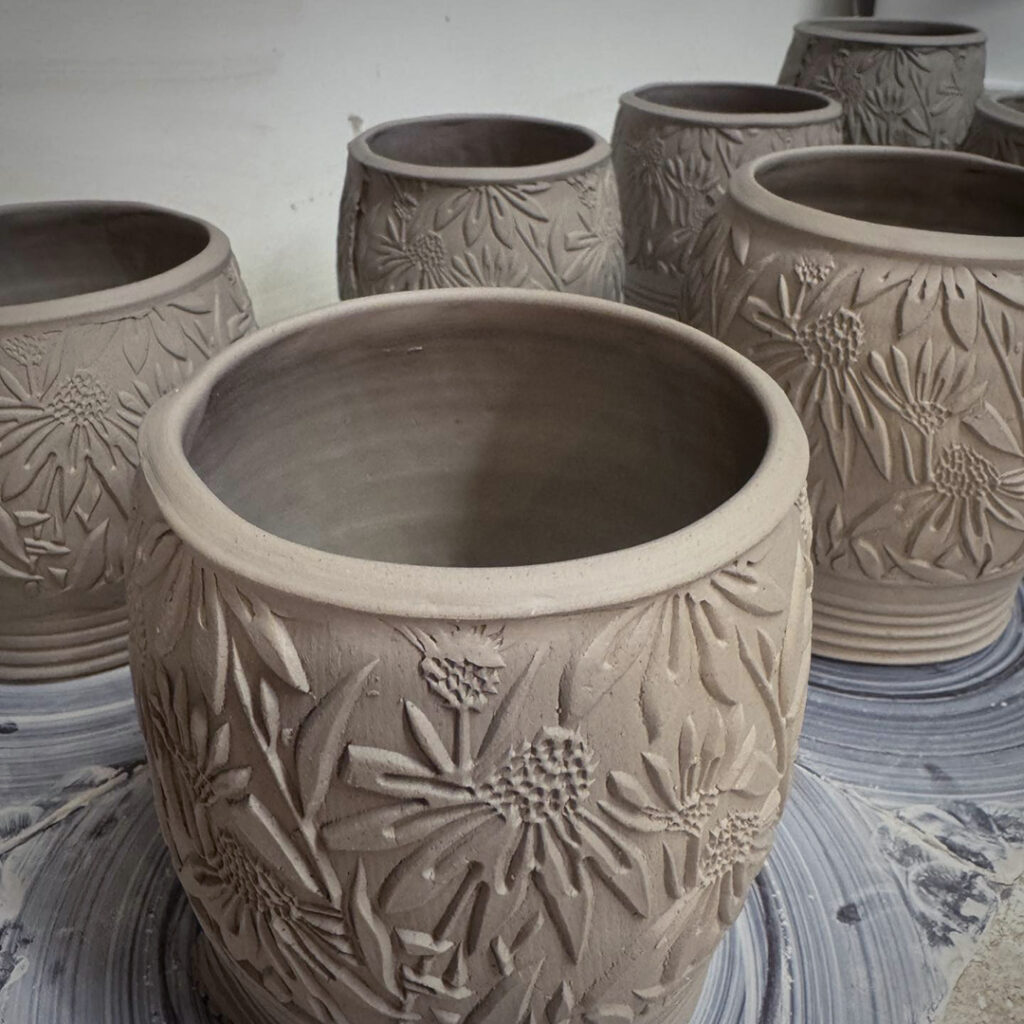
Playing with textures & working on another batch of hybrid mugs! Still loving the patterns made with handrollers from MKM Pottery Tools! Better tools make better pots!!!
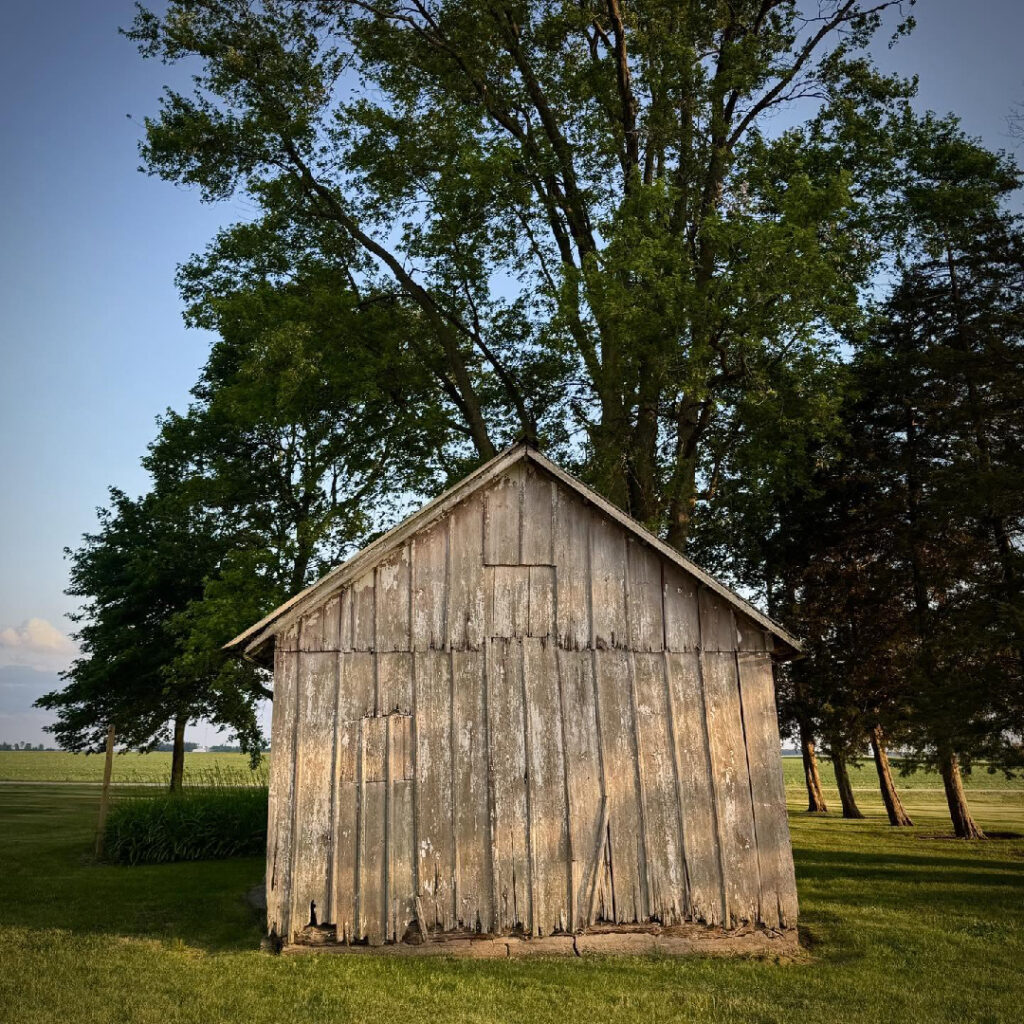
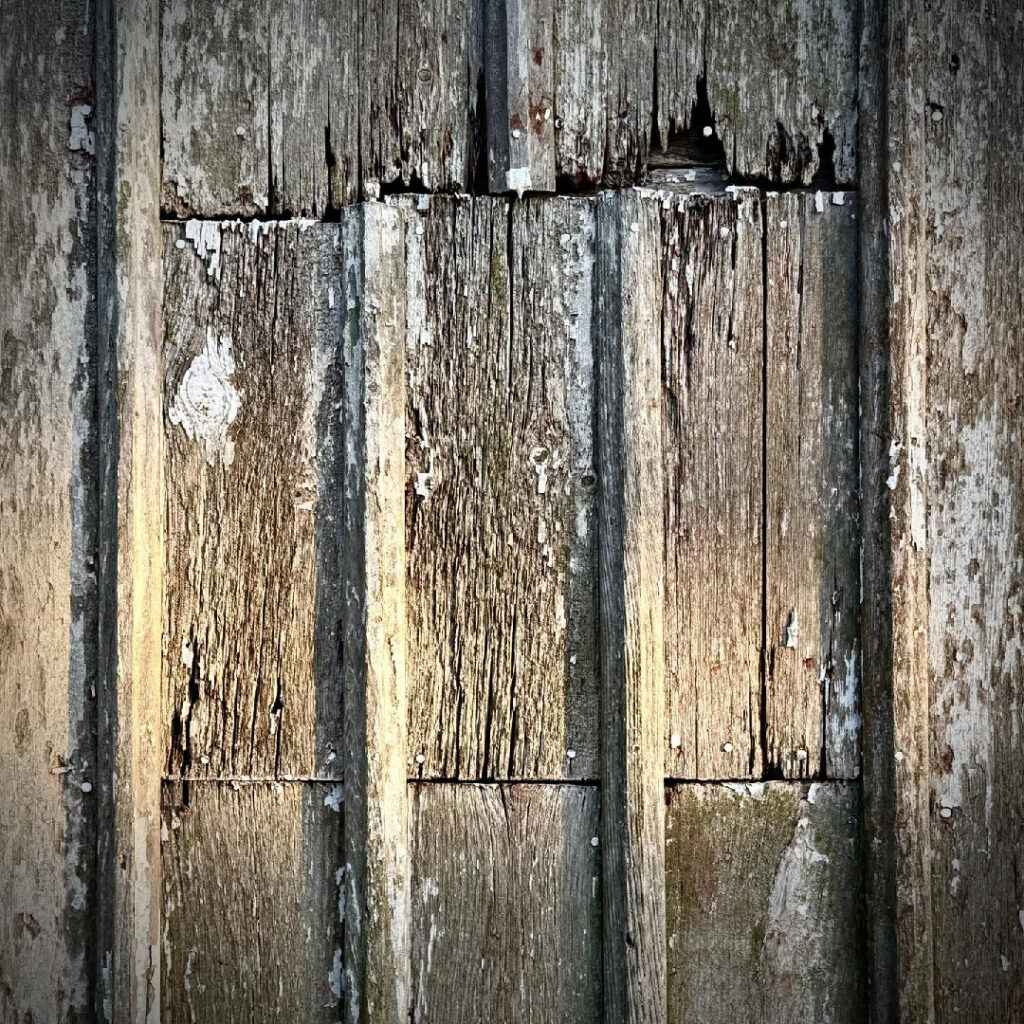
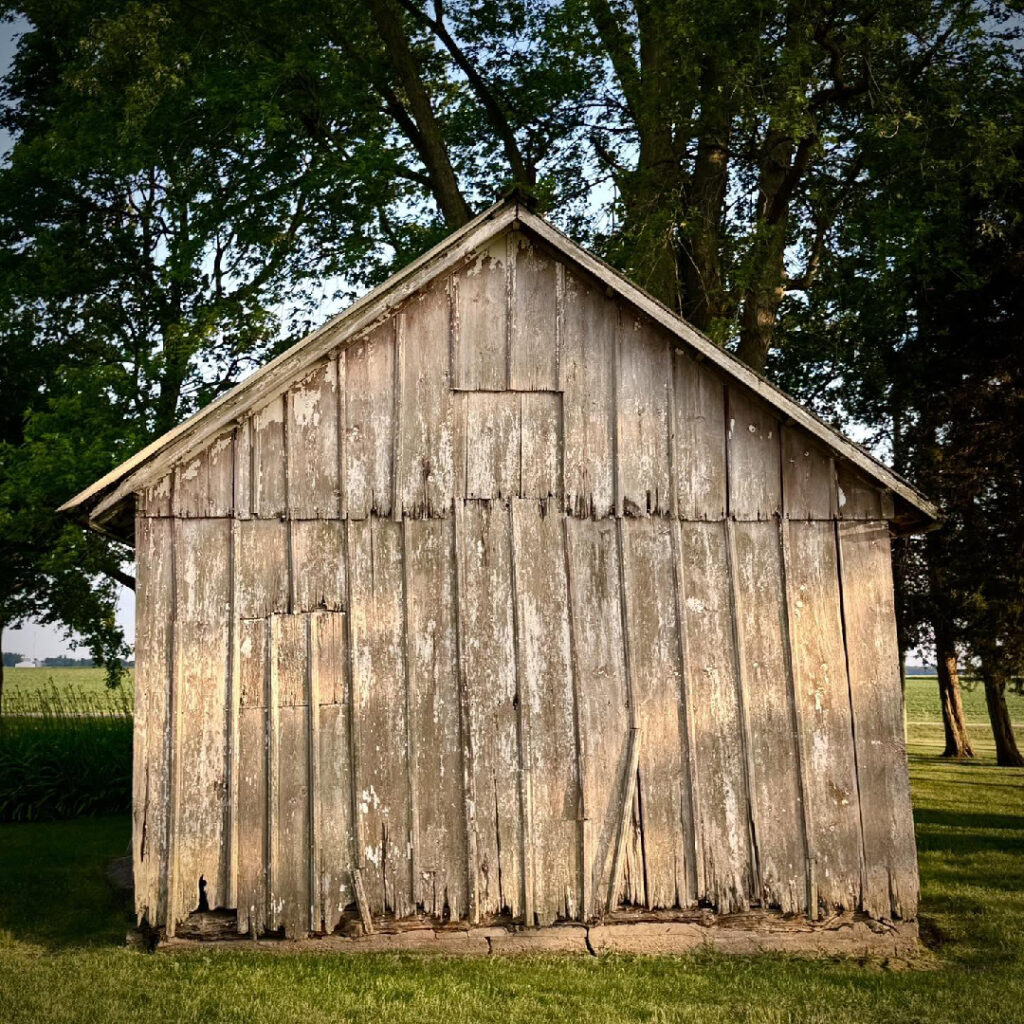
And it’s not just the sky shows & farm fields… I also LOVE all of the weathered barn board out in “these parts!” Another cool side attraction of Anne’s place… as the Leland stop on the NORTHERN ILLINOIS POTTERY TOUR!


Last night in my SURFACE DECORATION class, we played with texture & color while making a crazy amount of colorful slabs. Many of the textures were made with my collection of MKM Pottery Tools handrollers… which my students love every time I bring them out to share!!!


The folks at MKM Pottery Tools just did a really great post about my hybrid mugs
on their Instagram feed. I love their textured handrollers…
and it seems they love my mugs!!! A perfect collaboration!

In case you’re wondering…
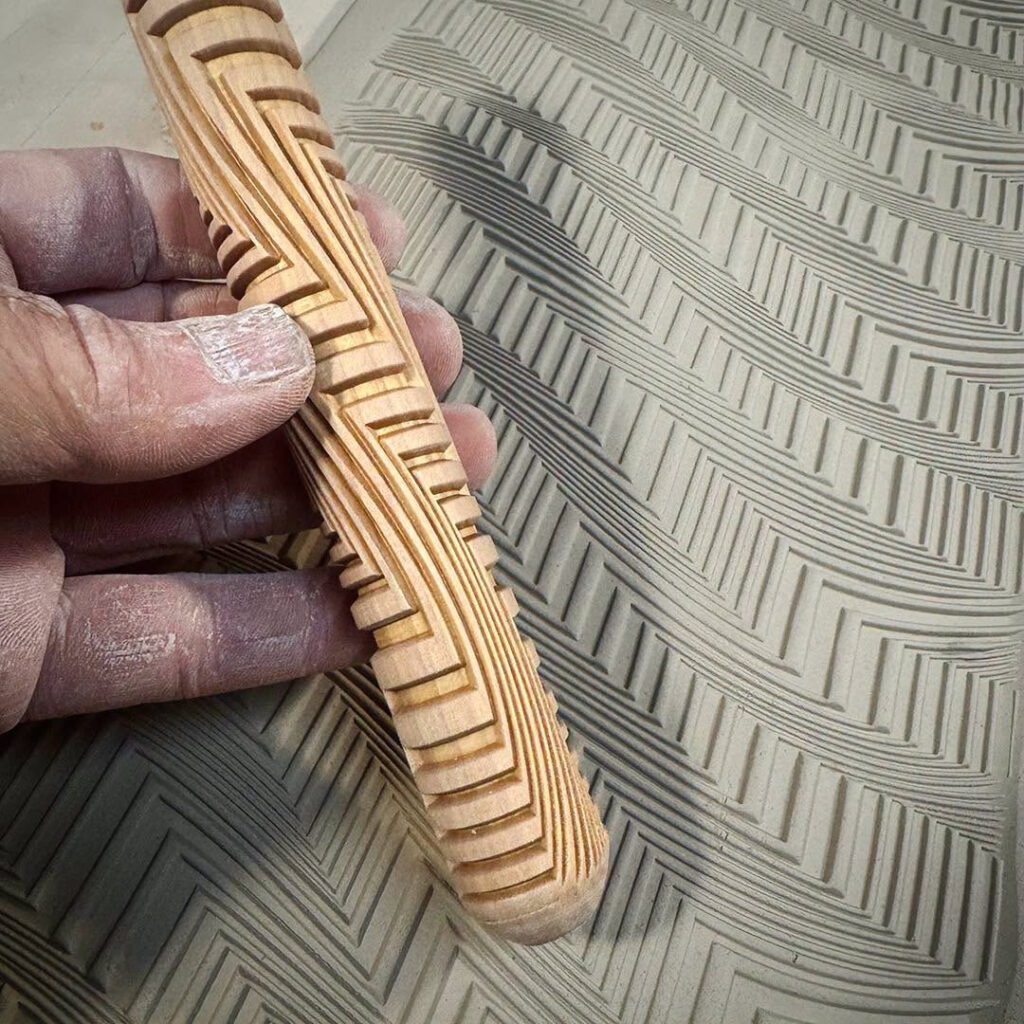
this hybrid mug was made with a #BHR-142 Basket Weave handroller.
They have tons of cool patterns… so check ‘em out!!!


While so many potters are at NCECA… hopefully buying their own MKM Pottery Tools… some of us had to stay home to make more pots! I’m working on more hybrid mugs & using some of my favorite texture handrollers from MKM.
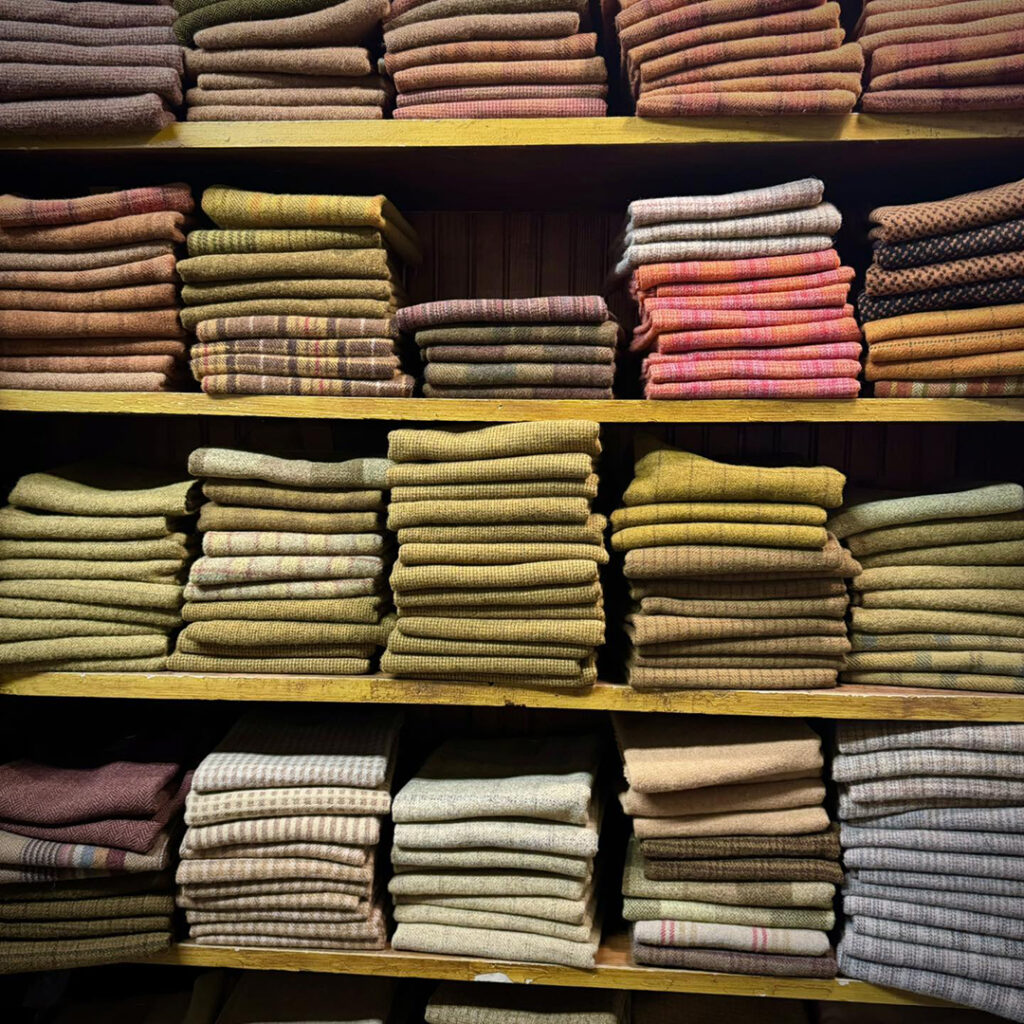
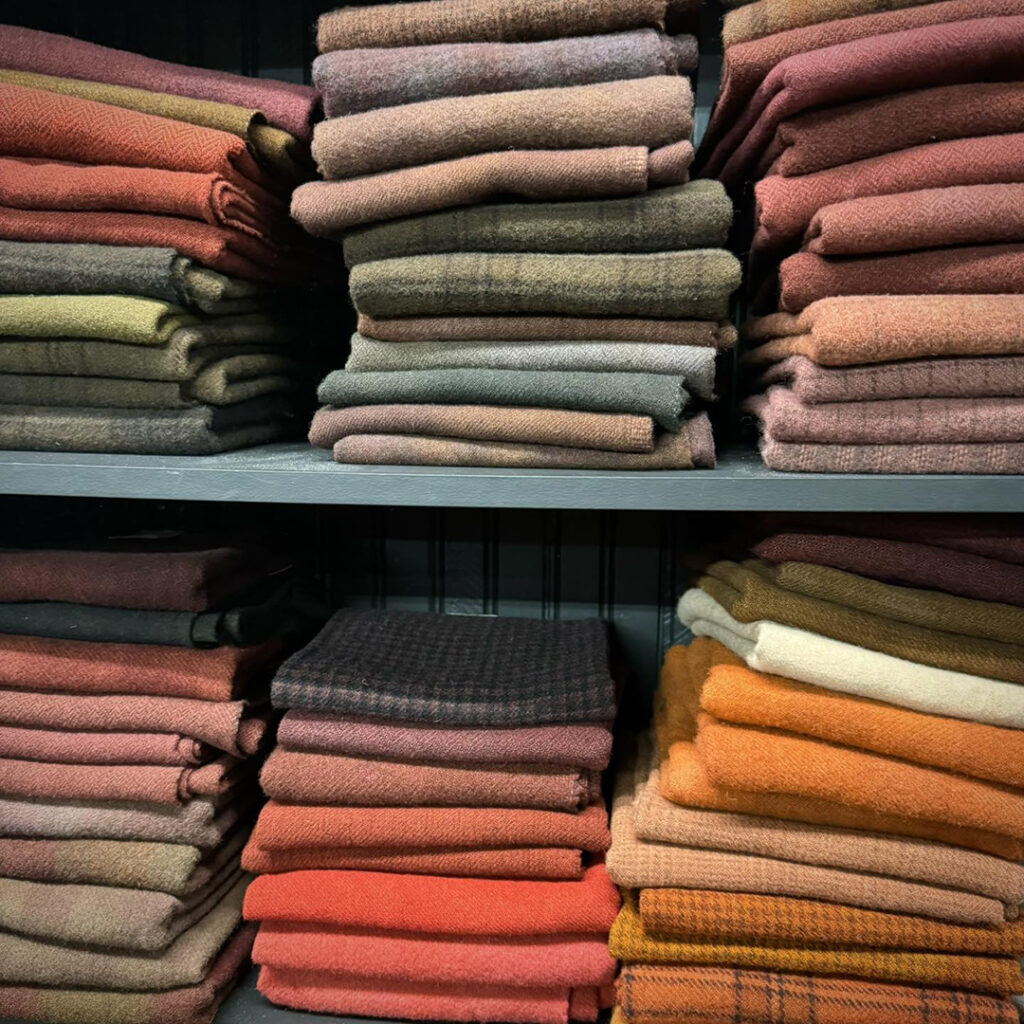
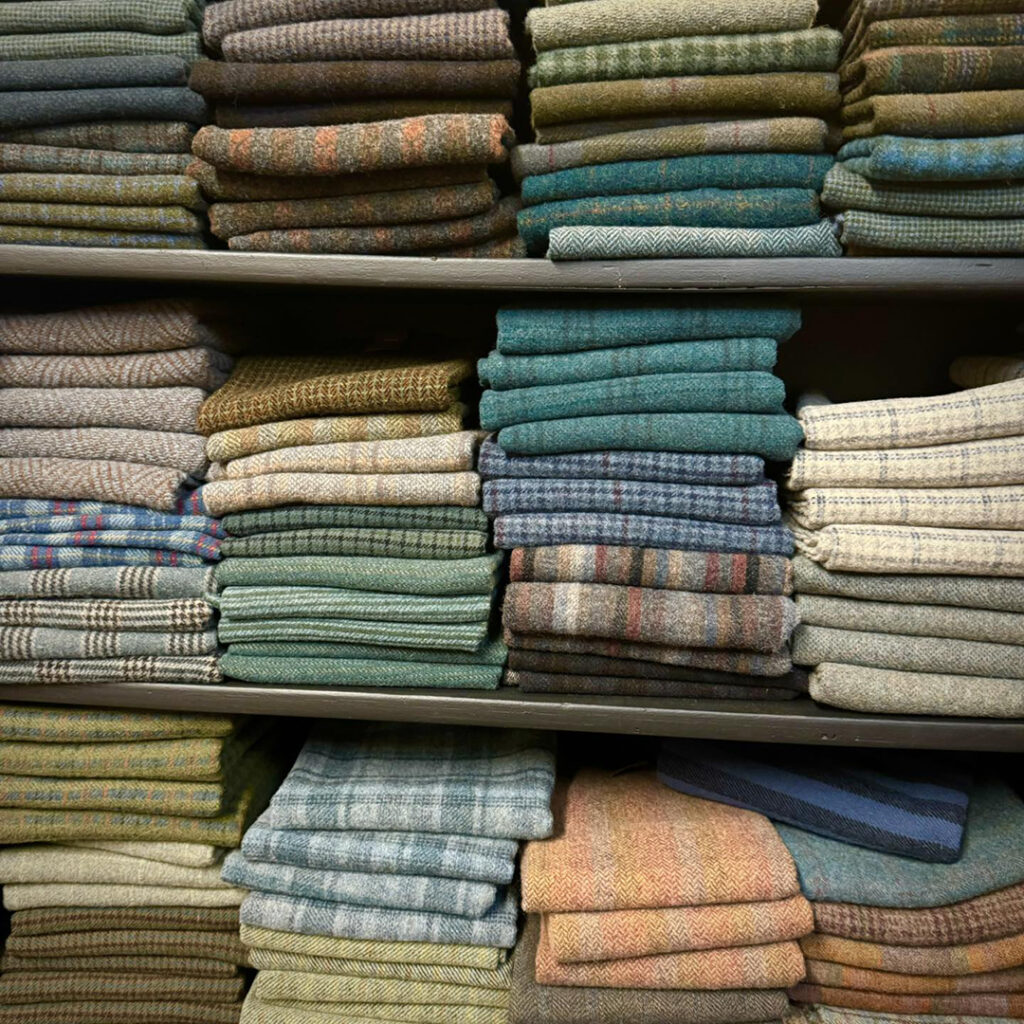
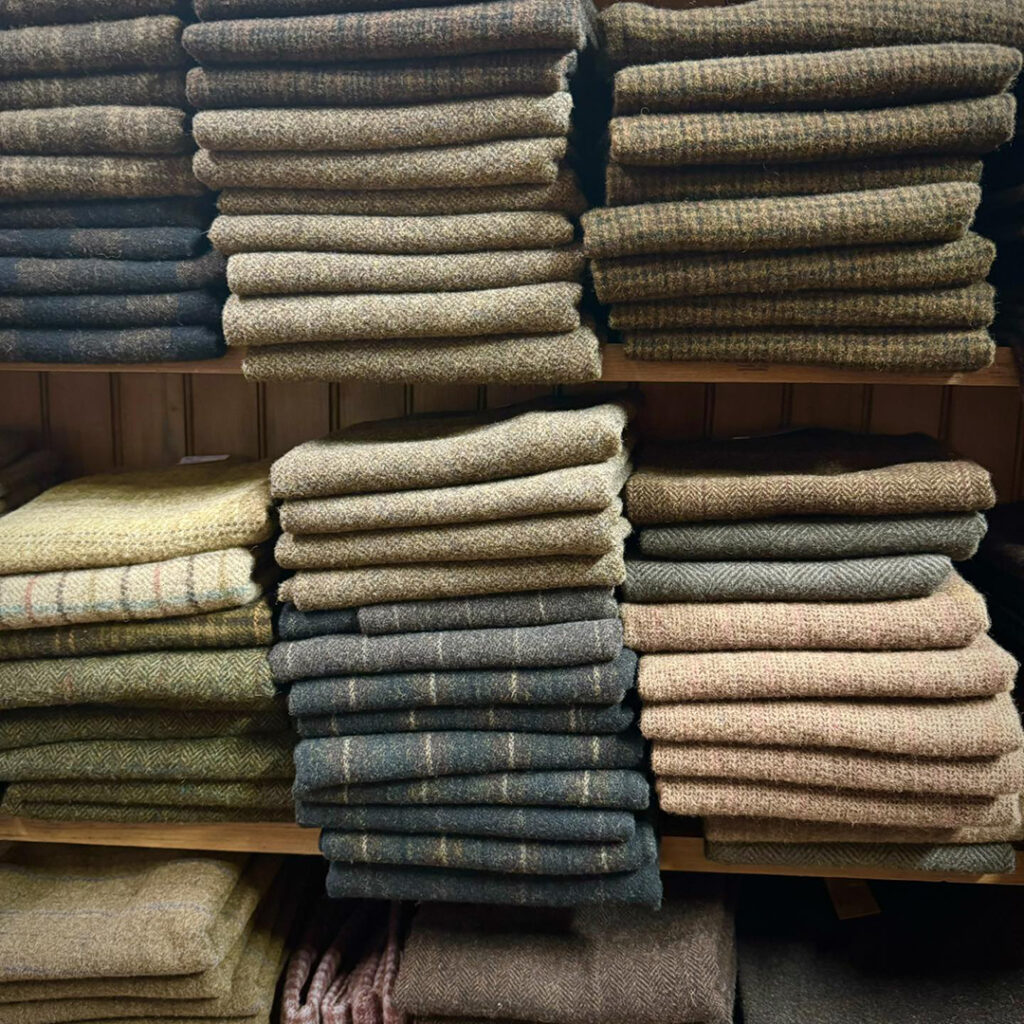
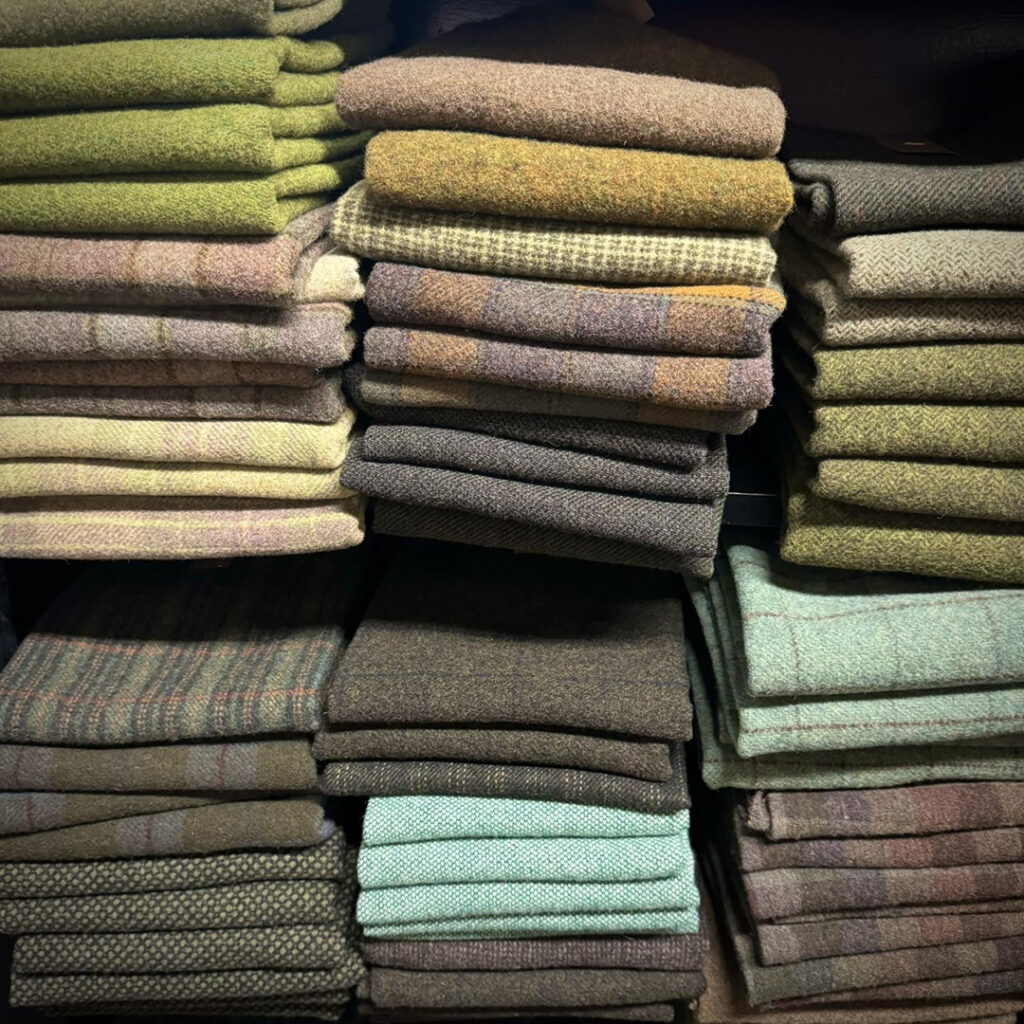
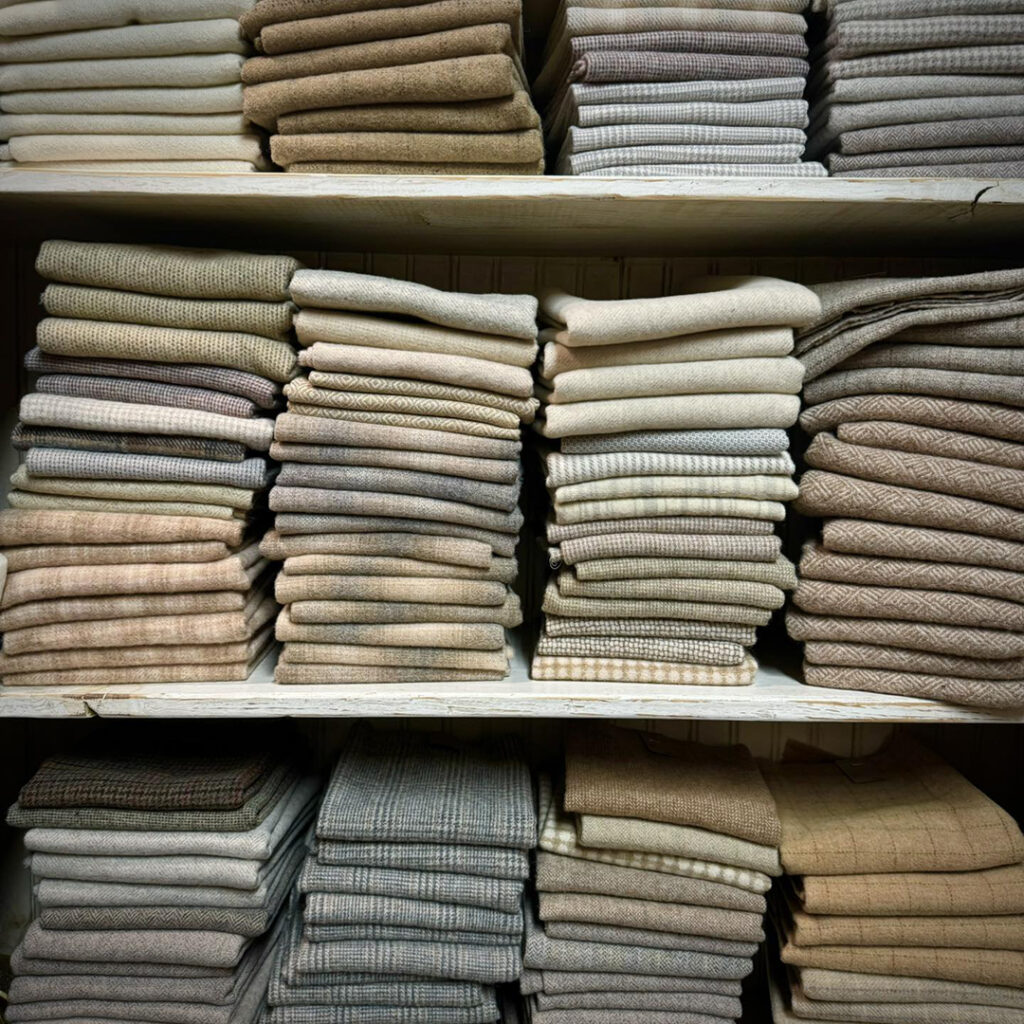
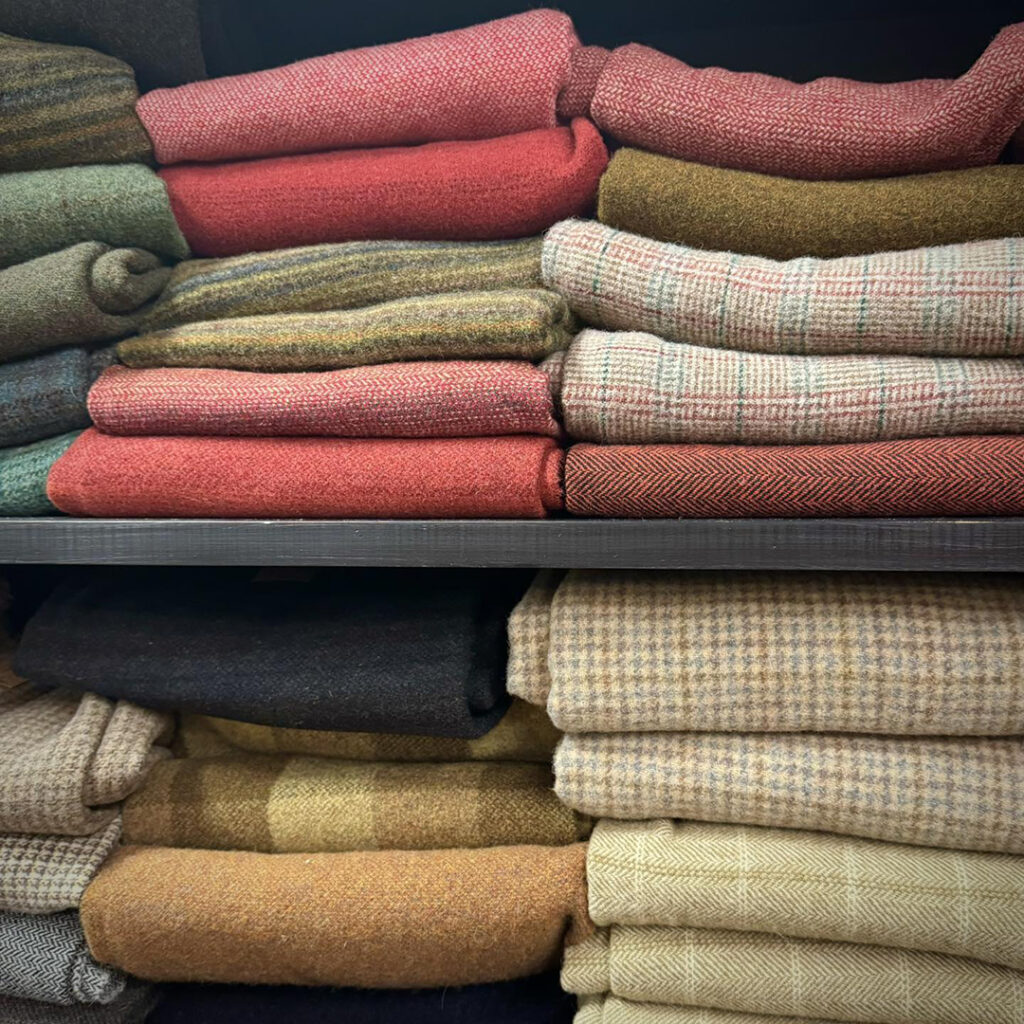
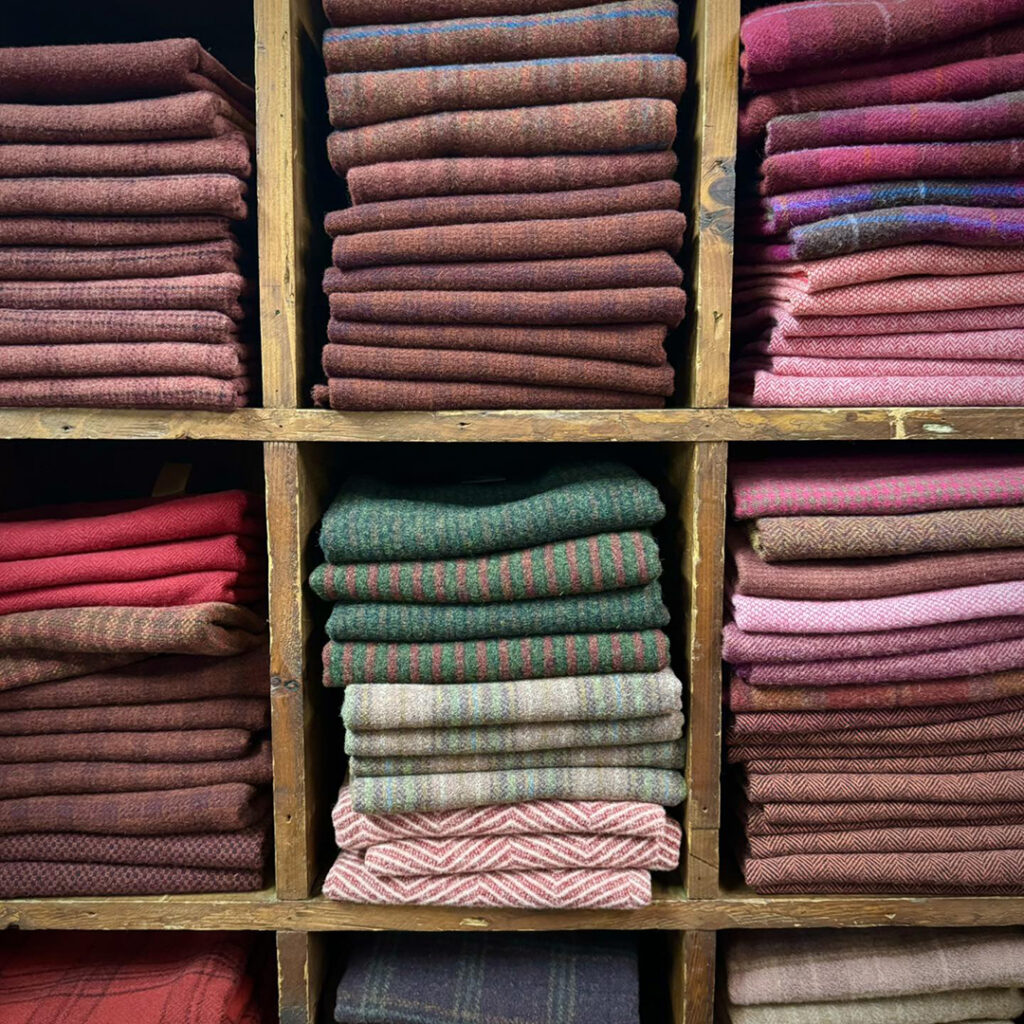
I have no need for fabrics currently… but there is something so satisfying about these neatly stacked shelves of woolen patterns & textures at the antiques shop today! And as a tactile-texture guy… I pretty much had to touch every one of them!!!

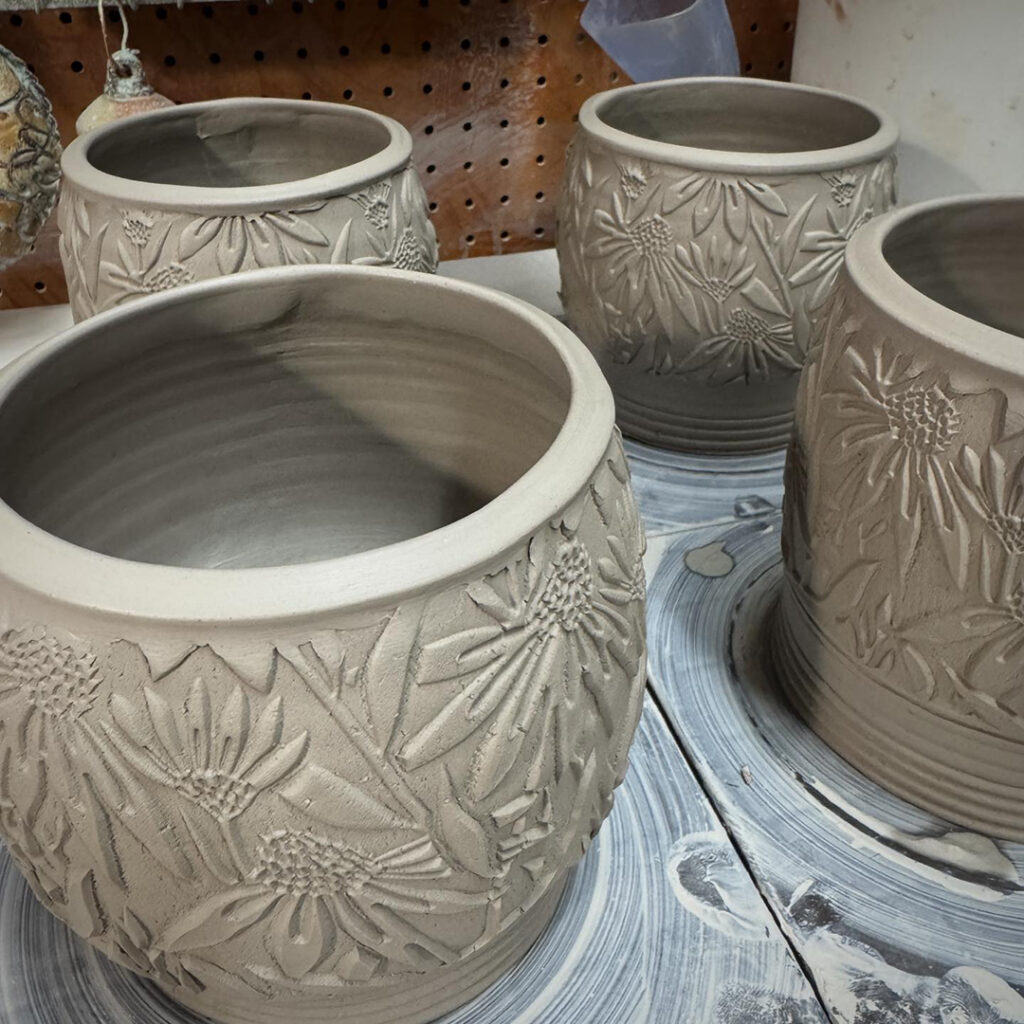
They’re coming along nicely… a fresh batch of hybrid mugs in the works!
Next up… trimming, then handles!
|
Gary Jackson: Fire When Ready Pottery
Lillstreet Studios ∙ 4401 North Ravenswood, Chicago, Illinois 60640 ∙ 773-307-8664 gary@firewhenreadypottery.com |