04.11.2026
Categories: kiln firing, process
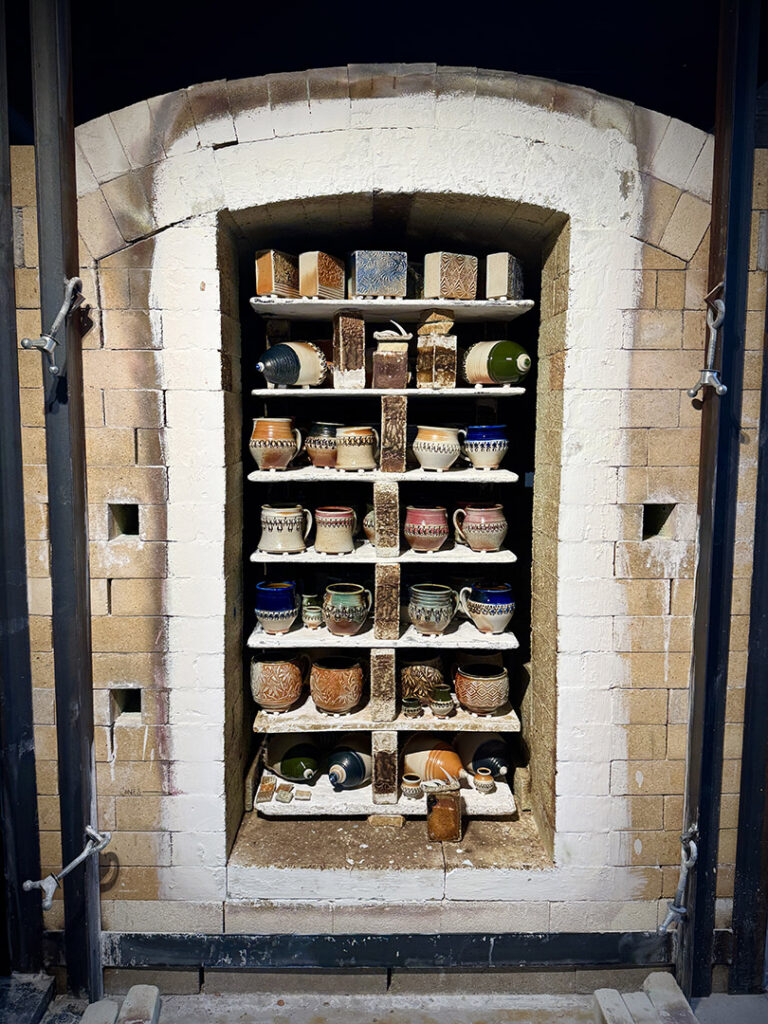
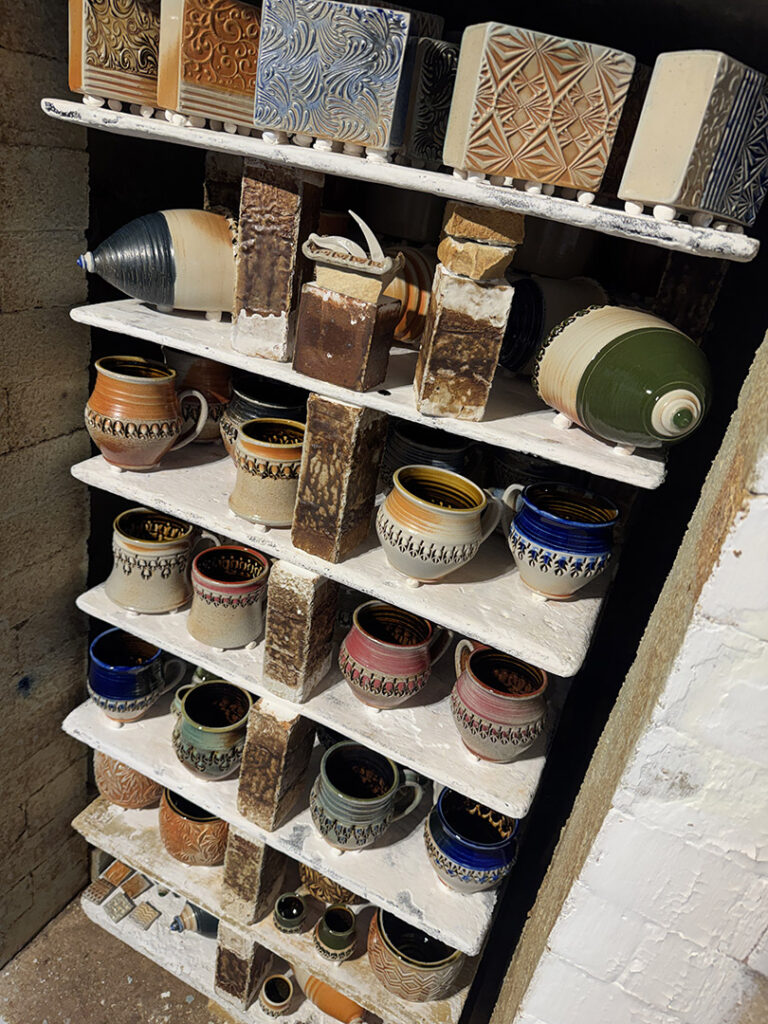
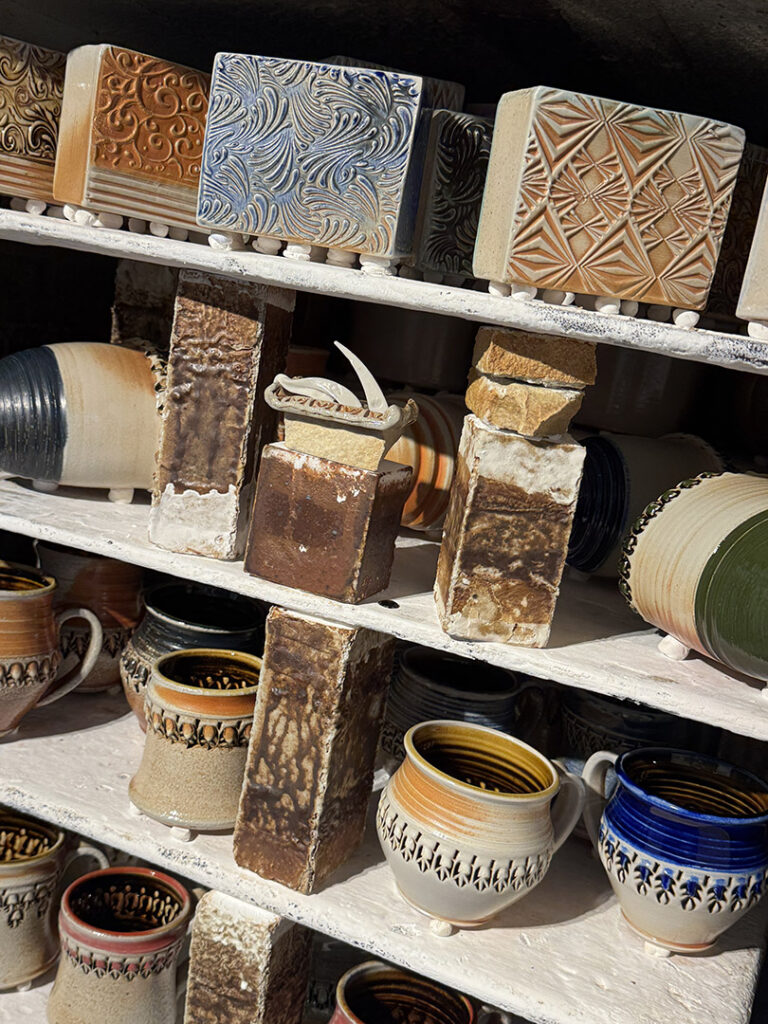
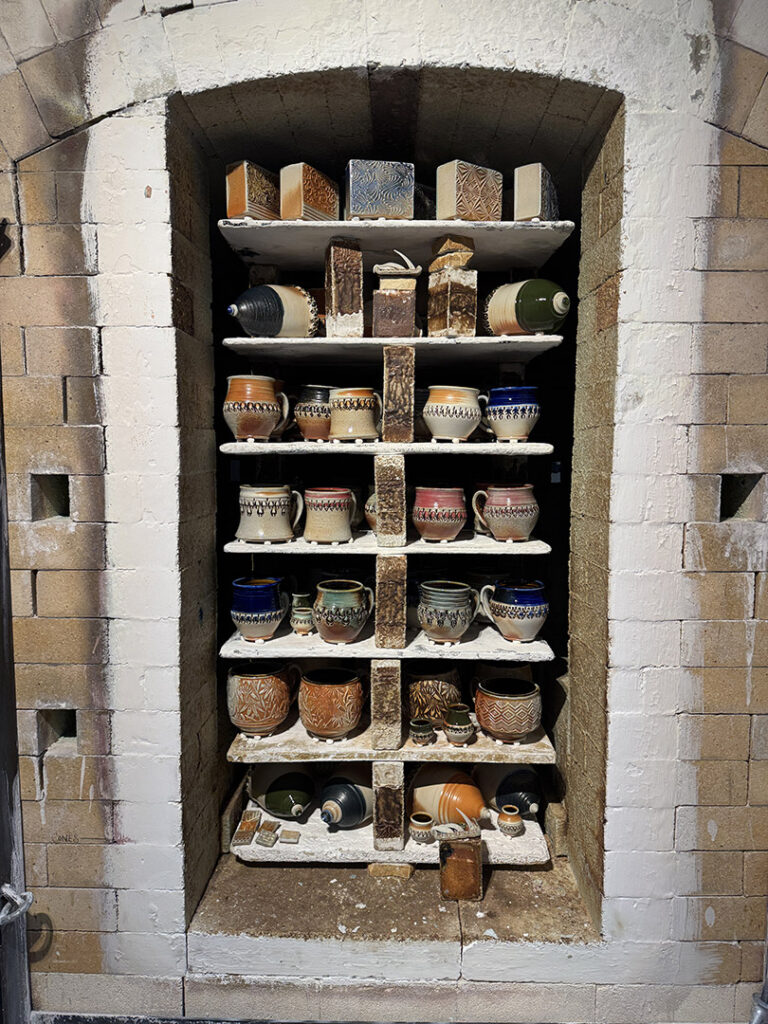
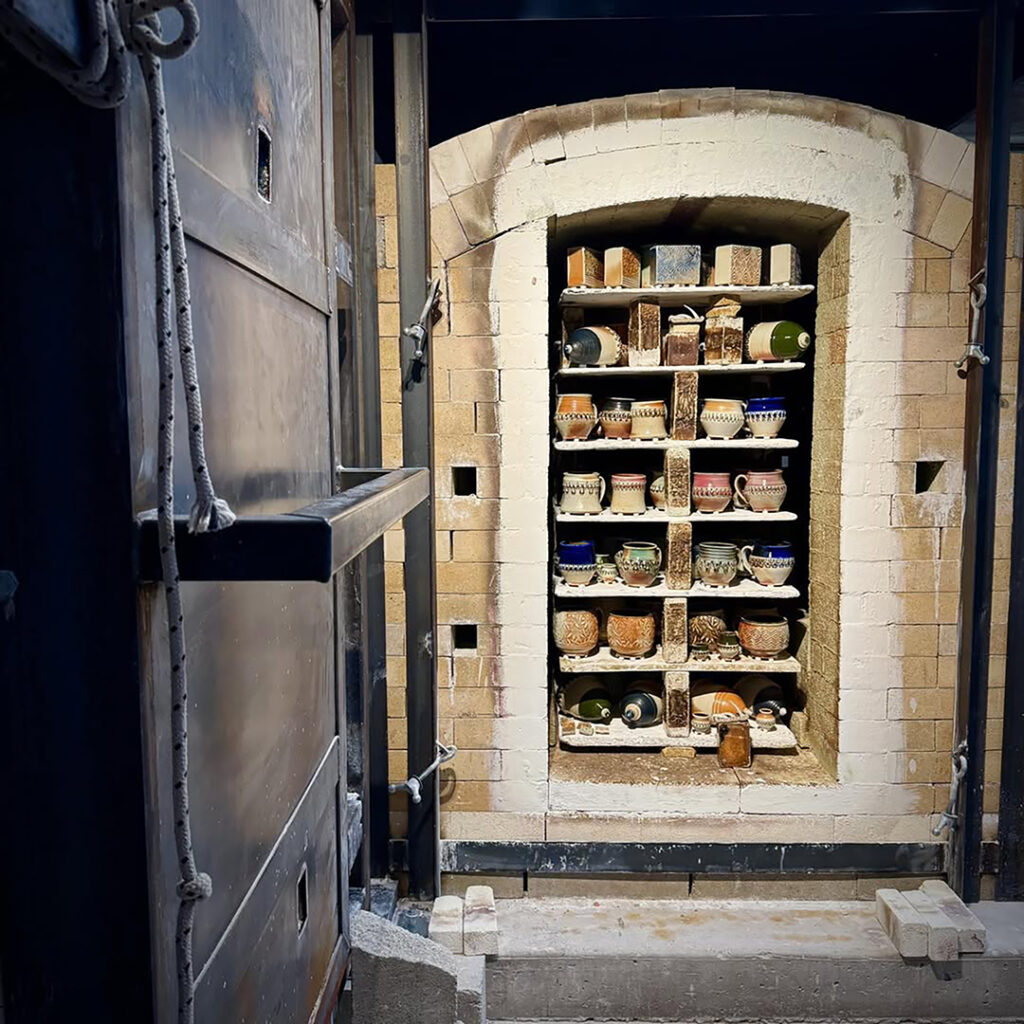
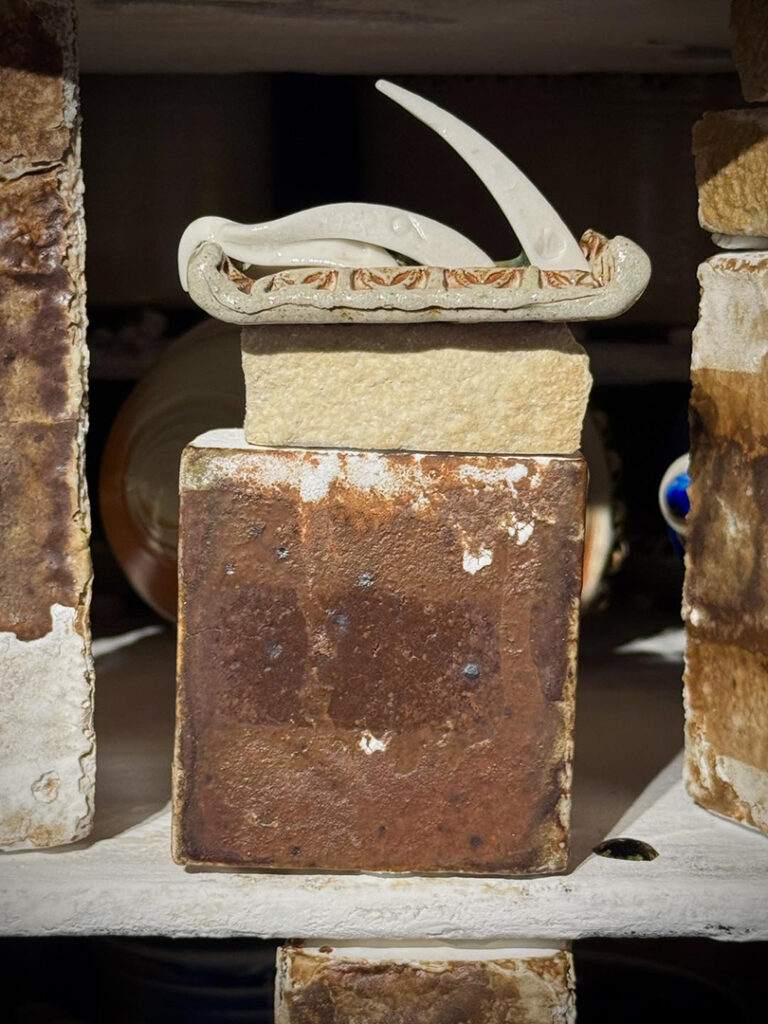
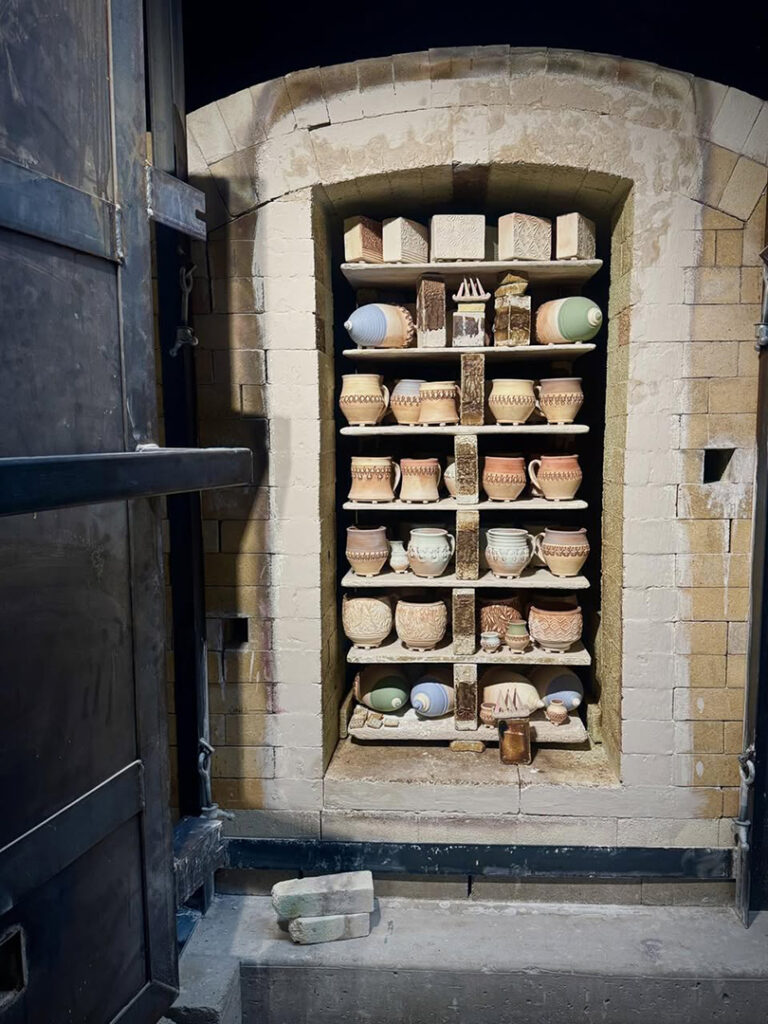
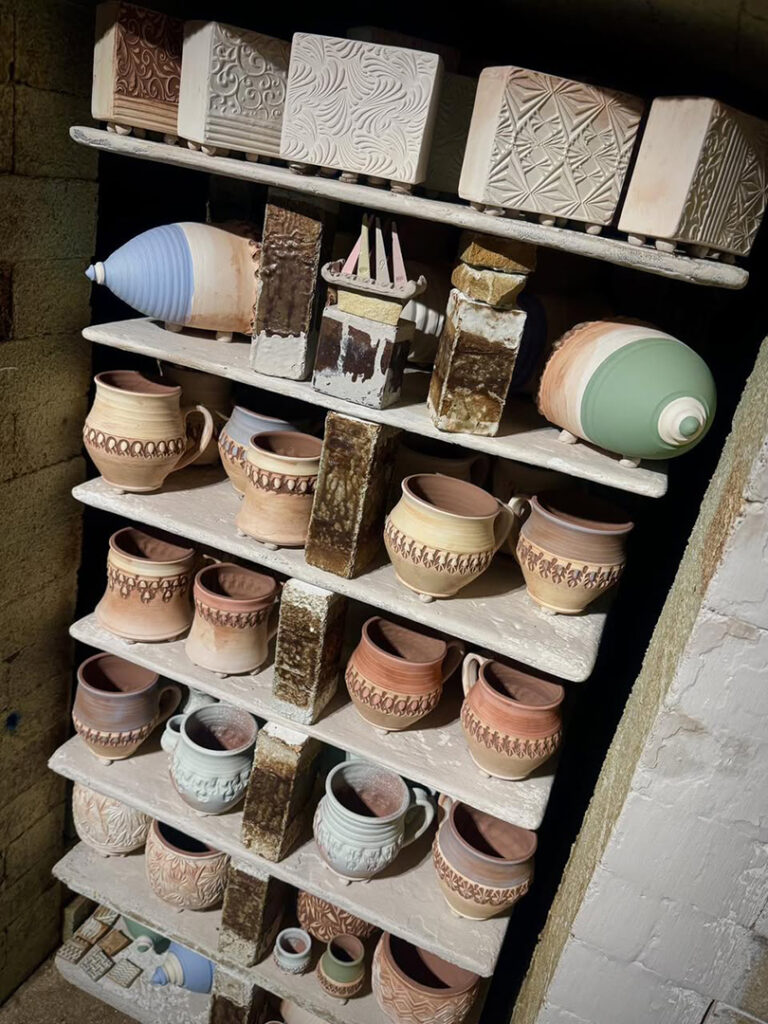
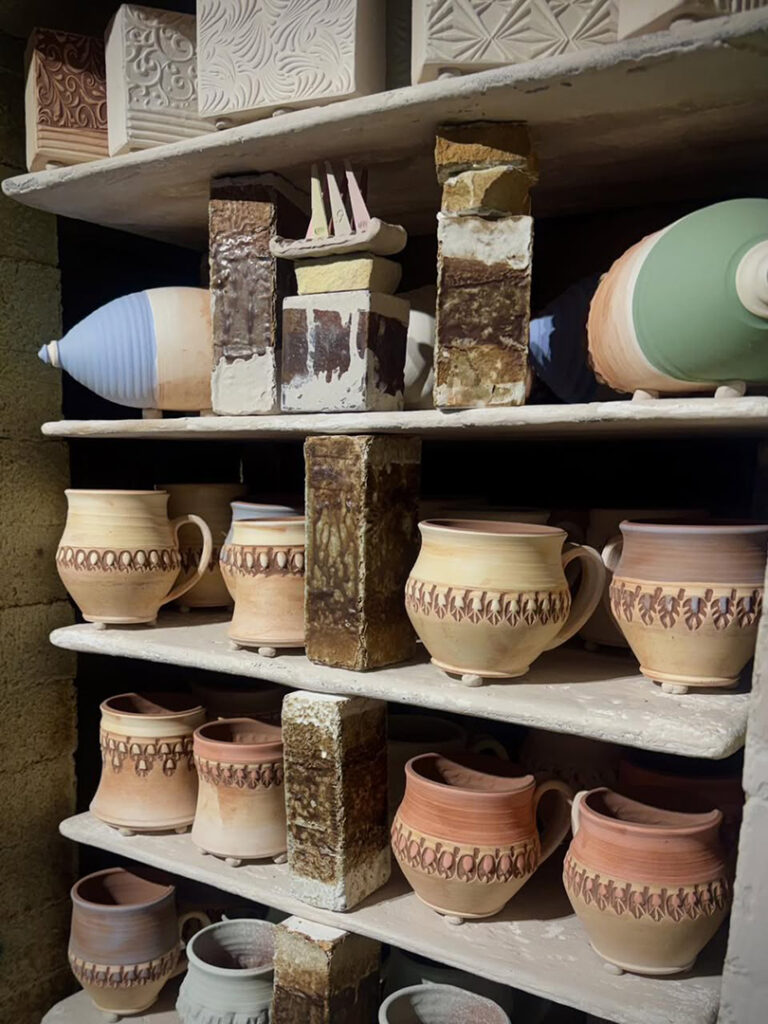
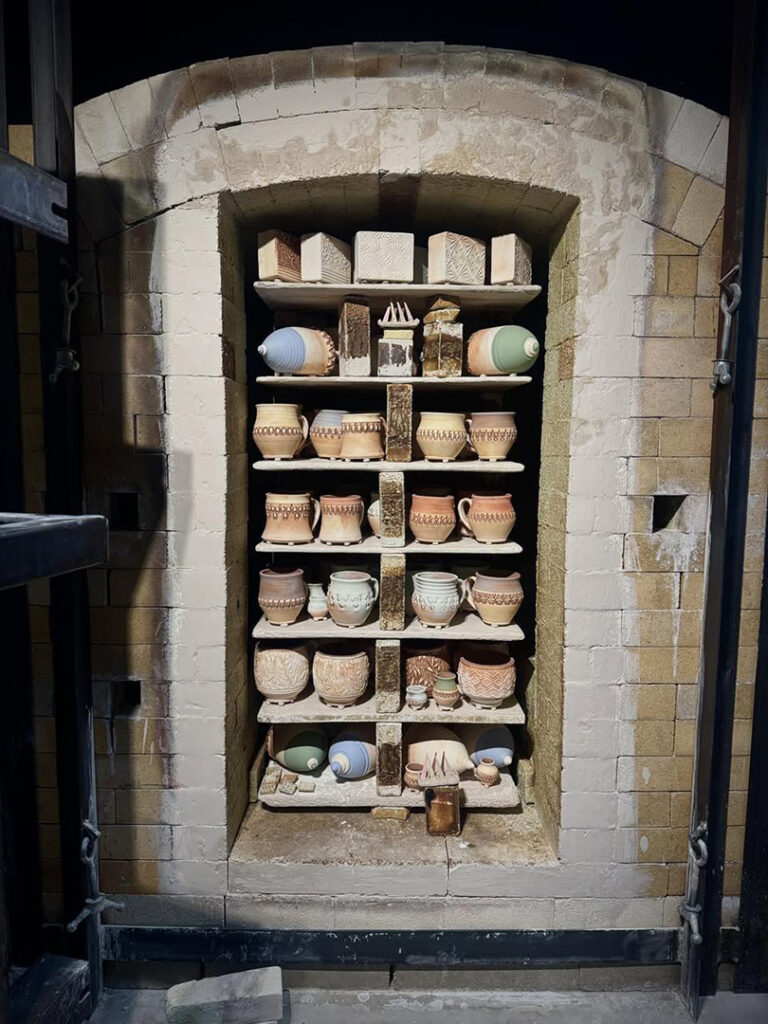
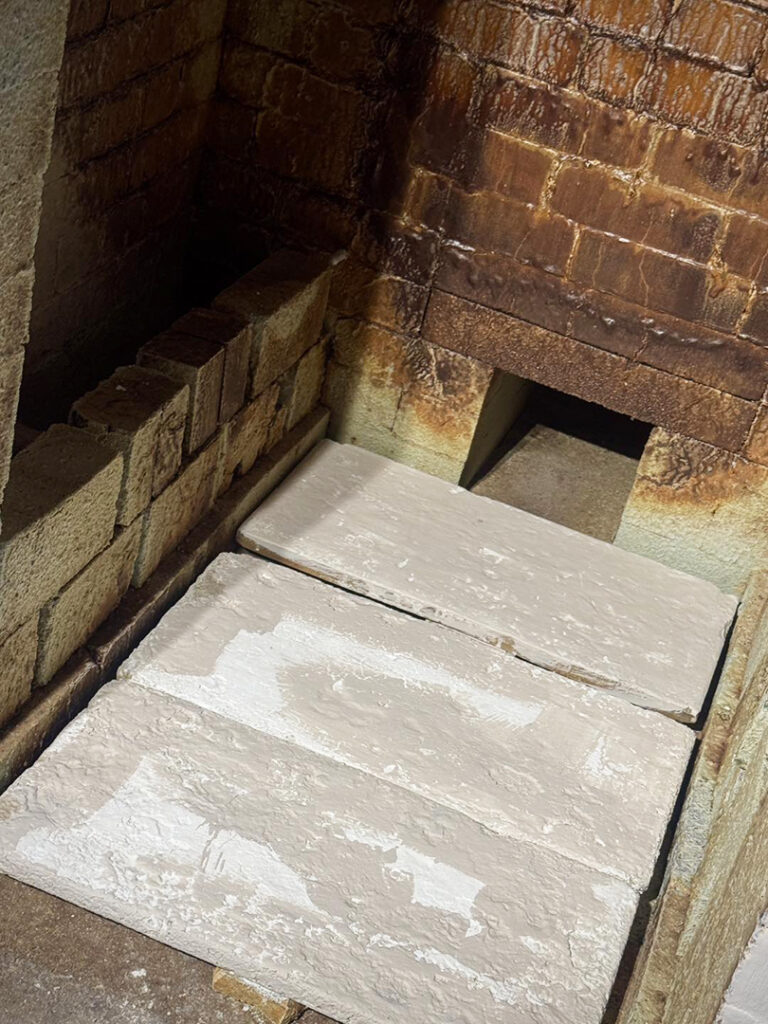
Some folks think pottery just happens… make it, fire it, done. But there’s a more behind the scenes that most people don’t know about. Like the “joy” of physically scraping down all of the kiln shelves after every soda-firing to remove any glaze drips or soda build-up. Gotta keep the shelves clean & ready for the next firing.