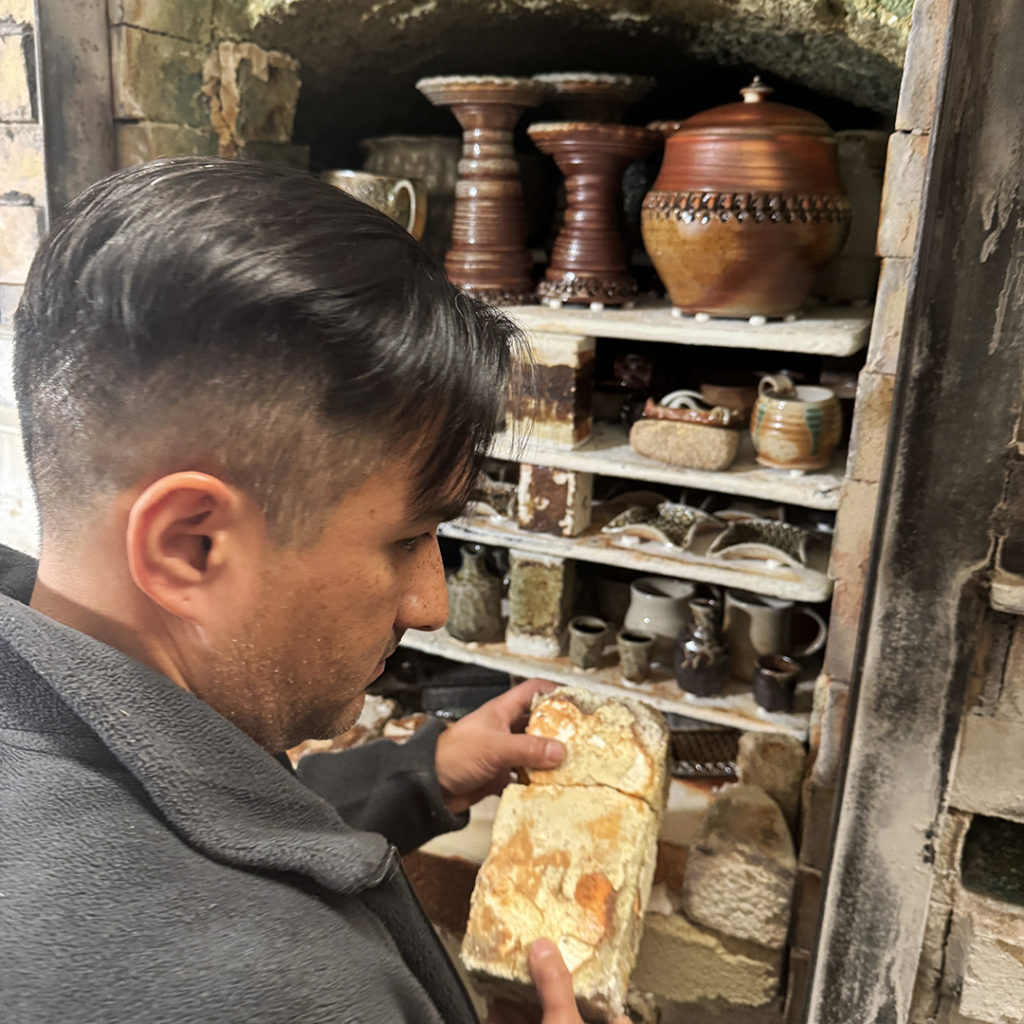
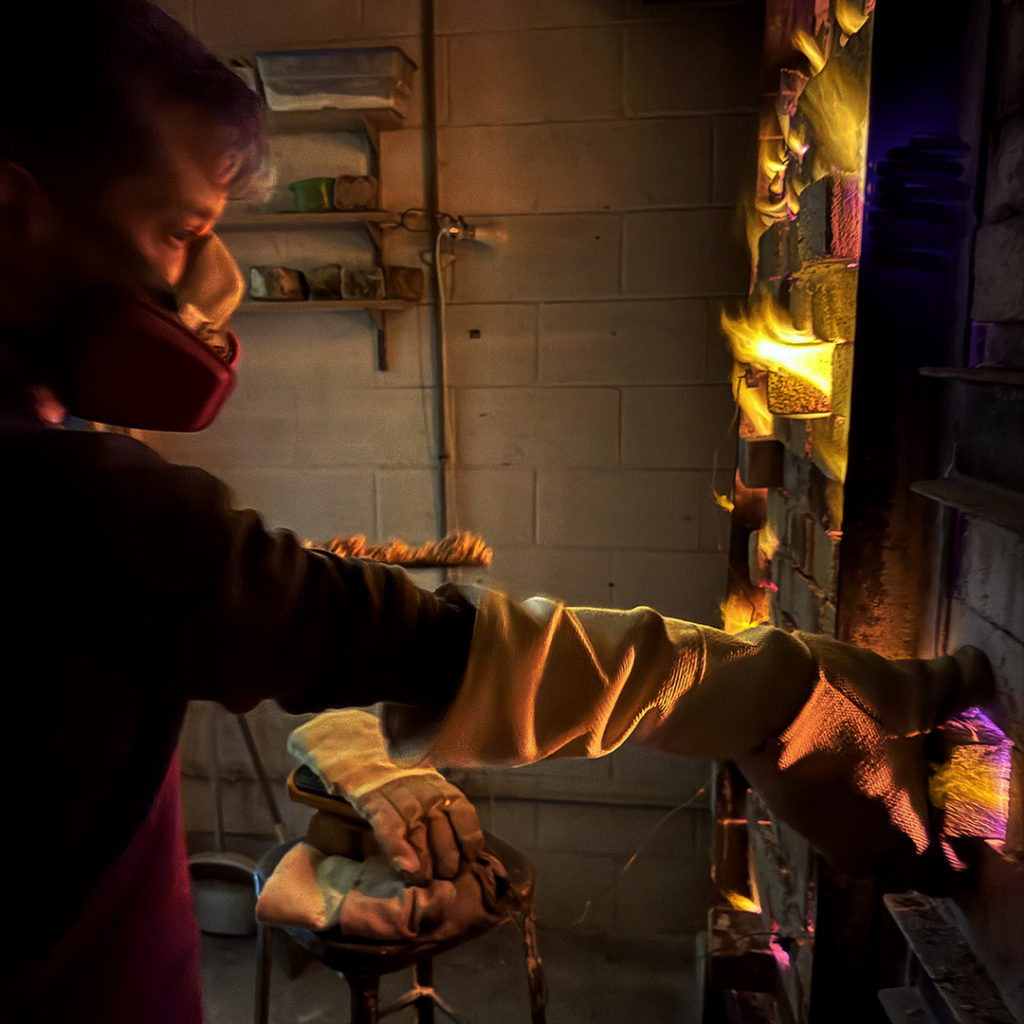
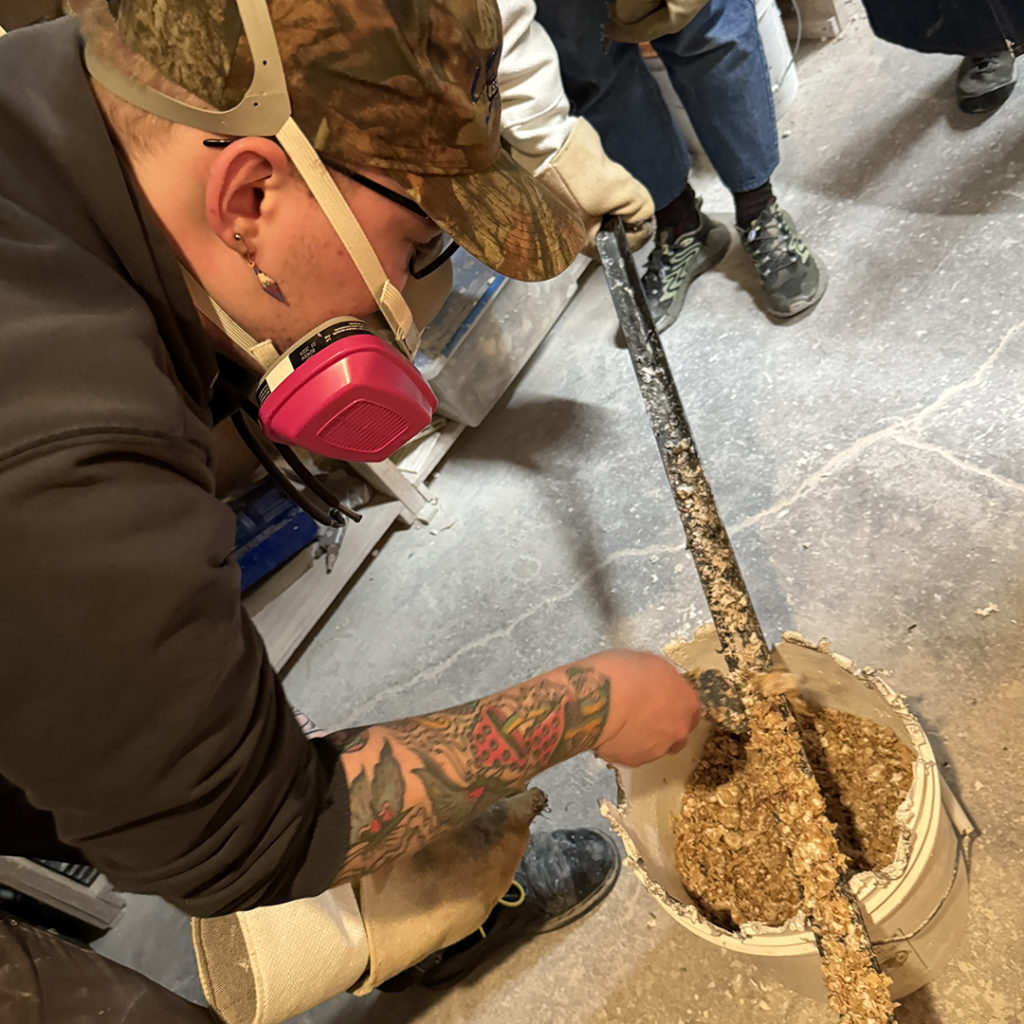
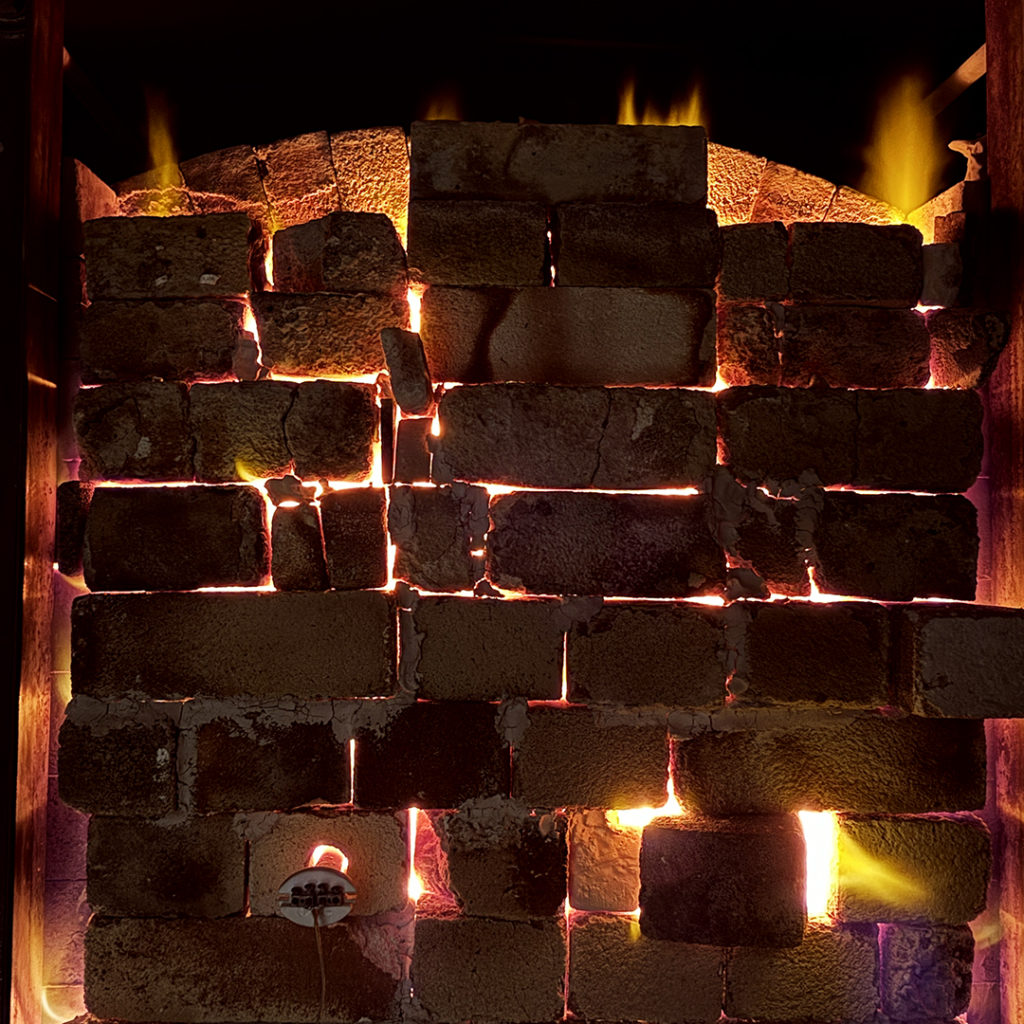
Gary Jackson: Fire When Ready Pottery
A Chicago potter’s somewhat slanted view of clay & play
Categories: kiln firing, process

Well… it was later than I would have liked it to be.
By the time I finally finished glazing & wadding, it was quite late in the evening.
And I still had HOURS of loading ahead of me! It literally takes me hours & hours!!!
Placing every piece in the kiln, stacking shelves & posts… and putting hundreds
of tiles all over the place. My goal is to utilize every possible space in the kiln.
It pains me to see empty space & blank kiln shelves. So I like to make a wide range
of pieces in all different sizes so it all fits together really well. Tiny pieces fit everywhere!
I want every shelf space covered with something!!! I’m the “King Of Kiln Filler.”

With the back stack full, it’s time to move to the front stack. Easier with less climbing inside!
Two shelves deep that stack up together… or separate shelves is it helps pack tighter!
And room for a LOT more work to go into the kiln. More stacking. more packing. More fun!!!

And once I was done loading, it was time to brick up the door.
Closing the kiln for the night… err, well at this point,
it was early morning. Who are we kidding?!

Categories: kiln firing, process, production

By now you all should know how much I love a well-packed kiln.
Well, this isn’t one of my better kilns. I’m trying to “speed it along” a bit
and fire things as they’re done to make room in my studio. And a few things
may be just a little damp still. So I knew I could spread a few things and not
stack things quite so tight as normal. But still not too shabby…

Kiln Layer #1 – ovals and a couple mugs… sure I could’a nested ‘em… but…

Kiln Layer #2 – and oval, some stacked platters, leaves… and some call ‘em empanadas!

Kiln Layer #3 – more ovals and some more mugs

Kiln Layer #4 – a lot more mugs and some bowls… that were drying in Lisa’s studio!

Kiln Layer #5 – now here’s a layer of low-fire fun. The green glaze is low-fire clear!!!

Kiln Layer #6 – and a layer of ornaments, test tiles and a bowl to top it all off!

Categories: glaze, kiln firing, pottery, production

This afternoon I unloaded another kiln. This time it was a regular cone 10 reduction kiln
that I shared with my studio-neighbor Karen Patinkin. We have a pretty sweet kiln deal -
I load the kiln, she fires the kiln, I unload the kiln… well, for the most part anyway.
So the kiln was fired on Wednesday, cooled all day yesterday and was ready to unload
this afternoon. It’s always fun to open a new kiln. To see how the glazes have developed
and changed the look of each piece. Ideally, the glaze will always make the piece look better.
Yet we all know that doesn’t always happen… so here are a few samples where it did work
as planned! More pieces for the upcoming art fair season!

Mental note to self… remember that this light wood laminate studio shelving is not
the best surface for quick photos of pieces straight out of the kiln. Especially when
those pieces might be glazed in a light ash colored glaze!

Categories: kiln firing, process, production, textures

For a very long time, on that long list of things to do…
I finally got around to making & firing some textured soda slip test tiles.
I acquired quite a few slips from my potter-friend Emily Murphy when she moved to
Minneapolis. And yet I tend to go back to the old “tried & true.” Maybe because I wasn’t
sure how all of the new slips would “react” in the soda firing atmosphere. So I made test
tiles with one of my favorite handmade rolling pins, painted on some slip and fired them
in the kiln. Of course, I also had to make little “props” to hold them vertical in the kiln.

I’m excited to have new samples of the slips – all with a good amount of flashing
to show the range of colors & effects you can get in the soda kiln.

Categories: kiln firing, process

If you recall, I had a couple little mishaps while I was firing the kiln on Saturday.
The main one was the “electrical hiatus” that shut off the entire kiln in the middle
of the firing – as well as the neighborhood all around Lillstreet. Another one was when
I peeked into the bottom peep and noticed that one of the ornaments was “missing”
from it’s tripod. But wait… there were also five points on my cone pack when there should
have been only two at that temperature?! It took me a few confused moments to figure out
that they weren’t in fact “extra cones” – it was an errant ornament tripod! Apparently…
an ornament decided to jump off the third shelf, land on the second, and leave it’s tripod
on my bottom cone pack!

For those that are wondering… the cone pack looks extra groovy and is now a good
conversation piece. And the jumping ornament survived it’s adventure!

Categories: kiln firing, pottery

I unloaded my soda kiln on Monday night and took a lot of pictures a long the way.
Too many maybe?! But I’ve gone through and picked out a few representative
samples of the pieces that were in the kiln. Overall, I was quite pleased with the firing!

If you would like to see even more pieces from this soda kiln, click here…
www.facebook.com/firewhenreadypottery

Categories: kiln firing, pottery, process, production

After a very hectic firing day on Saturday, it was a great relief to open
the kiln today to find out that everything turned out perfect. Good soda coverage,
good colors, good flashing. It’s a relief to have a kiln full of work done for the
upcoming art fair season… this far in advance! So I unloaded tonight and took
lots of pictures along the way… and I promise to post them very soon.
Here’s a couple shots of the full kiln just to whet your whistle. More to come…

Categories: kiln firing

On my way home from Easter dinner, I stopped off at the studio to check in on my kiln.
After all of the drama during my firing yesterday from the “electrical hiatus”…
it was great to open the peeps today to start the cooling process – and peek inside!
And from the little bit I could see through the peep with the flashlight, everything looks
pretty good so far. Although I did notice on tripod missing its ornament just behind
the bottom cone pack?! Not sure where it went…

Categories: kiln firing

So I finally got to turn the kiln off… after a very long day.
After the “electrical hiatus,” the rest of the firing went pretty smoothly.
Nothing too exciting. I tried to bring it back up to temperature a bit slowly,
and then back into reduction. Then it was full-speed ahead… and it finally
came to temperature, I added the soda right around cone 9, soaked until cone 10
and turned it off at 10:30pm. On a good note… according to the pyrometer, the
temperature difference between top & bottom of the kiln was only six degrees!!!
Not bad after a crazy firing!!!

So now it will cool Sunday & Monday while my fingers are crossed
that everything turned out okay. I can finally open it & unload on Monday night.
Pictures to come…

Categories: kiln firing

So today I got an early start firing my soda kiln.
I got up, headed back to the studio and got it all fired up. Things were going well.
I was a couple hours into it and it was time to put it into body reduction. So I did.
I was upstairs in my studio when all of a sudden… darkness!

Now for some reason, whenever one of our studio members turns on her microwave
it blows the fuse to my studio. So I just assumed that that’s what happened. Until I
stepped out into the hallway to head to the circuit breaker… and the hallway was dark.
It wasn’t just my studio. And the emergency lights were on… this can’t be good.

So I quickly went downstairs to find out that my soda kiln had gone off too.
Turns out that Lillstreet was without electricity… along with a lot of the neighborhood!
And there I am. With my kiln firing in reduction and suddenly OFF… and cooling quickly!

But there was nothing to do. We heard from ComEd that electricity should be back on
at 2:30pm. Which was over two hours away! I was concerned about my firing.
But there was still nothing to be done – but wait. Turns out that the elctric came on about
an hour earlier than expected. And my kiln had only lost about 600-degrees.
So much for my early start, huh?

And there seemed to be a few questions… Why does a gas kiln need electric to fire?
Well, the kiln is fueled by the gas, but a lot of the mechanics are electric. The thermocoupler
that keeps the flame lit with a heat sensor. The blowers that push the air and the flames into
the kiln. The safety triggers that shut everything down if anything happens. Stuff like that.

But when the electric came back on, I was able to turn the kiln back on and get my firing
back on track. Knowing that the electrical hiatus just added a few hours onto my day.
And I just hope that everything inside the kiln is still okay?!

So there wasn’t much I could do.
Except I felt as though I “deserved” a treat… so I did…