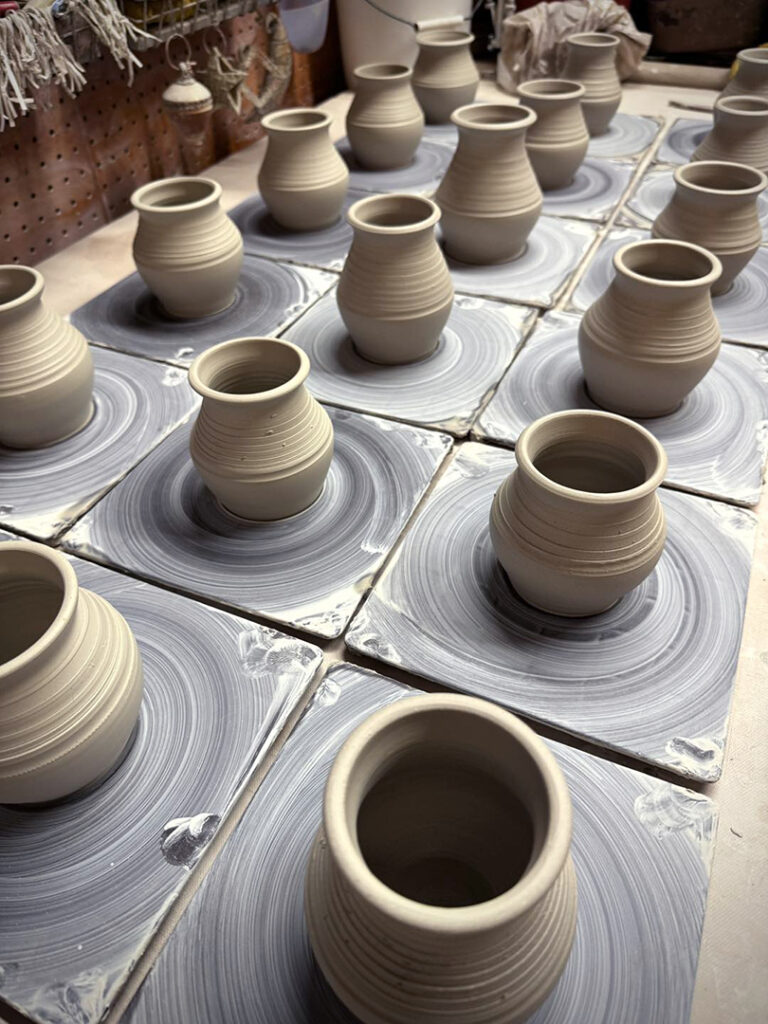
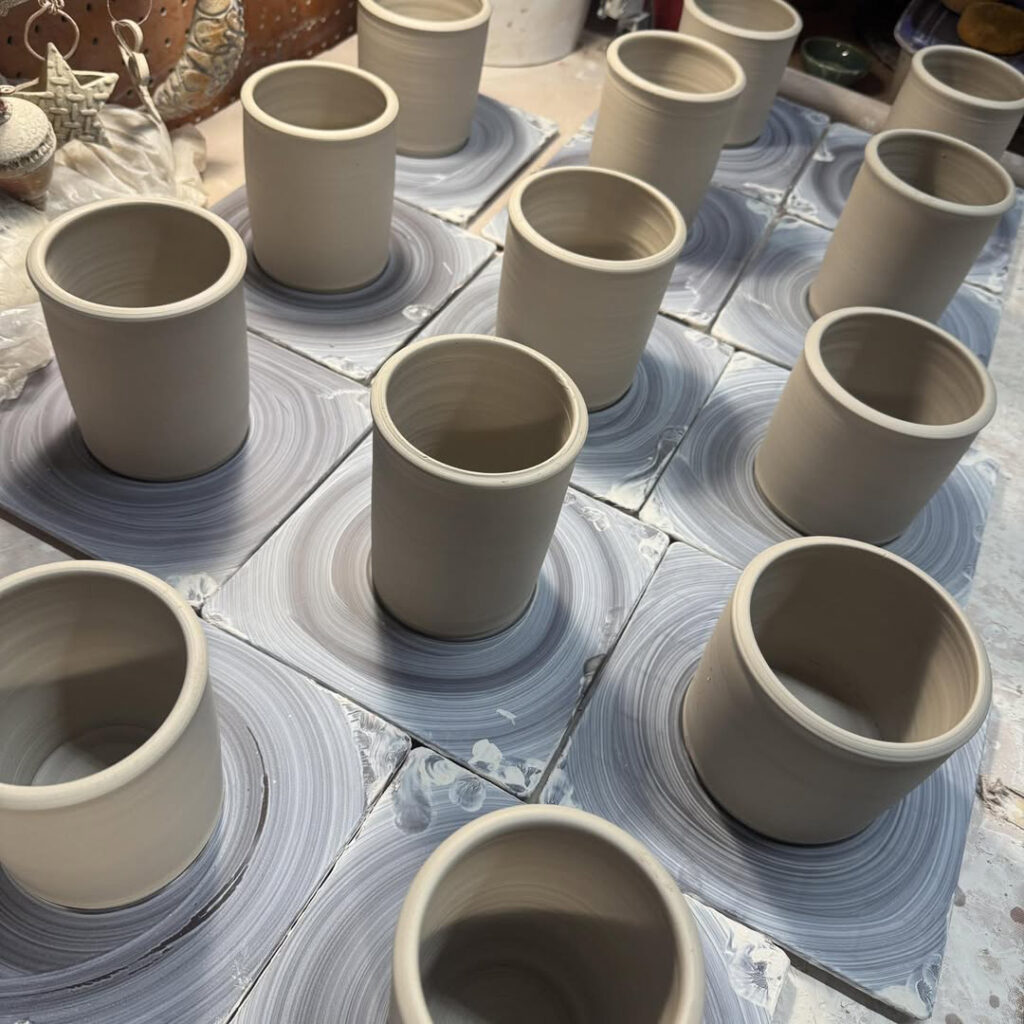
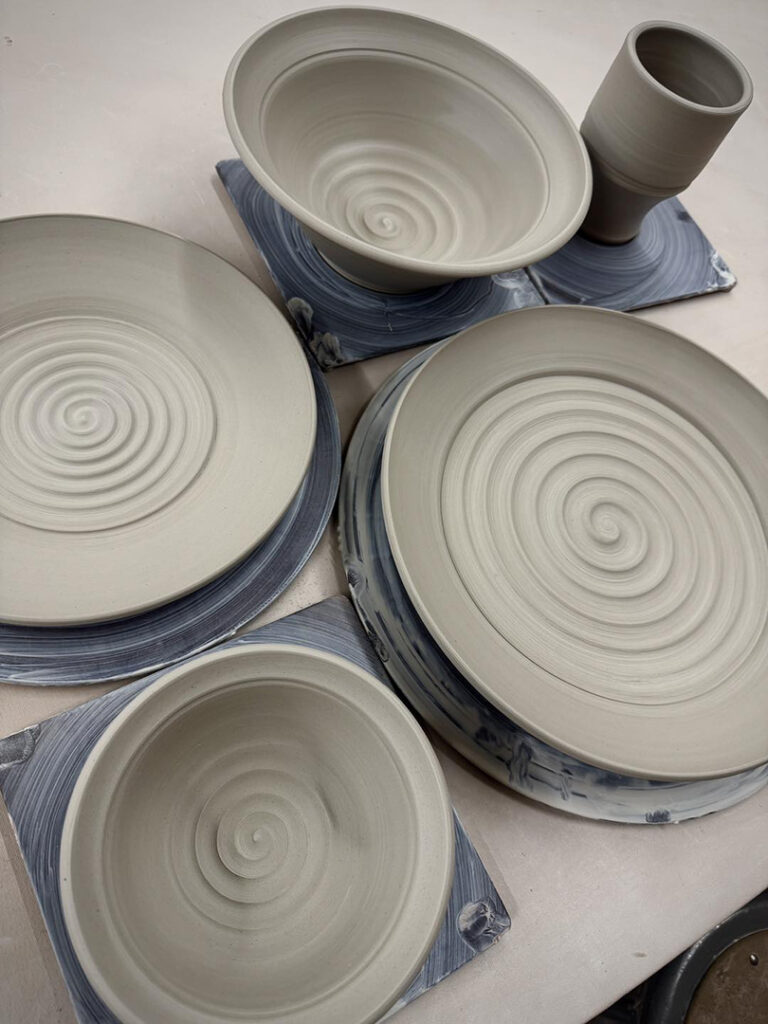
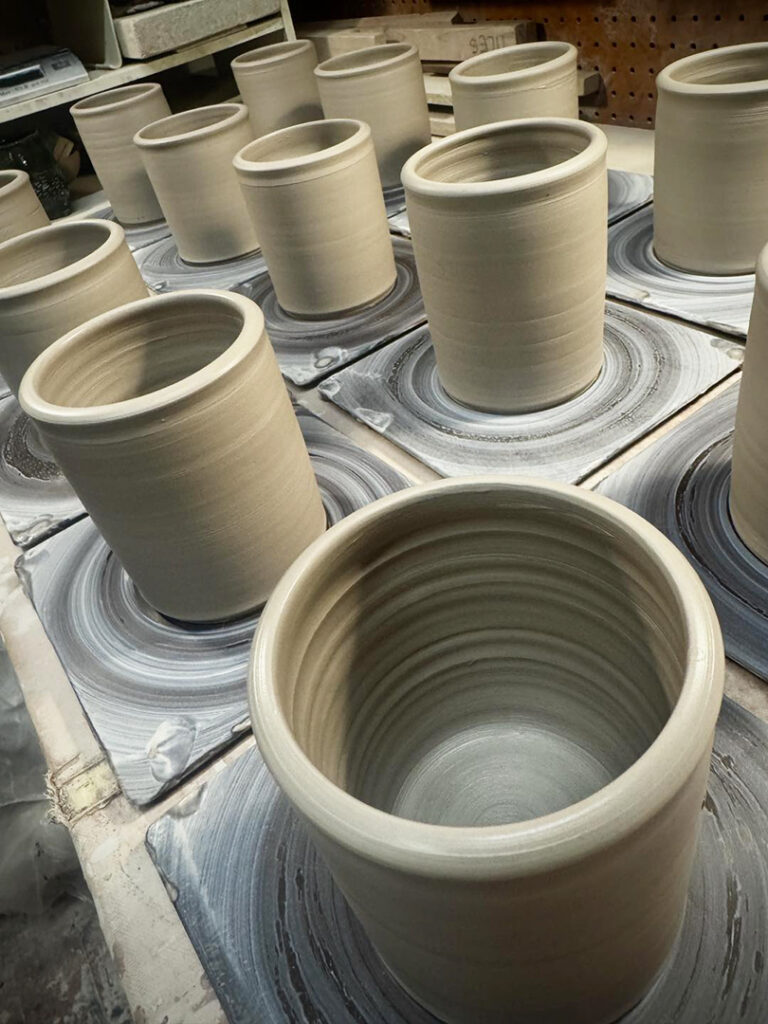
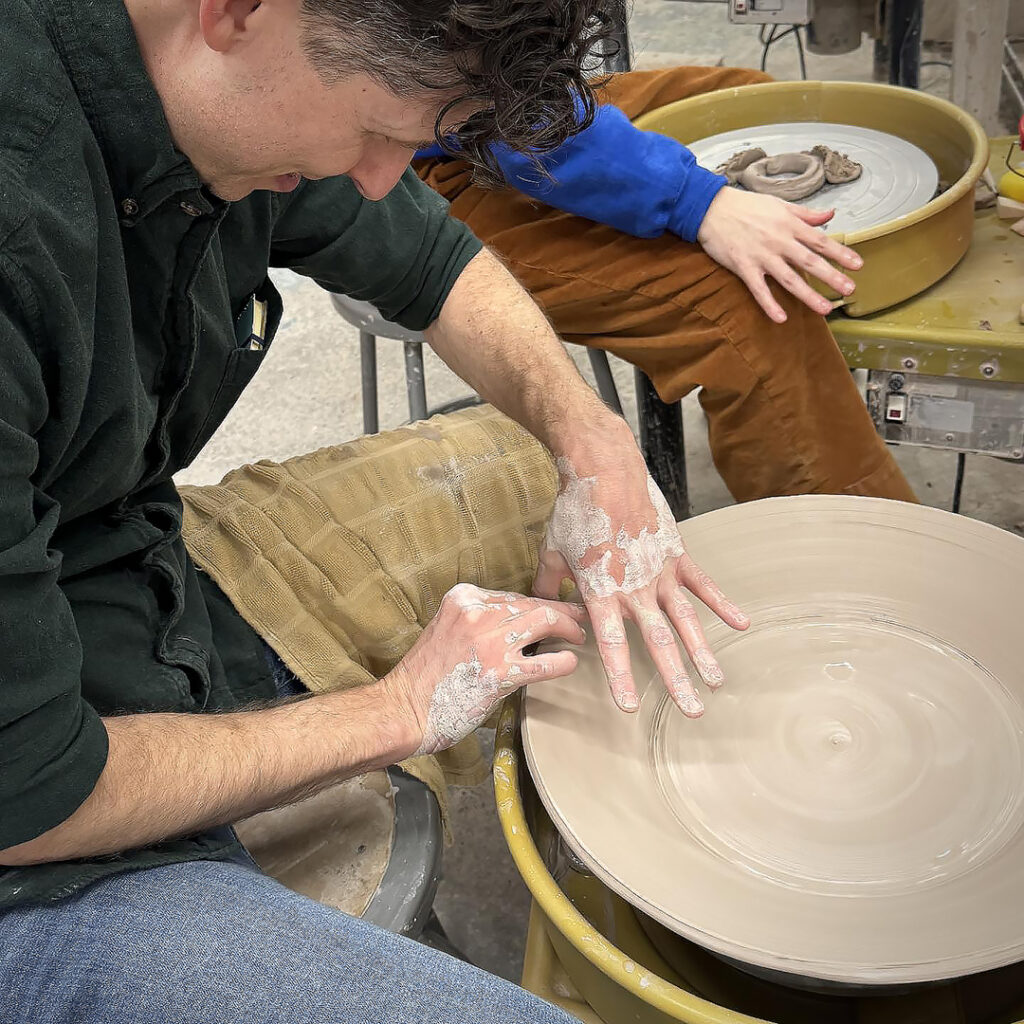
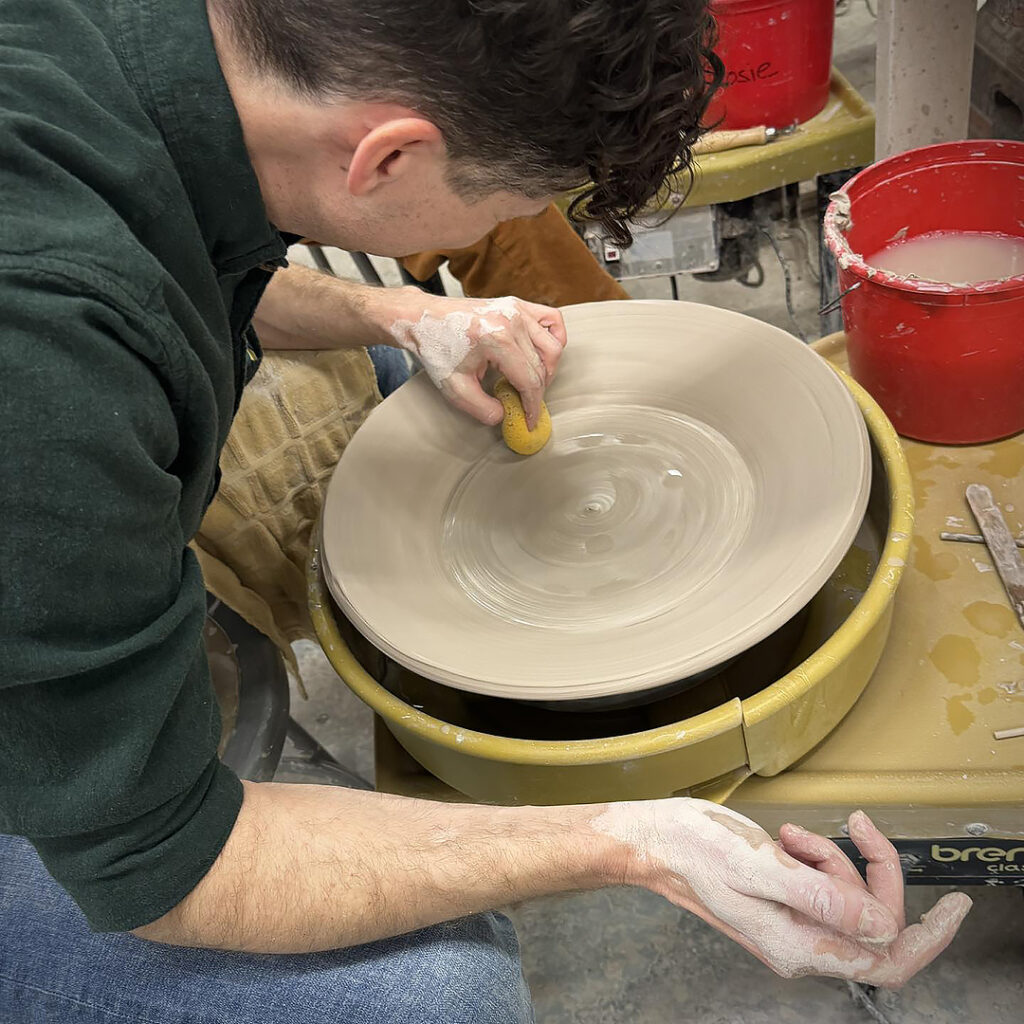
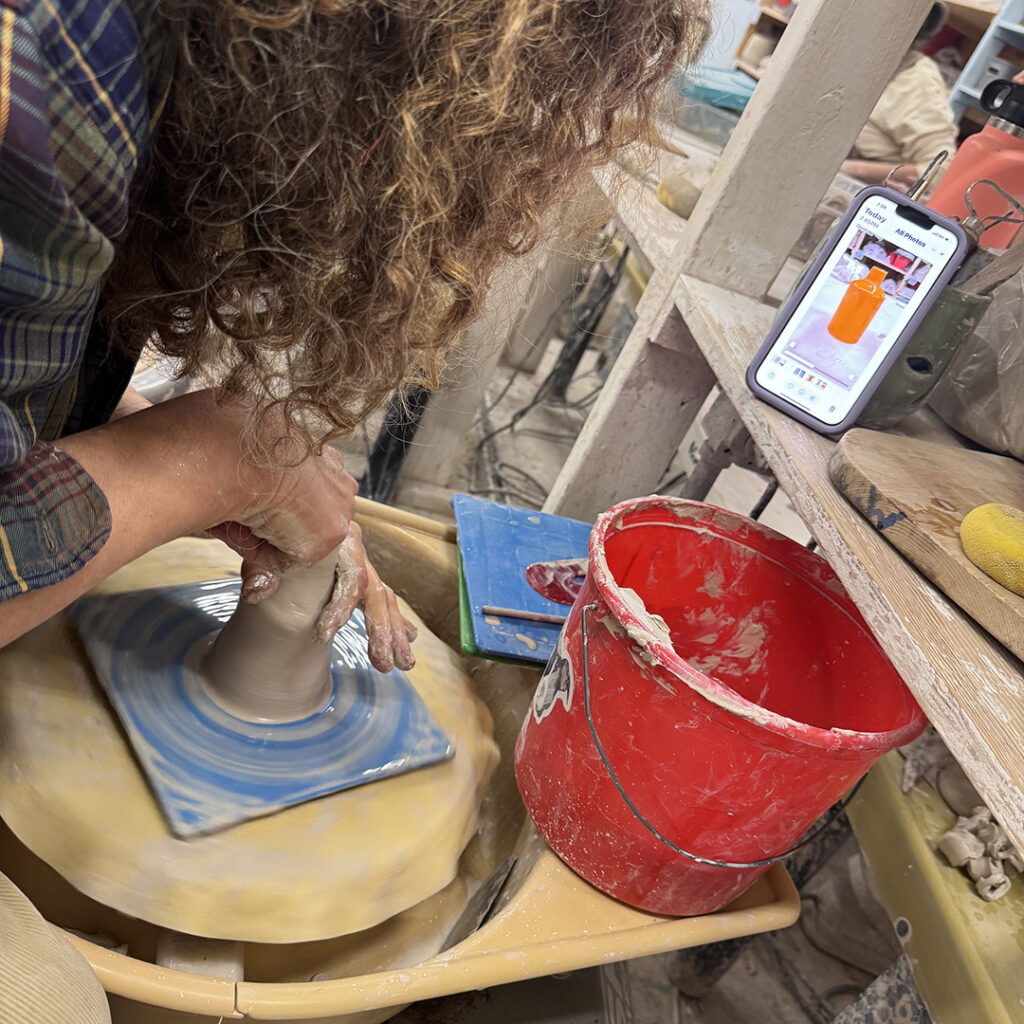
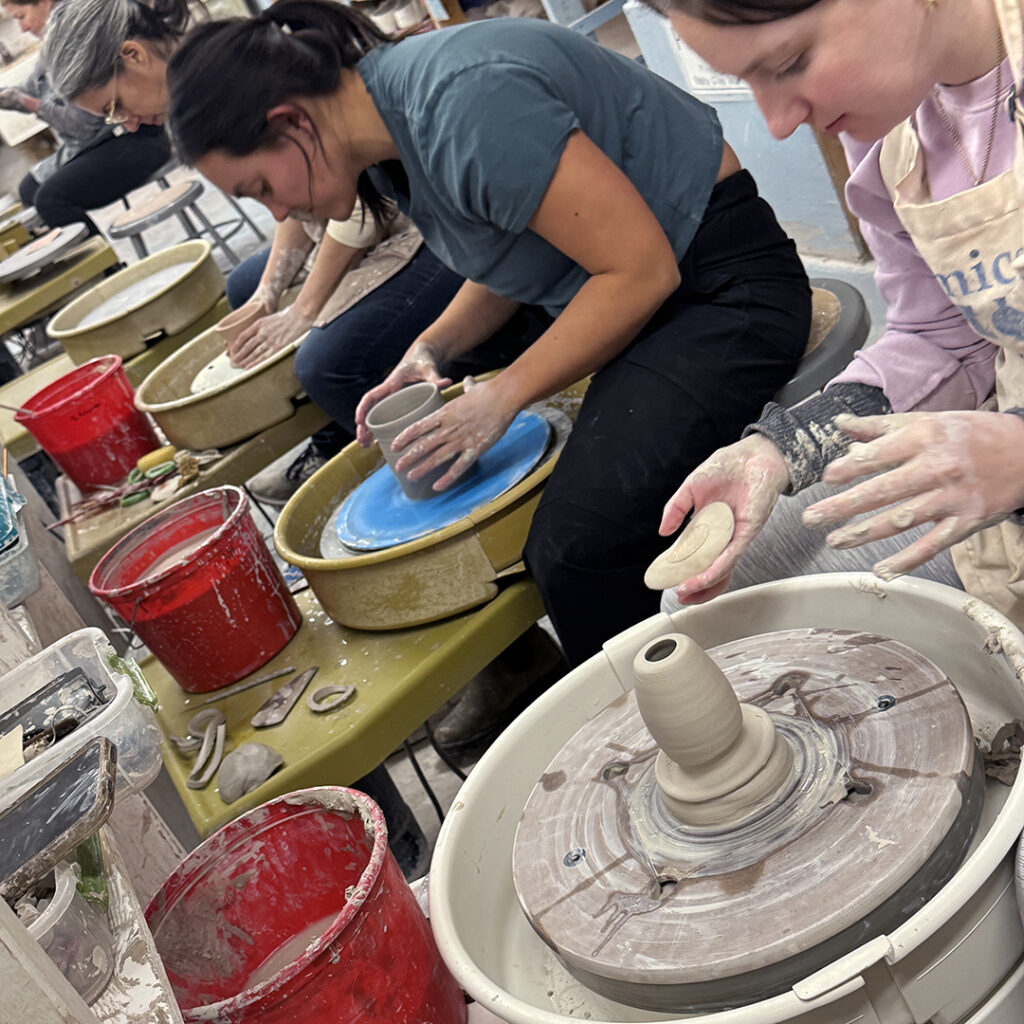
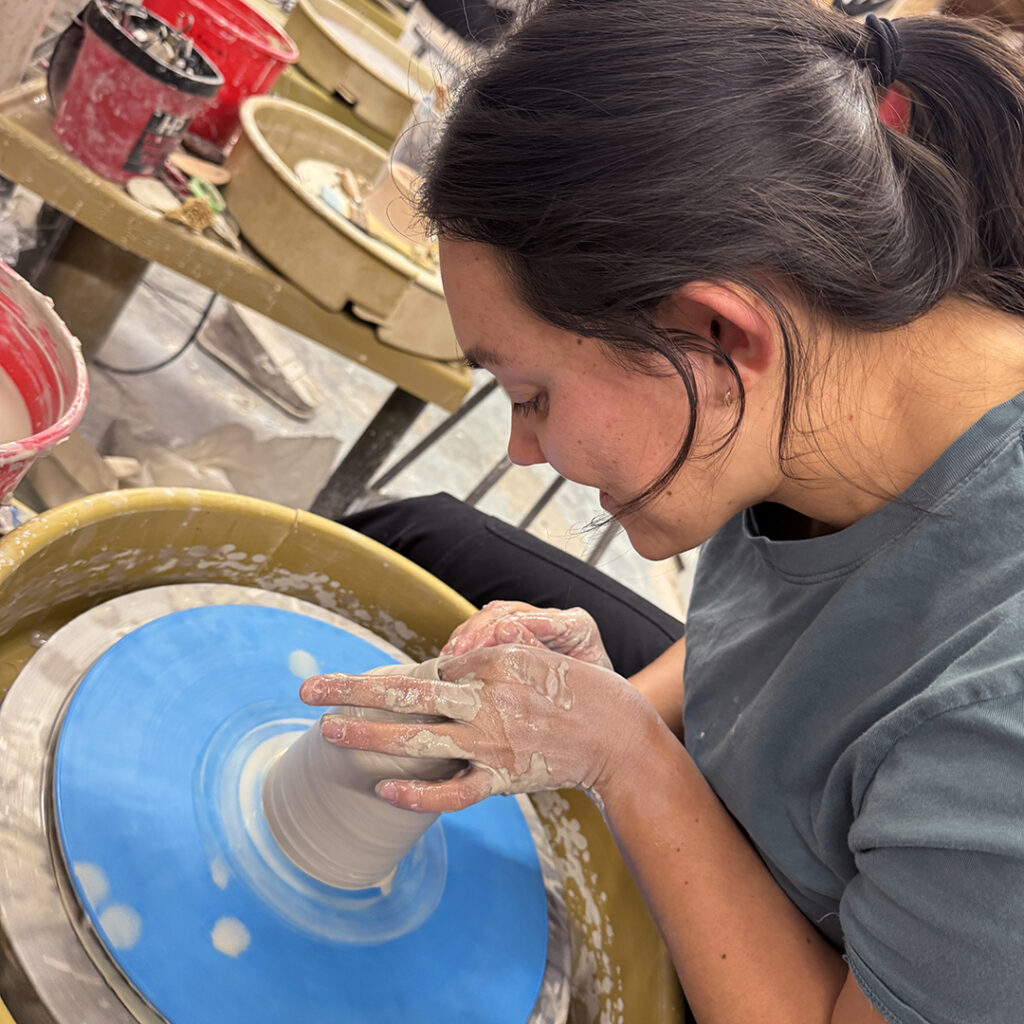
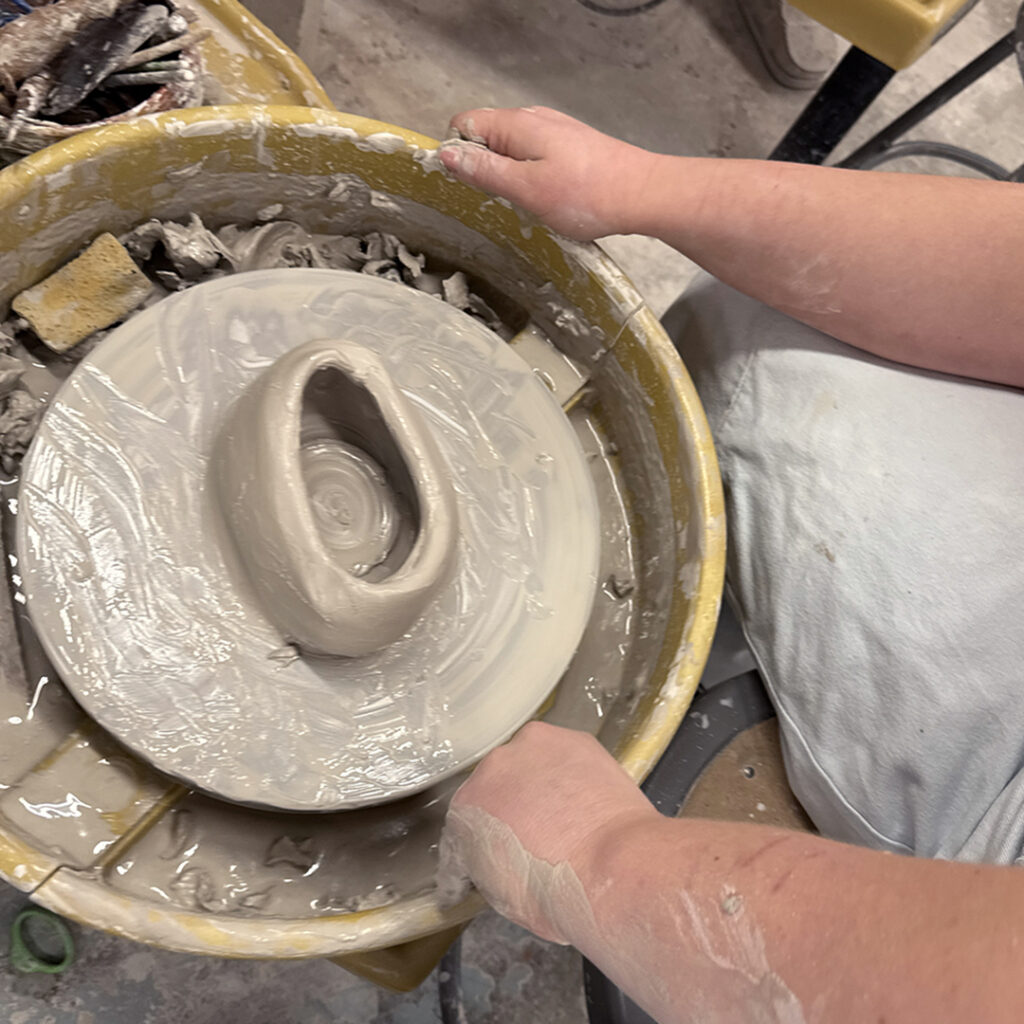
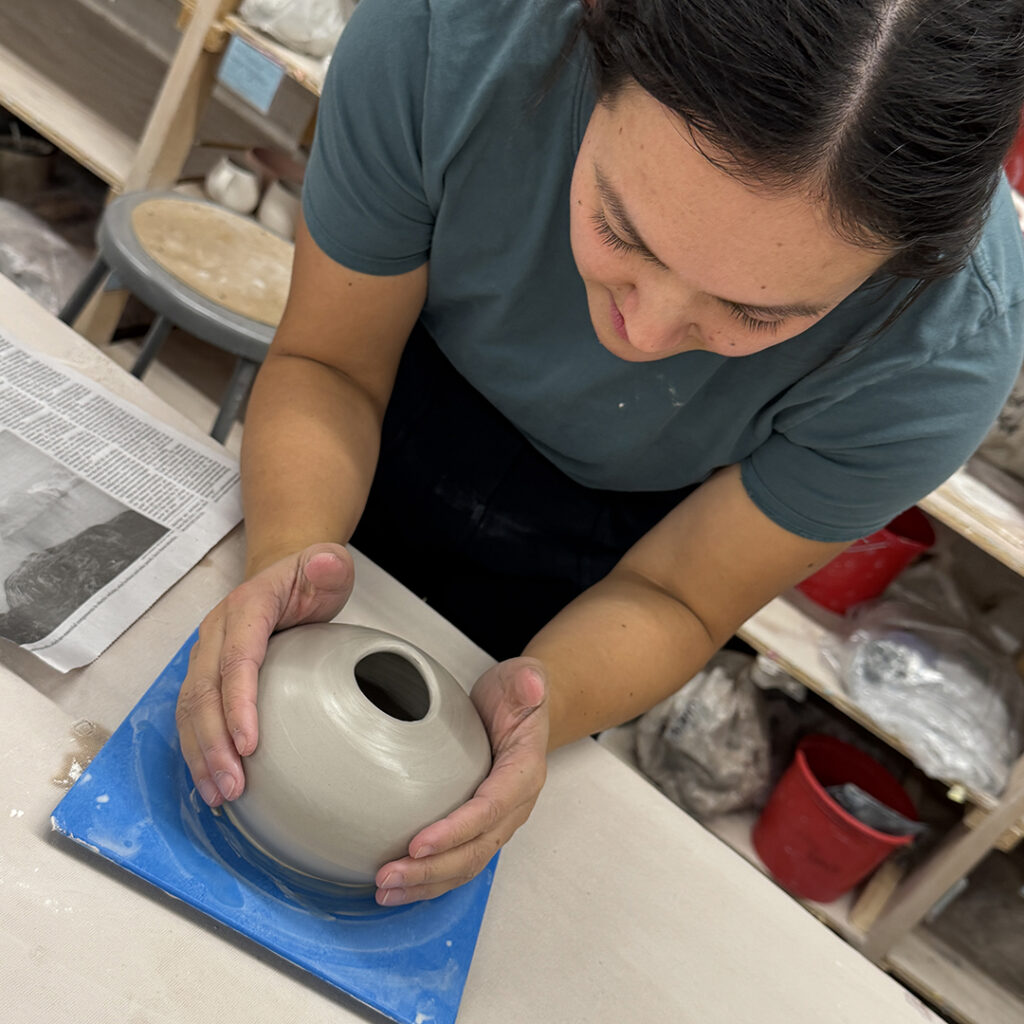
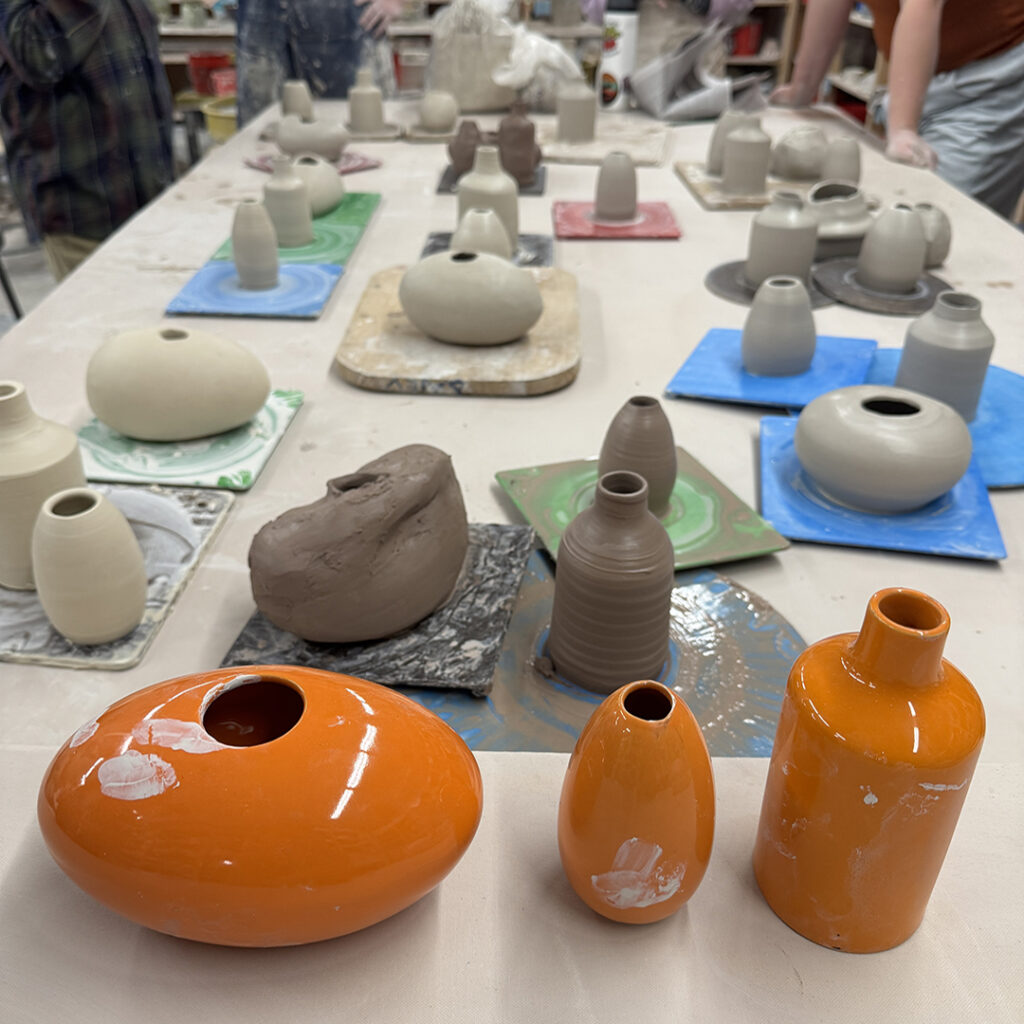
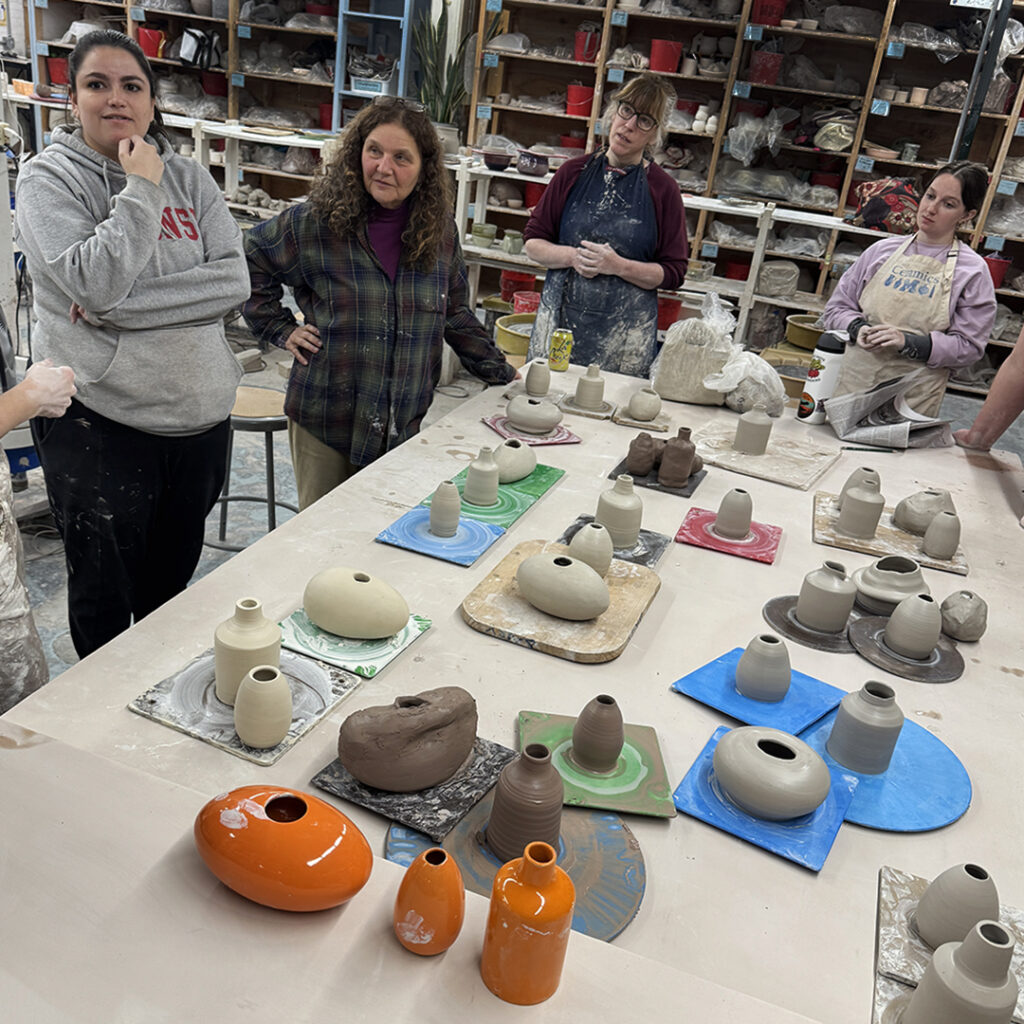
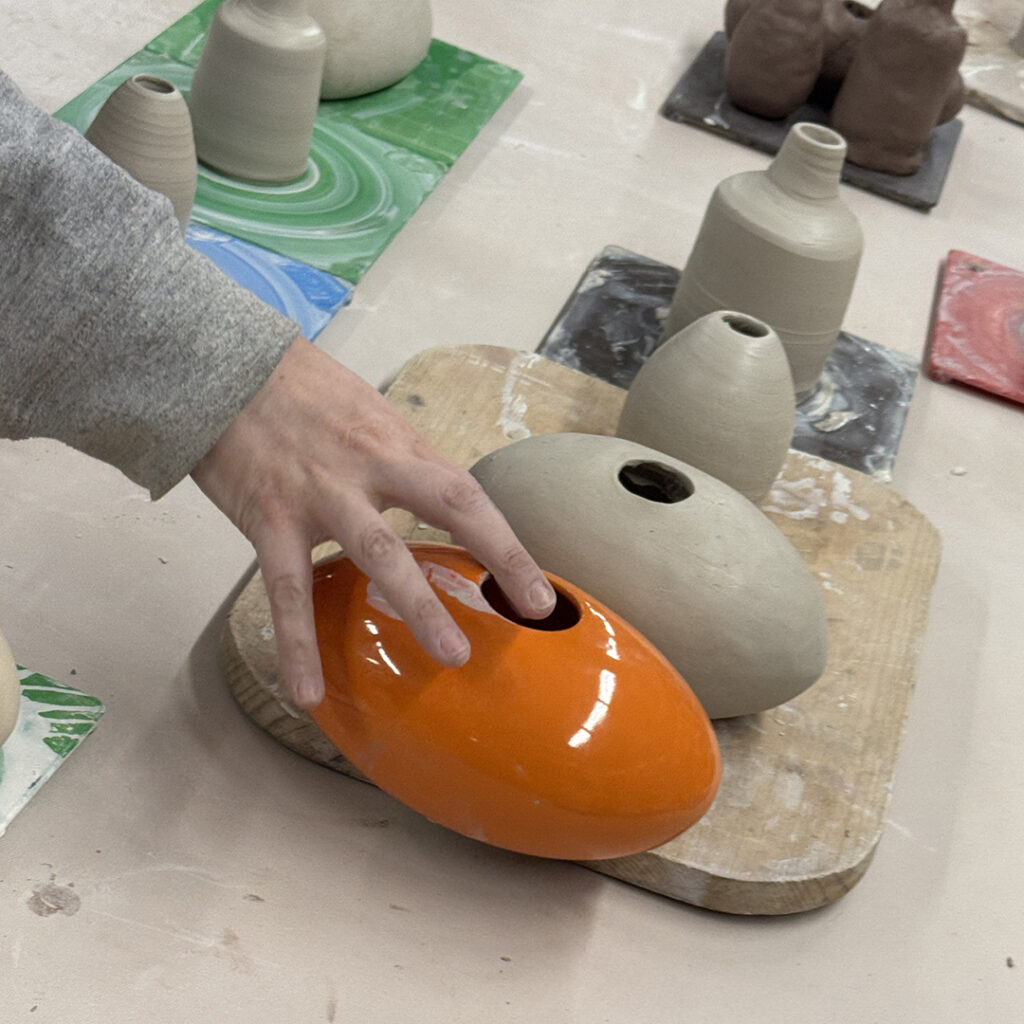
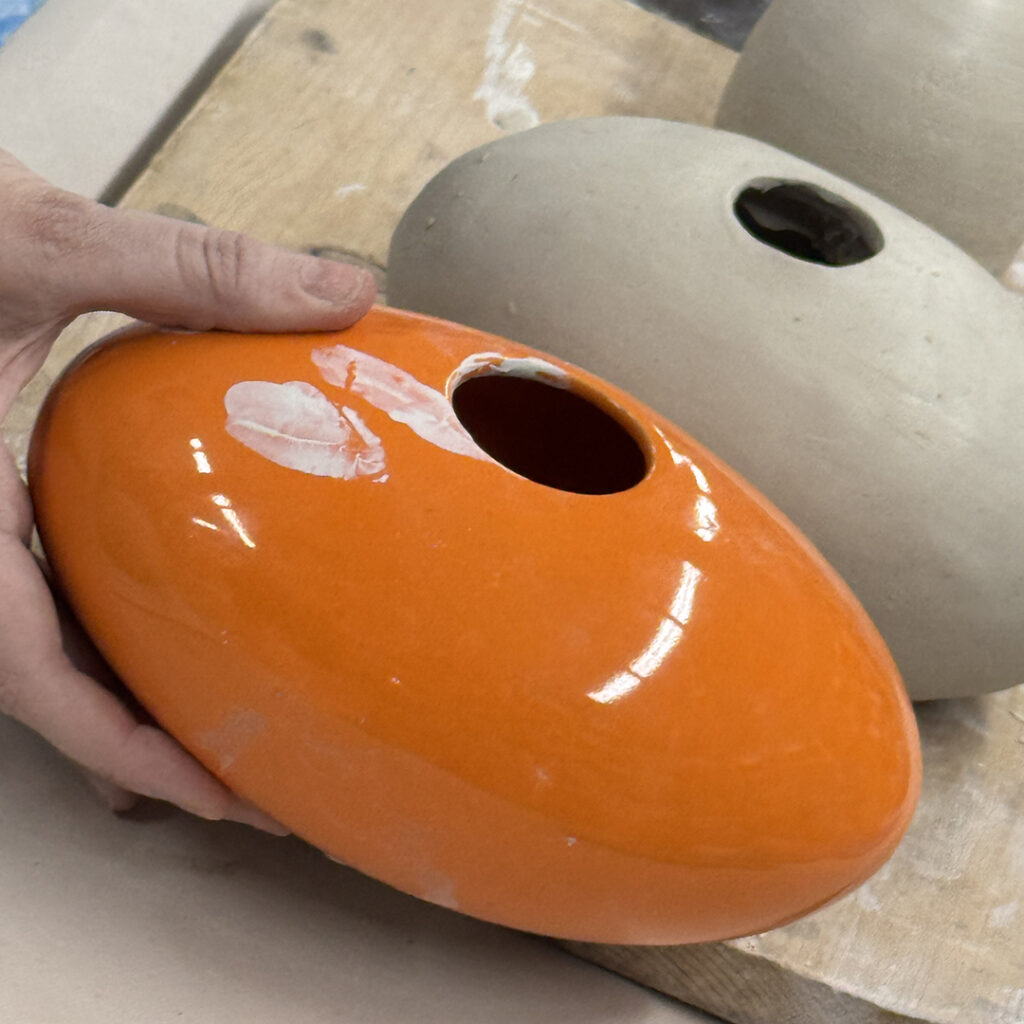
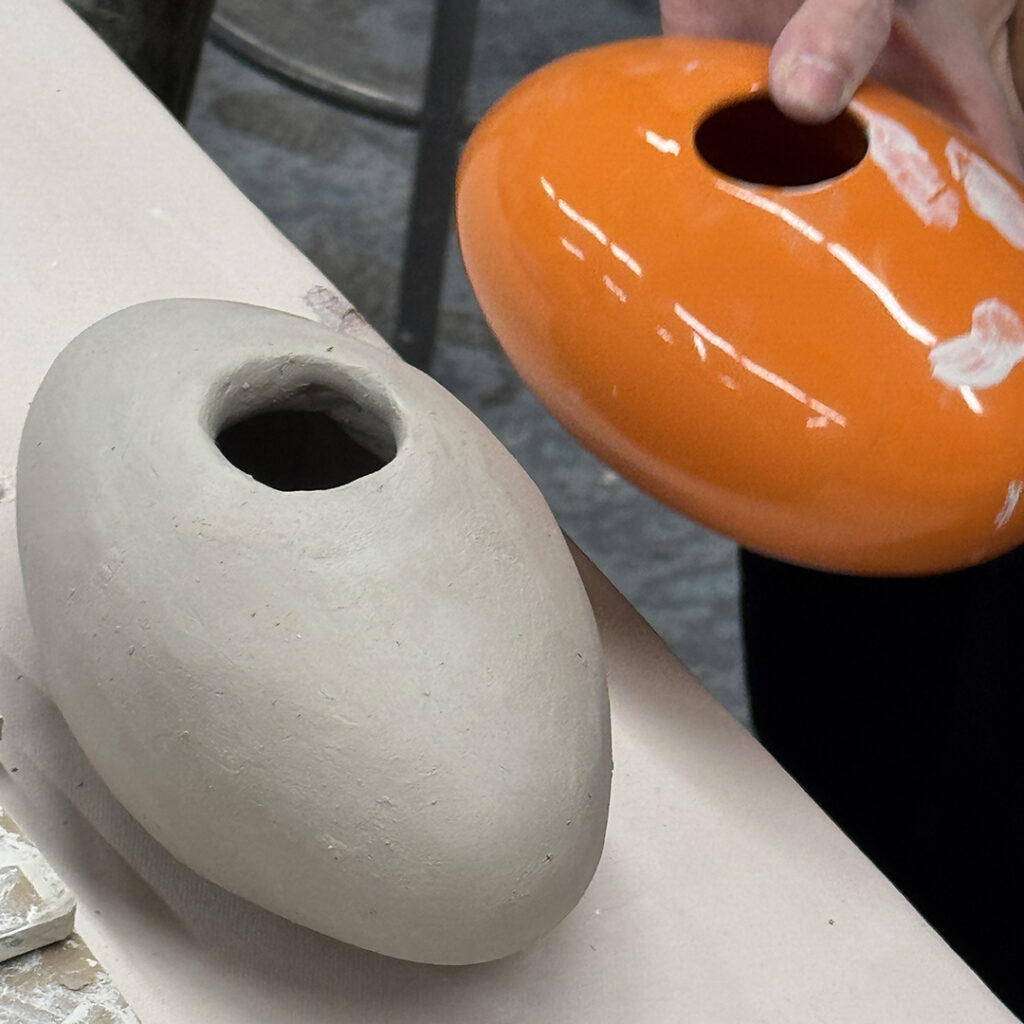
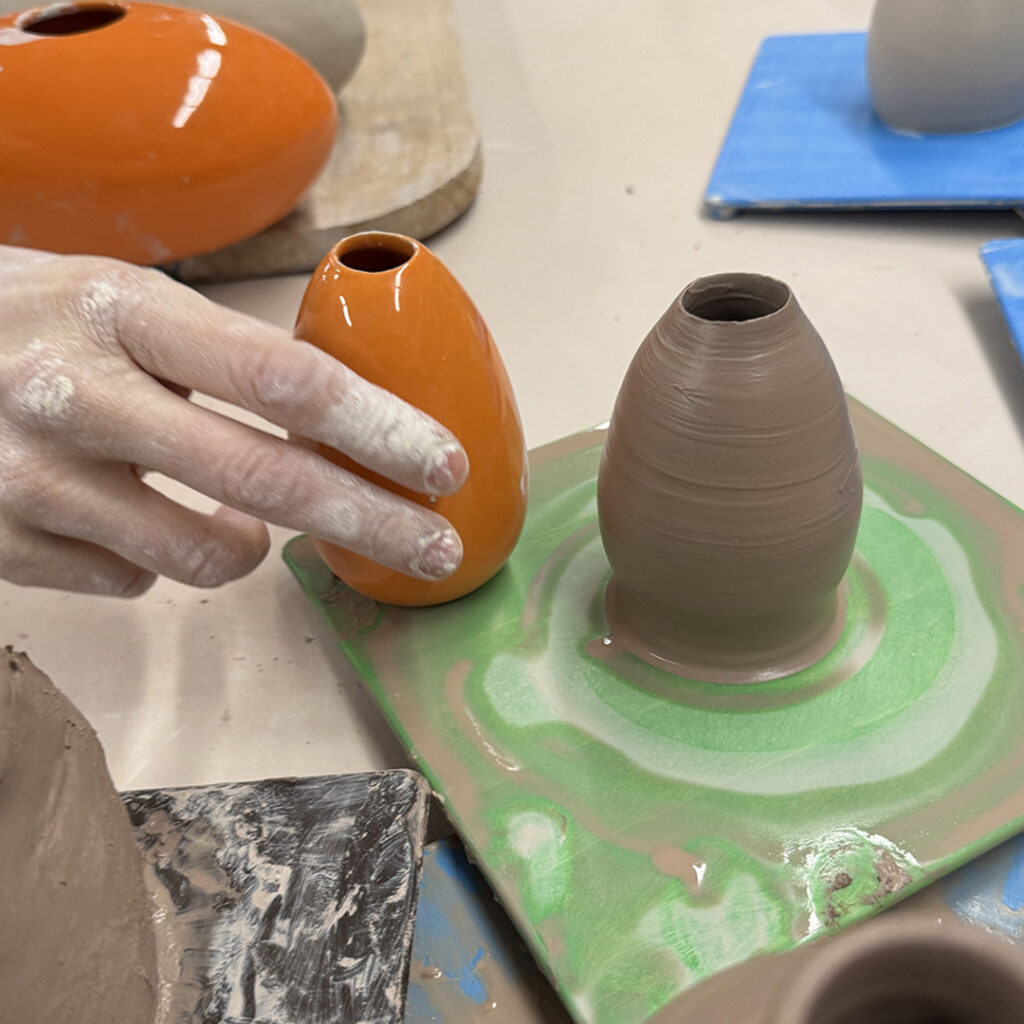
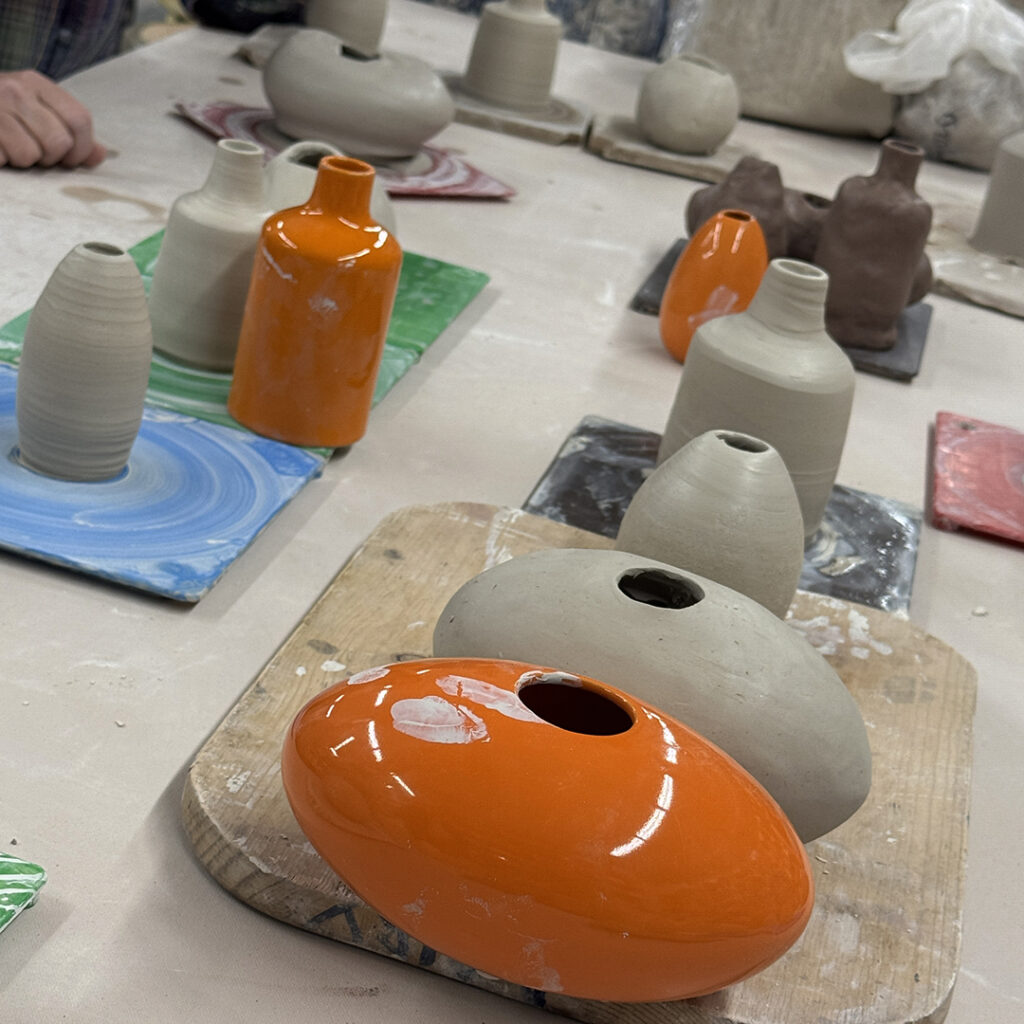
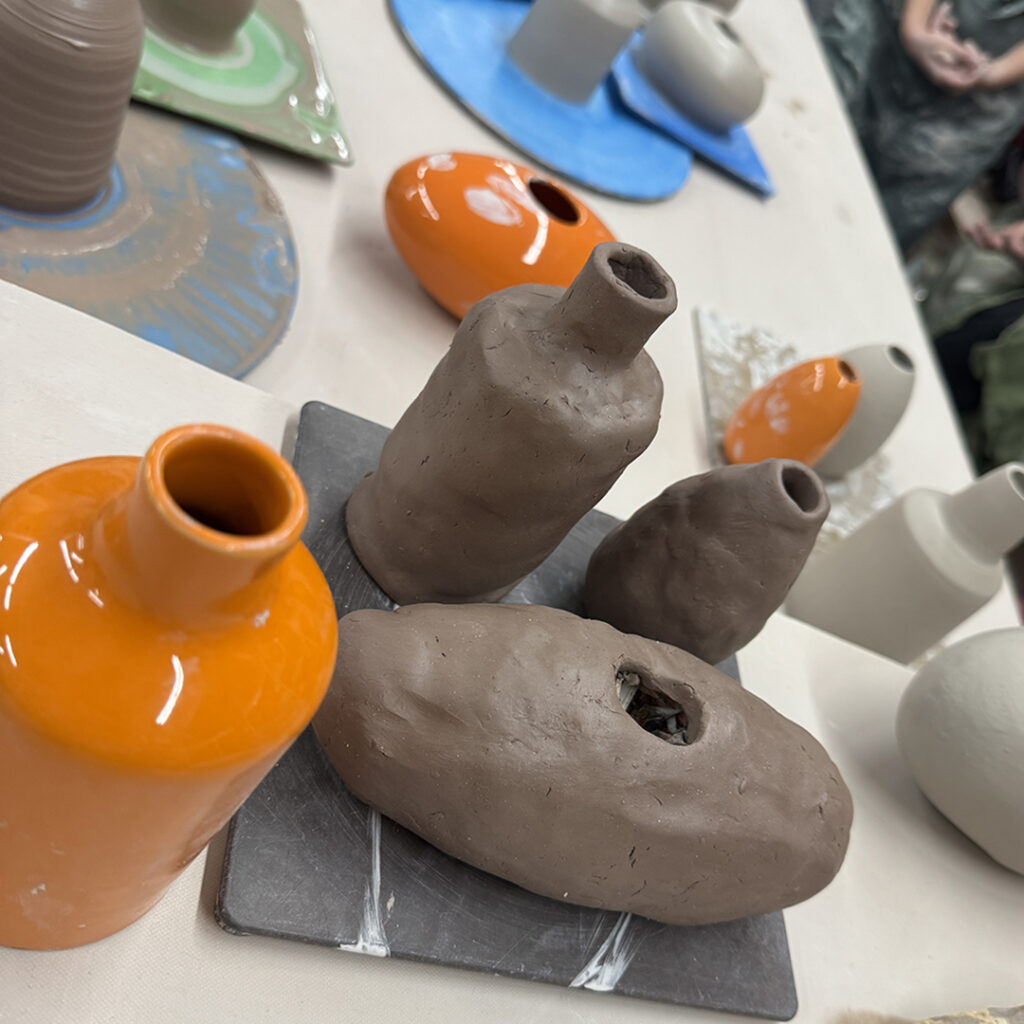
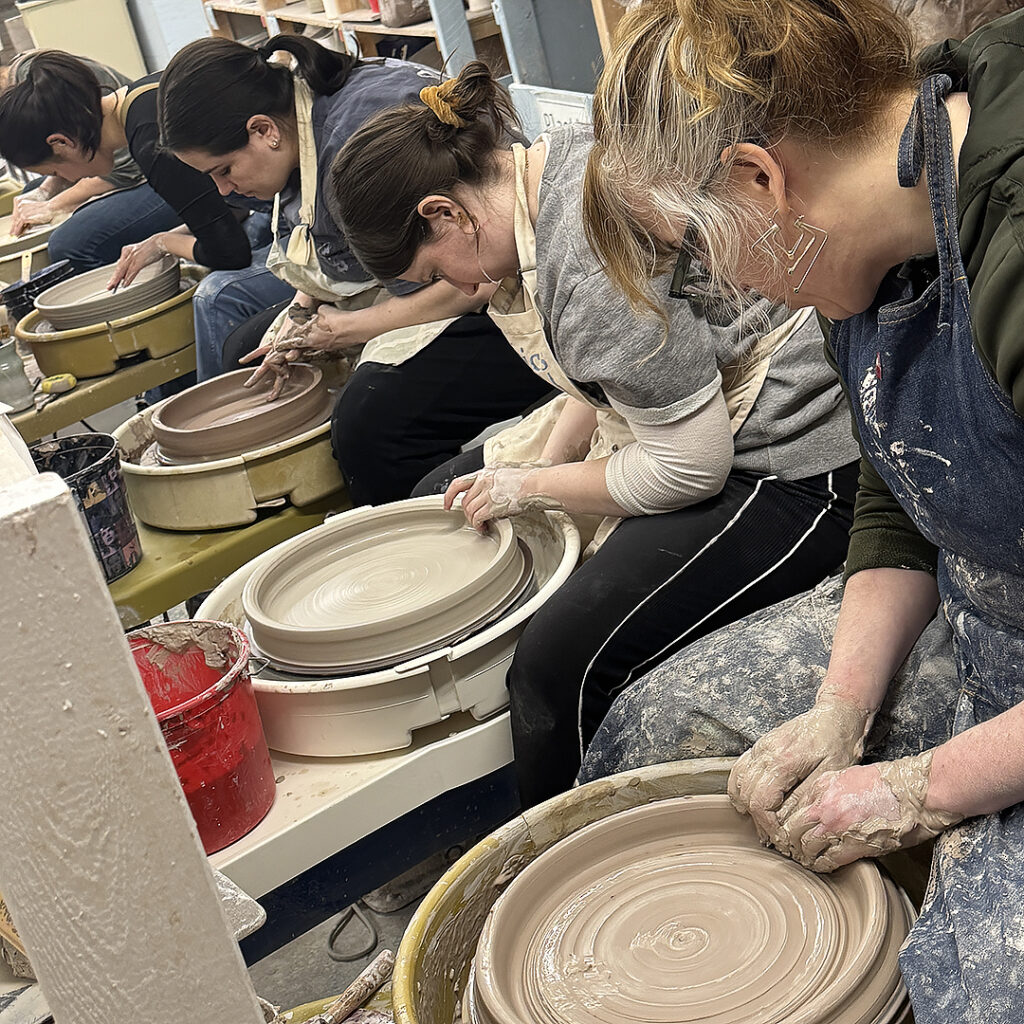
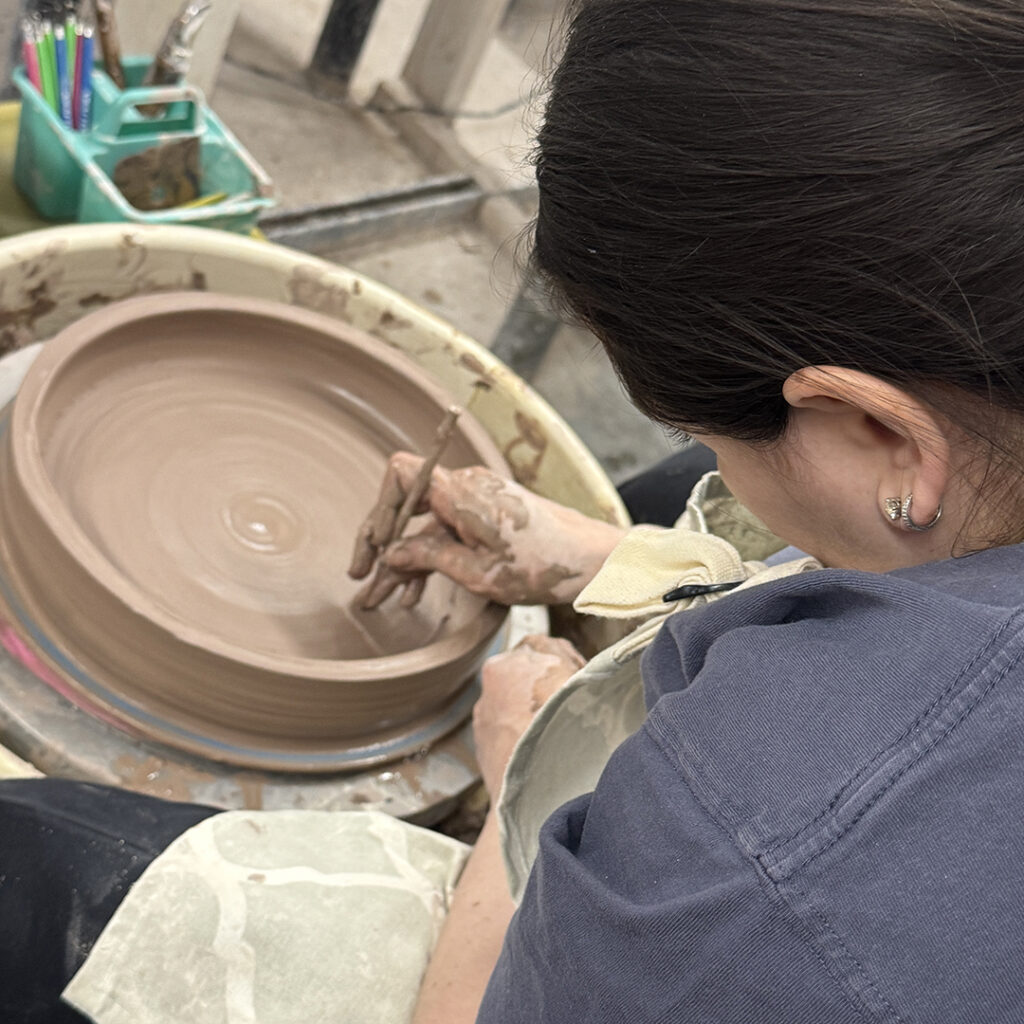
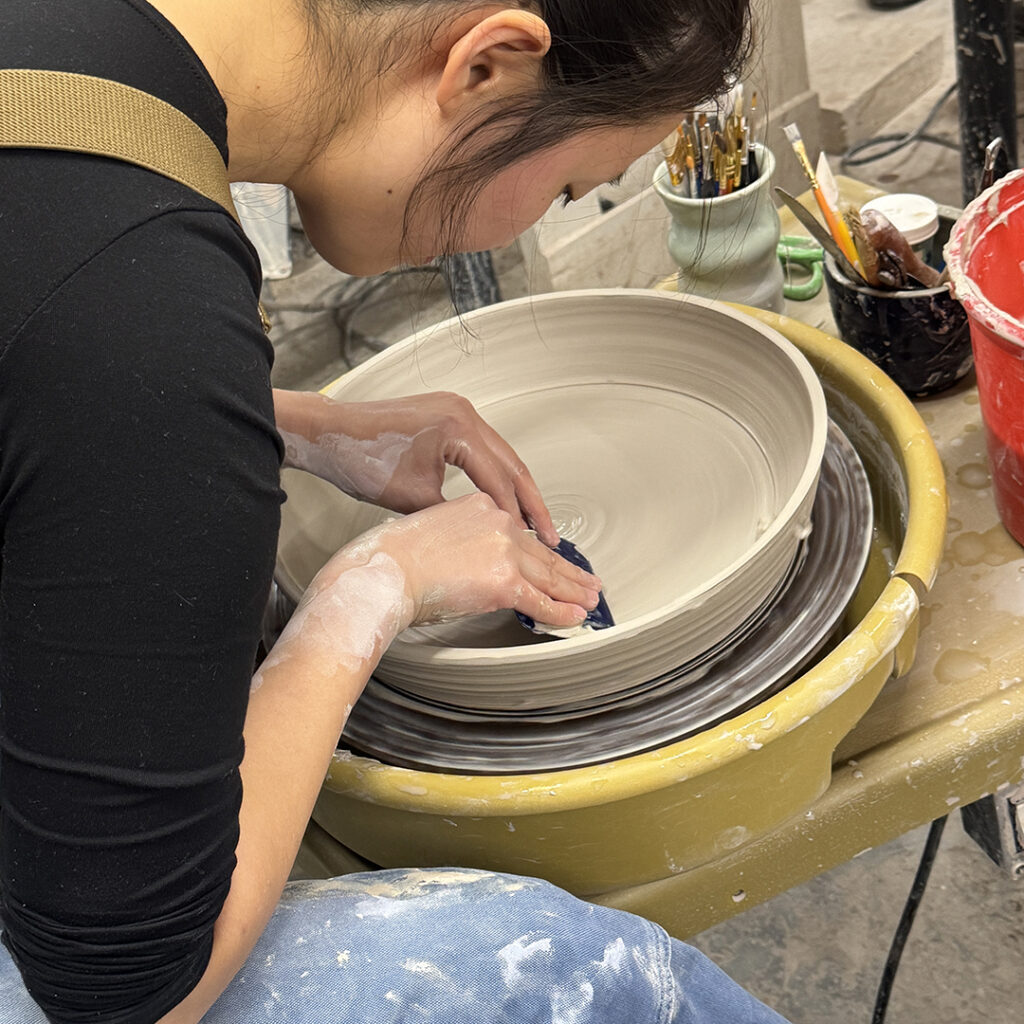
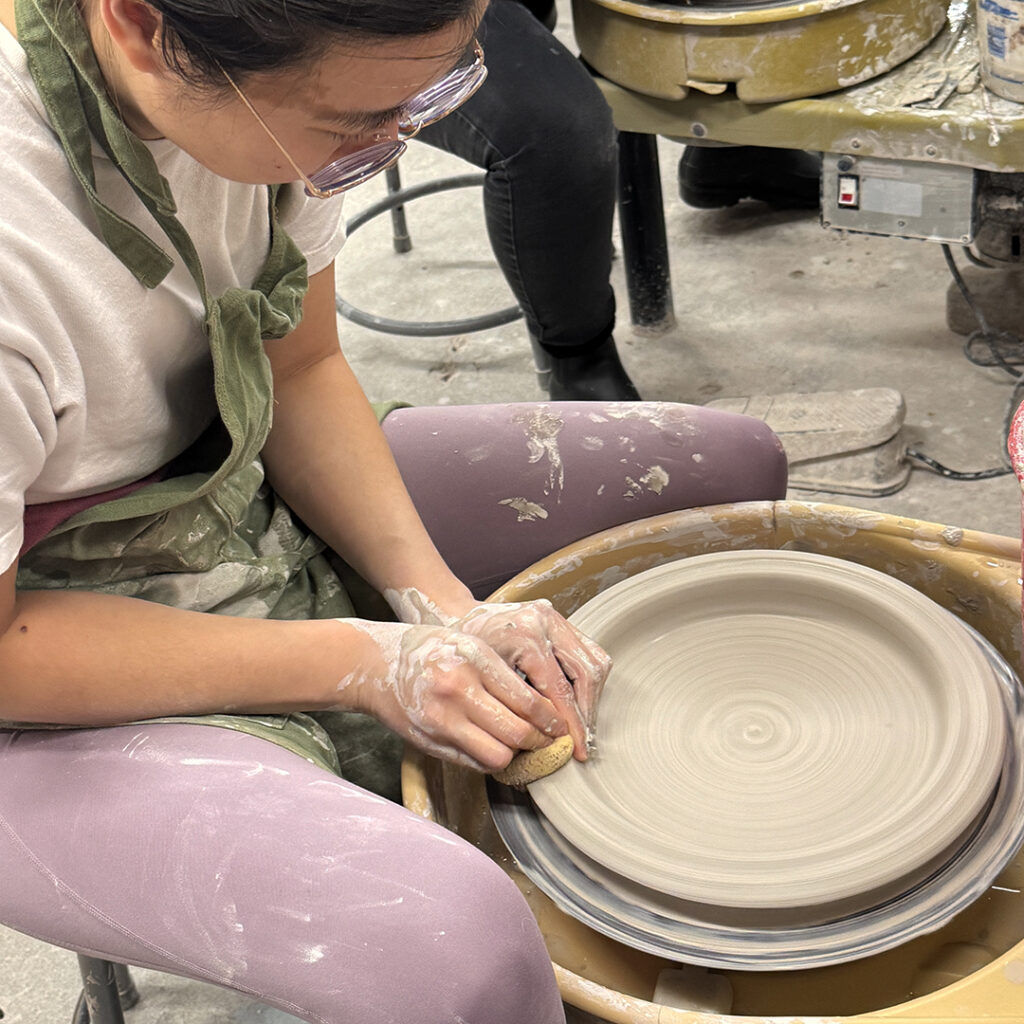
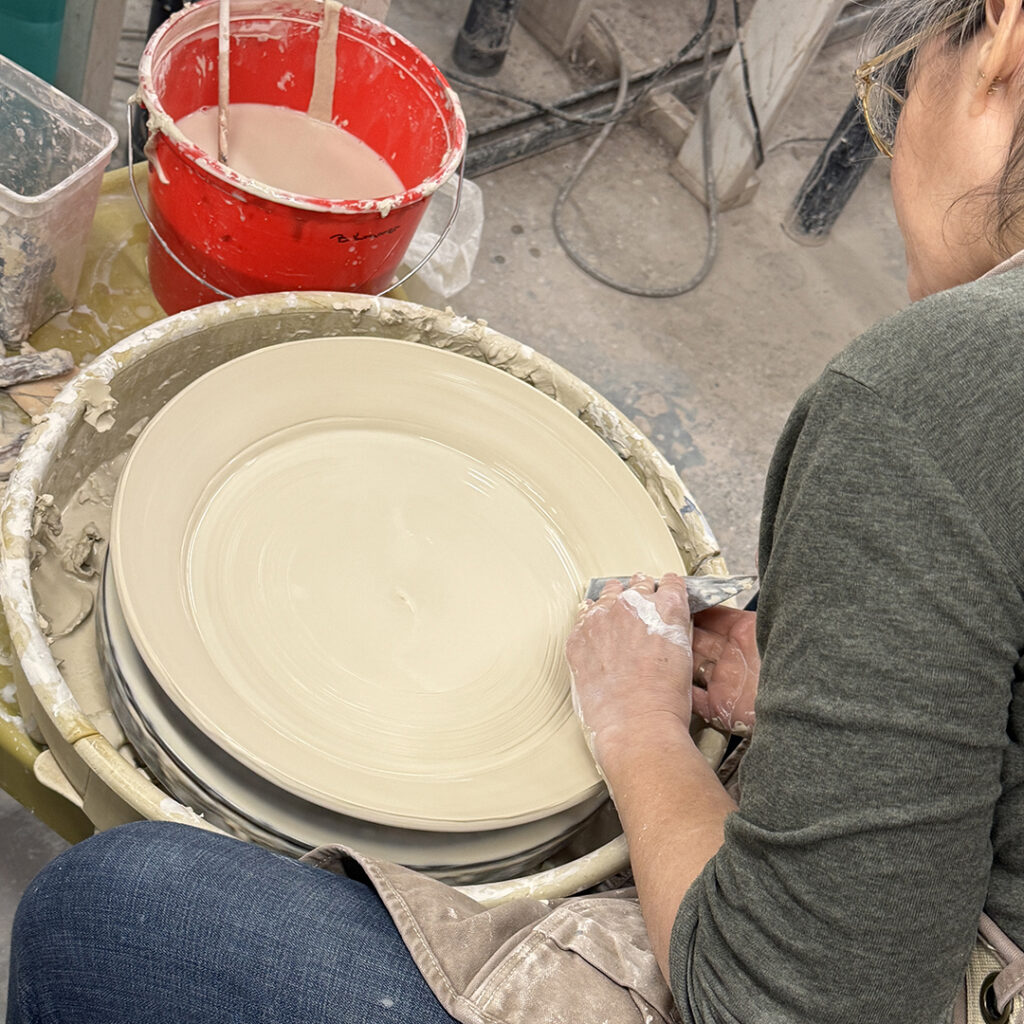
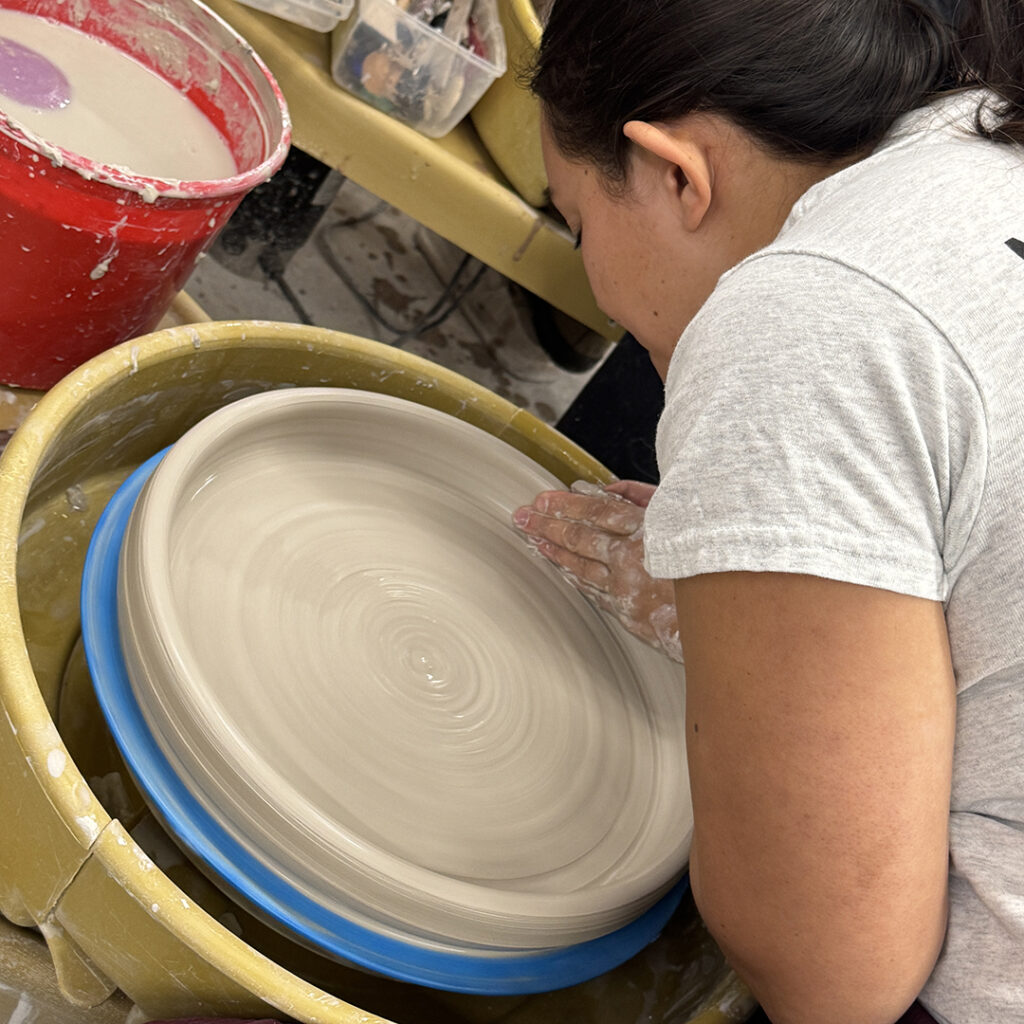
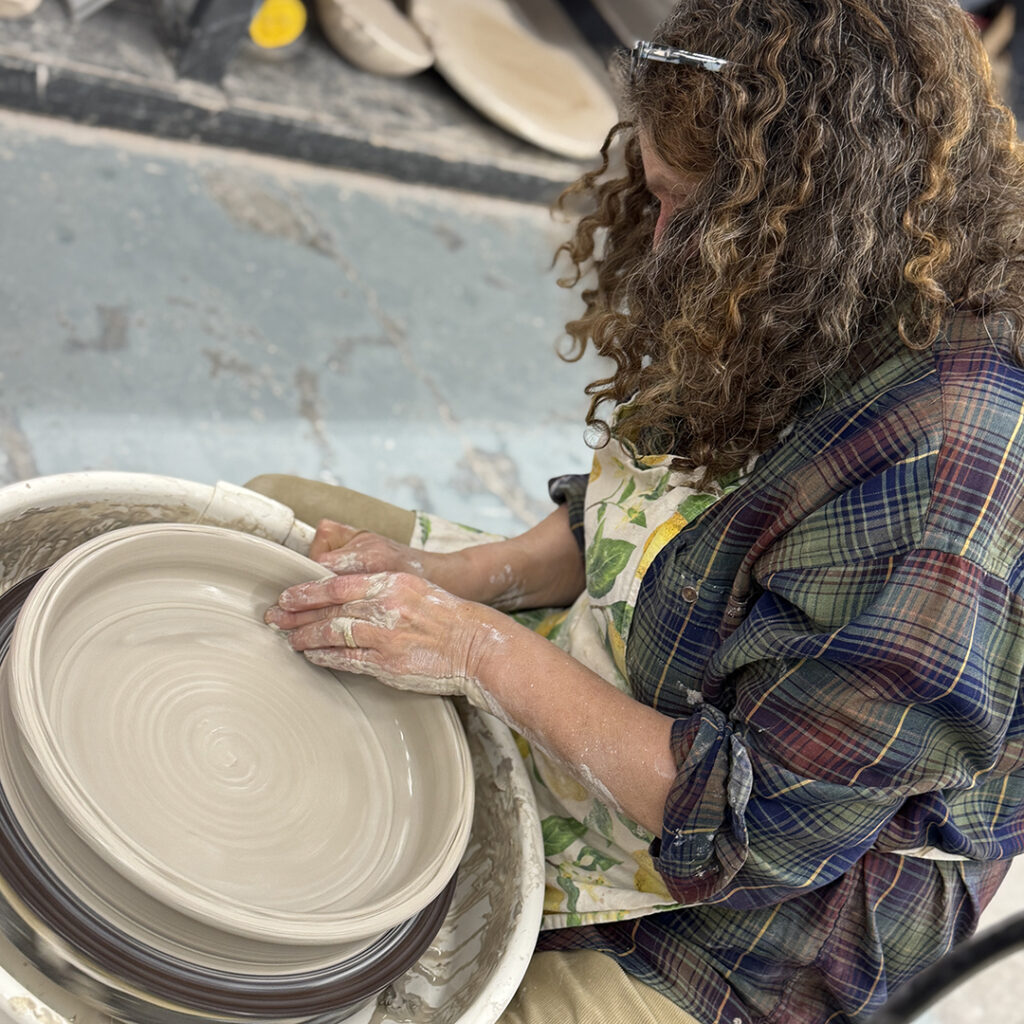
Gary Jackson: Fire When Ready Pottery
A Chicago potter’s somewhat slanted view of clay & play
Categories: challenge, handbuilding, lillstreet, wheelthrowing

This past week in my GREAT LILLSTREET THROWDOWN class, my students tackled their “last” big class challenge as we are sadly nearing the end of the class session. They’ve done handbuilding challenges, they’ve done wheelthrowing challenges… they’ve played silly games & posed for silly pictures! It has been a great class session with GREAT students in class this time around.

So to top things off… I decided to challenge them with something they “never saw coming!”

BLINDFOLDS!!!

I had them separate into teams by randomly rolling dice. They then got matching color bandanas as blindfolds… and the one who had a small safety pin on it had to go first. So they put their blindfolds on… and stood there while their partners found out what their task would be. They each rolled some dice to find out what number their team would be throwing!

And then they set-off to do their best… one throwing blindly with just their partner to describe & paint a mental picture of the outcome!

And then, after the throwers had made their shapes as best they could… and the timer went off… we switched places. The ones doing the describing put their blindfolds on, as the wheelthrowers took theirs off. Only then did they find out that the newly blindfolded members would now be responsible for refining the shape and adding handles to match the original pictures. Okay, sure… maybe I drew some of the handles in…

And again, when the time was up… the teams brought their final pieces to the table for critiques, judging & admiration. I think everyone had a good time with this challenge. There was a LOT of laughter along the way!

Categories: challenge, lillstreet, wheelthrowing

Last week in our LILLSTREET THROWDOWN class, I challenged my students to throw their most “perfect” mug-shaped cylinder. After they had shaped, grooved & “perfected” them… they brought them all to the table thinking they were done!

Only THEN did they find out that the REAL challenge was that they had to throw as many “matching” cylinders as they could… at HALF THE SIZE!!! Yep, smaller versions thrown off-the-hump. So those who made their original cylinders more shapely or decorated, now had to make them smaller too! Some people had never thrown-off-the hump, so I did a quick demo… and then the challenge started!!! At the end, they only got points for the cylinders that were deemed “matching” at half the size by the group!

Categories: classes, pottery, soda-fired, wheelthrowing

So when I said there were some “treasures” from the LILLSTREET SODA-FIRING WORKSHOP… I should have mentioned some of the TINY treasures too! Lillstreet has been offering some classes now using the miniature wheel making miniature pots. Lillie has been teaching them how to make tiny pots with tiny handles & tiny details. Well, Ruth took the class and decided to soda-fire some of her tiny pieces! And they might just be the CUTEST soda-fired pots EVER!!! Well done Ruth!

I mean… c’mon… could they BE any cuter?!

Categories: handbuilding, mugs, patterns, textures, wheelthrowing

Pretty excited about this first batch of “hybrid” mugs… half wheelthrown, half handbuilt… using my new MKM Pottery Tools for some great patterns & textures. I’m pretty sure the soda kiln is going to LOVE making all of these textures really pop!!!

Categories: platters, wheelthrowing

Kind of enamored with this platter that I threw as a class demo in a recent class. I think it’s all about the lighting!!! It’s a bit of an optical illusion… is the spiral indented or raised up?! You know how I LOVE a good spiral!

Categories: classes, platters, wheelthrowing

Last Thursday during my GREAT LILLSTREET THROWDOWN class, I challenged my students to throwing a six-pound platter in twenty minutes. Larger than most of them have ever thrown… and one has “never” thrown… so overall I was quite impressed & they all did an AMAZING job with this challenge.

Categories: bowls, classes, surface decoration, wheelthrowing

Well, it’s that time of the session… time to show my Beginner’s how to throw a bowl on purpose instead of a cylinder gone bad. So I started class with a demo on how to make a bowl with a nice even curve through the interior… with no flat bottoms, no corners, no beginner bumps or identations. I remind them that they need to throw the interior of the bowl as smooth as they can… and then we’ll trim the exterior later to “match” the inside curve.

After I did my first demo… they all went back to their wheels to give it a go! And I might have thrown “a few” more…

When I finished throwing my demo bowls, we reassembled for Part Two of the demo. A little fun in how we can alter & decorate the bowls. Trying to give them a few tips, tricks & techniques to make their pottery more of “their own” instead of the round thing the wheel made for them. How to put their own creativity into their work. I stressed that they don;t need to do any of these techniques… but please feel free to PLAY more with your clay!!! And that bowls don’t always need to be round!!!

Bowl #1 – Plain
This was the first one… the “control” bowl… so we left it plain for comparison.

Bowl #2 – Four Fluted Edges
With a simple finger flick, I made four fluted areas. One finger inside, one finger outside… pinch & twist.

Bowl #3 – Eight Fluted Edges
And if four are nice, maybe eight are even nicer!

Bowl #4 – Flared Flange
With one finger stationary on the exterior, I just flared out the top edge over that outside finger… and curved it up just a little.

Bowl #5 – Wider Flange & Fluted Edges
Combining a flared flange… but deeper now… with some fluted edges for fun!

Bowl #6 – Split Rim with Pinches
With my wooden knife, I used the pointed tip to split the rim of the bowl. And then I pinched it back together in eight places.

Bowl #7 – Split Rim, Pinched & Curved
Same idea as the previous split-rim bowl… but this time I curved it outwards in between the pinches.

Bowl #8 – Split Rim Quatrefoil
After splitting the rim, I used the side of my wood knife to press it inwards in four places… no one ever said a bowl HAS TO BE ROUND?!!!

Bowl #9 – Quatrefoil Pressed Outward to Lotus
Same as Bowl #8… but this time I used the same edge of my wooden knife to press outward in between the inward pinches… kinda squaring-up the bowl.

At this point, I introduced using colored slip as an option for surface decoration. I explained that it is basically a “skin” of colored clay that you can paint on to change the color of the surface of your clay. You can cover it all, cover parts of it or paint patterns & pictures!

Bowl #10 – White Slip Coverage
I just painted the interior of this bowl with a simple layer of white slip to demonstrate how it will look different after glazing. Same glaze color.. . but lighter on the inside, darker on the outside.

Bowl #11 – White Slip Spiral
A solid coat of white slip, then dragging the rounded end of my wooden knife through while the bowl was spinning on the wheel.

Bowl #12 – White Slip Banding
Horizontal banding… leaving a wide space that “might” be carved with a pattern later?! A solid color layer, then removed by dragging the rounded end of my wooden knife through in bands.

Bowl #13 – White Slip Squiggles
A thick layer of white slip, then a little finger-painting… squiggling back & forth as the wheel turns.

Bowl #14 – White Slip Stencil
With a torn edge of newspaper… I wet it then carefully pressed it onto the surface of the bowl. Carefully sealing down the edges by brushing white slip over the edges… and them covering the whole bowl surface. Once covered, I gently peeled away the newspaper to reveal the deckle-edge rectangle.

Bowl #15 – White Slip Chattering
After a thick coat of white slip, I did some rhythmic chattering through the slip with a green plastic rib. Gently tapping up & down, and up & outwards at the same time while the wheel is spinning.

Bowl #16 – Dragged Thru White Slip
With the edge of a green rib, I gently dragged through the slip vertically… and then did a little center circle to even out the bottom where the squiggles started.

Bowl #17 – Ombre Blended Slip
With a layer of white slip, I added a layer of iron red slip for a smooth ombre blend.

Bowl #18 – Ombre Spiral
After making the same ombre blend as Bowl #17, I dragged the rounded end of my wooden knife through both slips to make the spiral while the wheel was spinning.

So for now they’re all up in my studio ready to go under plastic wrap for the night. I’ll keep them covered so they can dry slowly to leather-hard… and then there might be some stamping, detailing & addition. Maybe… just maybe…

Categories: challenge, classes, wheelthrowing

After a couple handbuilding challenges, it was time for my THROWDOWN class to get back on the wheel. This time it was “tallest” wheelthrown cylinder with two pounds of clay! With a nice even rim… no pinching, stretching or adding onto the top to make it taller! Congrats to Claire, Katie & Alex for their tallest cylinders!

Categories: mugs, process, production, wheelthrowing

So it’s Monday… and it feels great to be back in the studio being productive again! Getting back into the groove!!! It was a long break, so it feels great to have my hands back in the clay! And to “practice throwing” again… as the new session of classes starts tonight at Lillstreet!!! And I don’t want to look too “rusty” for my Intermediate Wheel students tonight!!!

Categories: vases, wheelthrowing

Just a little early-morning wheelthrowing to kick-start the day!