Gary Jackson: Fire When Ready Pottery
A Chicago potter’s somewhat slanted view of clay & play
Categories: kiln firing, pottery, soda-fired, workshop

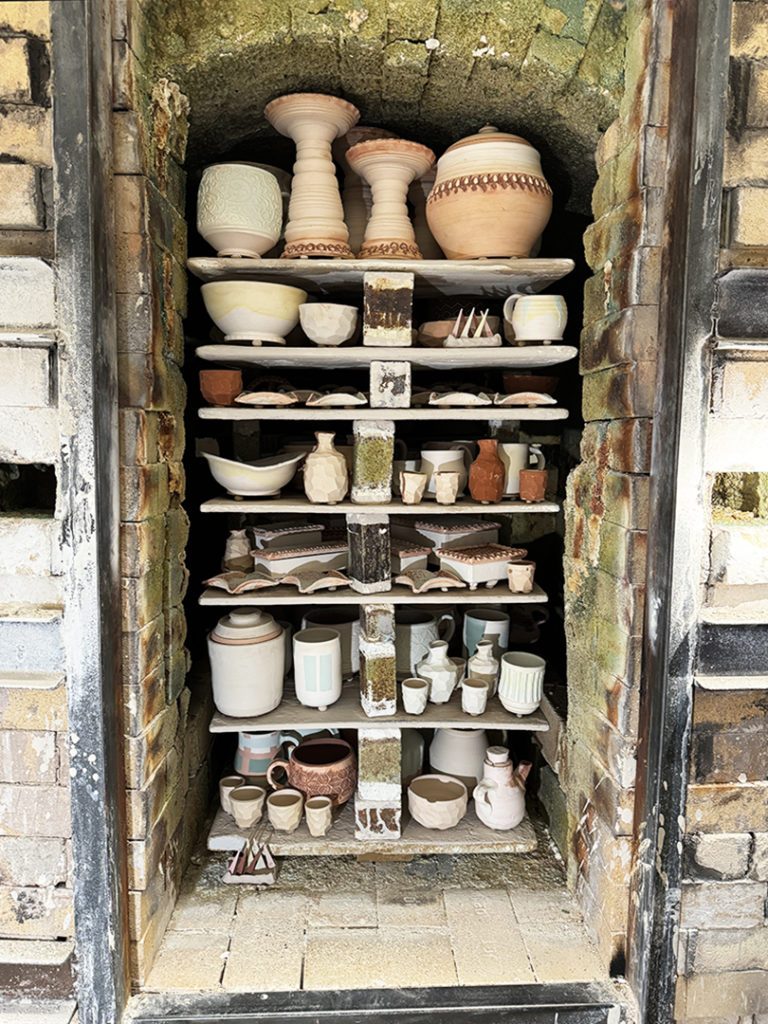
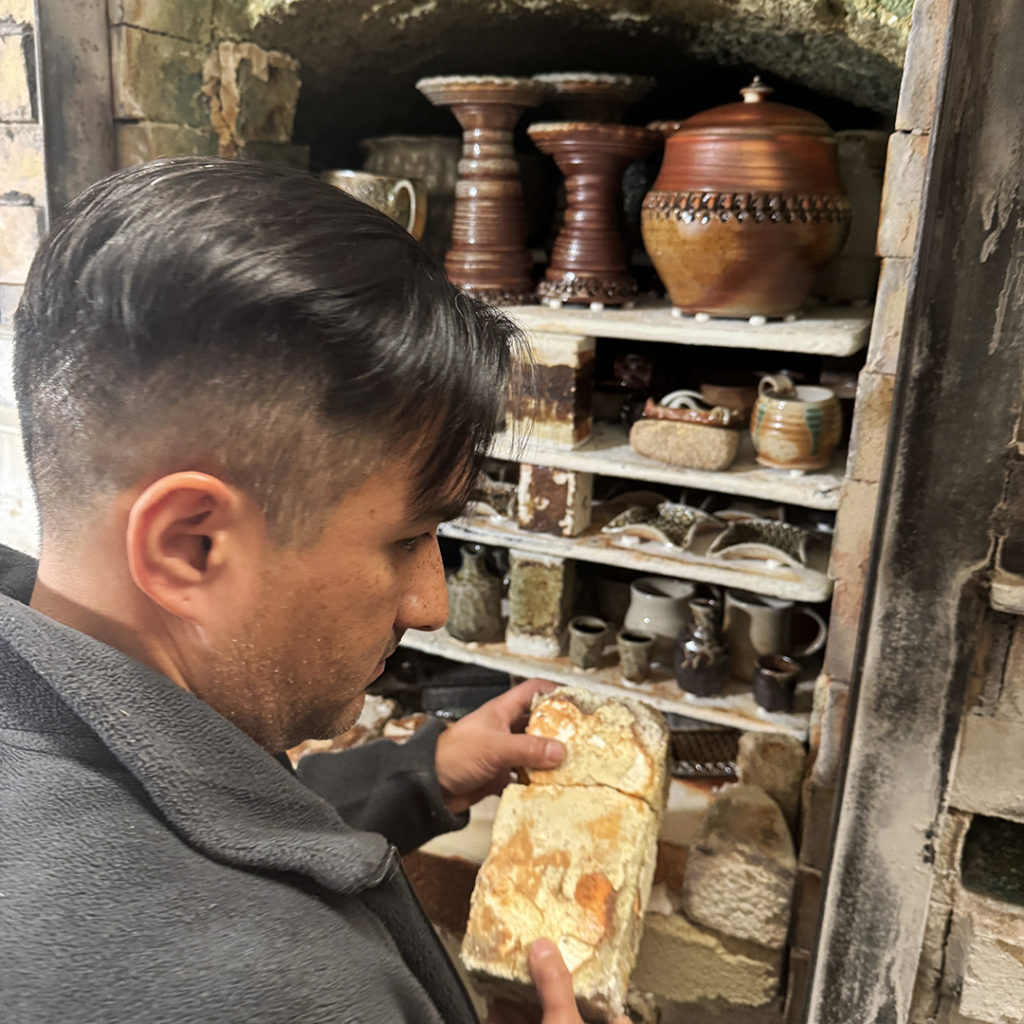
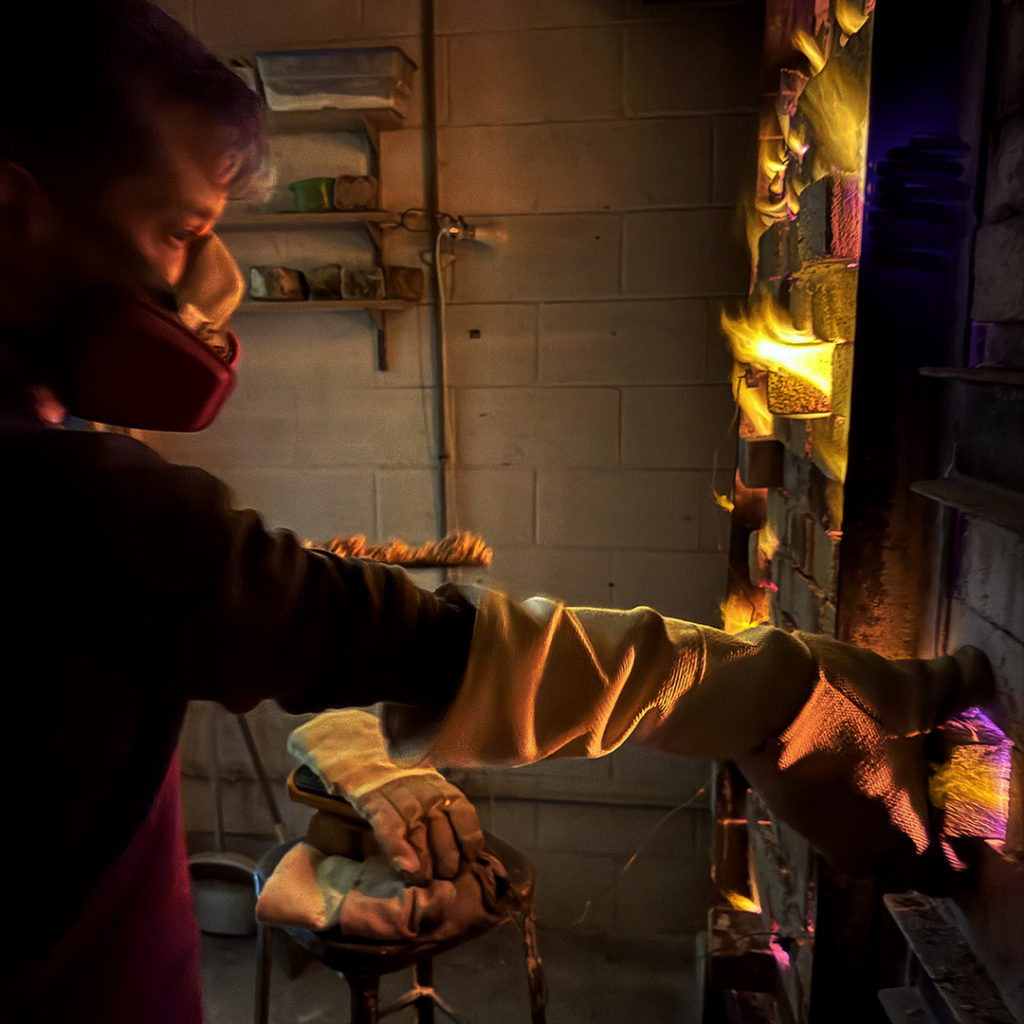
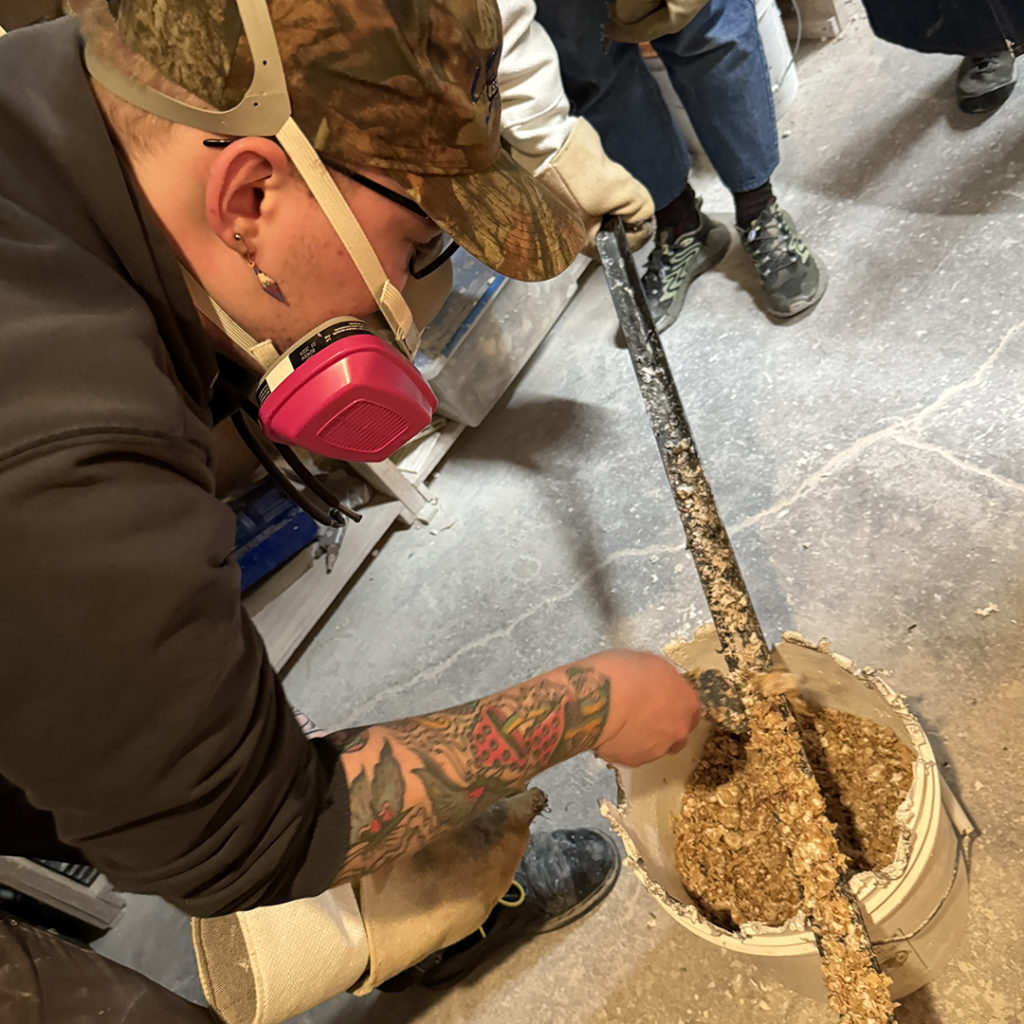
Here’s another great example of soda-firing… BEFORE & AFTER.

This collection is mostly Kelsey’s handbulit pots. Some classical forms with some contemporary surfaces. It’s cool to see them side-by-side to see & how they all transformed during the firing.

Well done Kelsey!!!

Categories: kiln firing, soda-fired, workshop

After unloading the kiln, my 3-DAY SODA WORKSHOPpers also got to finish it out with the “glamorous side” of soda-firing. They had the “privilege” of scraping all the shelves, adding a new layer of kiln wash, cleaning the fire boxes, sweeping & mopping the floor! I mean… they want to “experience” soda-firing… and now they’ve done ALL of the steps in the process! They all had a great time… and are already asking if they can do another firing with the same group!!! WELL DONE TEAM!!!

Categories: soda-fired, workshop

Happy faces all around when the door was off of the soda kiln for my 3-DAY SODA-FIRNG WORKSHOPpers!!! They were so excited Wednesday night as they unbricked, unloaded & admired their new soda-fired pottery! Becky was giddy & Kelsey was documenting with photos!

Categories: soda-fired, workshop

A glimpse inside the soda kiln after firing with my 3-DAY SODA-FIRING WORKSHOP. A lot of different pots by a lot of different potters. They all had a great time & did a good job loading their kiln… and now they can enjoy the soda-fired “fruits of their labor”!!!

Categories: classes, kiln firing, soda-fired, workshop

Back to my 3-DAY SODA-FIRING WORKSHOP… and last Wednesday night when the workshoppers got to finally unbrick their first soda kiln! The excitement was palpable as the door came down brick-by-brick. Revealing their work after being transformed by the soda-firing process. So much fun to watch them find their pieces in their very first soda-firing!!!

Categories: kiln firing, soda-fired, workshop

Last night my 3-DAY SODA-FIRING WORKSHOPpers finally got to unload their very first soda kiln. Always a great treasure hunt… with this being their very first peek into the kiln! So far, so good… more to come…

Categories: kiln firing, workshop

When the kiln gets up towards the top temperatures, and the cones are dropping… it’s time to insert the soda mixture. Scoop it onto the angle iron, pull a peep brick, insert the angle iron, dump the mixture, pull out the angle iron & put the brick back in. Easy-peezy… as long as you watch out for the flames!!! Then we let the mixture vaporize & fly around inside the kiln leaving soda “glaze” deposits all over the pots inside.

Categories: kiln firing, workshop

Towards the end of the soda-firing yesterday, it was time for my “workshoppers” to mix up the soda mixture & prep it for putting it into the kiln. I like to insert the mixture by scooping it onto a long angle iron that will then go into the kiln through two peeps that are directly over the fire boxes.

Categories: kiln firing, soda-fired, workshop

Yesterday was my firing day for the 3-DAY SODA-FIRING WORKSHOP. So much fun firing the kiln when the flames start to peek out during “body reduction.” Basically, when the gas-to-air ratio is a bit out of whack and the flames are searching for more air!

Categories: kiln firing, workshop

Early this morning…. the door is all sealed, pyrometers in place… and we have IGNITION!!!