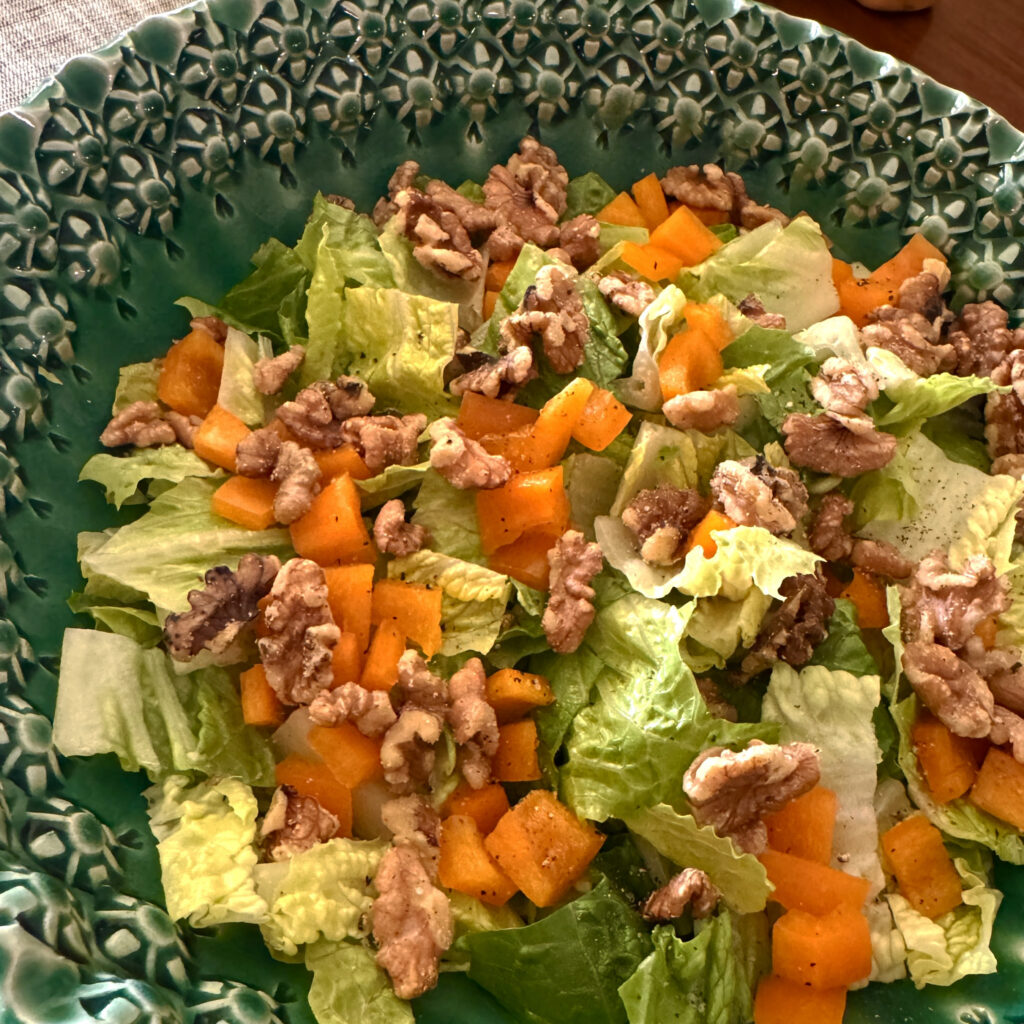
Healthy greens in stamped greens! Thanks to my friend Sarah for making this yummy salad last weekend… and serving it in one of my glazed serving bowls. Ever notice how handmade pottery can even make “healthy” food look better?! HA!!!
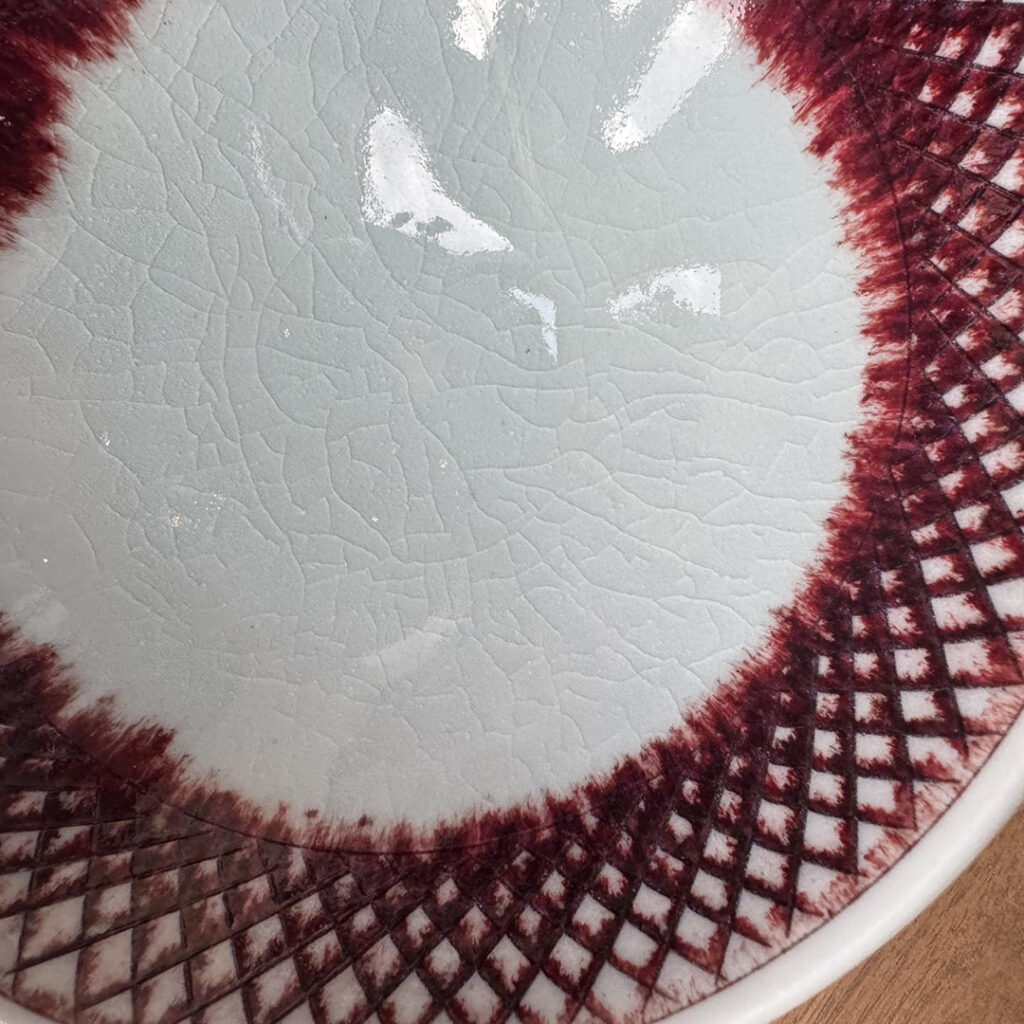
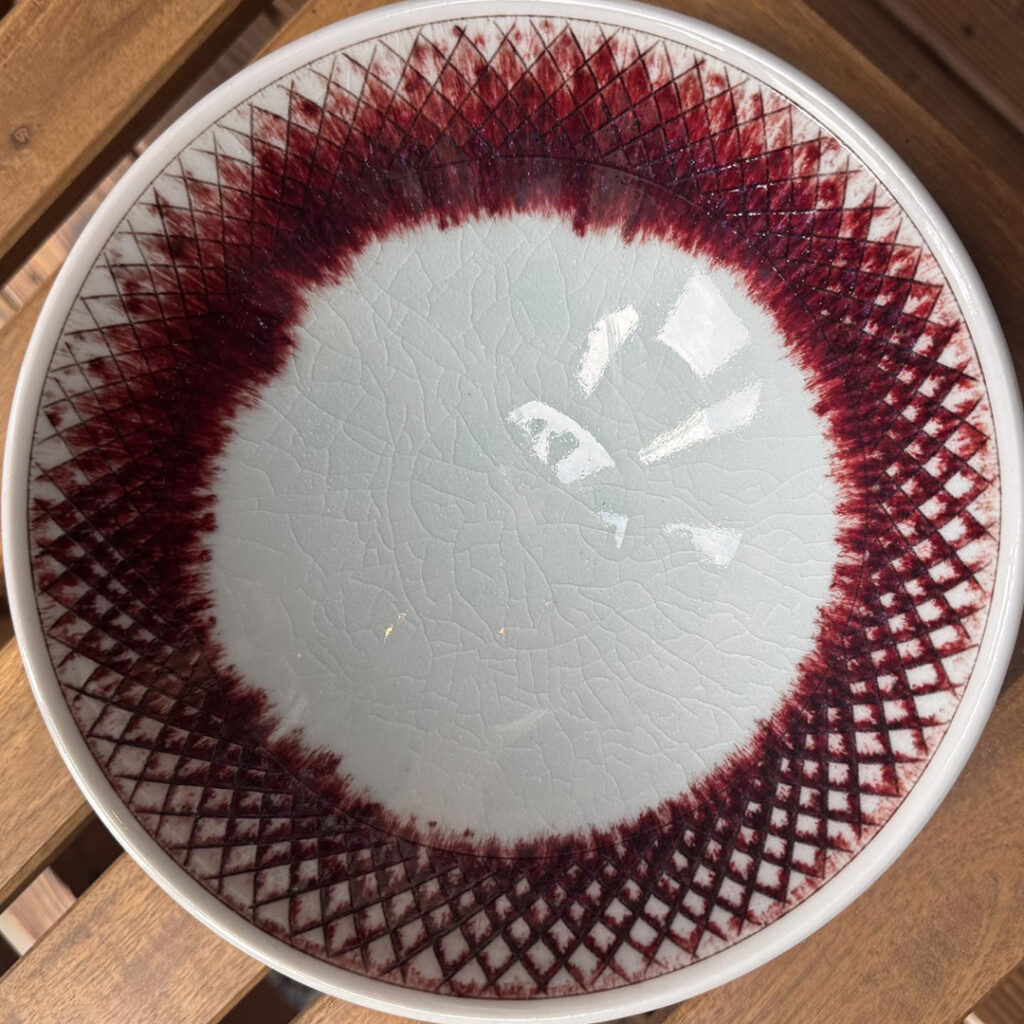
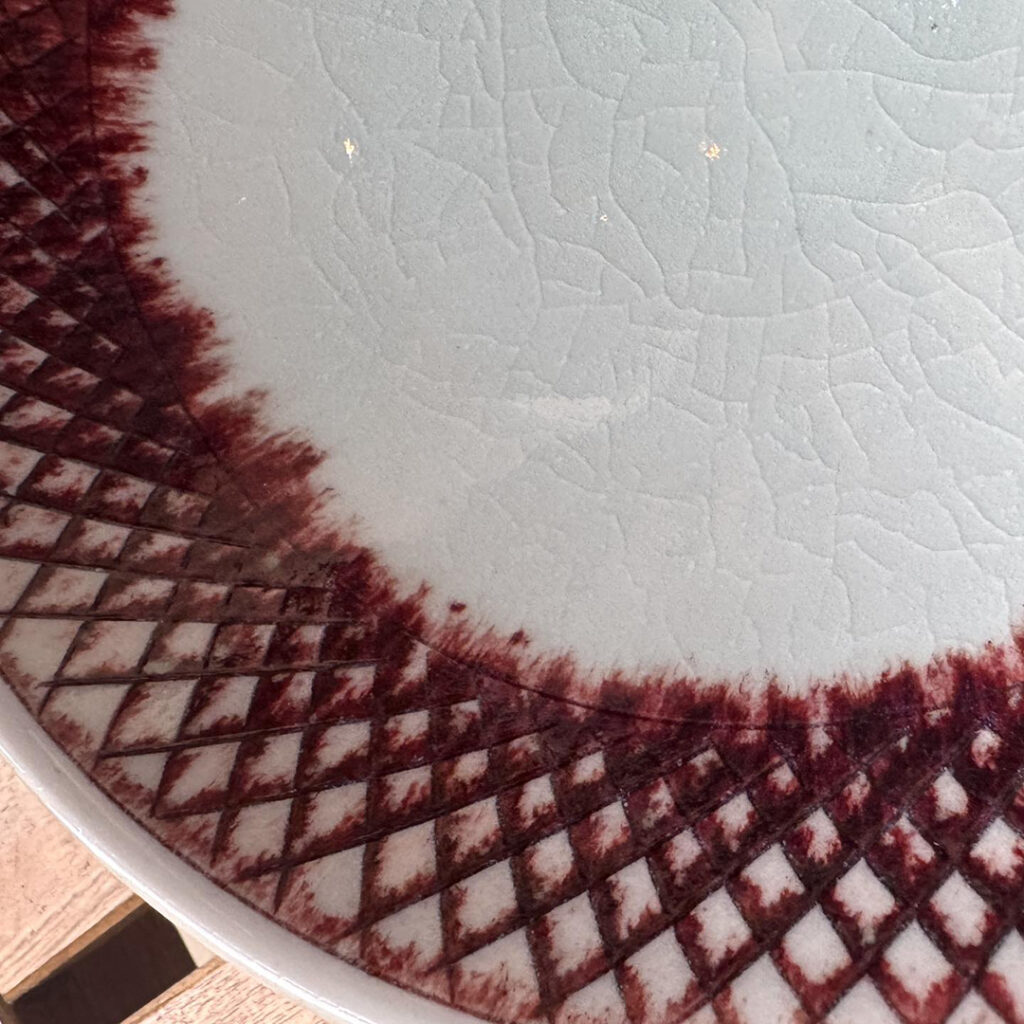
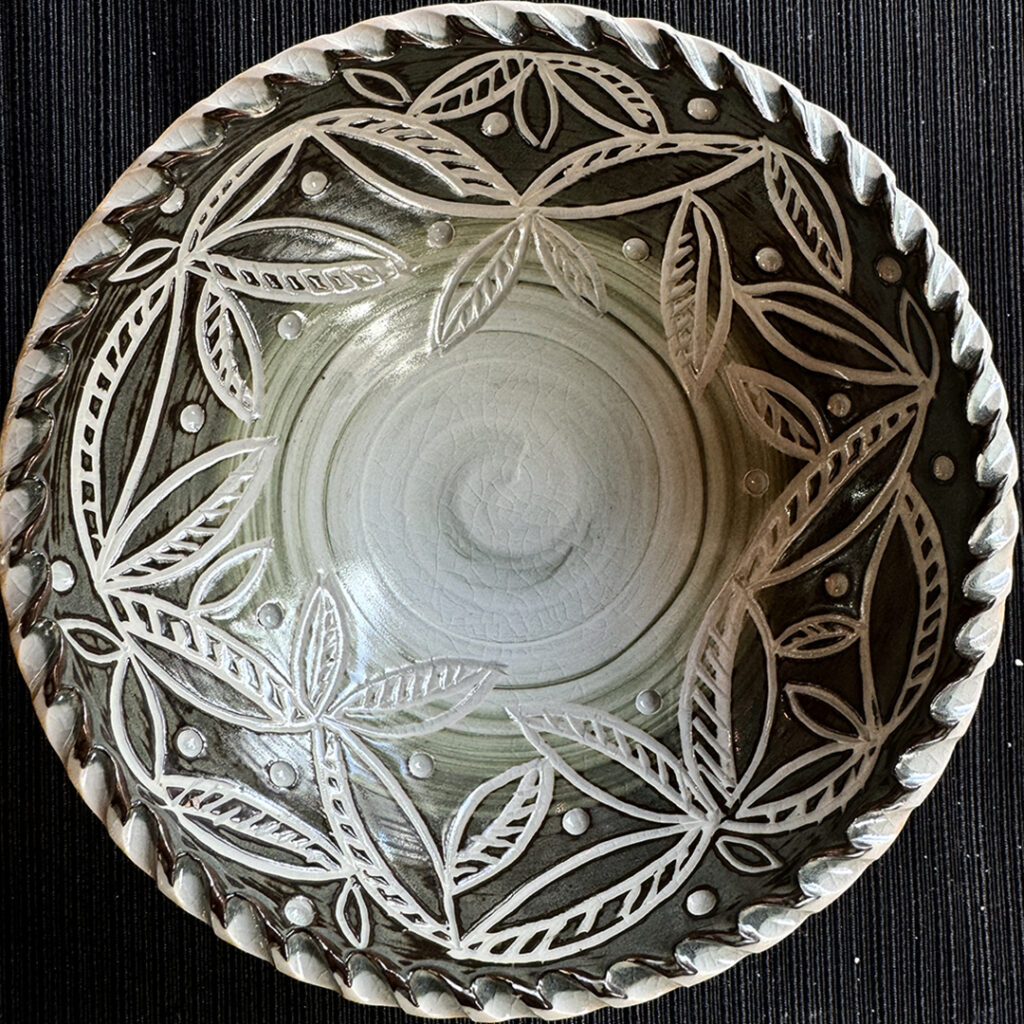
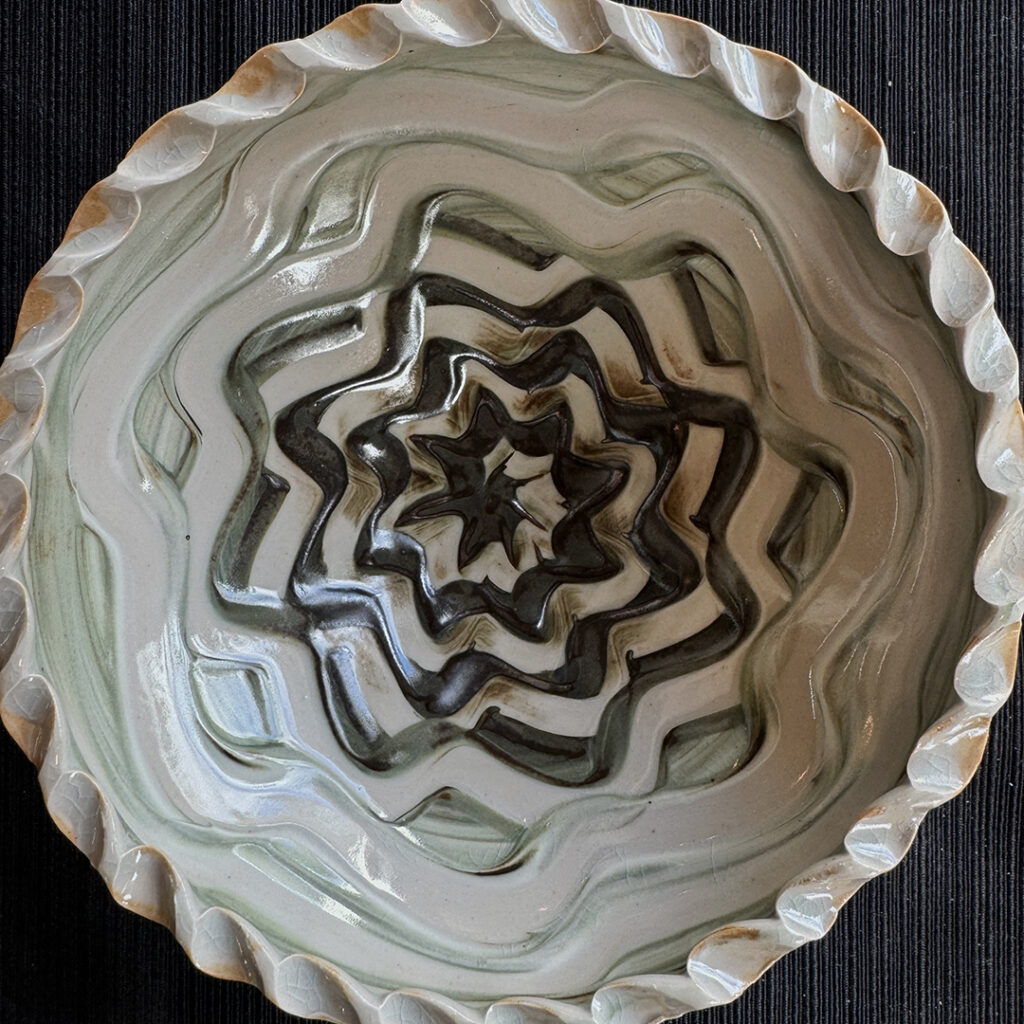
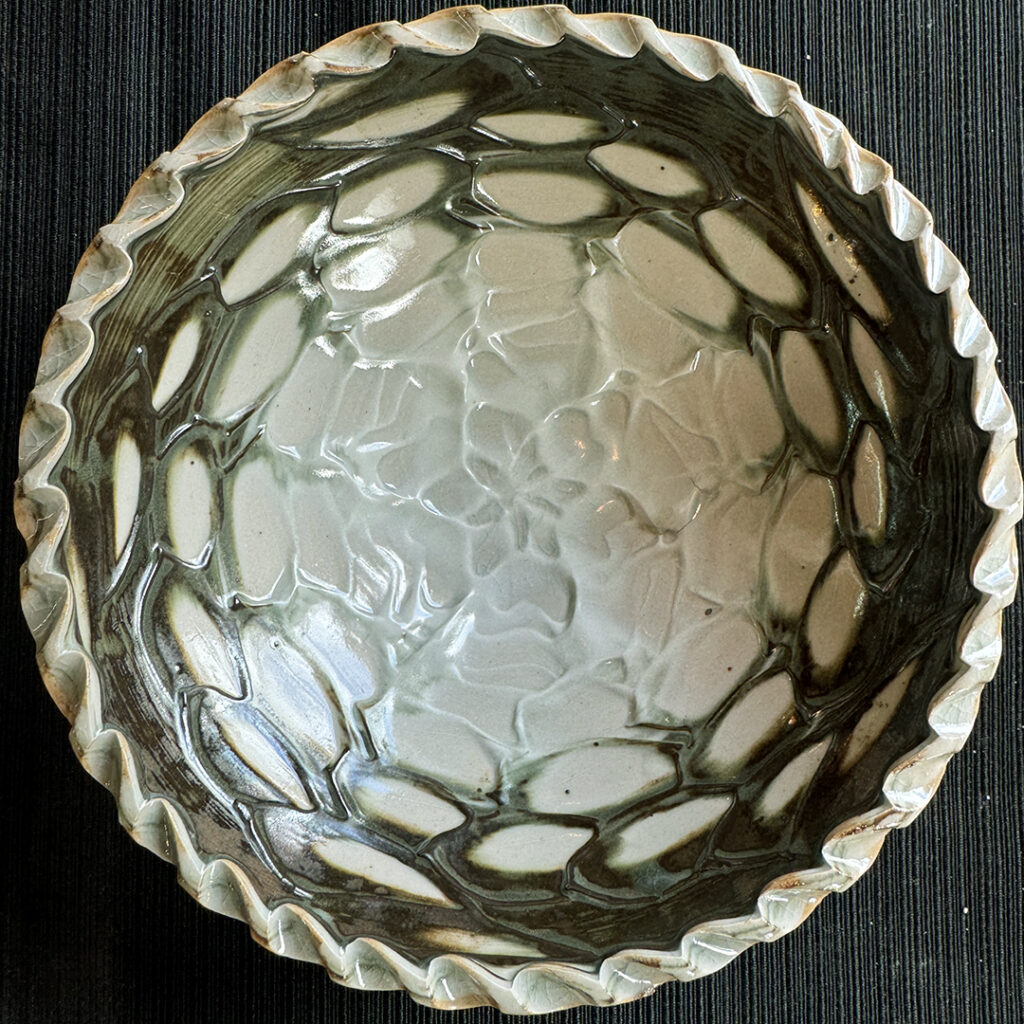
Fresh from the ST. CROIX VALLEY POTTERY TOUR… this beautiful mishima porcelain bowl by Steven Young Lee that came home with me. Not only is it a stunning bowl with crazy-cool colors streaming out of that hand-carved criss-cross pattern… but it was also made by my own favorite pottery teacher!
Yes… Steve Lee was one of my early pottery teachers back at the old Lillstreet location. It was a more advanced wheelthrowing class… and Steve was very clear with his expectations right from the start. A great teacher… with great pots… and always good to see him again on the Minnesota Pottery Tour.
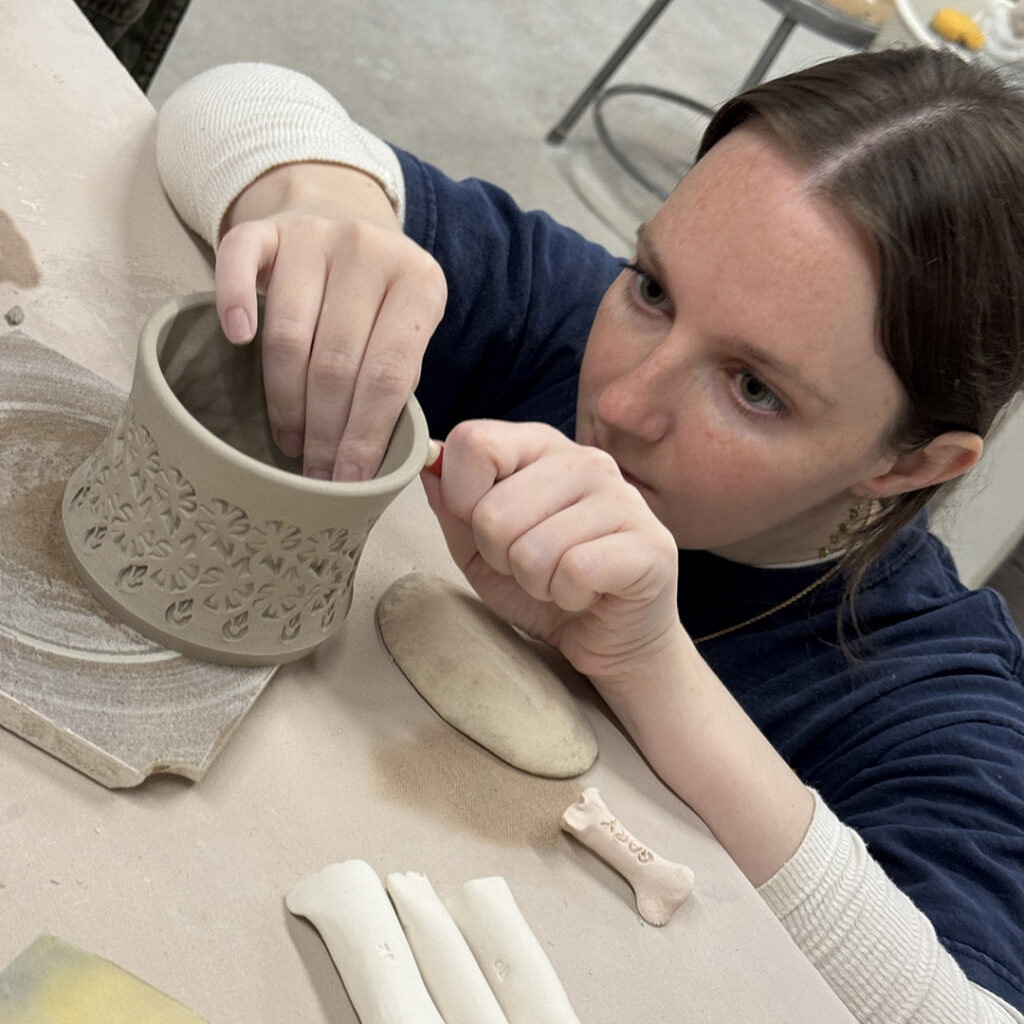
Not only did I provide bone dry bowls for my SURFACE DECORATION class while I was gone… but I also left them a package of Birthday OREOs for two of my students. Happy Birthdays Maryanna & Sara!!!
So while I’m out of town… my SURFACE DECORATION class tonight is still going on! I secured them a great sub teacher with a great demo! And I might have done a little “pre-prep” work so they have pieces to work on tonight. Thank you Catherine Tweedie for covering my class… and for sharing all of you Water Etching secrets with them. I can’t wait to see their results when I get back!!!
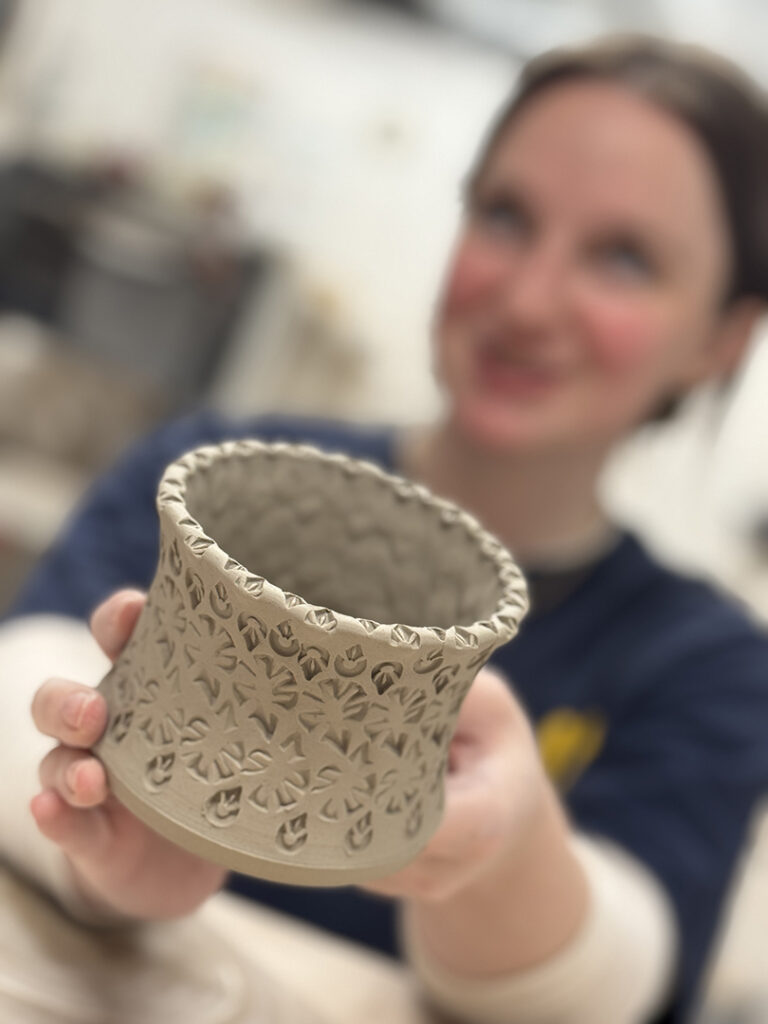
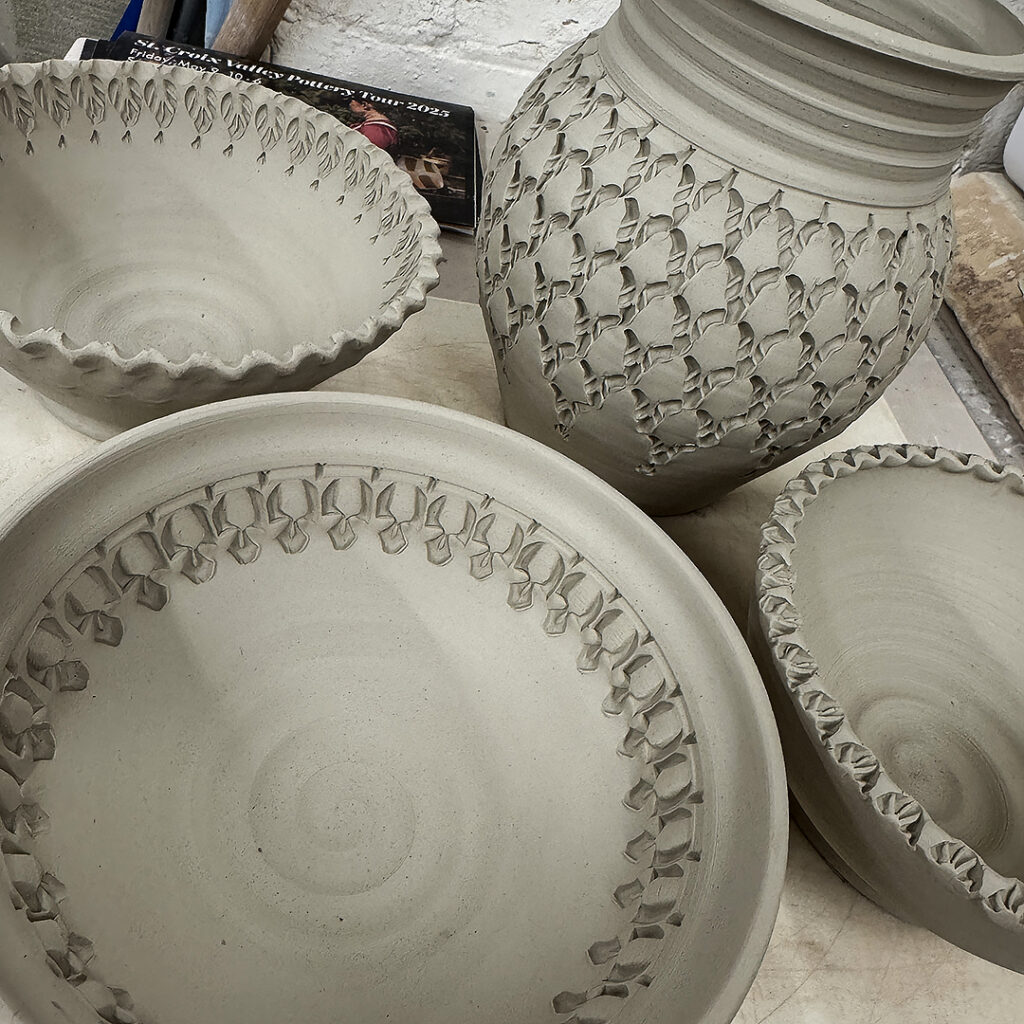
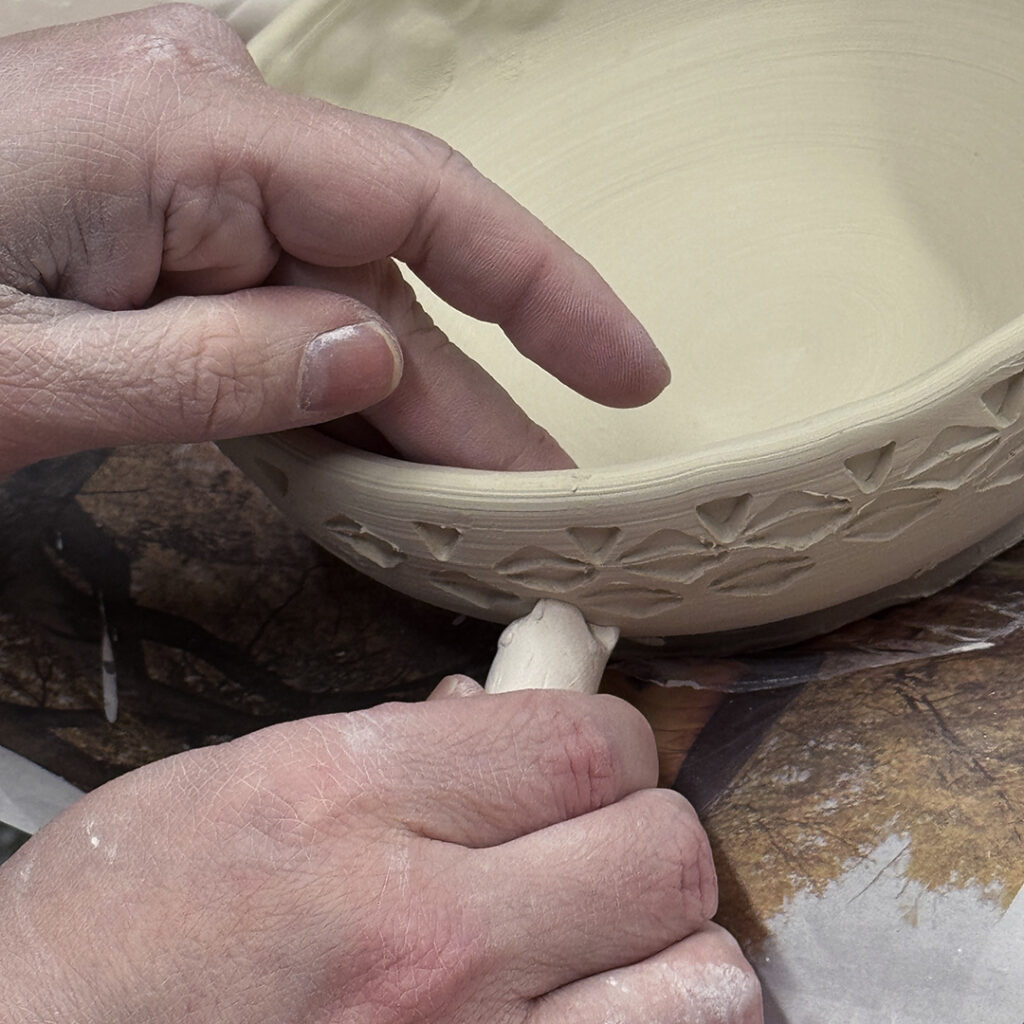
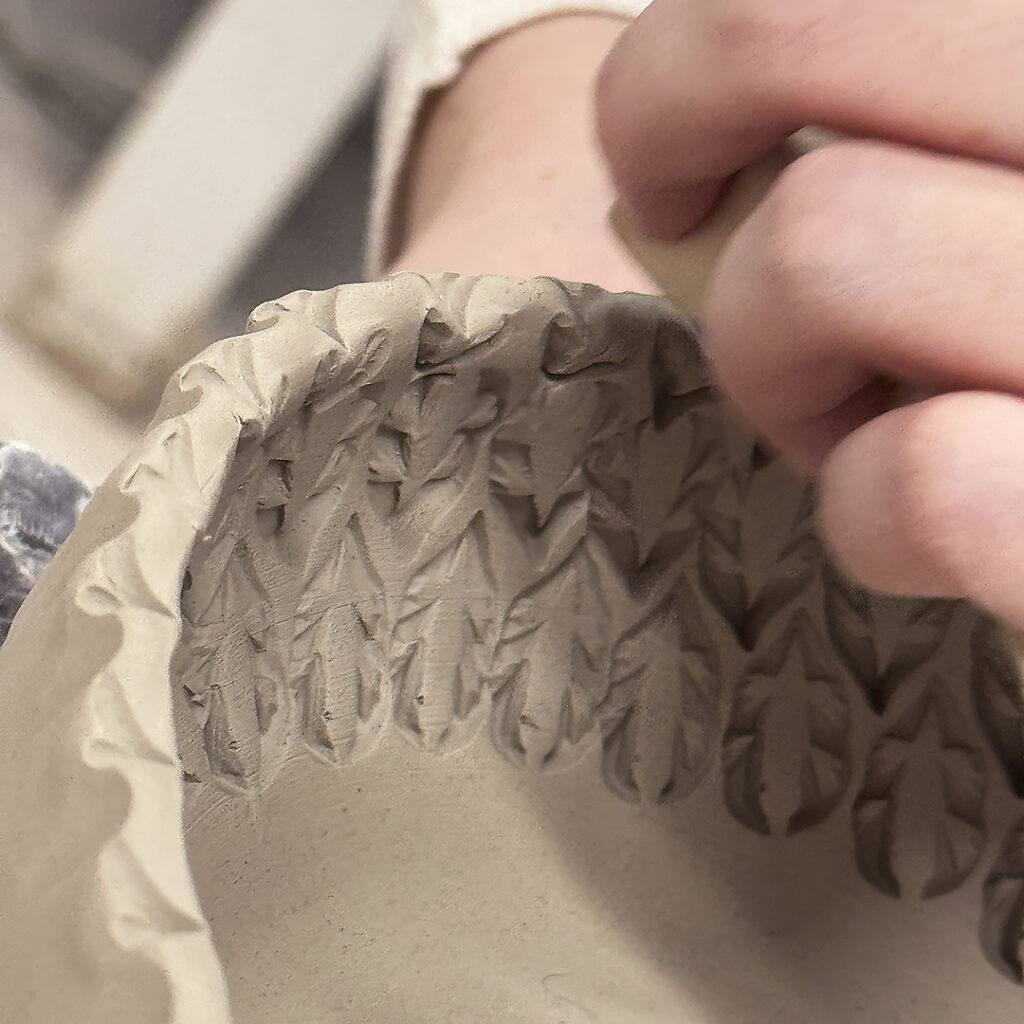
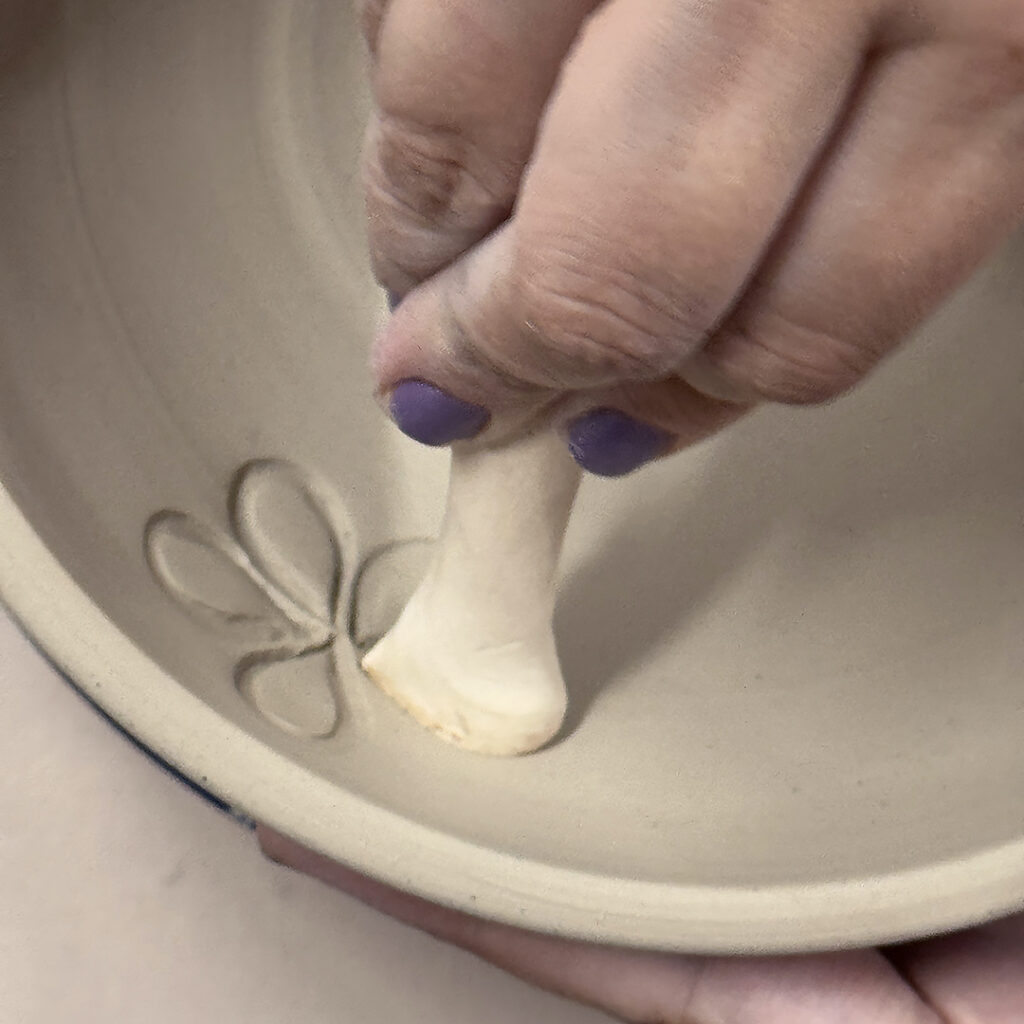
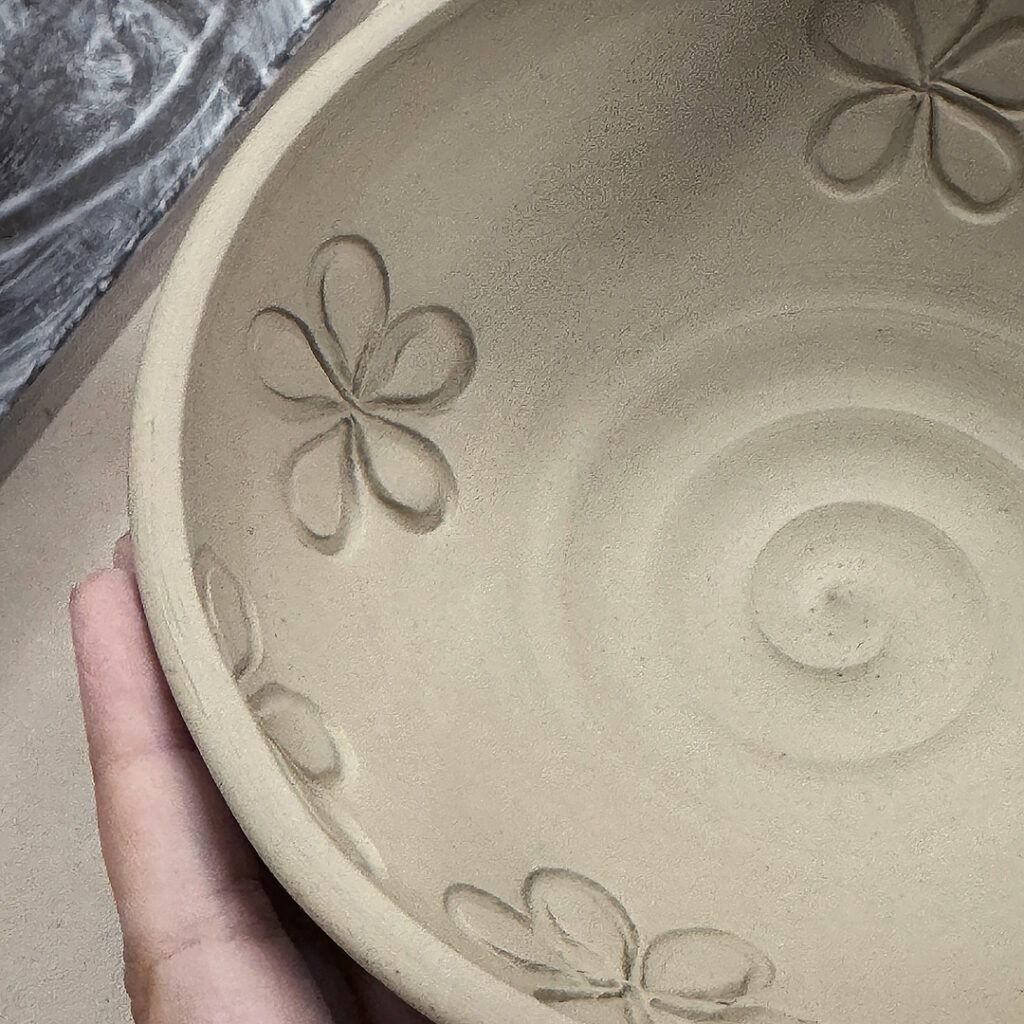
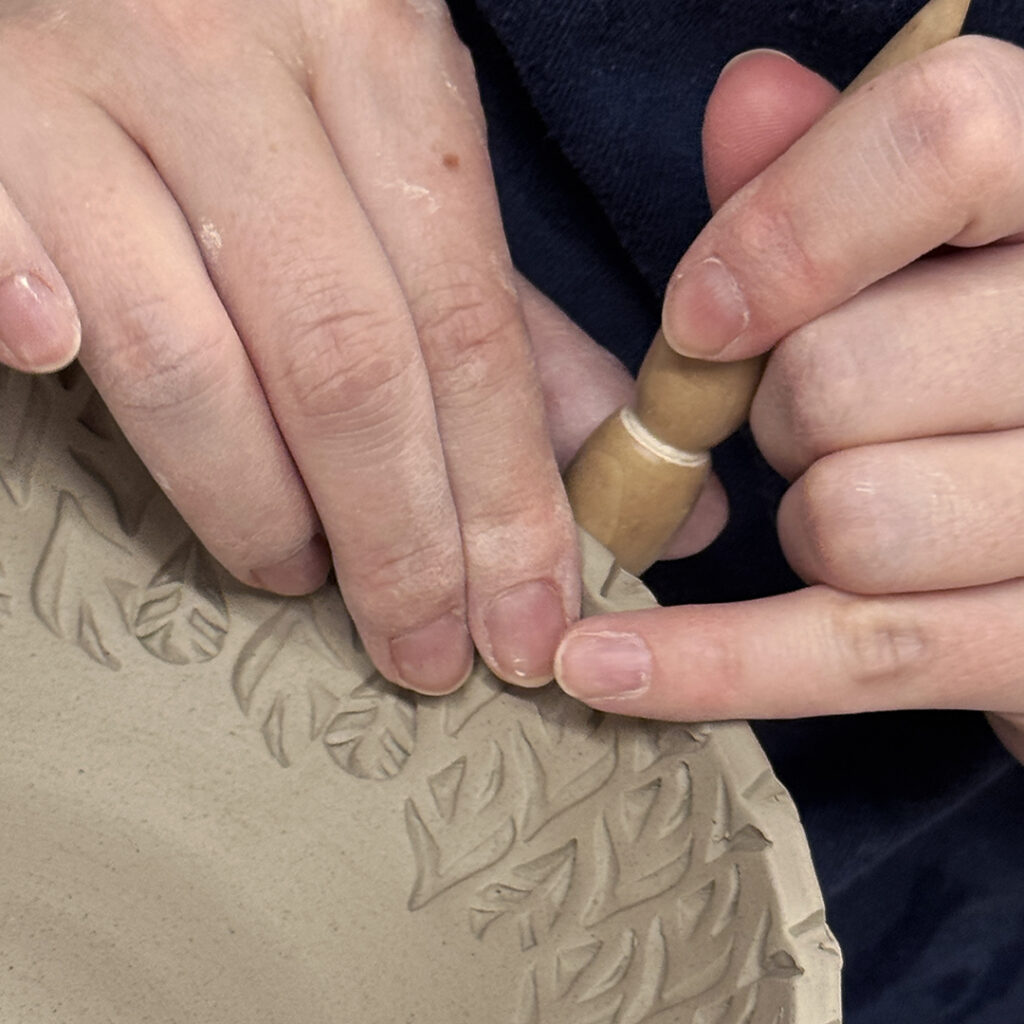
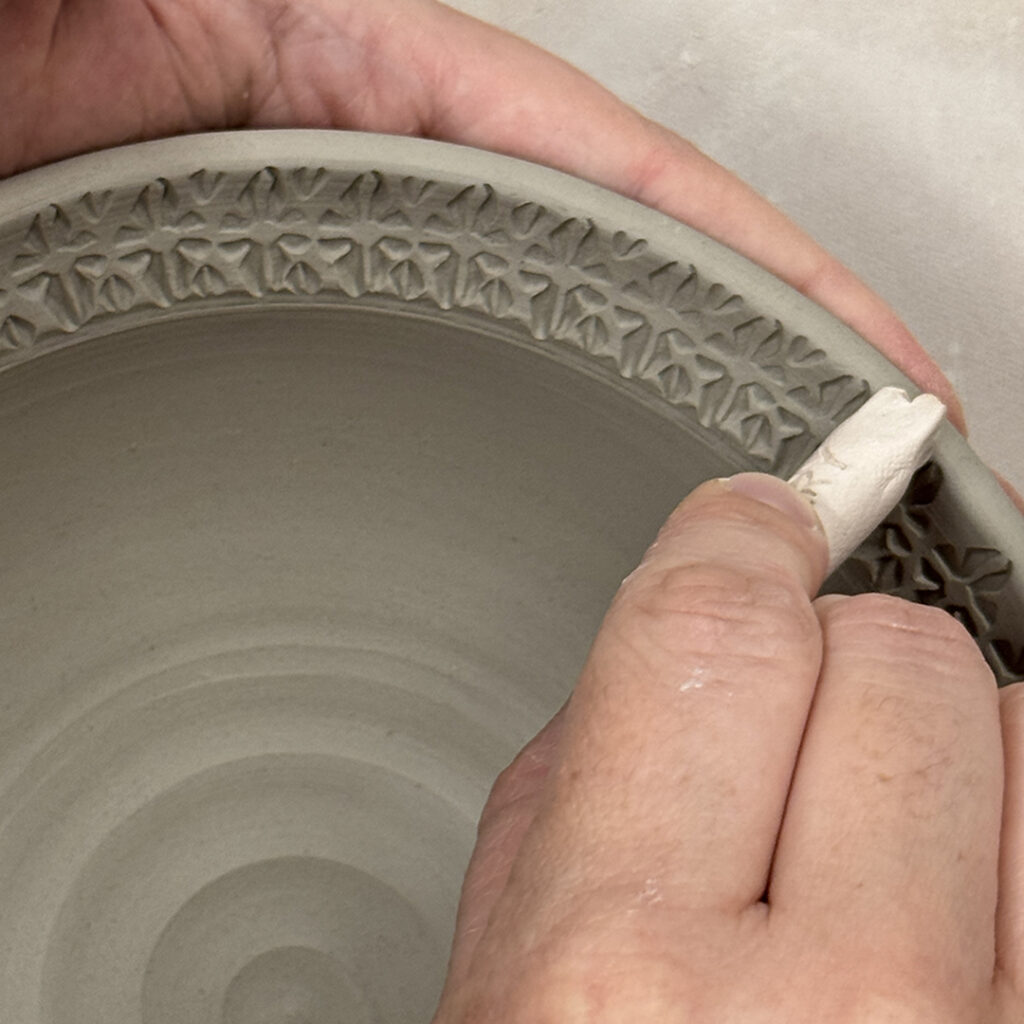
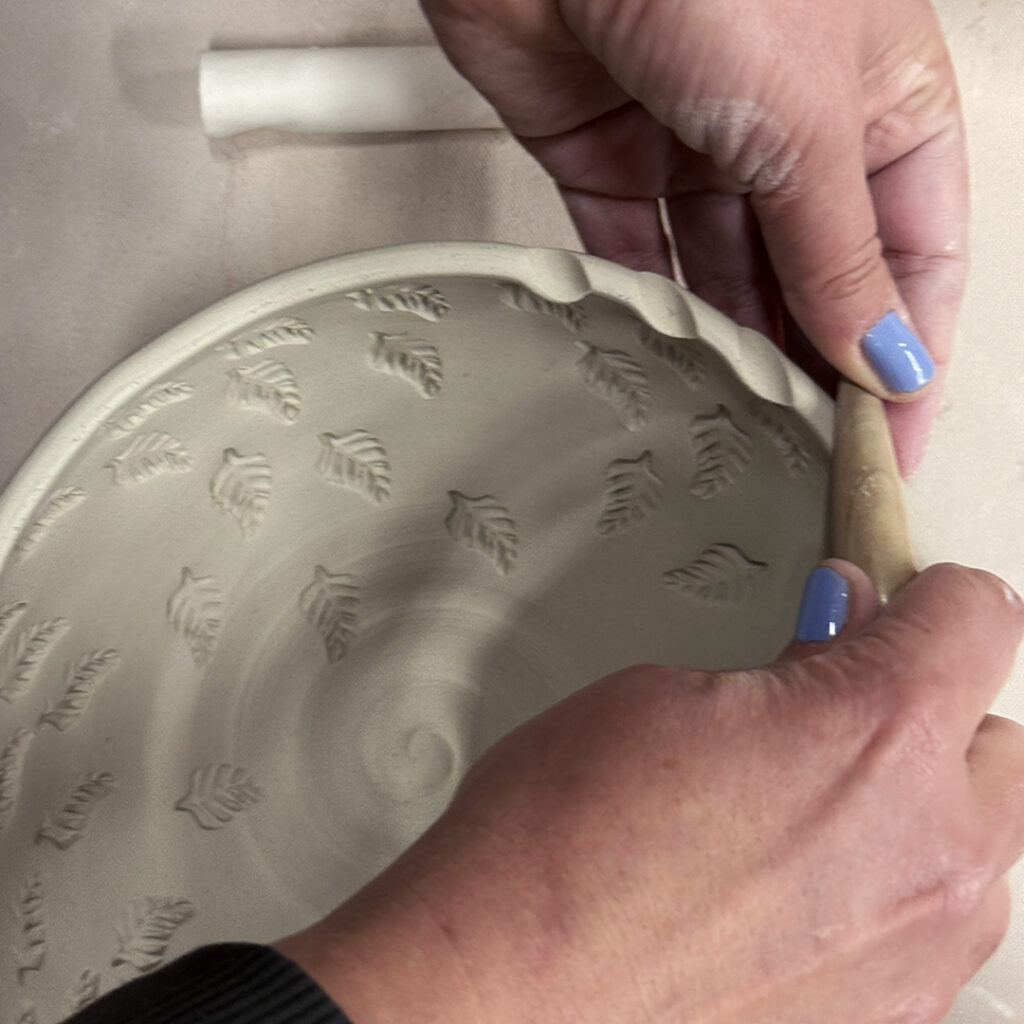
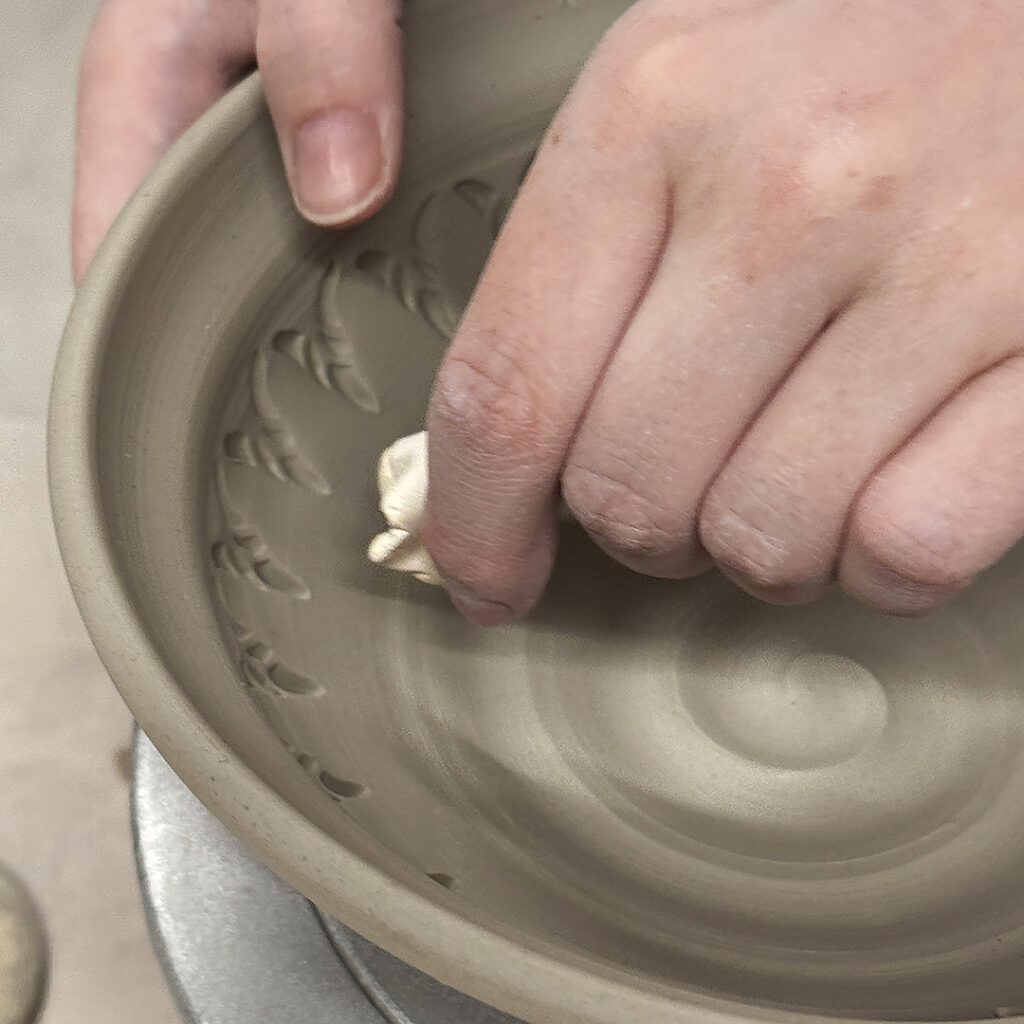
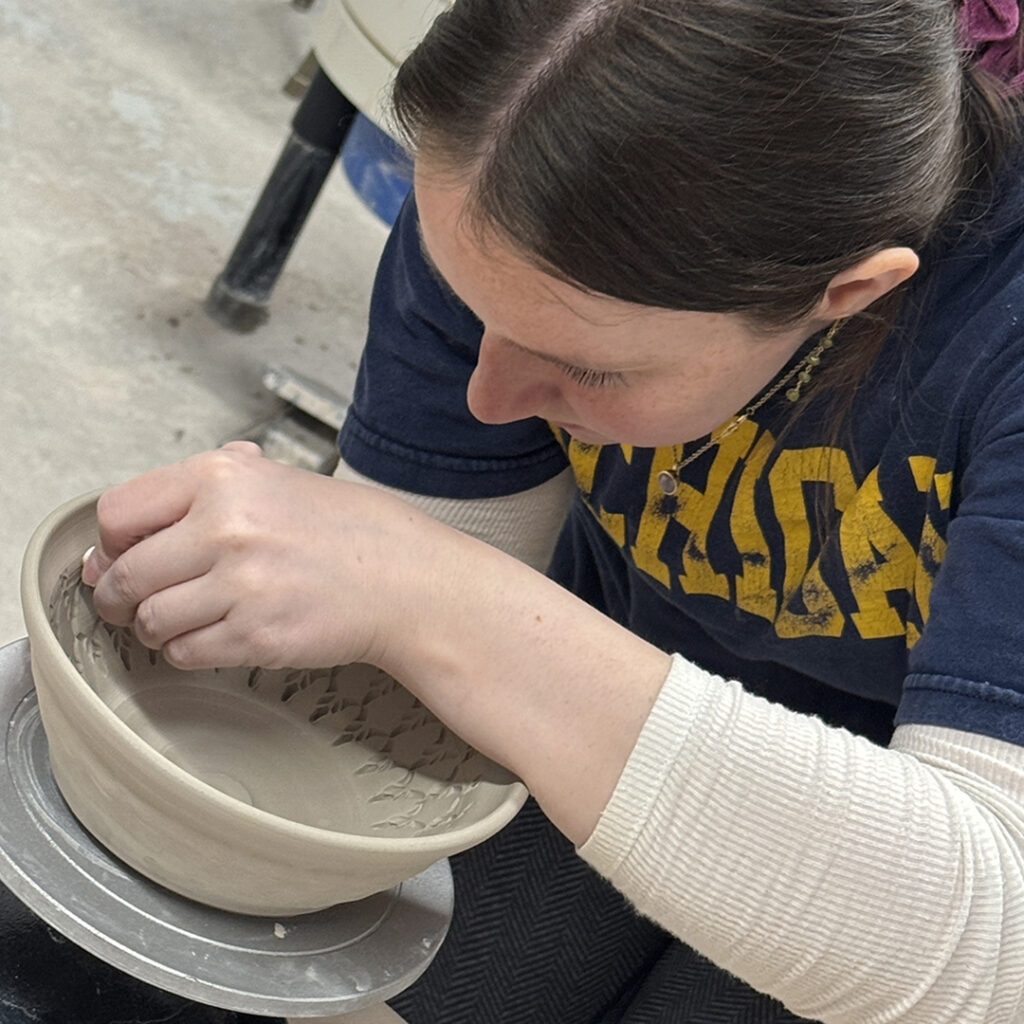
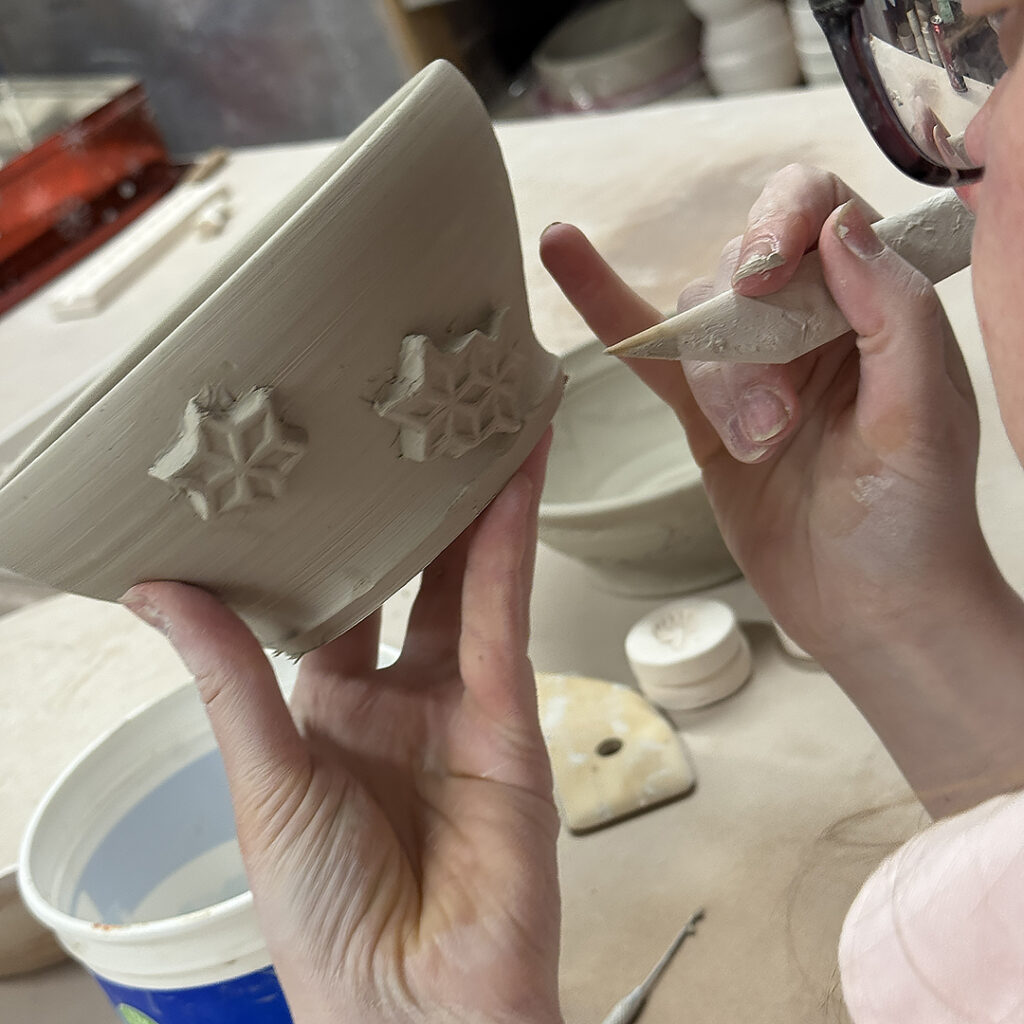
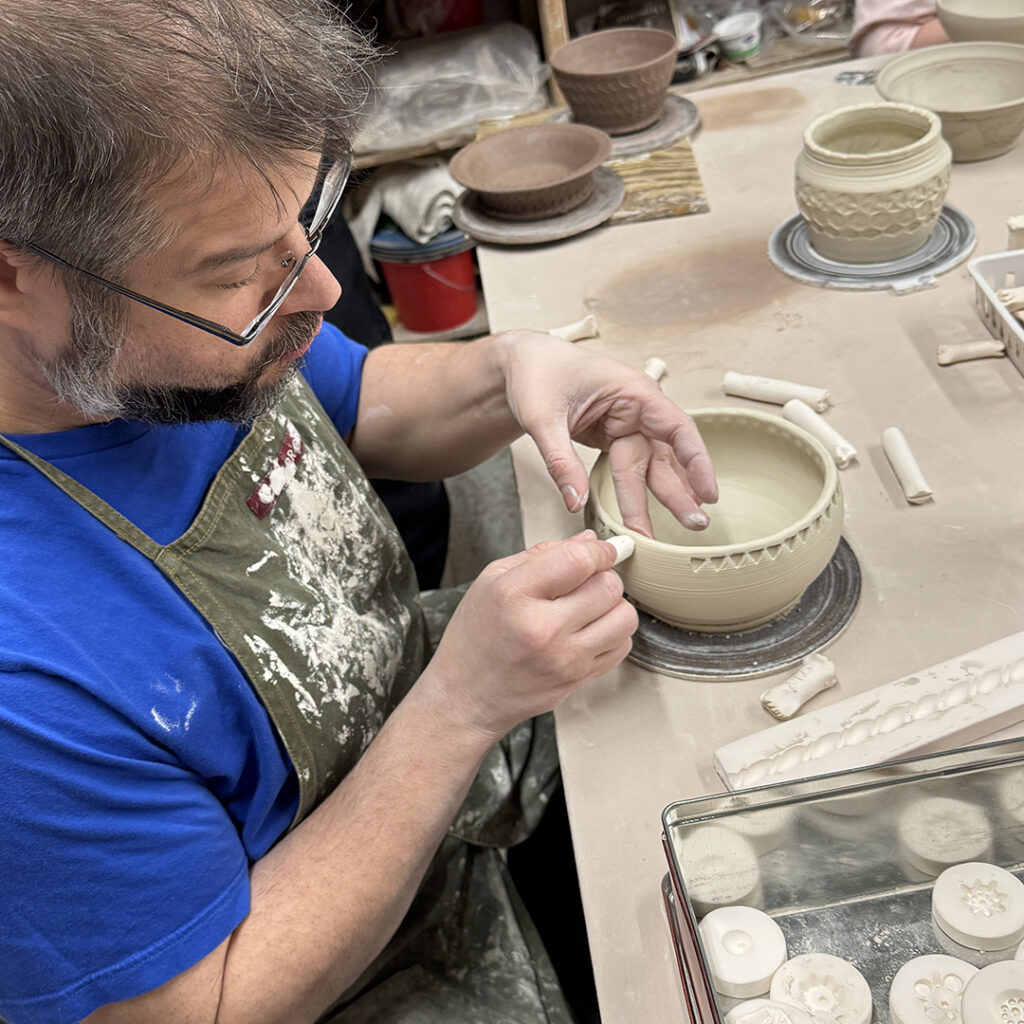
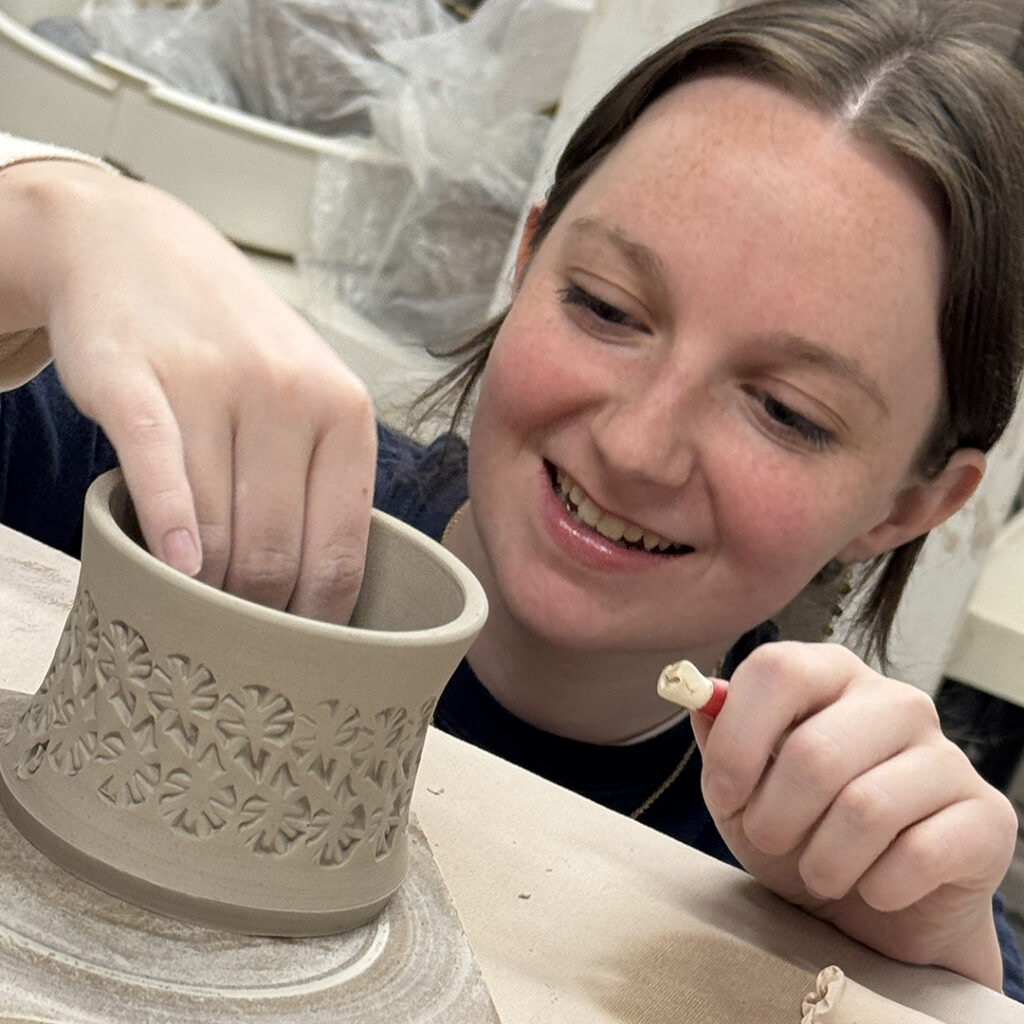
This week in my SURFACE DECORATION class, we tackled stamping & sprigging. I showed them the basics of how I approach a pot, how try emphasize the shape & geometry of the pot with my stamps… and the most important part… how to stamp! Sure, not rocket-science, but there are a few tricks!!! I did my demos and then set them loose… with their own stamps they had made the week before, as well as some of my collection. Many of them had made their “homework” pieces to work on, but I was glad I had a made a bunch too so they had more to “play” with! I tried to emphasize how stamping can become addictive… and they heard the mantra more than once…
White to black… and black to white. Just playing with some fun ombre’ blended slip colors. And then a little squiggling & chattering to add to the surface decoration & textures!
For tonight’s SURFACE DECORATION class, their homework assignment was to bring a couple soft-leatherhard pieces to class to work on… as tonight we’re focusing on Stamping & Sprigs. Well there’s a chance… hypothetically… that I “may” have made a few extra pieces for my students to work on in case they failed on their homework!!! Allegedly…
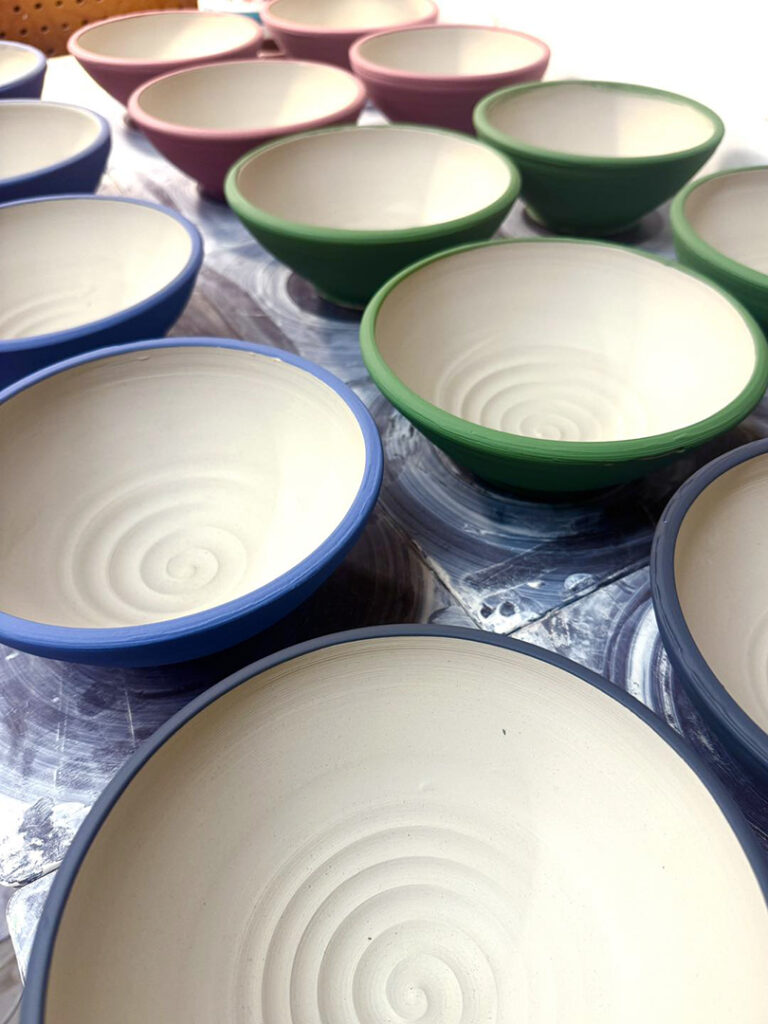
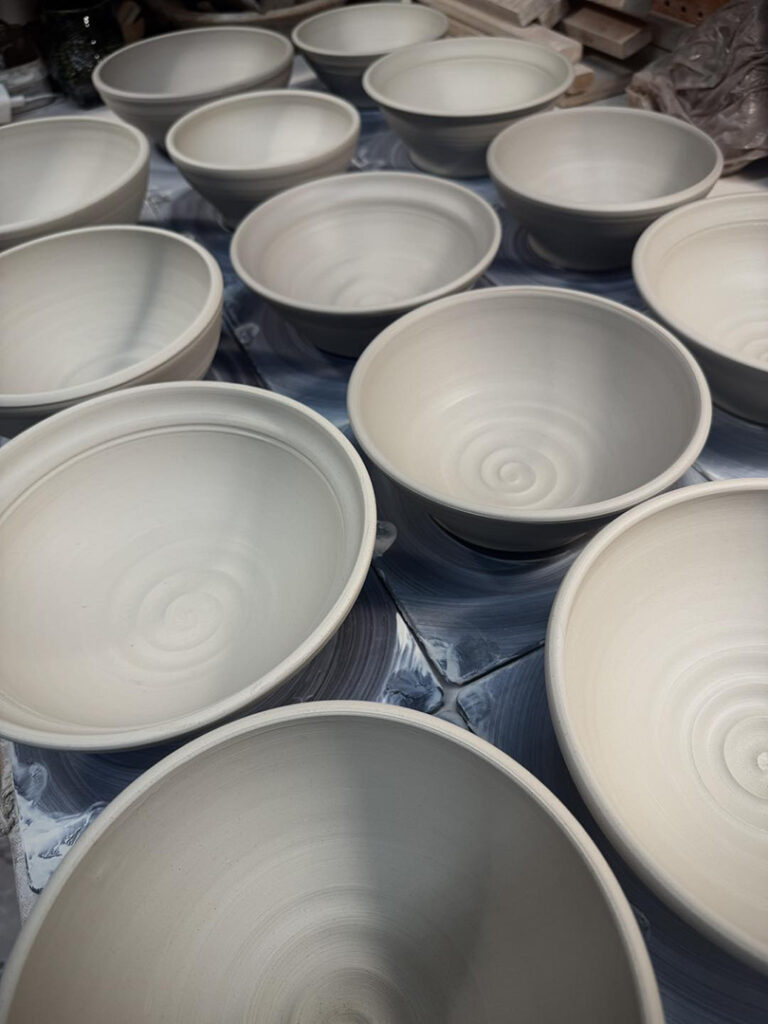
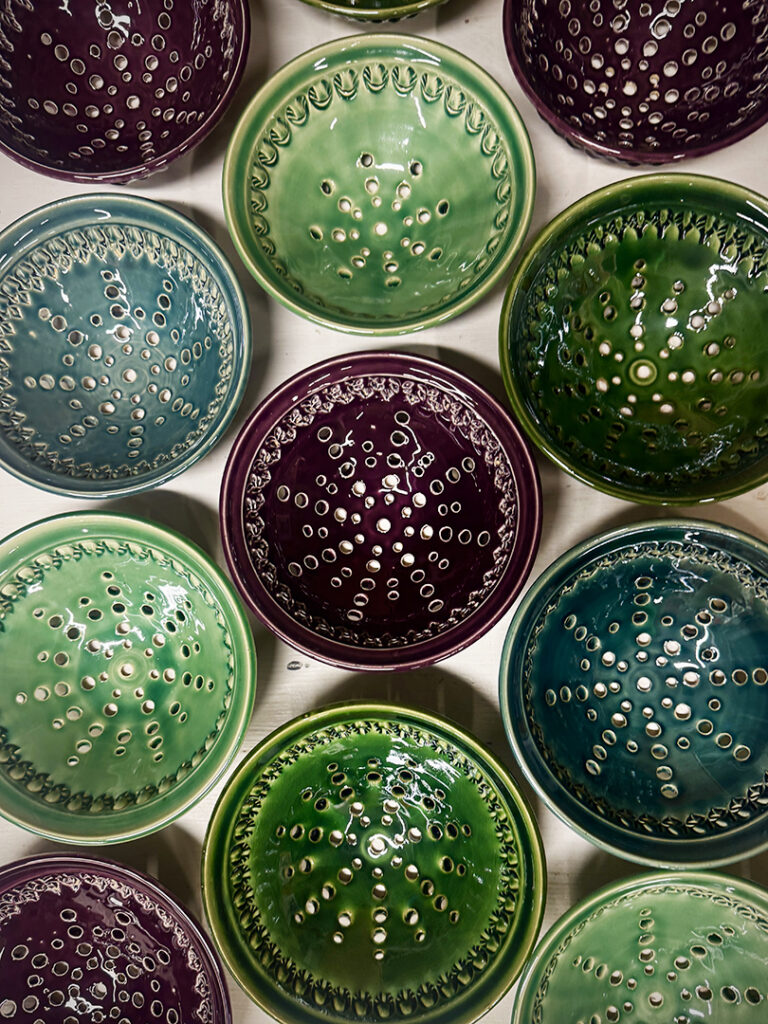
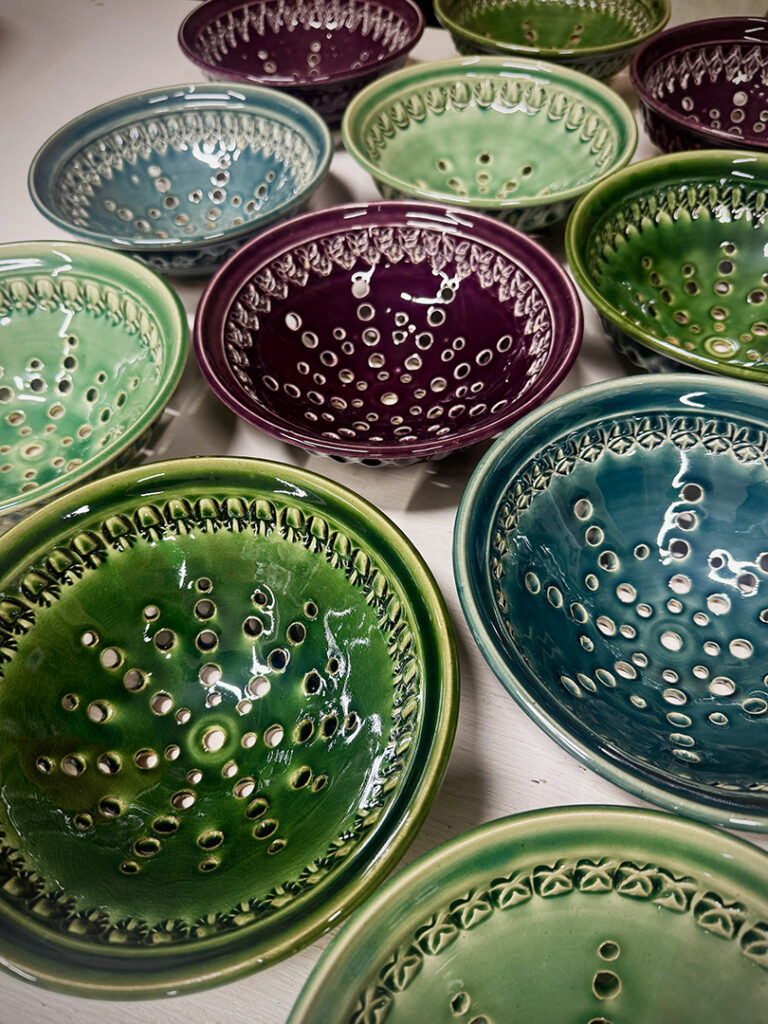
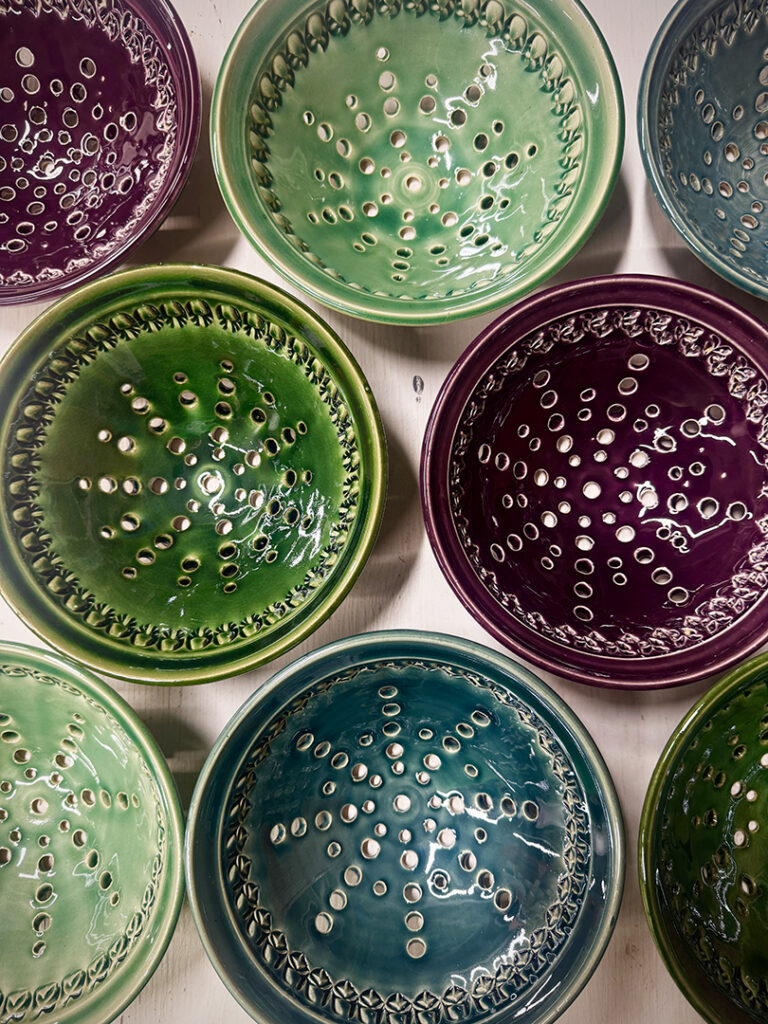
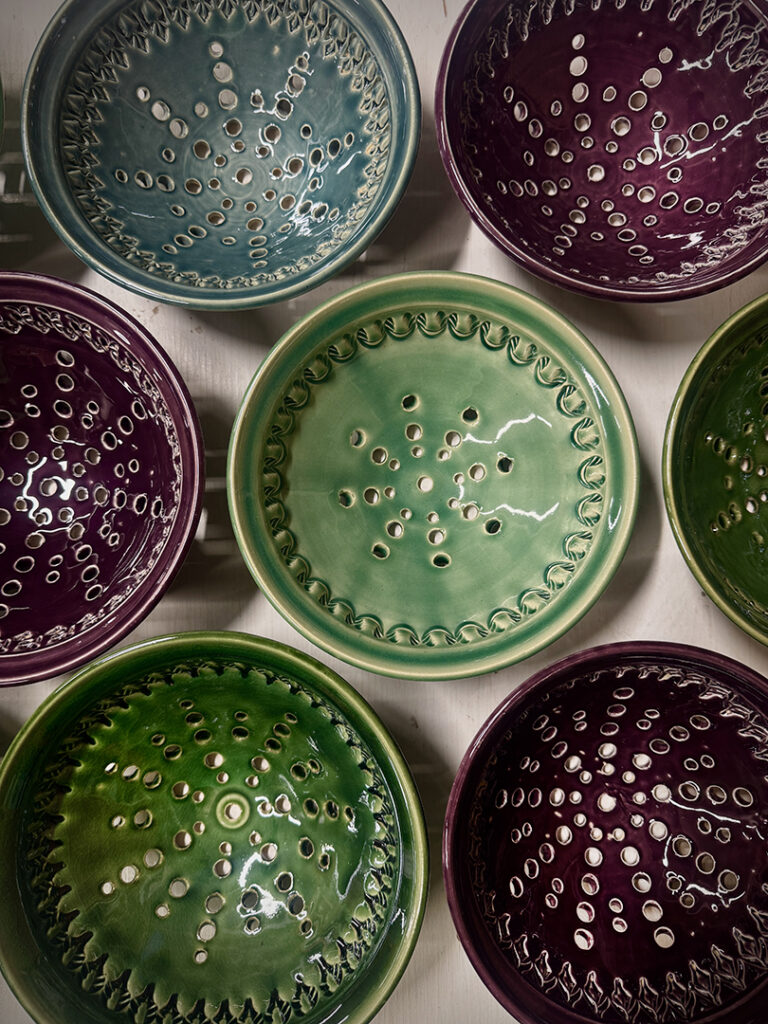
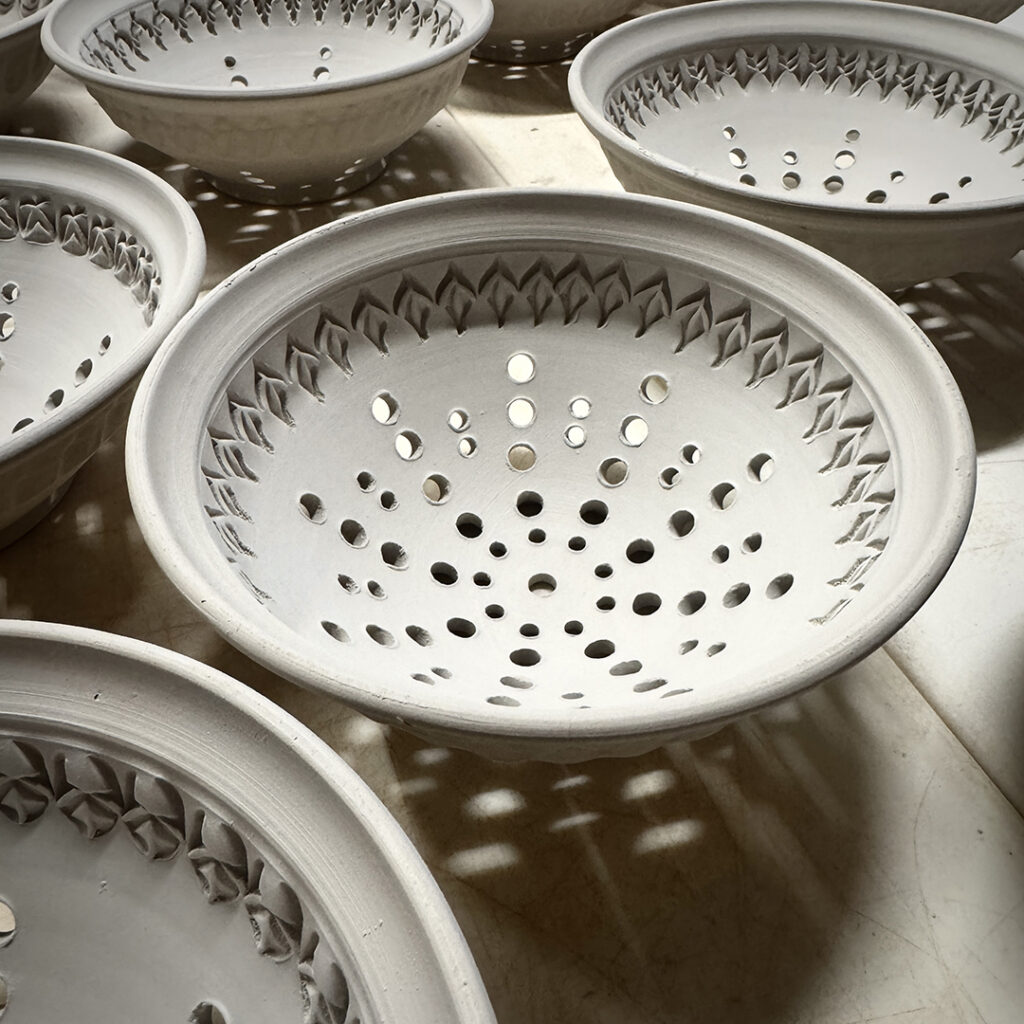
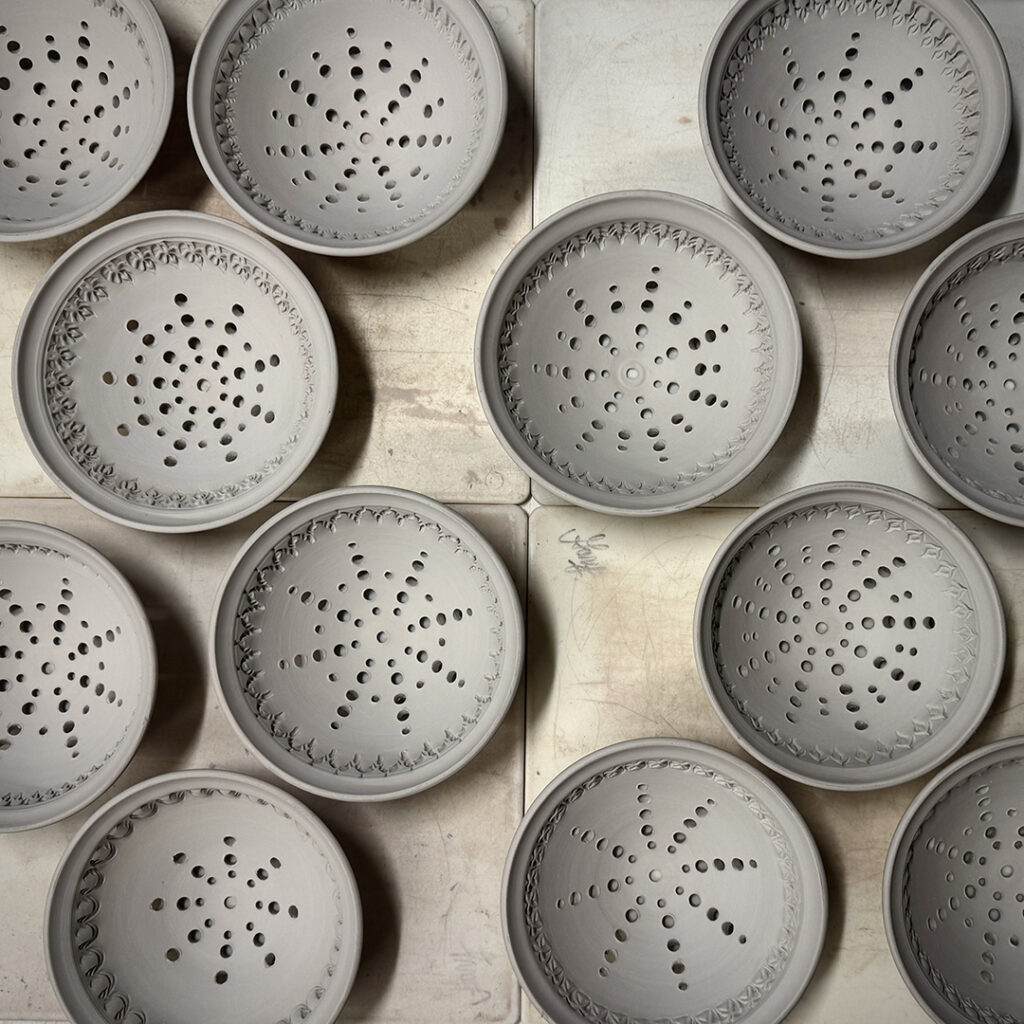
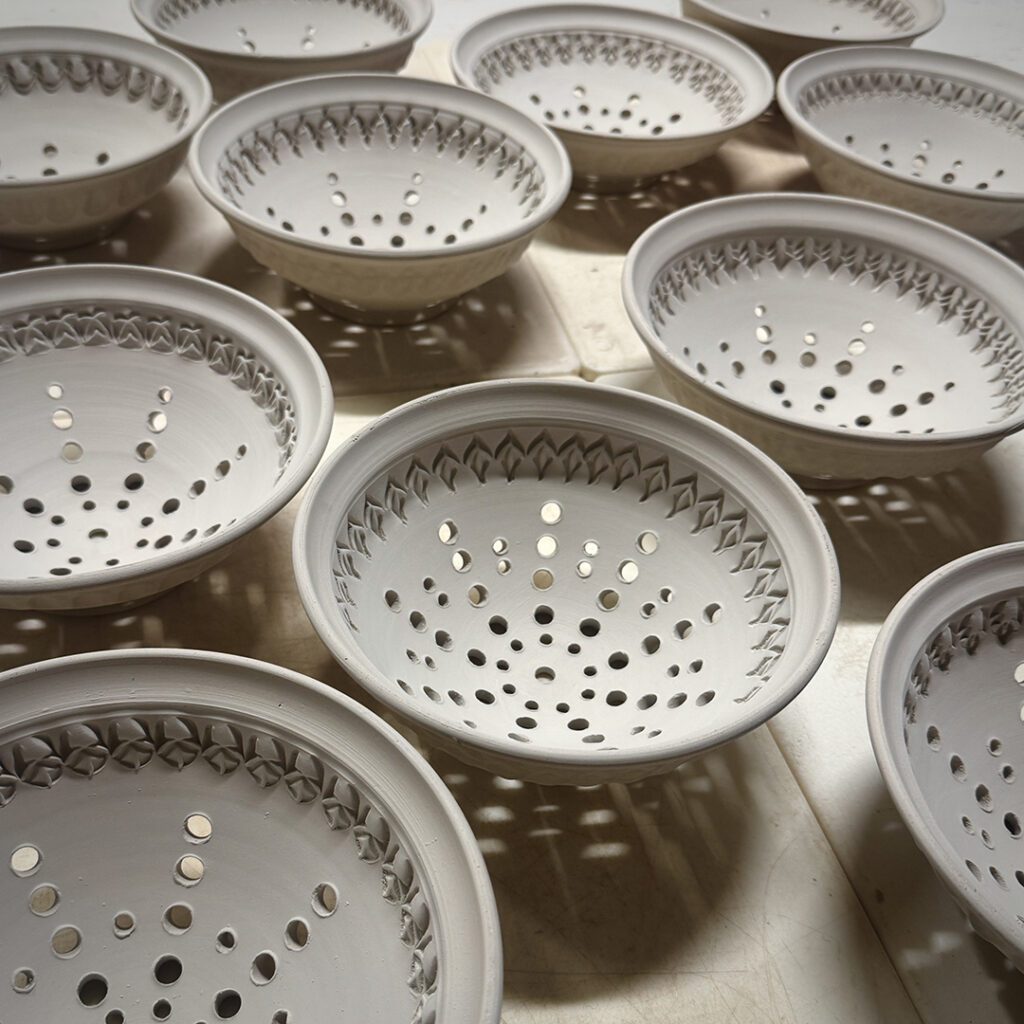
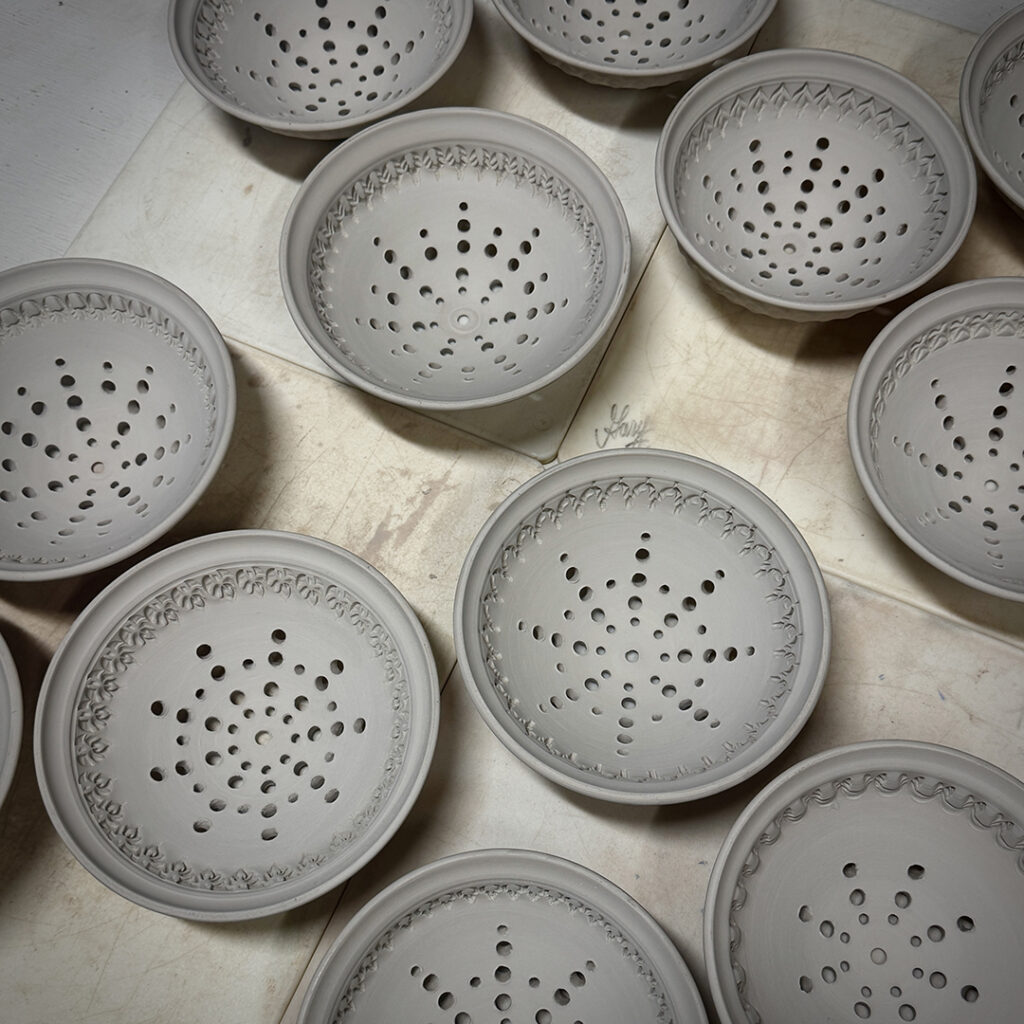
Some fresh new berry bowls just in time for some fresh Spring berries… also ready for my first few art fairs! First up… the Schaumburg Prairie Arts Festival on Memorial Day weekend. Well look at me trying something “new” by having these ready ahead of time!!! Shocking, I know!!!
You can check out this year’s art fair schedule by clicking here : Summer Art Fairs 2025.
After trimming the bottoms to form a good footring, I let these dry a bit more before drilling drainage holes… with my POWER DRILL!!! The fastest & cleanest way to make a lot of holes fast. And who doesn’t like using power tools on their pottery?!