
By the end of last week’s SURFACE DECORATION class, each of my students had completed their sgraffito plates. They all did such an AMAZING job… these turned out GREAT!!! And everyone had so much fun… which is always my main goal!


Gary Jackson: Fire When Ready Pottery
A Chicago potter’s somewhat slanted view of clay & play |

By the end of last week’s SURFACE DECORATION class, each of my students had completed their sgraffito plates. They all did such an AMAZING job… these turned out GREAT!!! And everyone had so much fun… which is always my main goal!


This past week in my SURFACE DECORATION class, we had a great demo by “My Talented Friend” Kristen Holub… and then my students got to try out her techniques. Remember the plates with colored slip rims?… this is WHY I made them… for my students to have something to play with!!!

And they did an AMAZING job.
Everyone learned so much, practiced the technique & had so much fun.
Such a great night in class!
Kristen did a great demo. Plus, I brought down my collection of carving & sgraffito tools from DiamondCore Tools for my students to try out. Better tools make better pots!!!


This week in my SURFACE DECORATION class, we had a couple wonderful “guest” artists to do some demos. We started with one of my students in class… Sara with the inlaid slip technique she’s been favoring lately. Basically you carve thin lines into your leatherhard piece. Then “fill” that carved line with some colored slip. When it dries to leatherhard, you trim off the excess, leaving a beautifully thin line of slip… perfectly flush to the surface of your pot! Thank you for the demo… and Happy Belated Birthday Sara… it was yesterday!!!


Just a few plates with bands of color… ready for some sgraffito fun!!!

Adding a swirl of color! Okay, so I can’t stop myself with just a swirl. So I did cover the entire flared flange area of the plates with a full, smooth layer of colored slip. Some green, some blue, some red & some black! Looking forward to some fun carving & sgraffito!!!


Sometimes a class demo just doesn’t turn out as it did in your head. In my SURFACE DECORATION class, we did some experimenting with textures, stencils & layered slip. My demo platter turned out to be more “graffiti-quilt” … not a fan!!! I lived with it for a couple days… still didn’t like it… but then I decided I should do something about it. After all… IT’S JUST CLAY!!!
I decided I could just save it right off…

Once I had trimmed off all the layers of texture & color from last week’s class demo… I smoothed it out with a rubber rib.


And then re-painted it with a blue-to-white ombré blend of colored slips. Seems like there’s a “very good chance” that this same platter might show up again in my SURFACE DECORATION class… as this week we’re going to be tackling sgraffito! Voila’… two demos, one platter… hoping for better results this next time around!!!


So last night I revisited the class demo bowls from earlier in the week.
Sure, the altered rims & textured slip “could” have been enough.
But you know me… MORE IS MORE!!!
So I did more… go figure!


Last night in my SURFACE DECORATION class, we played with colored slips painted over real leaves pressed into clay as textures & stencils. The fun happens when you try to find your leaves under the layer of slip… and then gently pull them out!


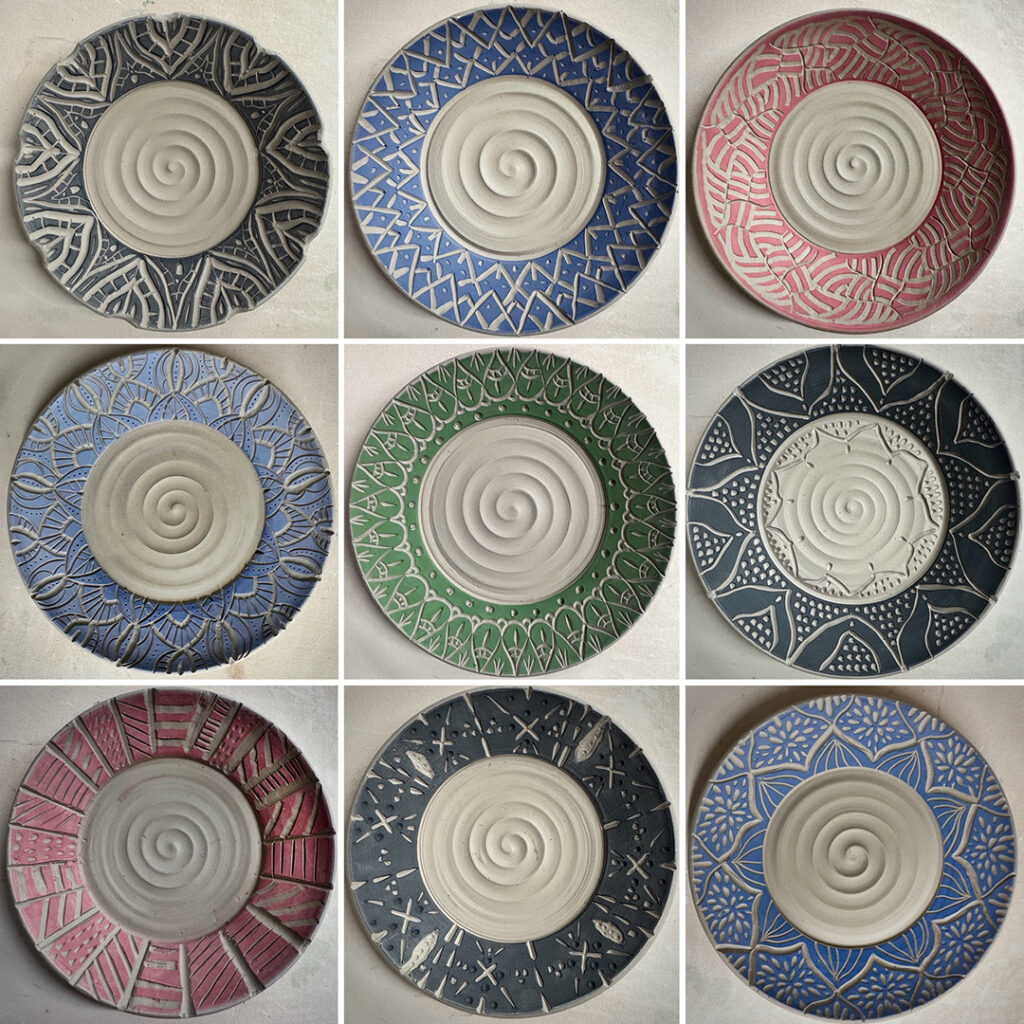
Part Two of last night’s class demo with my Beginners was to show them several quick tips & tricks to make some “not-so-basic bowls.” I’m a firm believer that the wheel does most of the work making a plain round bowl. But it’s up to each potter to do something to it to make it “their” handmade bowl. So I encouraged them to play with their clay & have a little more fun making each bowl a little more fun!!!

Of course I’m a “More is More” kinda guy… so there’s still a good chance
these “might” still get a little more embellishments in the next day or so?!
BOWL A – Plain… this is where they ALL started!!!

BOWL B – Two Fluted Points

BOWL C – Eight fluted points.

BOWL D – Thin rim-flange bent outwards.

BOWL E – wide rim-flange bent outward.

BOWL F – Bent flange & four fluted points together.

BOWL G – Split rim with eight pinched points.

BOWL H – Split rim with four indented sides.

BOWL I – Split rim with four inward dented sides… and four outward dented corners.

BOWL J – Thick white slip inside… then a tool dragged through to create a spiral.

BOWL K – Thick white slip interior, then chattered with rhythmic tapping of a rubber rib.

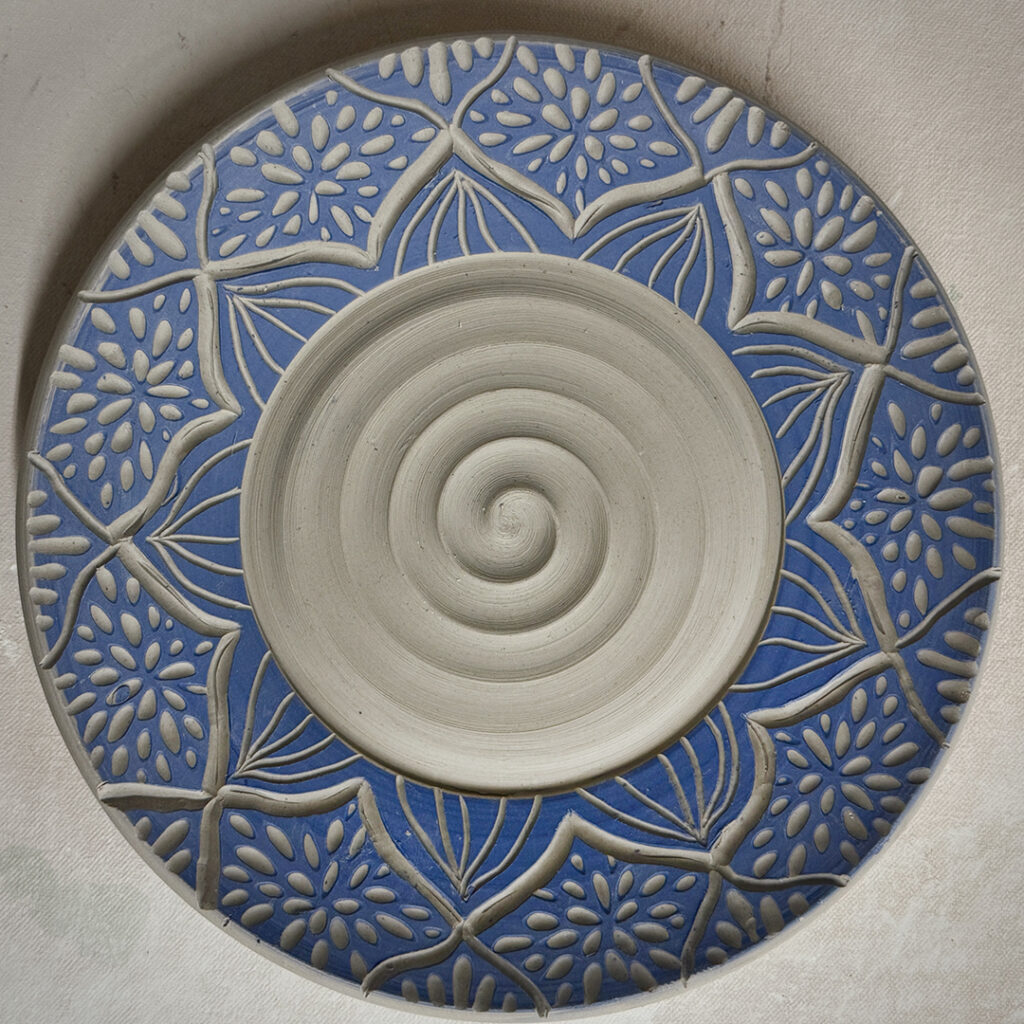
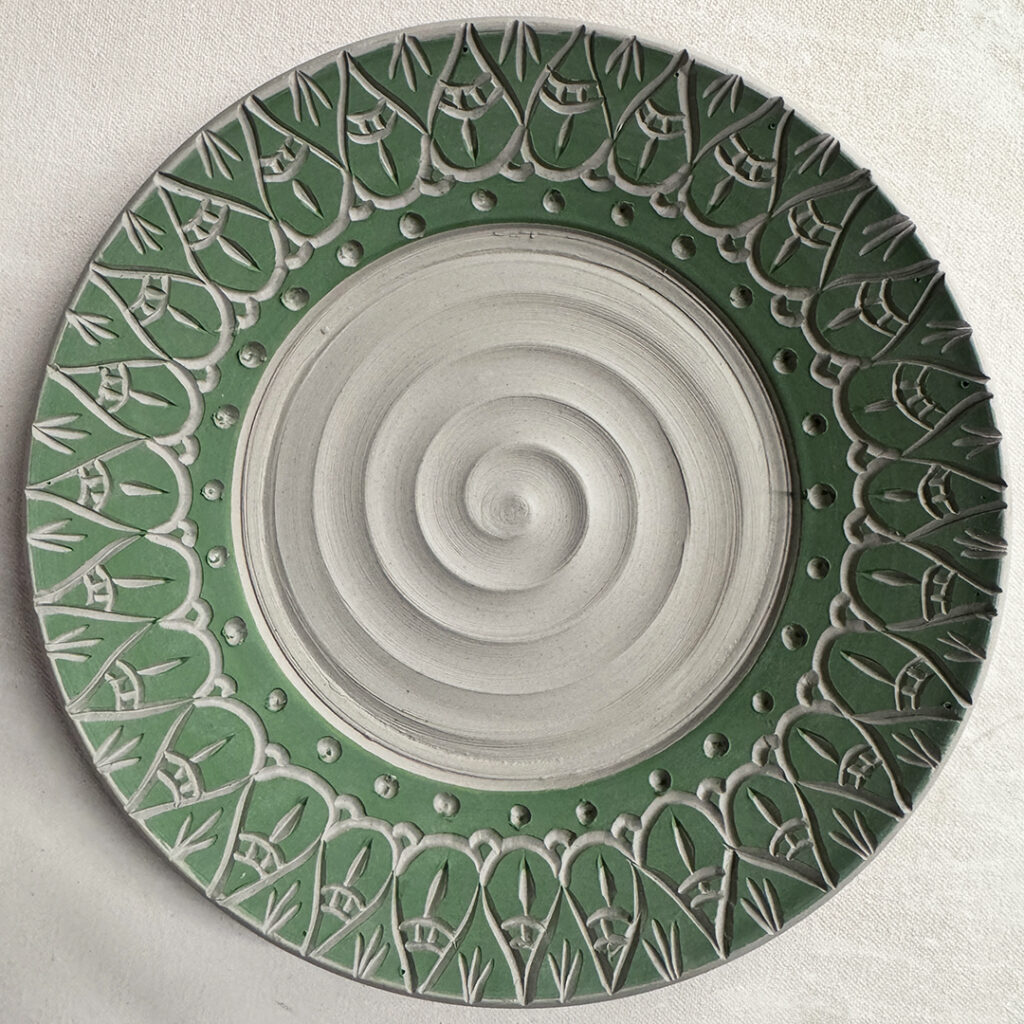
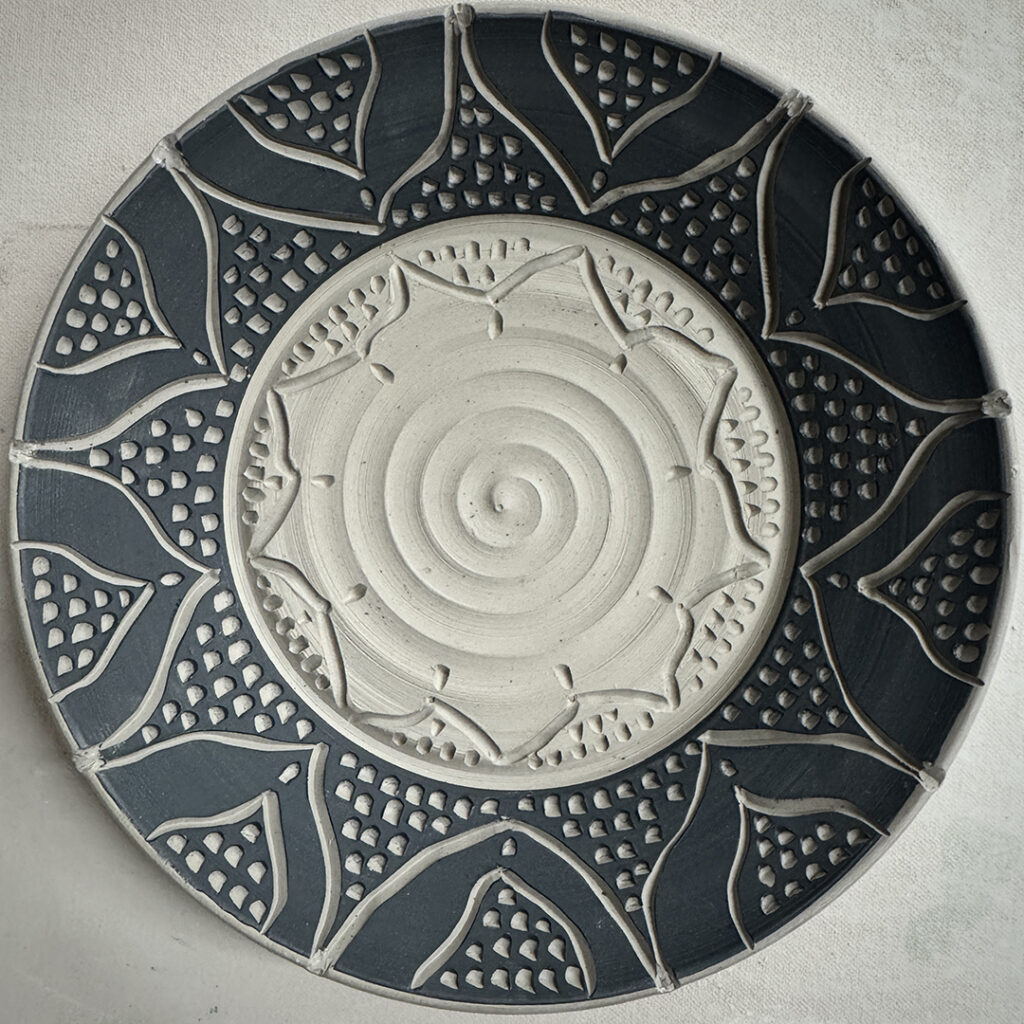
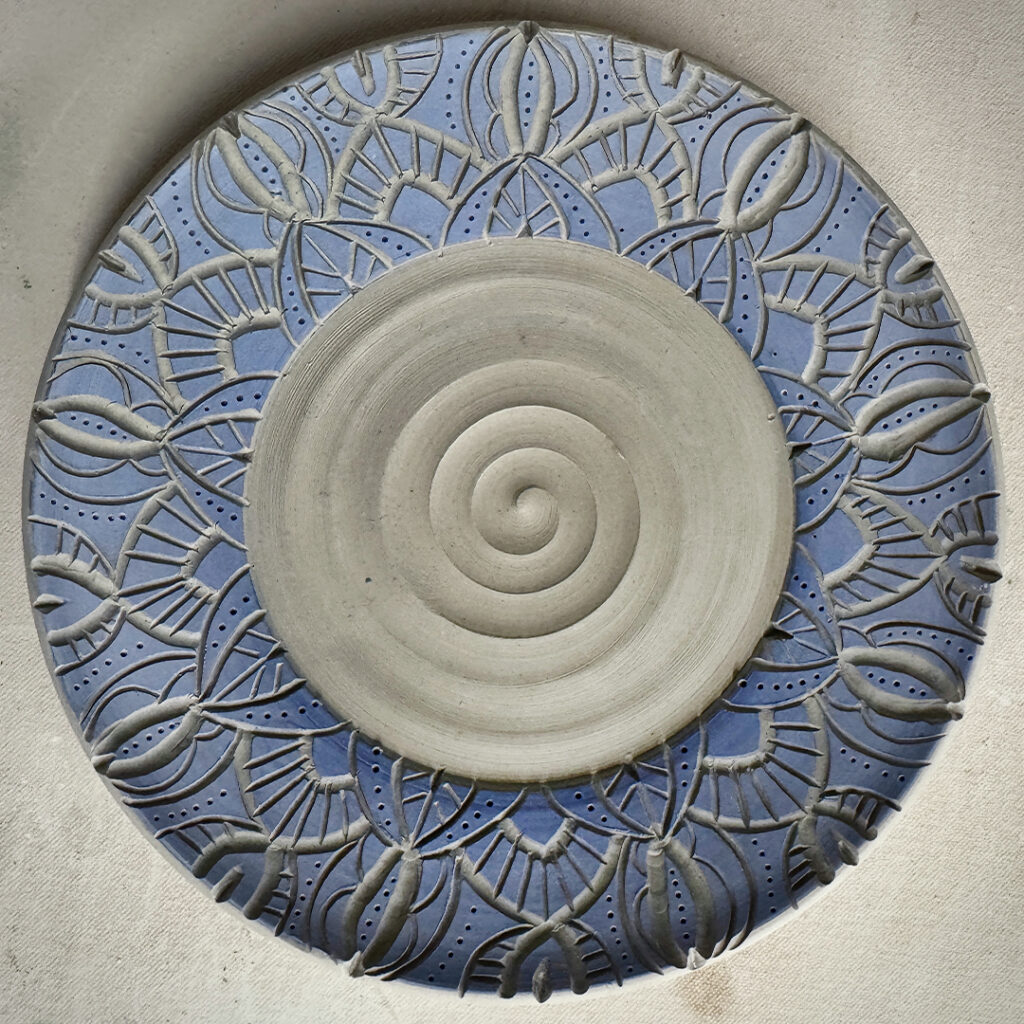
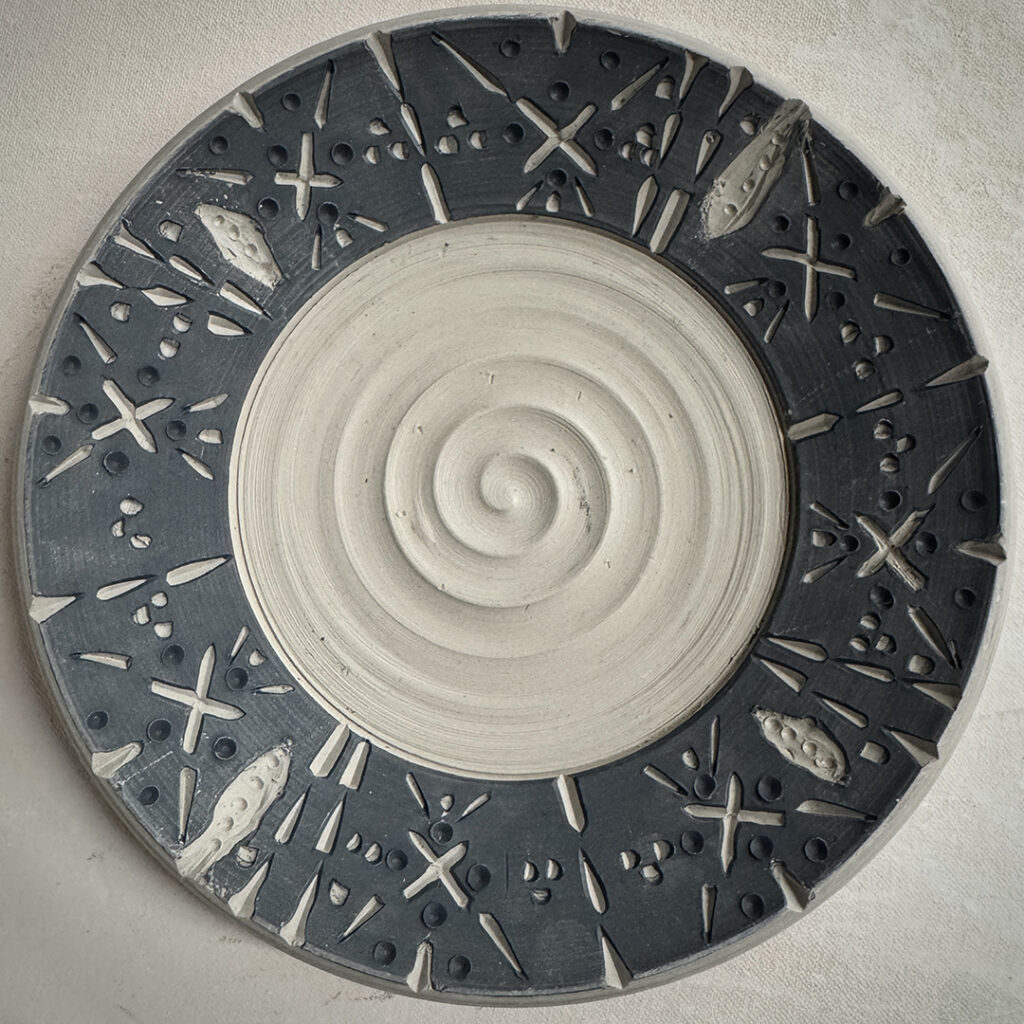
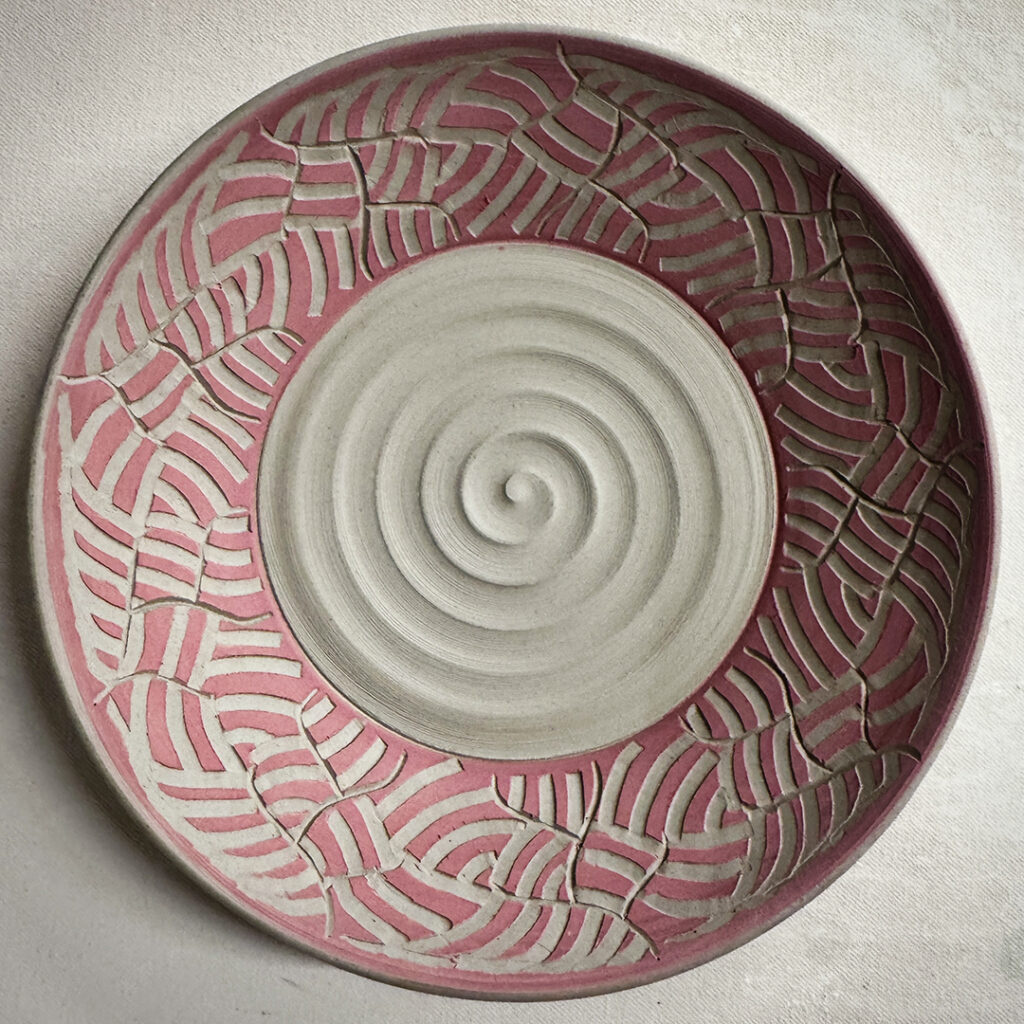
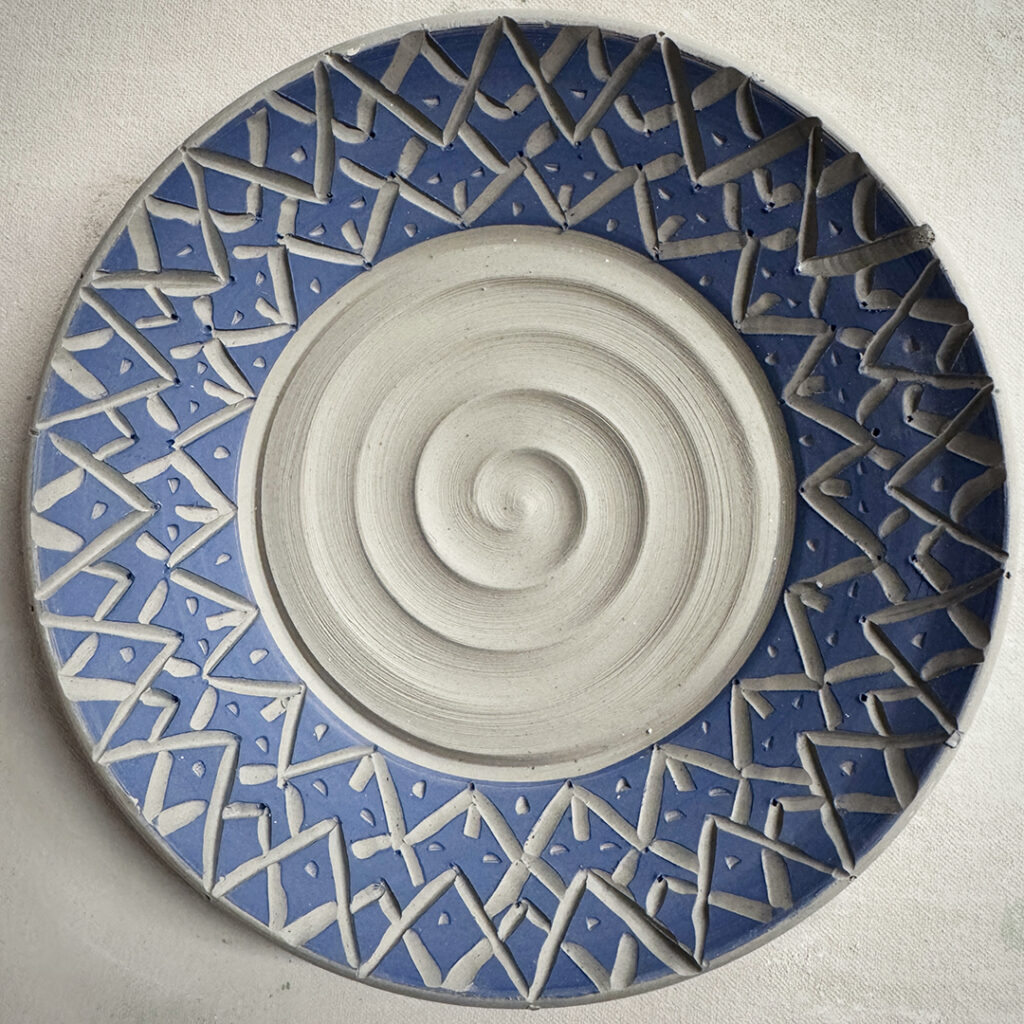
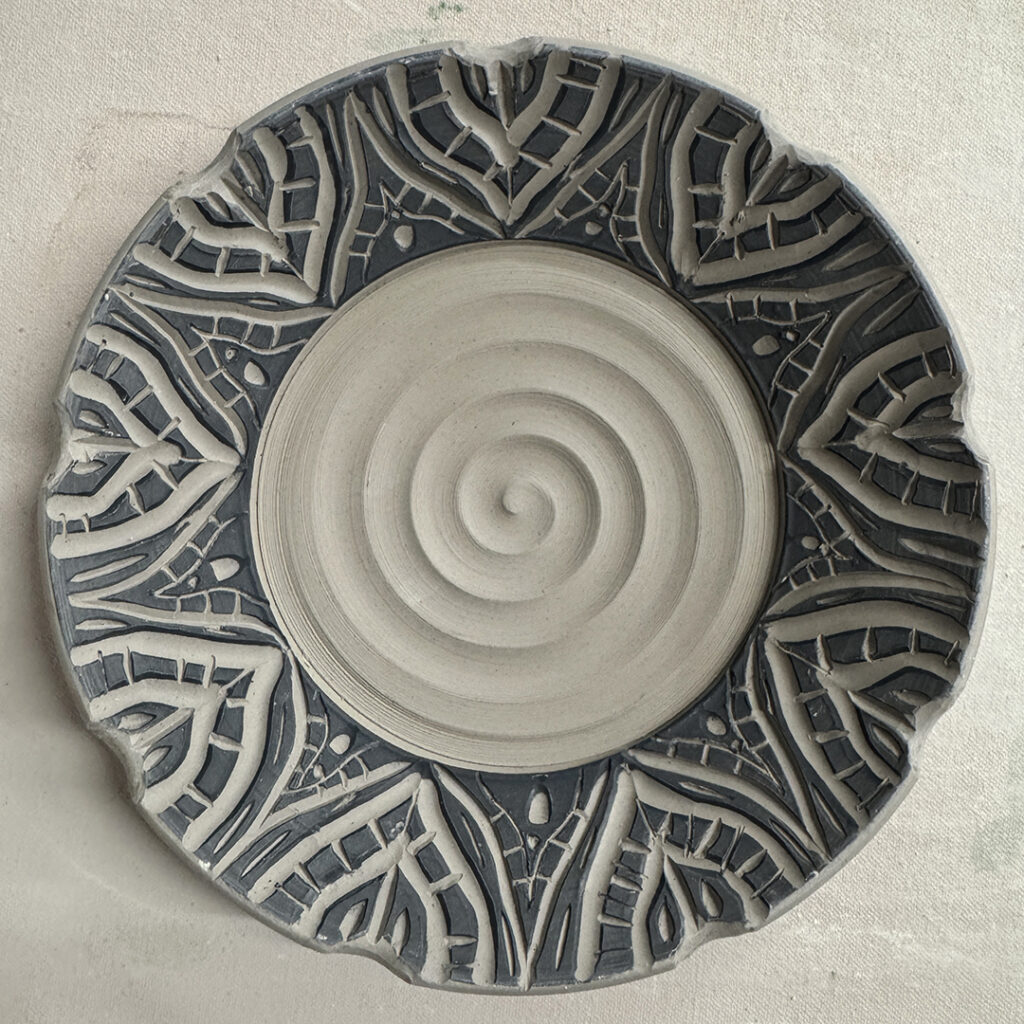
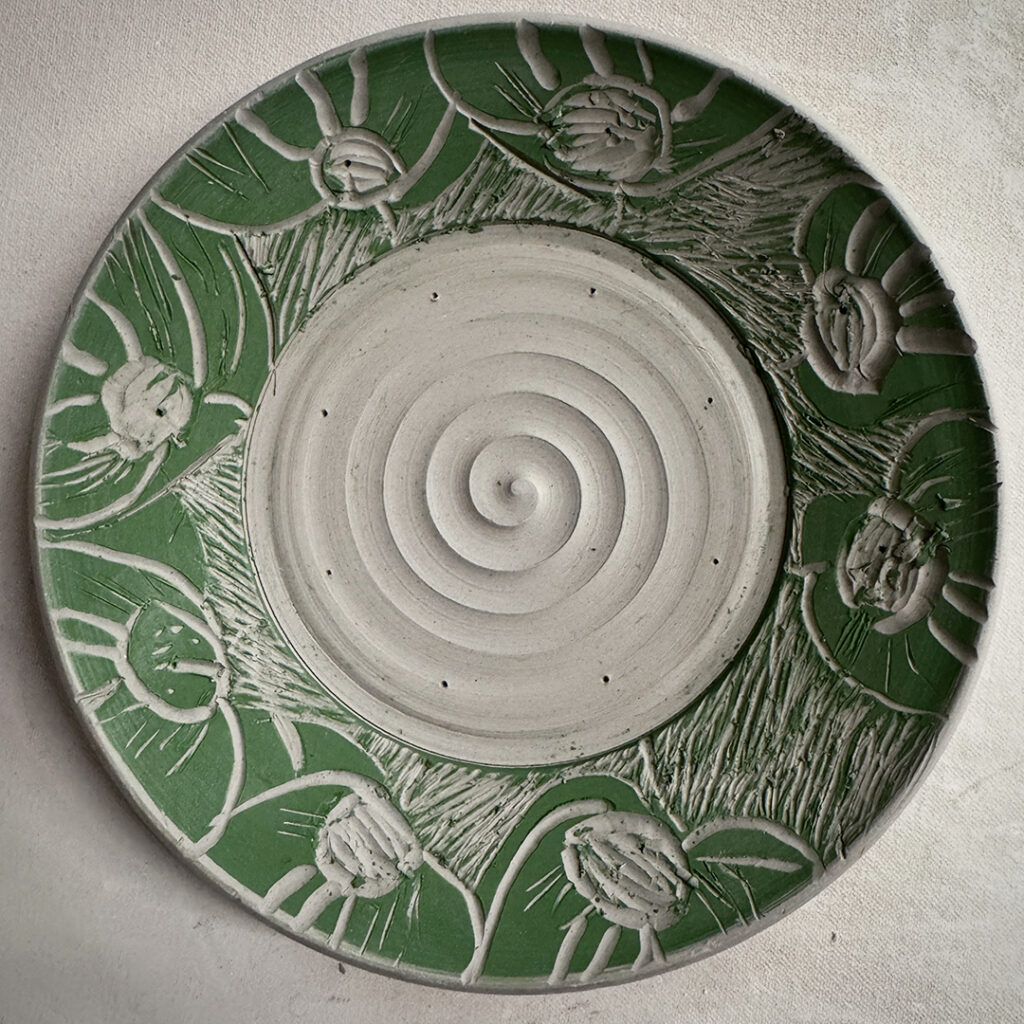
BOWL L – Thick slip ombre’ blend of white to green… this will be carved through later!

BOWL M – Thick slip ombre’ blend of green to white… this will be carved through later!

So for now they’re all under plastic in my studio…
waiting for a chance o do a wee bit more detailing & decorating!
We also discussed sprig molds… did a couple demos…
but everyone liked stamping more!!! They always do!!!

|
Gary Jackson: Fire When Ready Pottery
Lillstreet Studios ∙ 4401 North Ravenswood, Chicago, Illinois 60640 ∙ 773-307-8664 gary@firewhenreadypottery.com |