02.28.2025
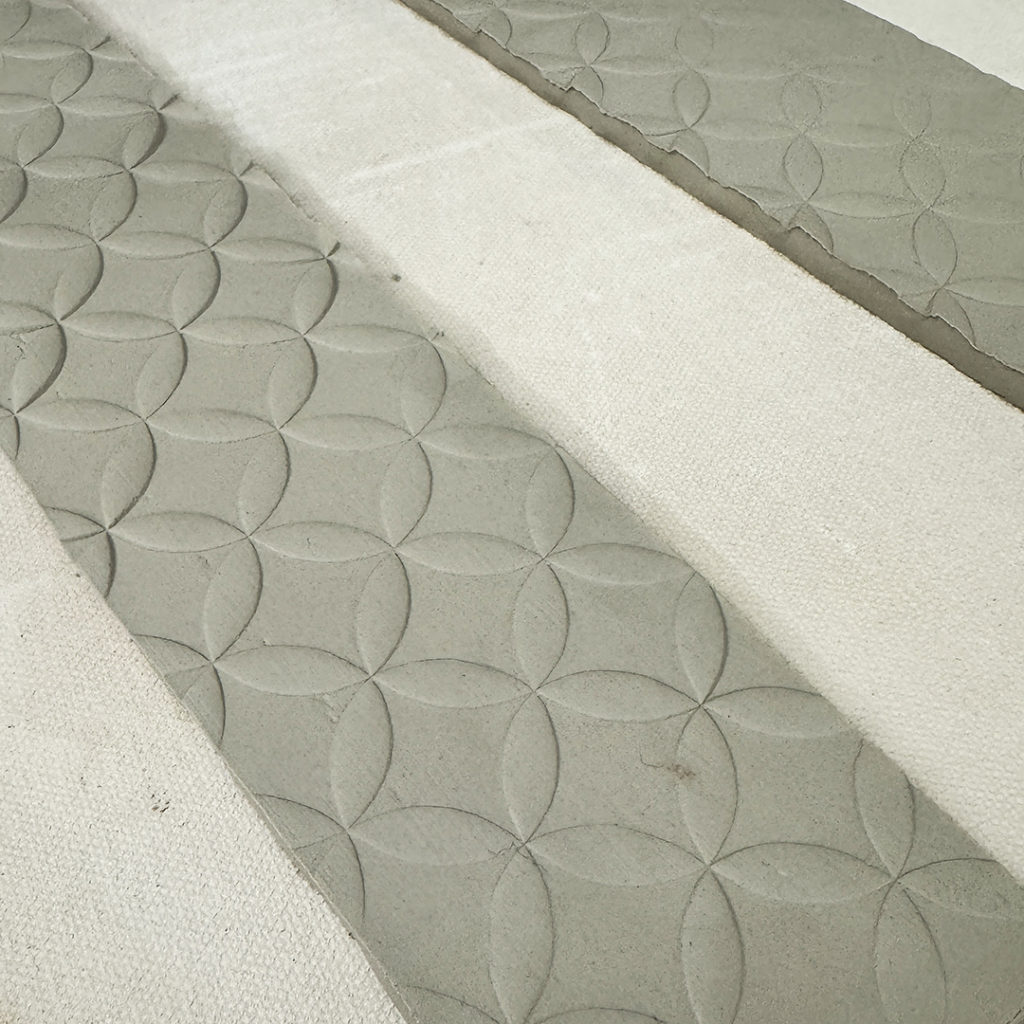
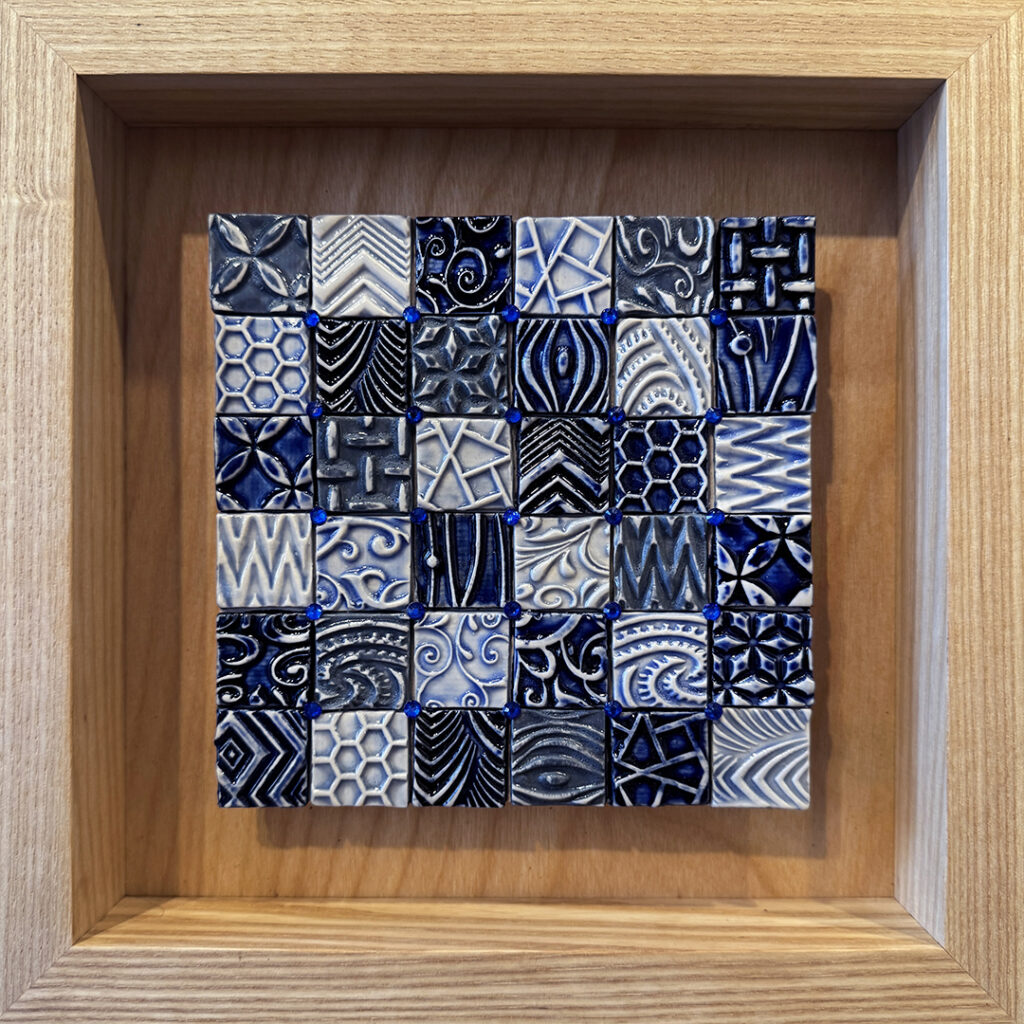
Last, but not least…these are MY four pieces for the collaboration… “Interpretations of Blue.” Not surprisingly, I went with a lot of textures… and a more than a few tiles. Although these tiny textured tiles are smaller than I’ve ever made before! Finished in shades of blue, a few metallic accents & a tiny bit of bling if you very closely!!!
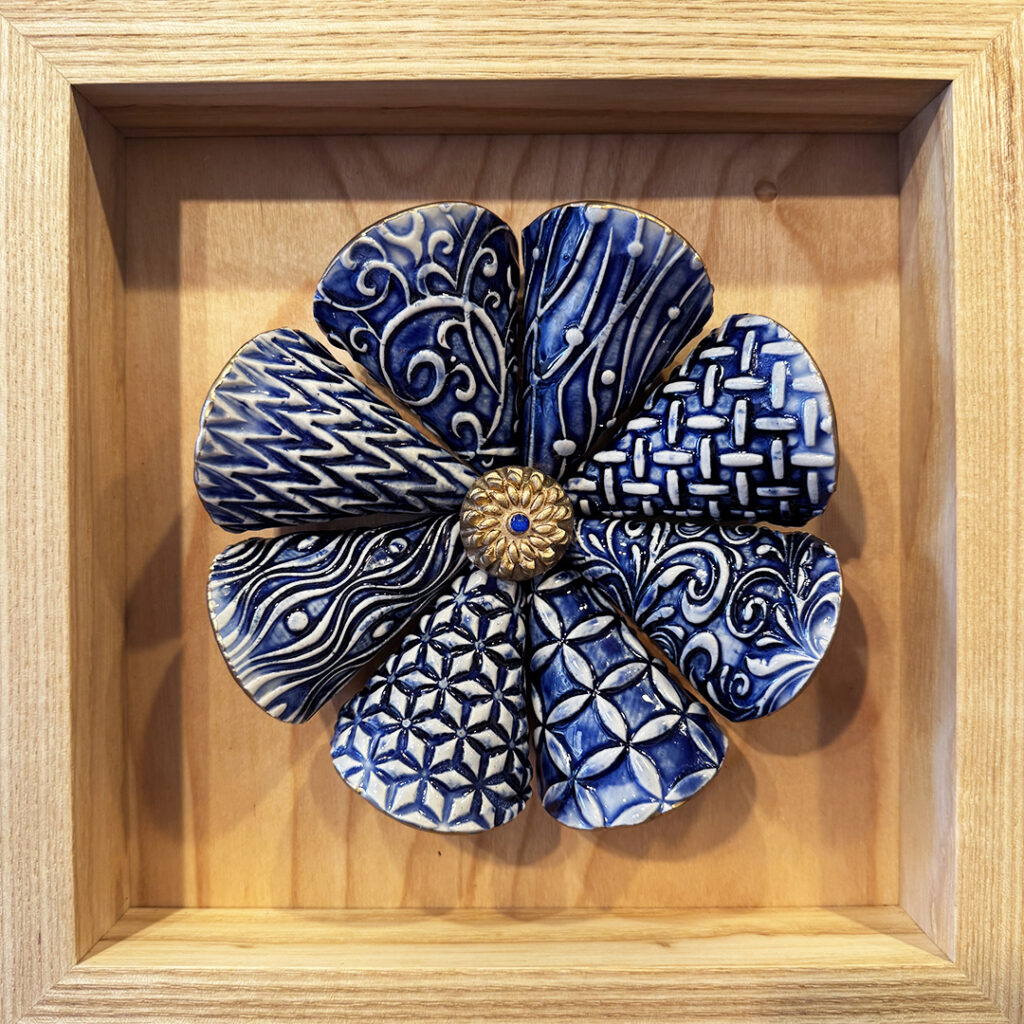
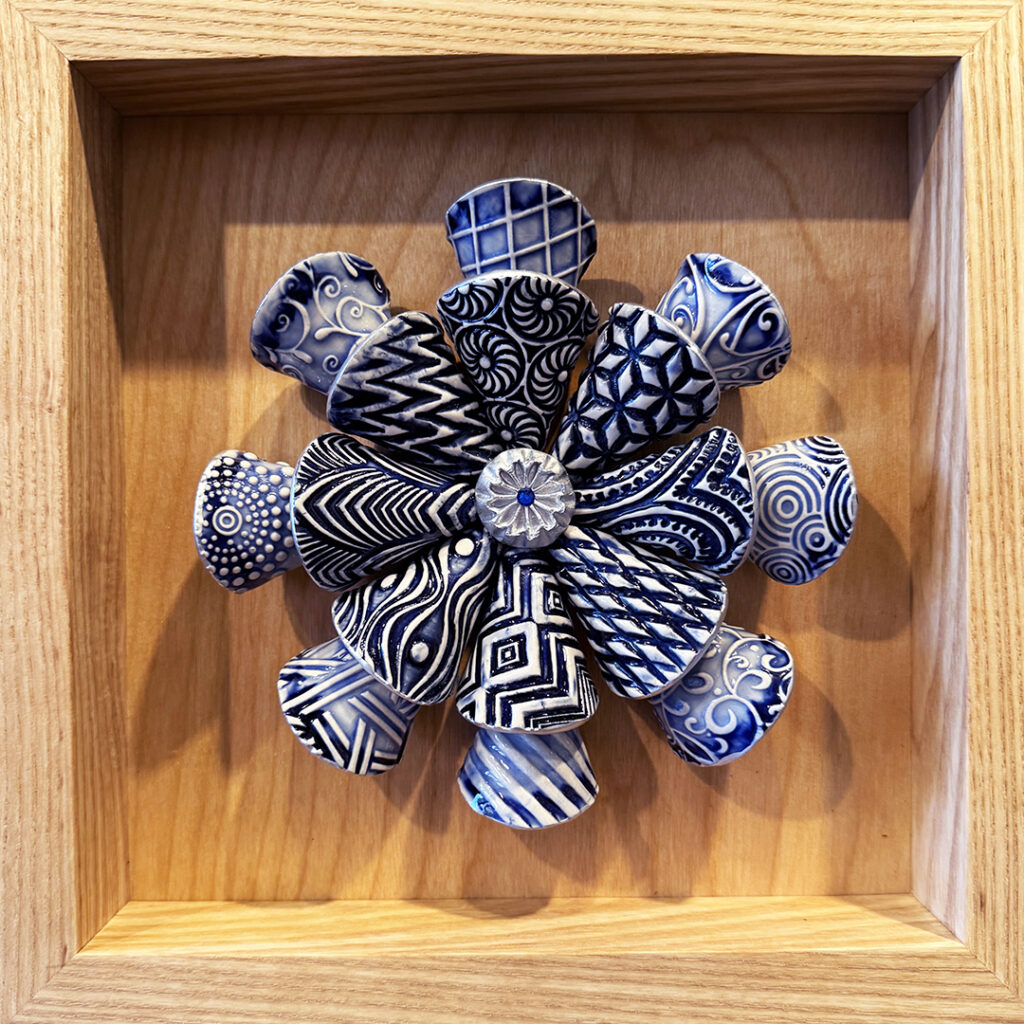
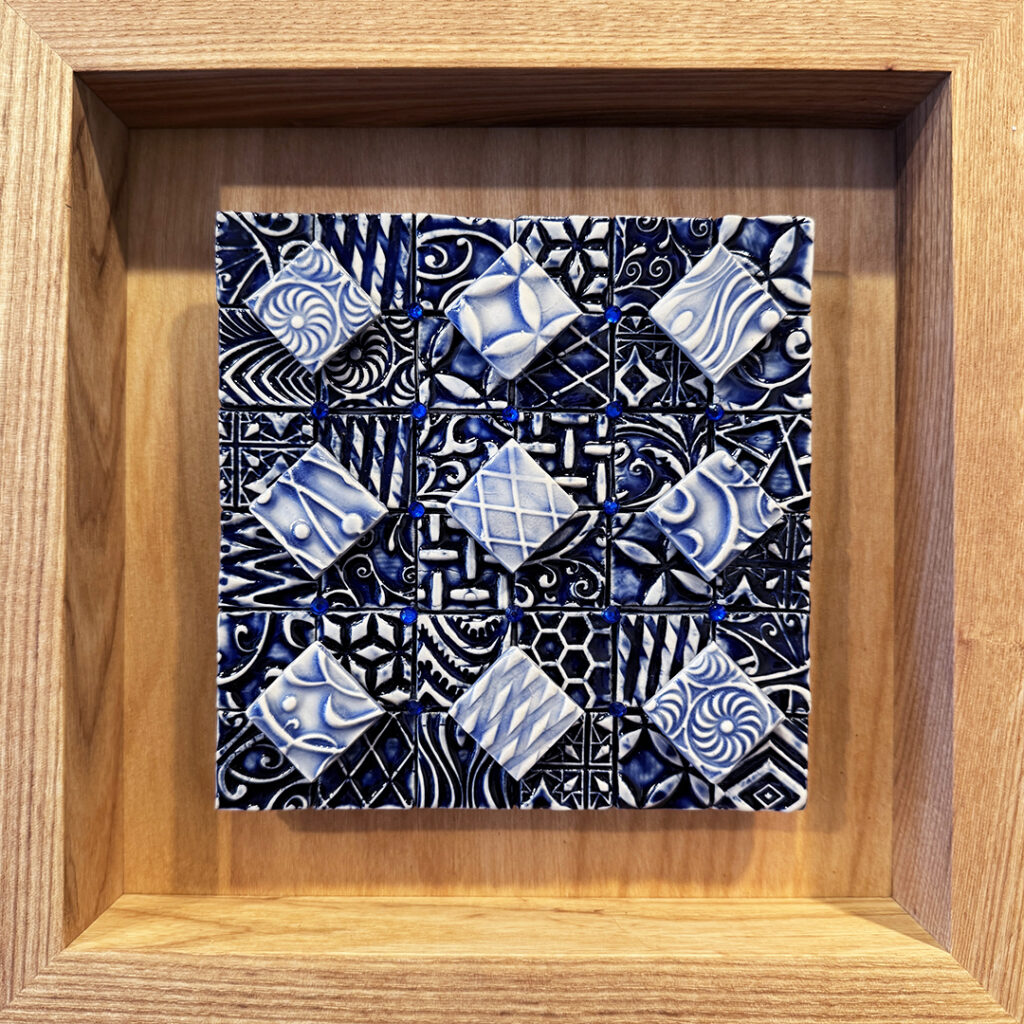
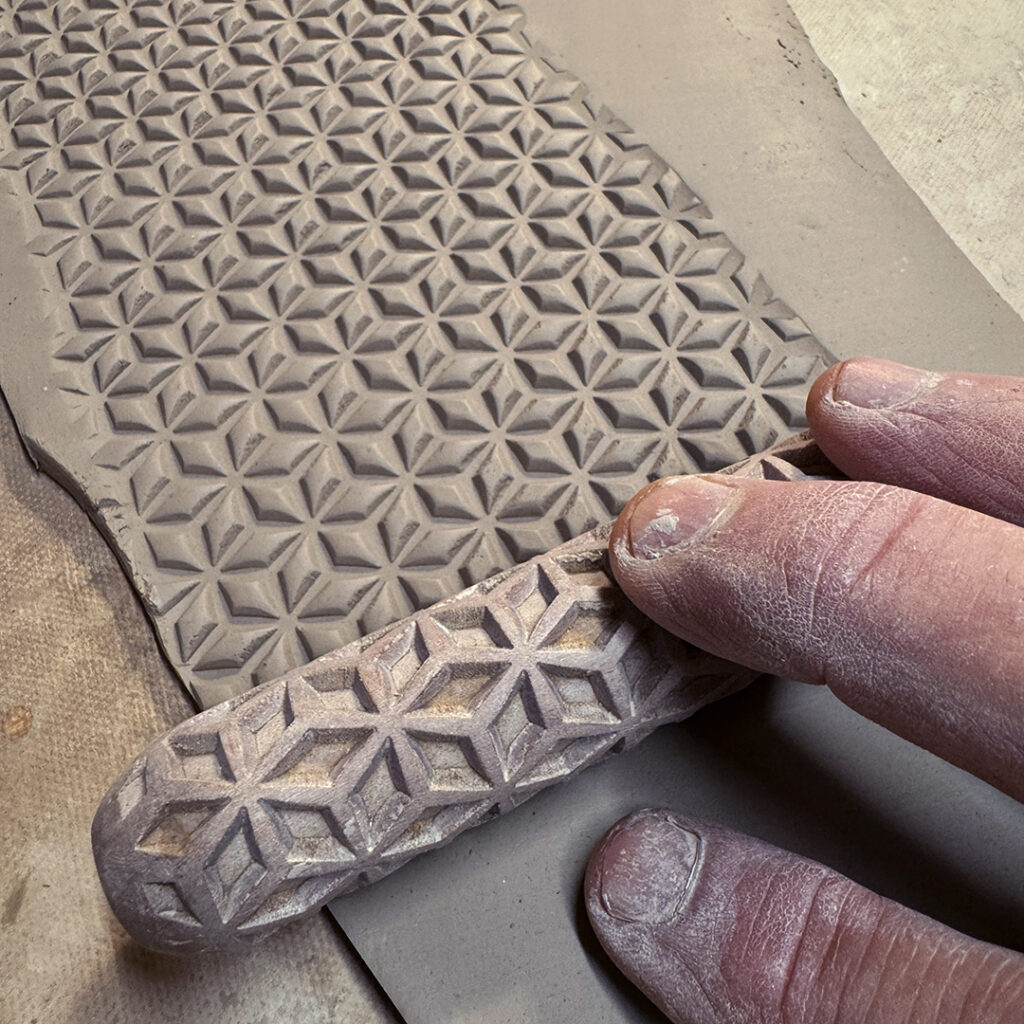
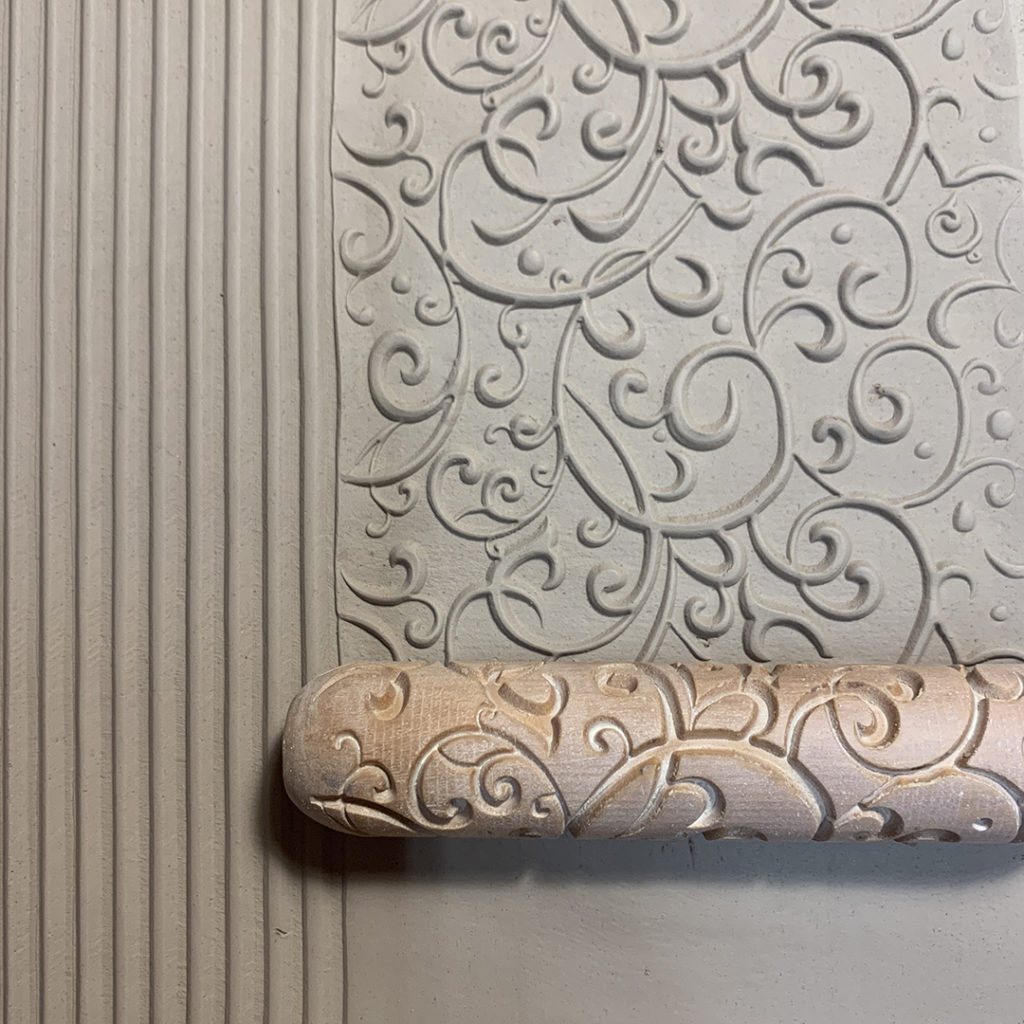
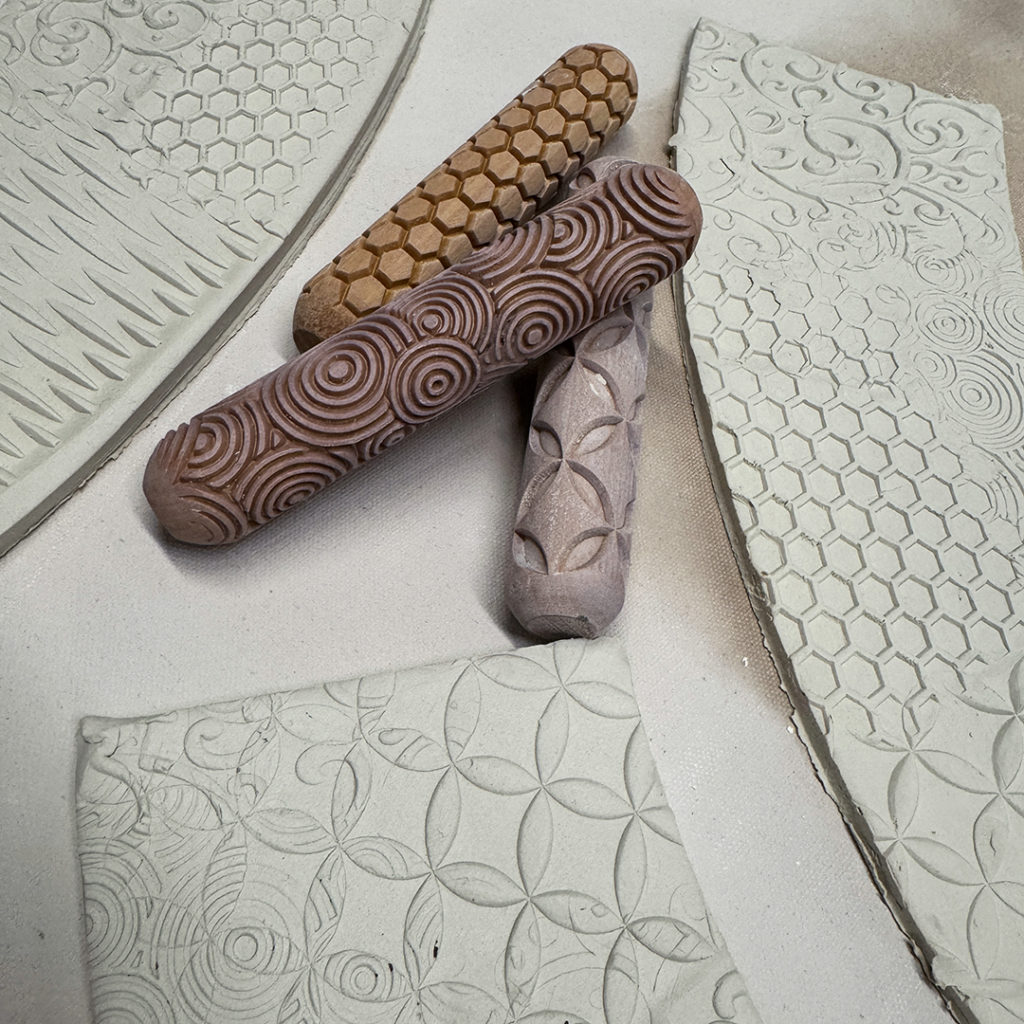
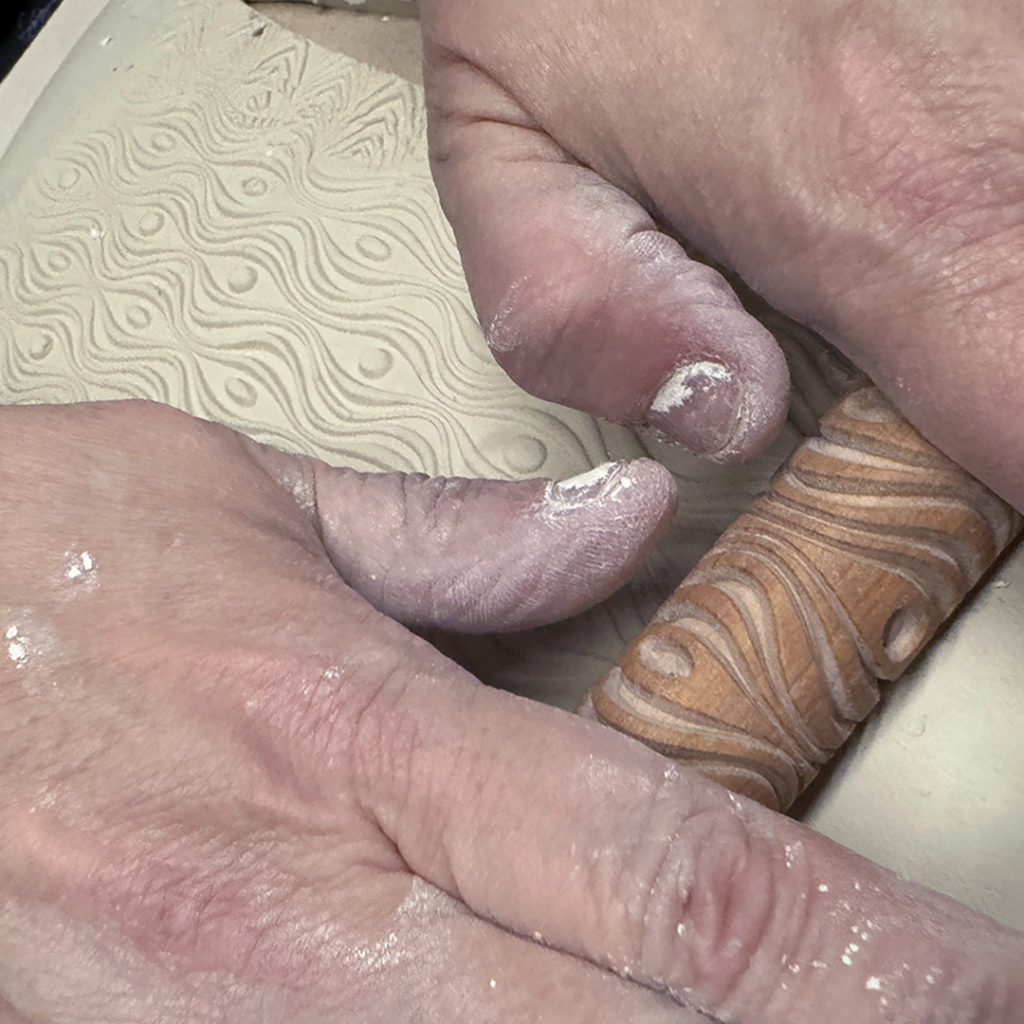
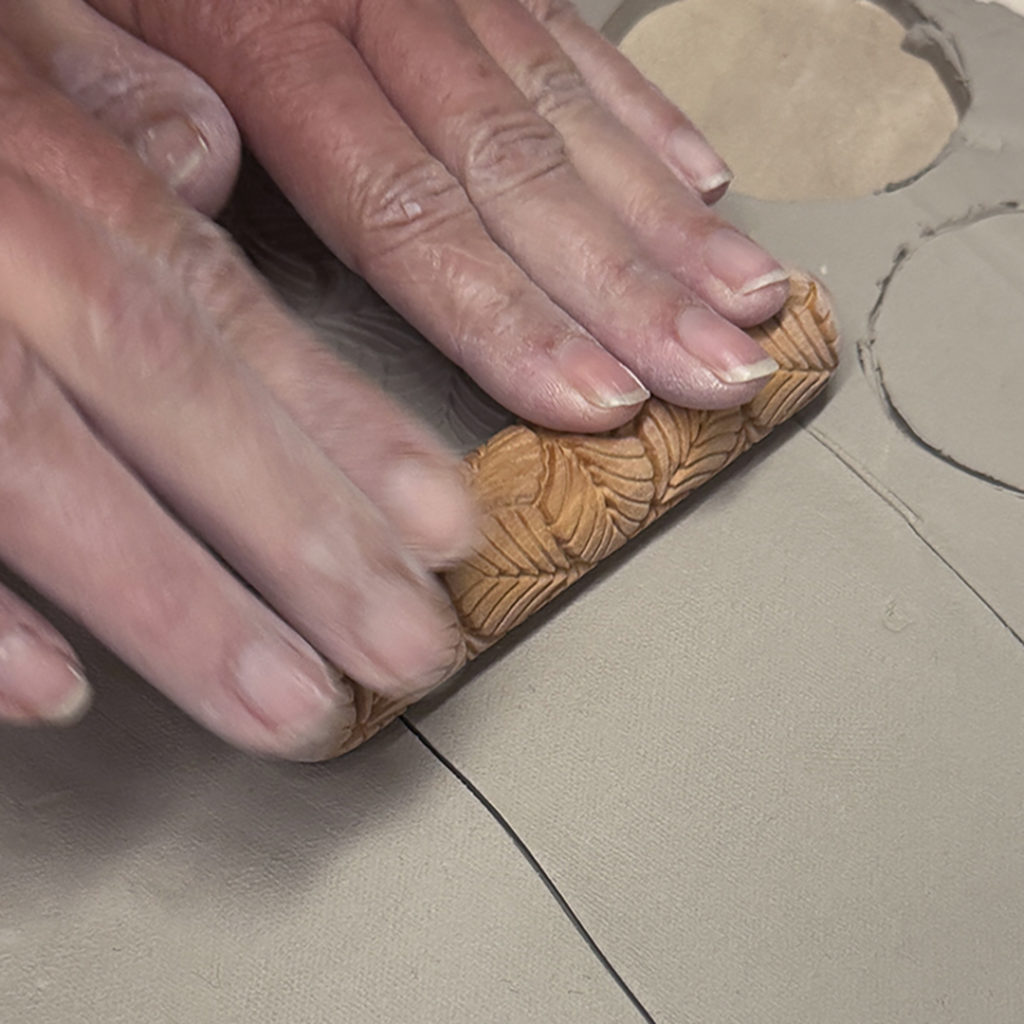
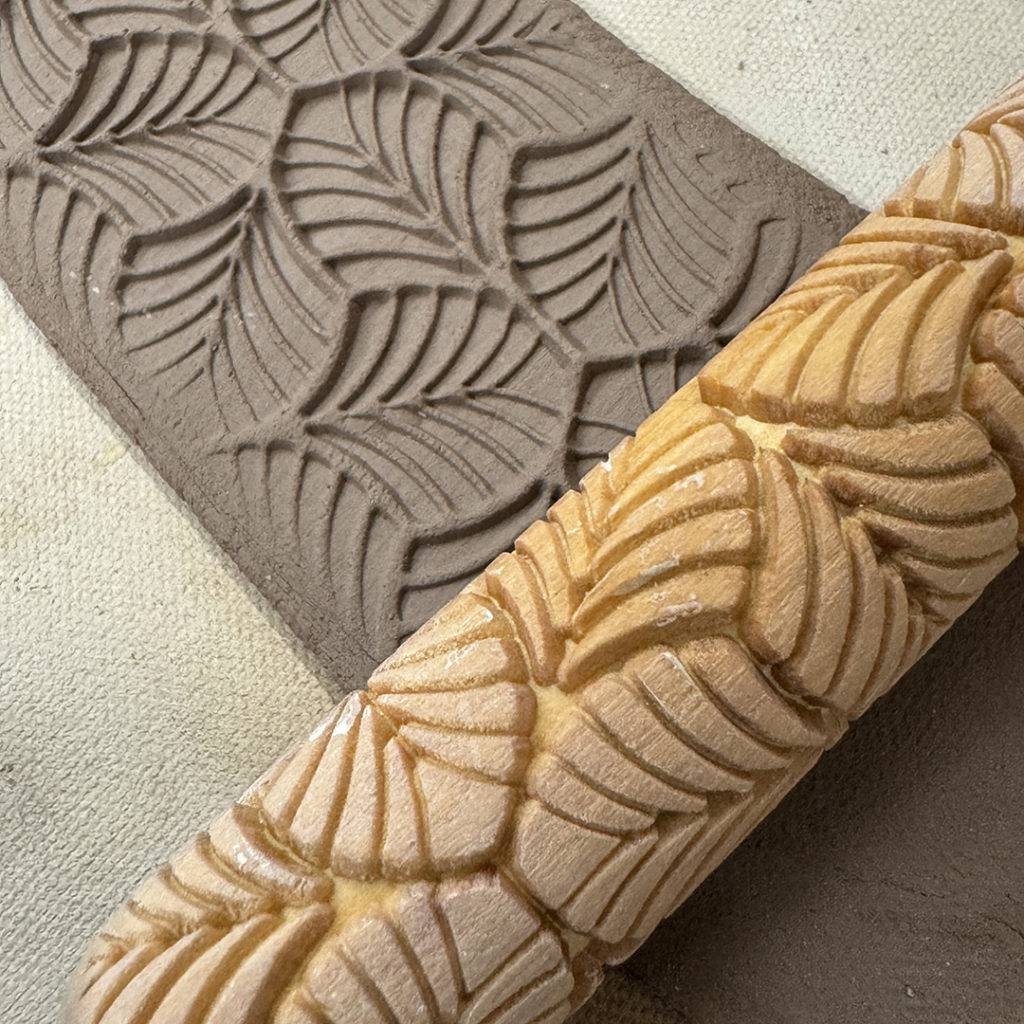
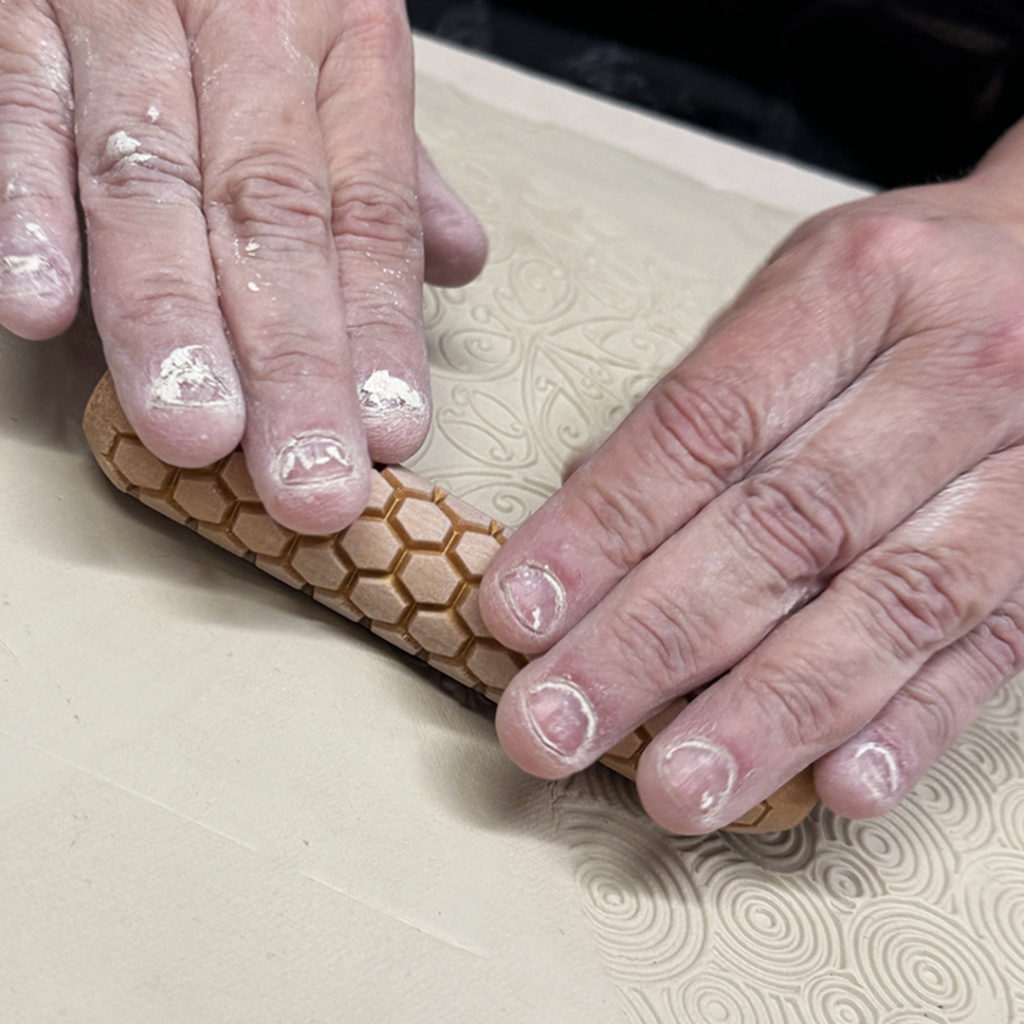
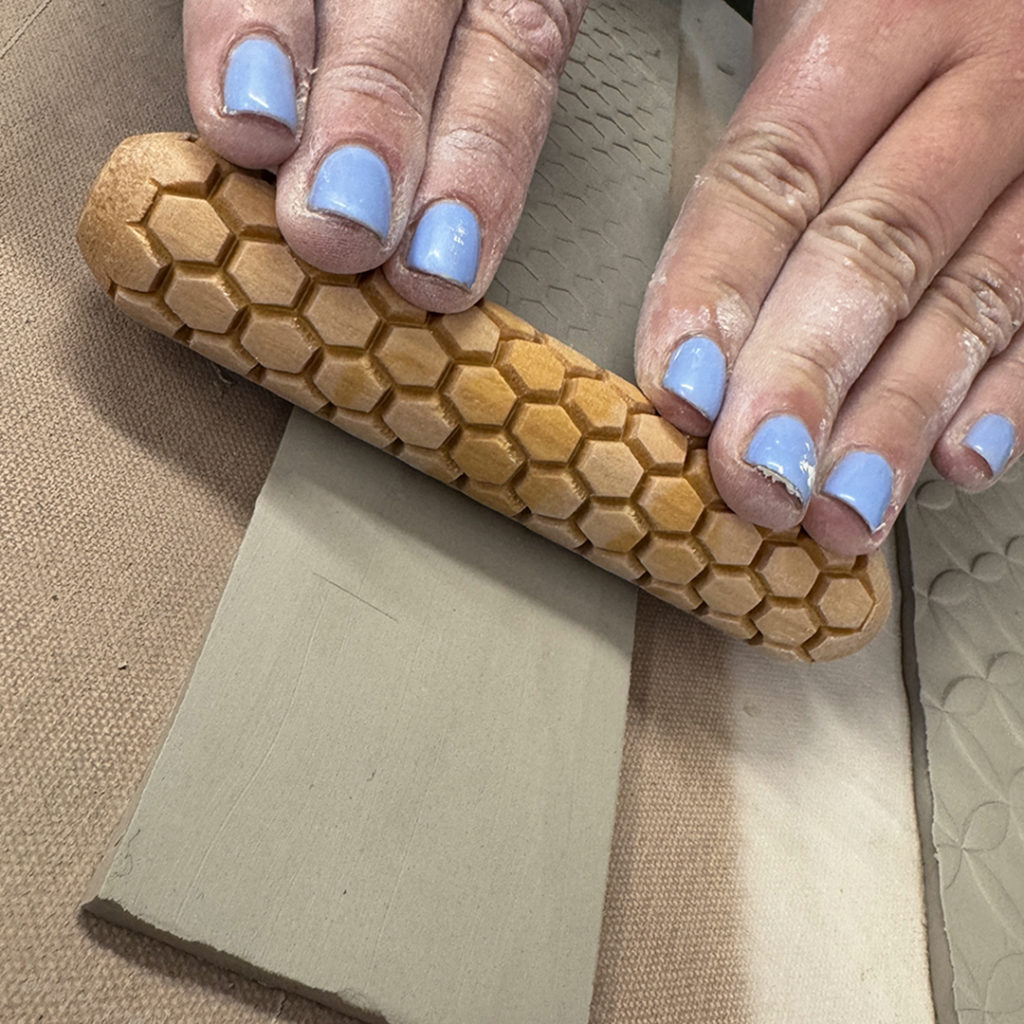
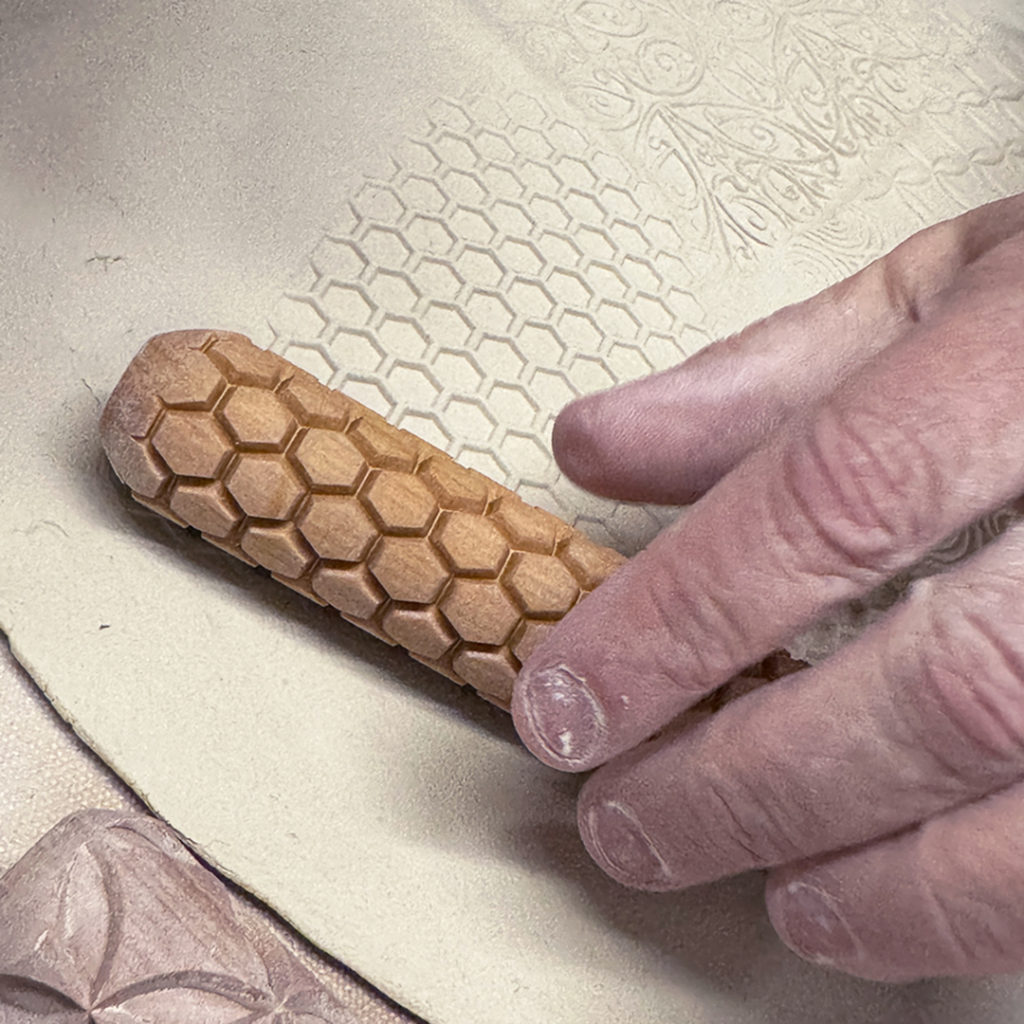
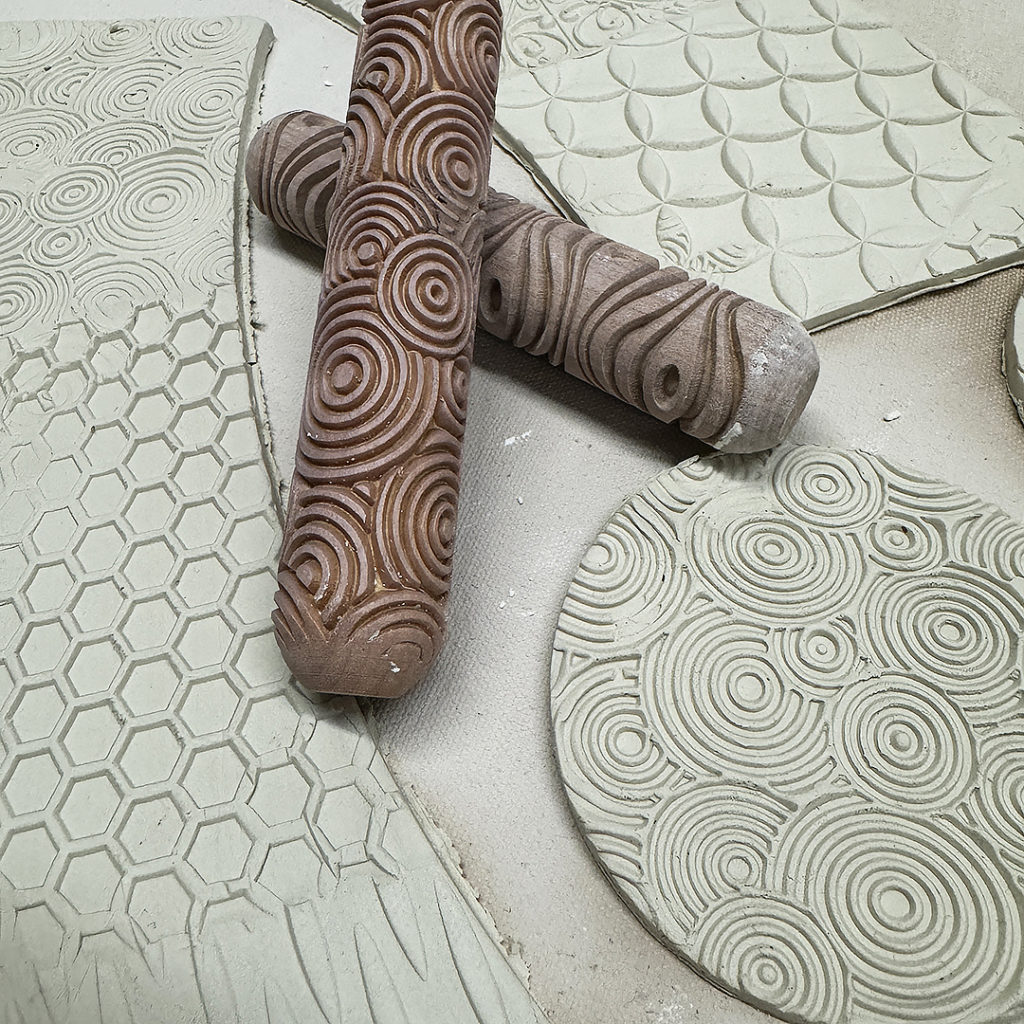
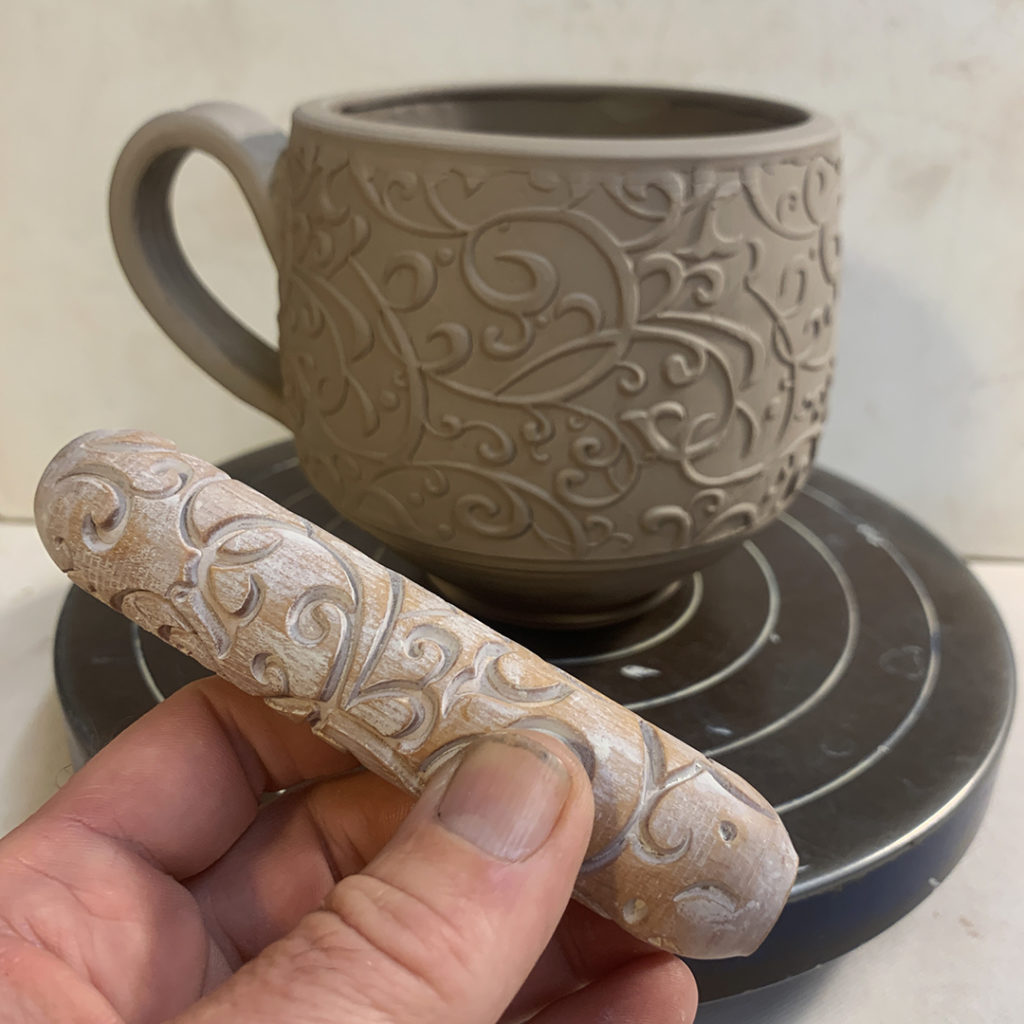
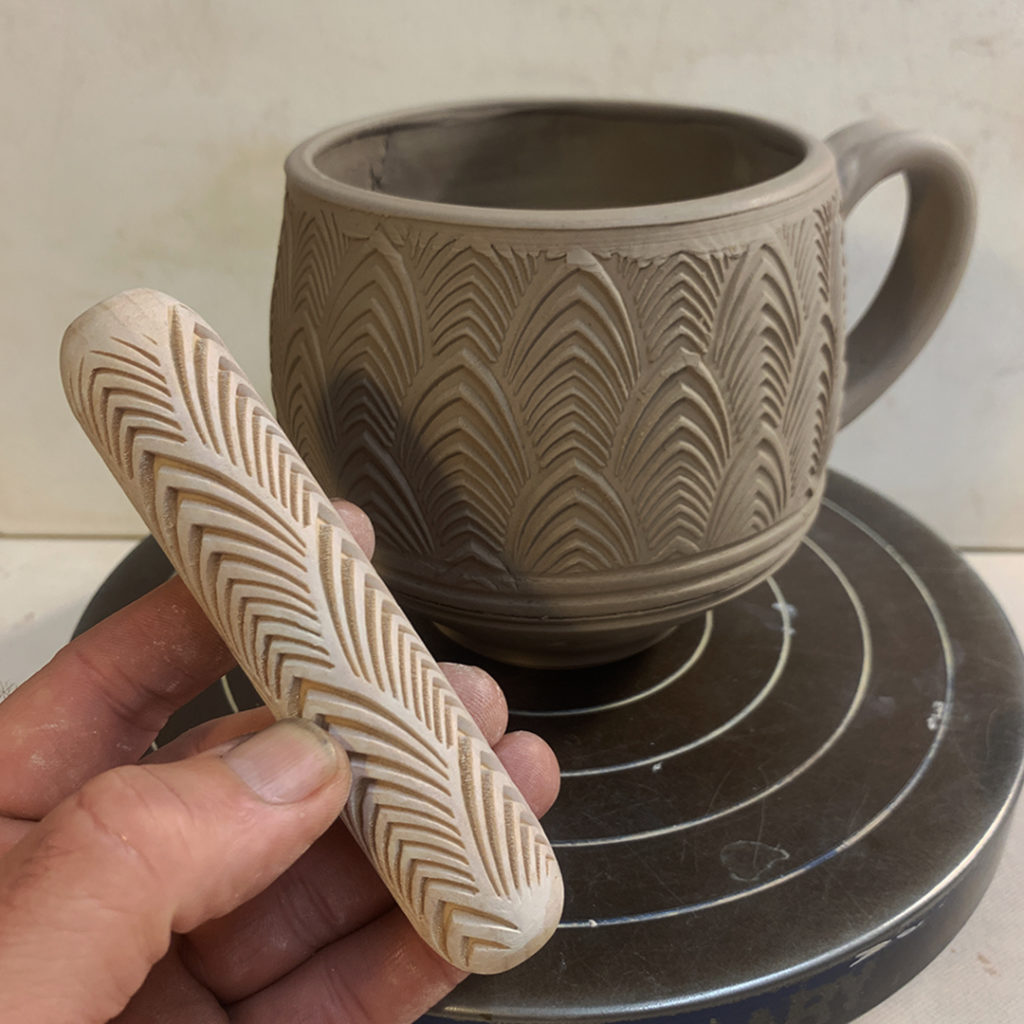
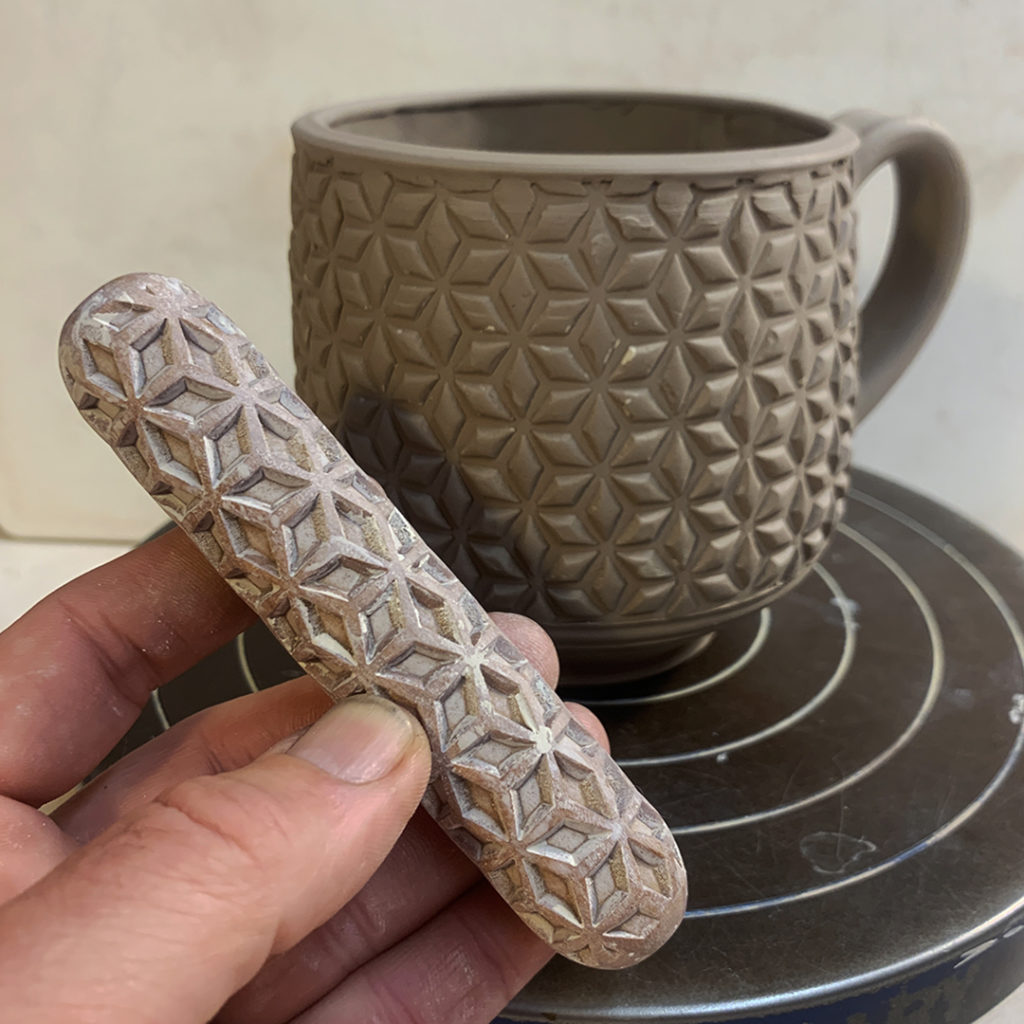
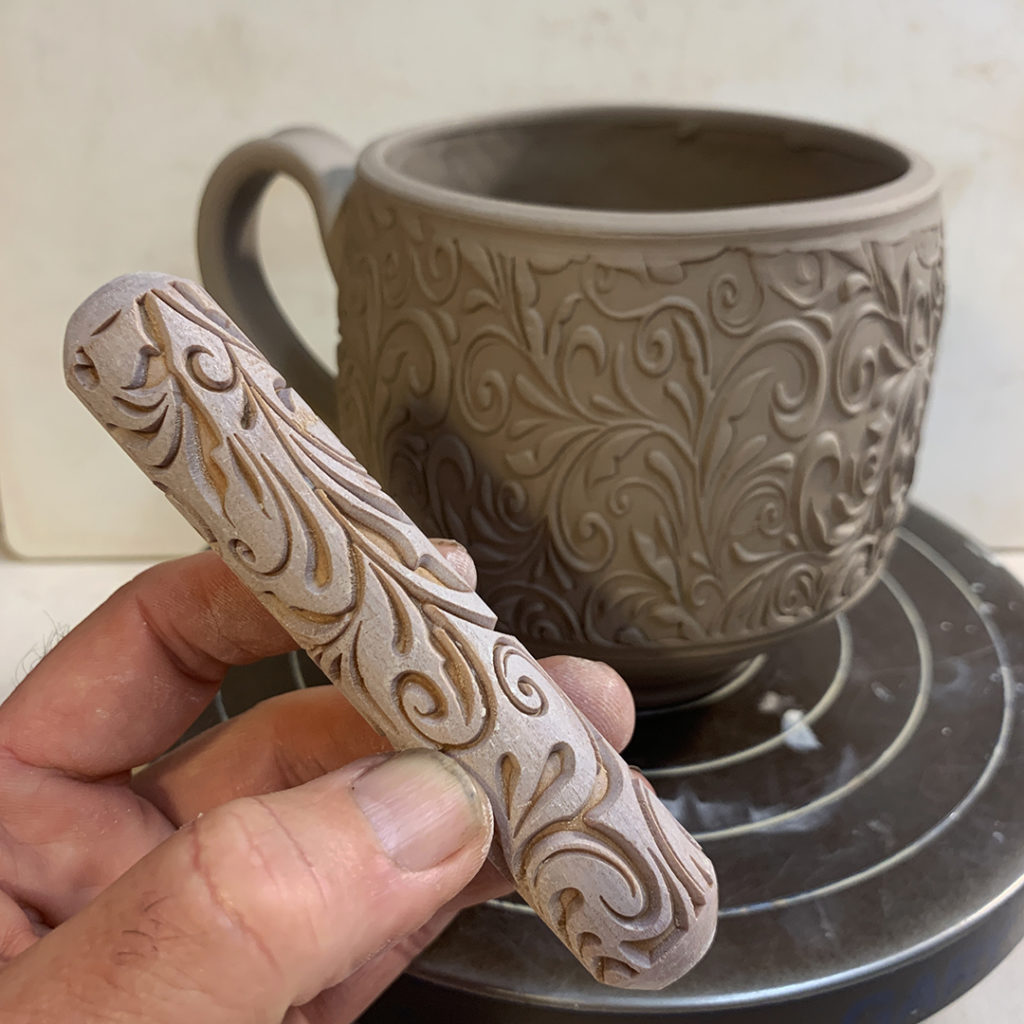
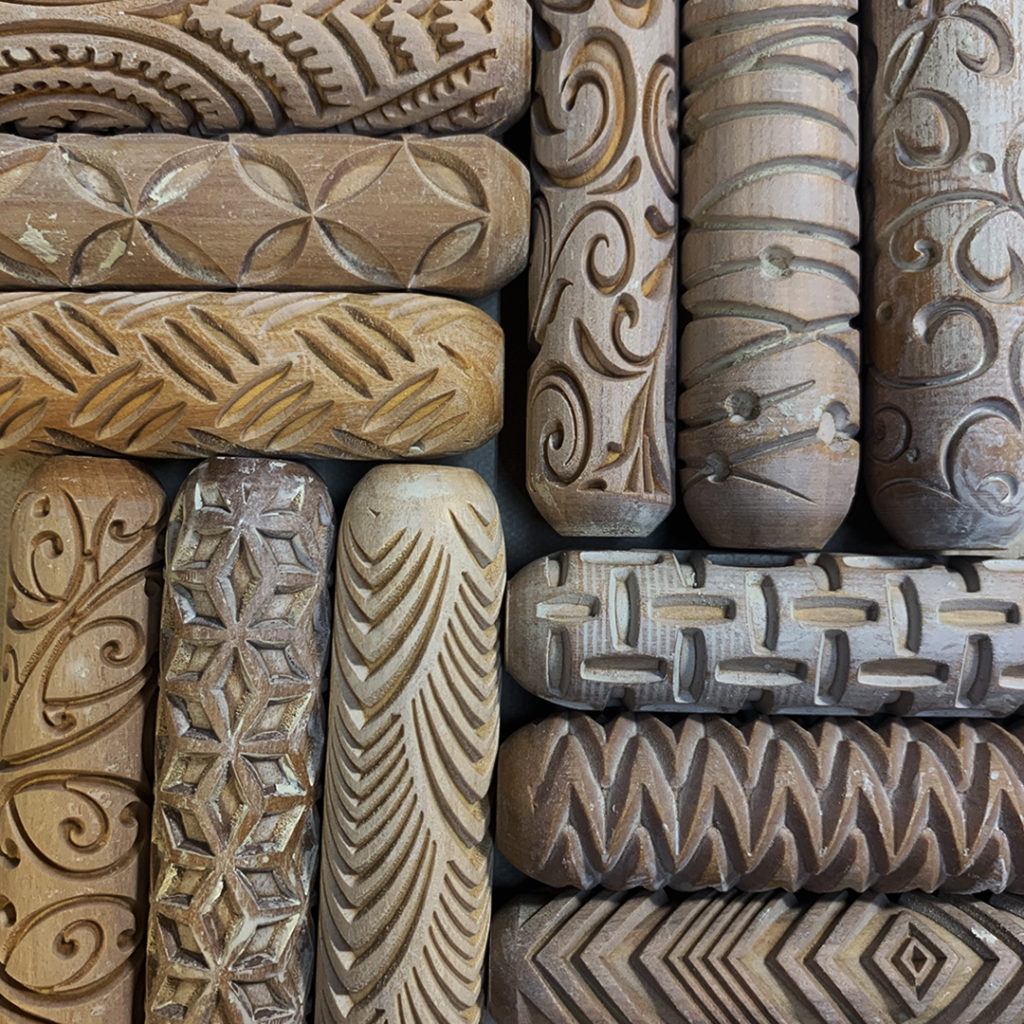
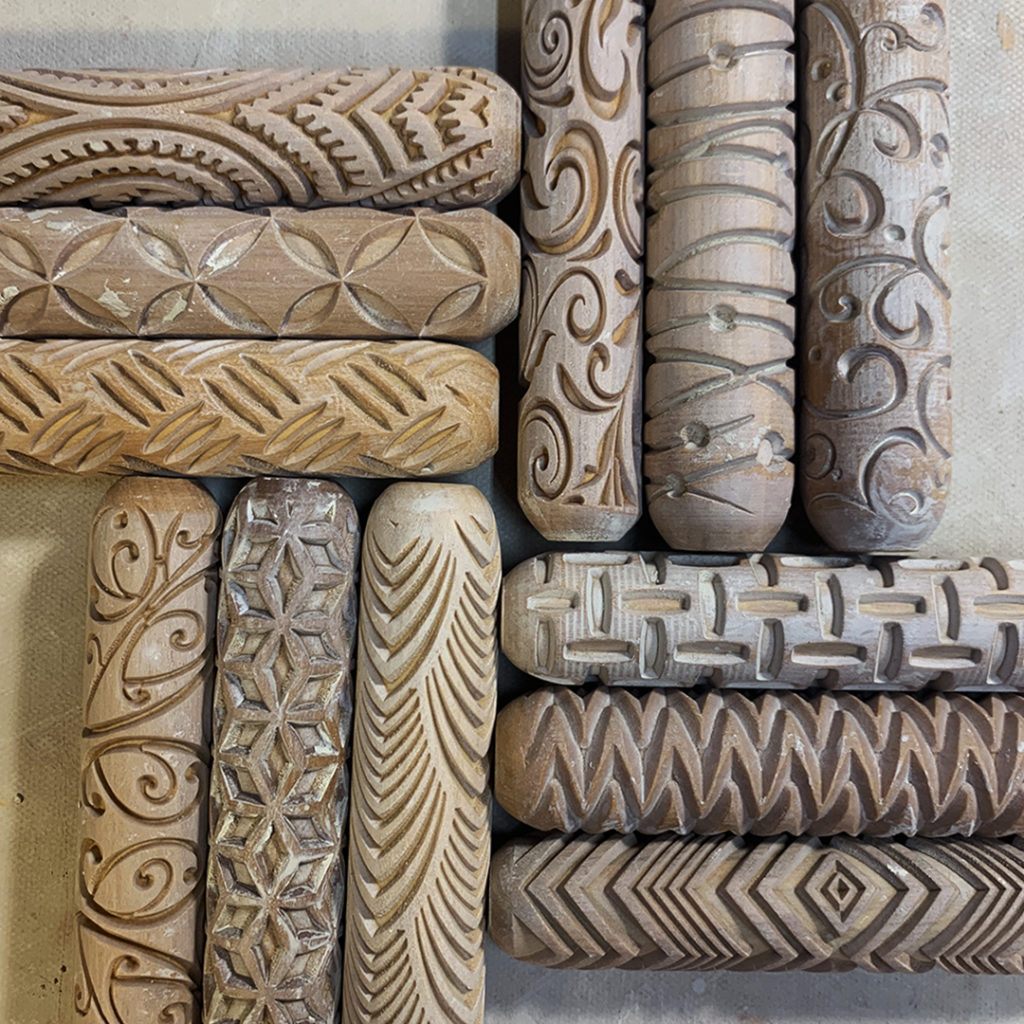
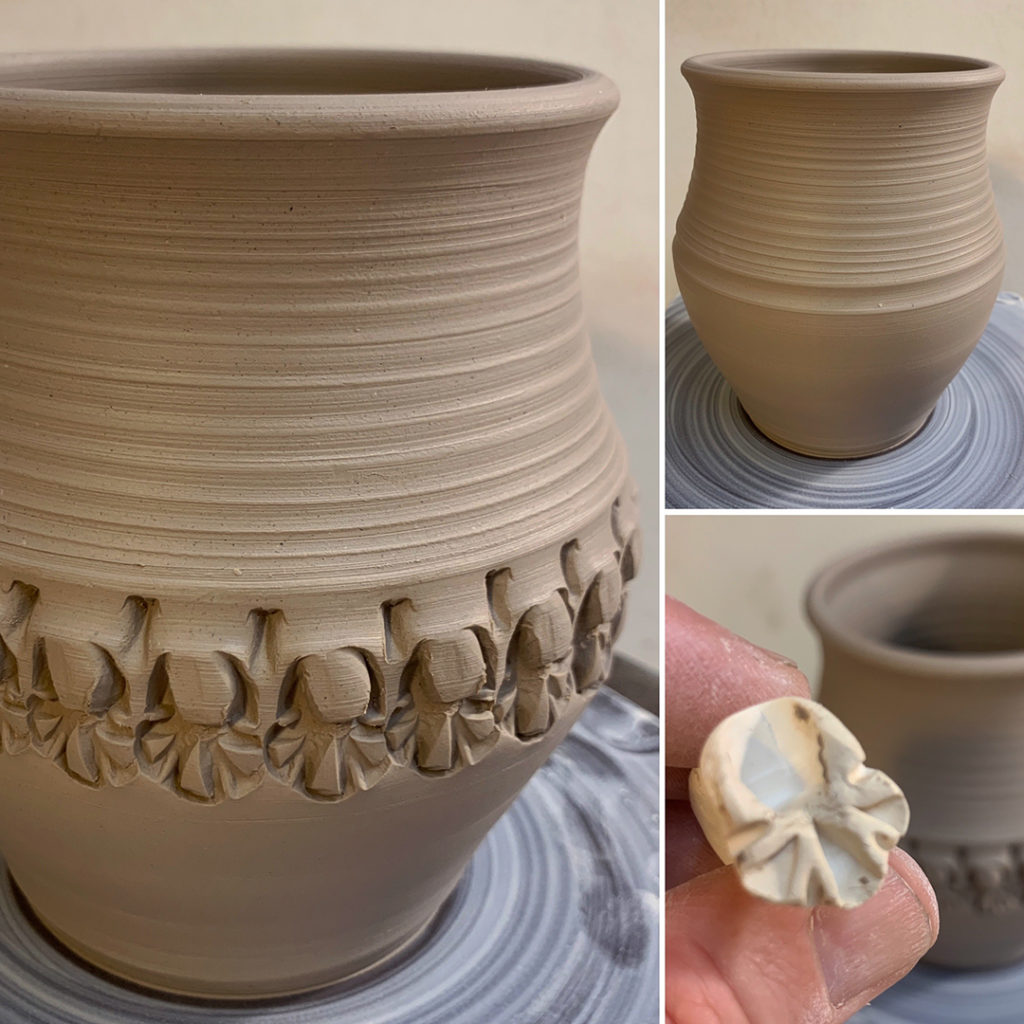
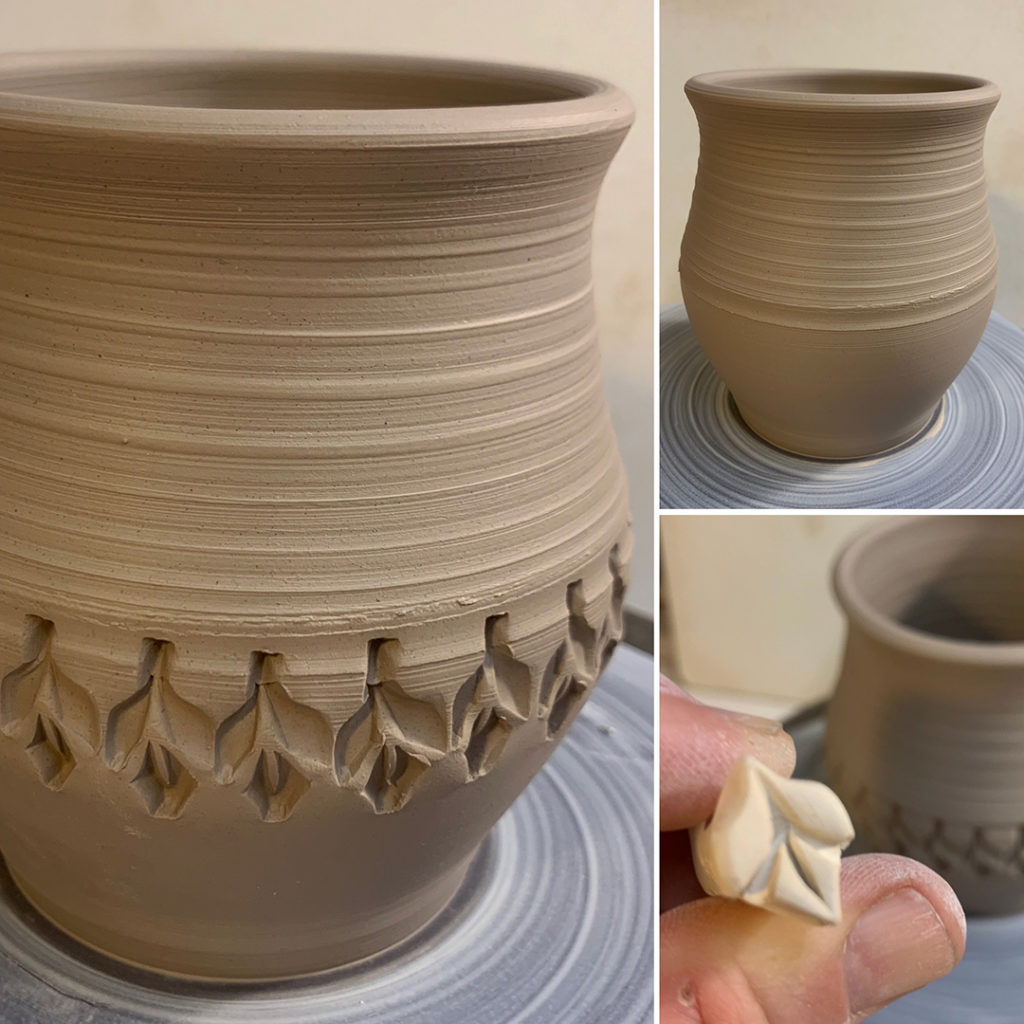
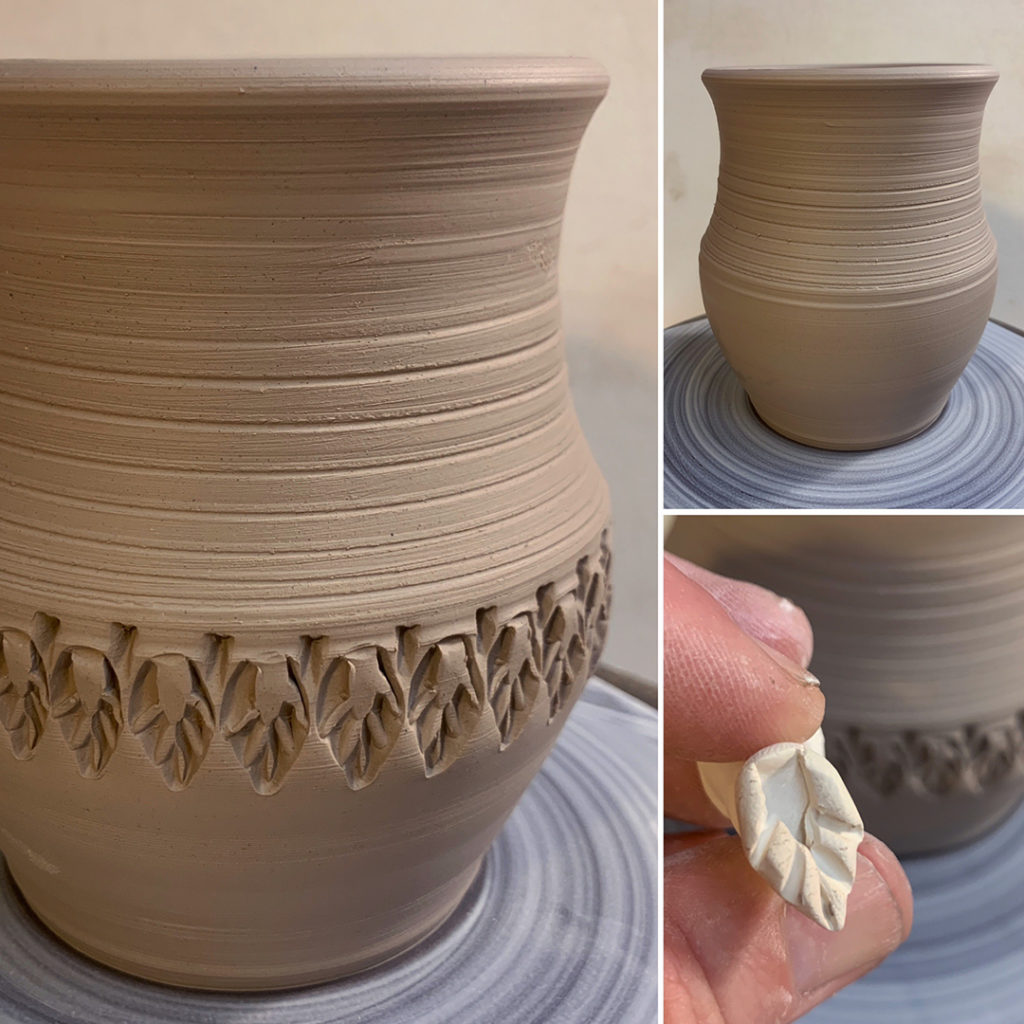
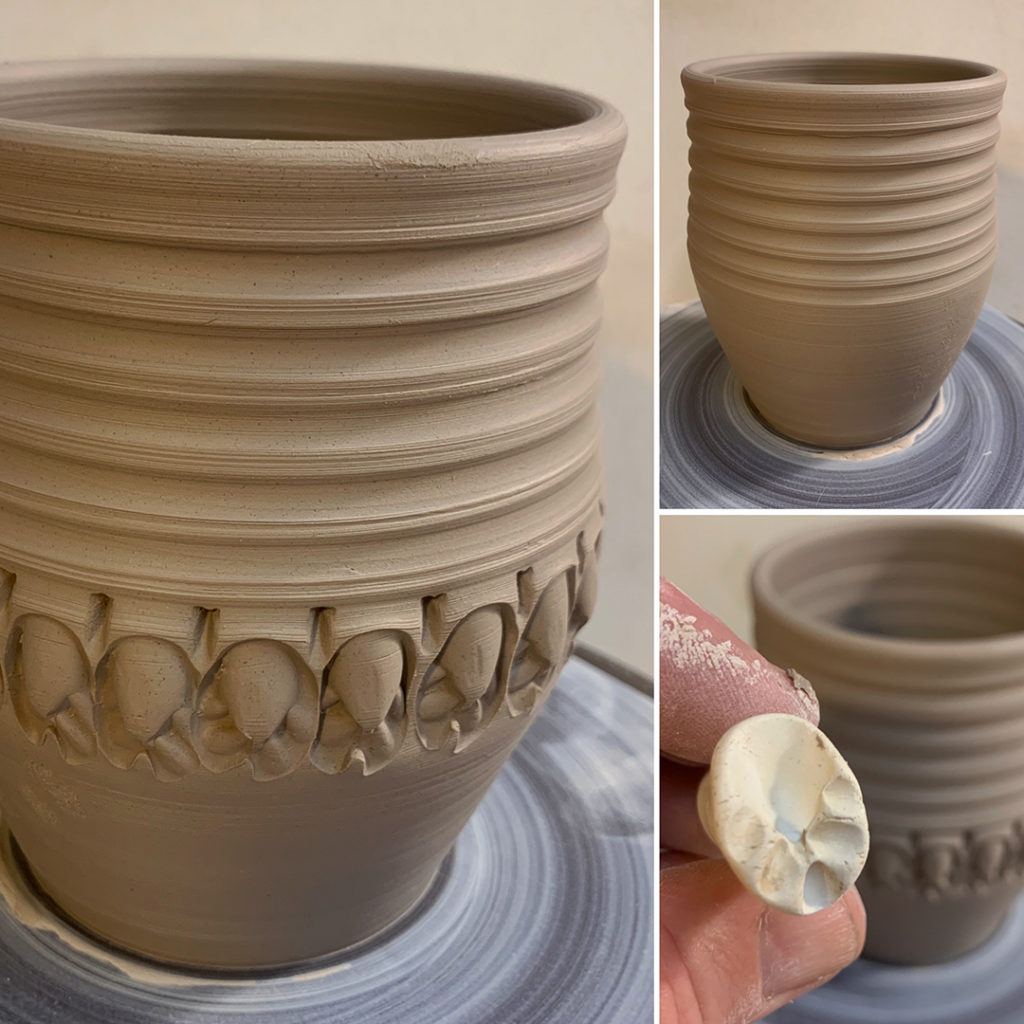
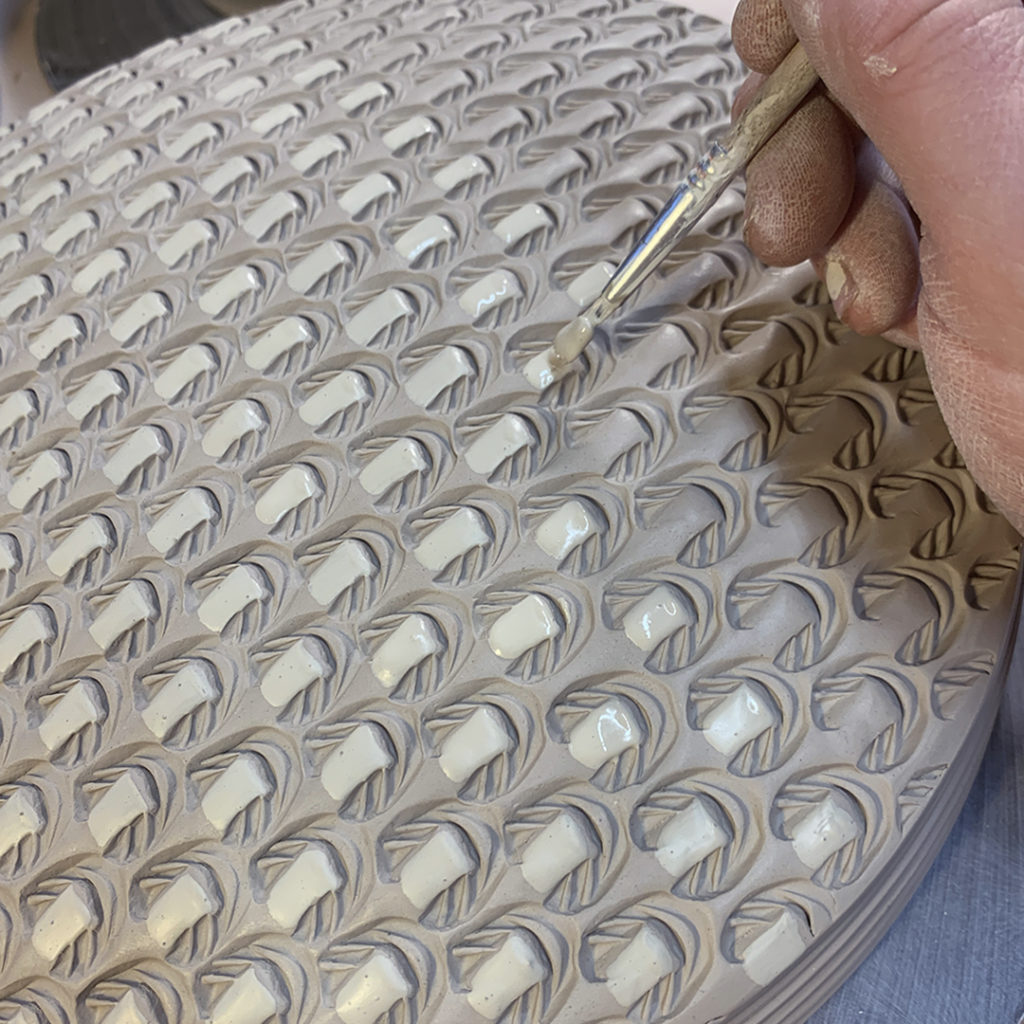
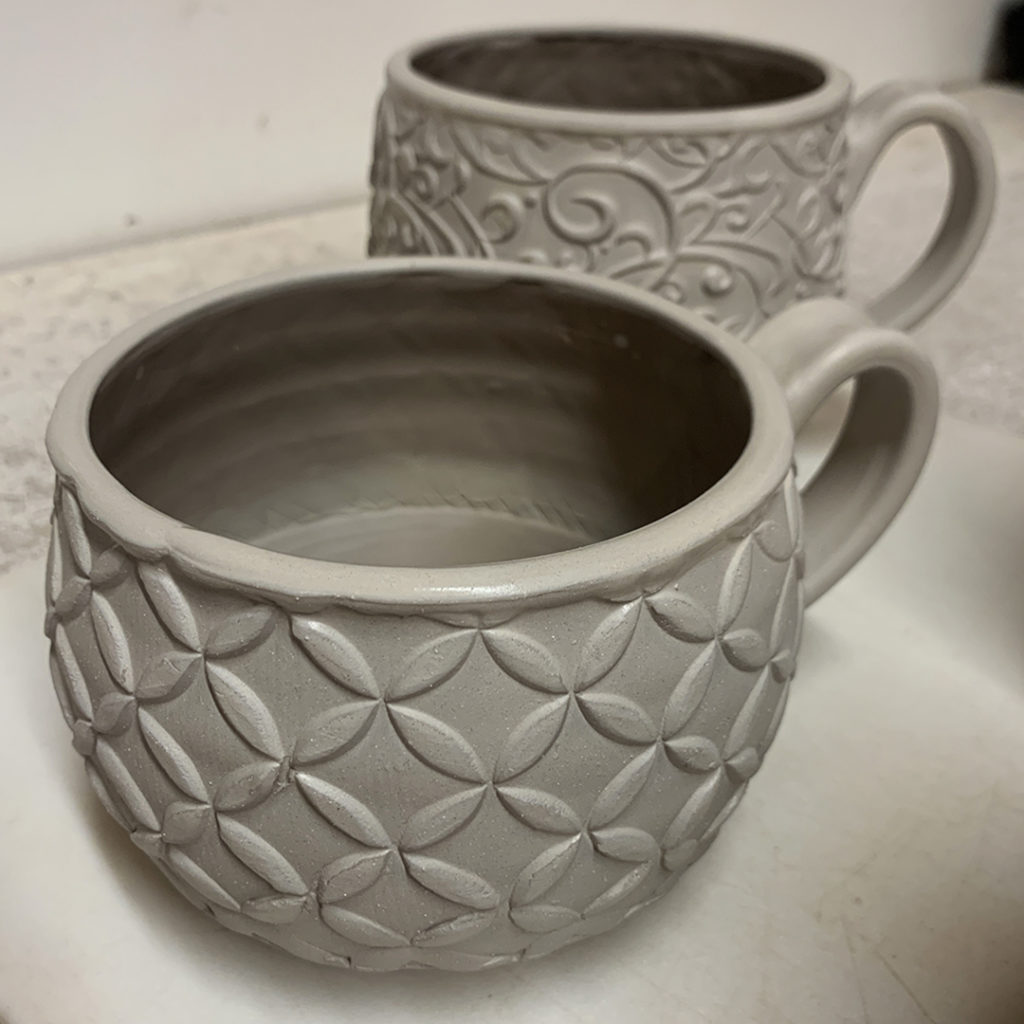
Just. finding more ways to make cool patterns with my MKM Pottery Tools handrollers. You know I “loves me” some cool textures!