06.05.2026
I mean, who doesn’t need a “bowl” to put your donuts in when celebrating NATIONAL DONUT DAY?! Everything tastes better when served in handmade pottery… even donuts!!!

Gary Jackson: Fire When Ready Pottery
A Chicago potter’s somewhat slanted view of clay & play |
I mean, who doesn’t need a “bowl” to put your donuts in when celebrating NATIONAL DONUT DAY?! Everything tastes better when served in handmade pottery… even donuts!!!
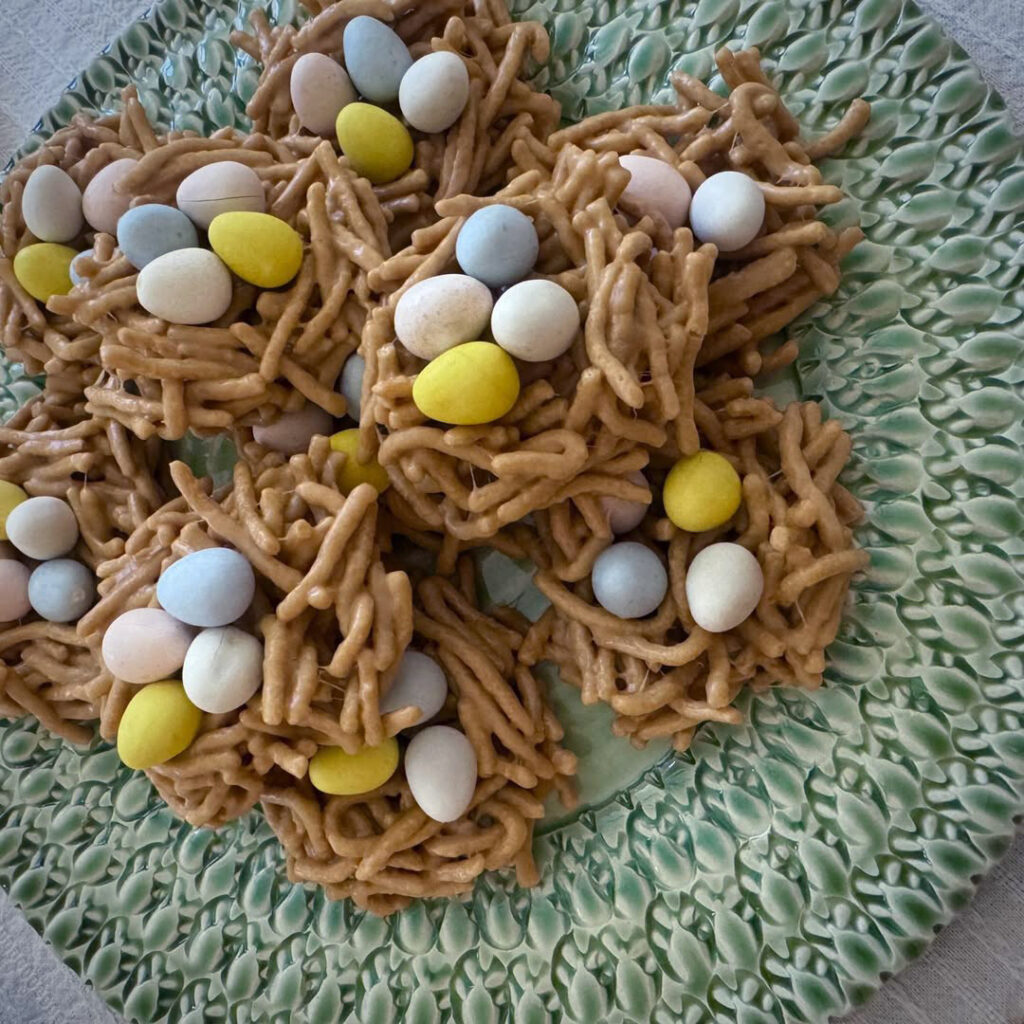
Hope you’re having a great day with family or friends… or just outside enjoying the Spring weather!!! We did a family get-together and my niece Taylor made these yummy “birds nests” with marshmallows, peanut butter & Cadbury chocolate eggs!!! Perfect on a spring green platter!!!
Okay… one last piece… after all it is still NATIONAL PI… err, PIE DAY for another half hour!!!
And food always tastes better on handmade pottery.
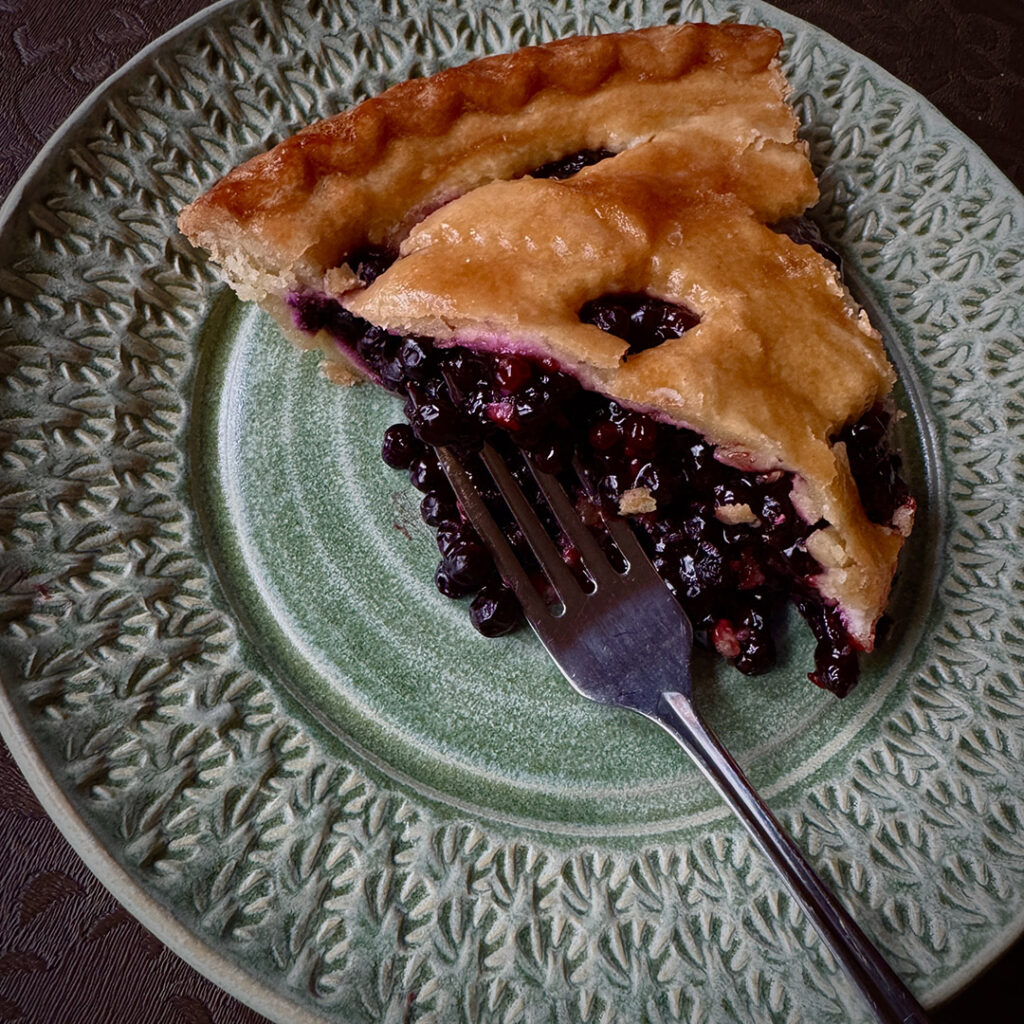
Well, it’s NATIONAL PIe DAY… originally for the math-nerds what with the 3.141592 and all?! I’m awfully glad it has been expanded to PIE… with an E!!! I’m a tried & true Cherry pie fan!!! But when a little Triple Berry shows up in the mix… how is one to choose??? And why should I?… after all, today is a National Holiday!!!


Just a “few” textured & soda-fired tiles on my condo wall. If you’ve ever been to my “Holiday Home Show” you’ve already seen ‘em, touched ‘em, loved ‘em… just a couple thousand tile squares!
Perfect to celebrate NATIONAL TILE DAY today!

Brightened my day with a cheery colorful breakfast plate by my friend Cory Mccrory this morning. Fun textures & colors to kick-off another dreary Friday! Cory will also be the host artist at the Sandwich location of the NORTHERN ILLINOIS POTTERY TOUR… where I will be too! Stop by and see both of us with a bunch of other talented potters the first weekend of June!
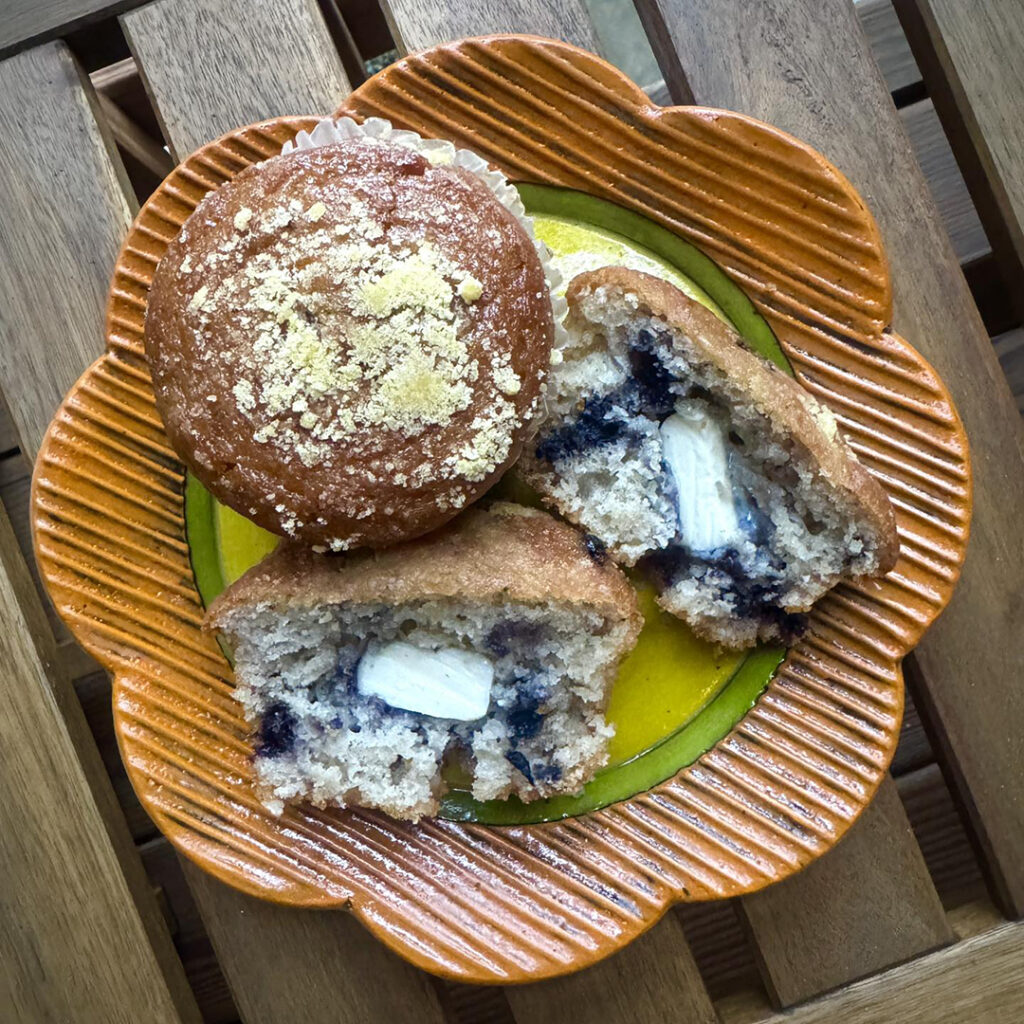
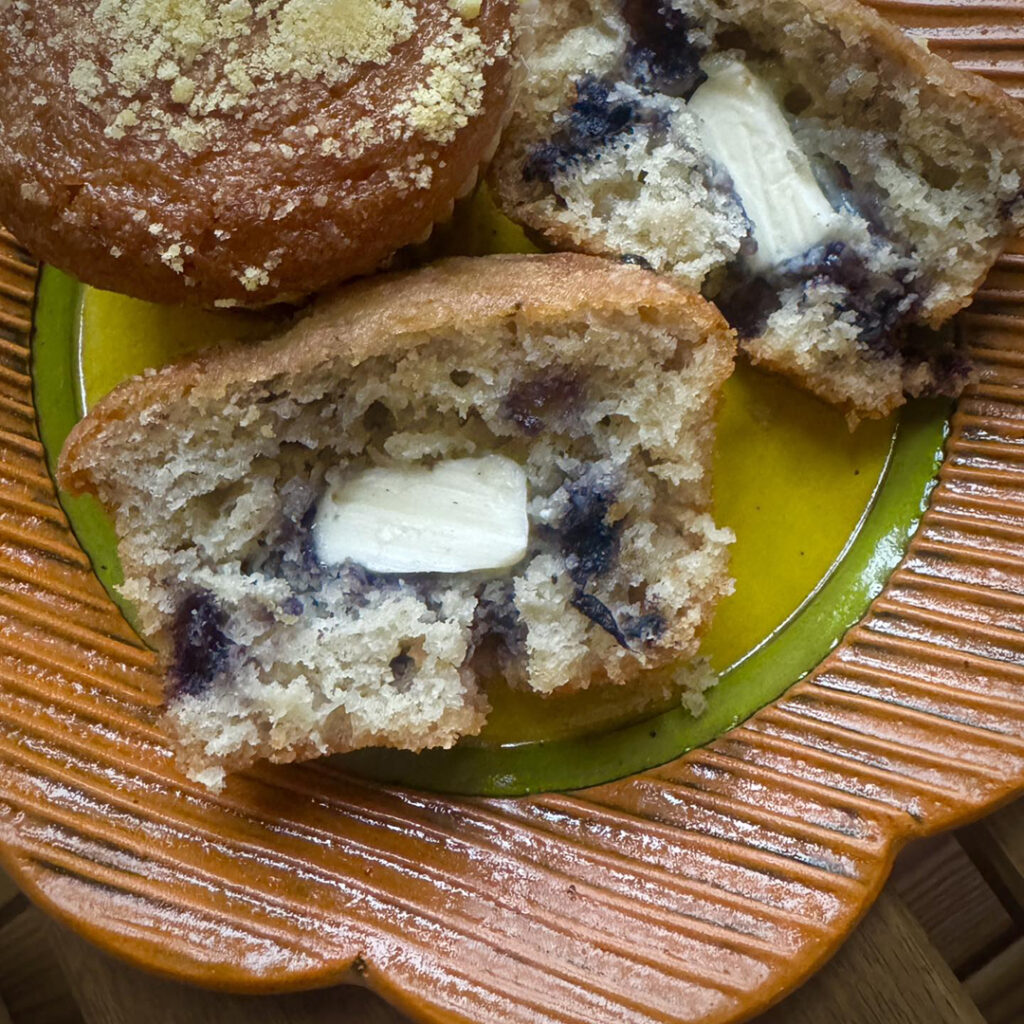
And it’s another fun Friday… as it’s also NATIONAL MUFFIN DAY!!!
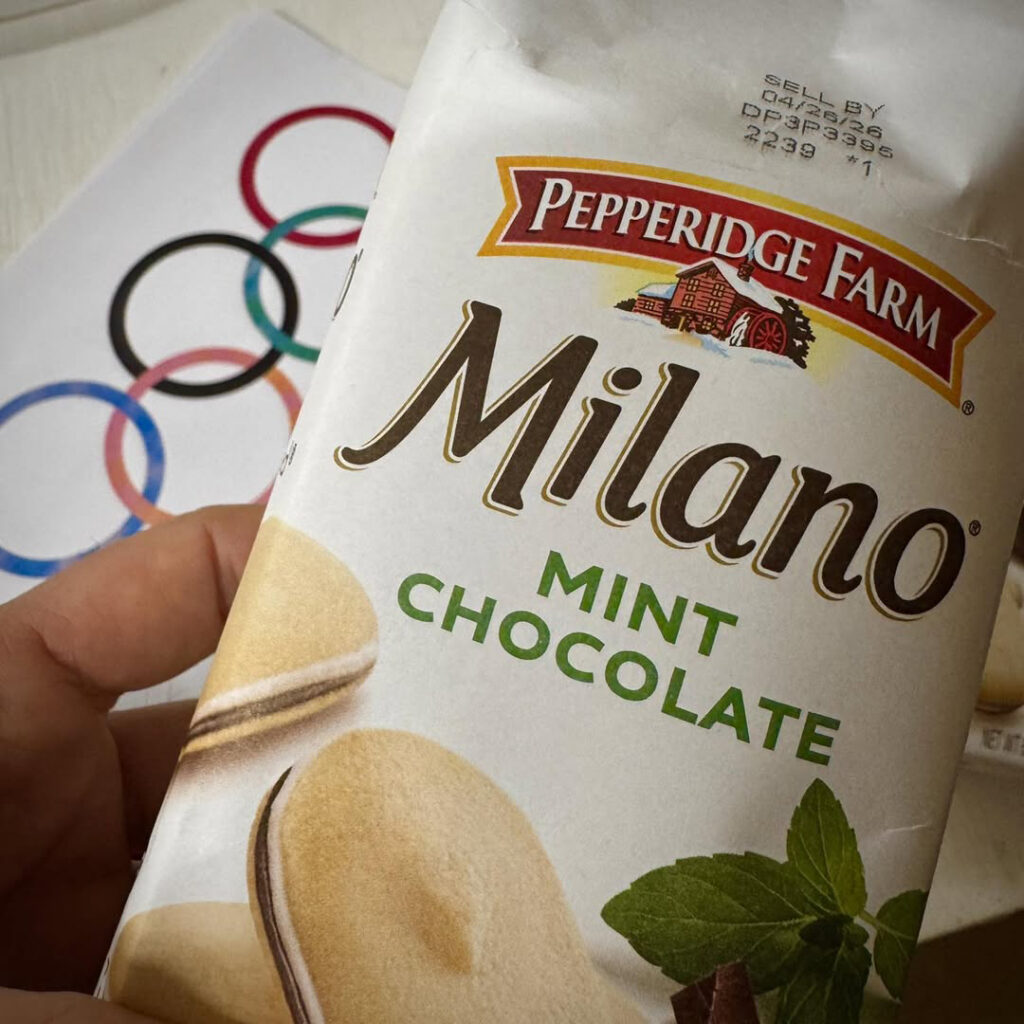
And if I can match a good theme with a national holiday?… even better! So today is a double win “for the gold” as it is also NATIONAL CHOCOLATE MINT DAY!!! My class has no idea what they’re in for tonight…
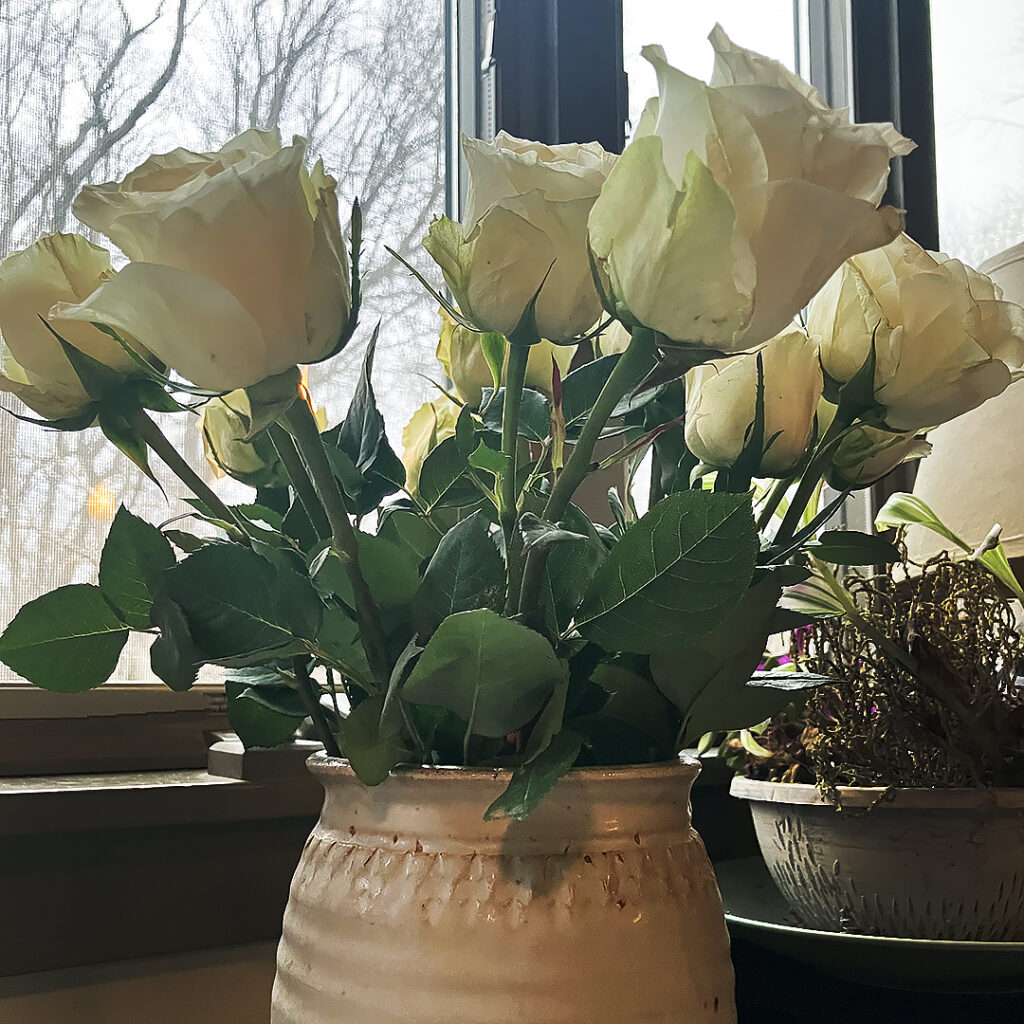
Hope you’ve all had a wonderful day. Here’s a little vintage Valentine fun from my friends in Peoria. Celebrating with one of my early pieces… one of the largest vases I was so excited to finally make on the wheel. And a single row of fairly tentative stamping round the edge… kinda hidden by the glaze. But nonetheless… a nice “vintage” vase for special a Valentine’s Day!!!
Celebrating one of everyone’s favorite holidays … even if they don’t know it?!
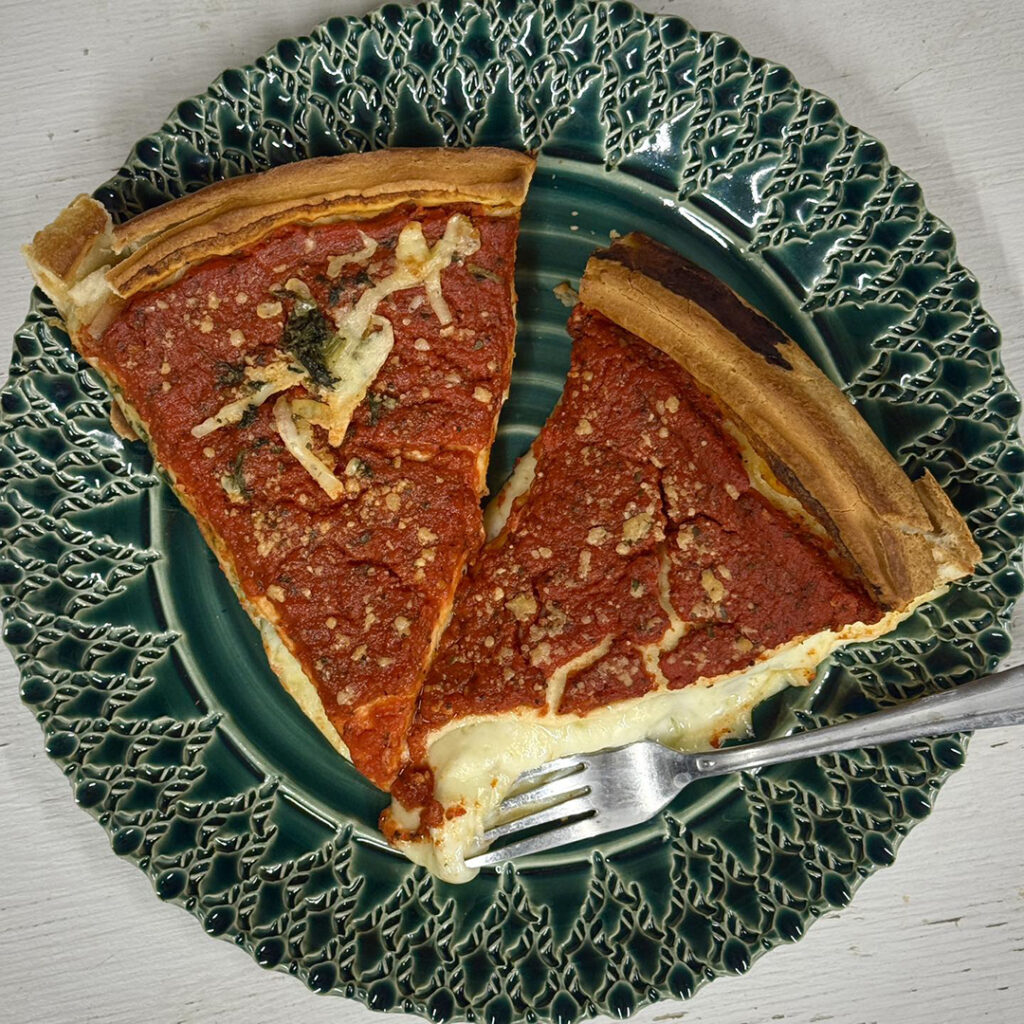
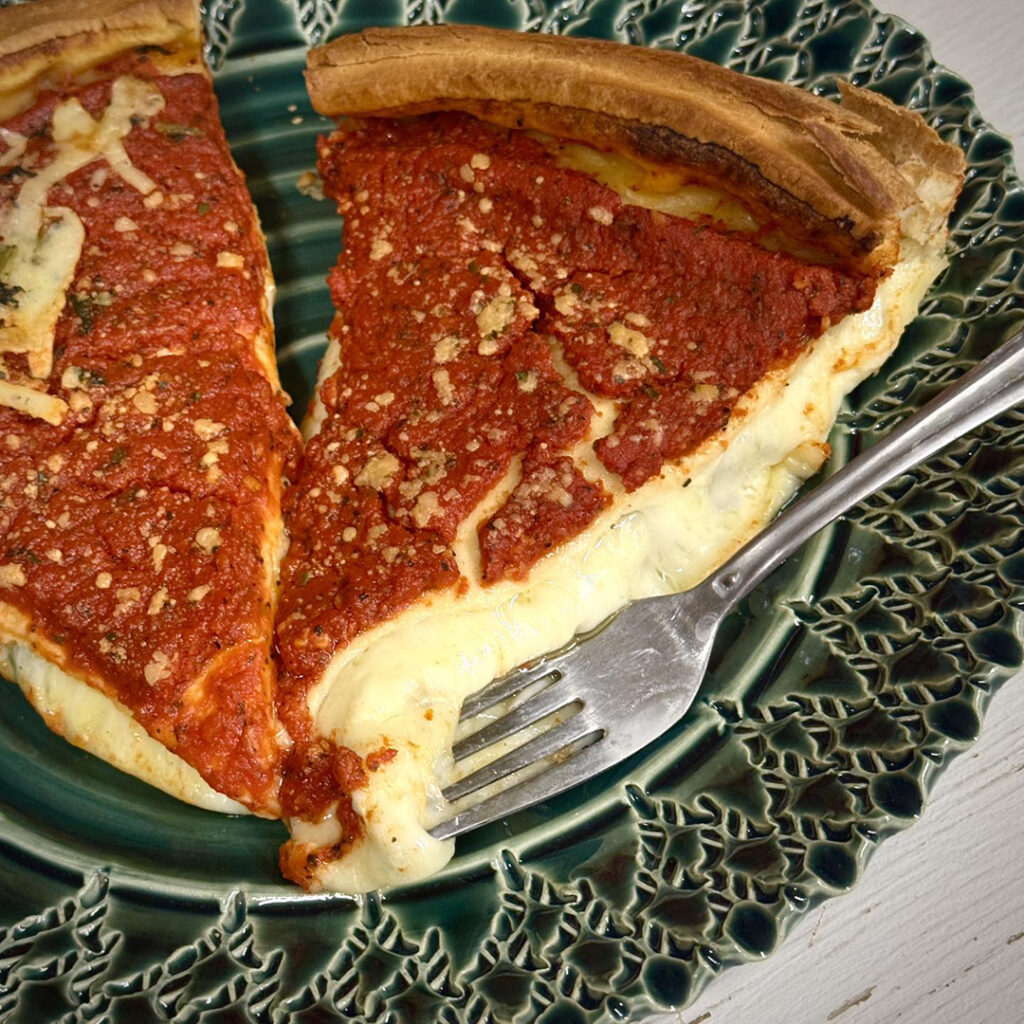
Today is NATIONAL PIZZA DAY!!!
And I just had to celebrate a little before teaching class tonight
with some deep dish gooey cheesy yumminess!
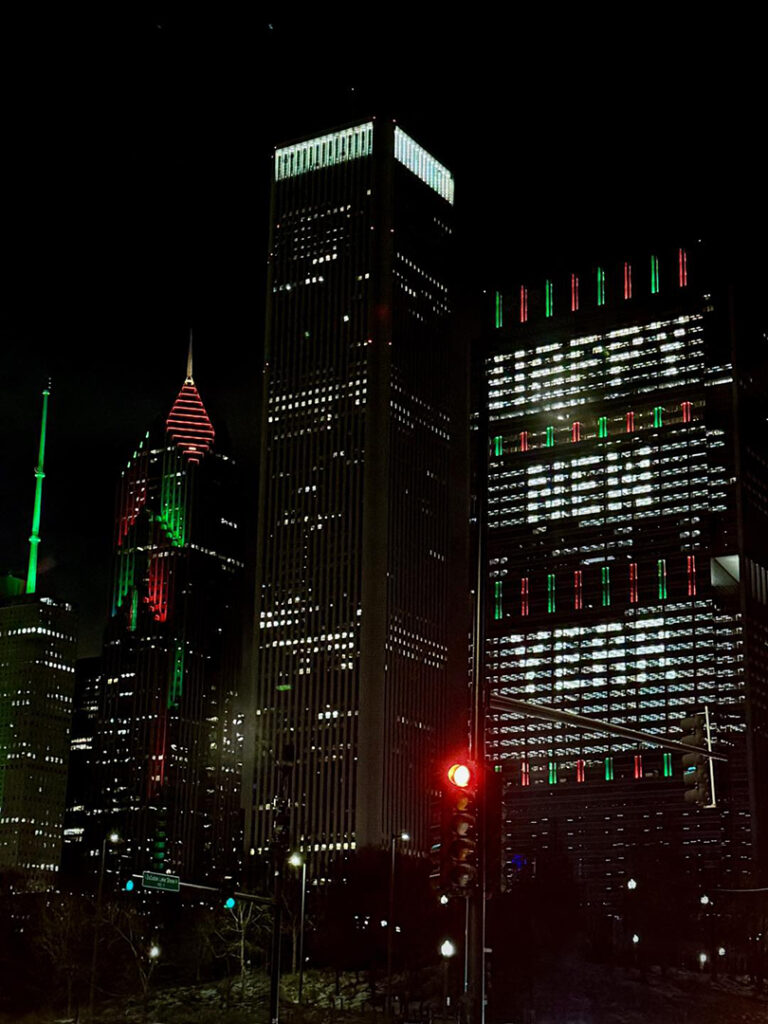
Celebrating the New Year the Chicago way!
I love getting out of town to see friends… but always good to see the skyline again!
|
Gary Jackson: Fire When Ready Pottery
Lillstreet Studios ∙ 4401 North Ravenswood, Chicago, Illinois 60640 ∙ 773-307-8664 gary@firewhenreadypottery.com |