Gary Jackson: Fire When Ready Pottery
A Chicago potter’s somewhat slanted view of clay & play
Categories: artists, friends, My Talented Friends, pottery, textures

Another talented friend to add to the list…
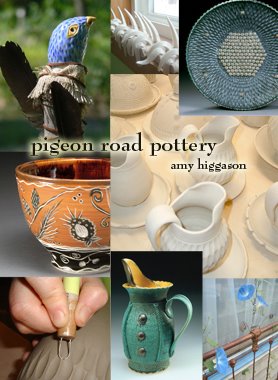
Amy Higgason of Pigeon Road Pottery.
Always smiling. Always laughing. Always good to see!

amy-higgason

I just got a new plate from Amy – and I love it!!!
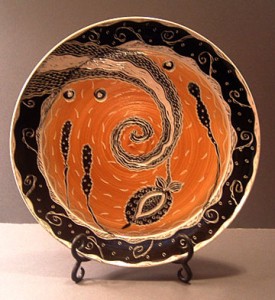
amyhiggason-plate

Amy used to be a studio member at Lillstreet Art Center back when I was
just starting to take classes. Her work has always been very detailed & precise.
Something I greatly admire – as we both come from the same graphic design
background! She also has a wonderful painterly style showing off her
wonderful illustration skills.

She’s very much into patterns & textures – two of my favorite things!
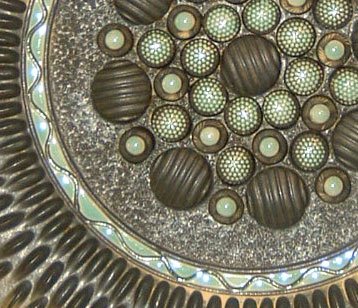
Many of her pots have this wonderful “sprigging” technique – which is kind of the
opposite of my stamping technique. Instead of pressing the pattern into the pot,
she’s making a textured “applique” piece to attach to the surface of the pot.
Below you can see how she carves out sections around the perimeter – and then
adds an eclectic grouping of shaped, textured & glazed sprigs to decorate the center.
amy-higgason-sprig-detail

So Amy now resides up in the Northwoods of Wisconsin. She has set up her own
“little piece of pottery heaven” up in the woods. With a cute little studio just steps
away from her cabin, she’s busy pumping out wonderful pieces of pottery.
Check out her work at www.pigeonroadpottery.blogspot.com
amy-higgason-pigeon-road1

Categories: kiln firing, pottery, process

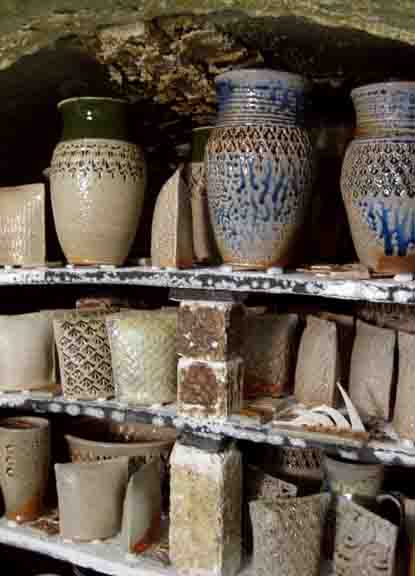
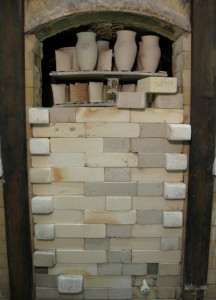
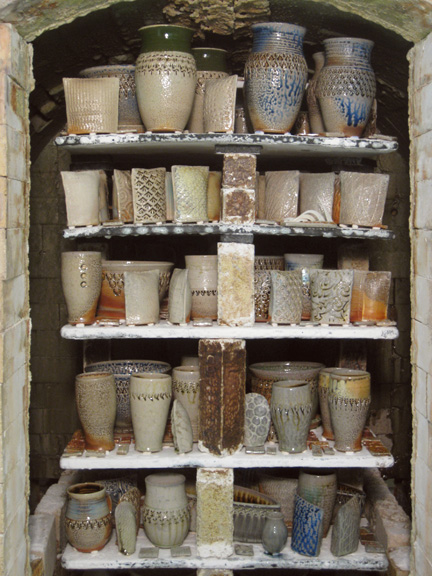
Here’s a quick glance into my soda kiln… it’s still cooling…
but I can’t wait any longer so I’m going to forge ahead!… carefully…
I’ve already unbricked the door with thick gloves.

The pots on the bottom are always cooler first – so I’ll start there!
It’s always fun to see the “treasures” inside – and the “flip side” of the pots
to see what kind of flashing effects are on the “back” side of the pots.
I’m especially excited about the new “textured-tilesque” salt & pepper shakers!

gary-jackson-soda-kiln-425091gary-jackson-soda-kiln-42509-2

Categories: pottery, process, production, textures

So while the kiln was cooling… and the rainy weather cancelled the
“Spring Forward” 65-mile bike ride I was planning on doing today…

I spent the day in the studio making more work!

I knew that my new salt & pepper shakers were cooling in the kiln…
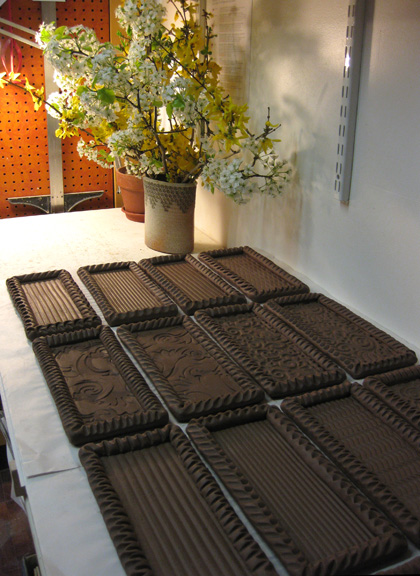
and I still needed to make the trays to go with them. I’ve decided to go with
terra cotta trays with even more textures & patterns. I’m looking forward
to the contrast of the soda-fired shakers with the more “antiqued” look
of the blackened terra cotta trays! So these trays will hopefully hold the
two shakers end-to-end… and then I still want to make a “square” version
of them so the shakers could also be placed side-to-side.

gary-jackson-terra-cotta-trays

Categories: kiln firing, pottery, process, production

So it may take all day to fire the kiln…
but it takes EVEN LONGER to cool the kiln!!!

Categories: kiln firing, pottery, process, production

The firing day starts off early – trying to get a good jump on what is inevitably
going to be a LONG day! So the kiln is turned on with fingers crossed.
Throughout the day, certain adjustments  are made to the gas lever, the air level
and the damper. As the temperature rises, you can watch the pyrometric cones
drop during the day.

All was going well today… I was getting alot of “busy” work done while firing.
I cleaned my much-needed studio. I glazed some class demos. I wadded more tiles.

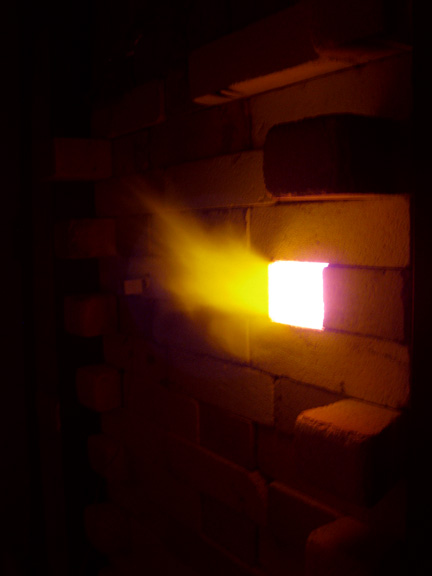
As the kiln gets hotter, and it is placed into reduction, you can see the kiln glowing
and flames shooting out – look what happens when you pull out the peep brick!

gary-jackson-peeps-in-reduction1

The kiln firing was going great… practically firing itself…

Until it was time to introduce the soda mixture to the kiln.
When the kiln is getting up towards the top temperatures, around cone 9, I start
to add a moistened mixture of soda ash, soda bicarbonate, whiting & wood chips.
For some reason, when the first batch was added, the flames of the kiln blew out.
Luckily, the kiln is designed to re-light itself if that happens. The second batch
did the same thing?! Not sure why… but luckily, it re-ignited and all was well.

It wasn’t until the third time that it blew out – and DIDN’T re-light itself?! Uh oh…

So after some quick problem-solving, and some input from others, we got it going
again after losing about 20 minutes and over a 150 degrees! Unfortunately…
that problem just added a few more hours onto my already-long firing time!

Upon further inspection, it appeared as though the thermal coupler sensors
in one of the burners was not in far enough – and therefore not “holding the heat”
well enough to keep the flames going?! So I bent down the pipe that holds the
thermal couple in the flame – and propped it up with a kiln post!
And all seemed fine after that... back to the firing!!!

gary-jackson-kiln-burners

Categories: nature, pottery, process, production

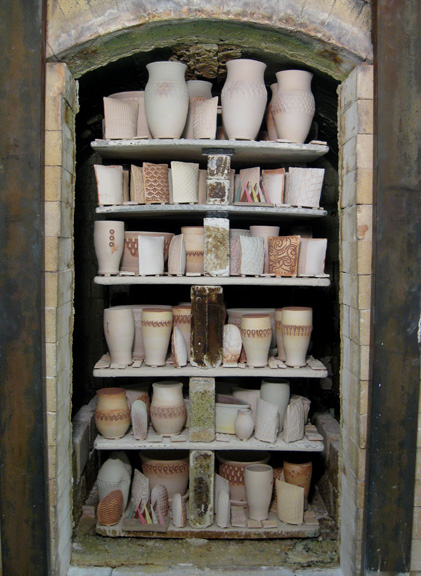
So today is the day that all of the work gets loaded into the kiln.
It’s a 3-dimensional, spatial relationship challenge! And I love it!

So you start at the bottom in the back – loading the first layer of pots.
Then you place the posts, as known as “furniture,” to raise the next shelf.
More pots, more posts, another shelf. More pots, more posts, another shelf.
All the while keeping the air flow and spacing in mind. Ideally, you want to
fill the space kind of evenly all the way to the top of the arched kiln ceiling.

It’s a great challenge to get as many pieces into the kiln while allowing for
proper air-flow to ensure good soda exposure and air flow throughout the kiln.
If it’s packed too tight the flames can’t get through the pieces and some of the work
comes out too “dry” and not “glazed” by the soda. If the kiln is packed too loosely –
I don’t feel that I have gotten my money’s worth in the firing!!!

gary-jackson-kiln-loaded

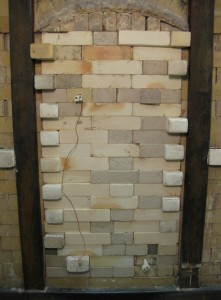
Once the kiln is loaded, the door is closed… one brick at a time!!!
With special cut bricks on alternating ends to help keep it tight side-to-side…
as well as carved arch bricks that fit along the top curve.

gary-jackson-kiln-door2gary-jackson-kiln-door1

Going, going…                                              …gone!

Categories: bike, inspiration, sunrise

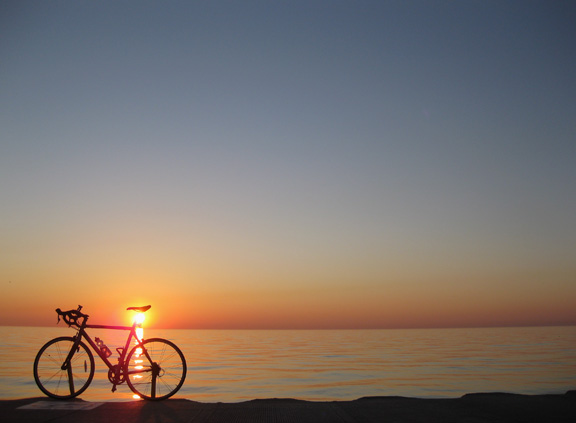
Okay, so even though I’m exhausted from glazing & wadding every night this week…
you’re never too tired for a beautiful sunrise bike ride along the lake!

423-clear-skies

Categories: nature, photography, pottery, process, production, studio

As I prepare for my soda kiln firing this weekend, there’s been a lot of glazing
& wadding going on in the studio. Few people realize the huge number of steps
a piece goes through before it’s ready for use at the table. It’s not just a few minutes
of fun on the wheel… there’s countless hours of decorating, trimming, finishing
and firing… twice!

So I’m working every night this week trying to get everything glazed & wadded
for my firing. One of the benefits to the soda firing process, is that my glazing
is somewhat minimal. It’s mostly liner glazes and a few accents… with great
anticipation that the soda atmosphere will create the glossy “glazed” effect
on the sides of the work, along with some great flashing marks!

gary-jackson-glazed-in-process

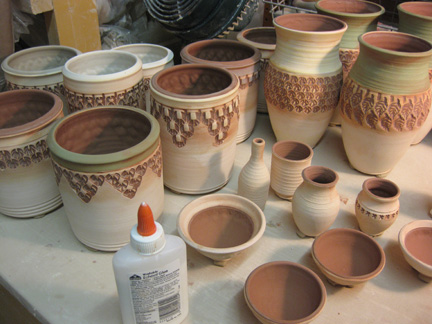
So every pot is glazed and cleaned up. You want to make sure that edges are crisp,
drips are wiped off and everything is ready to go. After liner glazes & cleaning, I then
glue on little balls of wadding to the bottom of the pots. Wadding is a “soda-resistant”
clay-like material that helps lift the pot off the kiln shelves during the firing. The
concept is that it will keep pots from sticking to the shelves if there is an excess
of soda build-up.

Once they are lined & wadded, I separate them into different categories… some
of them waiting to be lightly sprayed with accent colors. Just a bit of color to work
along with the colored slips I’ve applied before bisque firing and the color flashings
the firing will create in the kiln.

gary-jackson-glazed-on-table

Then the pots get stacked back onto my rolling cart… which will make the journey
downstairs, in the rickety freight elevator, tomorrow to the kiln room for loading.
My hope is that all pots & tiles will be wadded and ready to go by the end
of tonight’s studio session. We’ll see… still have a long ways to go!

gary-jackson-glazed-on-cart

Categories: pottery, process, production, studio

Like little soldiers ready to go into battle…
my new salt & pepper shakers are all lined up and ready to be glazed.

And since my soda kiln is loading this Friday night and firing on Saturday…
no better time to get started, huh?

gary-jackson-bisque-sp1

Categories: bike, sunrise

Another beautiful morning ride along Lake Michigan…
but I couldn’t decide which photo was my favorite?…

Close?

417-orange-sky-close

Closer?

417-orange-sky-closer

Closest?

417-orange-sky-closest