Gary Jackson: Fire When Ready Pottery
A Chicago potter’s somewhat slanted view of clay & play
Categories: bowls, classes, process, production, stamped, stamps

Tonight I continued working some decorative “details” onto the bowls that I threw for my class Tuesday night. As a quick reminder, we started the class demo with a tutorial on how to make a nice bowl “on purpose” instead of a cylinder gone bad. I then threw fourteen more bowls and then had the students rejoin the demo for some quick altering & decorating tricks. What started out as 15 very basic round bowls quickly gets transformed into 15 unique bowls with just a few alterations.

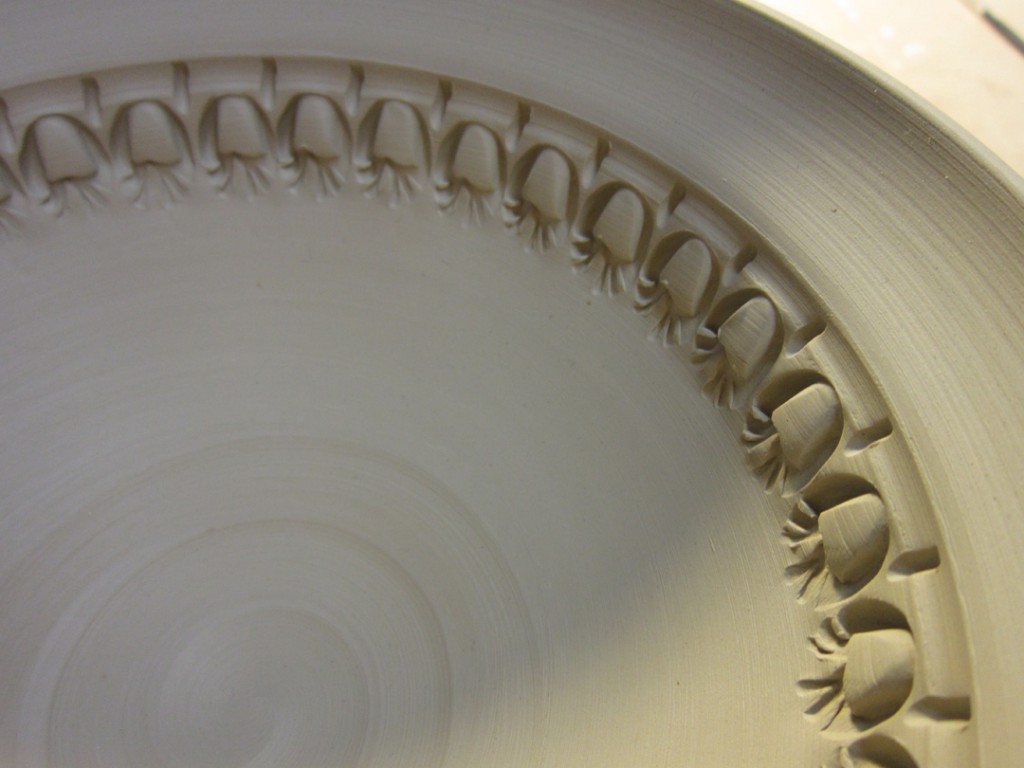
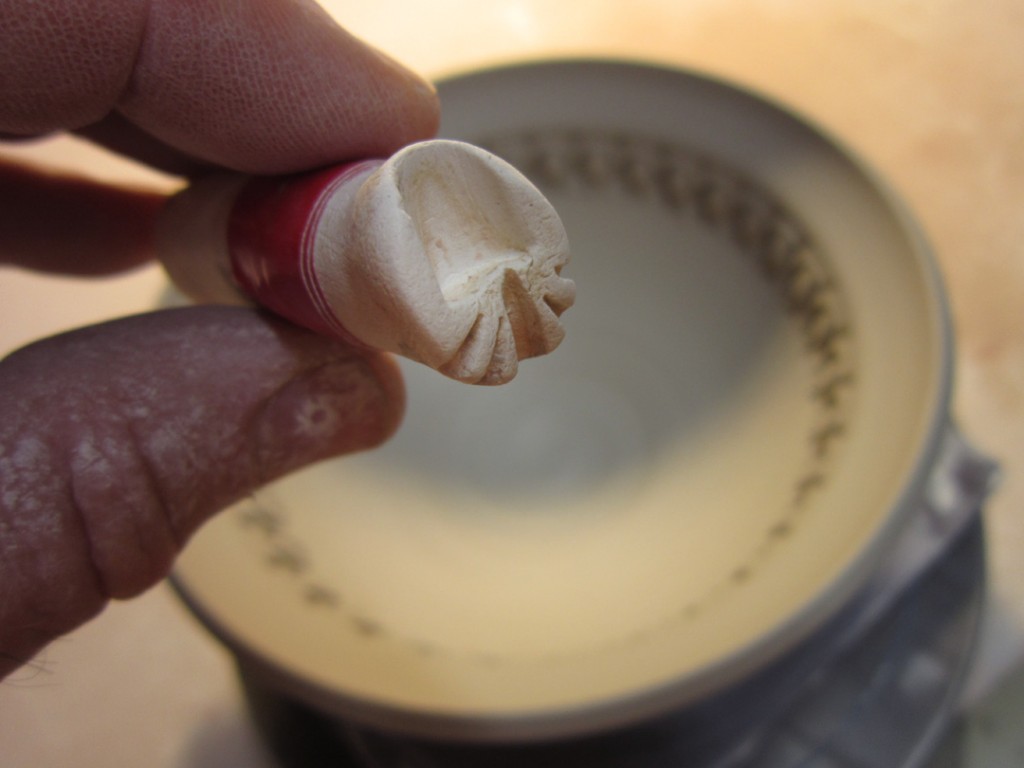
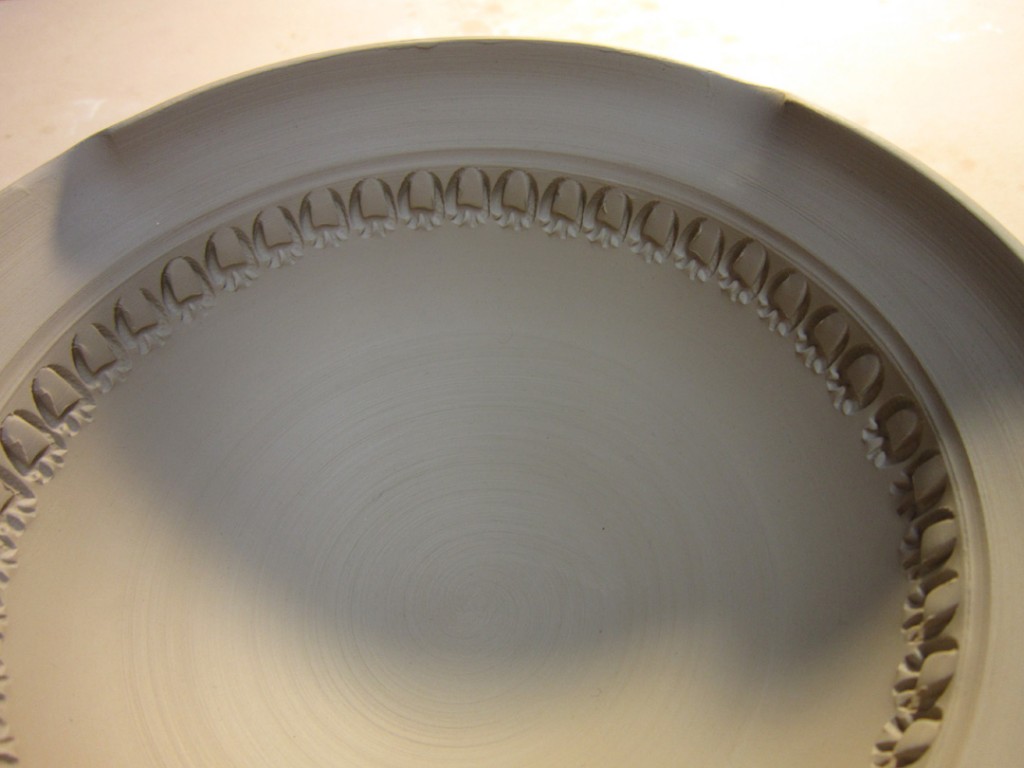
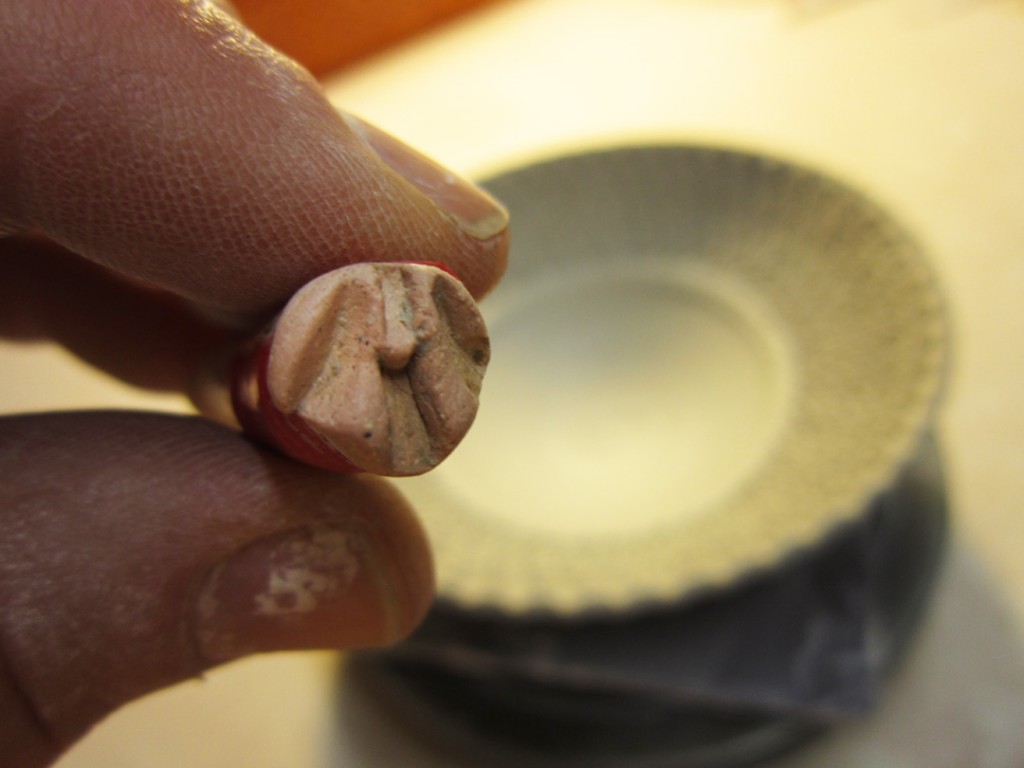
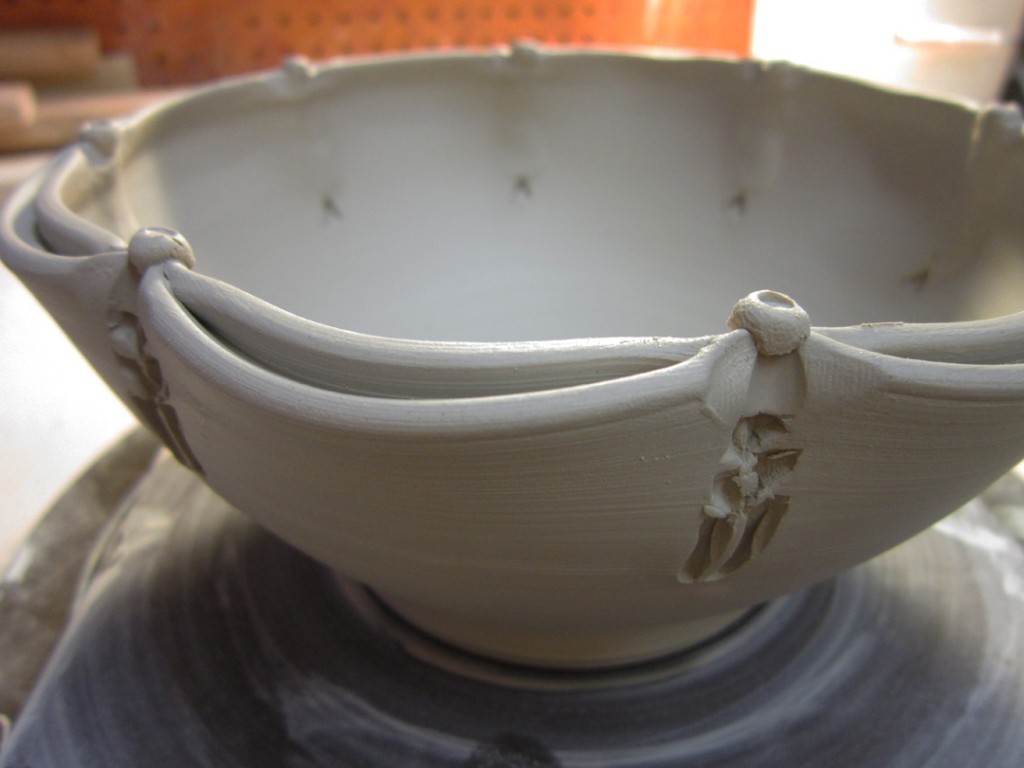
So you know I sometimes have ‘trouble” deciding when something is done. You may have noticed that I have a slight tendency to continue embellishing well beyond the norm. With that said, I continued decorating tonight in my studio. The blog post prior to this will show you what the bowls looked like before this evening’s festivities!!! While this post shows you the bowls after stamping, as well as the stamp that did the “magic” impressions!

Bowl #1 –

Bowl #2 –

Bowl #3 –

Bowl #4 –

Bowl #5 –

Bowl #6 –

Bowl #7 –

Bowl #9 –

Bowl #10 –

Bowl #10 –

And now they’re “done”… at least for tonight. Under wraps…
hoping to trim them and do a bit of final detailing tomorrow night.

Categories: bowls, classes, production

Last night in class we did my favorite demo of the session.
I taught my students how to make a good bowl “on purpose” instead of a cylinder gone bad. And how to avoid making those “beginner mistakes” of corners, edges, divots, and ledges. After making the first bowl for my students, they all went back to their wheels to continue throwing, while I threw fourteen more basic bowls. We then reconvened for a demo on altering & decorating each of the bowls. My goal is always to show them a few tricks. To teach them some fun techniques. And to encourage them to play with their clay. That each piece is not so precious… and that they need to play, alter, twist & push it further.

If it gets messed up, who cares!?
Squish it up, wedge it and start over.
It’s just clay.

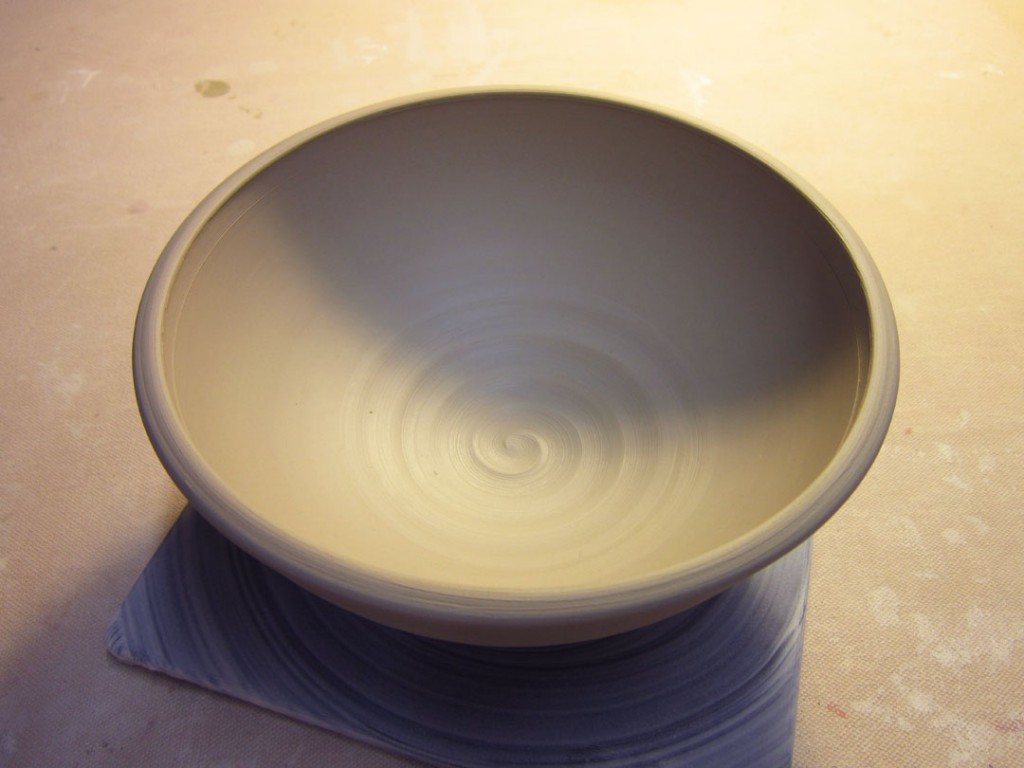
Bowl #1 – The basic bowl. All of my demo bowls started out looking just like this.
Plain. Round. Simple. And desperately needing something fun…

Bowl #2 – Rim fluted in four places.

Bowl #3And if four look good… eight might be better. Fluted rim in eight places.

Bowl #4 – Flange flared out.

Bowl #5 – Flange flared out and fluted.

Bowl #6 – Wide flange flared out… for one of those “fancy” tiny restaurant desserts!

Bowl #7 – Four indentations using the side of my wooden knife to “square” the bowl.

Bowl #8 – A stylized flower pressed in with a metal dragonscale tool.

Bowl #9 – Split rim, and then pinched together in eight places.

Bowl #10 – Split rim with an altered shape… kind of a lotus flower contour.

Bowl #11 – Mazzerine slip with a spiral dragged through using the round end of my wooden knife.

Bowl #12 – Mazzerine slip banded & squiggled with the round end of my wooden knife.

Bowl #13 – Thick white slip “squiggled” with my fingers while spinning on the wheel.

Bowl #14 – Thick white slip chattered with a rounded rib while spinning on the wheel.

Bowl #15 – A newspaper stencil letter, covered in slip and then peeled out.

So for now, they’re under wraps in my studio… most of them will get a little detailing.
Some will get stamped. Others will get stamped…
oh wait, did I say some of them will get stamped?! Surprise!!!

Categories: bike, nature, sunrise

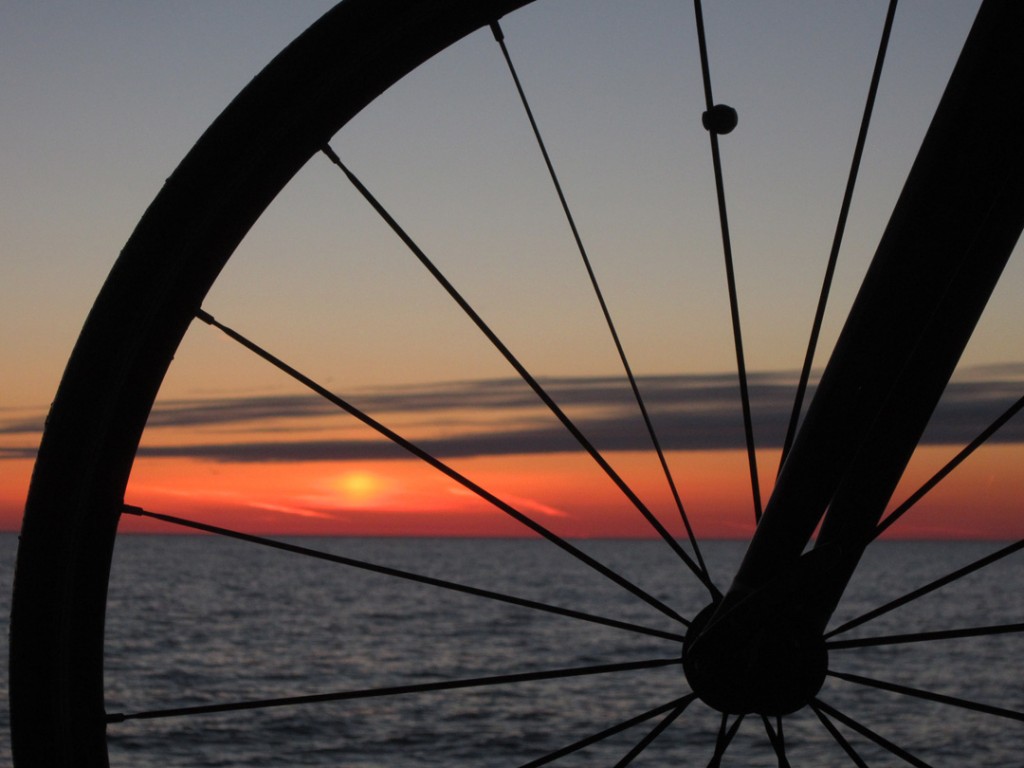
Another beautiful morning ride. A few more low-flying clouds for the sun to play with…
and if you look close, a lot more birds. Low-flying lines of mergansers migrating across the lakefront.

Categories: kiln firing

Tonight I loaded another bisque before teaching class. I did a pretty good job of packing it tight… but unfortunately, a few pieces didn’t fit in! Looks like I’ll be doing another bisque kiln in another week or so… which means I need to make some more pieces before then!!!

Kiln Layer #1 – flower pots, tumblers & spoons.

Kiln Layer #2 – ovals, mugs, bowls & spoons.

Kiln Layer #3 – vases, spoons, bowls, mugs & spoons.

Kiln Layer #4 – mugs, spoons, flower pot water trays, bowls & vases.

And you know me… pack it as tight and as full as possible. All the way to the top!!!


Categories: production, stamped, tiles

A quick batch of square textured tiles…
gotta dry them fast, keep them flat and try to get them into tonight’s bisque kiln.
Fingers crossed… and drying on plastic grid so they can get air exposure on both sides to minimize warping! And I’m hoping that I have “guessed” at my clay shrinkage rate correctly, as I’m shooting for 4-1/4″ squares when fired.

Categories: production, textures

I can’t help myself…
yet another batch of spoons ready for the bisque!!!

All this and I’m still not even sure how they’ll turn out?!
Some people would do a prototype test before diving head-first into full production mode.
I said “some” people…

Categories: mugs, porcelain, production, stamped

Like pinstripes on a new hot rod, I’ve been adding some colorful flashing slip accents to the latest batch of mugs & yunomis. The colors will “hopefully’ be more vibrant & exciting after the soda firing… if all goes as planned.

And for now they’re done. Mugs made with B-Clay. Yunomis made with porcelain.
Both headed towards the soda kiln… after a trip through the bisque kiln first.

Categories: bike, sunrise

With one small band of clouds in the sky this morning, it was fun to watch the sun pass behind and change with every layer. Also nice to see some small leaves popping out on the trees!

Categories: creativity, soda-fired, terra cotta, textures

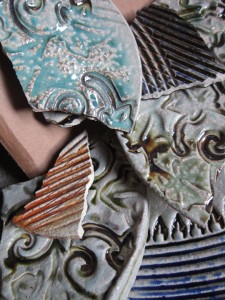
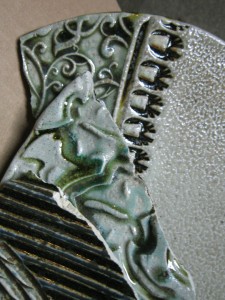
So after a couple hours of Spring Cleaning in my storage room this weekend, I decided to do “tough love” and discard some old pieces, tiles, and tests. Just cleaning out and making room for more new work. So a hammer became the tool du jour… and now I have two boxes of beautiful shards. For the most part, they’re nice flat pieces of clay. Perfect for a mosaic project of some sort. And I would MUCH rather someone make something cool out of them before I toss then into the dumpster.

ANYONE WANT SOME FREE TEXTURED SHARDS???
First-cone, first-served… and we’re doing it on my Pottery Facebook page.
The first person to leave a Comment that they want one box, or both, will get them.
Don’t try to claim them here on the blog… check the Facebook posting for claiming them, or to check if they’re already gone?!

I just don’t want to ship them. If you could swing by my place or my studio to get them, or even pick them up at one of my summer art fairs, that would be great. I would love to see them go to a good home… and become some really cool art project!!!

A full box of soda-fired shards with slips & glazes fired to cone 10…

And a full box of terra cotta shards with black underglaze fired to cone 05…

TEXTURED SHARDS : CLAIMED 4.28.15... about 30 minutes after posting!!!
My college friend Kelly was the first to claim them. I’m sure she and her 10 kids will do some fantastic craft projects this summer. Can’t wait to see what they make… and I’m sure we’ll get photos to share here as well. Right, Kelly ???

Categories: blogs

Somehow I missed this?…
but at some point over the weekend we surpassed 2,400 Facebook Fans!!!

Thanks to everyone who continues to follow my foibles & follies on Facebook!
Remember, the more you click Like (or leave Comments) the more of my posts
you’ll see in your News Feed!!!

Click here to go directly to my pottery page on Facebook.
www.facebook.com/firewhenreadypotteryand then click LIKE!!!