While all of my focus has been on getting ready for “4×4 : FOUR MAKERS” this weekend… I couldnt stop making mugs! Especially when I realized that St. Patrick’s Day is right around the corner. And you know what that means… SHAMROCK MUGS ![]() !!!
!!!

Gary Jackson: Fire When Ready Pottery
A Chicago potter’s somewhat slanted view of clay & play |
While all of my focus has been on getting ready for “4×4 : FOUR MAKERS” this weekend… I couldnt stop making mugs! Especially when I realized that St. Patrick’s Day is right around the corner. And you know what that means… SHAMROCK MUGS ![]() !!!
!!!

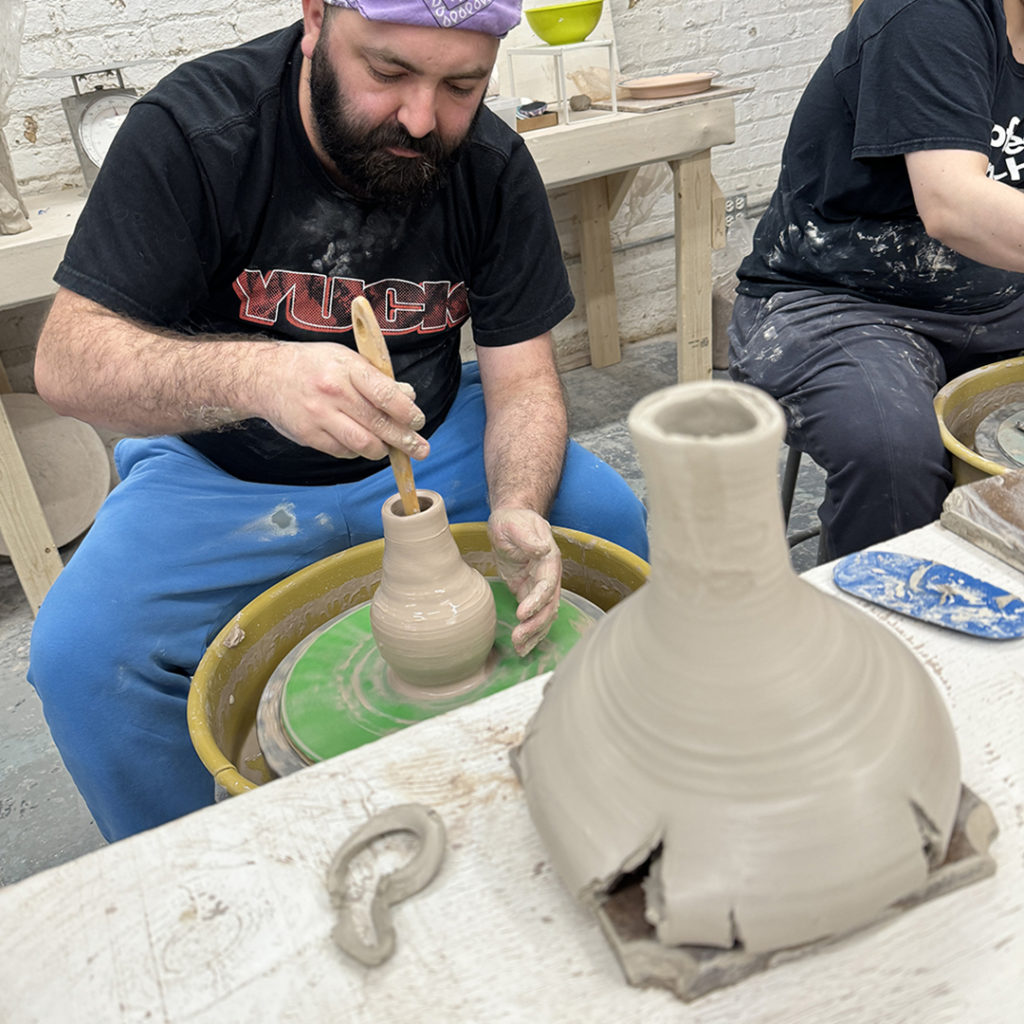
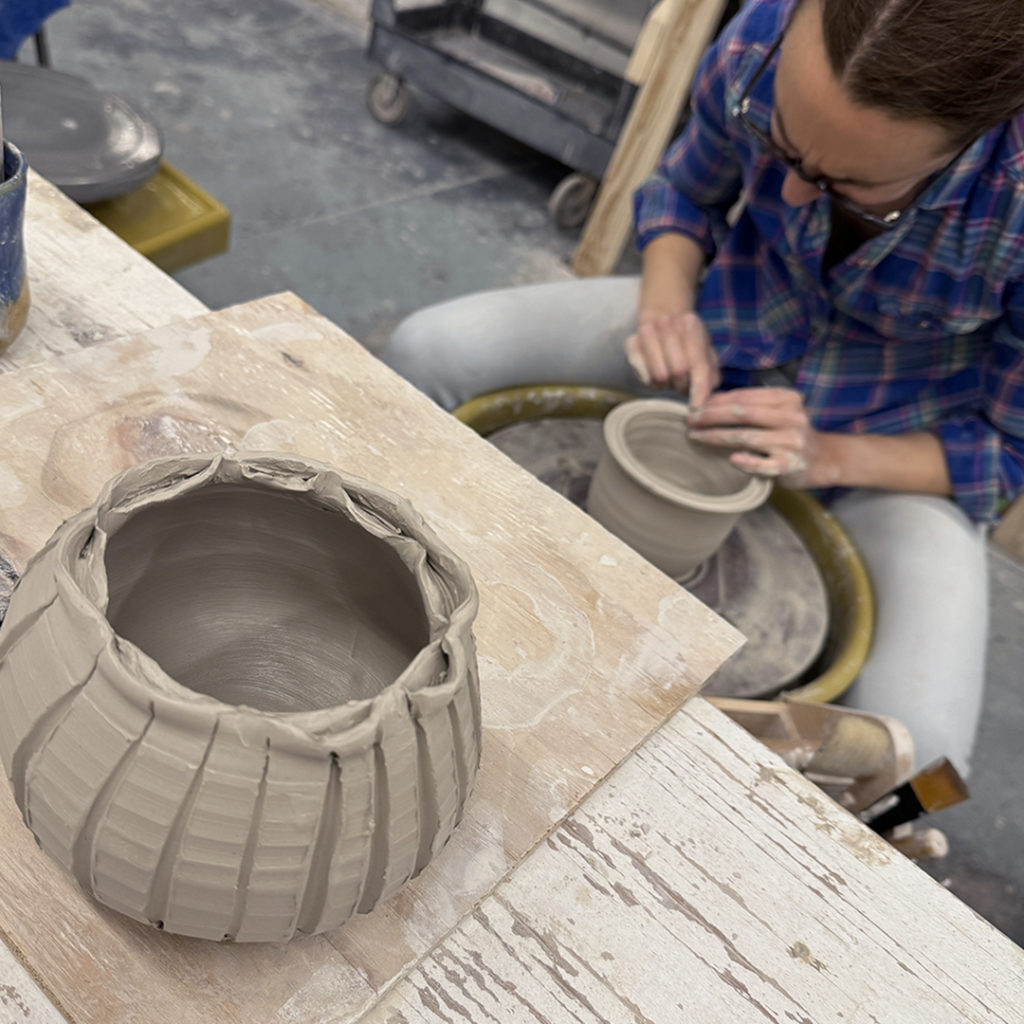
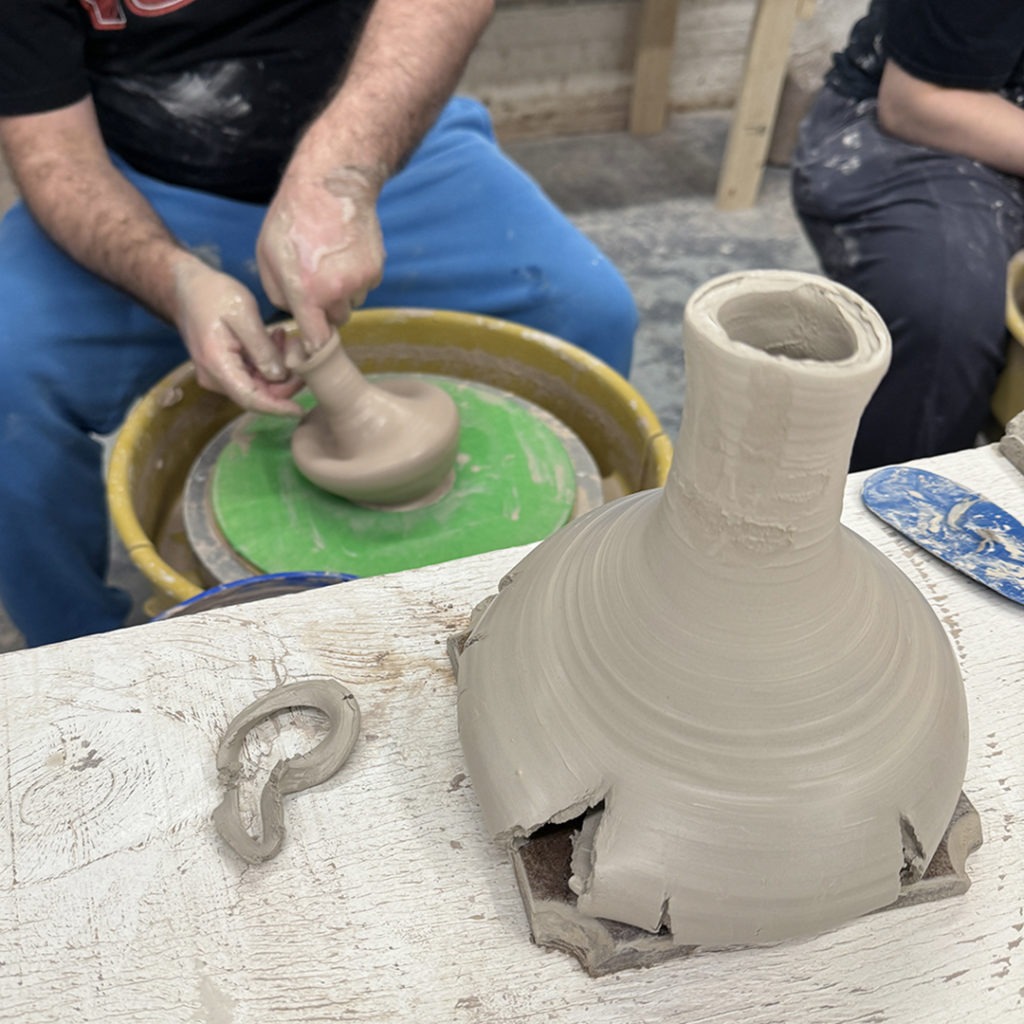
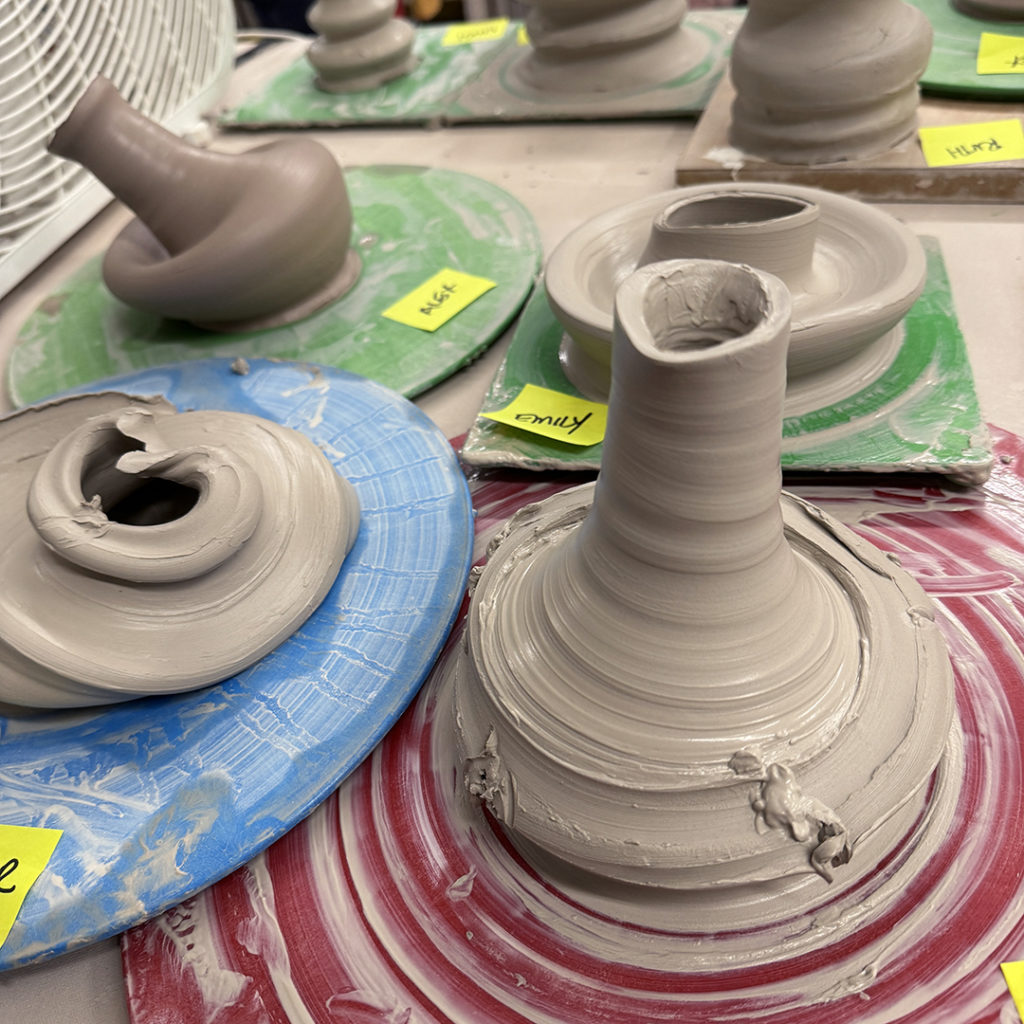
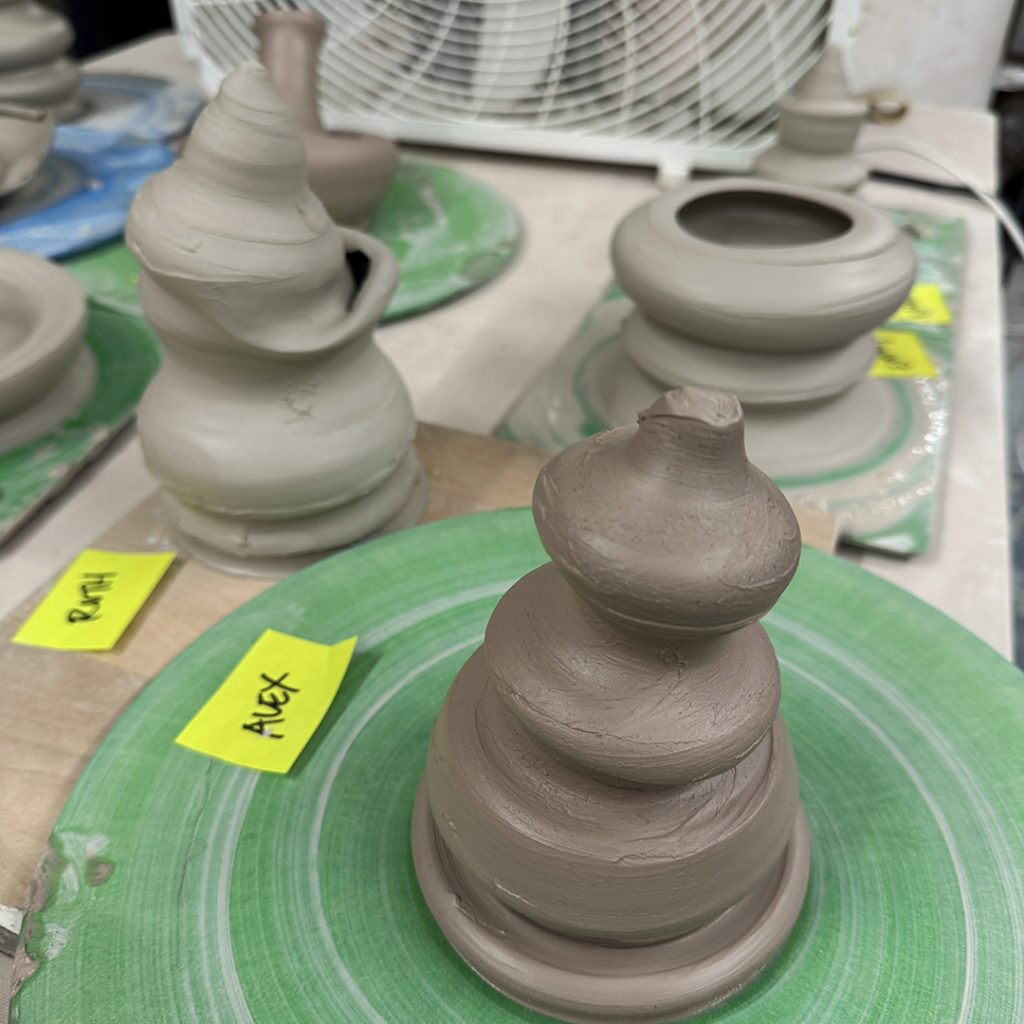
Seemed to be the theme for this week’s GREAT LILLSTREET THROWDOWN challenge… and there was plenty of laughing all night! They started at the wheel with a directive to “throw their own most perfect shape” in just 15 minutes. I think some people panicked & rushed too fast at the beginning, while others had extra soft clay that didn’t work in their favor. So many of their “most perfect” pieces were not-so-perfect. But who cares?… it’s just clay!
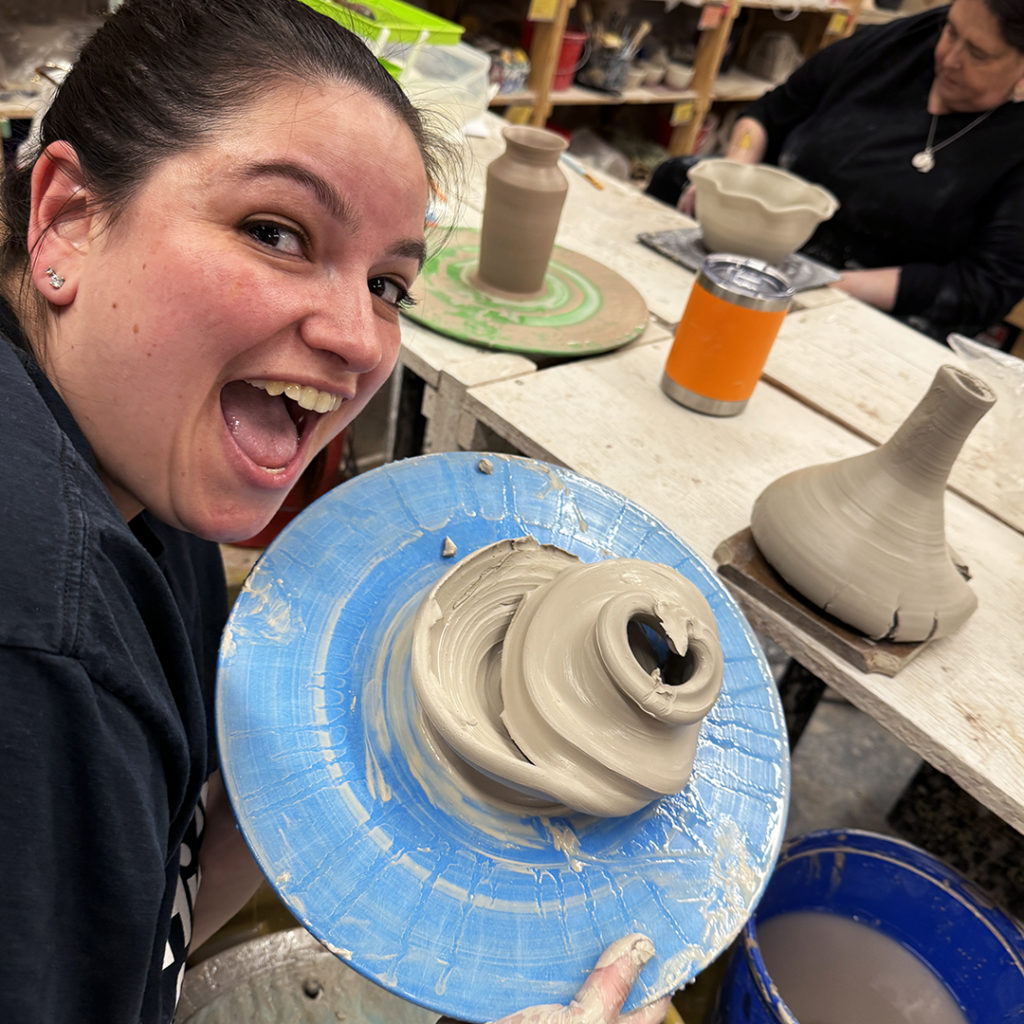
Also because the “real challenge” was for everyone who followed to re-create that exact “perfect” prototype as they had to move one wheel to the right and recreate the piece in front of them. Again… and again… and again. Realizing how hard it is to throw with intention… but even worse, to have to copy someone else’s intention… or in this case… “flop-tention”?? The winners were those people who “copied” the prototypes the best. “NAILED IT.”
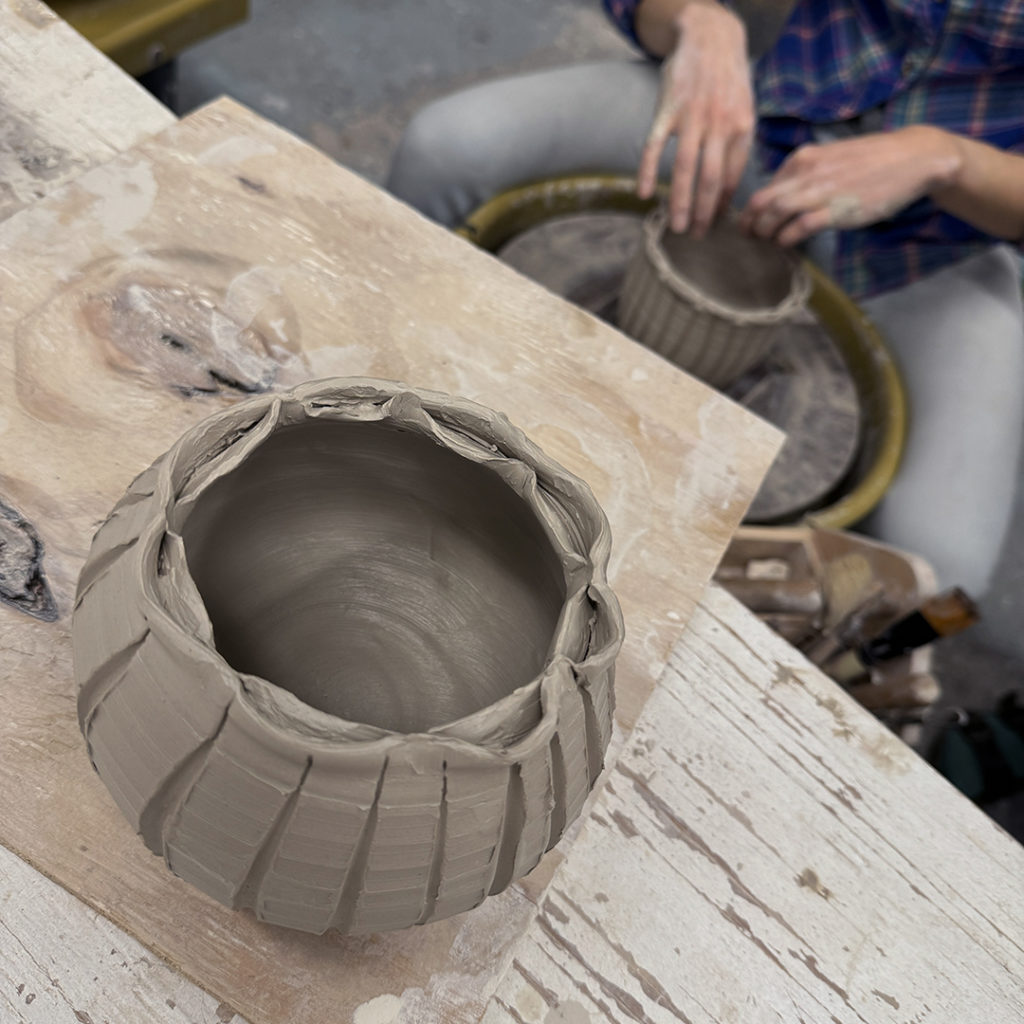
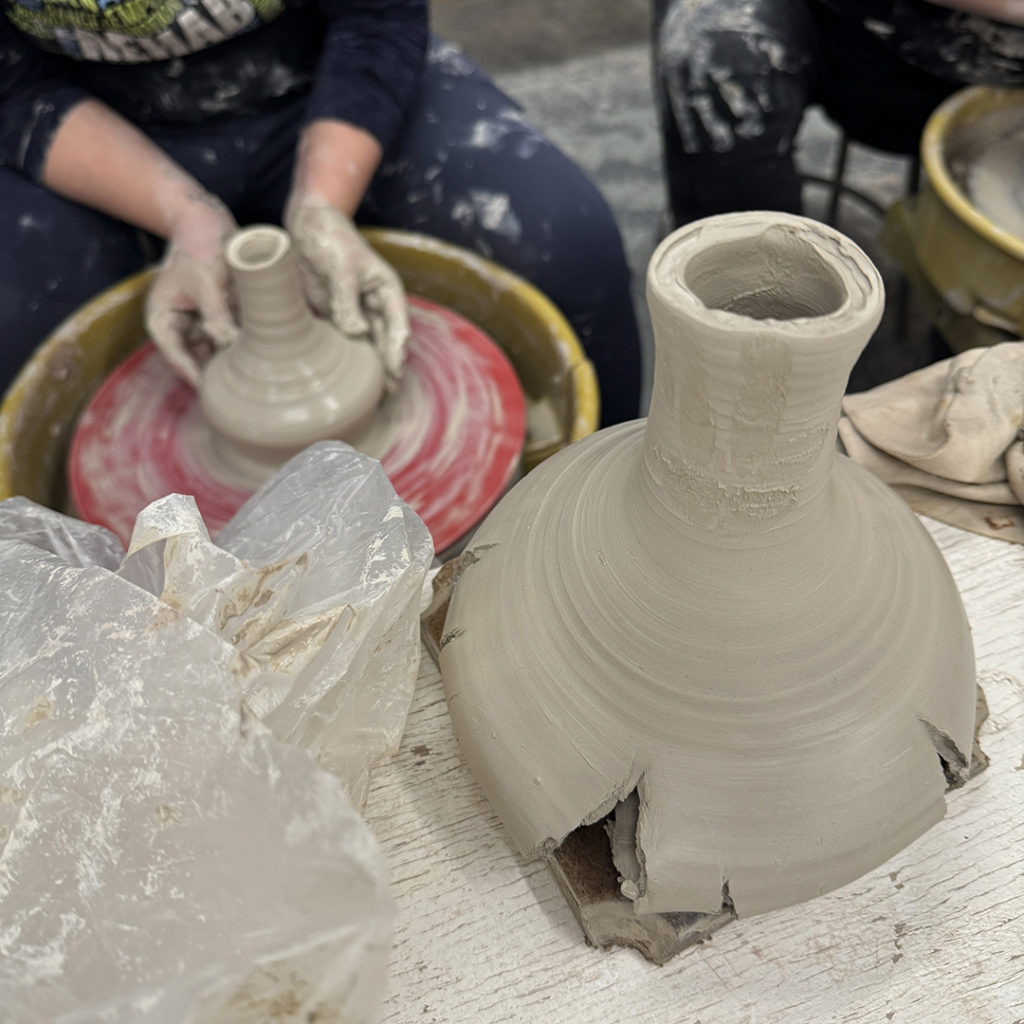
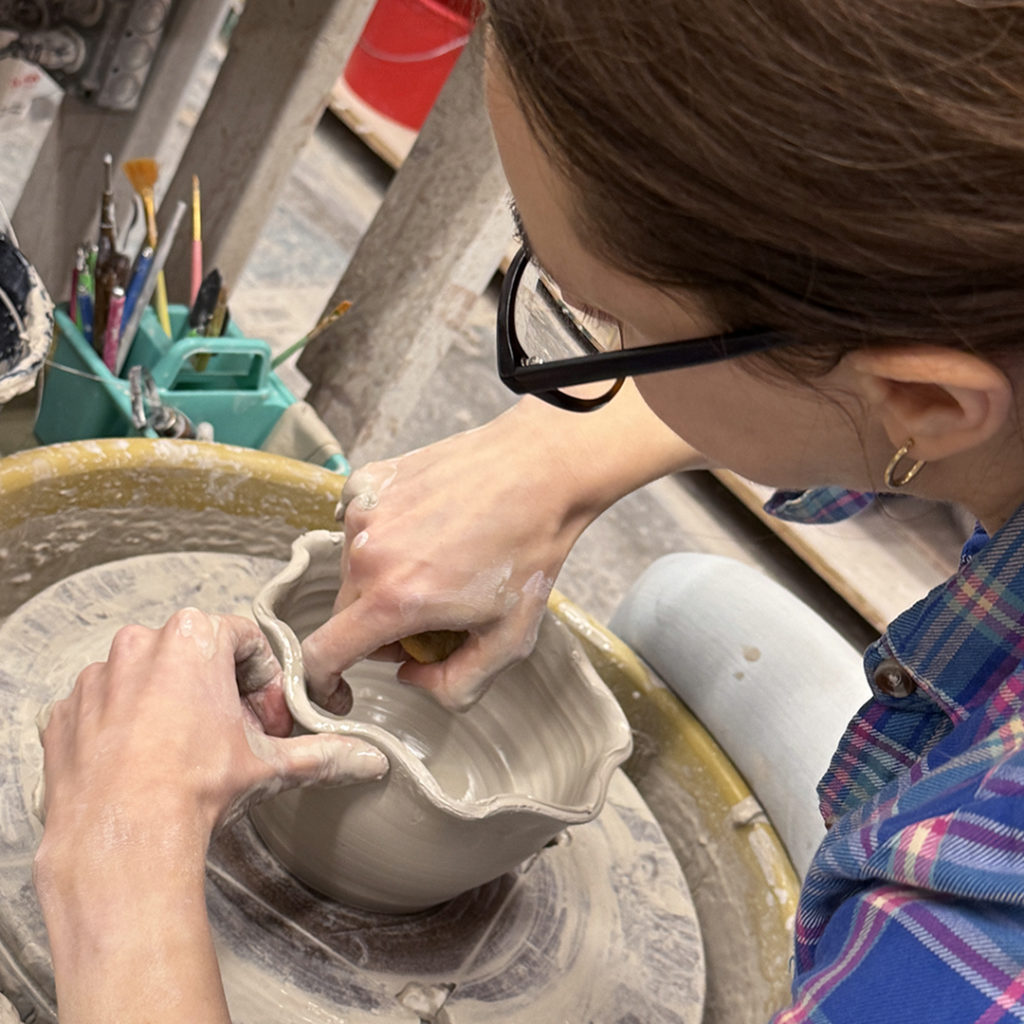
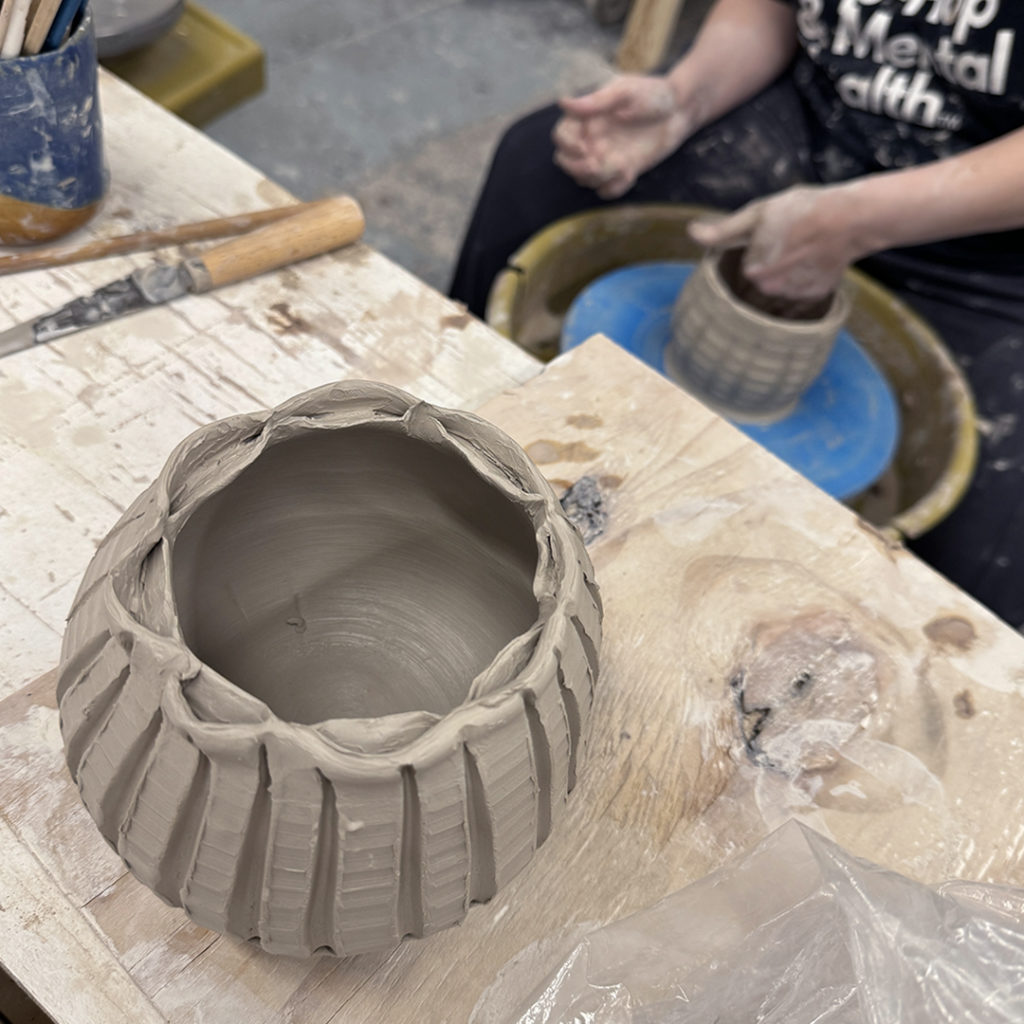
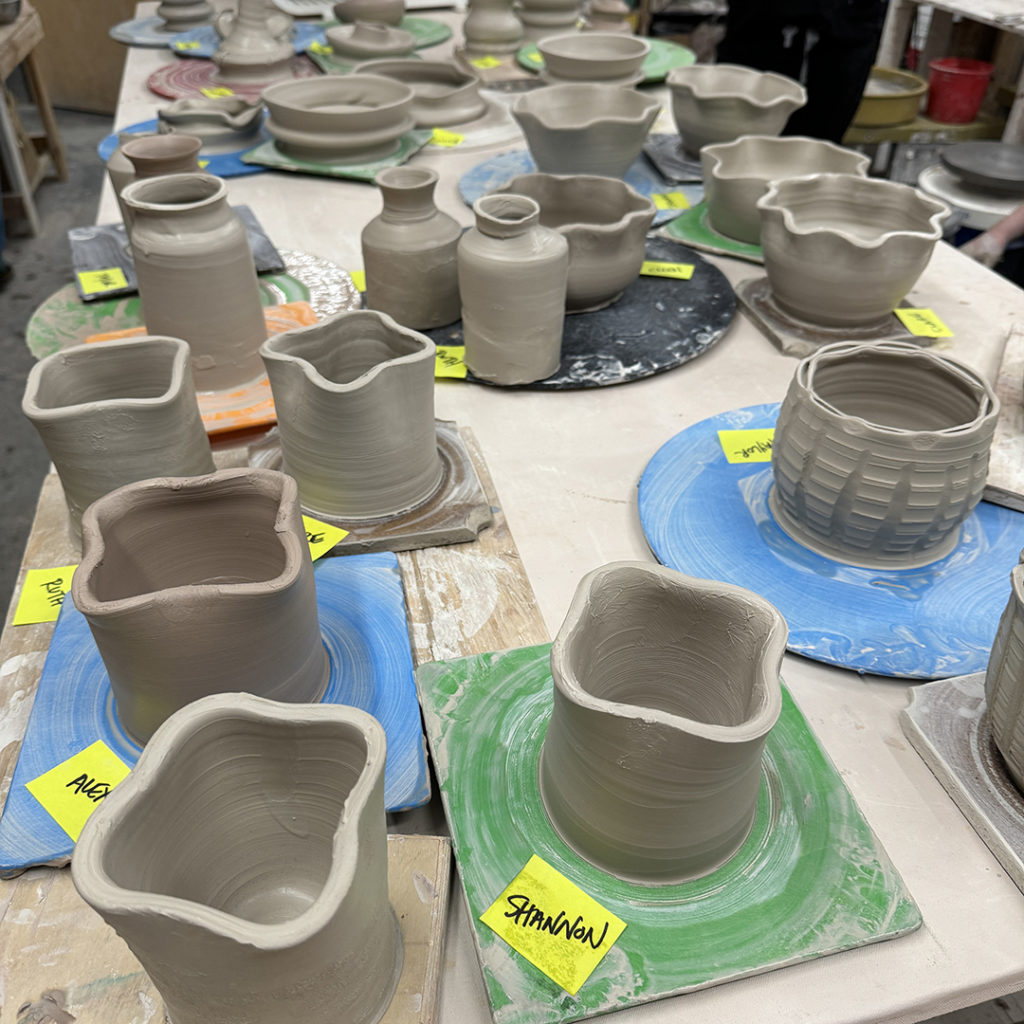

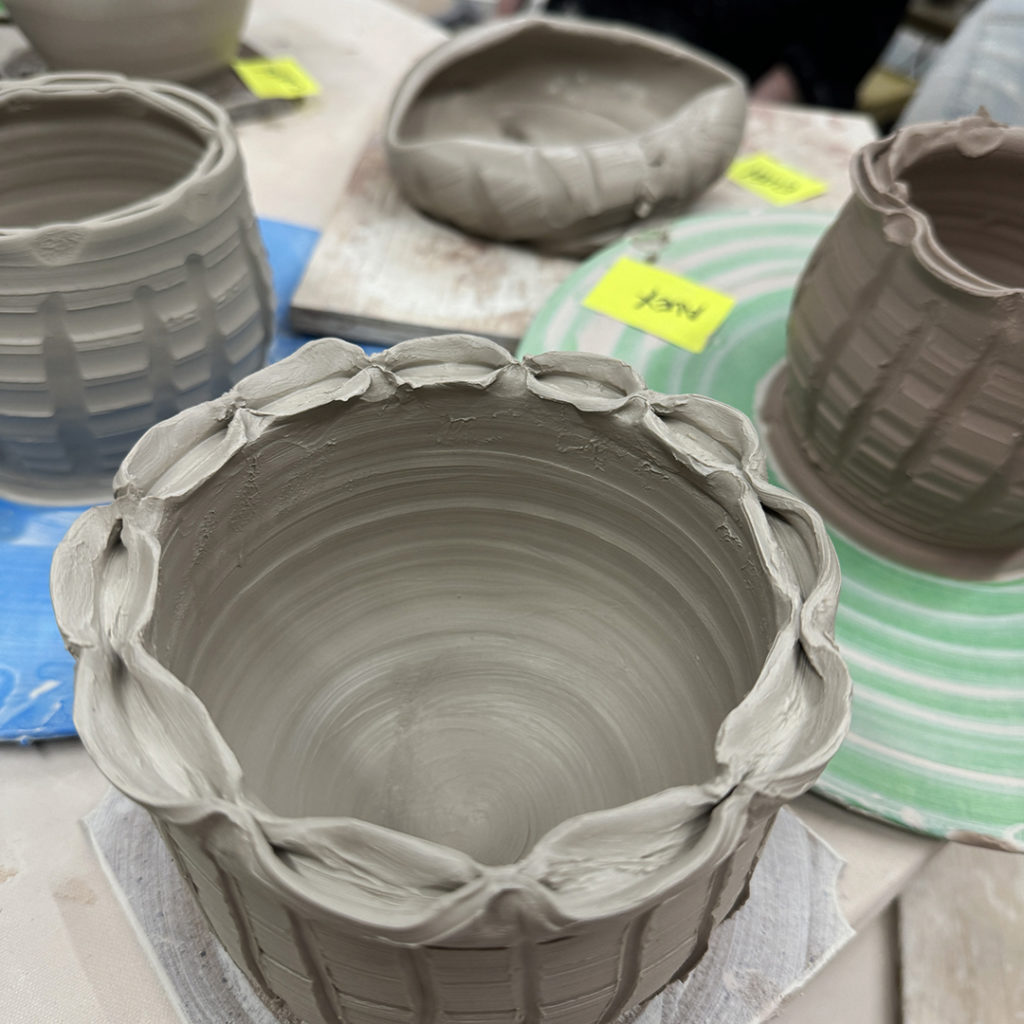
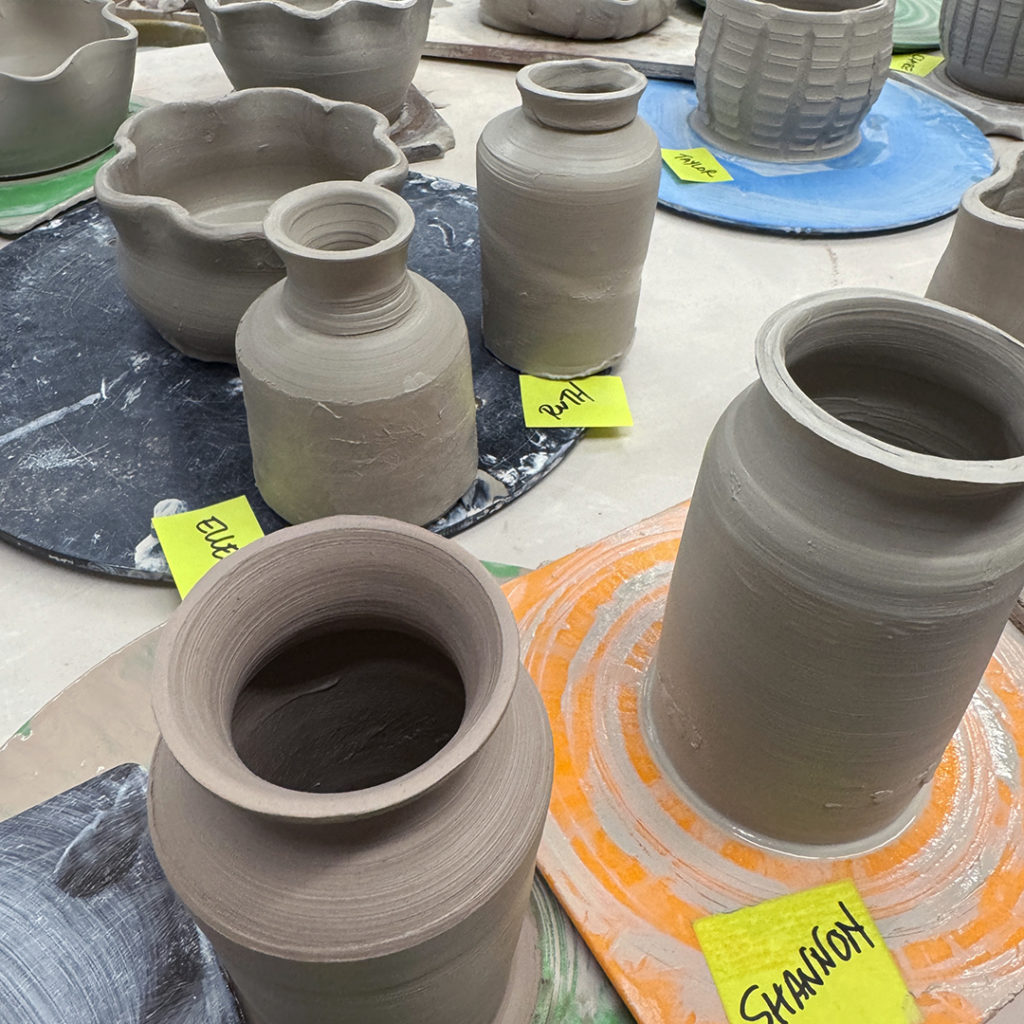
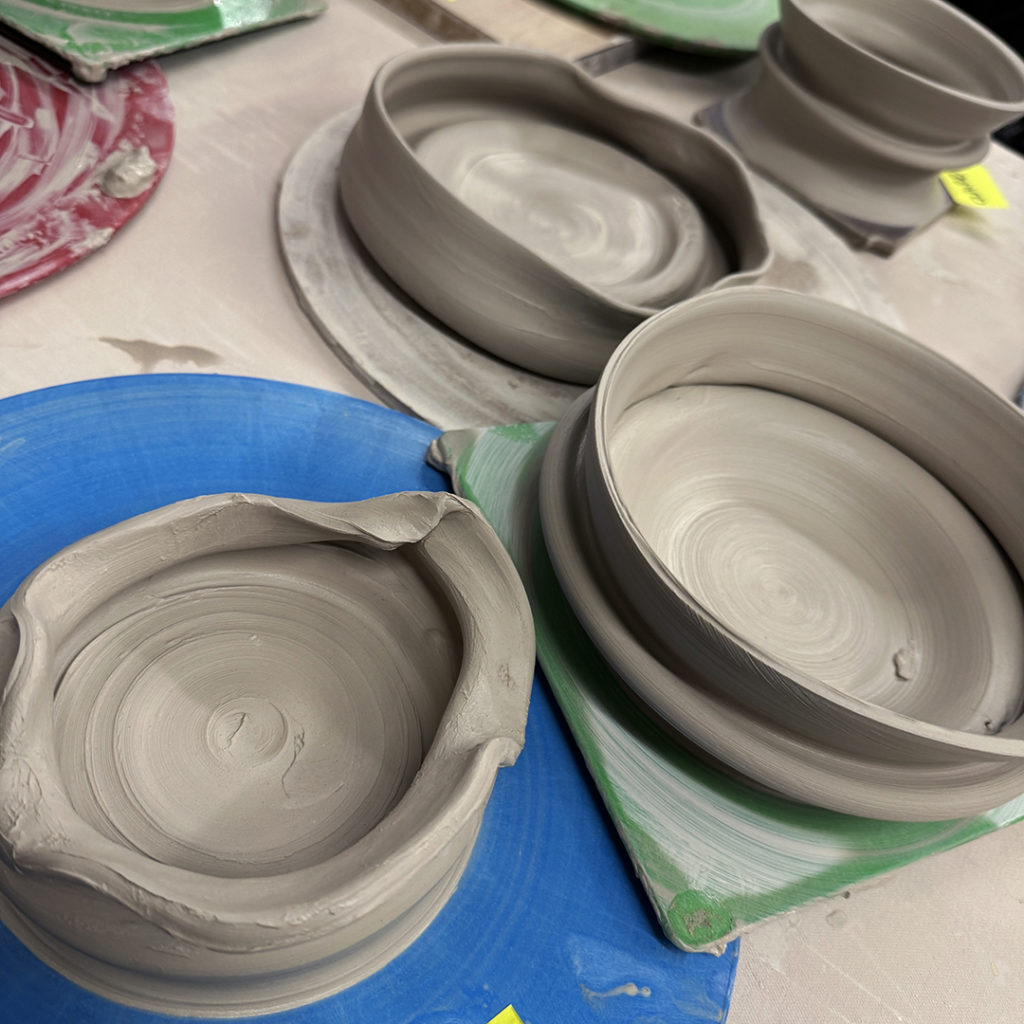
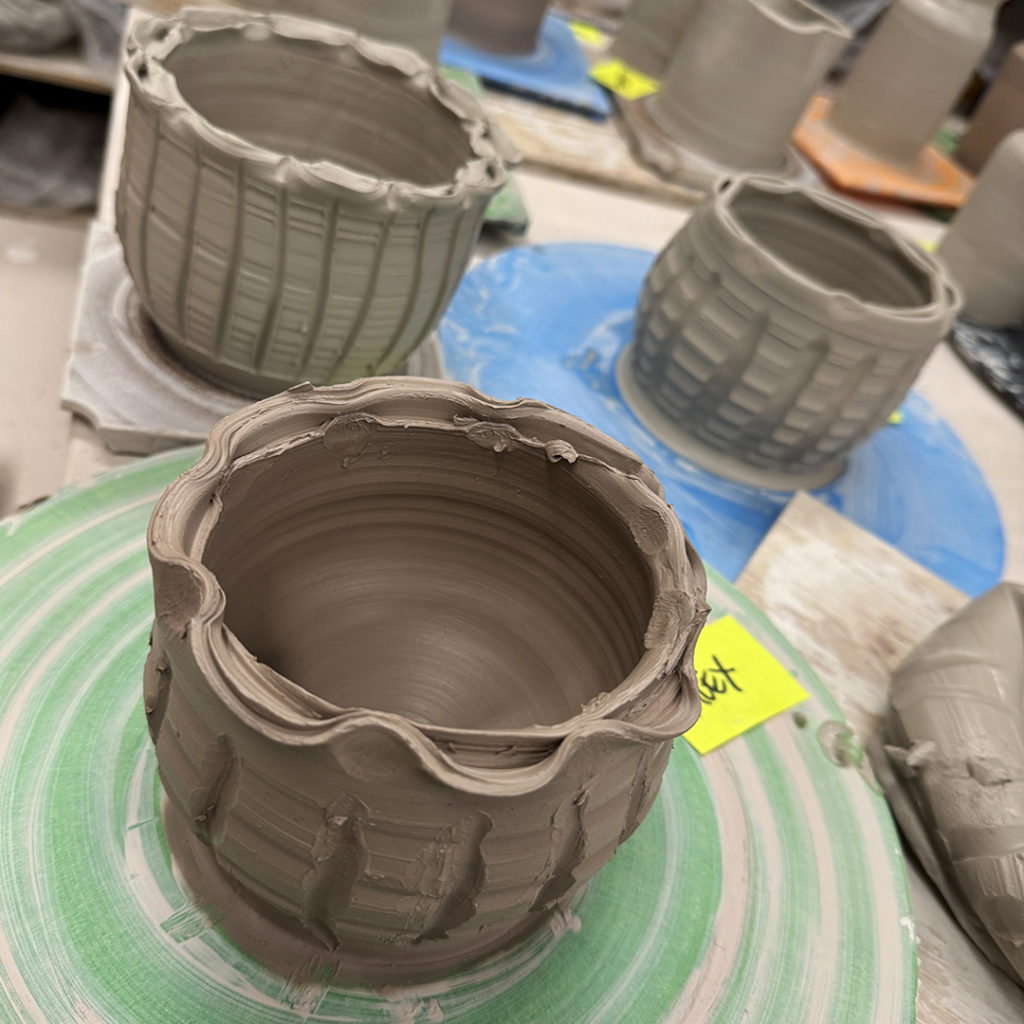
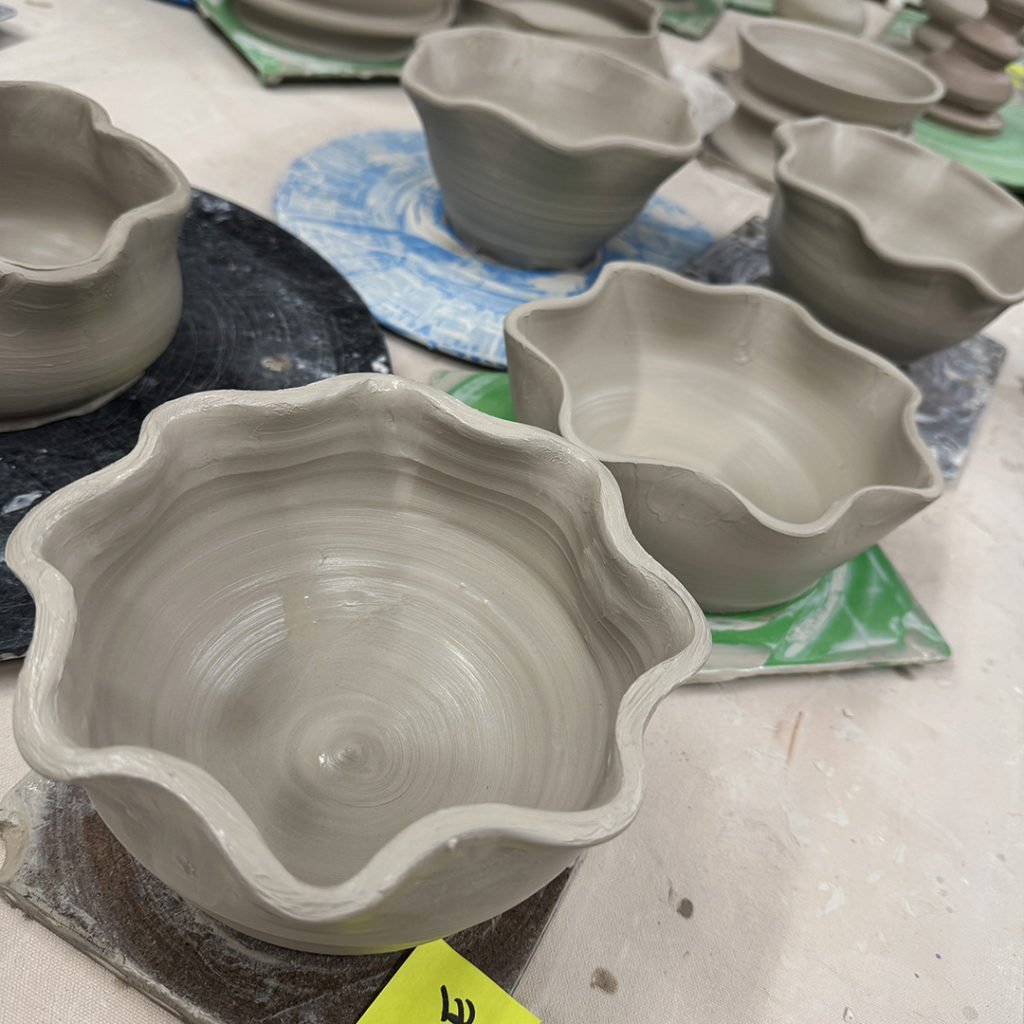

This week in class with my Beginning & Advanced Beginning Wheelthrowing students we tackled making bowls on purpose, and NOT cylinders gone bad! I started the demo by throwing one bowl for them… explaining the process & what to watch out for. How to start out with a nice rounded bottom right from the start. How to avoid getting a “beginner’s ledge” about an inch up from the bottom. How to use a rubber rib to refine the interior curve of the bowl. How to focus on throwing the interior of the bowl to be the shape they want… knowing that they will trim the exterior to match later.
So here’s the first “prototype” bowl…
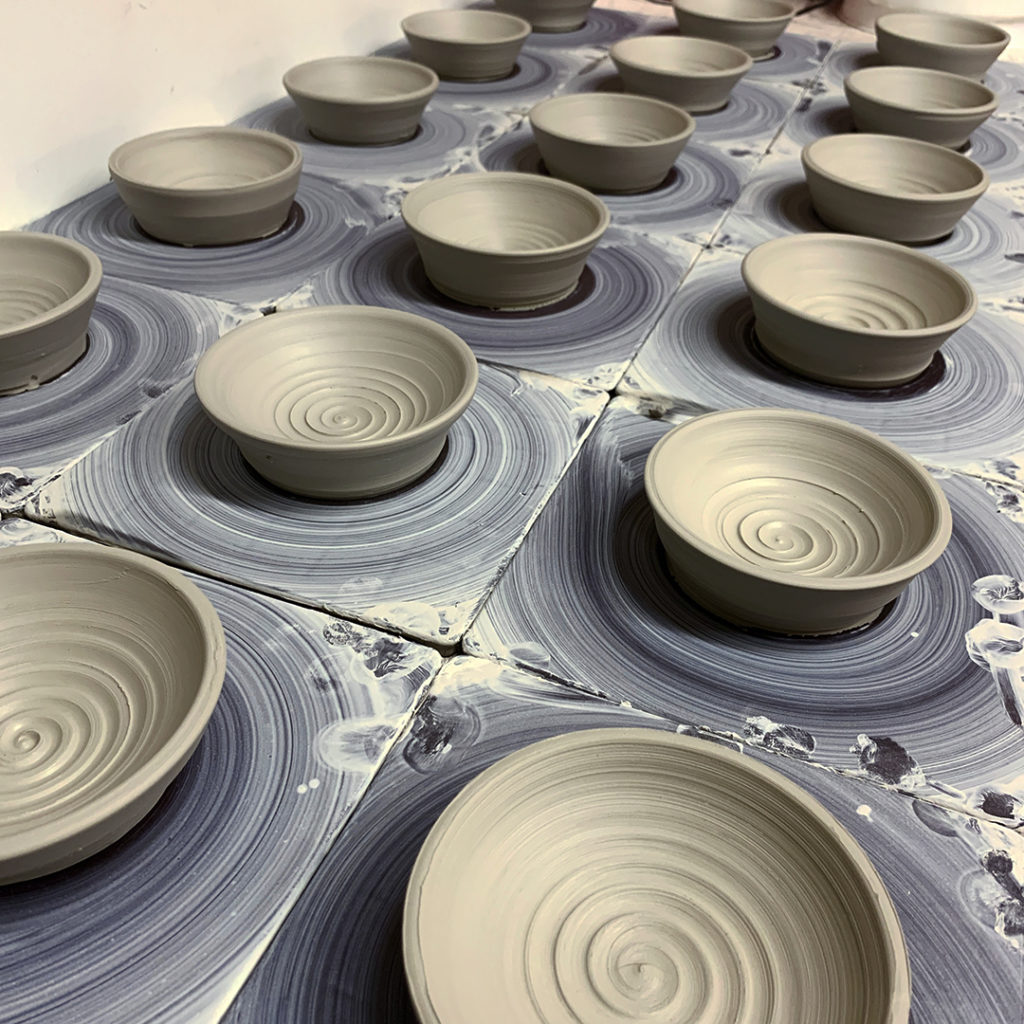
Bowl #1 – plain, round, simple rim… and my favorite spiral in the bottom!

And then I set them off to go back to their wheel so they can start practicing.
While they’re throwing, I continue to throw some more bowls while my assistant Susan and I help them along the way. Once I had a bunch of bowls done, we reconvened for Part Two of the night’s demo.
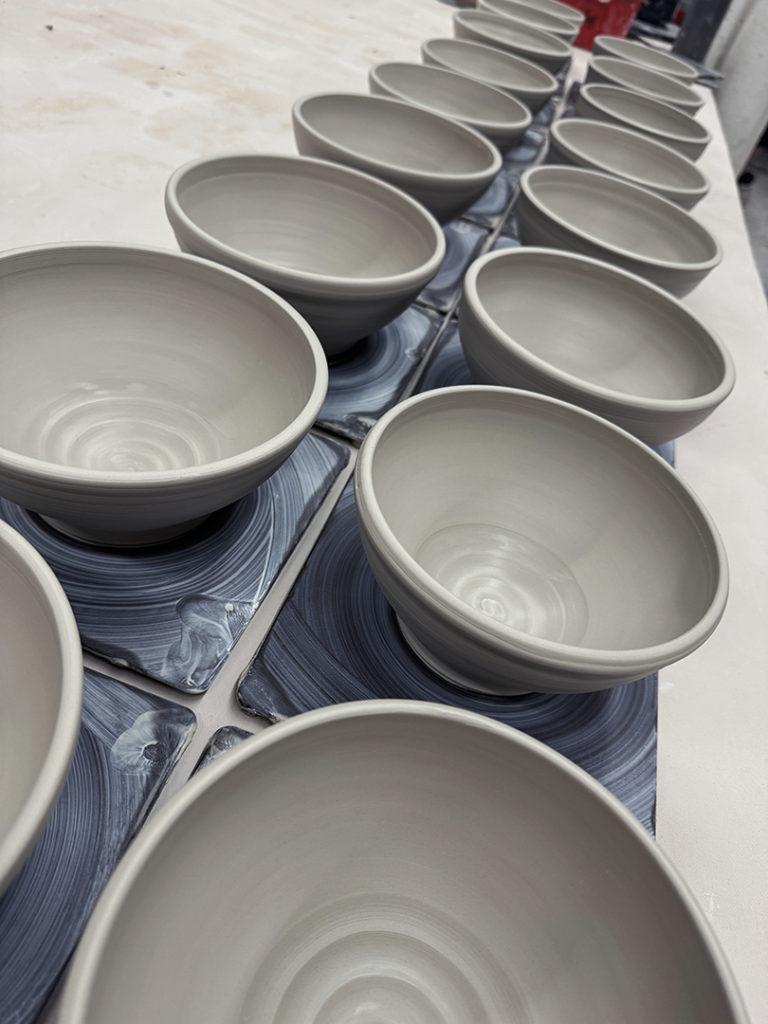
So we gathered, and the goal for Part Two is to show them some quick tricks & techniques to alter the looks of each bowl. Some simple things to make the bowls more “their own creation”… instead of the just round shape that they wheel kinda did for them!
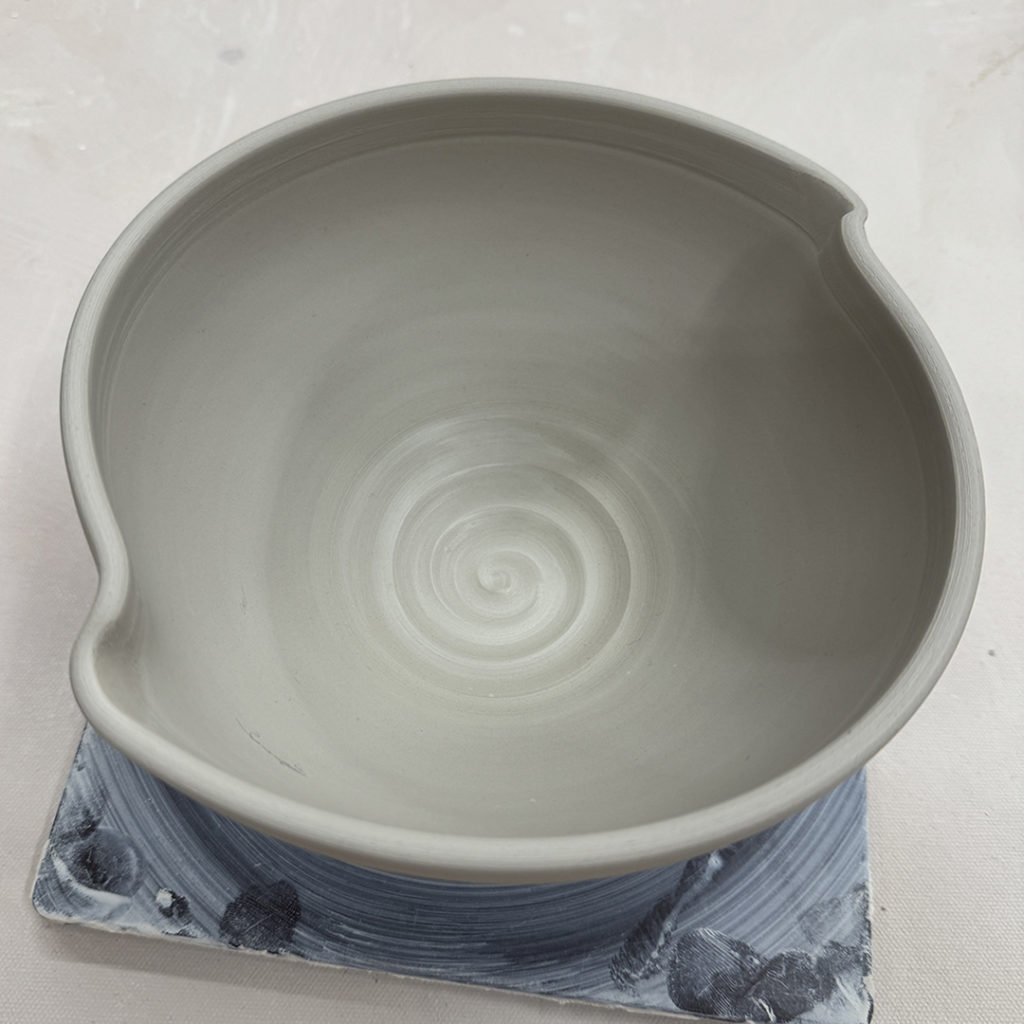
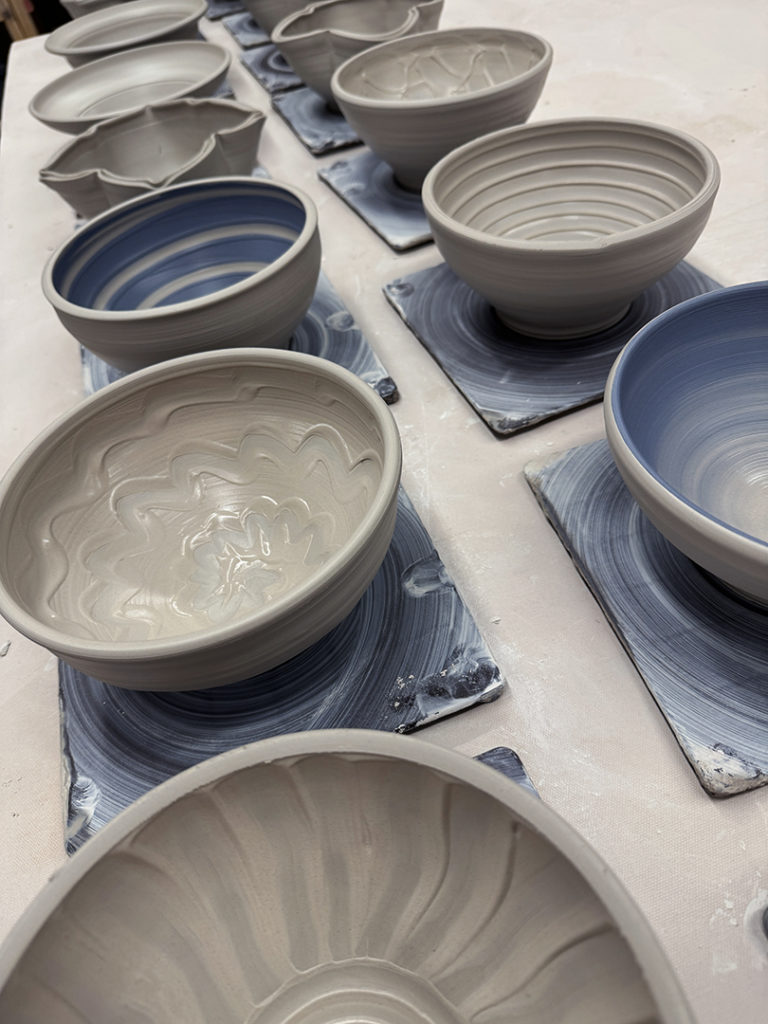
Bowl #2 – two simple “flicked” & fluted twists on opposite sides.
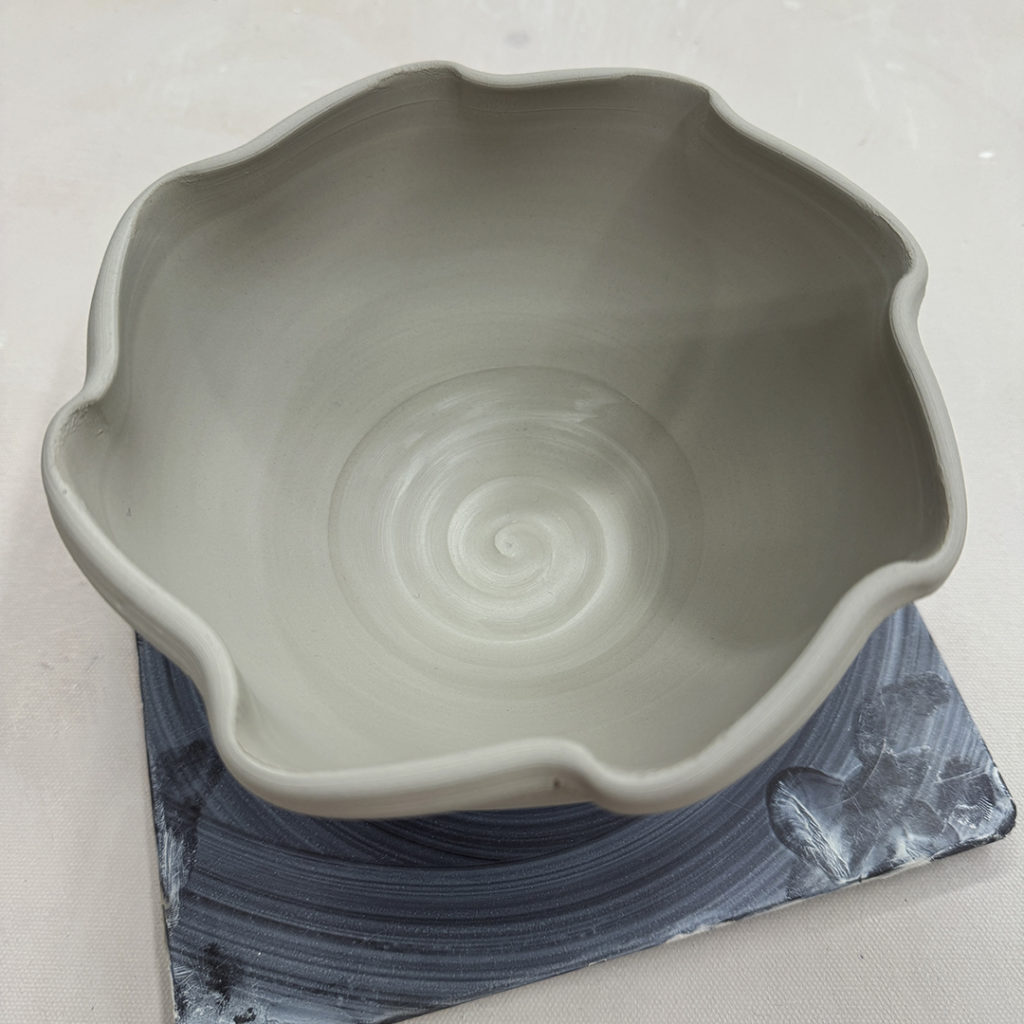
Bowl #3 – And if two flutes looks good, maybe eight fluted edges would look better?
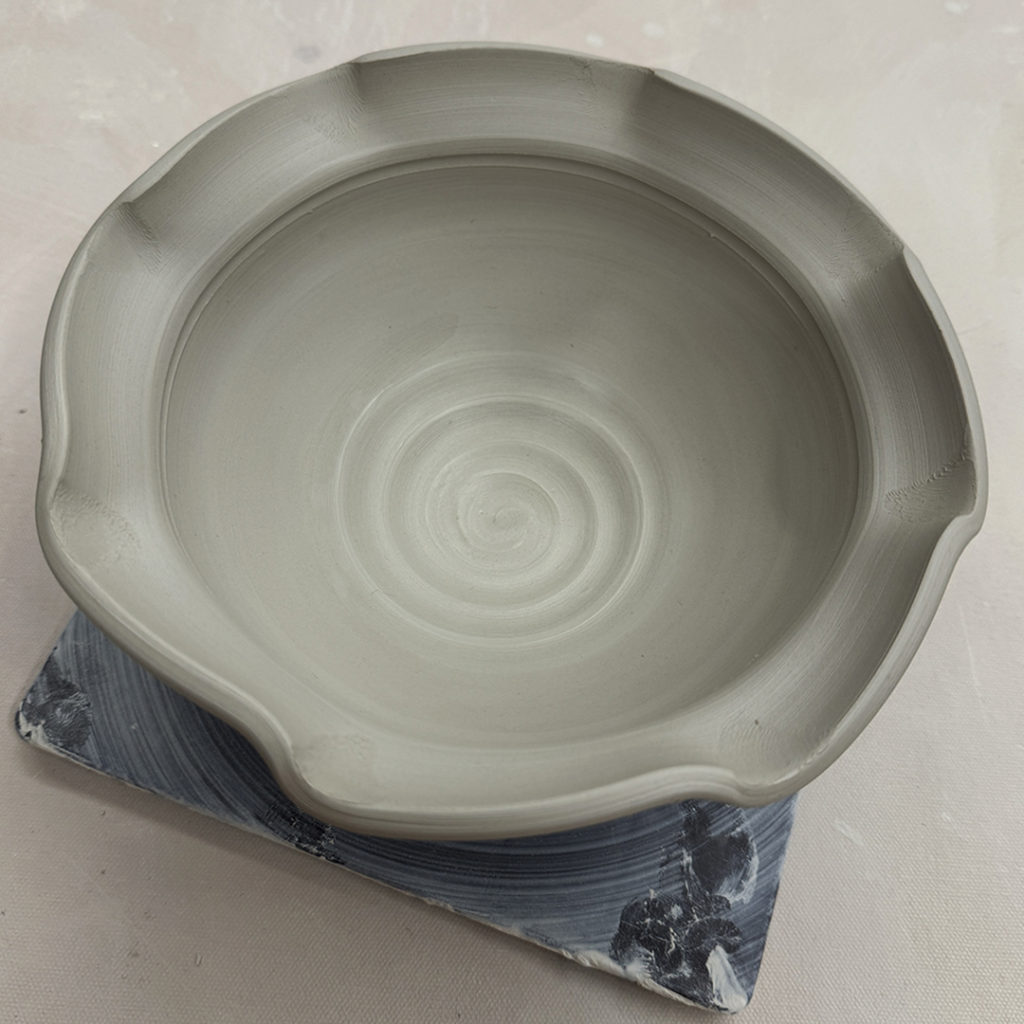
Bowl #4 – A simple flanged edge… folded out over my exterior finger to create this “ledge” area.

Bowl #5 – A much larger flanged edge… kinda like the fancy restaurants that put on tiny little scoop of food in the bottom of a large-flanged bowl and charge BIG bucks for it!!!

Bowl #6 – Combined flange and fluted flares!
Bowl #7 – A split rim pinched back together in eight places.
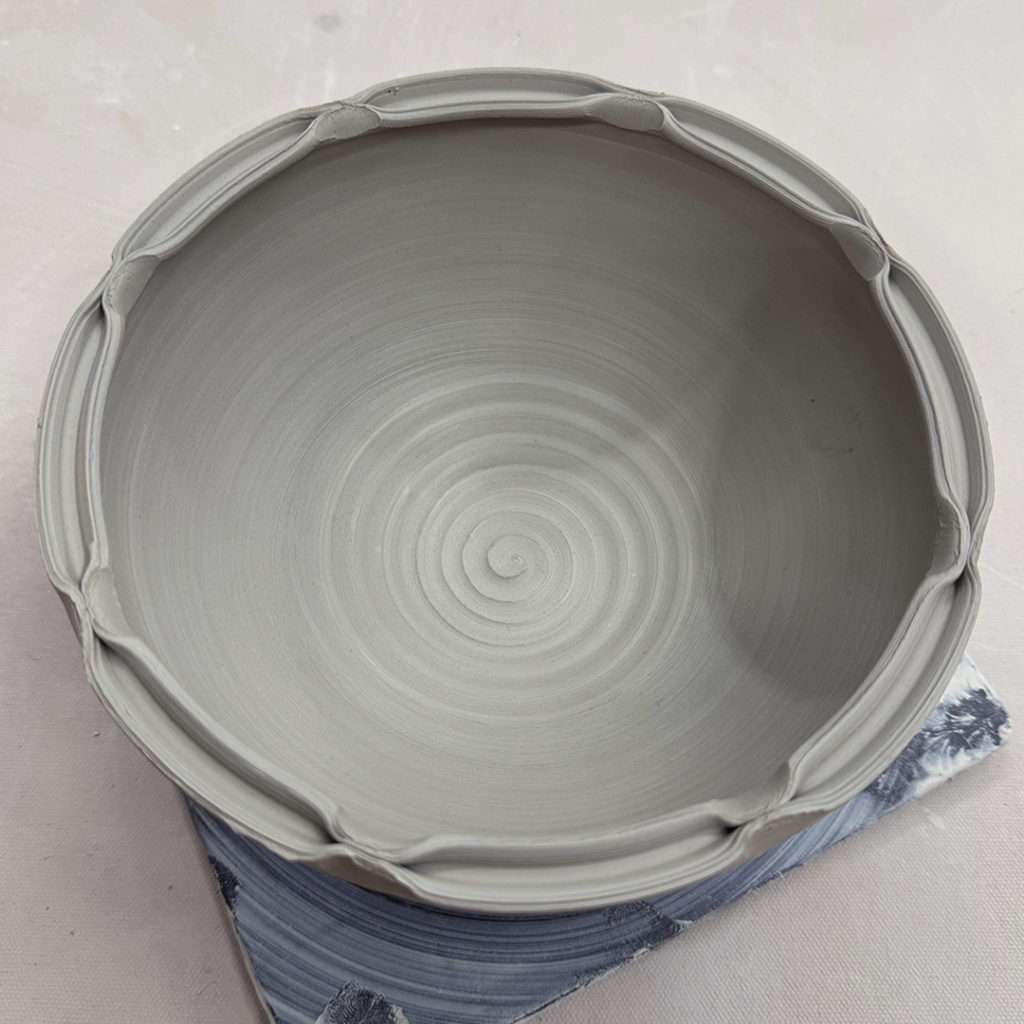
Bowl #8 – A simple split rim, then we dented in on two sides using the side of my wooden knife. We kinda liked it like this… and there’s a good chance that a handle might go up & over the top from dent-to-dent to make the bowl a bit of a basket.
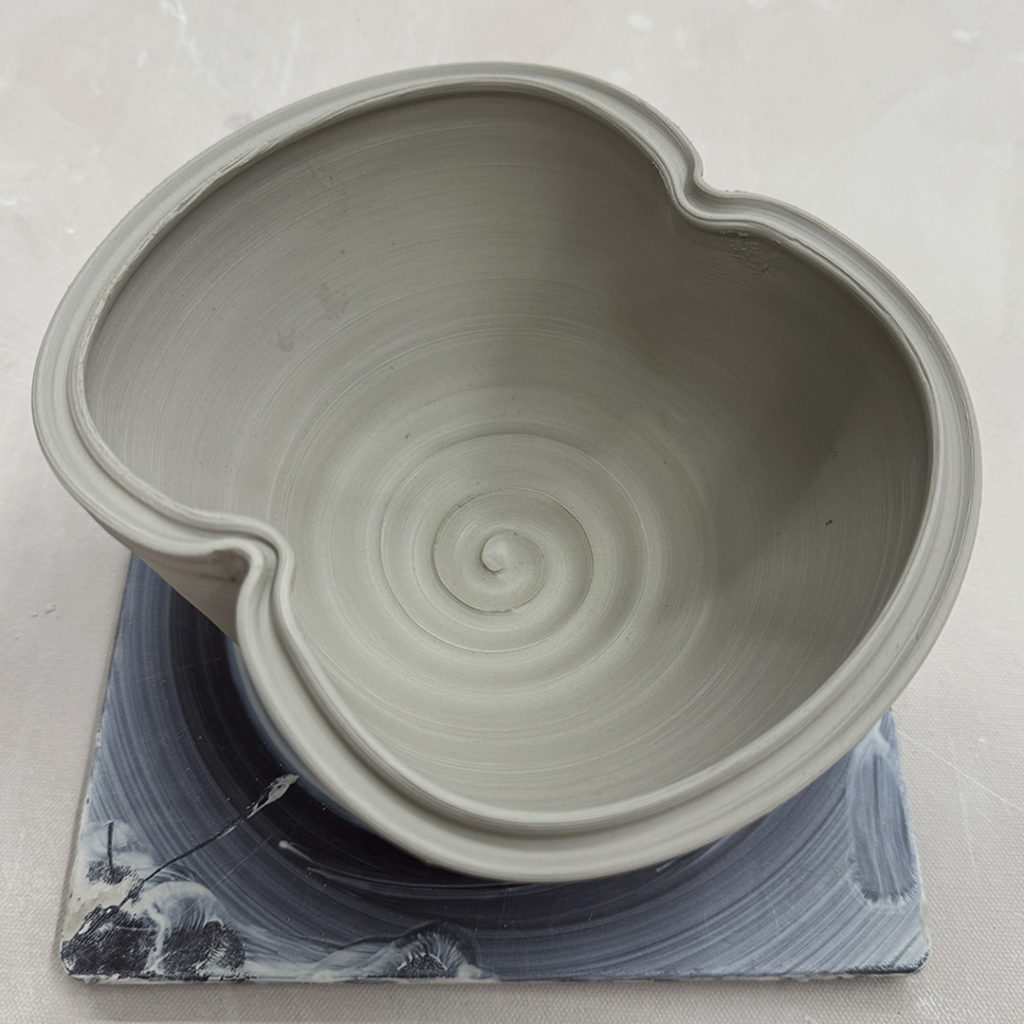
Bowl #9 – Another split rim with four dents… kinda squaring-up the bowl.
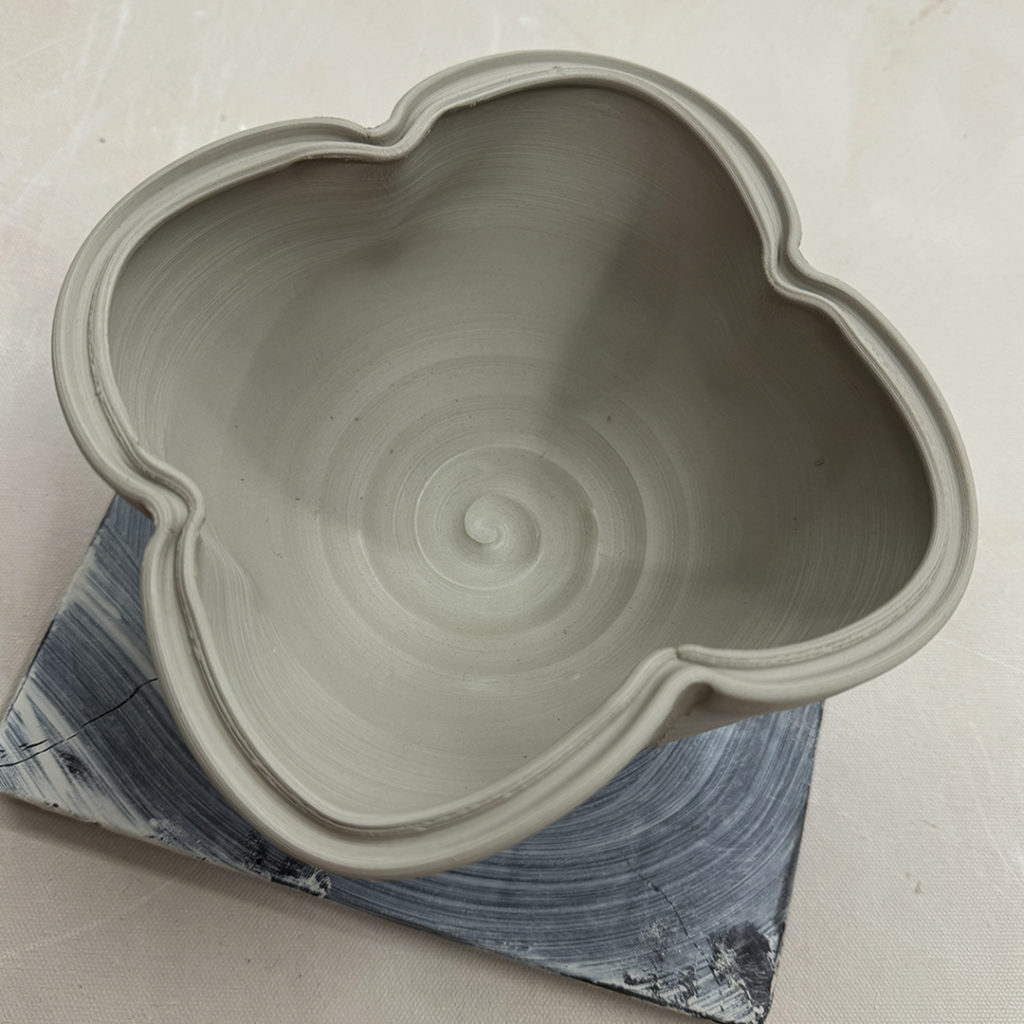
Bowl #10 – The same dented-in bowl as #9 with the split rim, just four more flutes going outwards in the four corners… giving it kind of a lotus look.

After the first set of “altered rims”… we switched to colored slip as a decorative option.
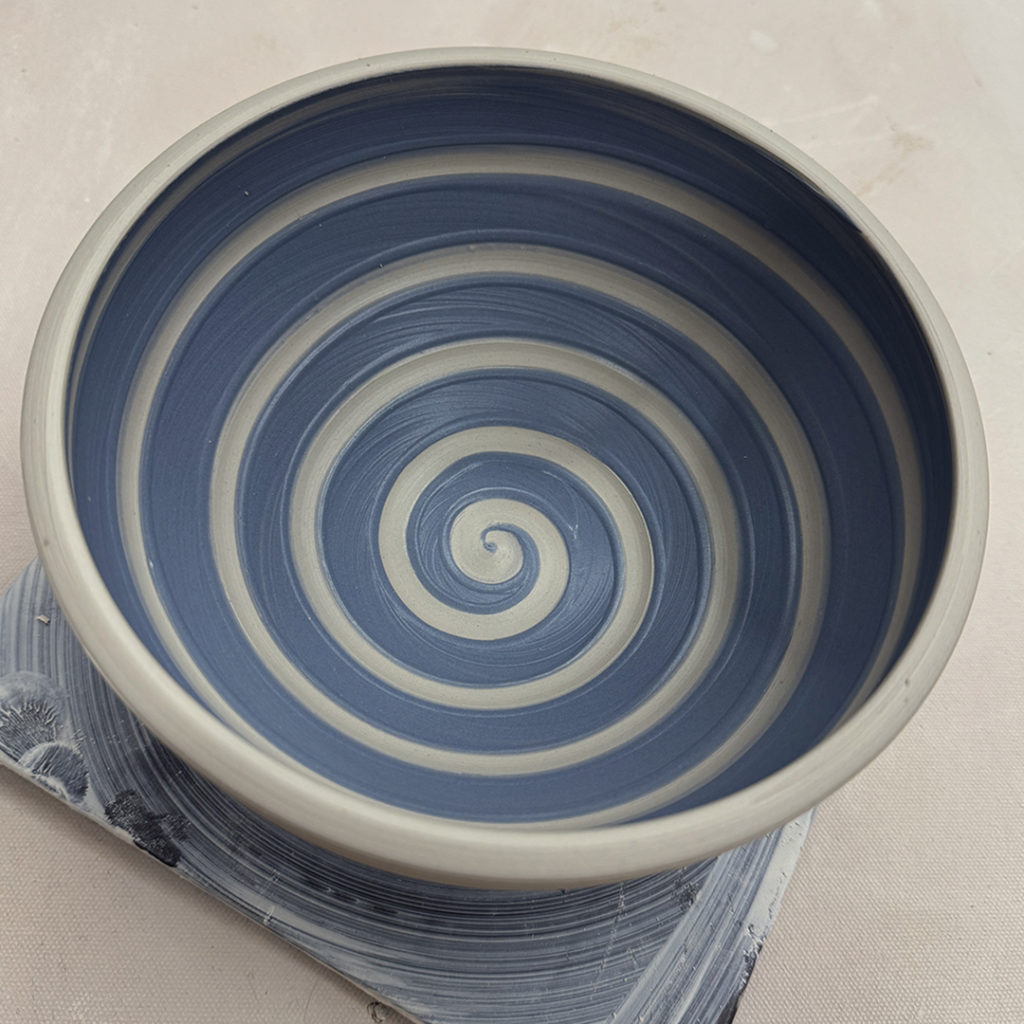
Bowl #11 – After a layer of mazarine blue slip, the dragged the rounded end of my wood knife through the slip while the bowl was rotating on the wheel… revealing the clay-colored spiral through the slip!
Bowl #12 – After a layer of thick white slip, I just wiggled & squiggled my index finger through the slip for this wavy effect.
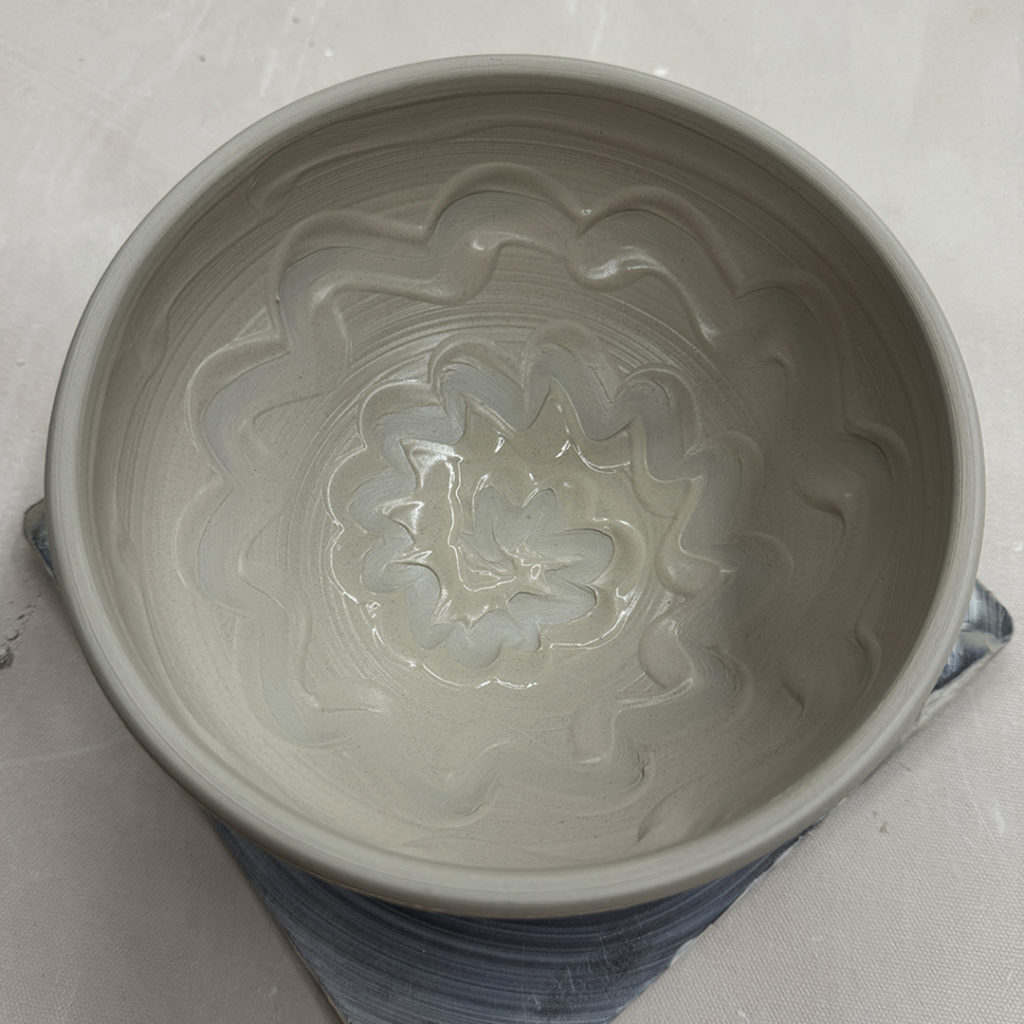
Bowl #13 – After a layer of thick white slip, I dragged the edge of a rubber rib upwards to create the effect.
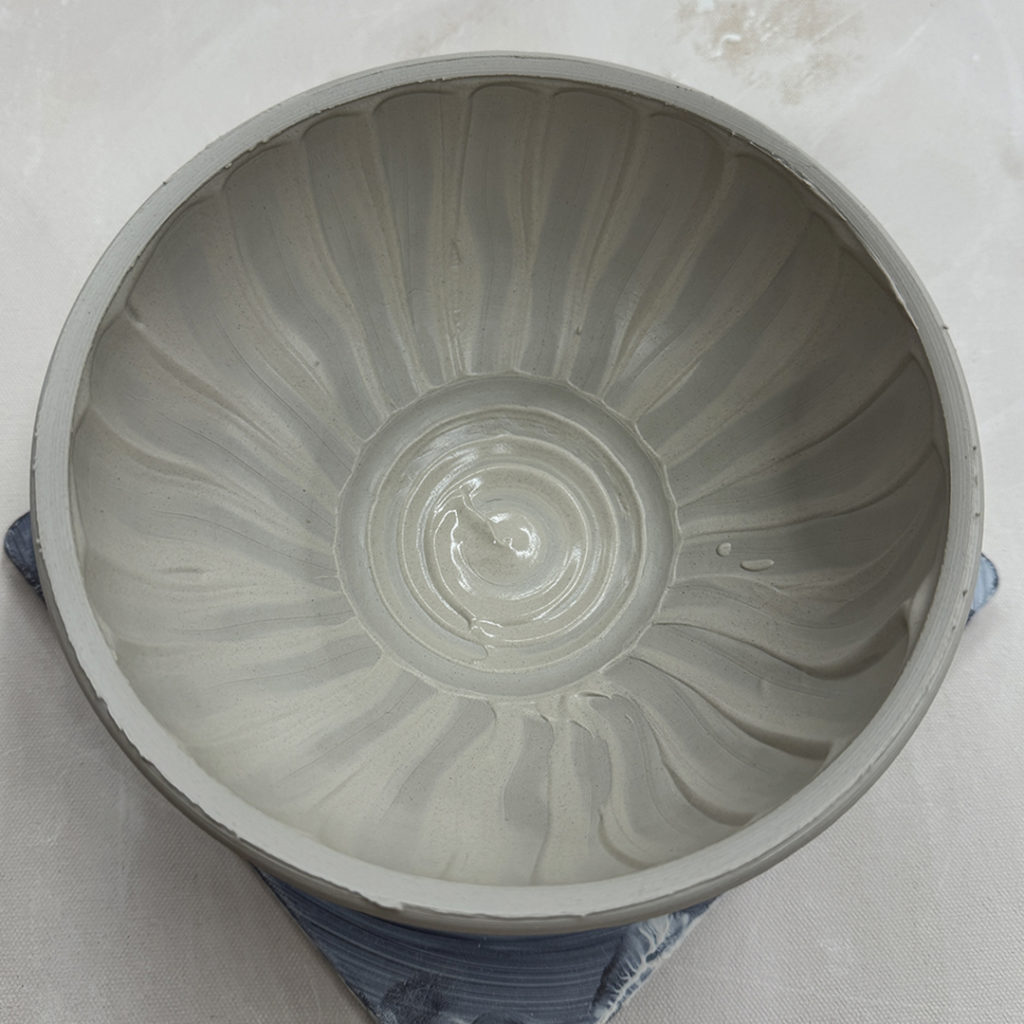
Bowl #14 – Another spiral through thick white slip… with tighter spirals to create more of a “ledge” of slip spiral.

Bowl #15 – Chattering through thick white slip… using the edge of my rubber rib with rhythmic tapping up & down, then outwards while the wheel is spinning!
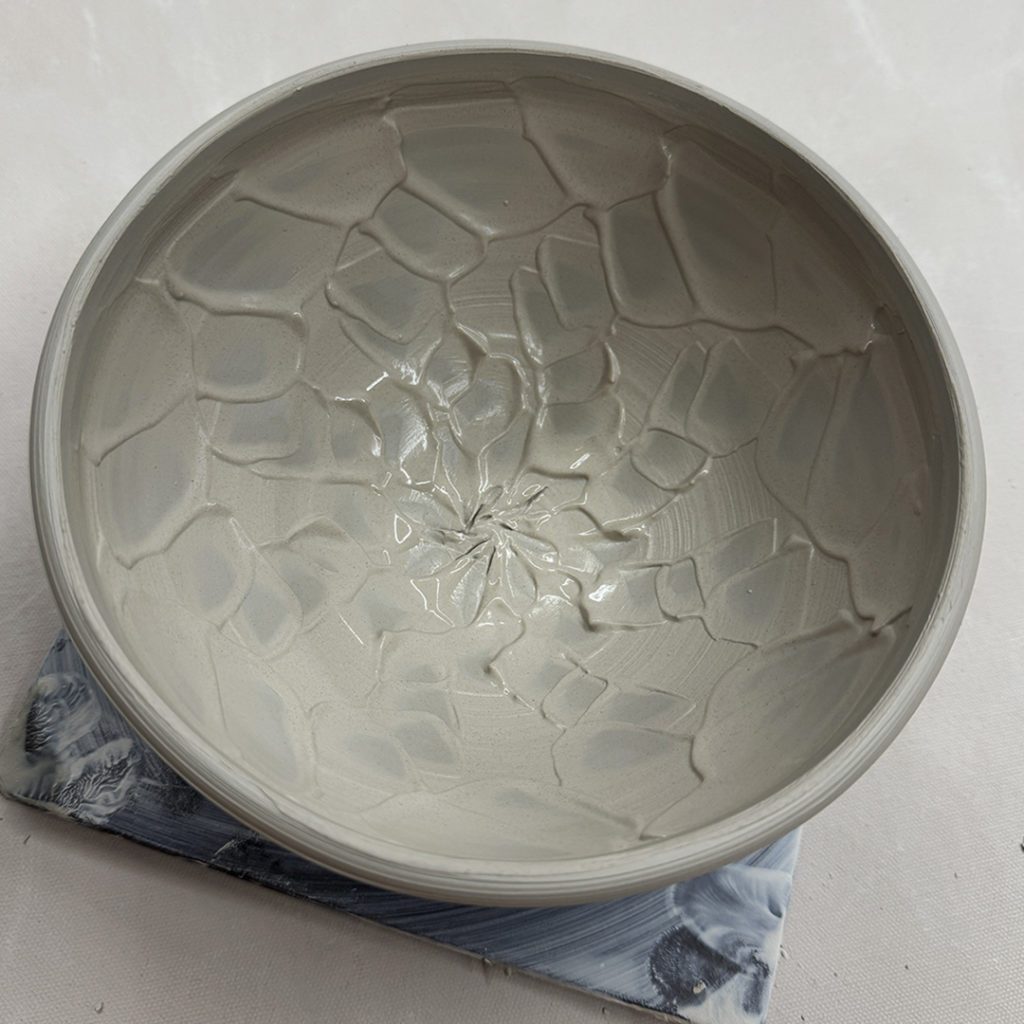
Bowl #16 – A simple ombre’ blend of white slip & mazarine slip… simple & clean…. although there’s a good chance I will do some sgraffito carving through this when it’s a bit drier!

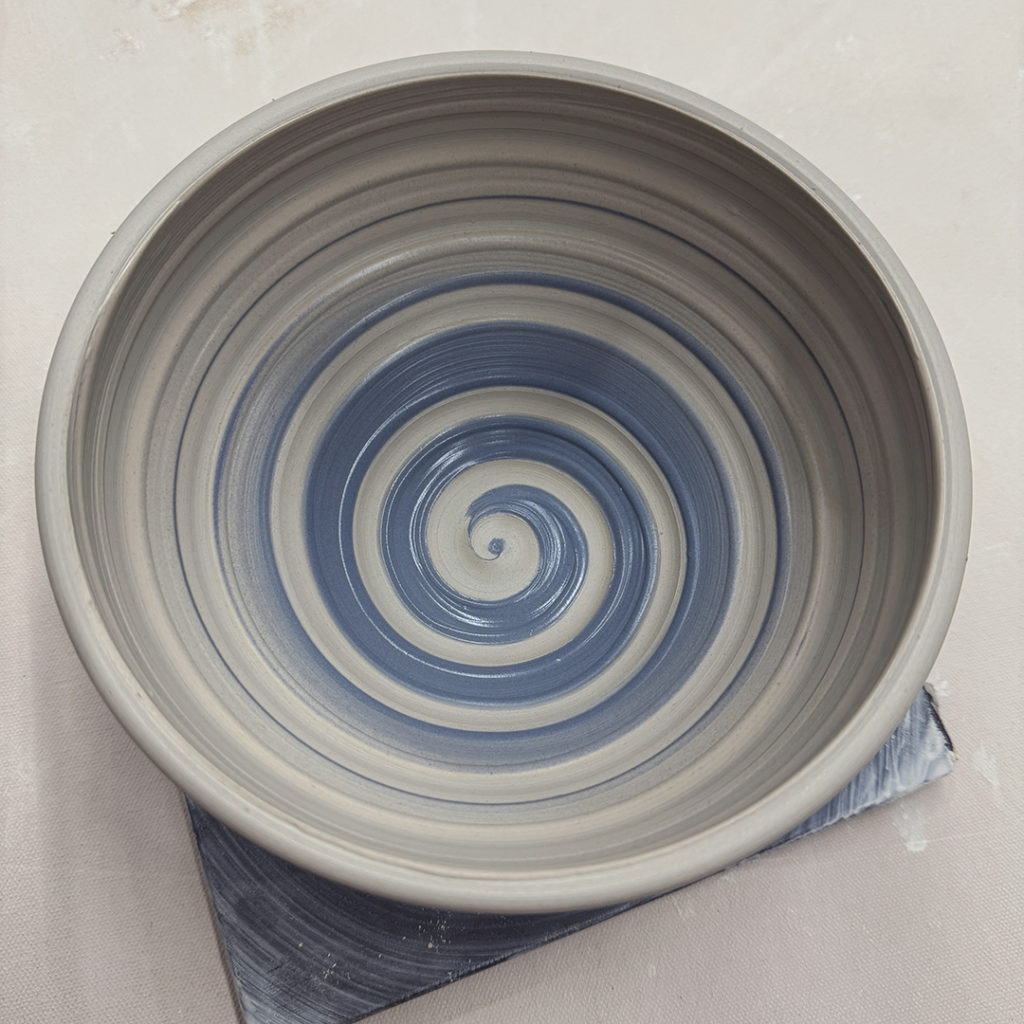
Bowl #17 – Another ombre’ blend of white & mazarine blue, but then dragging a rounded tool end through the slip to create this spiral.
By the end of the class we had a table full of altered & decorated bowls. These went up to my studio to be wrapped under plastic for the night… as there might just be some more stamping, detailing & trimming later as they get to leatherhard.

LILLSTREET THROWDOWN : Challenge #11…
They say that “throwing with porcelain is like throwing with cream cheese.”
So they did!!!
We had a four-way THROWDOWN with each player throwing a package of cream cheese. Some struggled with the throwing, some with the goopey texture & some with the smell of the cream cheese! All in all, a great way to finish off our THROWDOWN evening of contests from “The Wheel Of Challenges”!!! Fun for all… and great entertainment for ME!!!


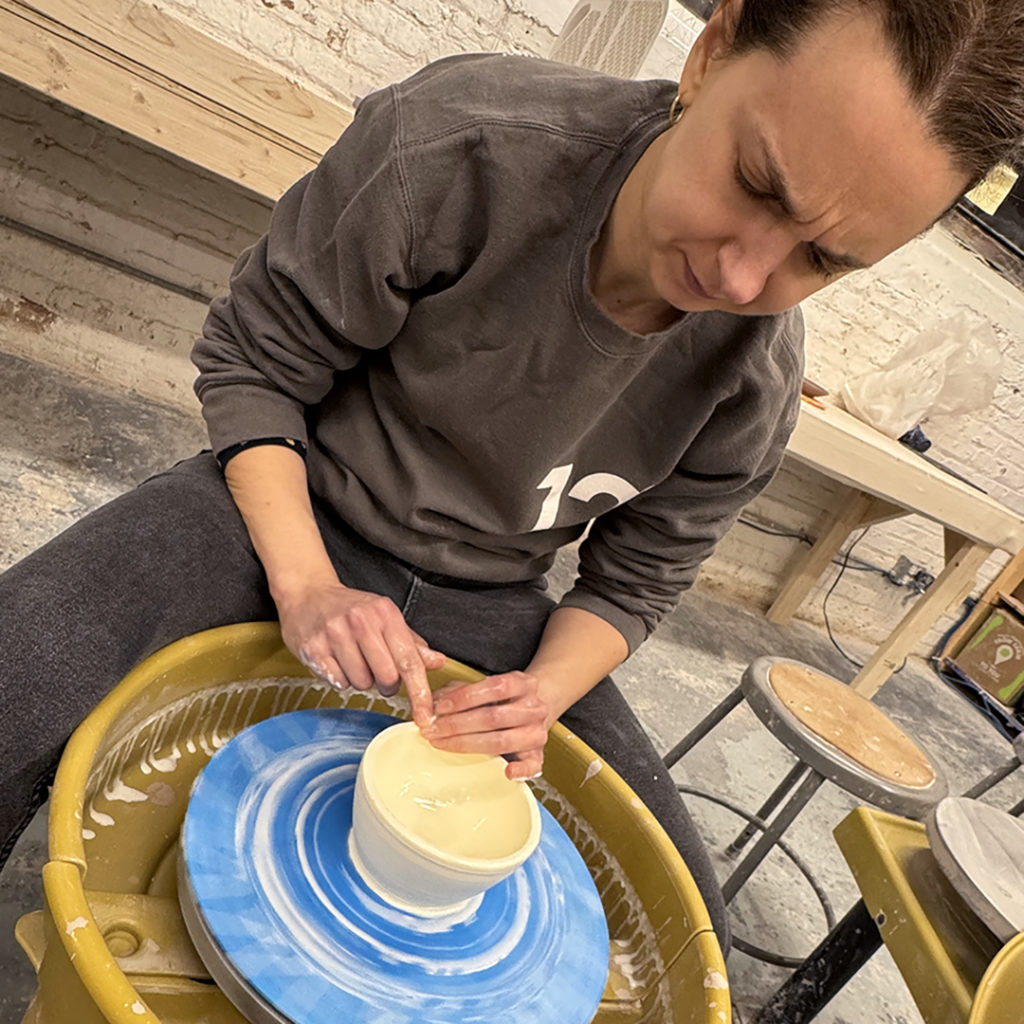


LILLSTREET THROWDOWN : Challenge #9…
Throw your “best” bowl in ten minutes and 1.75-pounds of clay while blindfolded!


LILLSTREET THROWDOWN : Challenge #7…
Throw five matching cutie-patootie vases off-the-hump in 10 minutes.
It was Katie versus “sit-in ringer & former “Throwdown Champion” Christine!


LILLSTREET THROWDOWN : Challenge #5…
Wheel throw the tallest cylinder… with a bottom & straight sides in 10 minutes!!!

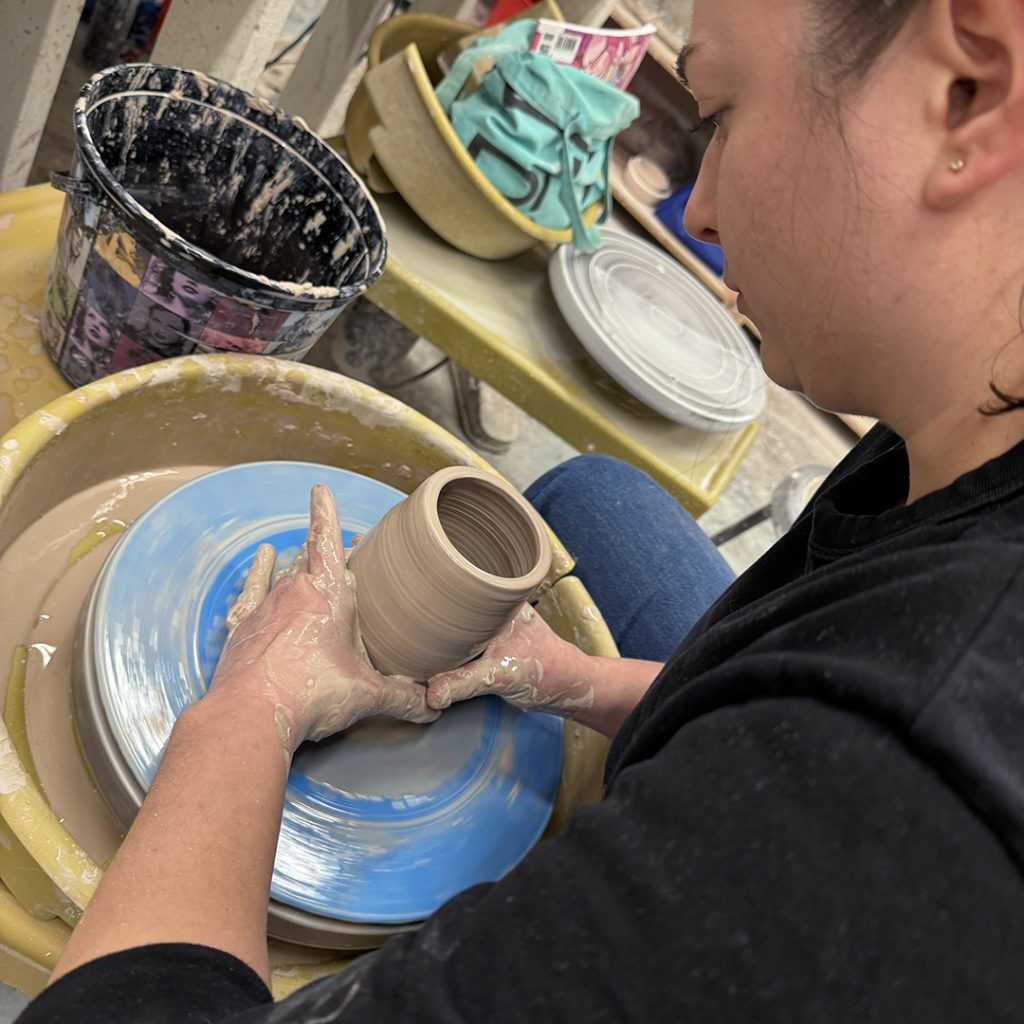


Once again, my favorite class demo every session for my Beginners & Advance Beginning Wheelthrowers. We start by talking about how to make a “bowl on purpose instead of a cylinder gone bad.” No flat bottoms. No corner edges. No accidental flare-outs. No indented beginner’s ledge. Just nice and smooth ALL the way through the interior of every bowl, every time!
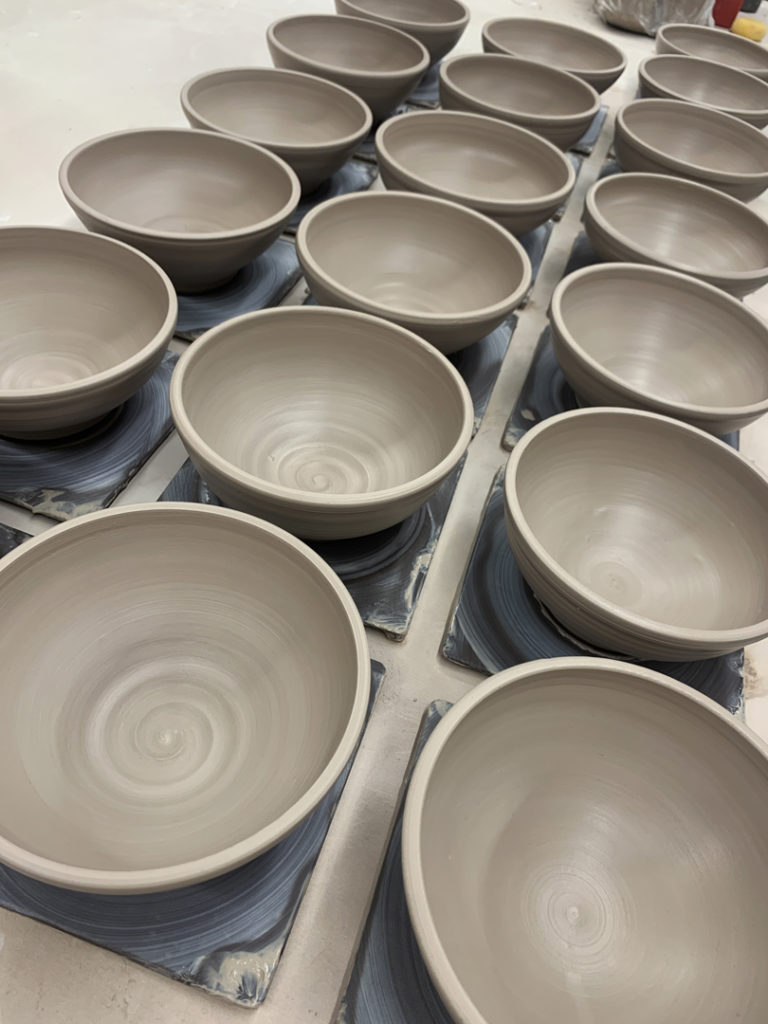
So I made one sample bowl and explained it all as I was throwing the bowl. Once they had all asked their questions, they went back to their wheel to give it a try. Meanwhile, I kept throwing a bunch of bowls. The goal is to have plenty of bowls to “play with” during the second portion of the class…. altering, fidgeting, decorating, making it “theirs” and not just some random round bowl that the wheel kinda made for them!
After awhile, we re-grouped for Part Two of the demo… and we let the fun of playing begin!
Bowl #1 – The original plain bowl… yep, they ALL started kinda like this one.
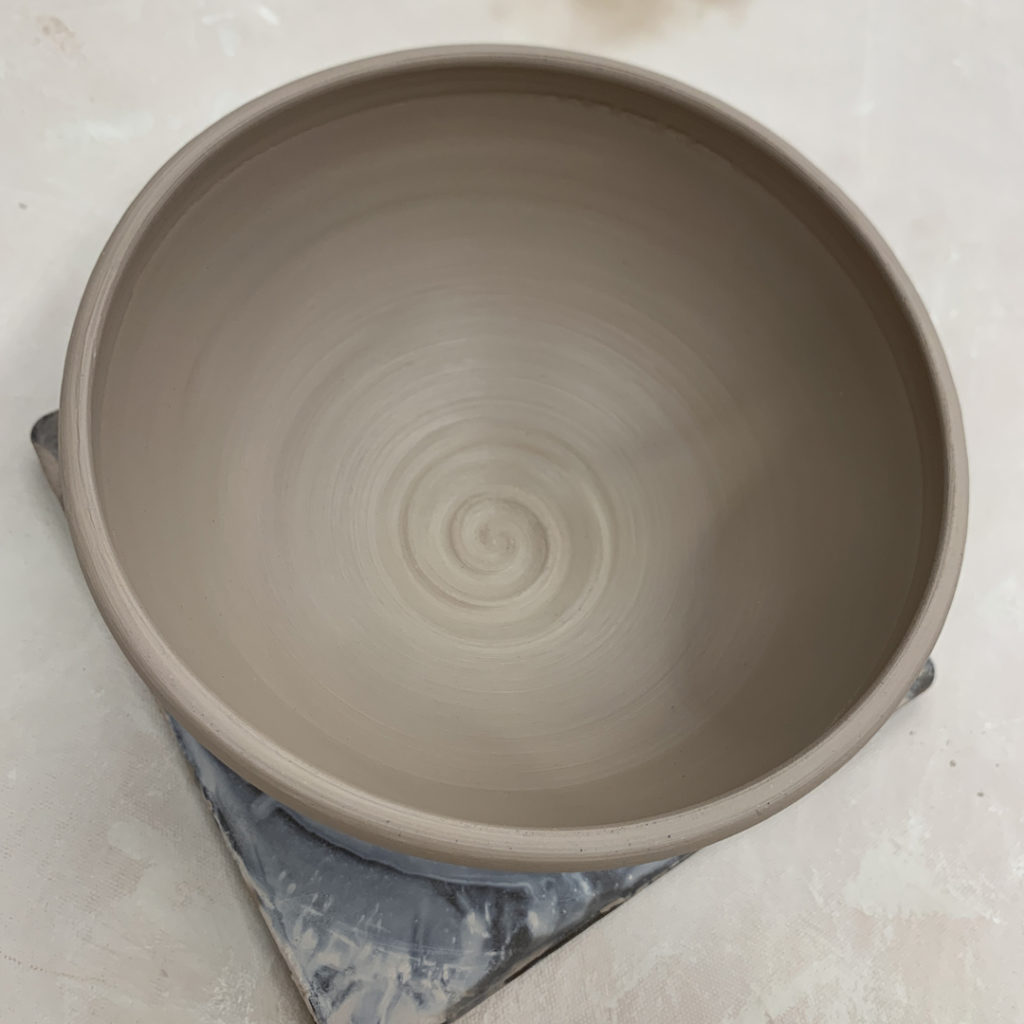
Bowl #2 – Four Fluted Edges… just a quick pinch & twist with two fingers in four places.
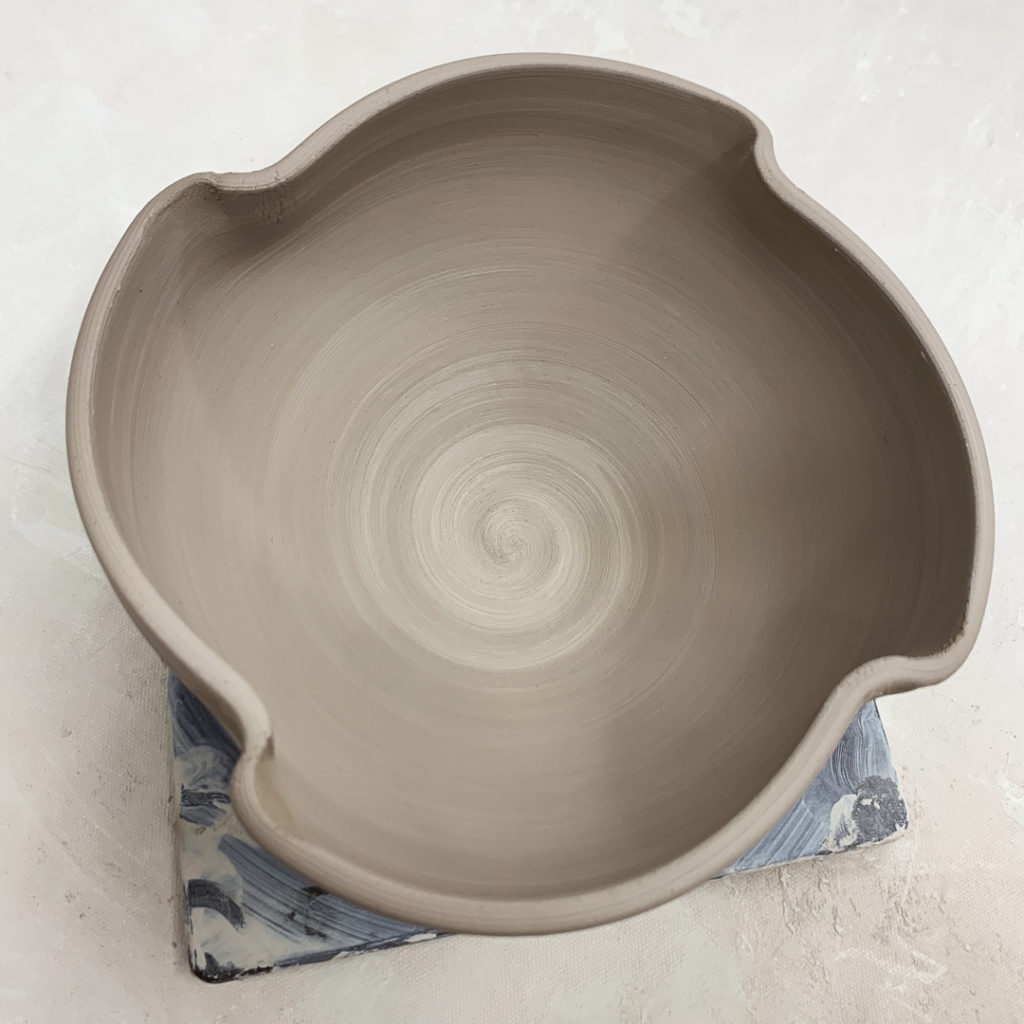
Bowl #3 – And if four fluted edges looks cute… maybe Eight Fluted Edges would look even better?!
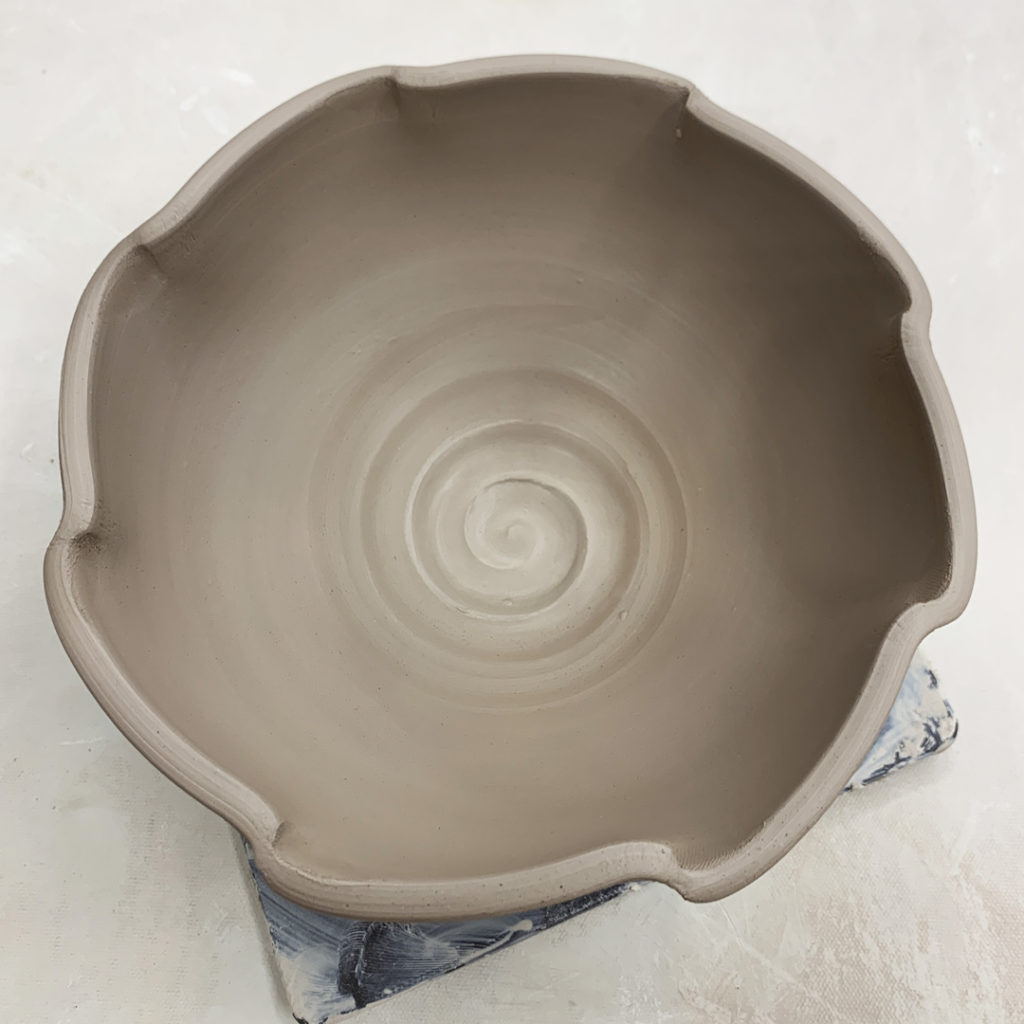
Bowl #4 – A flared-out flange…just a smidge over a inch wide. Just bent out over a steady finger on the outside of the bowl at the grooved area.
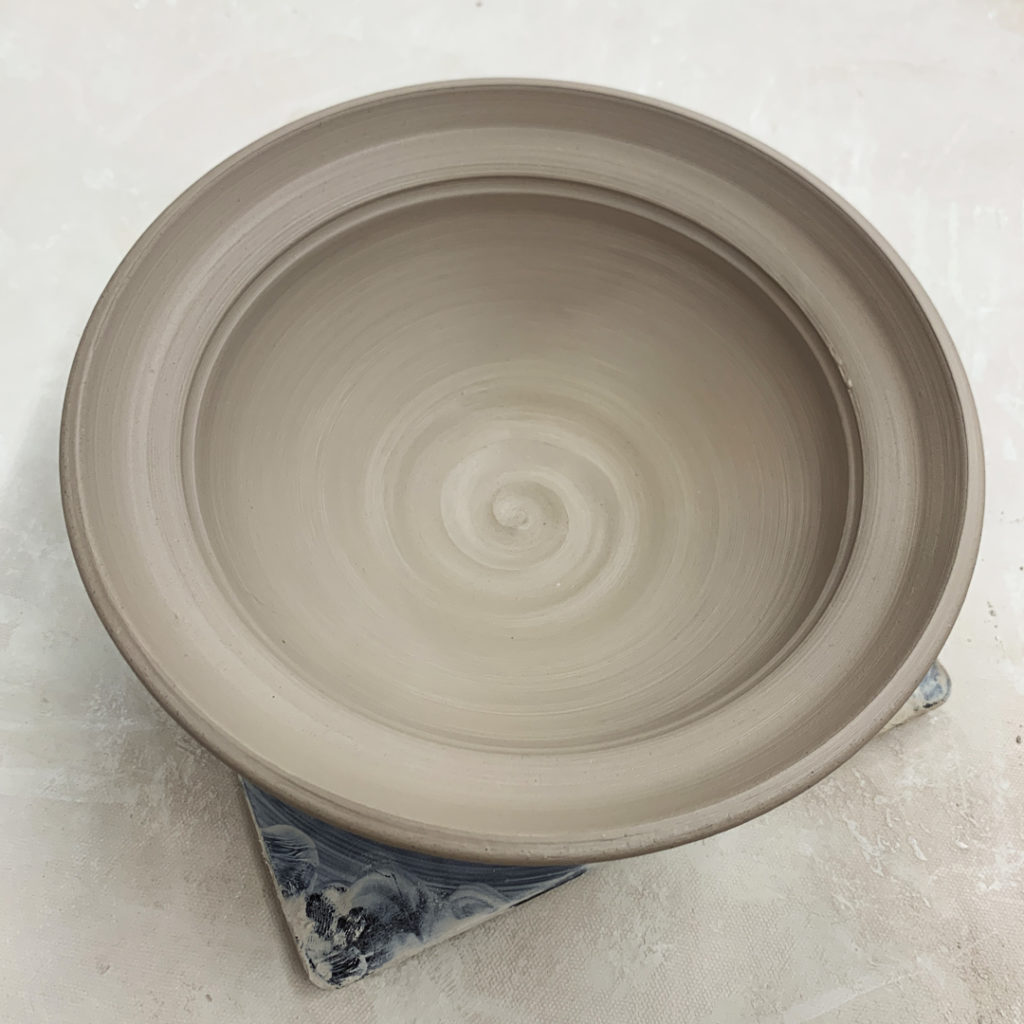
Bowl #5 – And if a thin flange is nice, maybe a much wider flange would be cooler… kinda like those restaurants when you get this hug impressive bowls with a small scoop of ice cream in the bottom for $50!!!
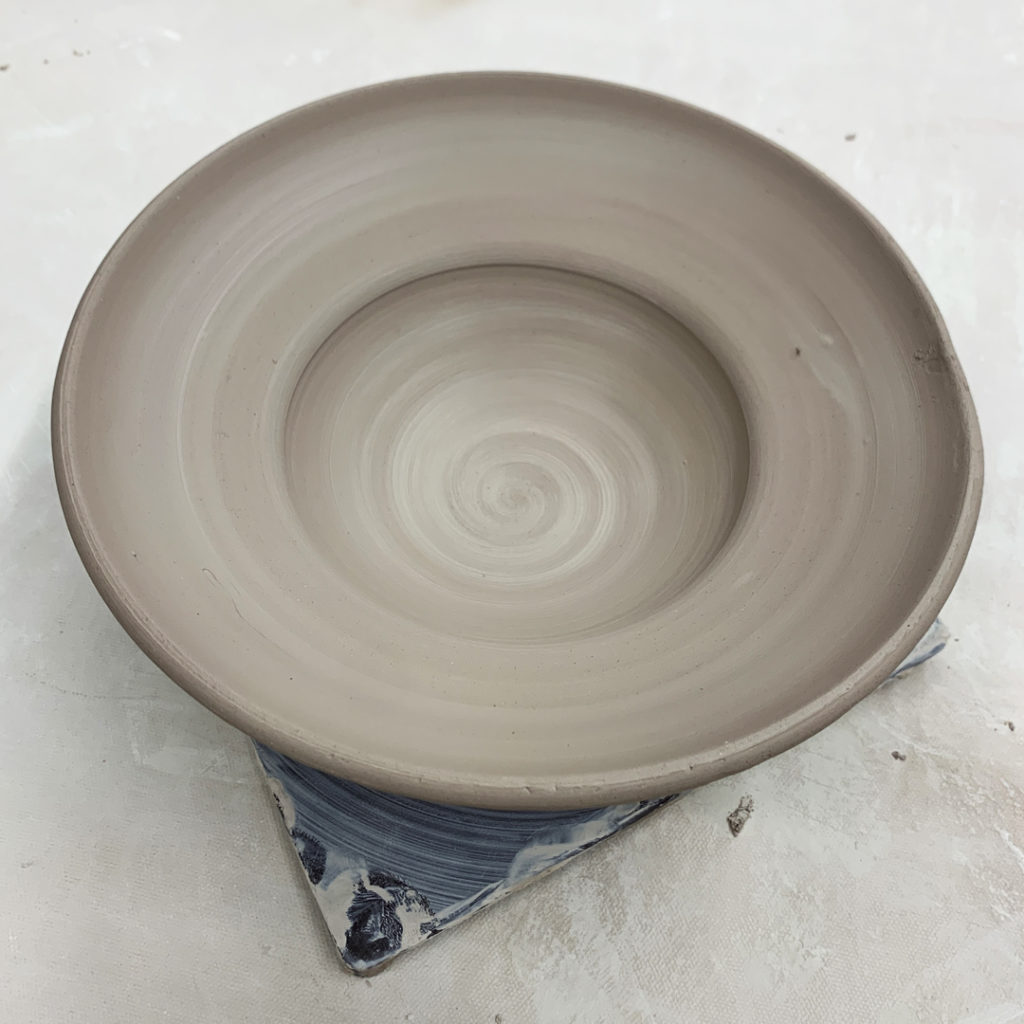
Bowl #6 – The we combined the techniques… a thin flared flange, with four fluted twists.
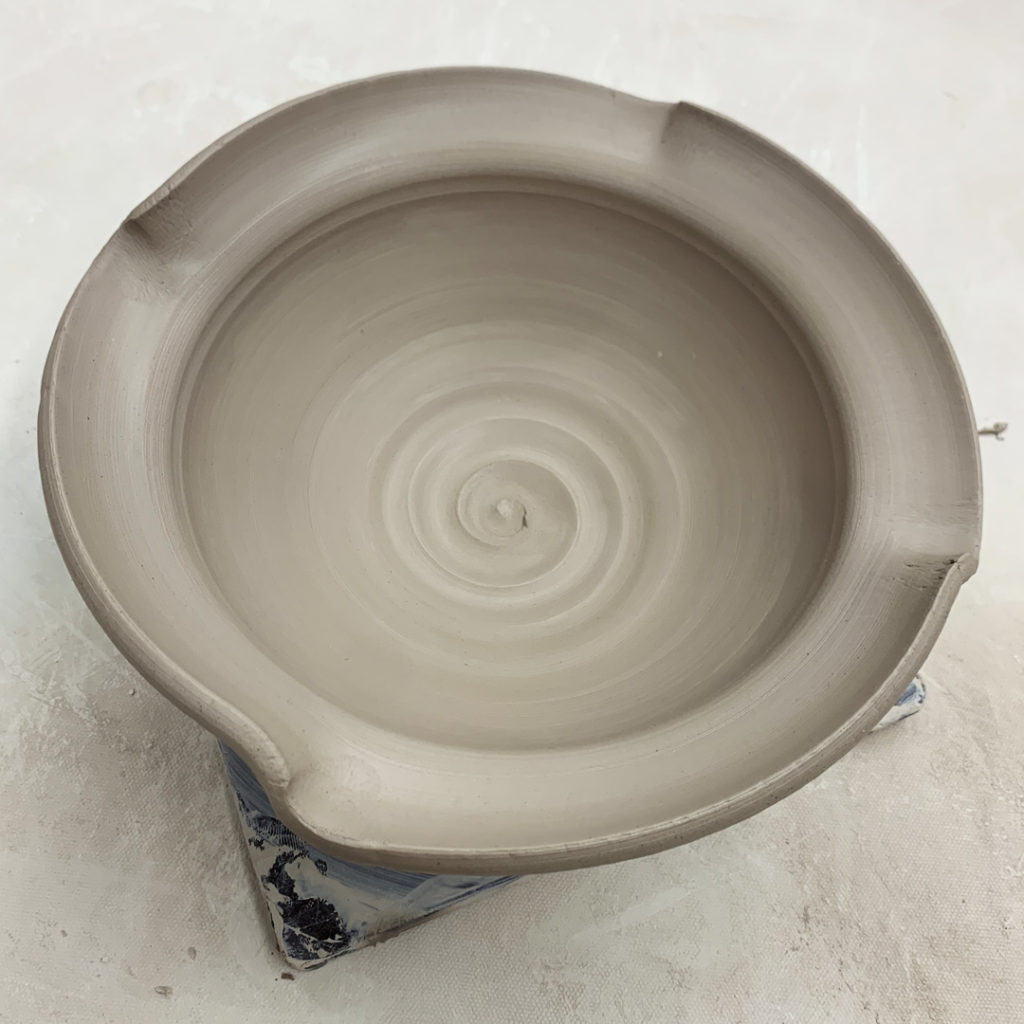
Bowl #7 – A simple “denting in” with the side of my wood knife… showing that a round bowl does NOT need to stay round!
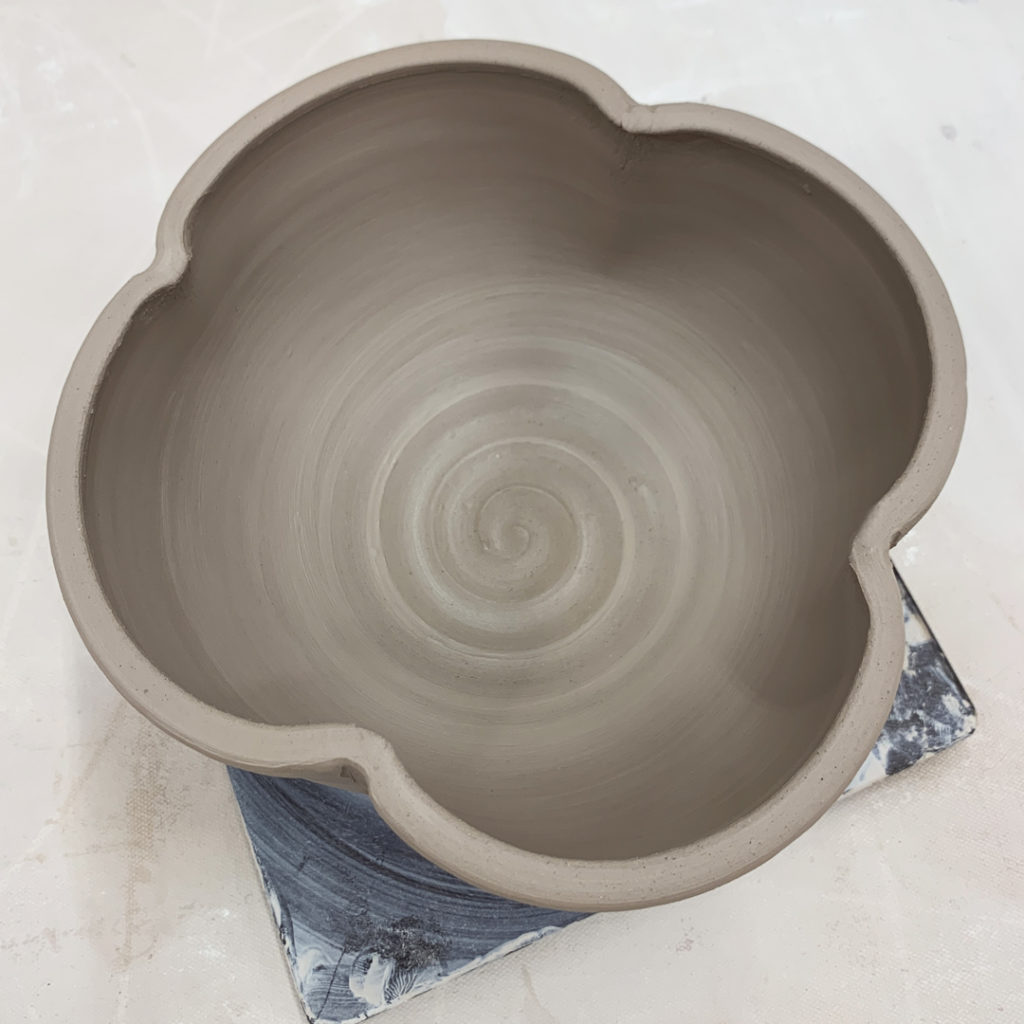
Bowl #8 – The we started splitting the rim… using the pointed end of my wooden knife. After splitting the rim, I pinched it back together in eight places.
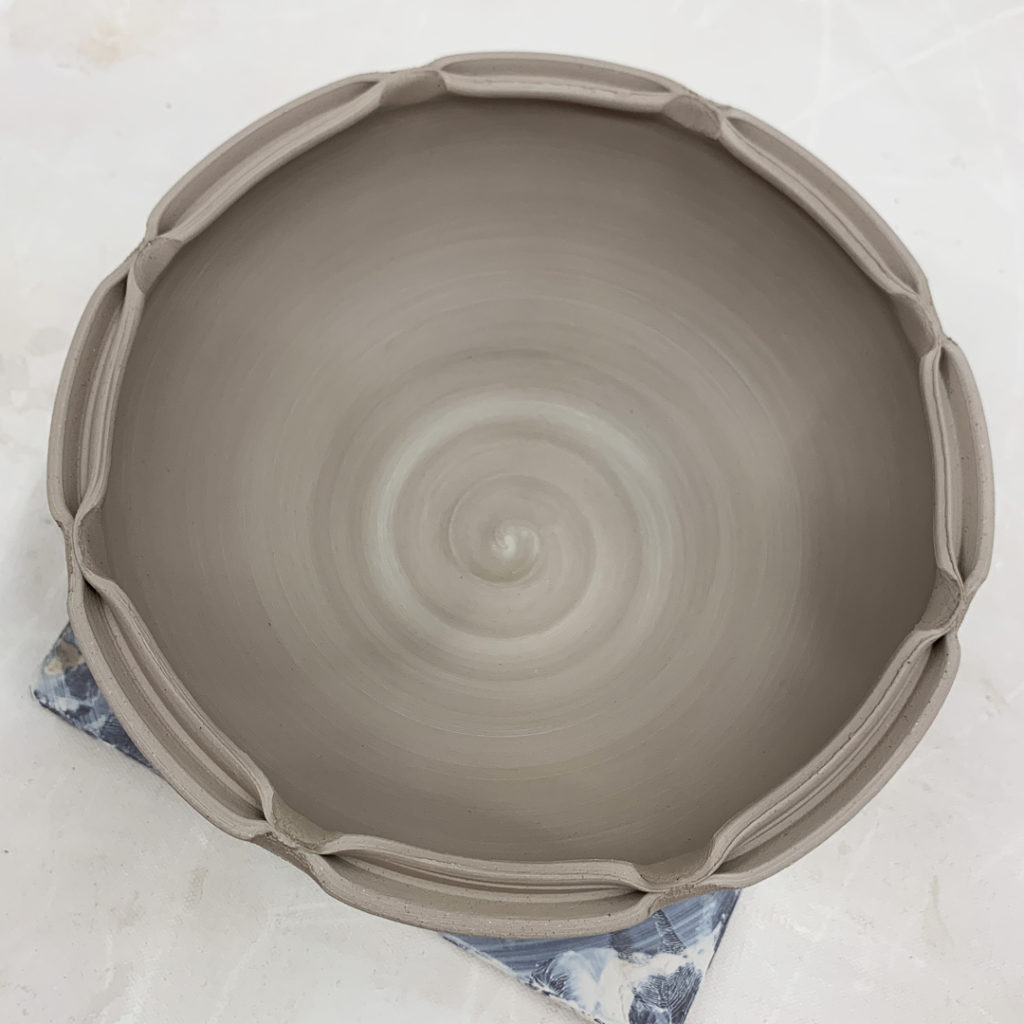
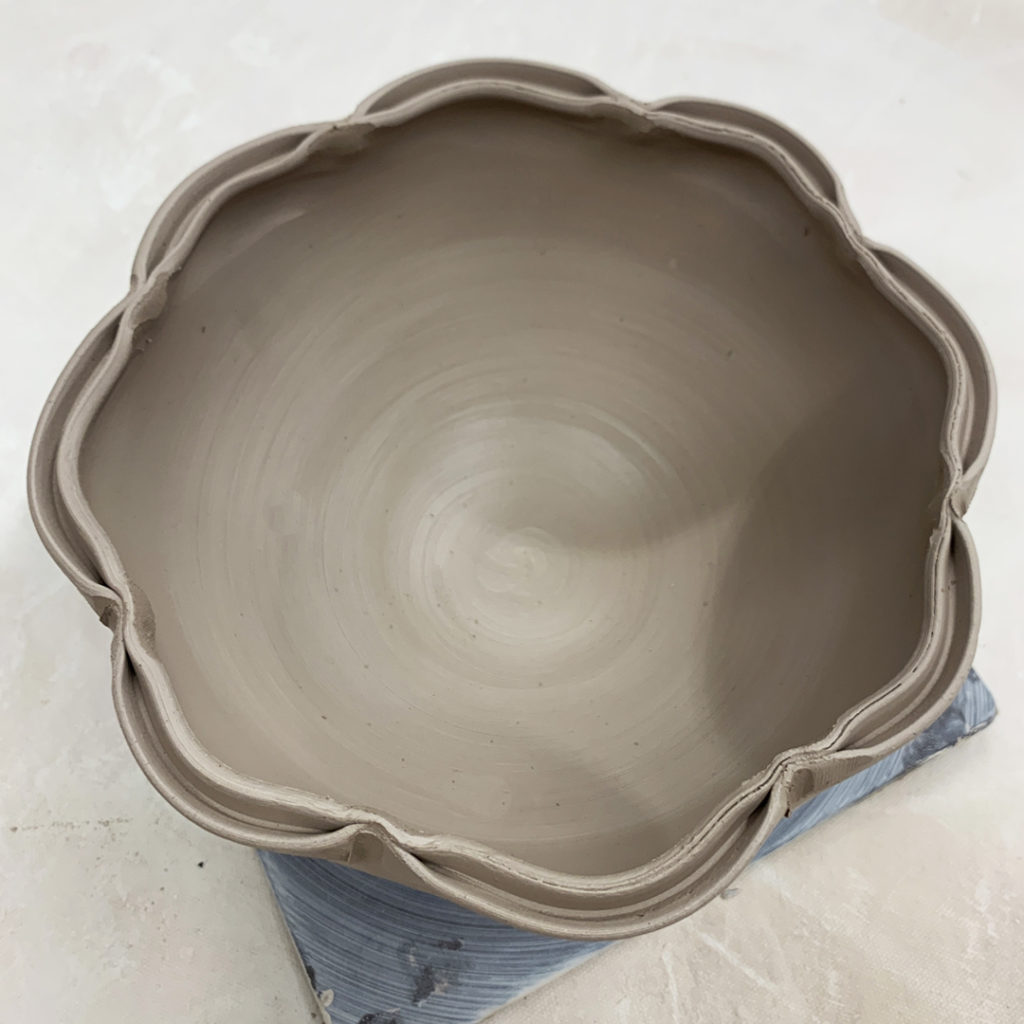
Bowl #9 – Another split rim, but this time with eight fluted edges to give the rim little undulating waves pattern.
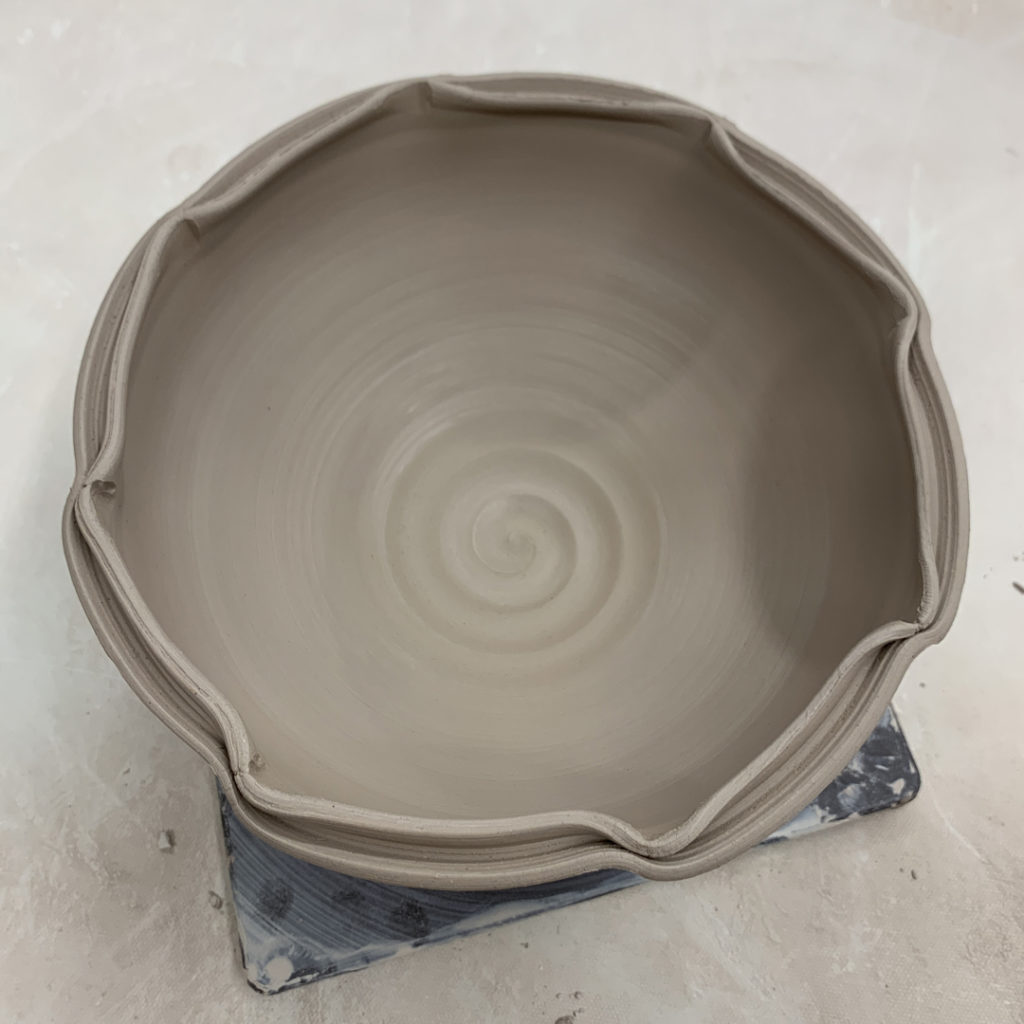
Bowl #10 – Split rim but then dented in at four places with the side of my wooden knife, and then dented out in four other places… kinda creating a little bit of a squares “lotus” feeling!
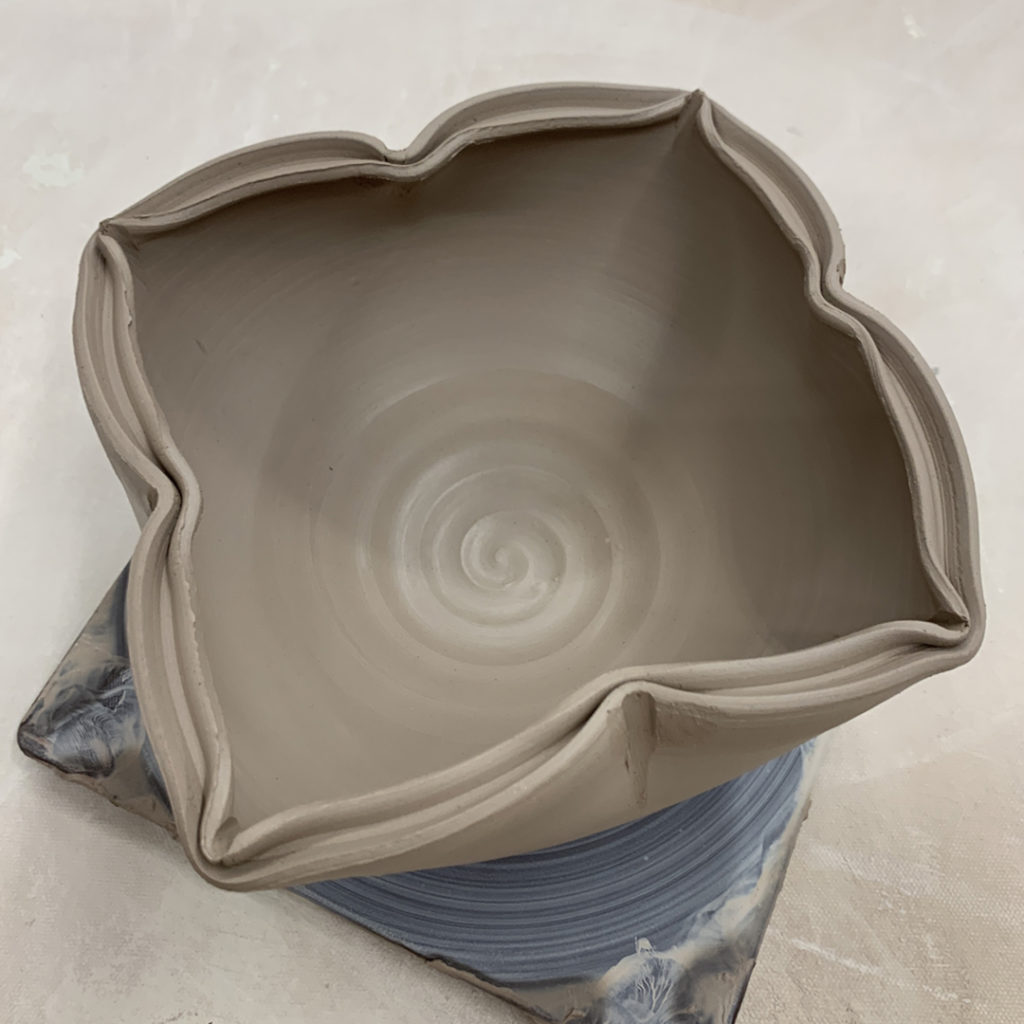
Bowl #11 – Another split rim pinched together, but then “bulged” outwards bit between the pinched areas.
After altering the rims of the first half, we moved on to using colored decorative slip as a surface decoration technique. I tried to encourage them to “play” more with their clay… and to decorate their pieces more… colored slip being just one simply technique.
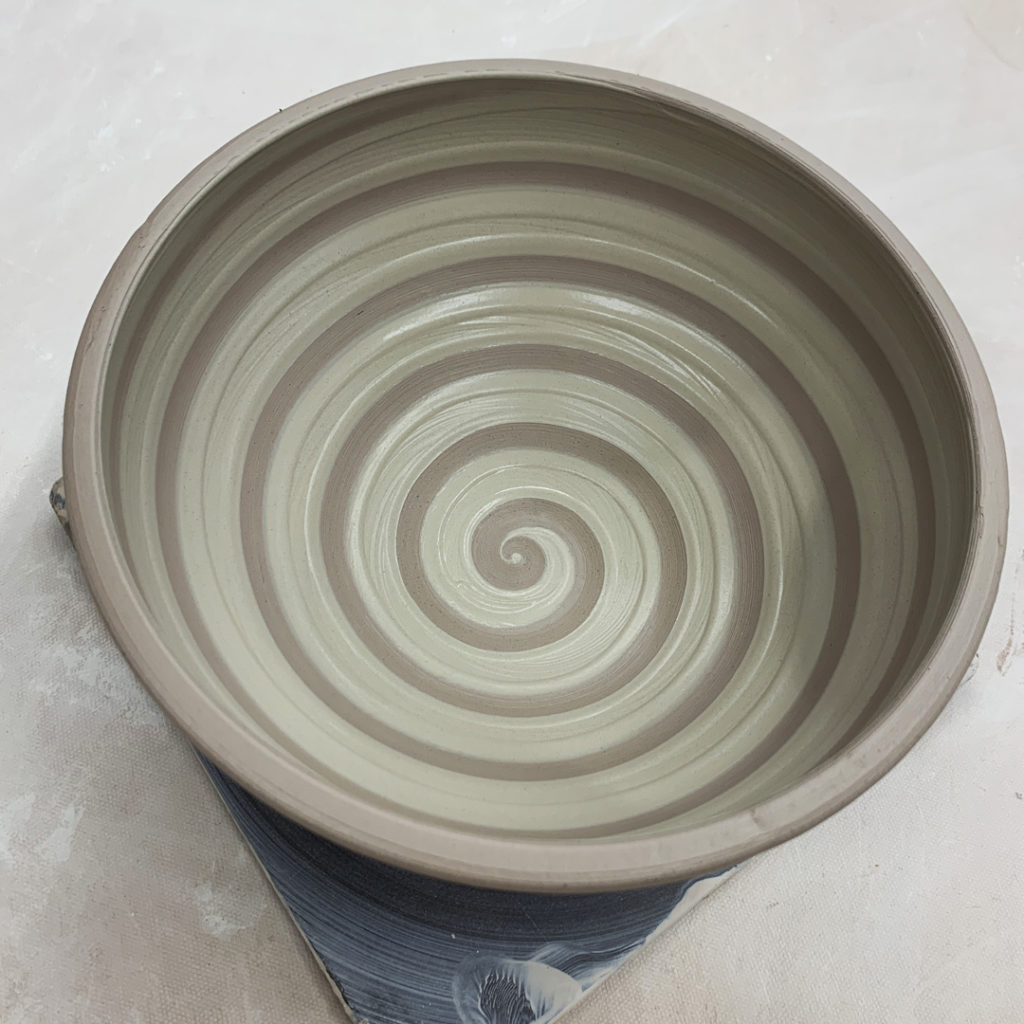
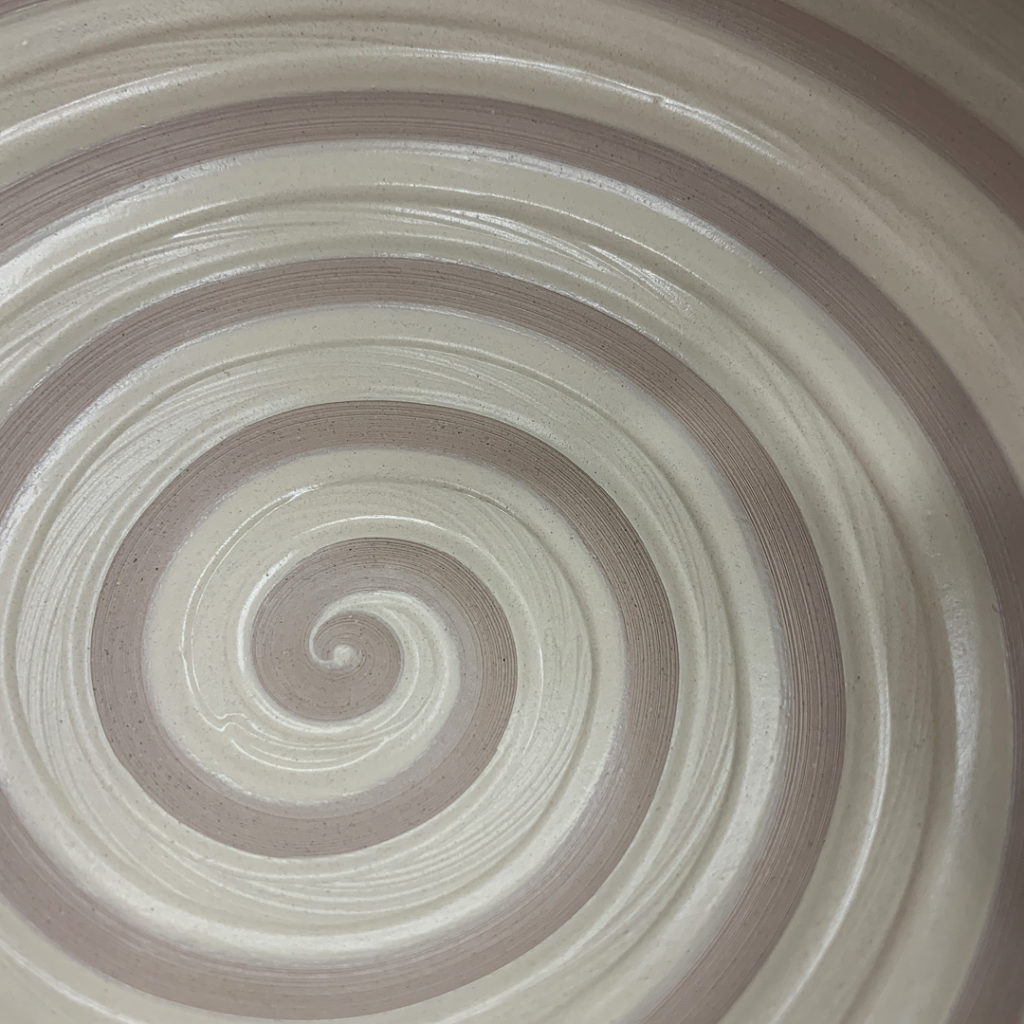
Bowl #12 – I covered the interior with a solid layer of white slip. And then dragged the rounded end of my wooden knife through the slip to reveal this spiral as the wheel was spinning.
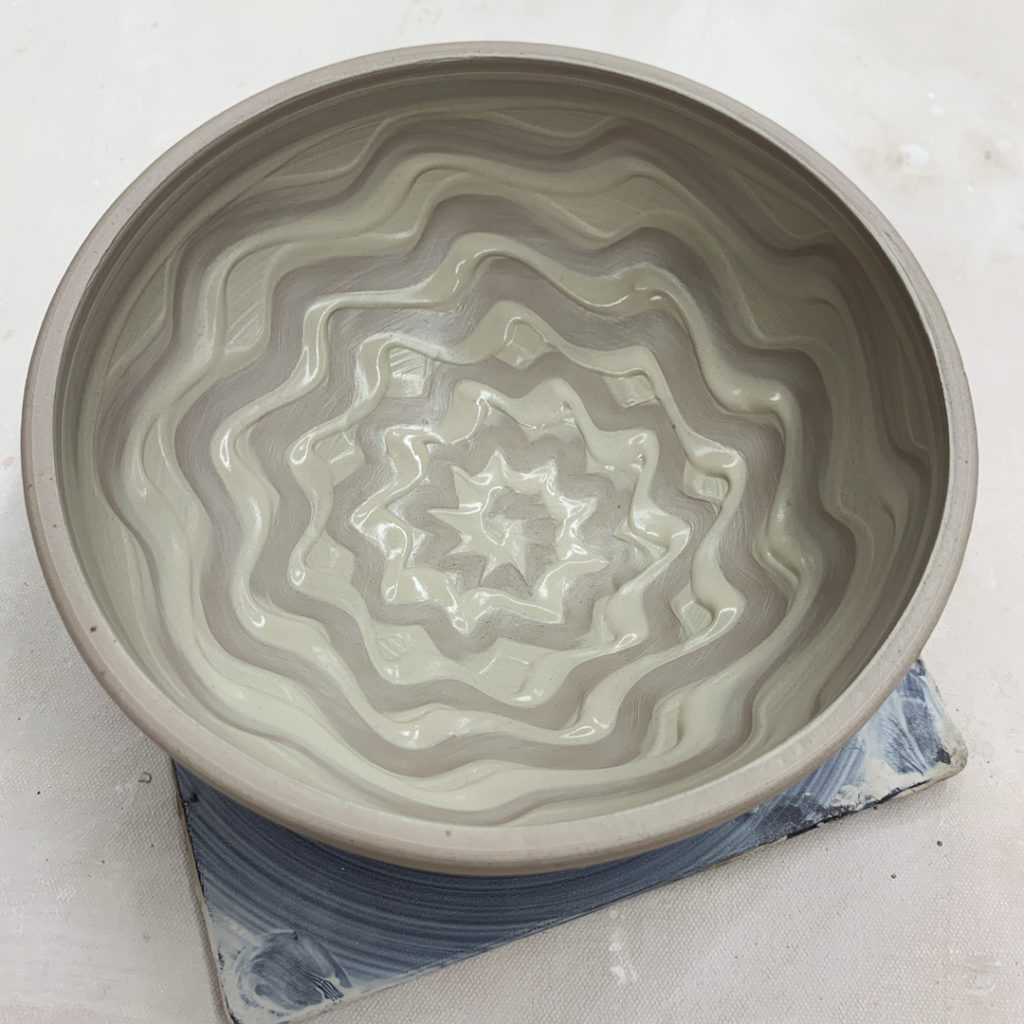
Bowl #13 – Another full layer of white slip.. . and then we did a bit of “finger painting” with a simple squiggle of my index finger through the slip as the bowl was rotating.
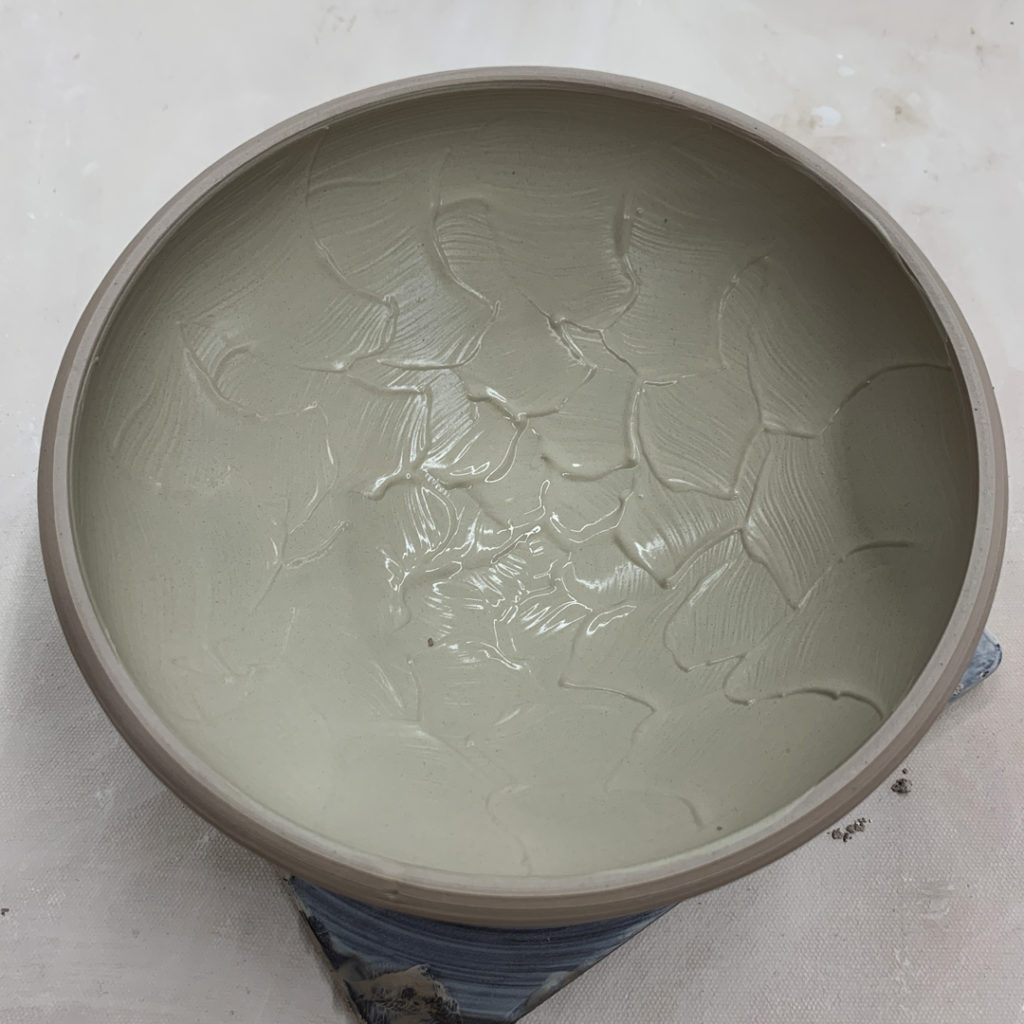
Bowl #14 – While adding the layer of white slip… I started just “plopping” the slip on with a wide paintbrush. And we were all kinda enamored with the random texture that it was creating. So we left it! Might be a tad too subtle for my liking… but…
Bowl #15 – After adding another layer of thick white slip, I did a bit of chattering… rhythmic tapping…. with a rounded plastic rib. Tapping the edge of the rib through the clay to reveal the darker clay body. The speeds with which you tap & spin the wheel both affect the pattern that shows up.
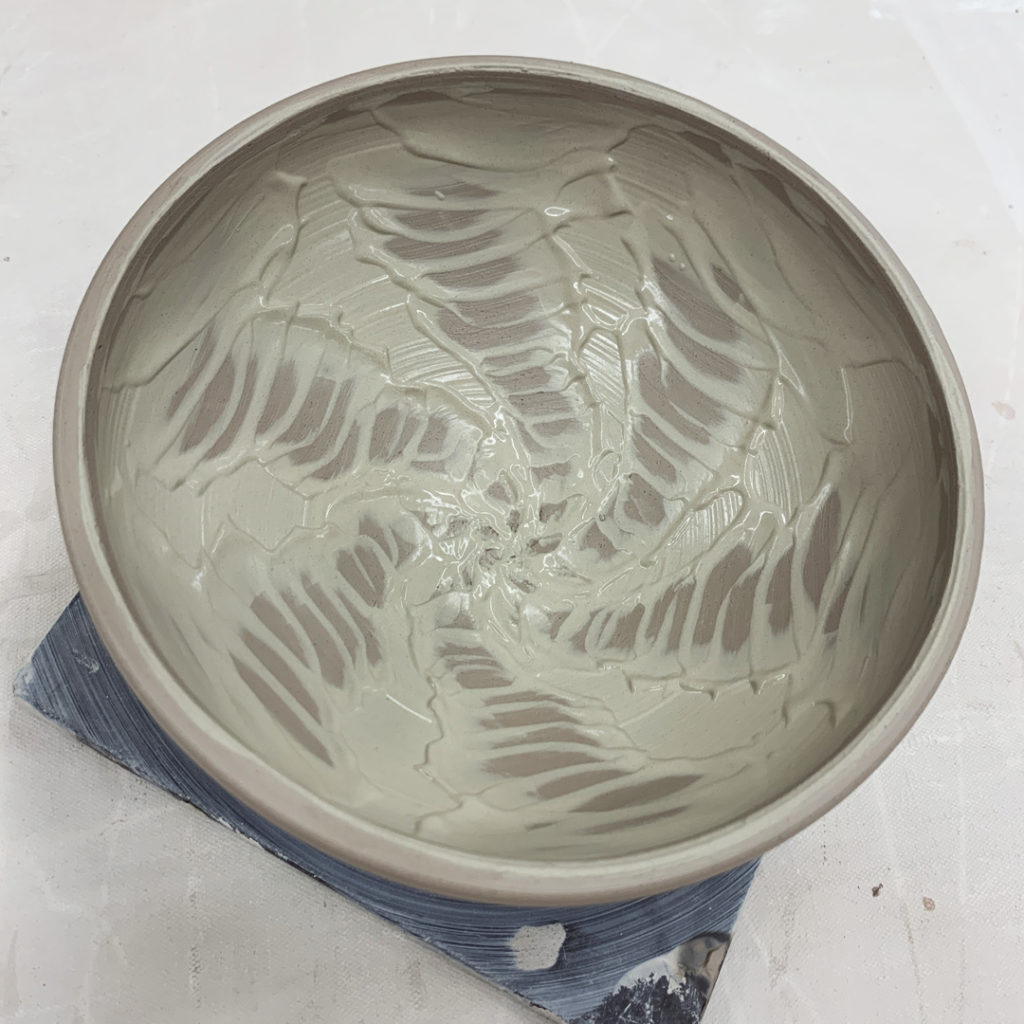
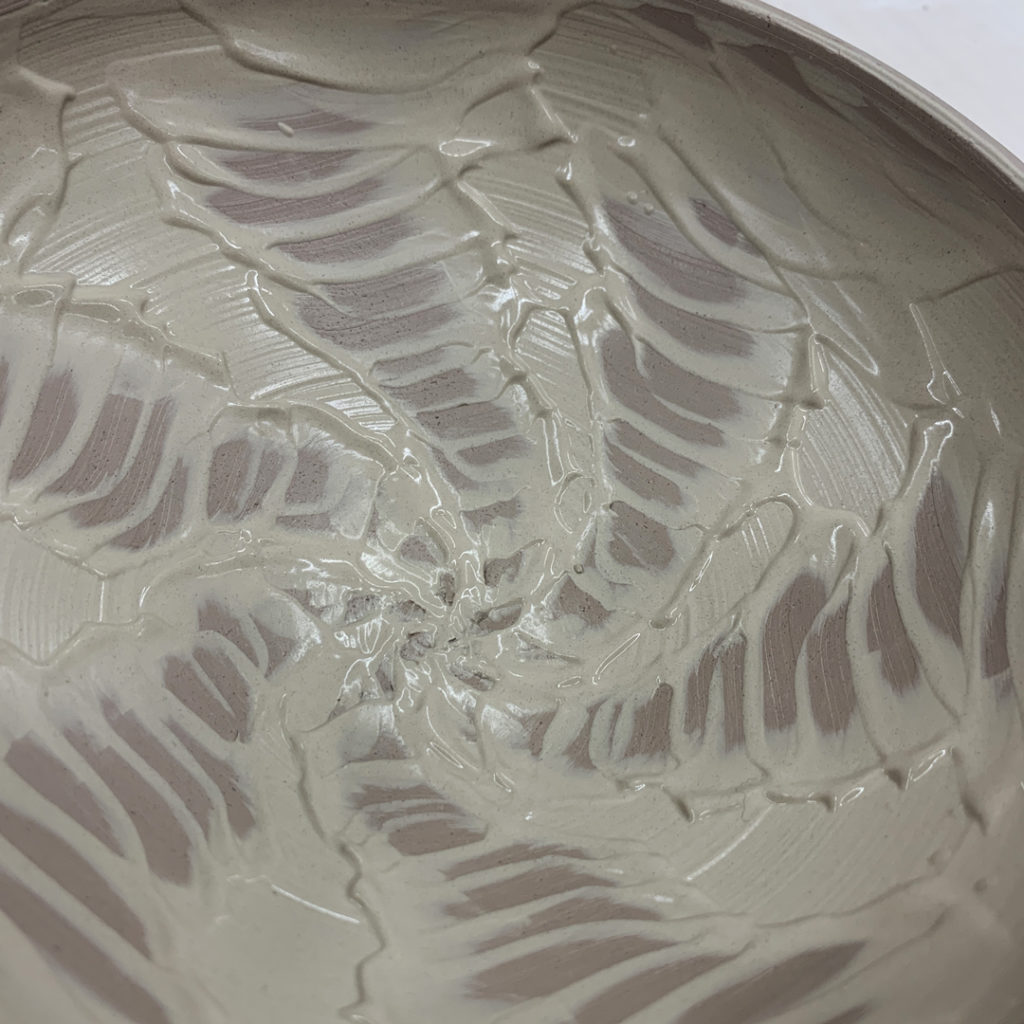
Bowl #16 – Thick white slip with the rounded edge of a plastic rib dragged through it upwards to create these lines. A little “clean-up” in the center… and it was all good.
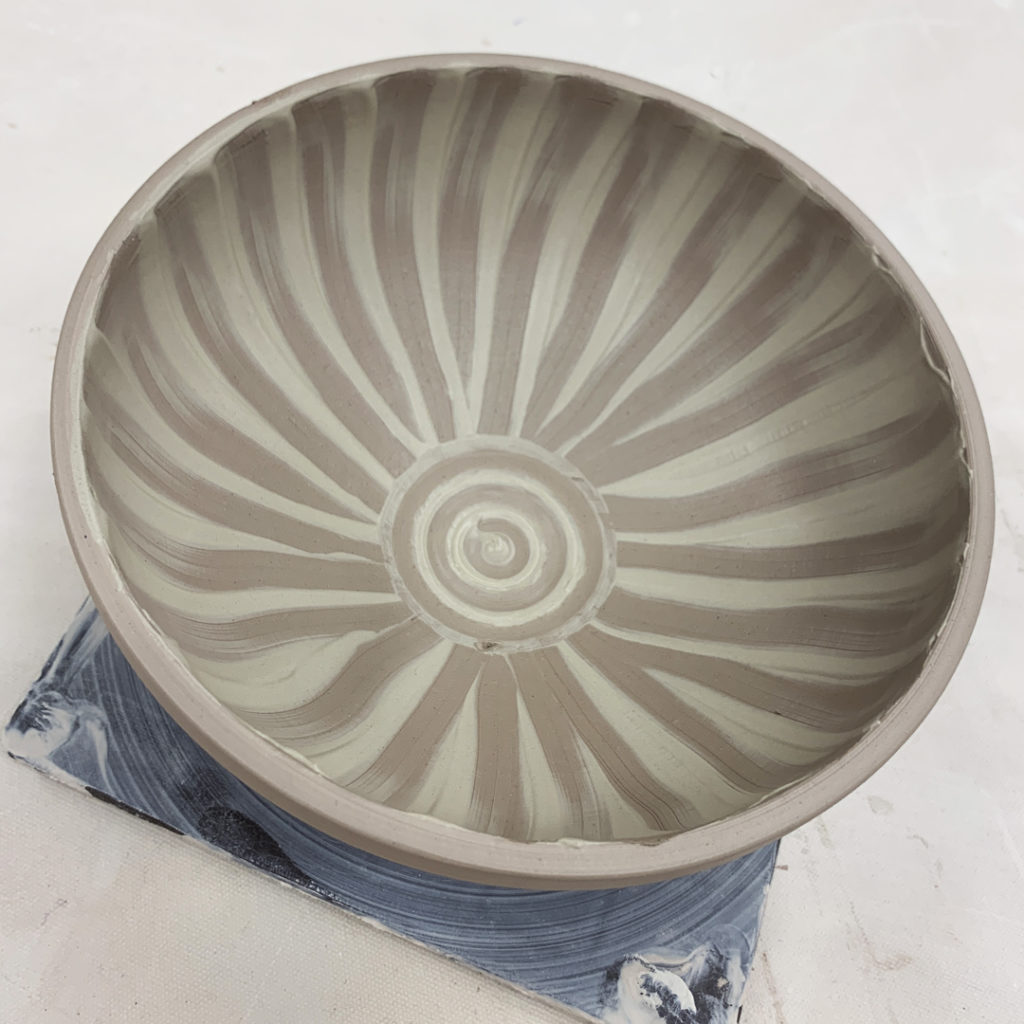
Bowl #17 – After using a lot of white slip, we then talked about mixing & blending… so we did a simple ombre’ blend of black & white slips. We left it smooth & plain… however… I kinda feel like I might do some decorative carving through the slip after it dries to leatherhard.
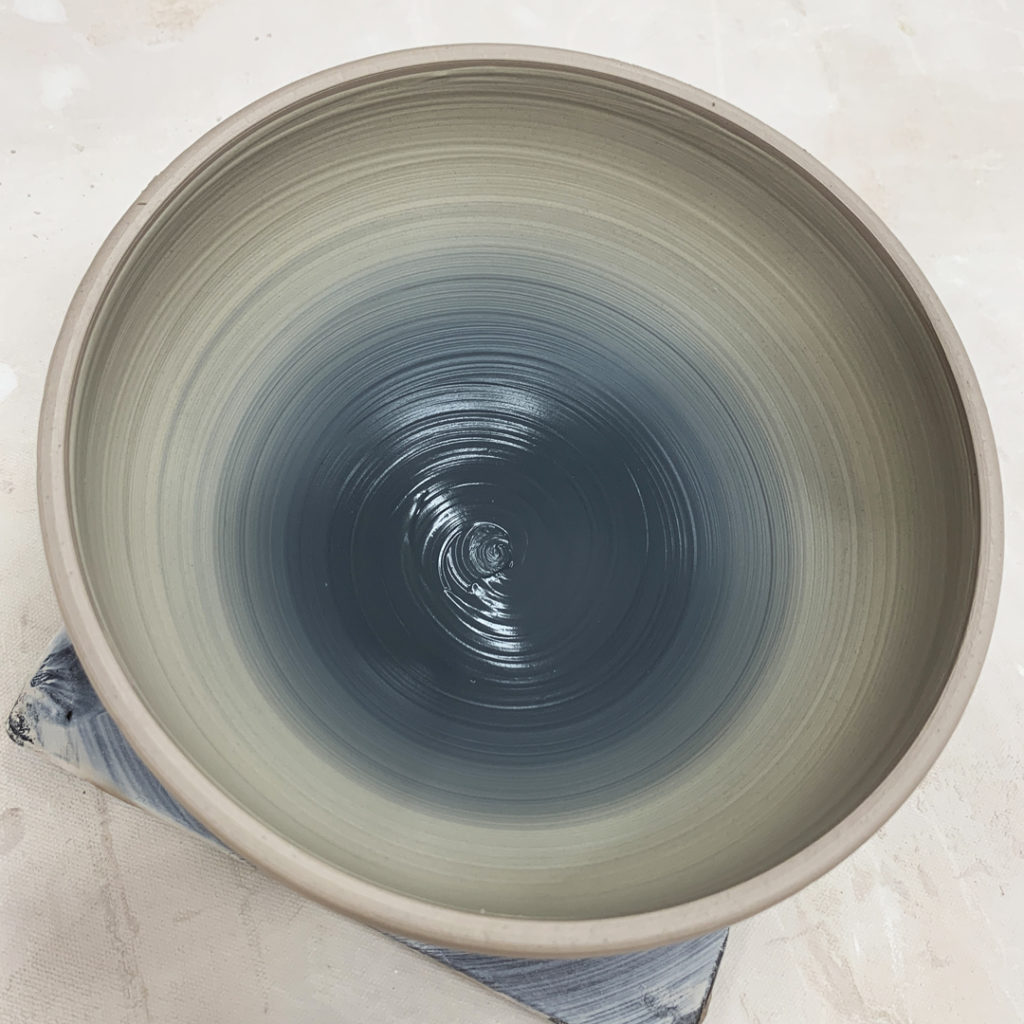
Bowl #18 – For MY last demo bowl, we did another ombre’ blend… and then dragged a tool through it to create a spiral… cuz’ everyone LOVES a good spiral!!!

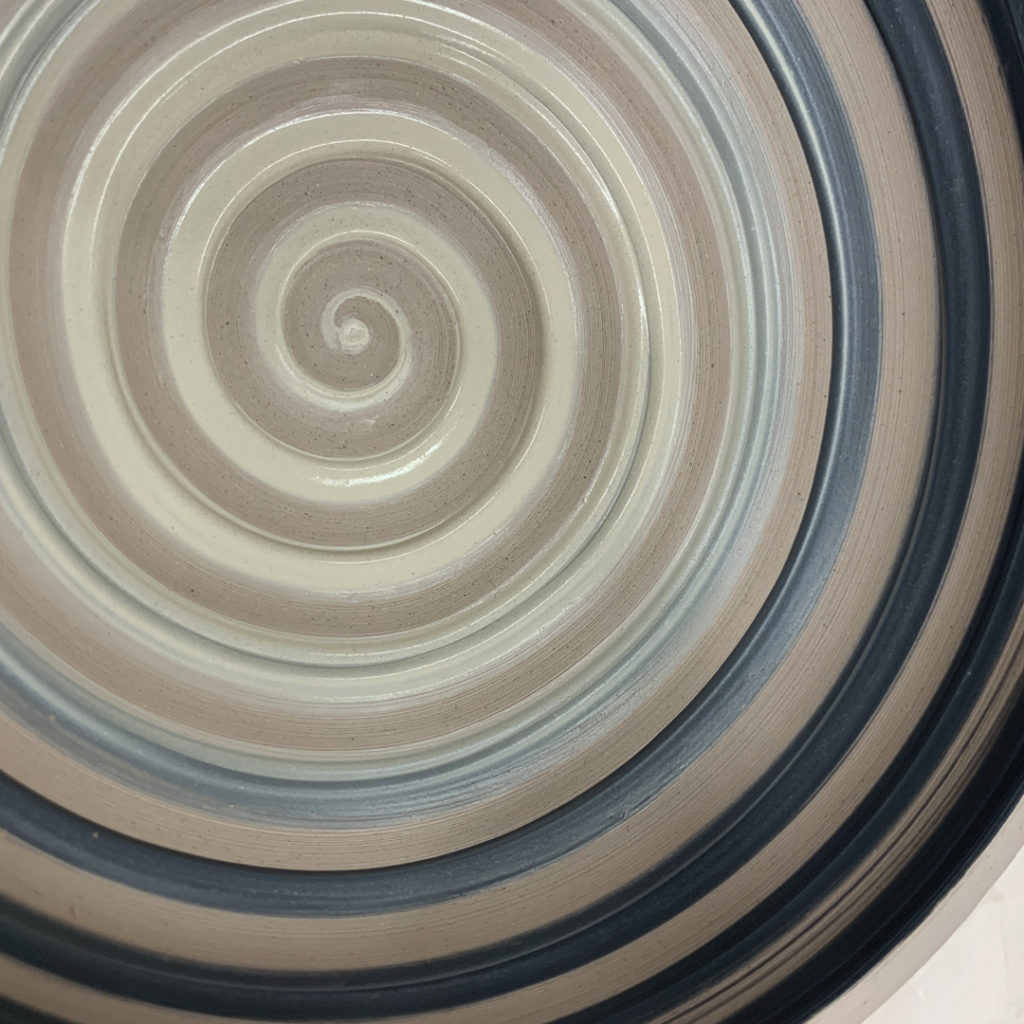
And then the tides turned…
I had one last bowl to decorate, and a classroom full of eager students. So I flipped the game… and told one of them that that THEY had to decorate the final bowl!!!
Bowl #19 – I gave my last bowl to Priya to decorate… and she kinda panicked at first with too many options & too many people watching!!! But then she did a simple layer of black slip over the interior… and made a very fine & tight spiral drag through it. We all LOVED it… well done Priya. And now she gets to keep & finish that bowl too!!!
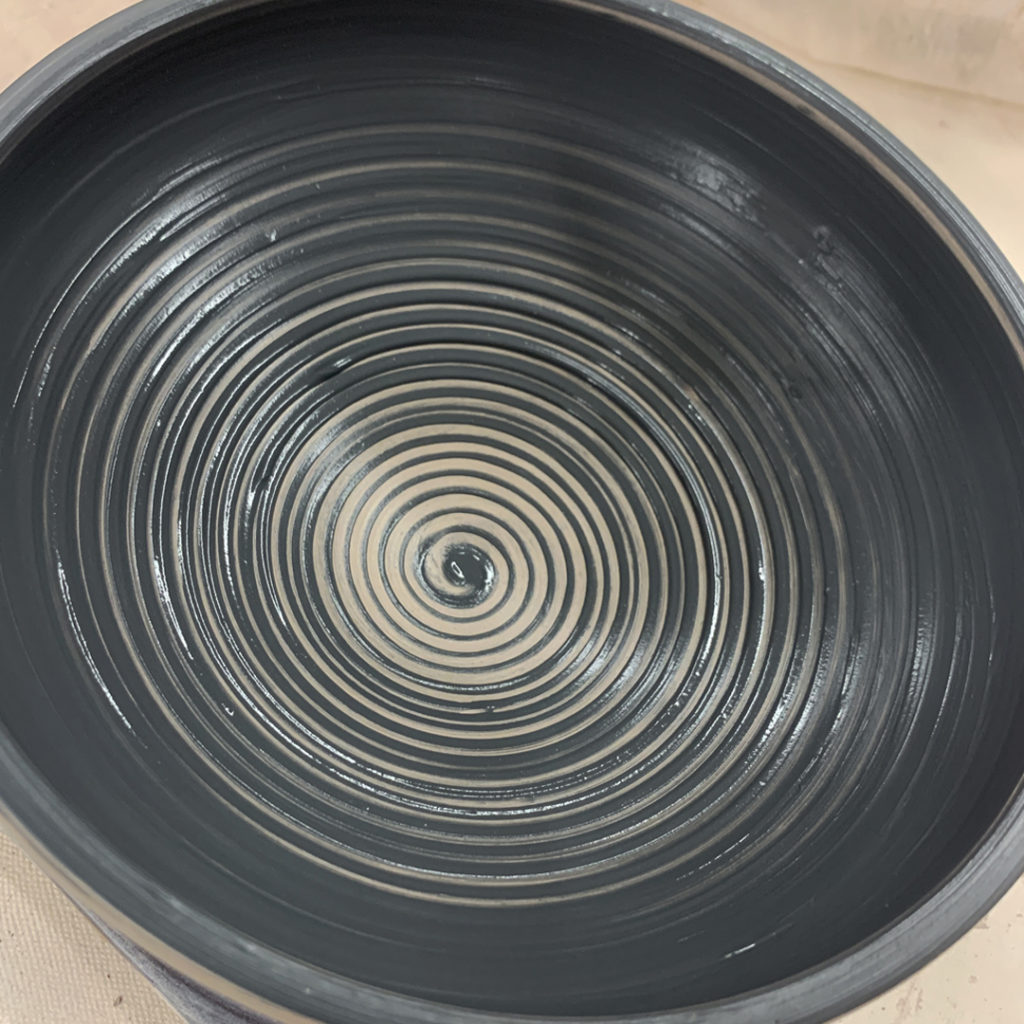
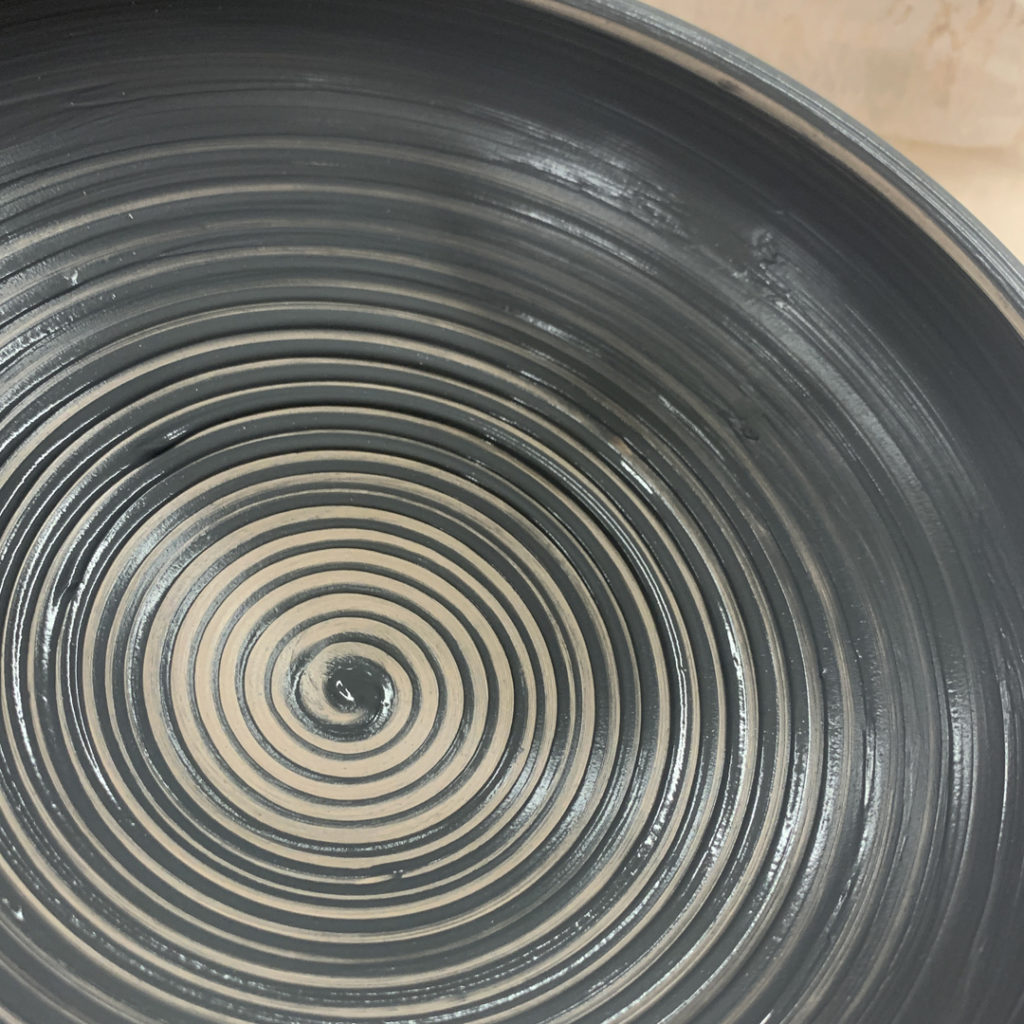
So there they are, all of my class demo bowls!!!
Remember, they all started out very much the same… simple & round. But after “playing” with some fun surface decoration techniques… they all look different now! And for now they are all in my studio… and there’s a “very food chance” that there “might” be a bit more stamping & detailing on these before I call them done. MORE IS MORE!!!

Hoping to crank out one last batch of hybrid mugs… quick, quick, quick!!!
Fingers crossed that I can get them done in time for next weekend’s soda kiln?!!!
|
Gary Jackson: Fire When Ready Pottery
Lillstreet Studios ∙ 4401 North Ravenswood, Chicago, Illinois 60640 ∙ 773-307-8664 gary@firewhenreadypottery.com |