Gary Jackson: Fire When Ready Pottery
A Chicago potter’s somewhat slanted view of clay & play
Categories: summer camp, wheelthrowing

This week I’m teaching a Wheelthrowing Summer Camp with a bunch of teenage girls! They’re all doing a great job & have already made a LOT of pots!!! Not bad for two days of camp… for today we switch to trimming, handles & detailing… and editing their “collections” keeping only the “good” ones! And who knows… there may even be a stamp or two used tomorrow?!

Categories: bowls, production, wheelthrowing

WHEW!!!… A bunch of mini bowls thrown & ready to be covered with plastic for the night. I wouldn’t want them to dry out tonight while I teach my class.

Categories: process, production, wheelthrowing

Just a quick morning of wheelthrowing… but it’s FAR too nice outside to work in the studio all day. So… wrapping them up because my bike is calling me again… gotta go play outside!!!

Categories: bowls, classes, wheelthrowing

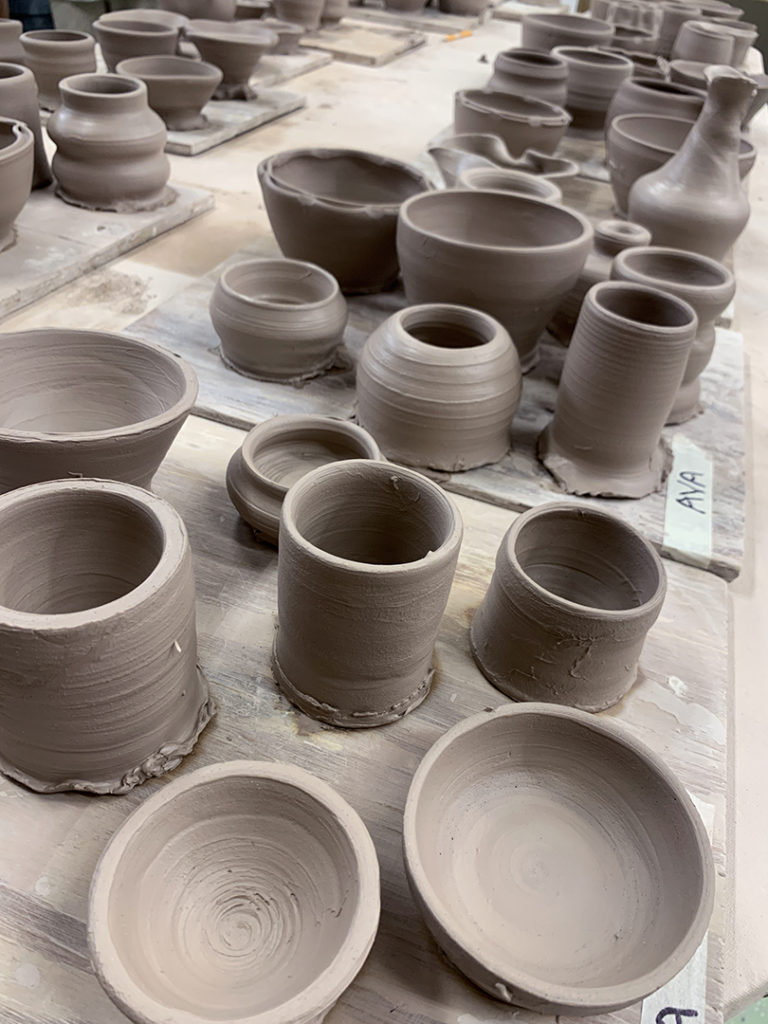
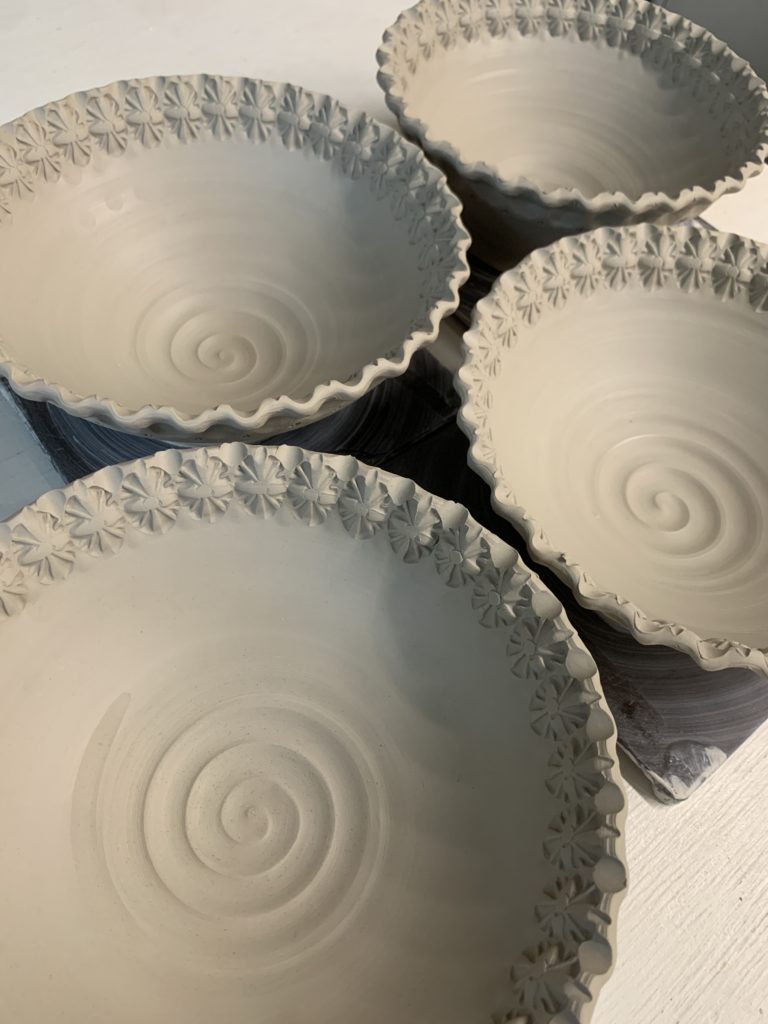
Last week in my Beginning Wheel class, we talked about “making bowls on purpose instead of a cylinder gone bad.” I dd a demo and we talked about getting that perfect curve on the inside of your bowls… throwing the interior with intention and then trimming the outside to match alter.

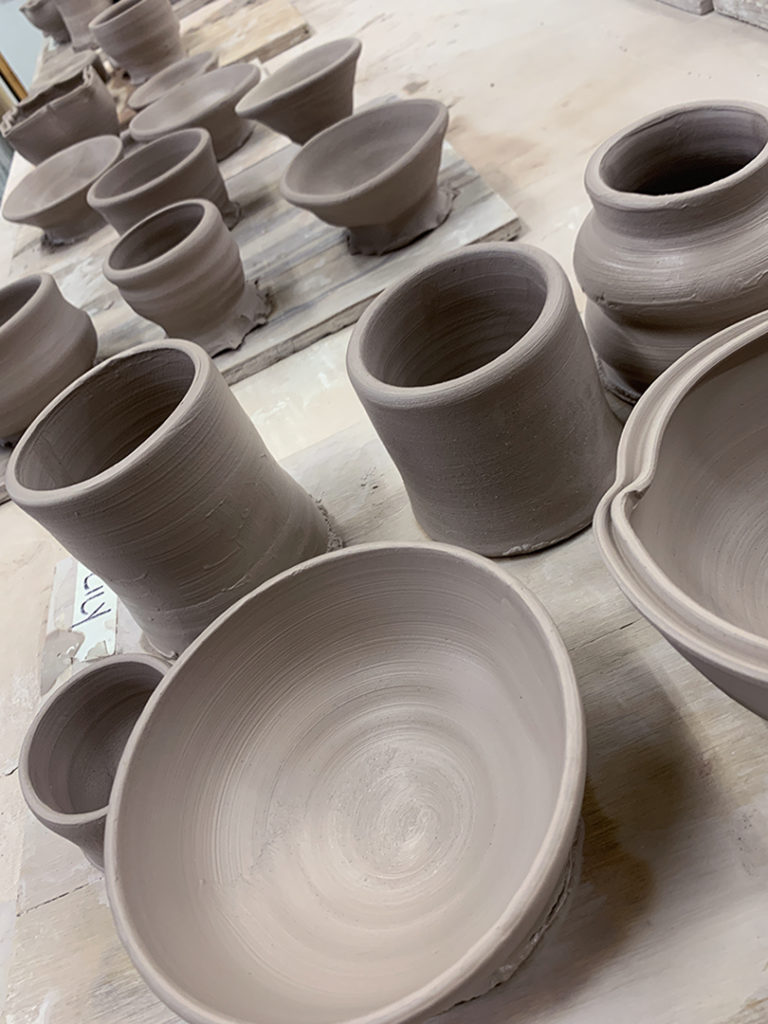
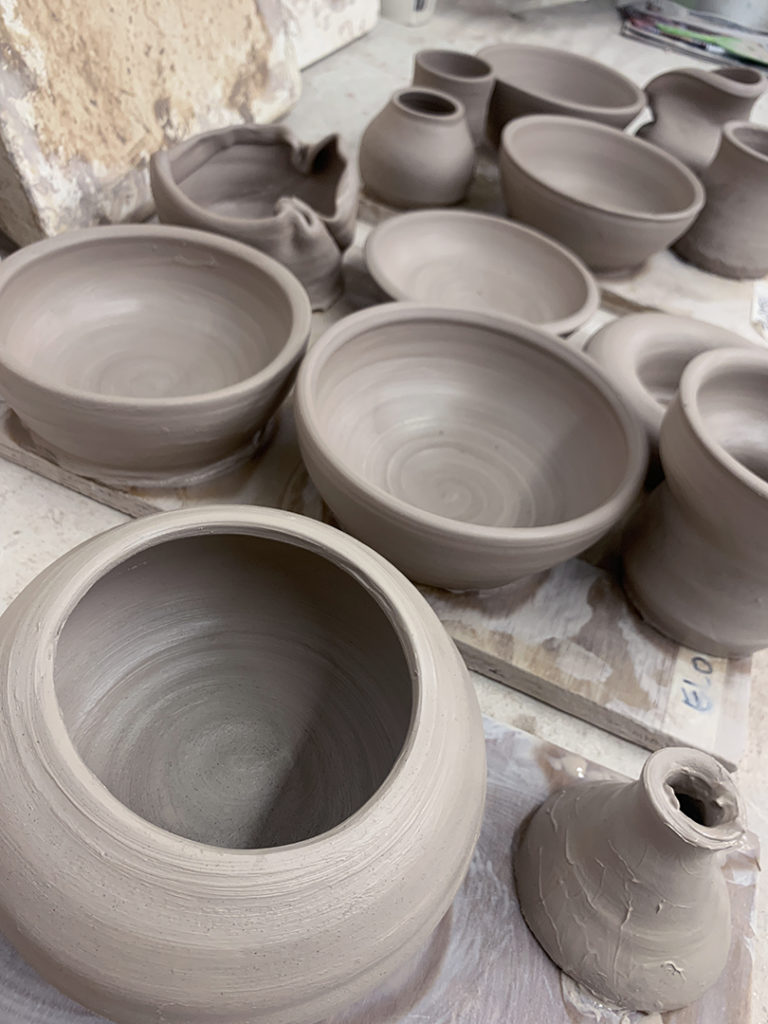
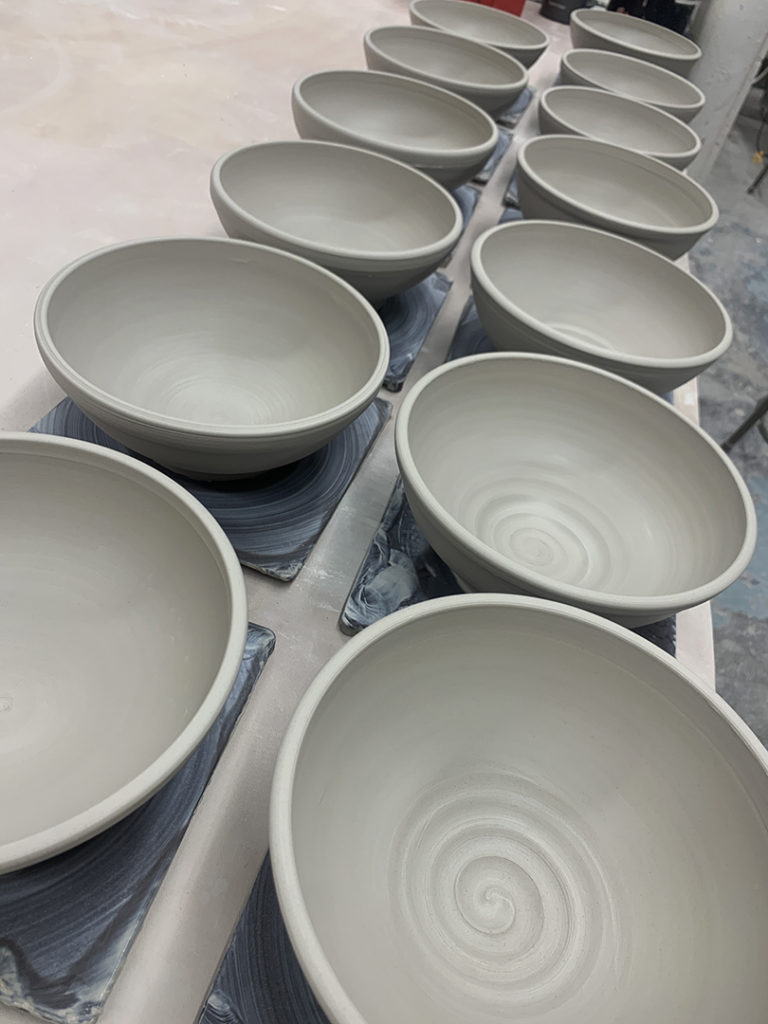
Once we had talked about the first bowl… my students then went back to their wheels to start throwing. While they were throwing, I continued to make some more bowls too. After I had made several of them, we re-grouped for another bowl demo.

This time with some tricks & tips on how to make some “not-so-basic bowls”!!! We did some quick alterations, some rim refinements & even some colored slip applications. No one ever said that bowls need to be round, right?!

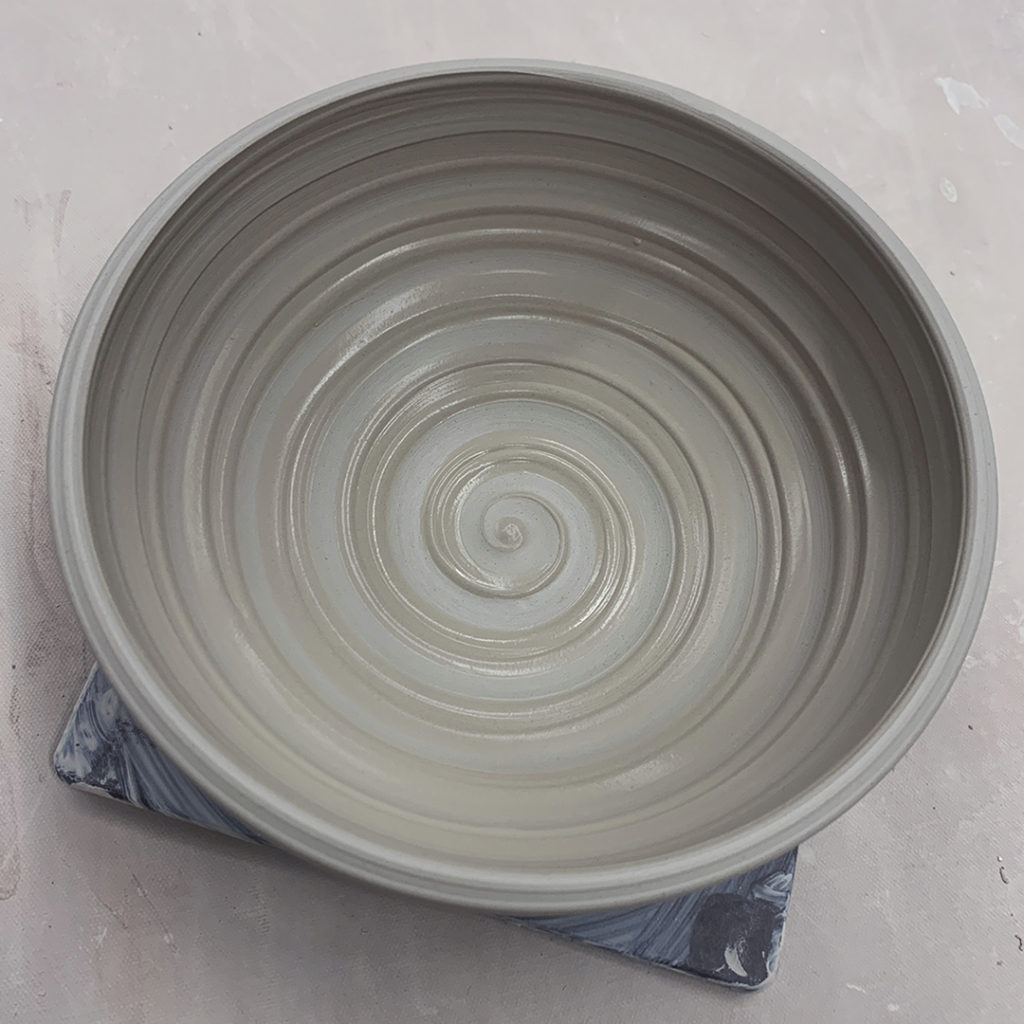
Bowl #1 – This was the original “prototype”… where all of the bowls began!!!

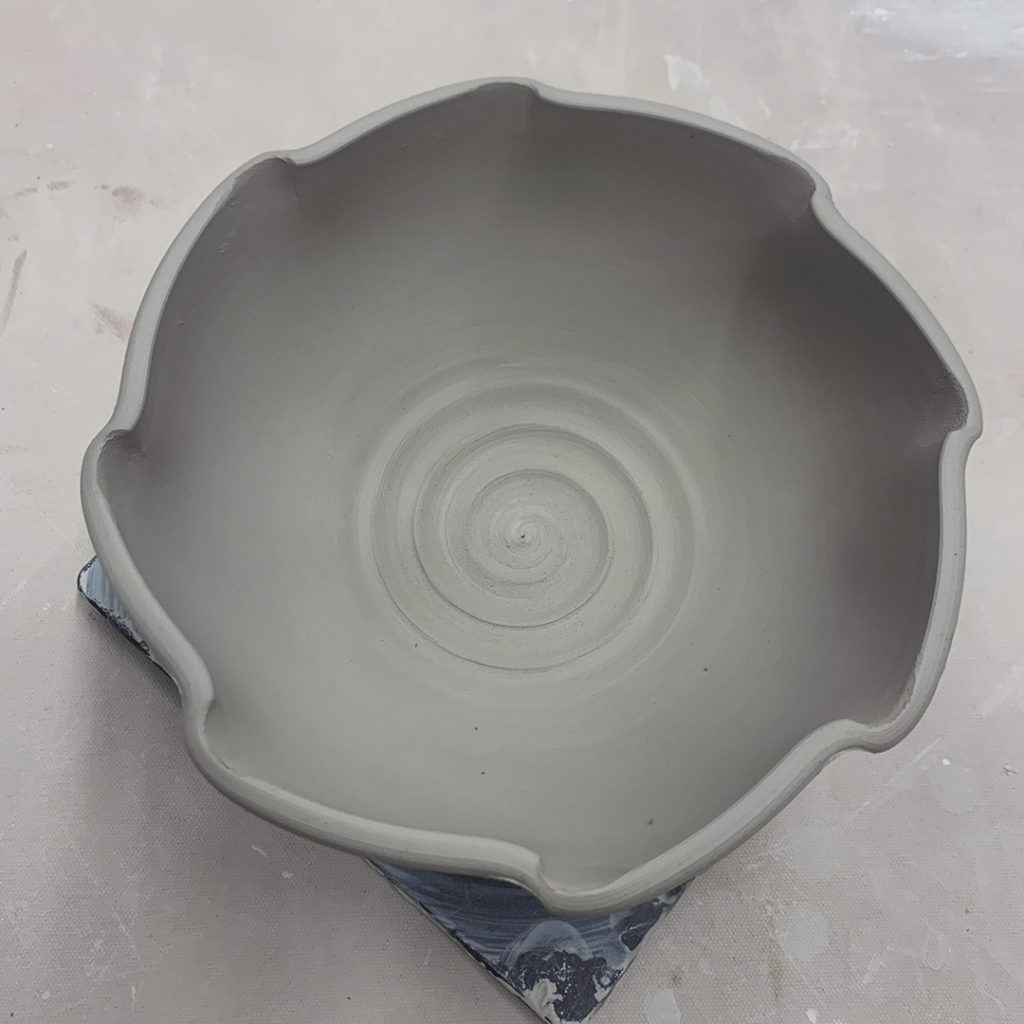
Bowl #2 – Two simple fluted twists.

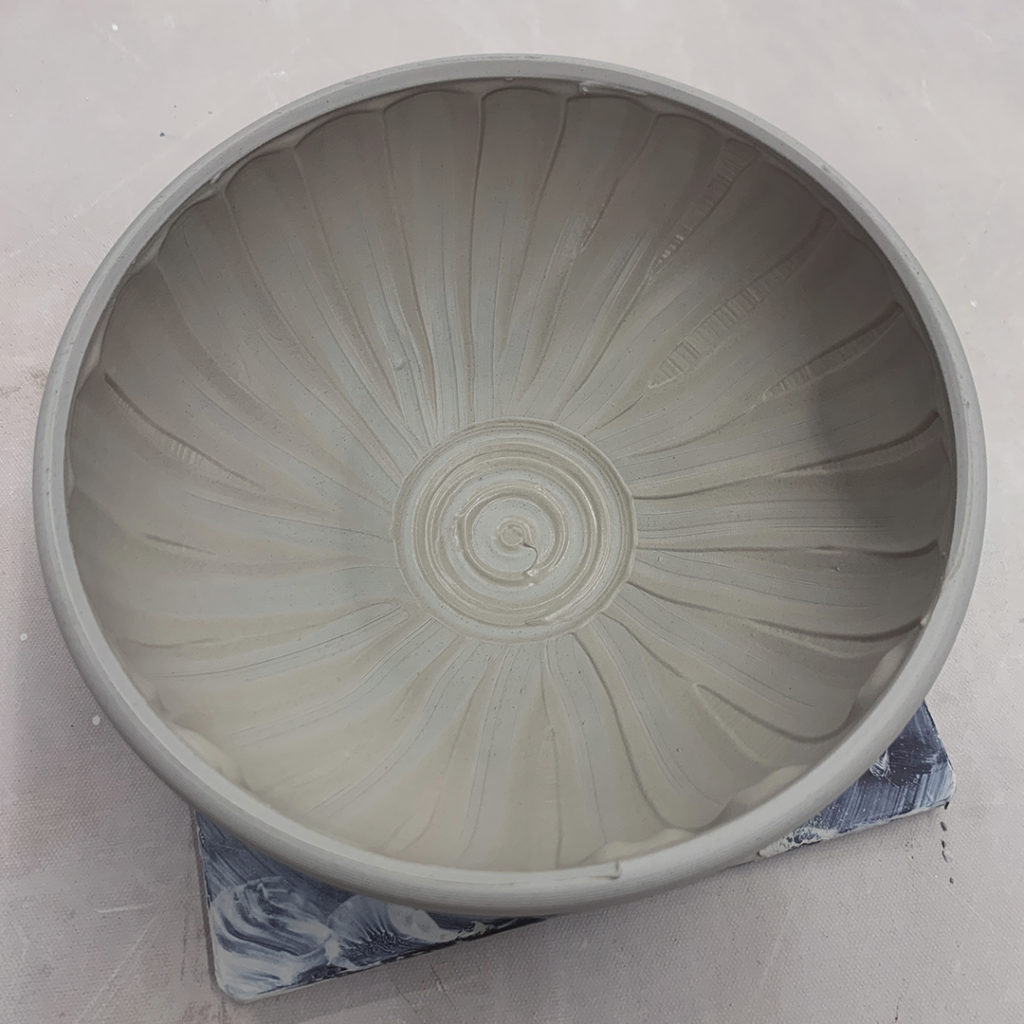
Bowl #3 – And if two are good, eight flutes might be better!

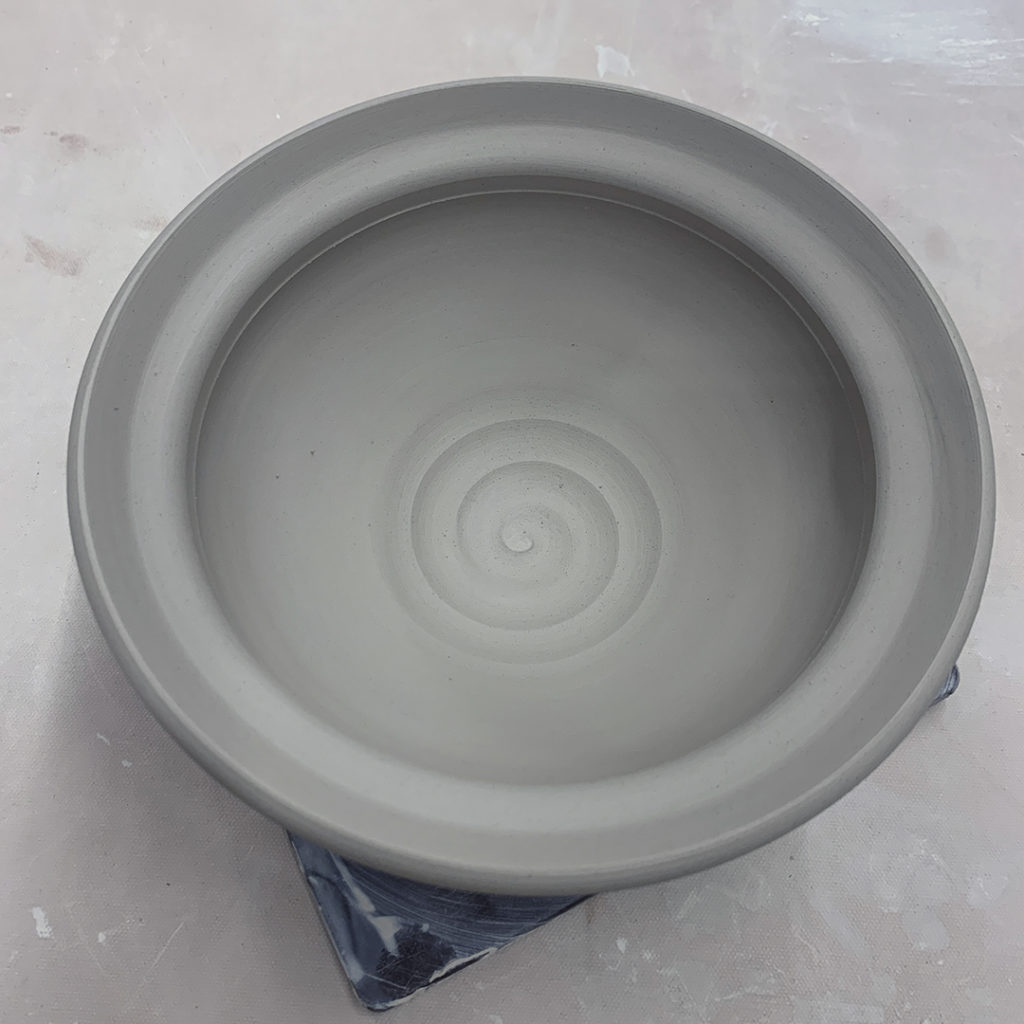
Bowl #4 – A thin flare flange.

Bowl #5 – A wider flared flange.

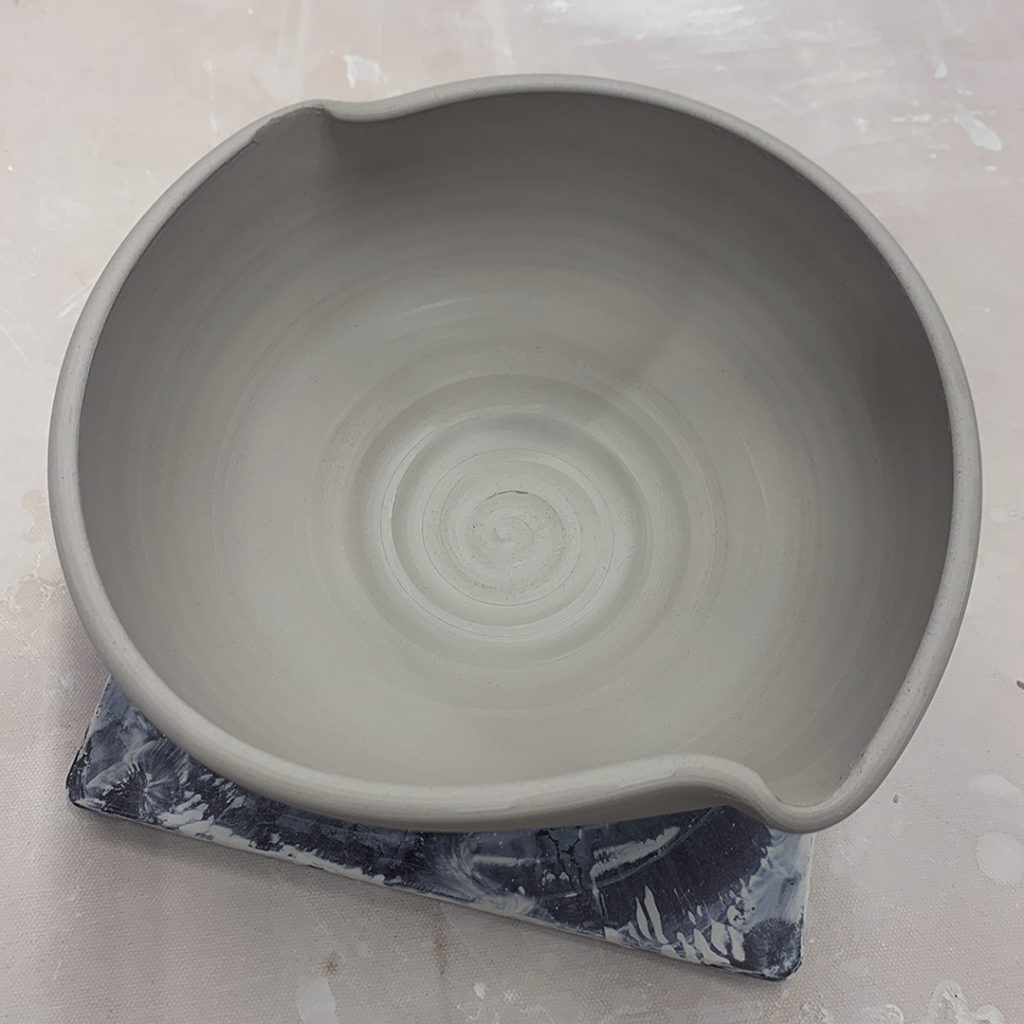
Bowl #6 – A split rim with eight places pinched back together.

Bowl #7 – Another split rim with four areas dented inwards.

Bowl #8 – Another split rim with four areas dented inwards, and another four dented outwards… kind of a “lotus” pattern. Can you tell I’m kinda infatuated with the while split rim process?

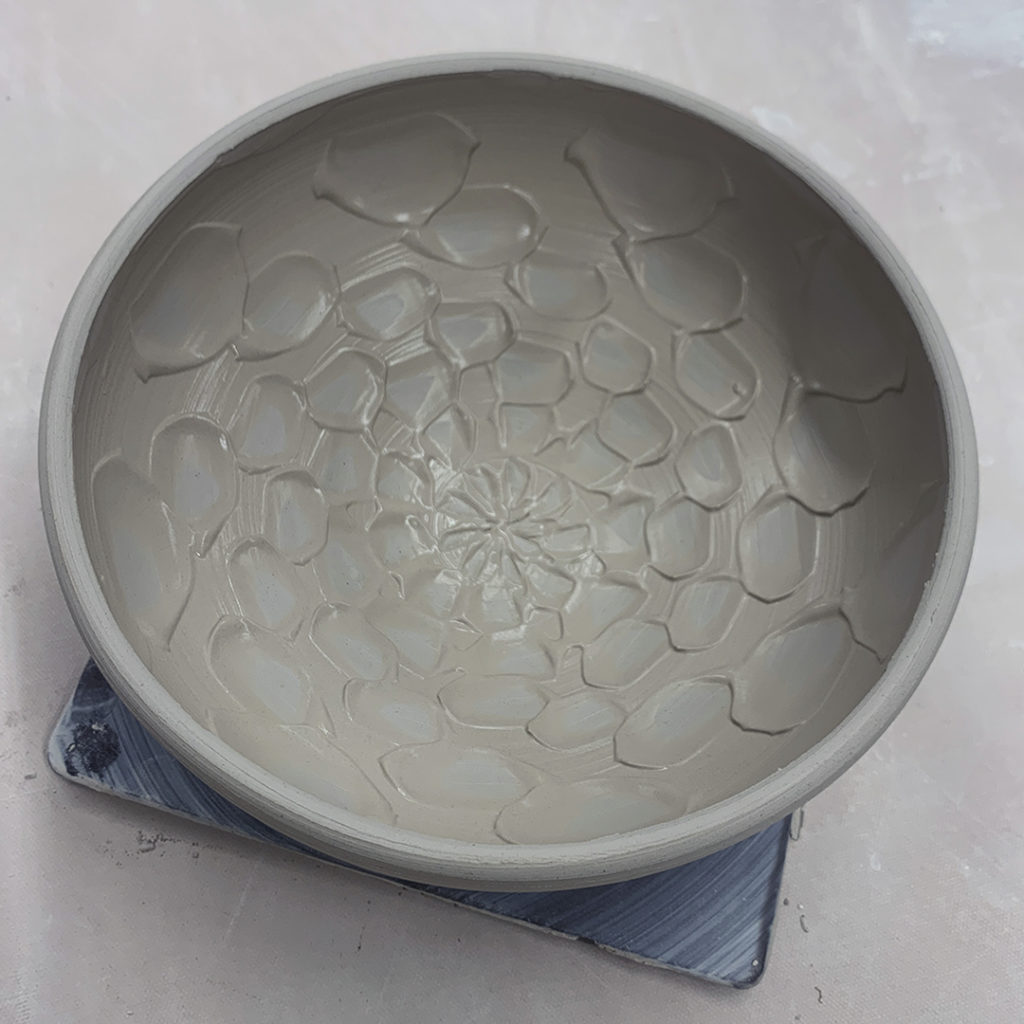
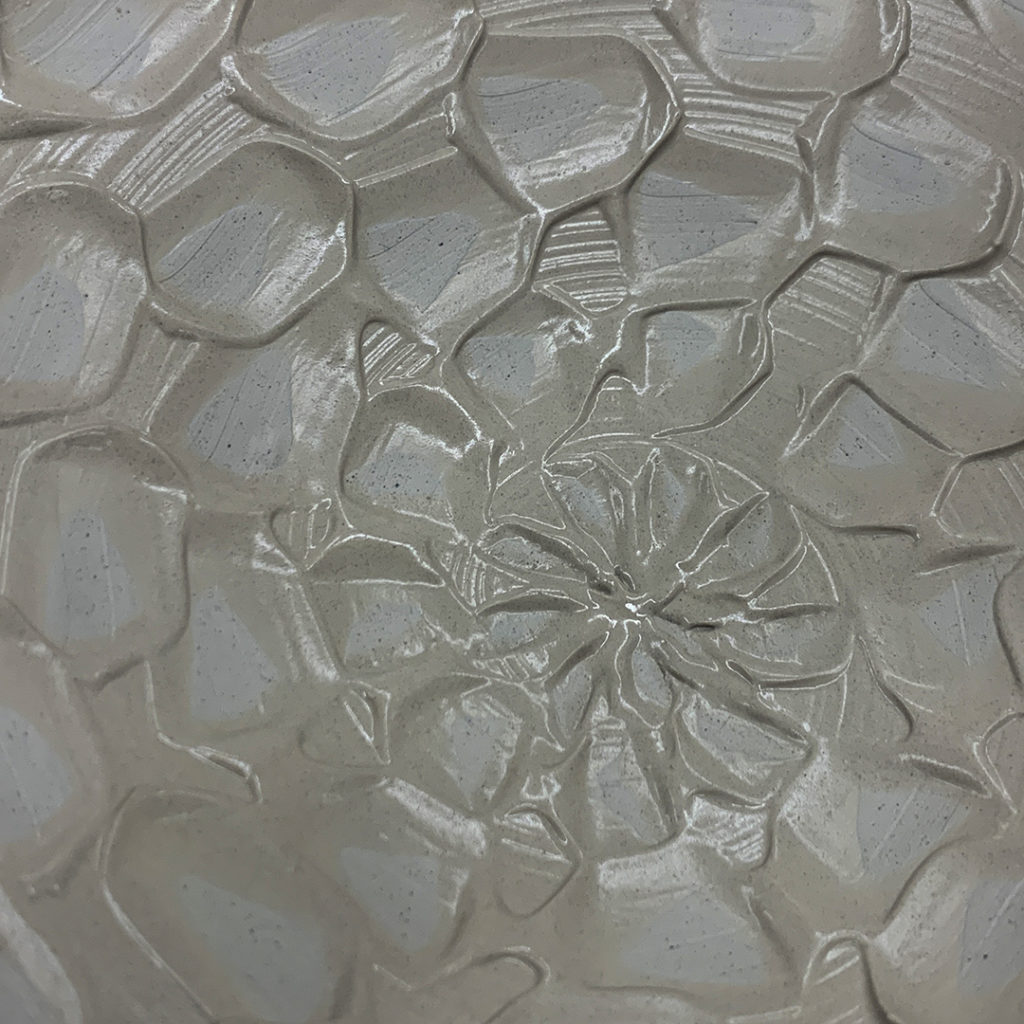
After altering some of the basic bowls, it was time to introduce some thick slip as a decorative option. I chose “thick” white slip so I could get some good textures from the slip for the glaze to pool & puddle on later.

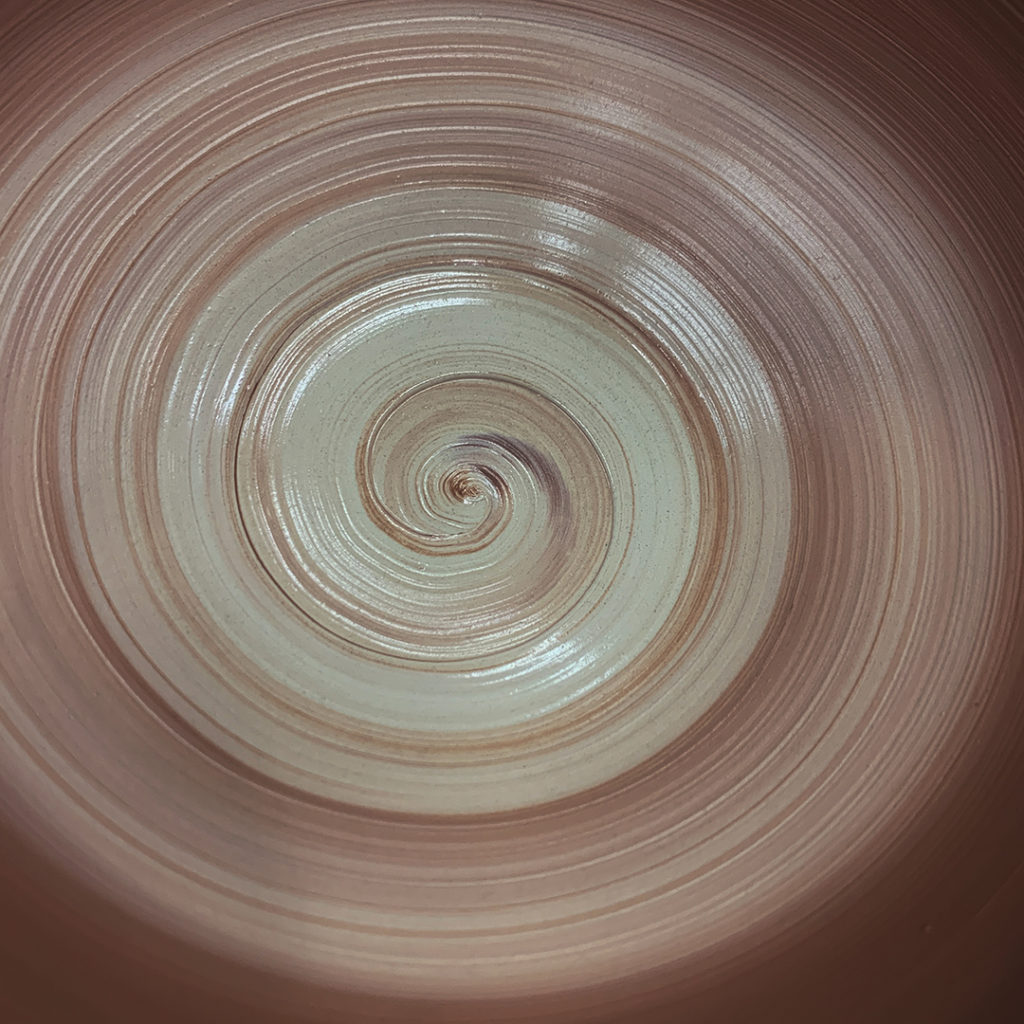
Bowl #9 – A layer of thick white slip, with the curved end of my wooden knife dragged through to create the dramatic spiral.

Bowl #10 – Thick white slip covering the interior… with a rubber rib used to drag some lines through.

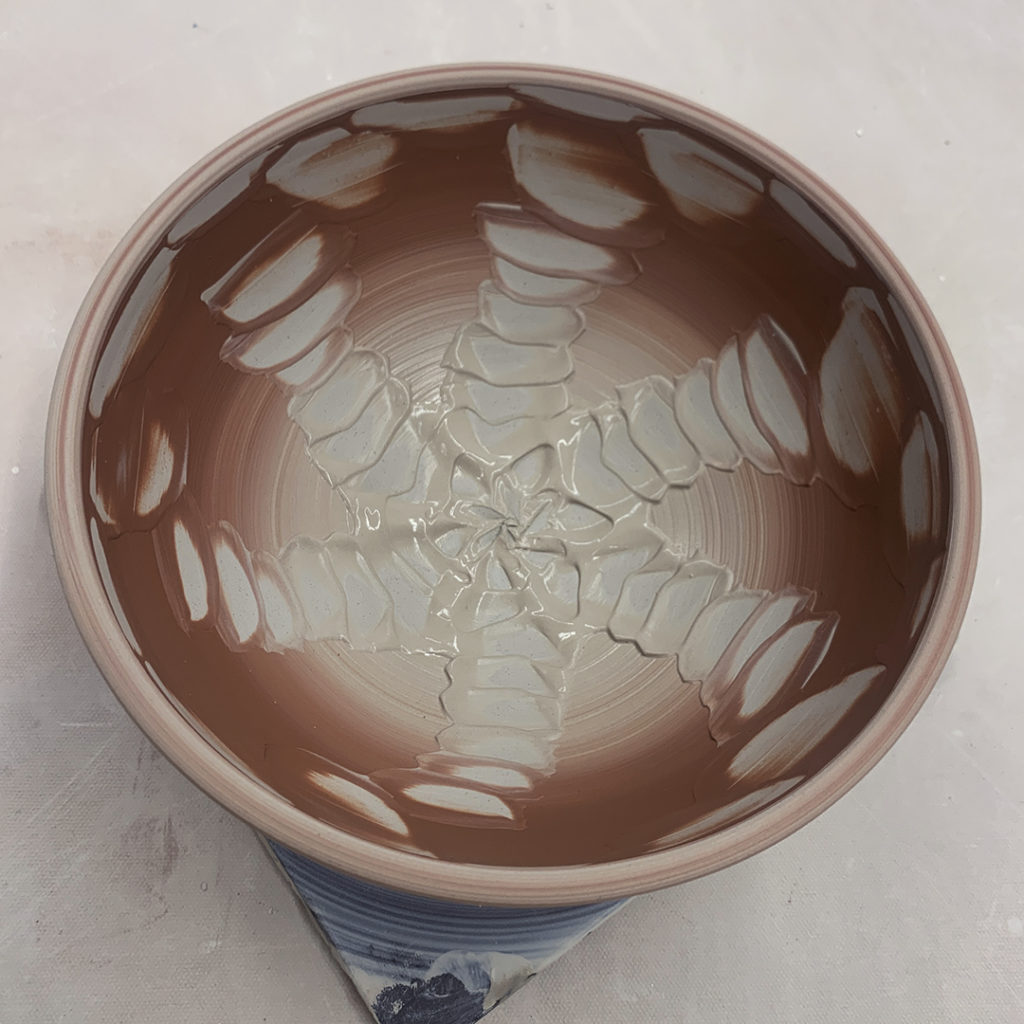
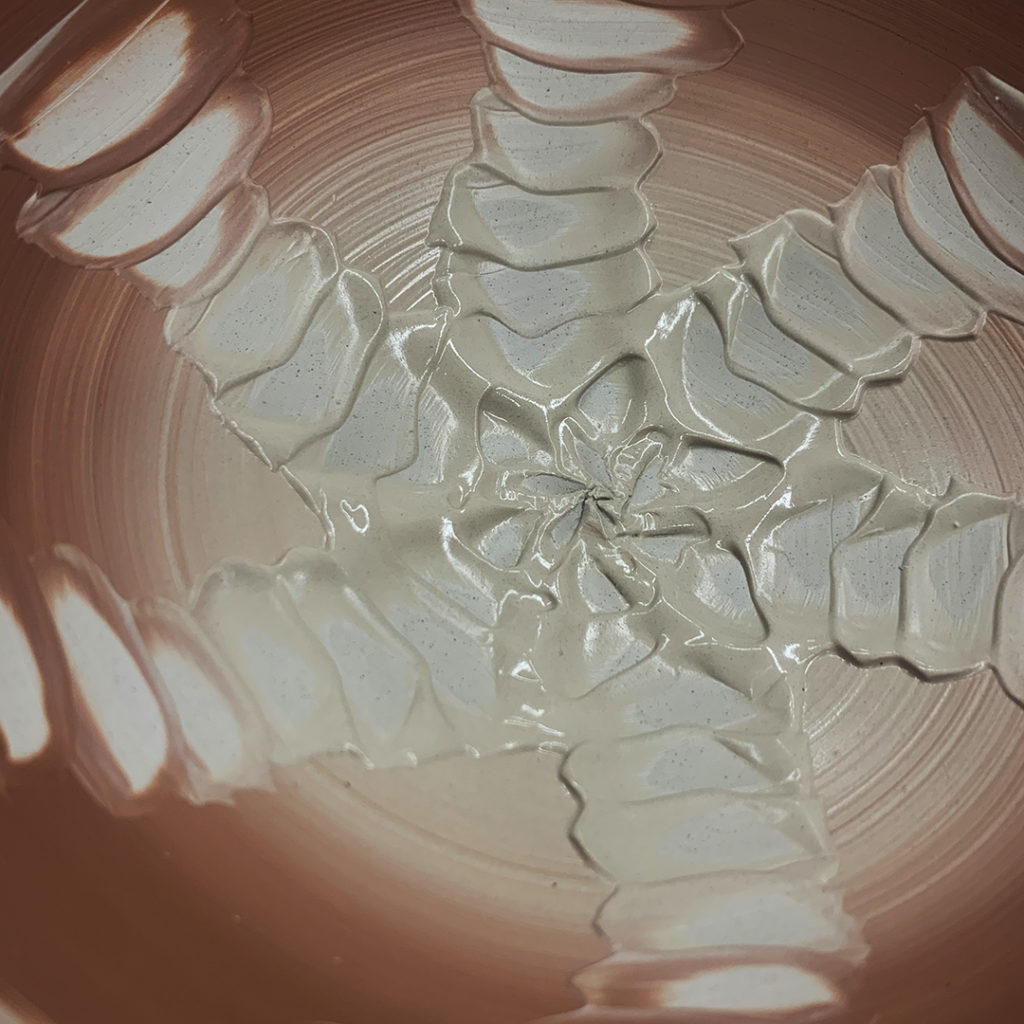
Bowl #11 – Thick white slip with some rhythmic chattering to create the pattern.

Bowl #12 – An ombre’ blend of thick white & iron red slips.

Bowl #13 – White & iron red slips again… with some rhythmic chartering going through it.

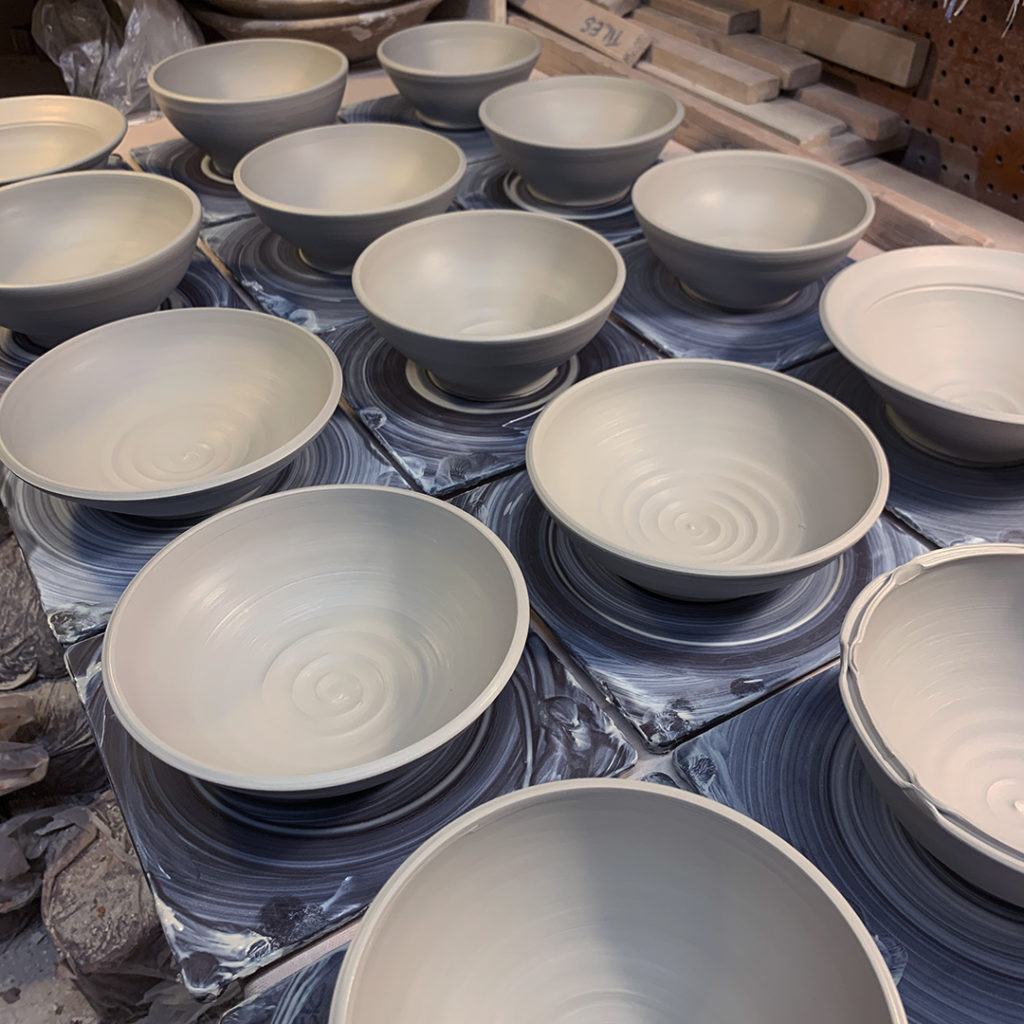
After the demo, we cleaned up & I brought the bowls up to my studio to keep them covered with plastic for the night… as there “just might be” some stamping & detailing still to come!

Categories: bowls, classes, stamped, wheelthrowing

This past Monday night in my Intermediate Wheelthrowing class, we discussed how to throw with a bit more “intention”… and how to approach throwing “matching sets.” I offered up a few options… as one of their class challenges is to bring two “matching” bowls to our final class as few weeks from now! One of my best suggestions is to throw a few extras that are “similar” and then decorate & trim them to make them match even more… and then pick the two that match the best!!! I went with four… hoping to get two that match!!!

Categories: process, production, wheelthrowing

Throwing some enclosed forms today in the studio… working on something new!!! Sure, I coulda done one prototype to see if it works… but no, I’m more of an “all in” kinda guy!!! Fingers crossed…. more to come!

Categories: mugs, production, wheelthrowing

It was a pretty productive morning today in the studio. Seems like I always start with my “default”… making more MUGS!!! You know they’re my favorite thing to make!

Categories: classes, surface decoration, wheelthrowing

So tonight is the last class for my SURFACE DECORATION students. Sure, we could sit back, relax & potluck… but instead I told them we have one more surface decoration technique to tackle!!! MISHIMA.

I told them to bring some leatherhard cylinders to class as part of their homework. And I told them that I would NOT be providing pre-made cylinders for them to practice on this time!!!

Okay… so maybe I lied.

Categories: classes, platters, surface decoration, wheelthrowing

Prior to last week’s SURFACE DECORATION class, I threw these three large platters and added a band of black underglaze. The goal was to get them to a nice stiff leatherhard stage to be ready for our surface decoration project demo of the week. Yep… you guessed it… SGRAFFITO!!!

Categories: classes, wheelthrowing

For my Intermediate Wheelthrowing class, we tackled throwing larger pieces last week… by stacking two pieces together and then re-throwing through the attachment. There’s always a little apprehensive moment when you hold your breath & flip one over to connect them together. Hoping they fit… hoping they don’t squish… hoping they don’t flop! Luckily, the demo went pretty well… as I connected the two pieces but didn’t worry too much about the finished look as I knew there “might just” be some stamping in the near future!!!