This week in class with my Beginning & Advanced Beginning Wheelthrowing students we tackled making bowls on purpose, and NOT cylinders gone bad! I started the demo by throwing one bowl for them… explaining the process & what to watch out for. How to start out with a nice rounded bottom right from the start. How to avoid getting a “beginner’s ledge” about an inch up from the bottom. How to use a rubber rib to refine the interior curve of the bowl. How to focus on throwing the interior of the bowl to be the shape they want… knowing that they will trim the exterior to match later.
So here’s the first “prototype” bowl…
Bowl #1 – plain, round, simple rim… and my favorite spiral in the bottom!

And then I set them off to go back to their wheel so they can start practicing.
While they’re throwing, I continue to throw some more bowls while my assistant Susan and I help them along the way. Once I had a bunch of bowls done, we reconvened for Part Two of the night’s demo.

So we gathered, and the goal for Part Two is to show them some quick tricks & techniques to alter the looks of each bowl. Some simple things to make the bowls more “their own creation”… instead of the just round shape that they wheel kinda did for them!
Bowl #2 – two simple “flicked” & fluted twists on opposite sides.
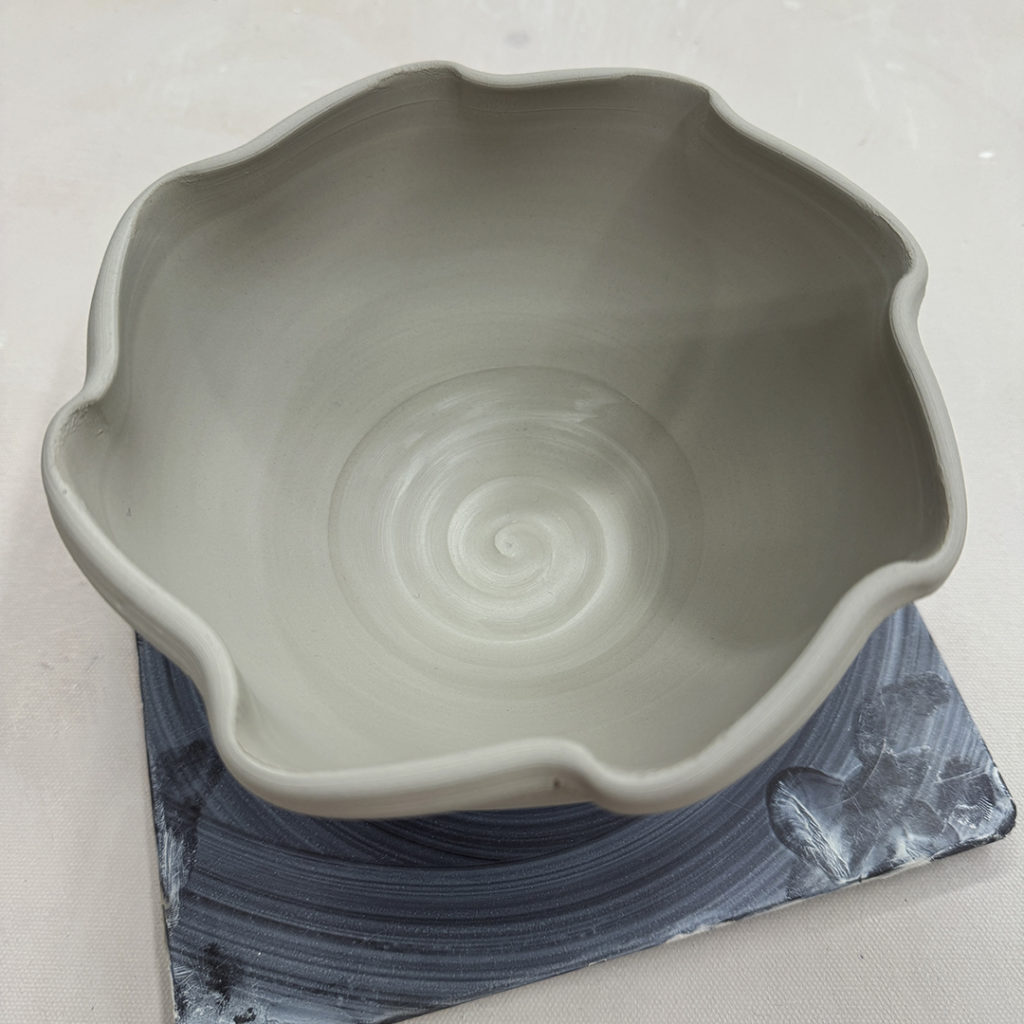
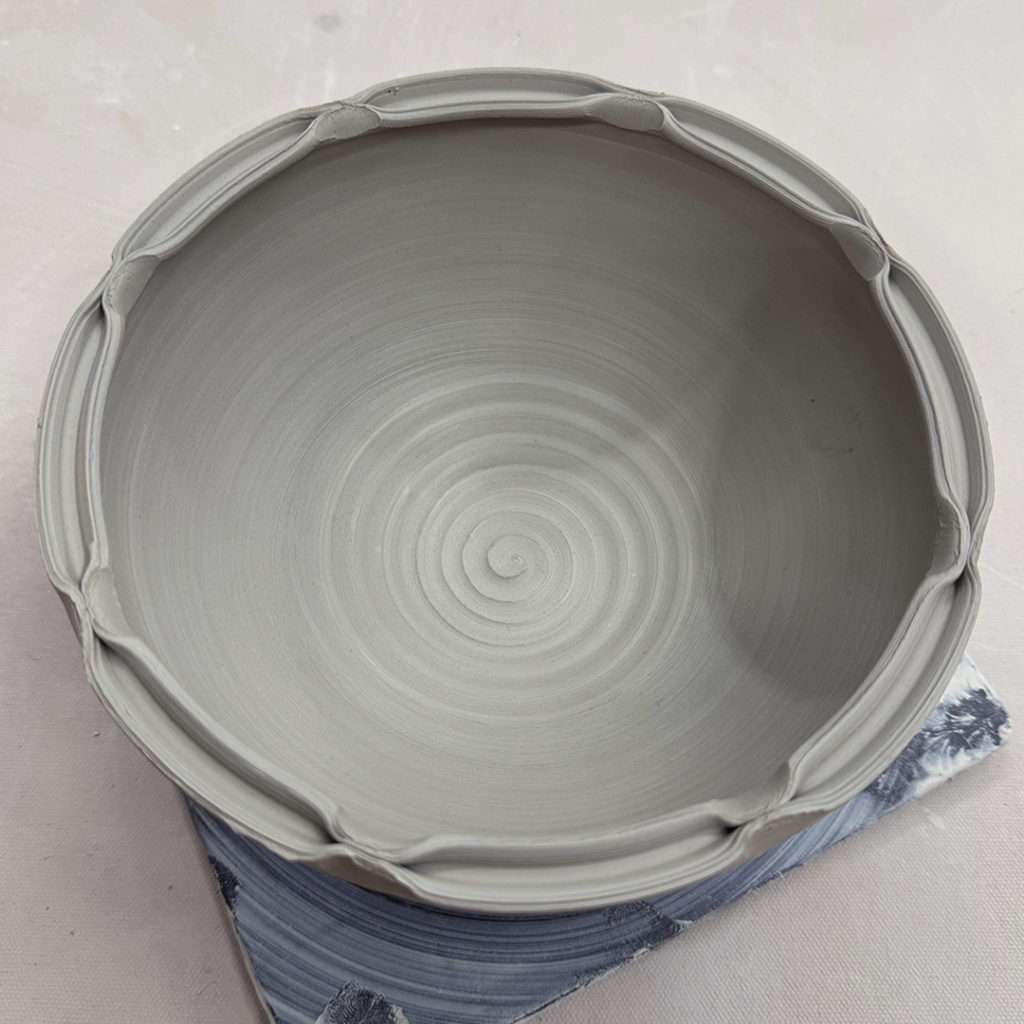
Bowl #3 – And if two flutes looks good, maybe eight fluted edges would look better?
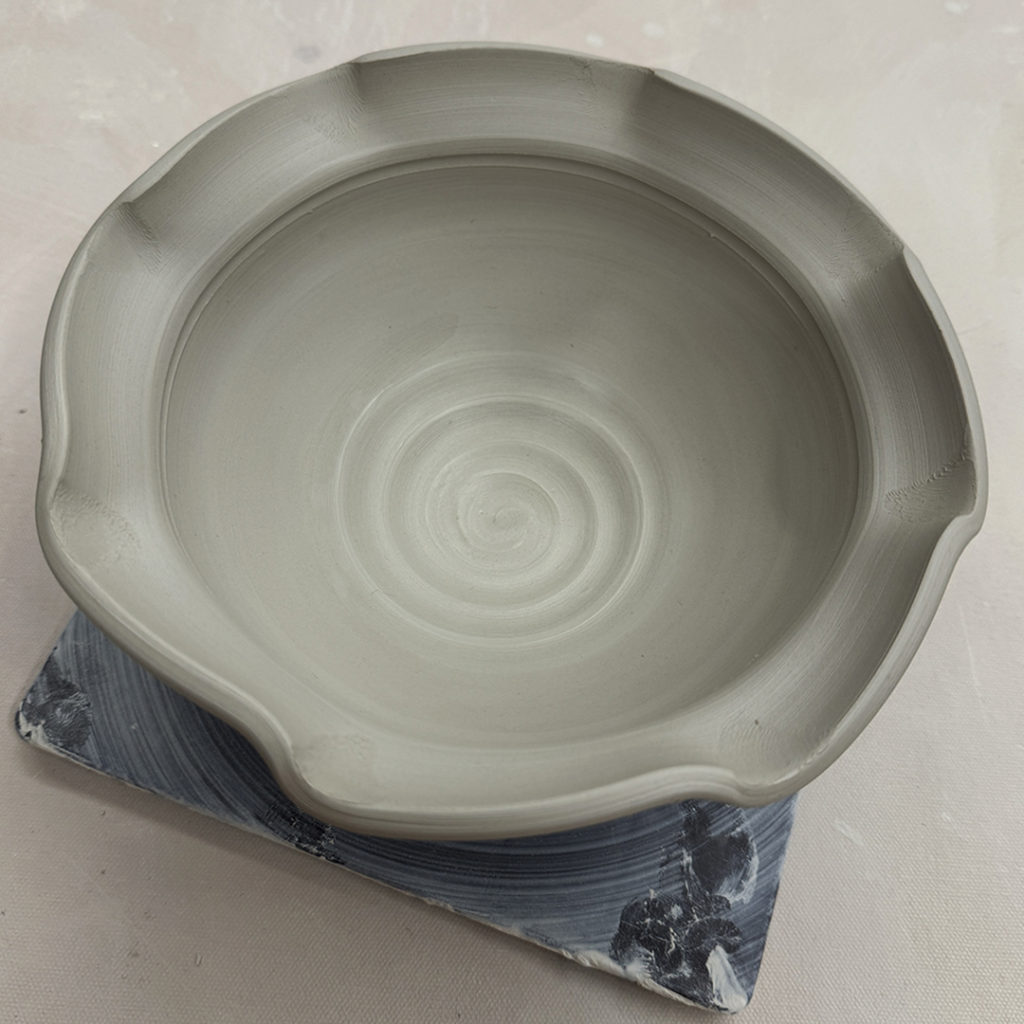
Bowl #4 – A simple flanged edge… folded out over my exterior finger to create this “ledge” area.

Bowl #5 – A much larger flanged edge… kinda like the fancy restaurants that put on tiny little scoop of food in the bottom of a large-flanged bowl and charge BIG bucks for it!!!

Bowl #6 – Combined flange and fluted flares!
Bowl #7 – A split rim pinched back together in eight places.
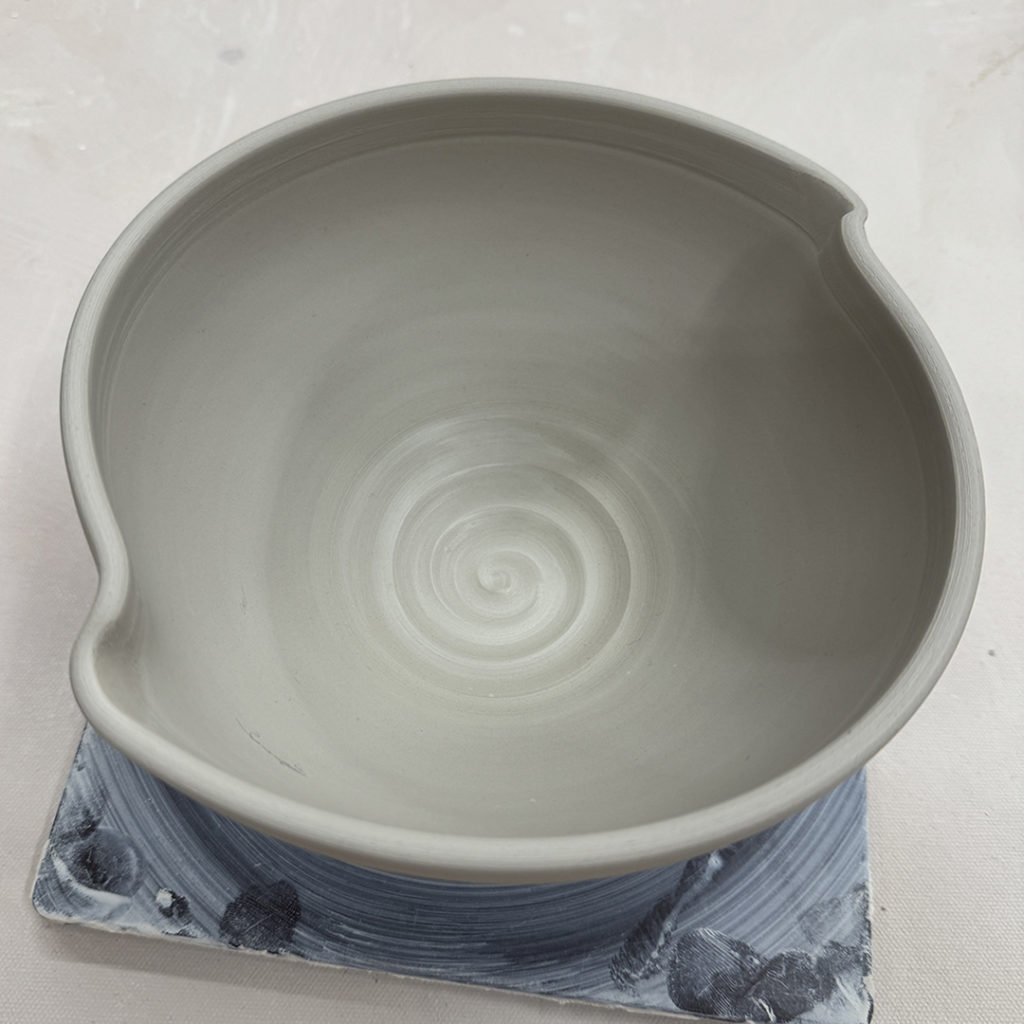
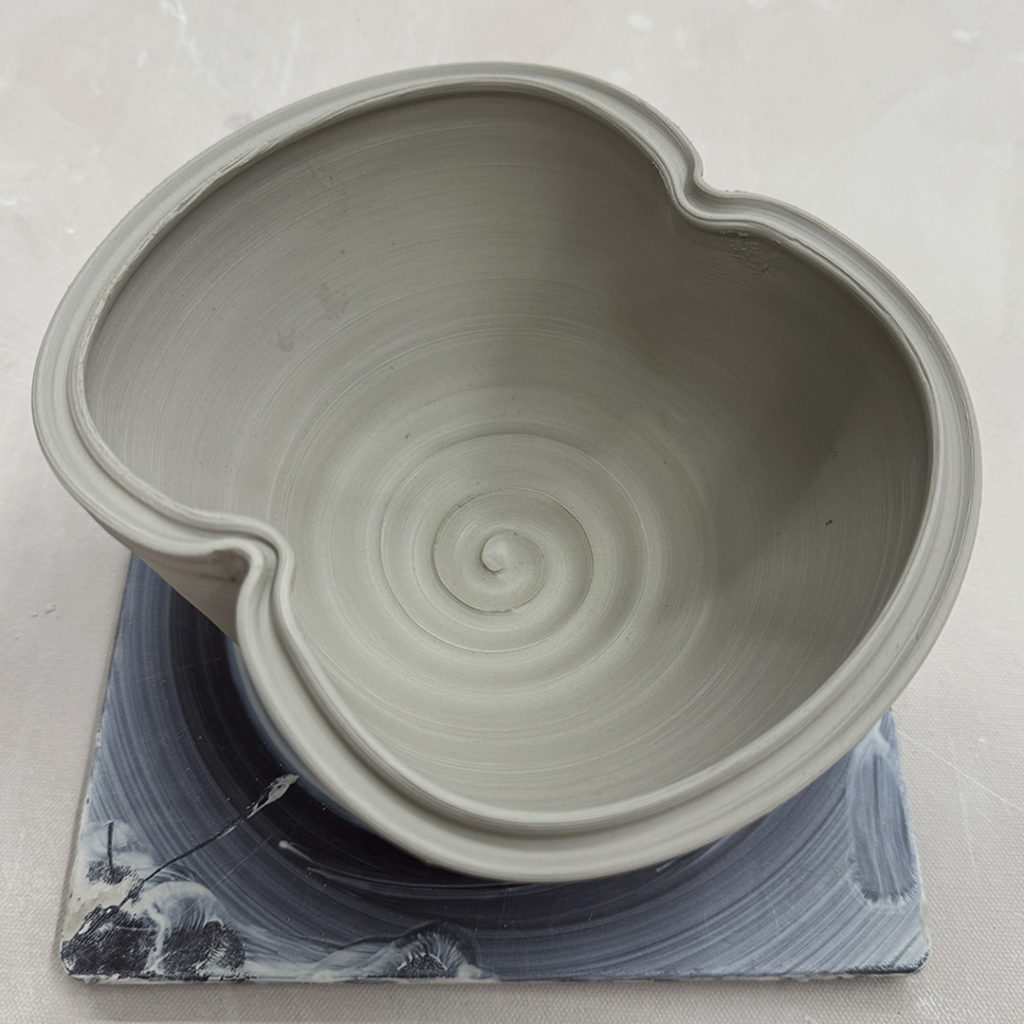
Bowl #8 – A simple split rim, then we dented in on two sides using the side of my wooden knife. We kinda liked it like this… and there’s a good chance that a handle might go up & over the top from dent-to-dent to make the bowl a bit of a basket.
Bowl #9 – Another split rim with four dents… kinda squaring-up the bowl.
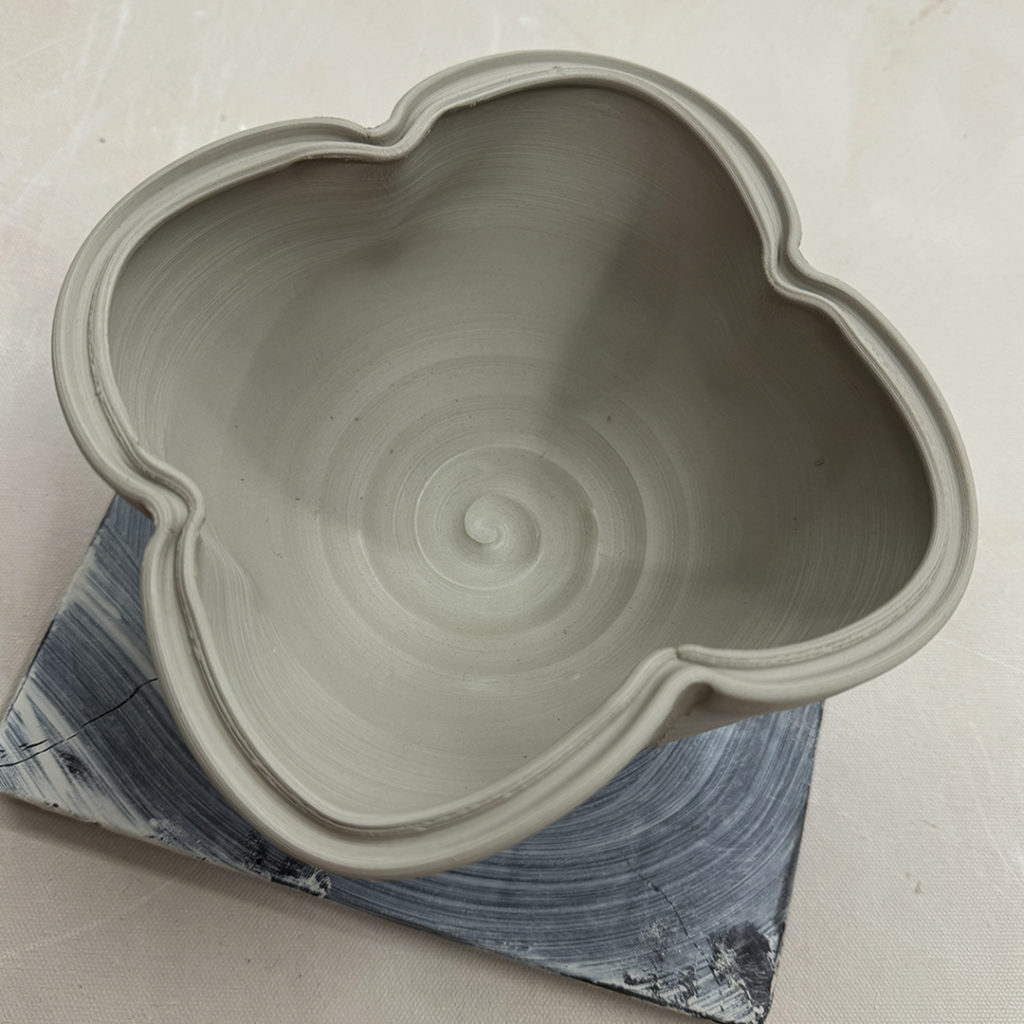
Bowl #10 – The same dented-in bowl as #9 with the split rim, just four more flutes going outwards in the four corners… giving it kind of a lotus look.

After the first set of “altered rims”… we switched to colored slip as a decorative option.
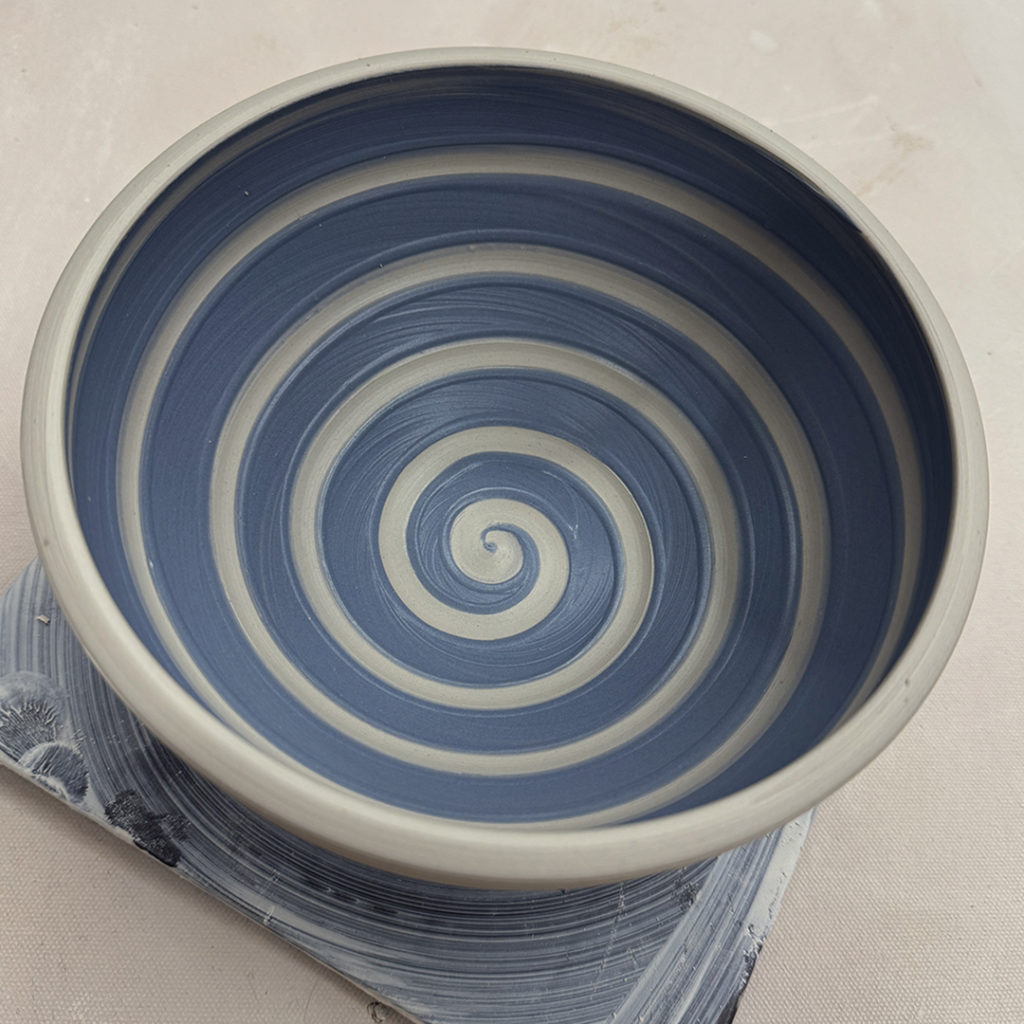
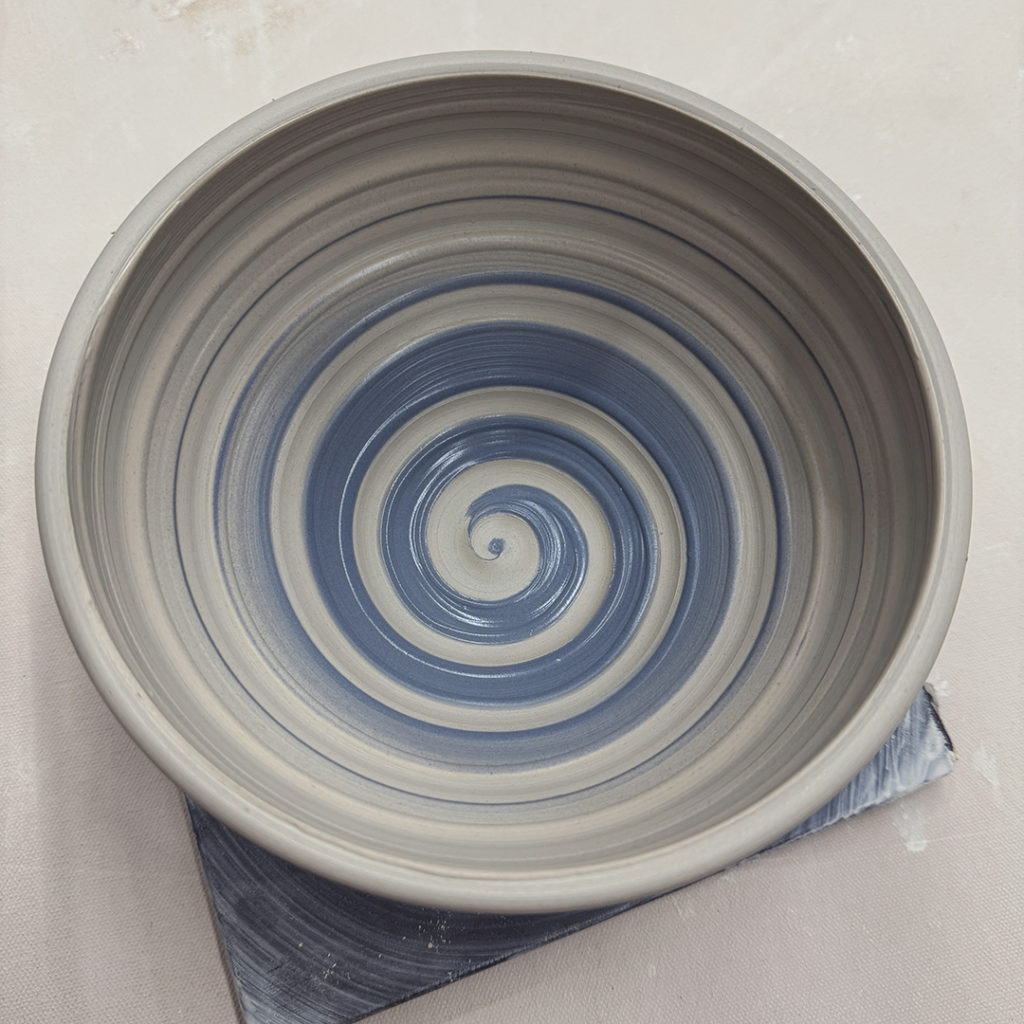
Bowl #11 – After a layer of mazarine blue slip, the dragged the rounded end of my wood knife through the slip while the bowl was rotating on the wheel… revealing the clay-colored spiral through the slip!
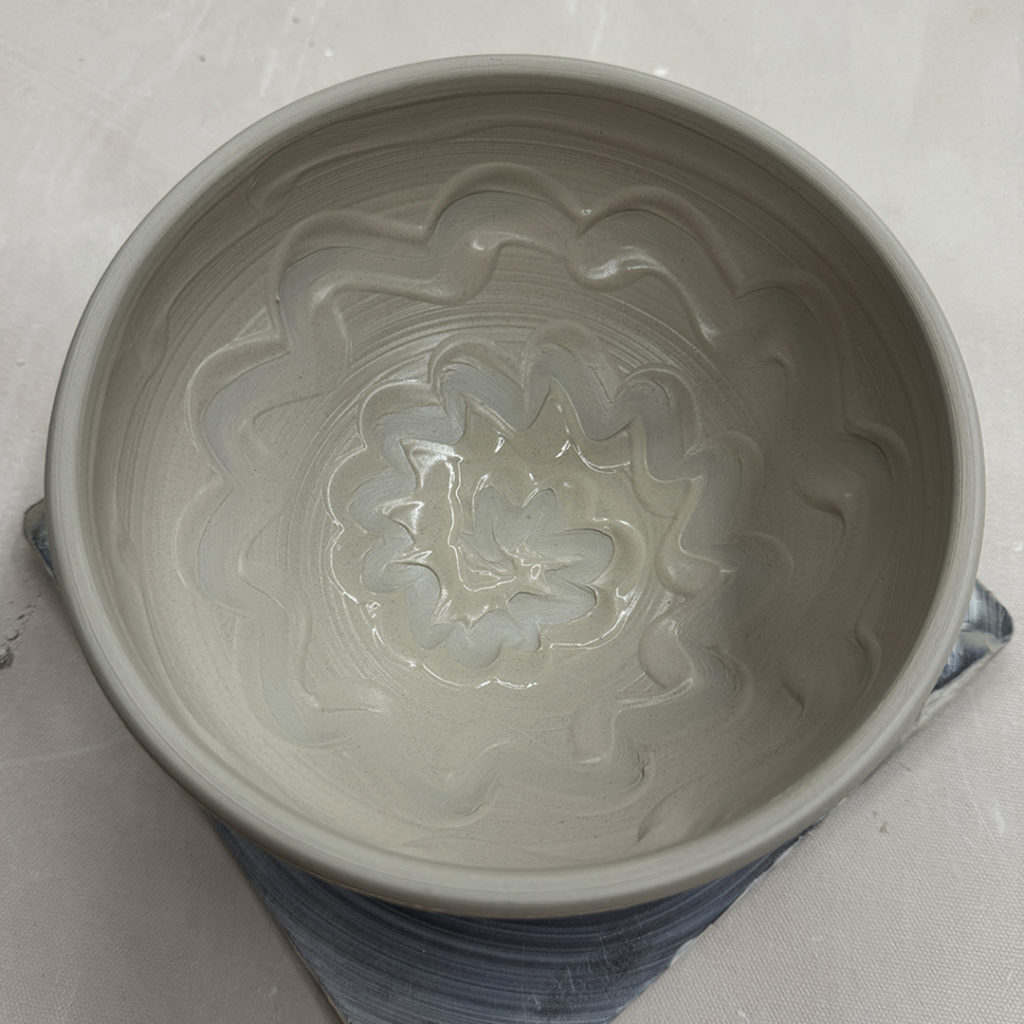
Bowl #12 – After a layer of thick white slip, I just wiggled & squiggled my index finger through the slip for this wavy effect.
Bowl #13 – After a layer of thick white slip, I dragged the edge of a rubber rib upwards to create the effect.

Bowl #14 – Another spiral through thick white slip… with tighter spirals to create more of a “ledge” of slip spiral.

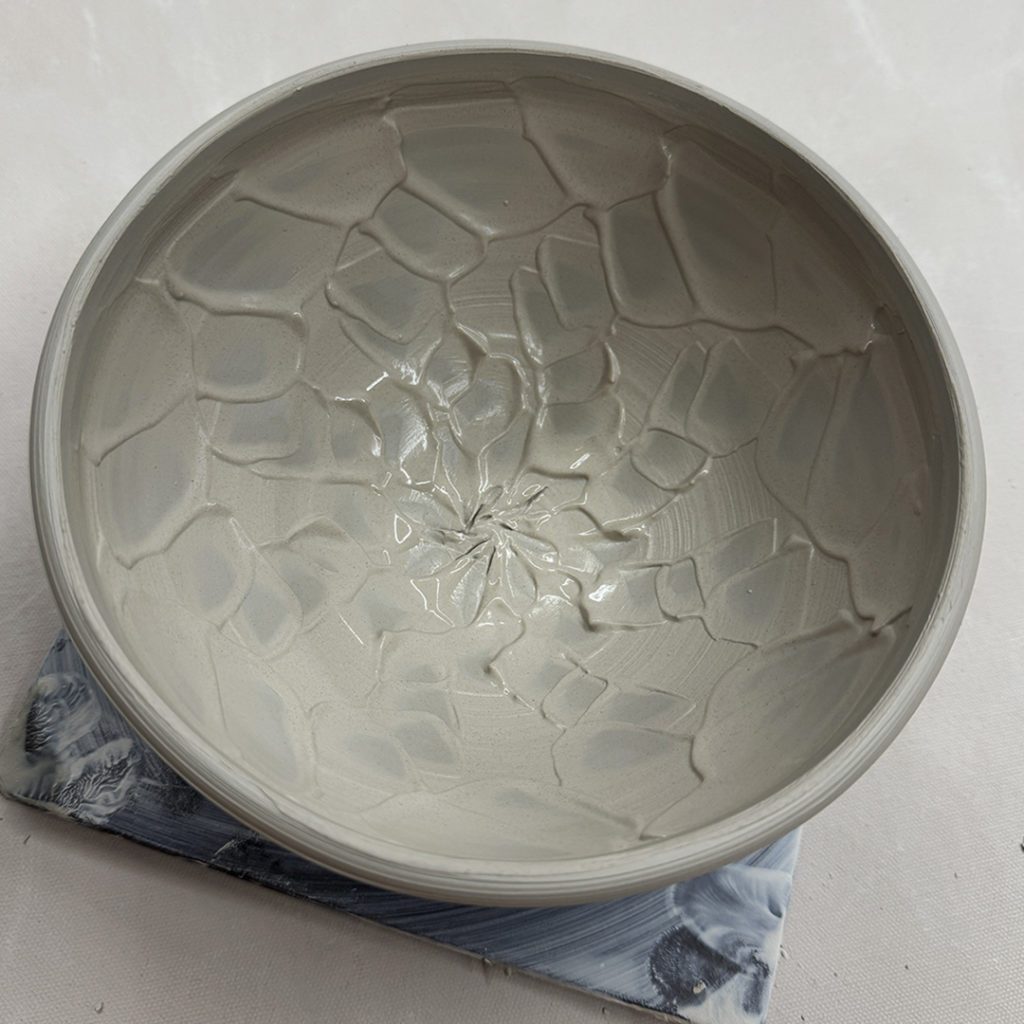
Bowl #15 – Chattering through thick white slip… using the edge of my rubber rib with rhythmic tapping up & down, then outwards while the wheel is spinning!
Bowl #16 – A simple ombre’ blend of white slip & mazarine slip… simple & clean…. although there’s a good chance I will do some sgraffito carving through this when it’s a bit drier!

Bowl #17 – Another ombre’ blend of white & mazarine blue, but then dragging a rounded tool end through the slip to create this spiral.
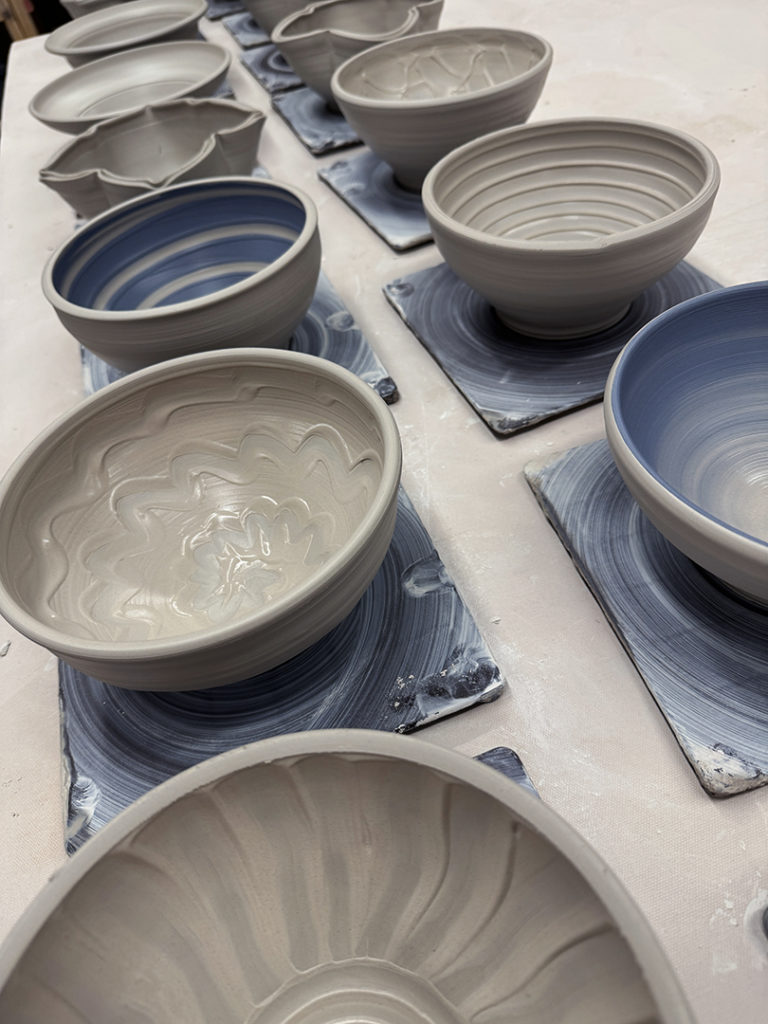
By the end of the class we had a table full of altered & decorated bowls. These went up to my studio to be wrapped under plastic for the night… as there might just be some more stamping, detailing & trimming later as they get to leatherhard.