04.21.2025
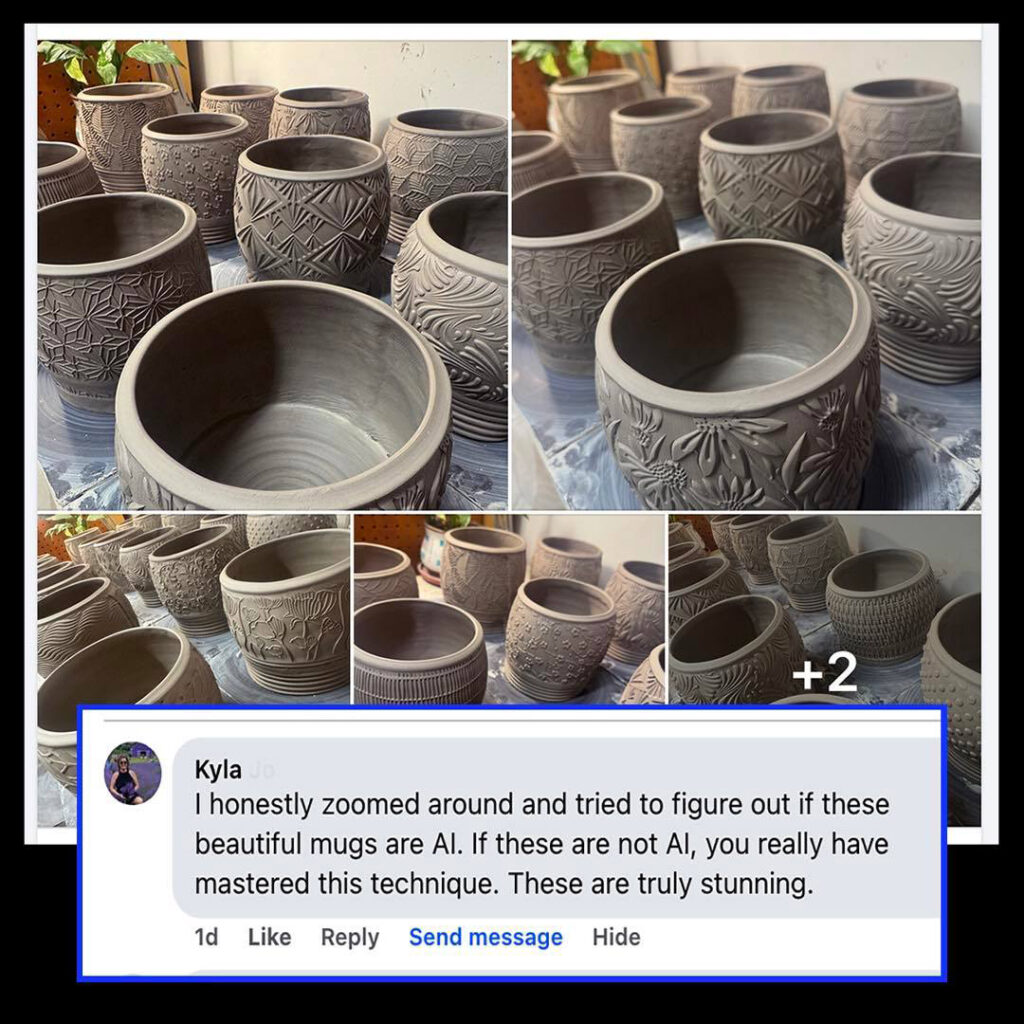
This might be the best & funniest Facebook comment I’ve ever gotten?! I don’t think that I’ve been compared to “AI” before?… but I’m kinda flattered in a weird way!!!
Gary Jackson: Fire When Ready Pottery
A Chicago potter’s somewhat slanted view of clay & play |
This might be the best & funniest Facebook comment I’ve ever gotten?! I don’t think that I’ve been compared to “AI” before?… but I’m kinda flattered in a weird way!!!
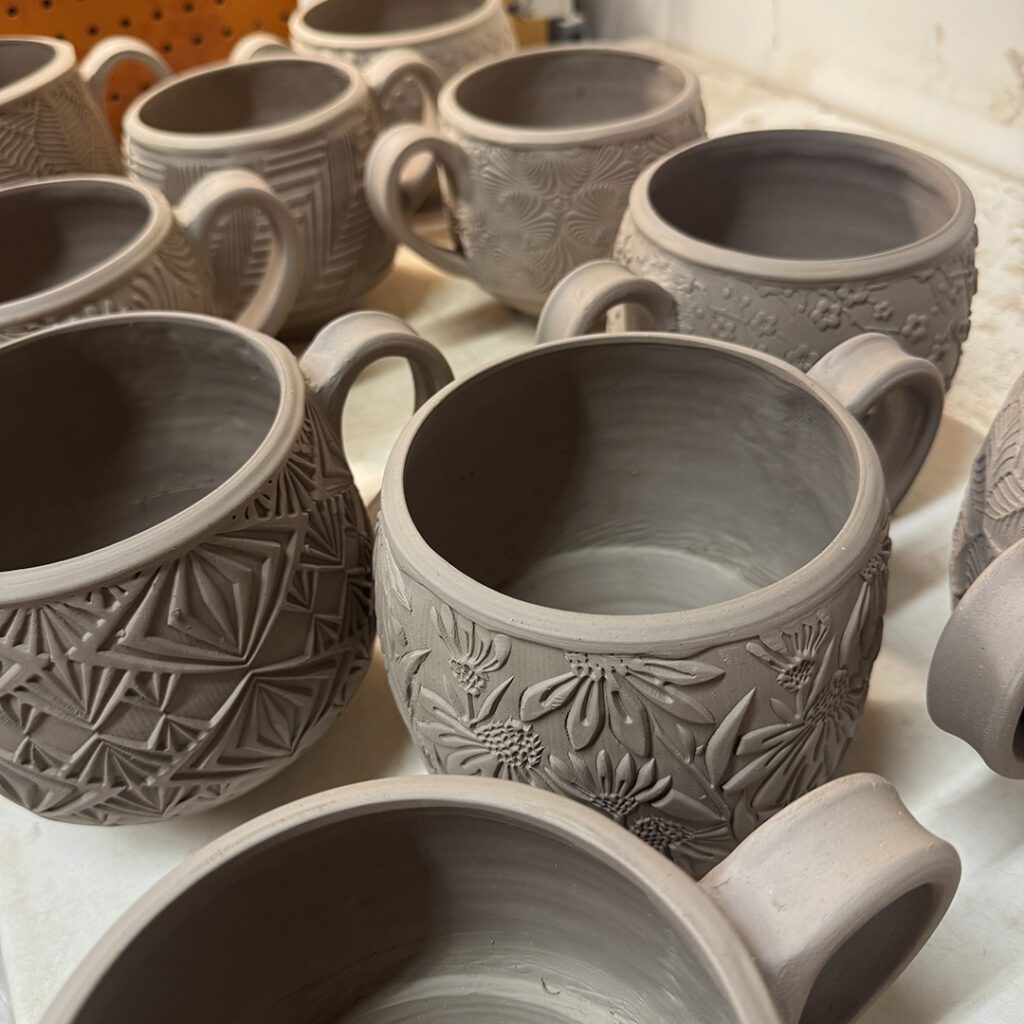
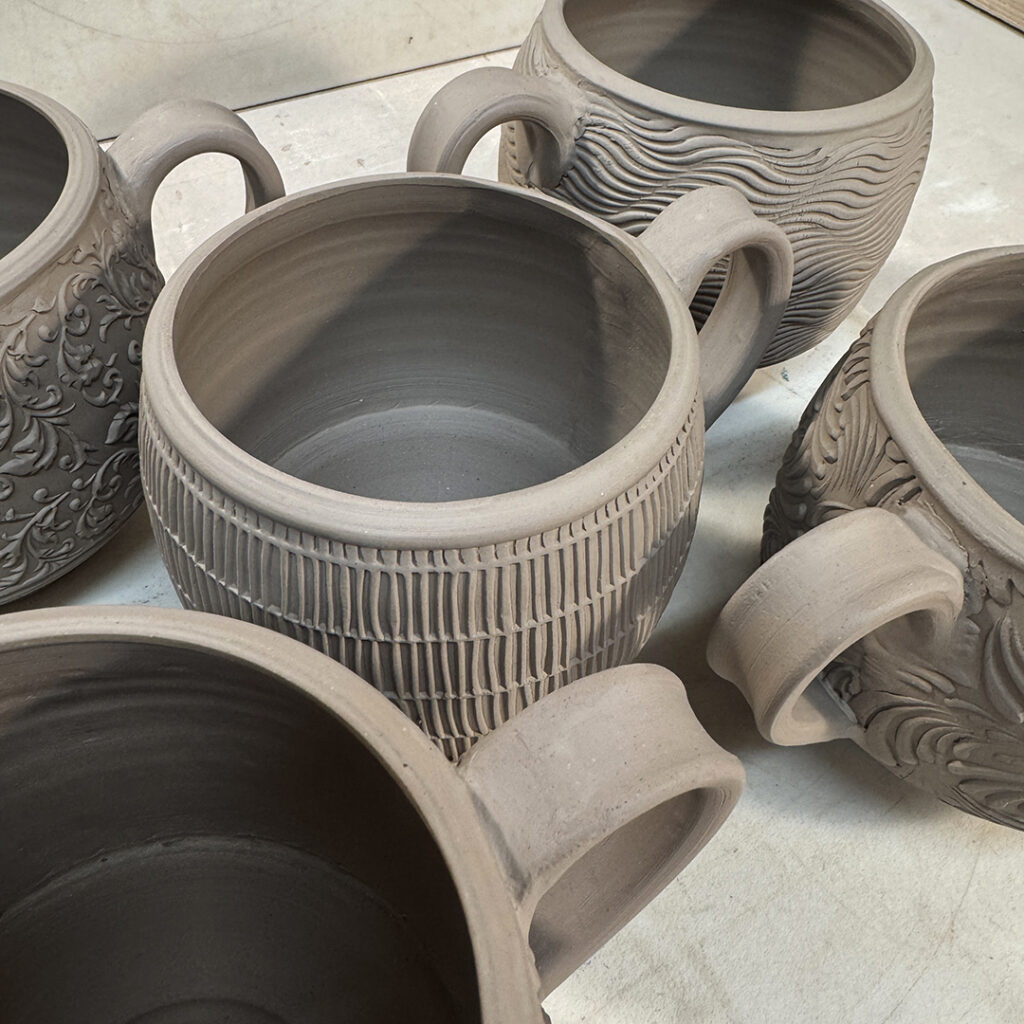
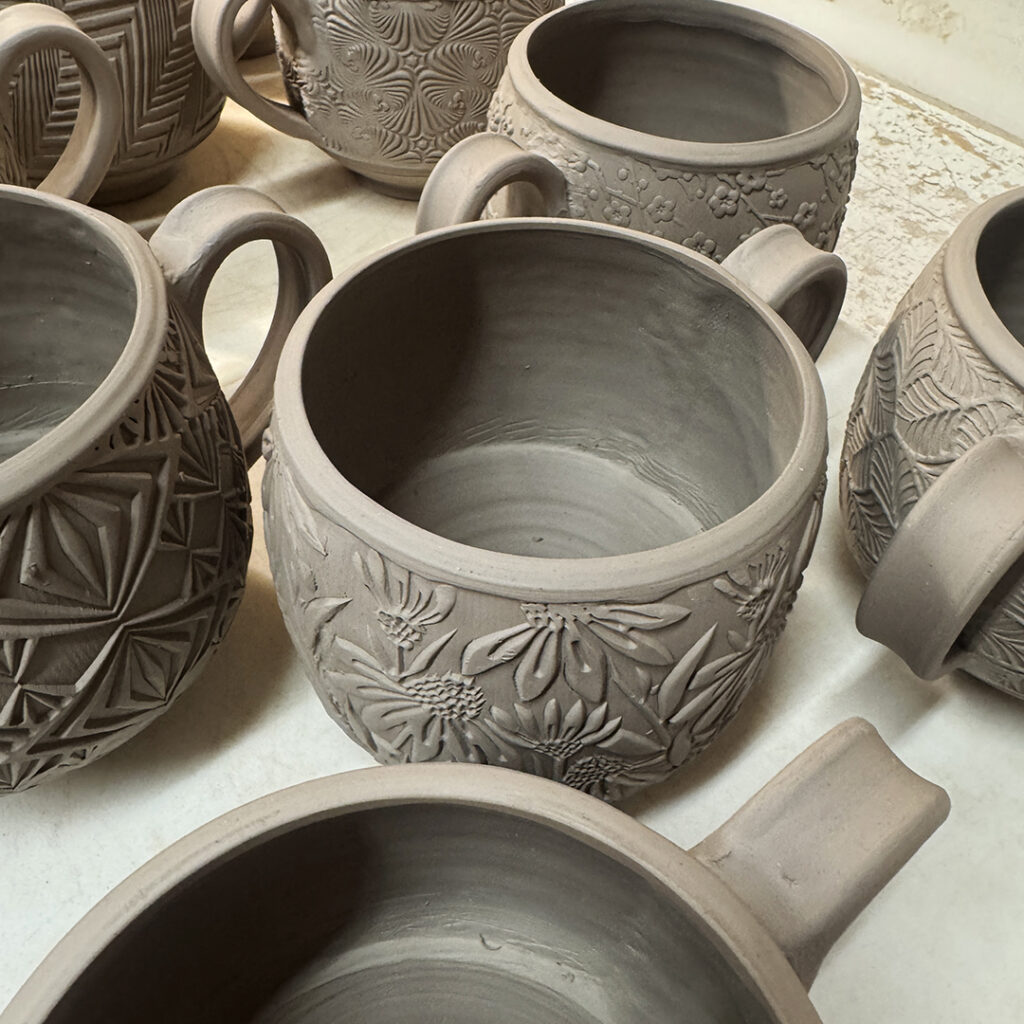
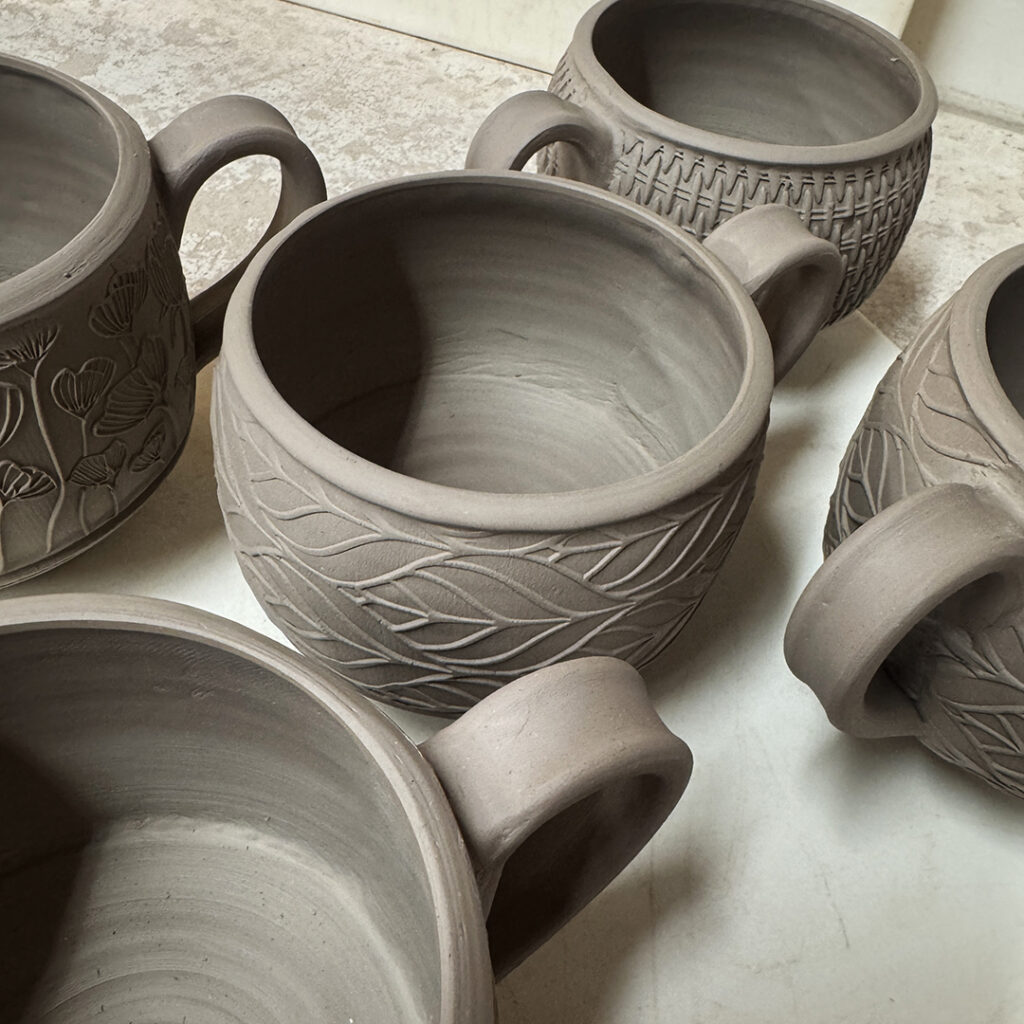
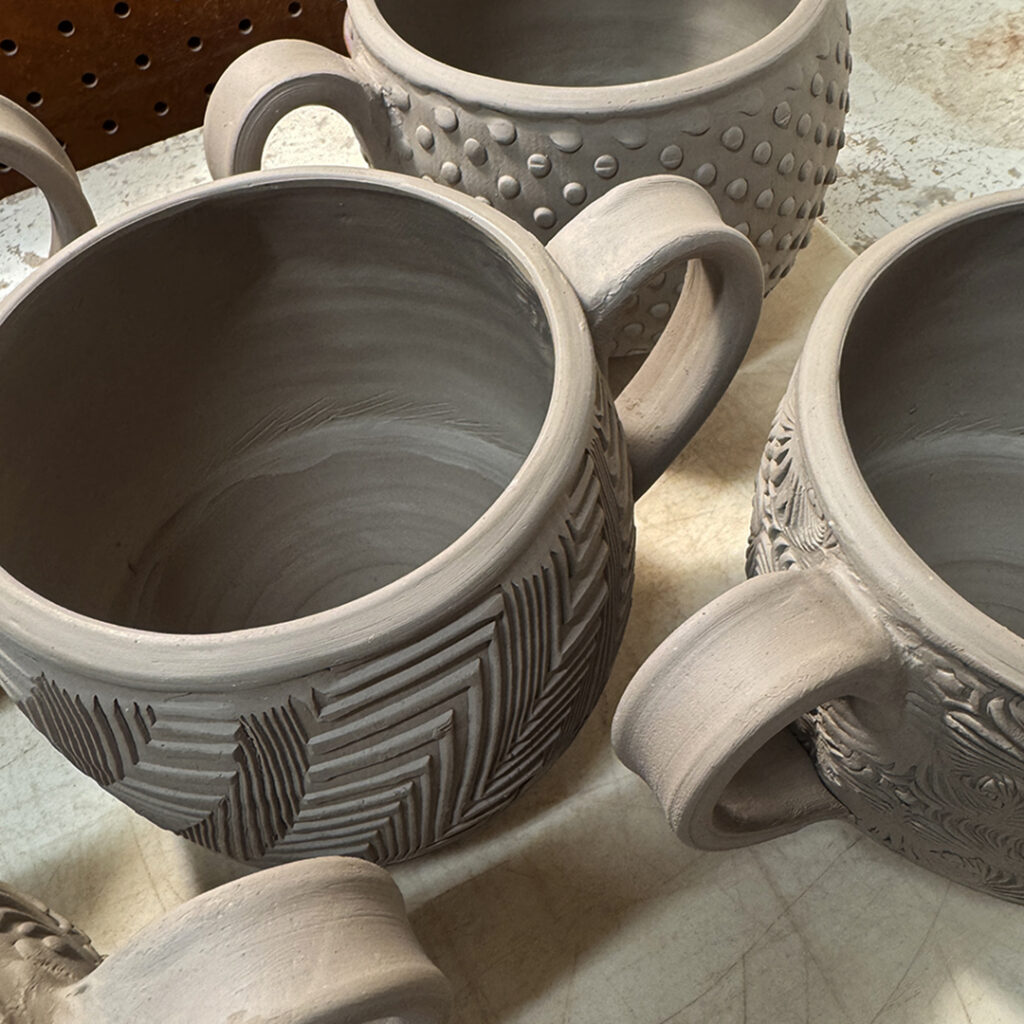
Assembled… now with handles! This latest batch of hybrid mugs finally all have handles… thus making them MUGS!!! I’m a firm believer that a “mug” by this potter’s definition must have a handle!!! So they’re all attached & ready to “relax” a little under some plastic overnight… before I come back to touch them up a bit more before drying.
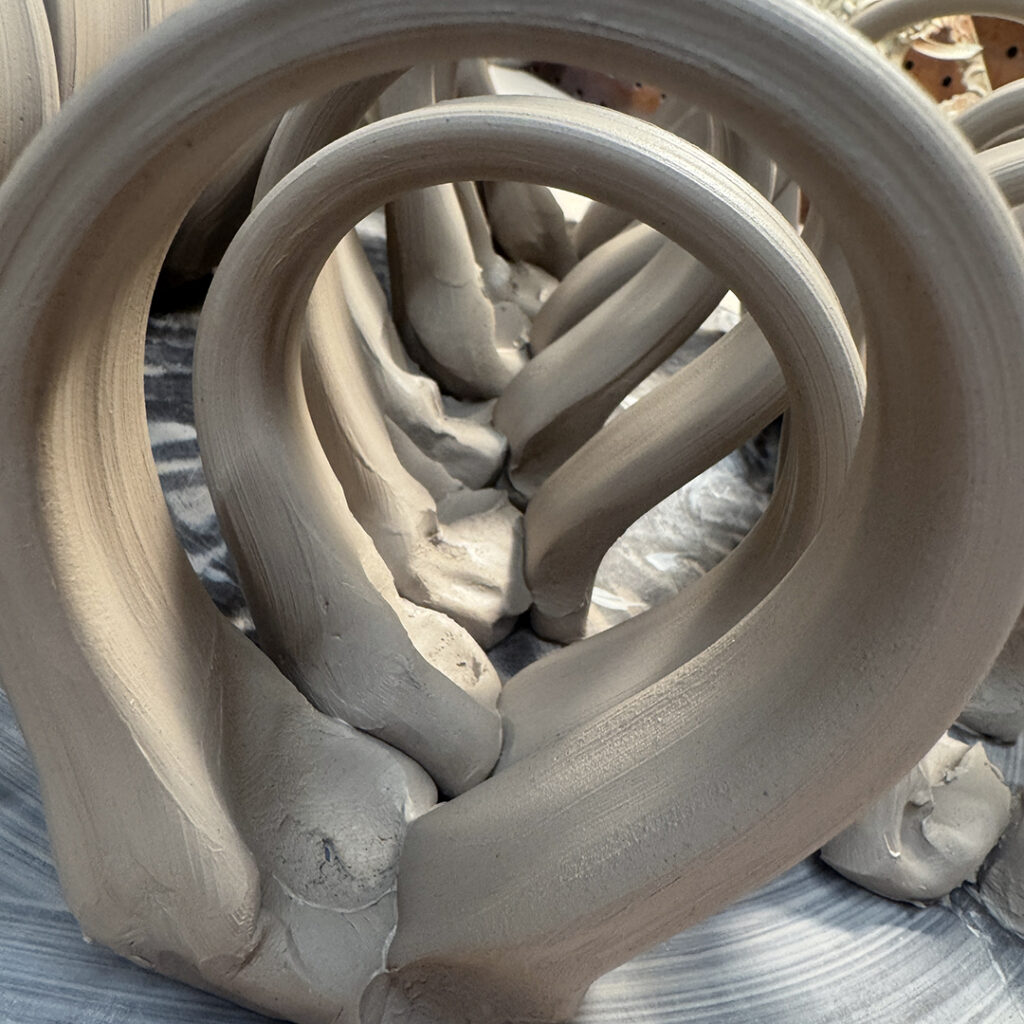
Here they are… a bunch of handles pulled and almost ready to go! I like to loop them over like this so they can set-up for awhile before attaching. I want them to be soft & malleable… but not sticky & squishy. Plus, the loop sets-up most of the handle’s curve for later when it goes onto the mug!
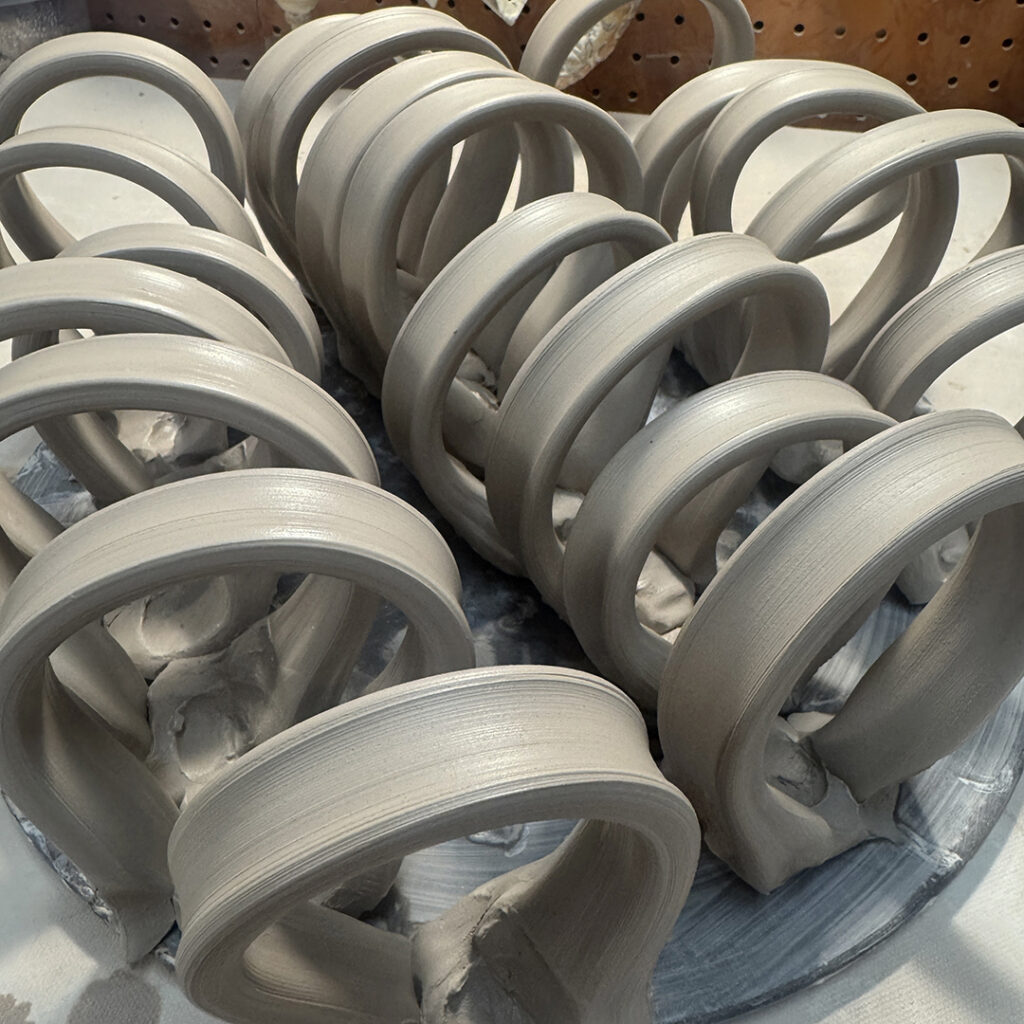
And here we go… this is how my mug handles begin!
Little wedged clay nuggets ready to be pulled the traditional way!
Hybrid mugs moving along! Trimmed the bottoms today on the wheel. You know how much I LOVE trimming & a good footring!!! Gives everything a sense of style & refinement.

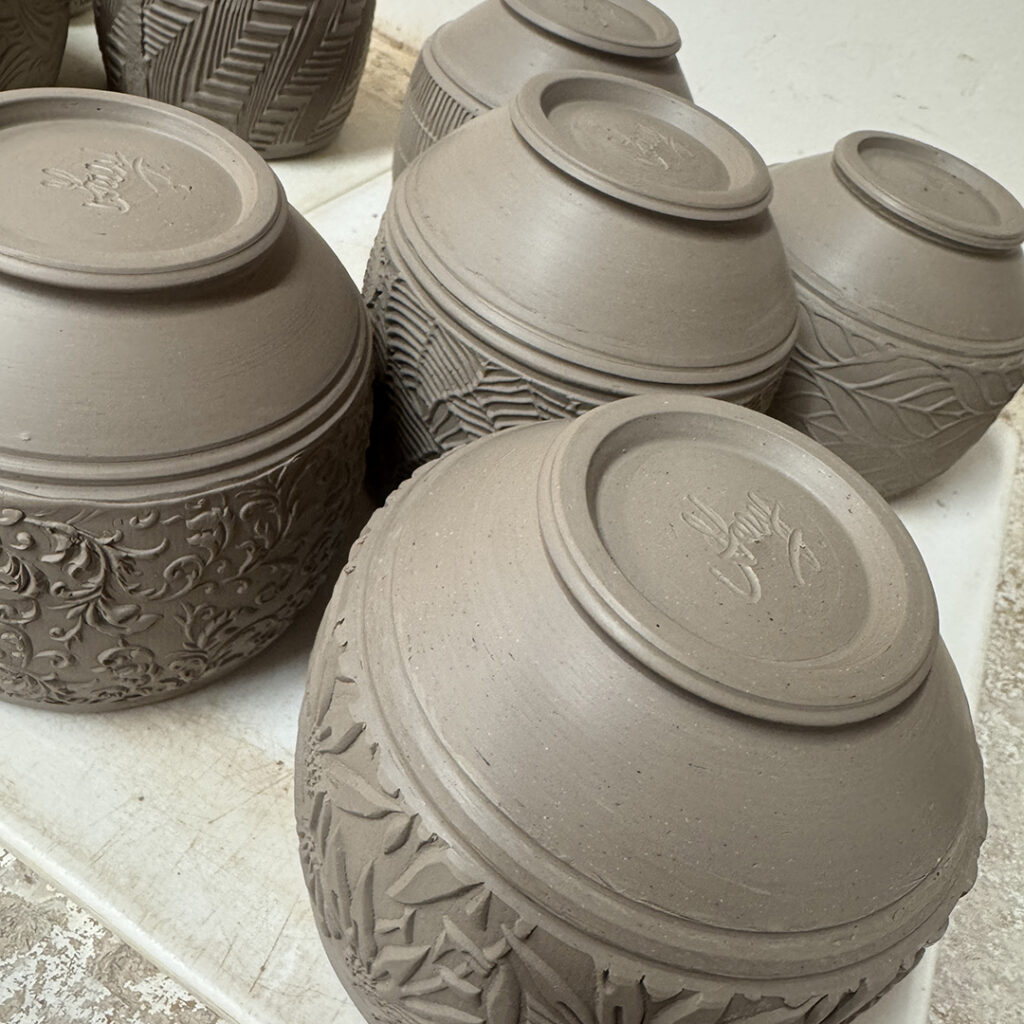
It’s been a productive afternoon assembling these “hybrid” mugs… wheelthrown & handbuilt combos. There’s still a good amount of work to do on them… refining, trimming, adding handles, drying, firing, etc. But this feels like a good start. It’s always great seeing these “hybrid” mugs come together!
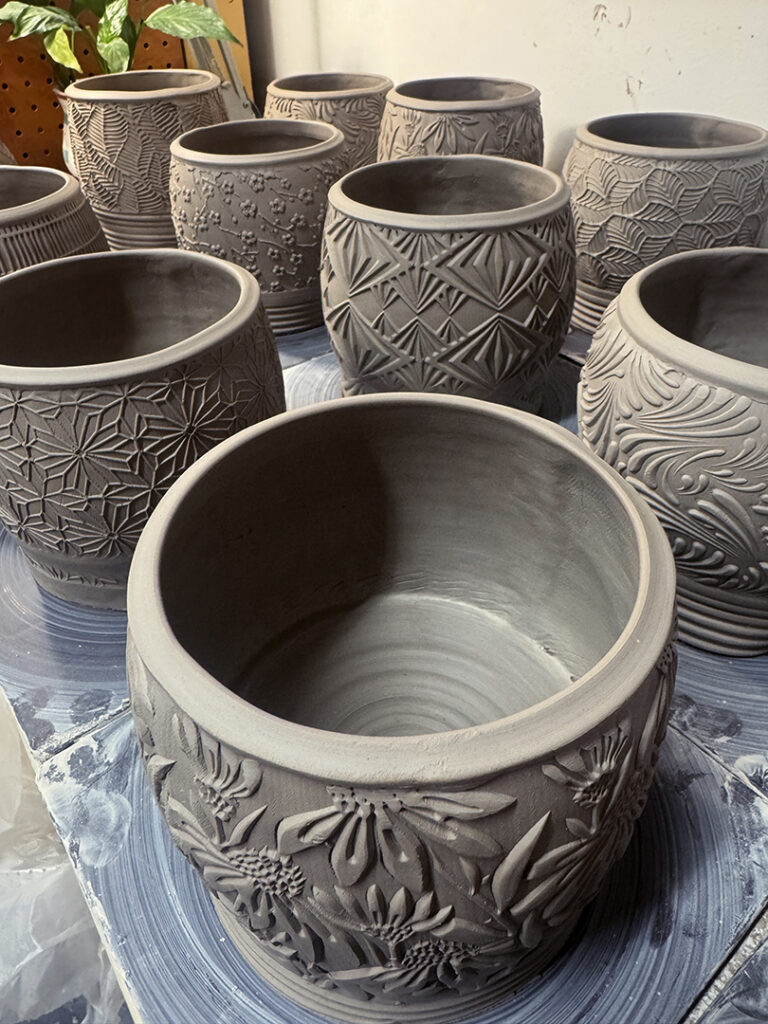
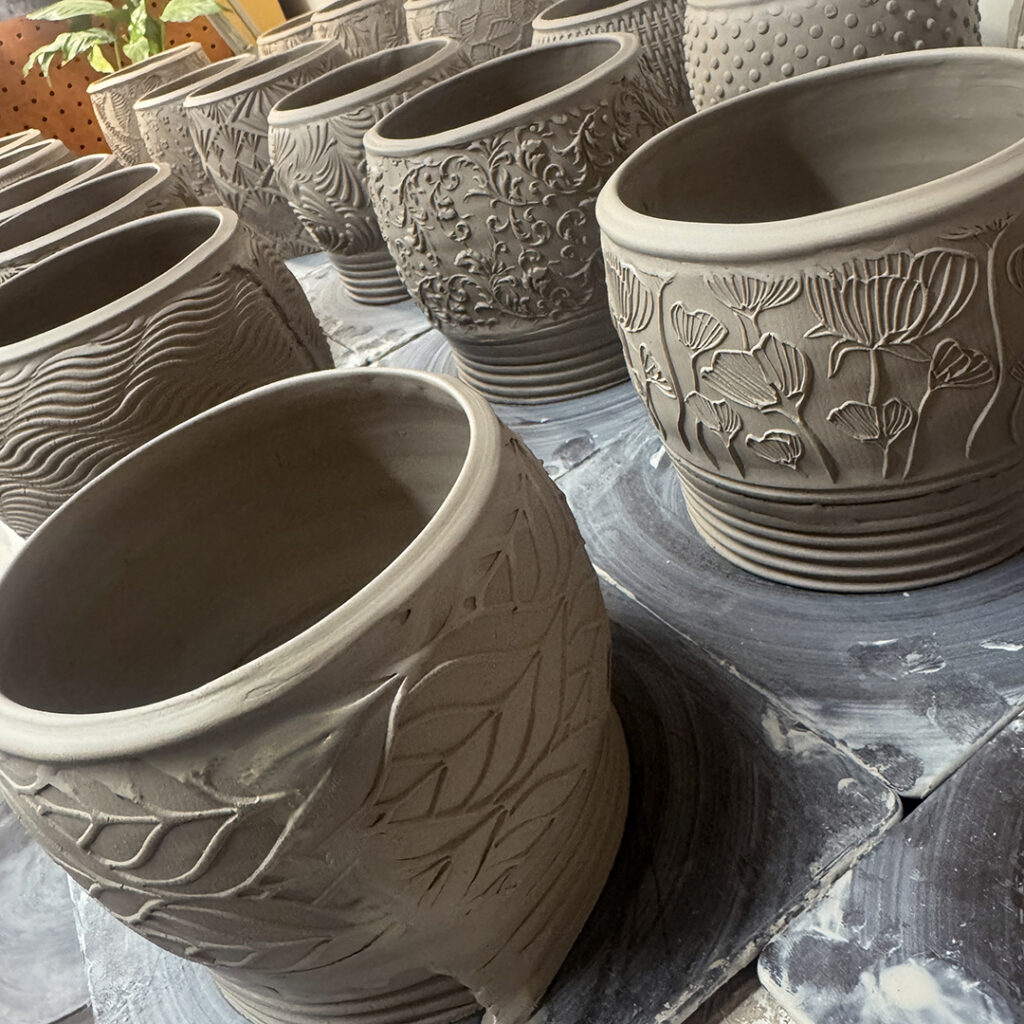
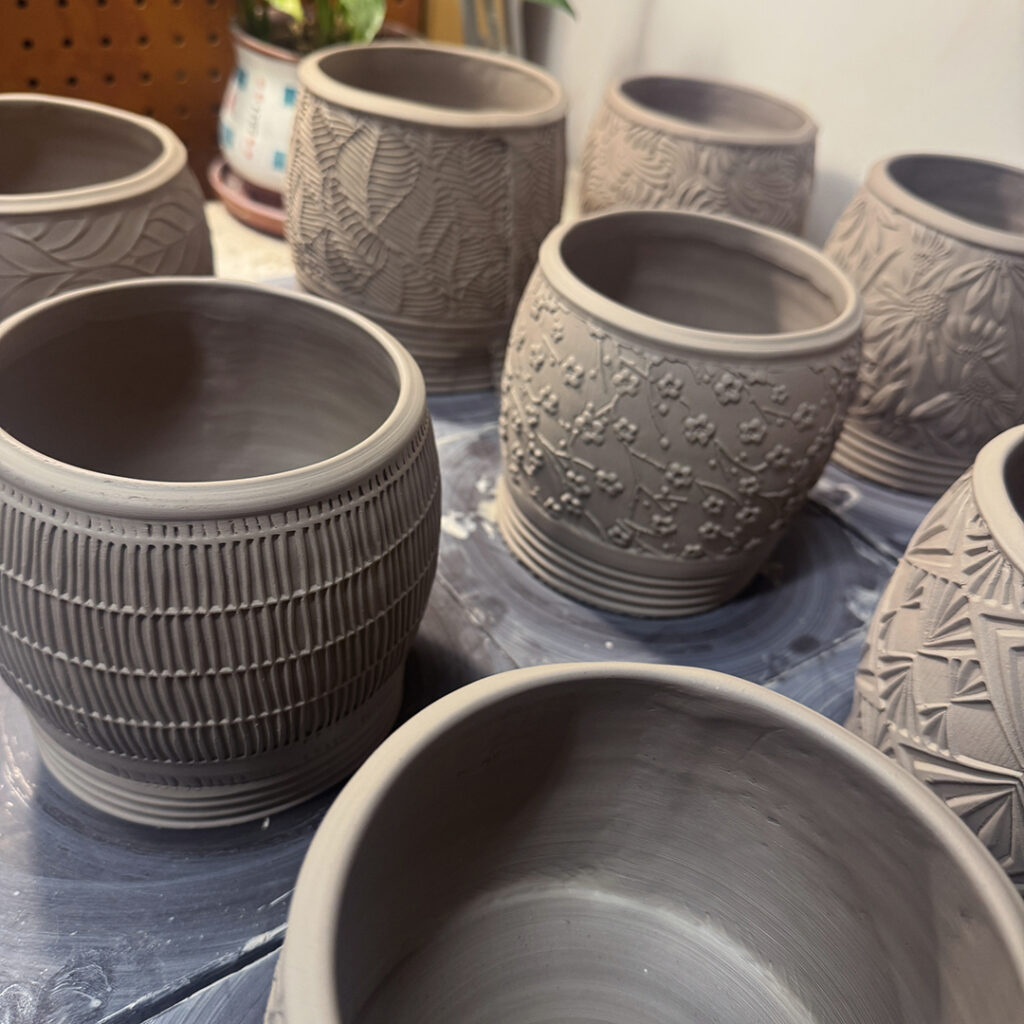
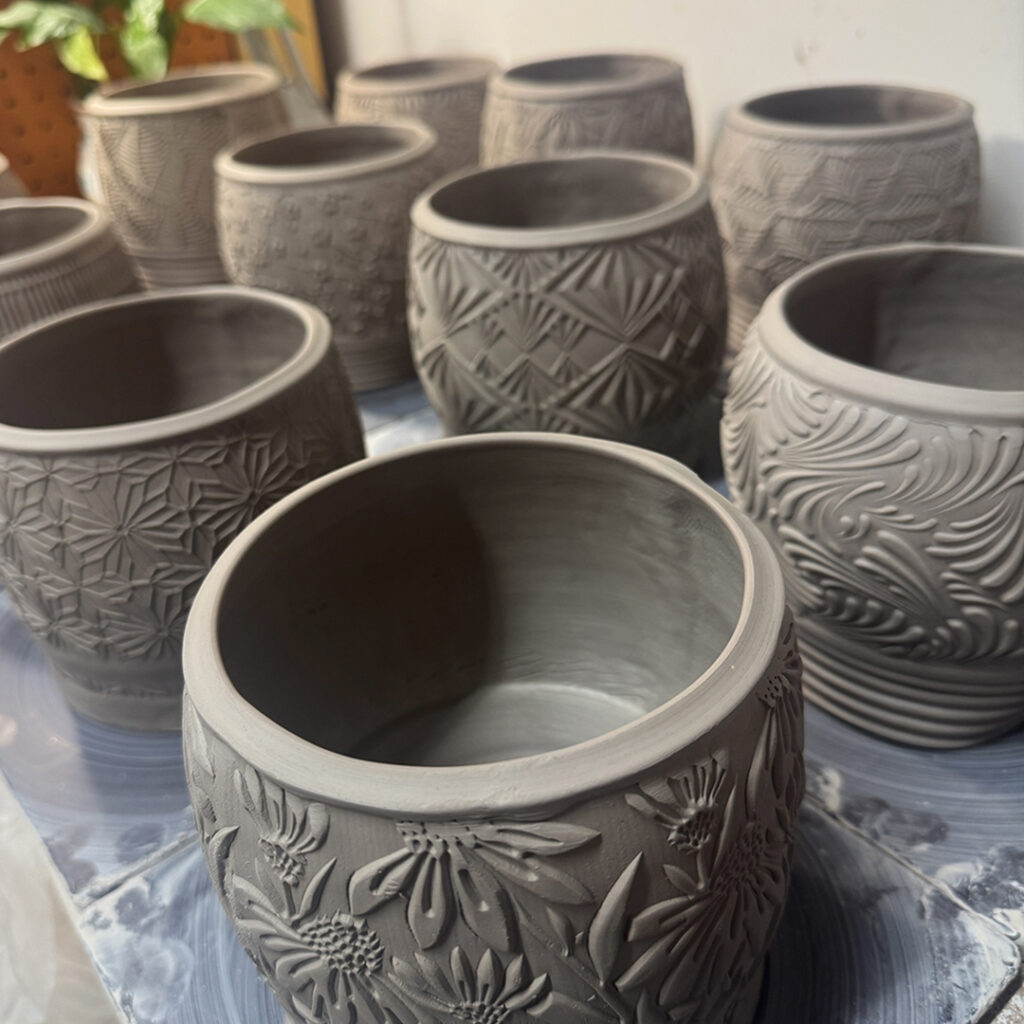
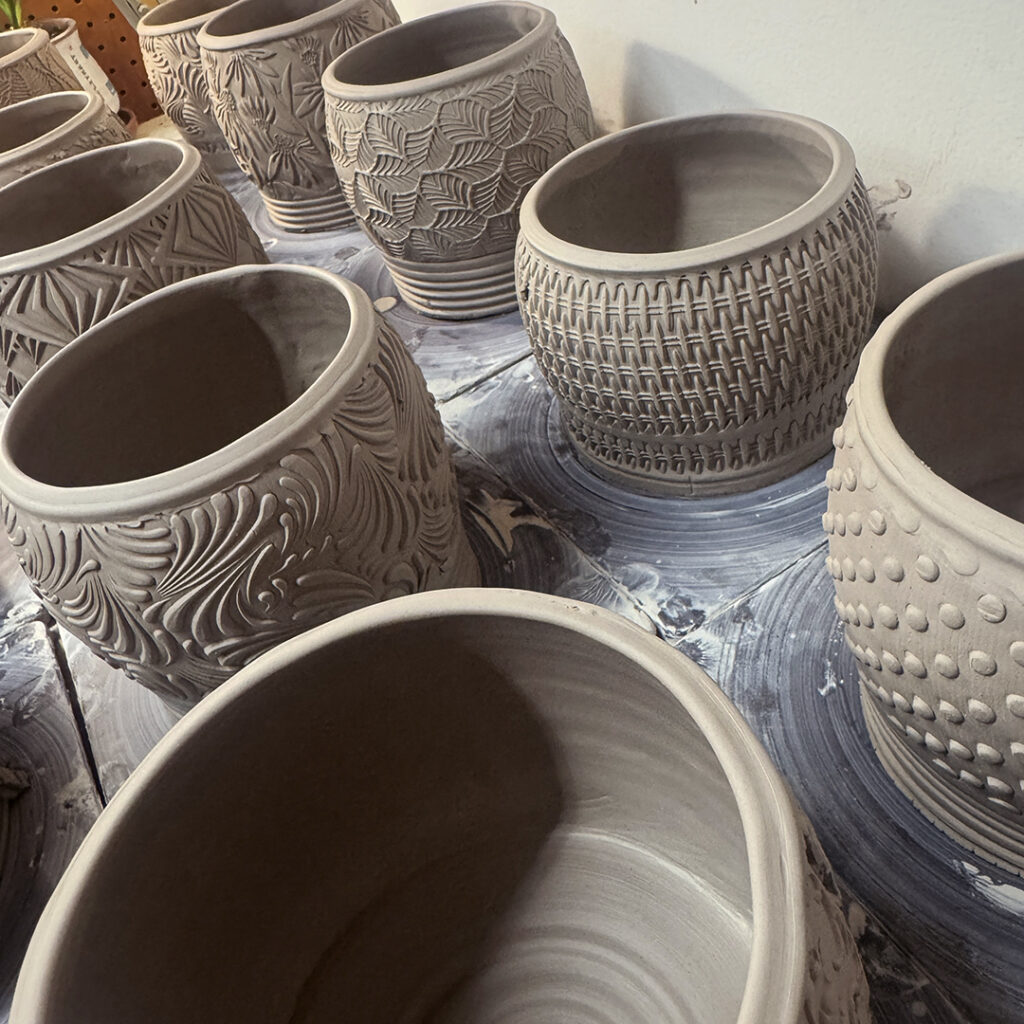
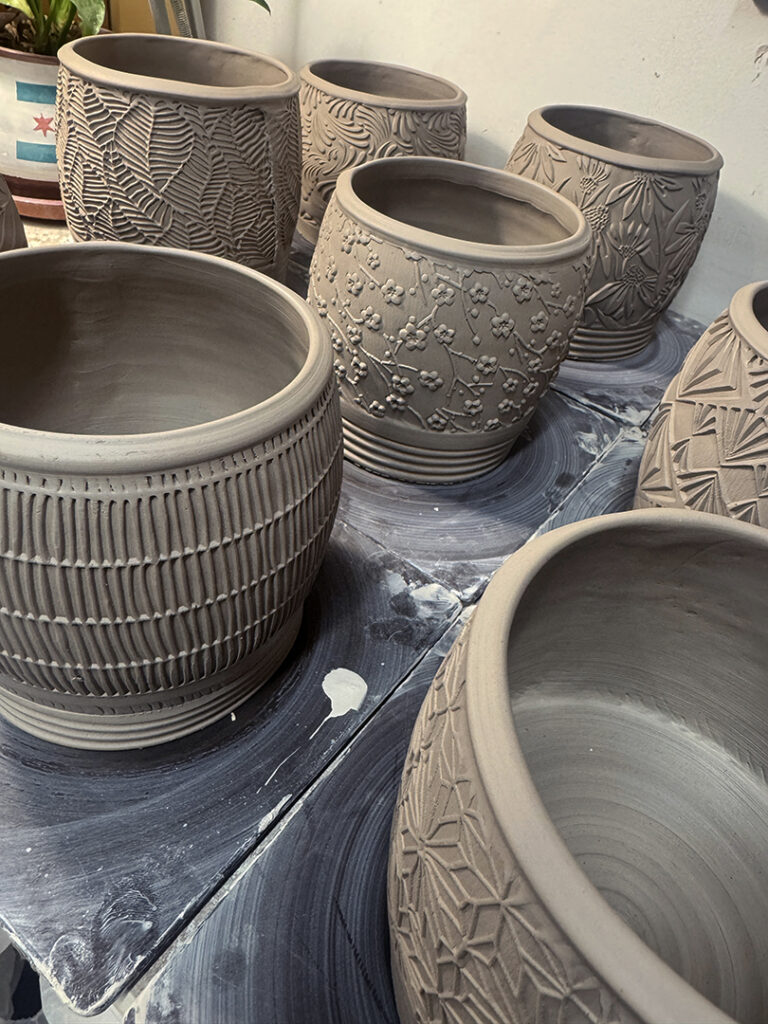

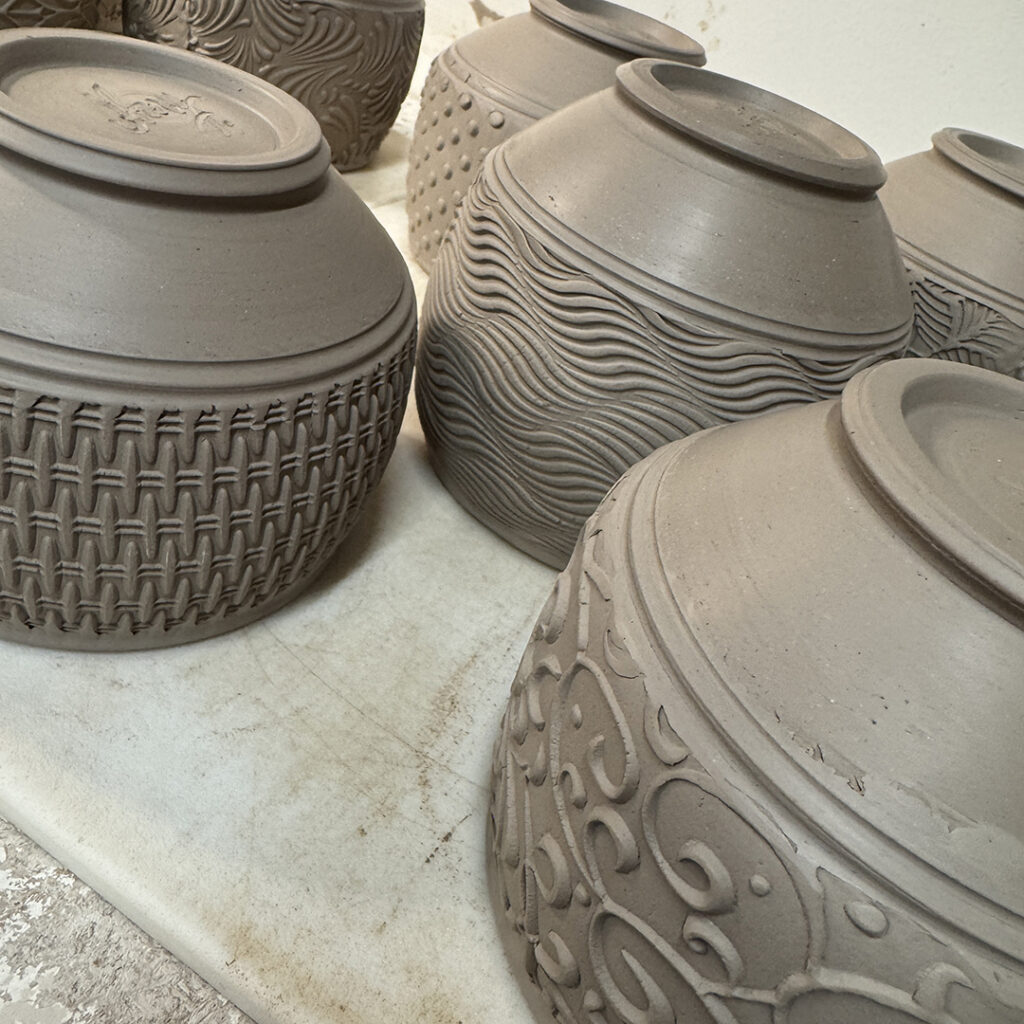
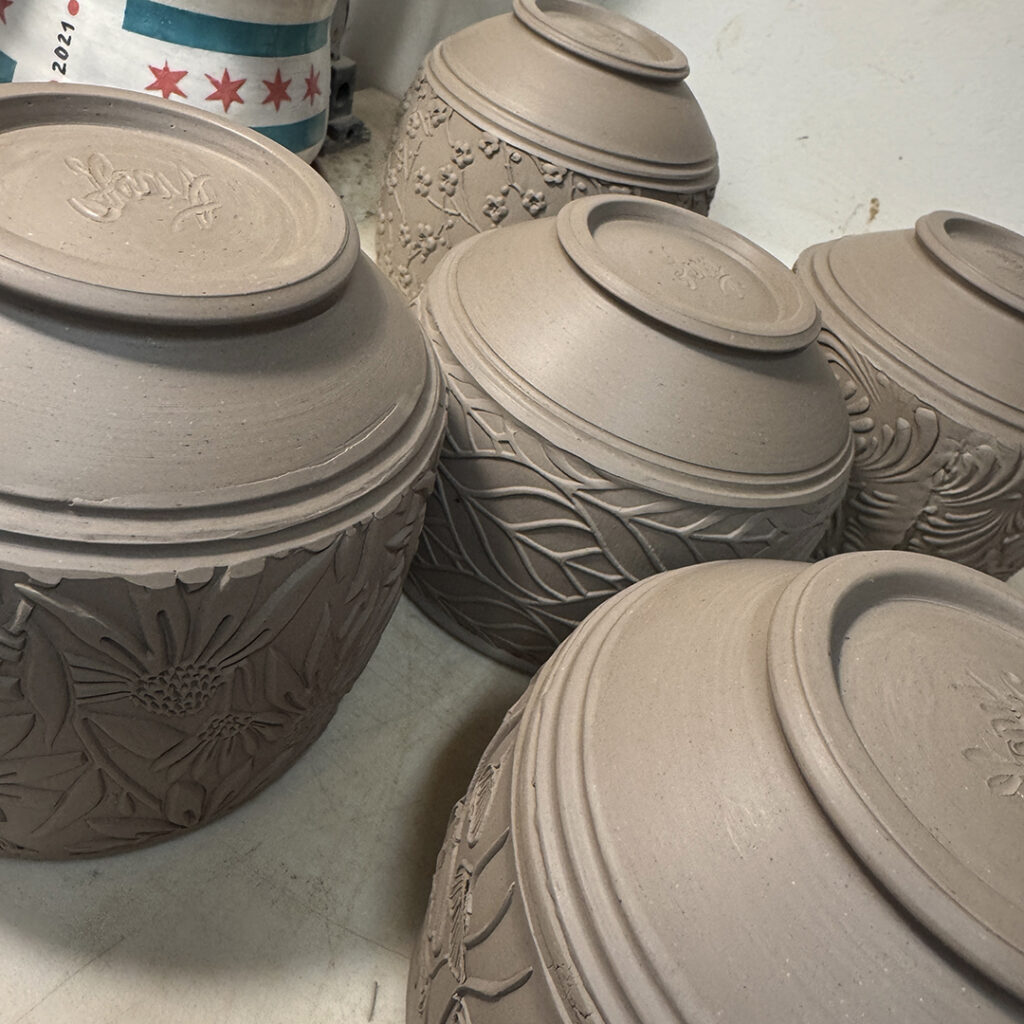
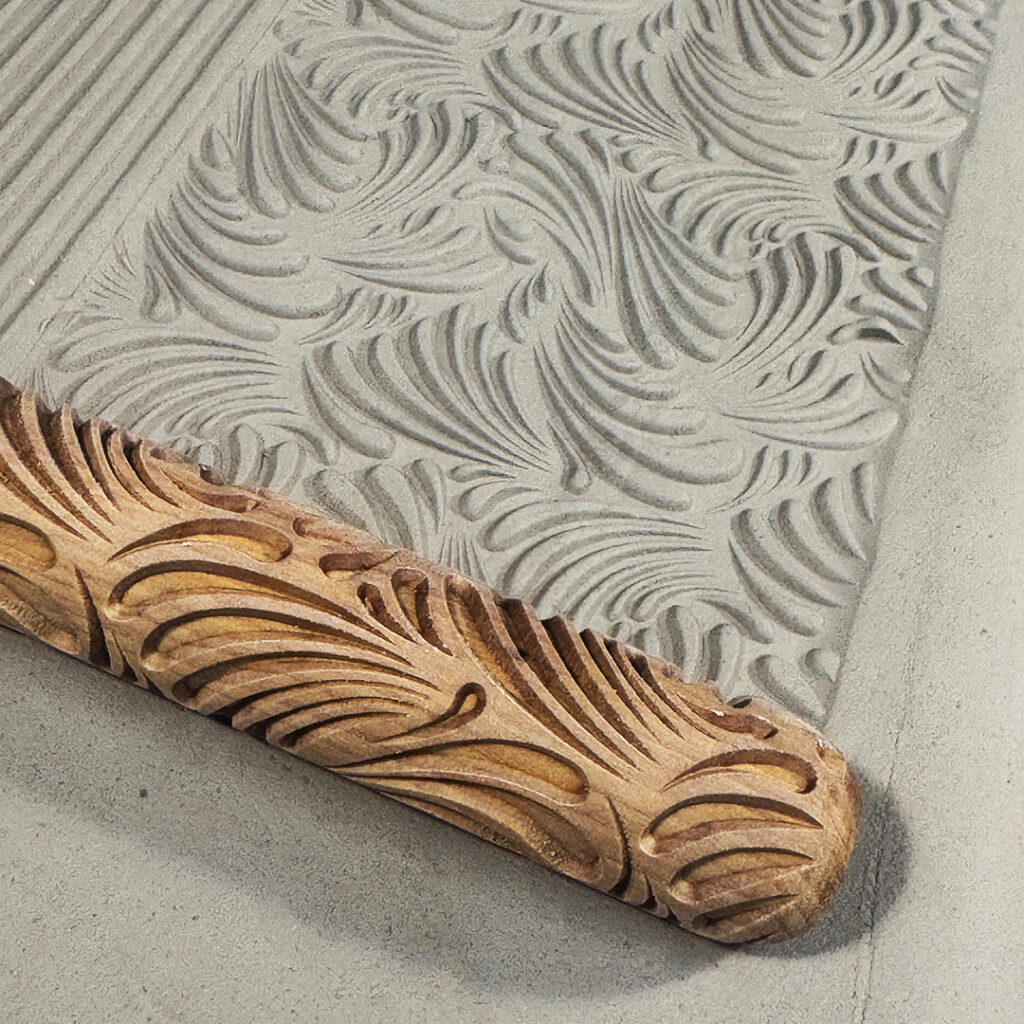
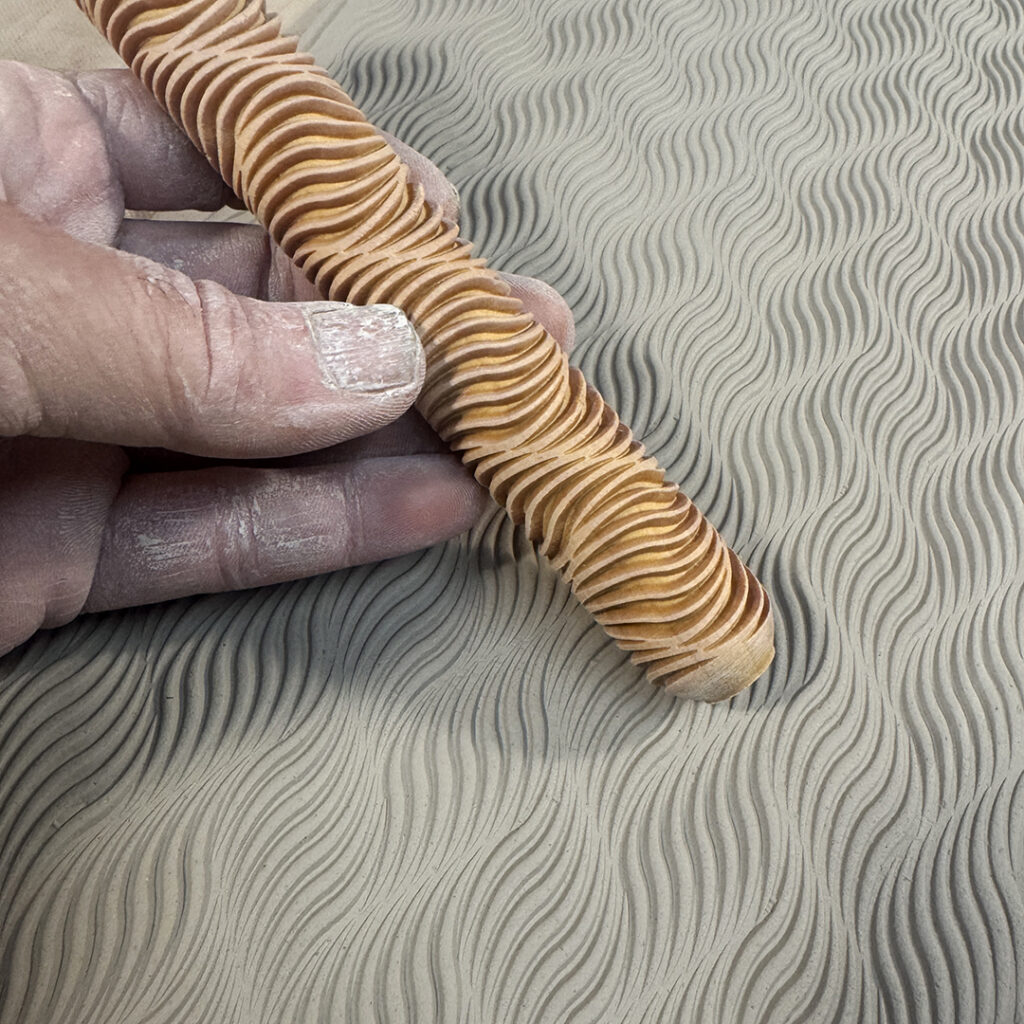
It’s been fun using some of my new handrollers today from MKM Pottery Tools. I’m generally a more “geometric” kinda guy when it comes to patterns & textures. But I will say I’m pretty excited about some of these new rollers that a more “illustrative” pattern on them. We’ll see how it goes with more rollers for more patterns!!!
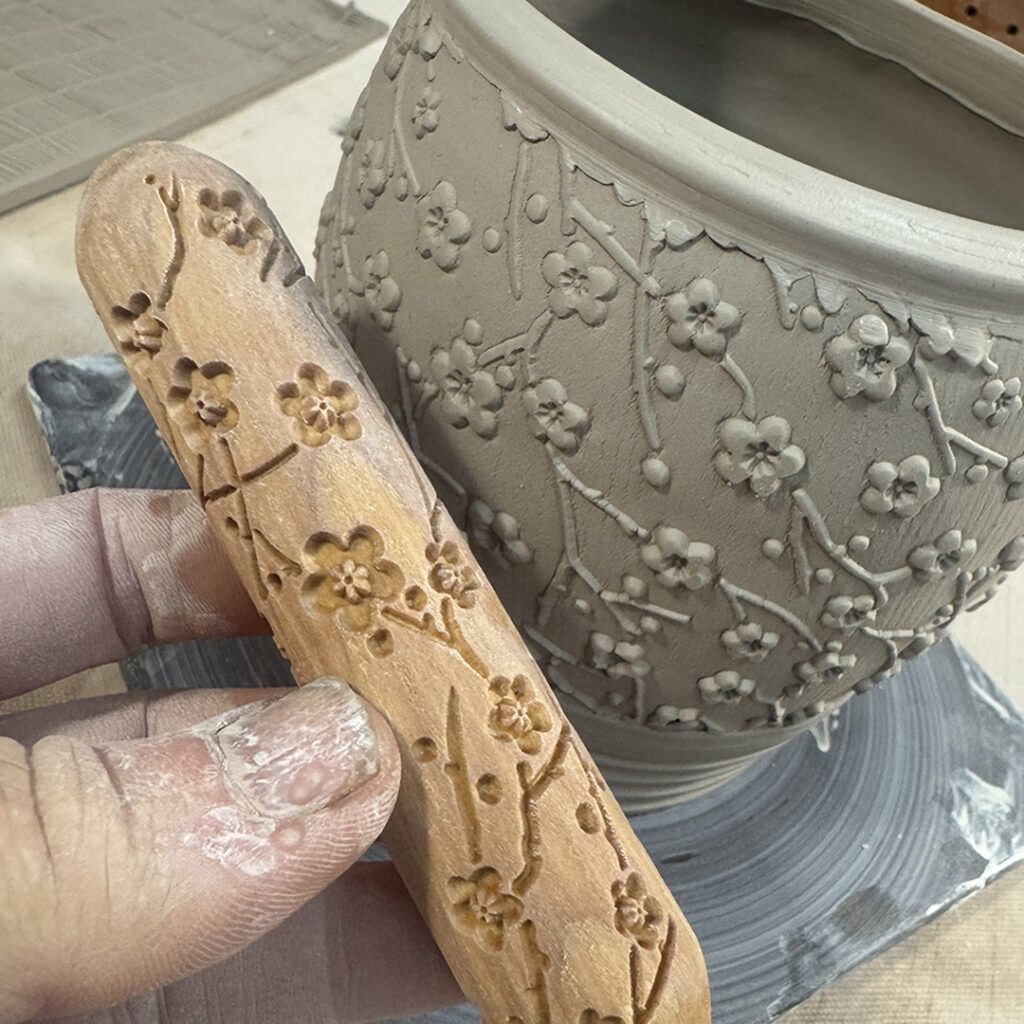
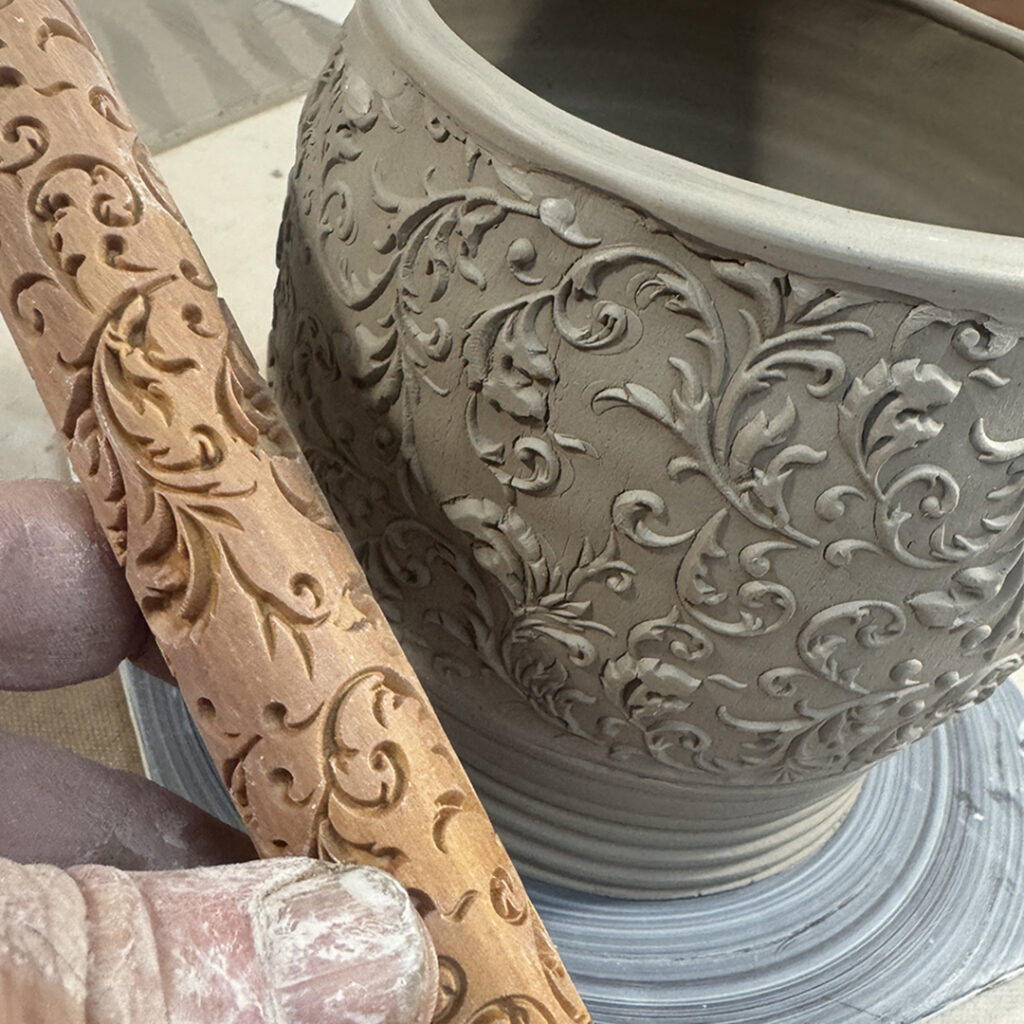
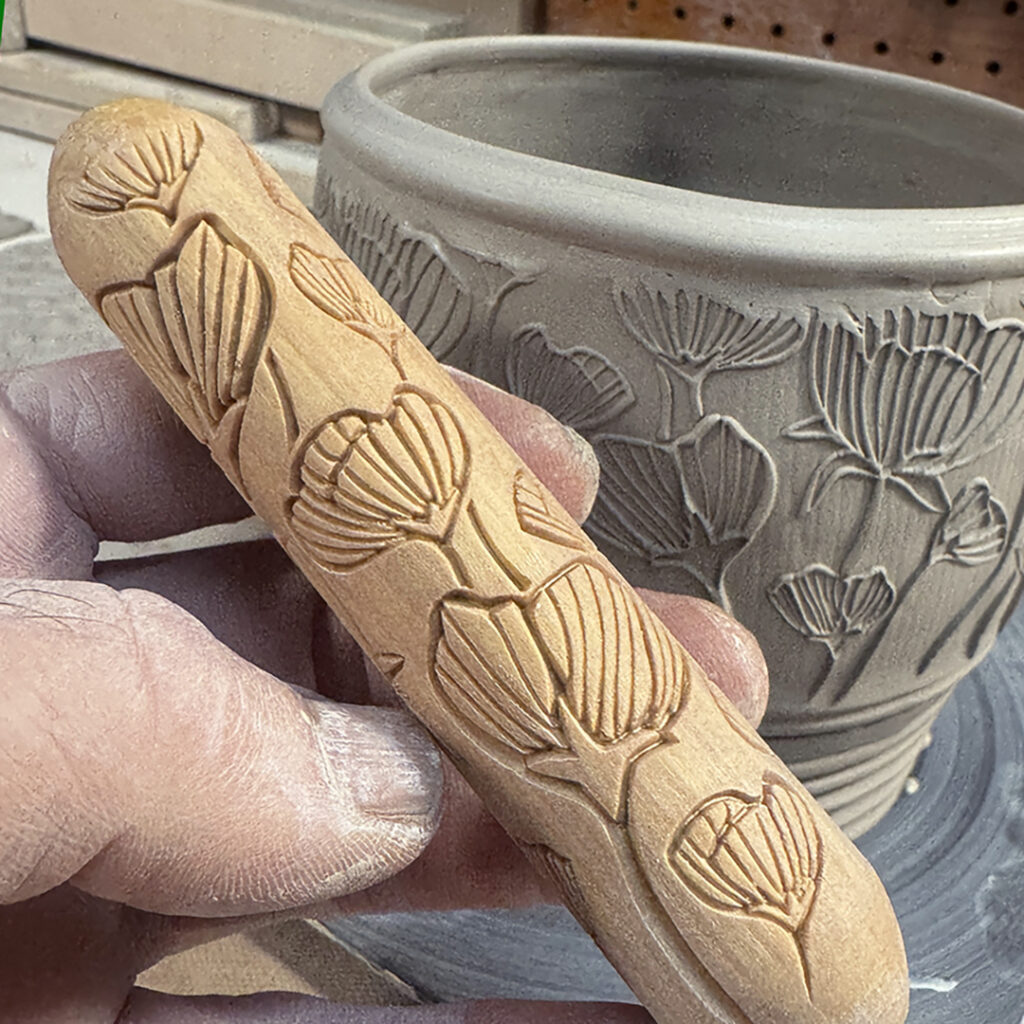


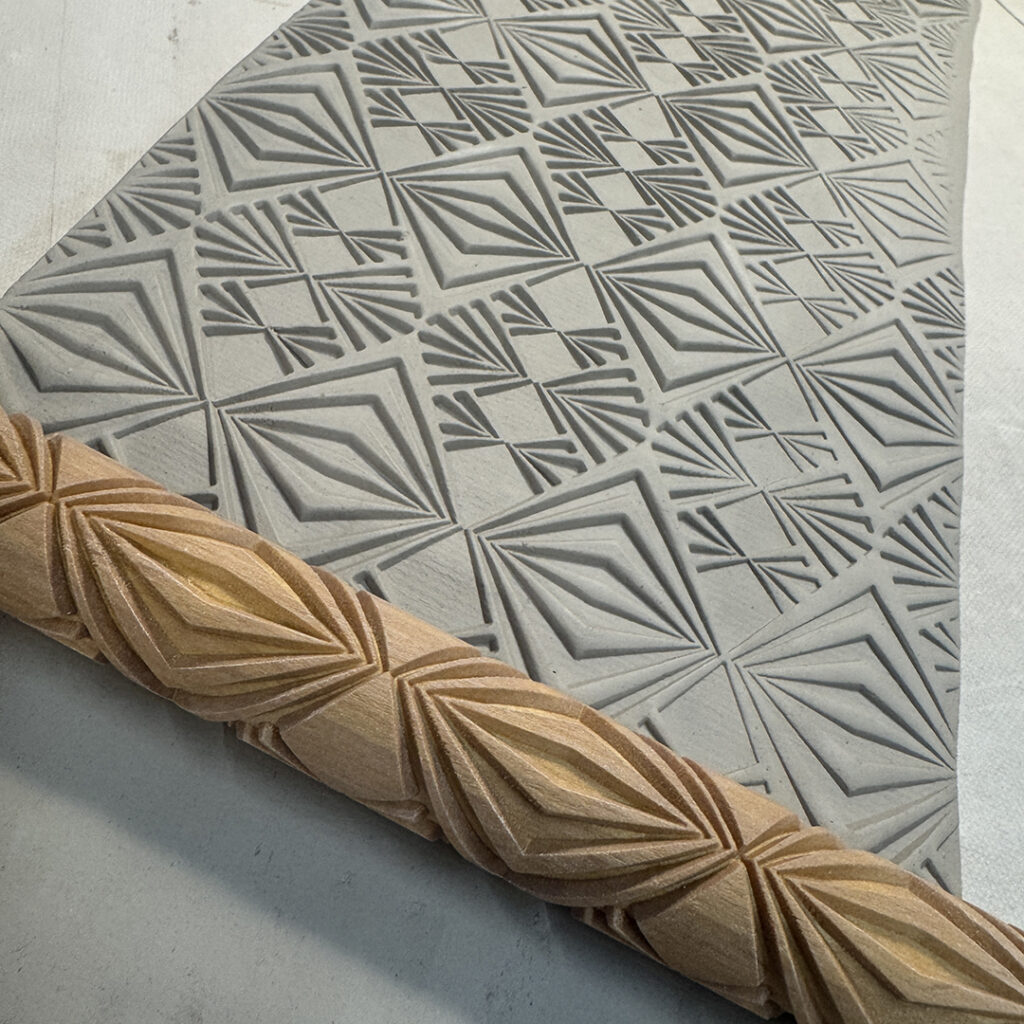
Here we go again… making some textured slabs with my new MKM Pottery Tools handrollers. Fun patterns with crisp clean edges… coming soon to a new batch of “hybrid” mugs! This is the handbuilding part… soon to be added to the wheelthrown part! Thus… “HYBRID” mugs!!!

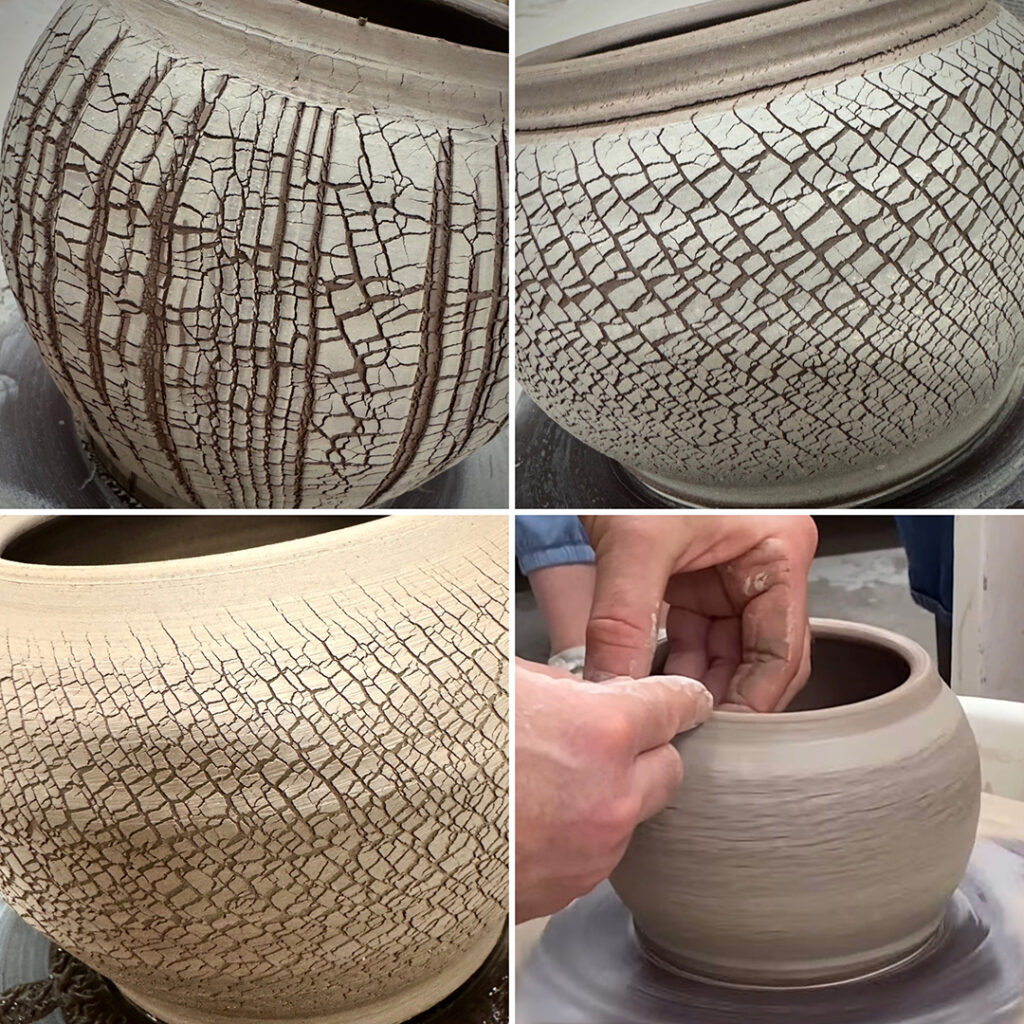
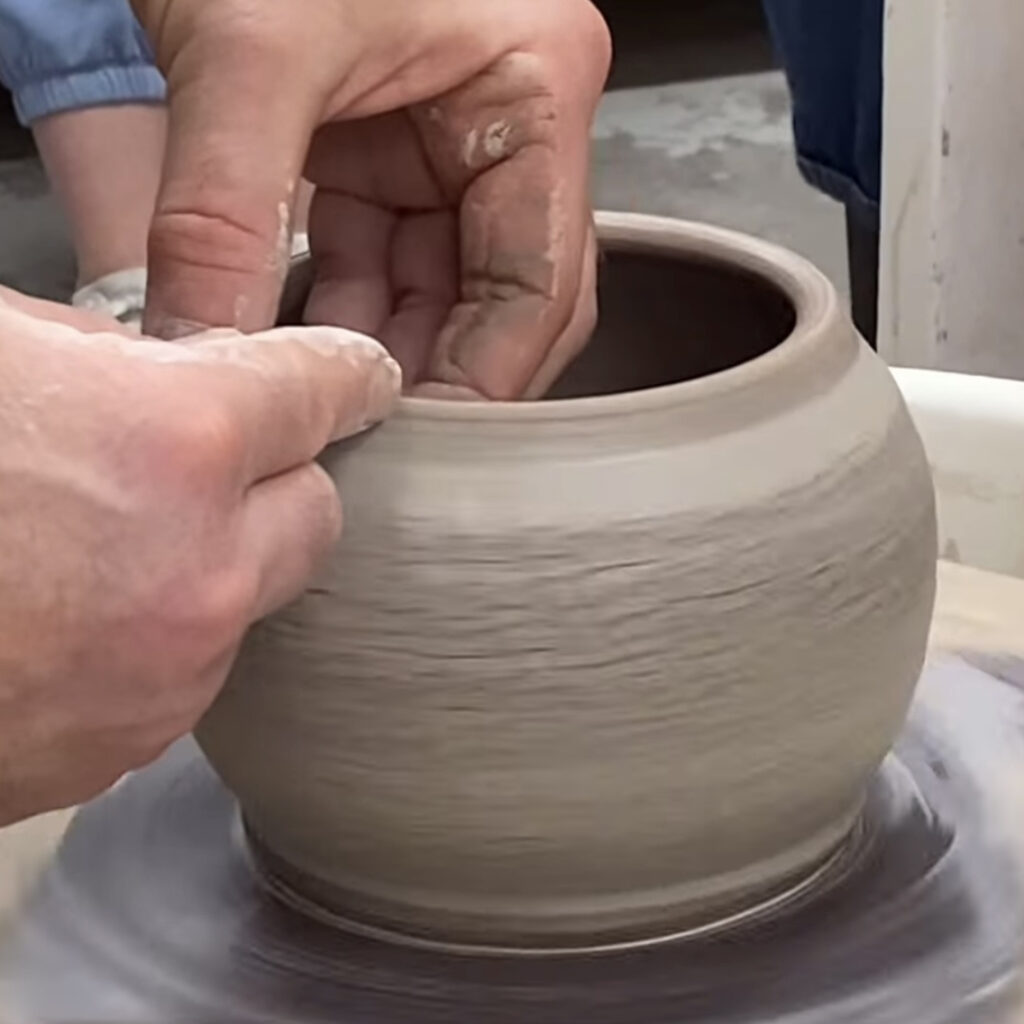
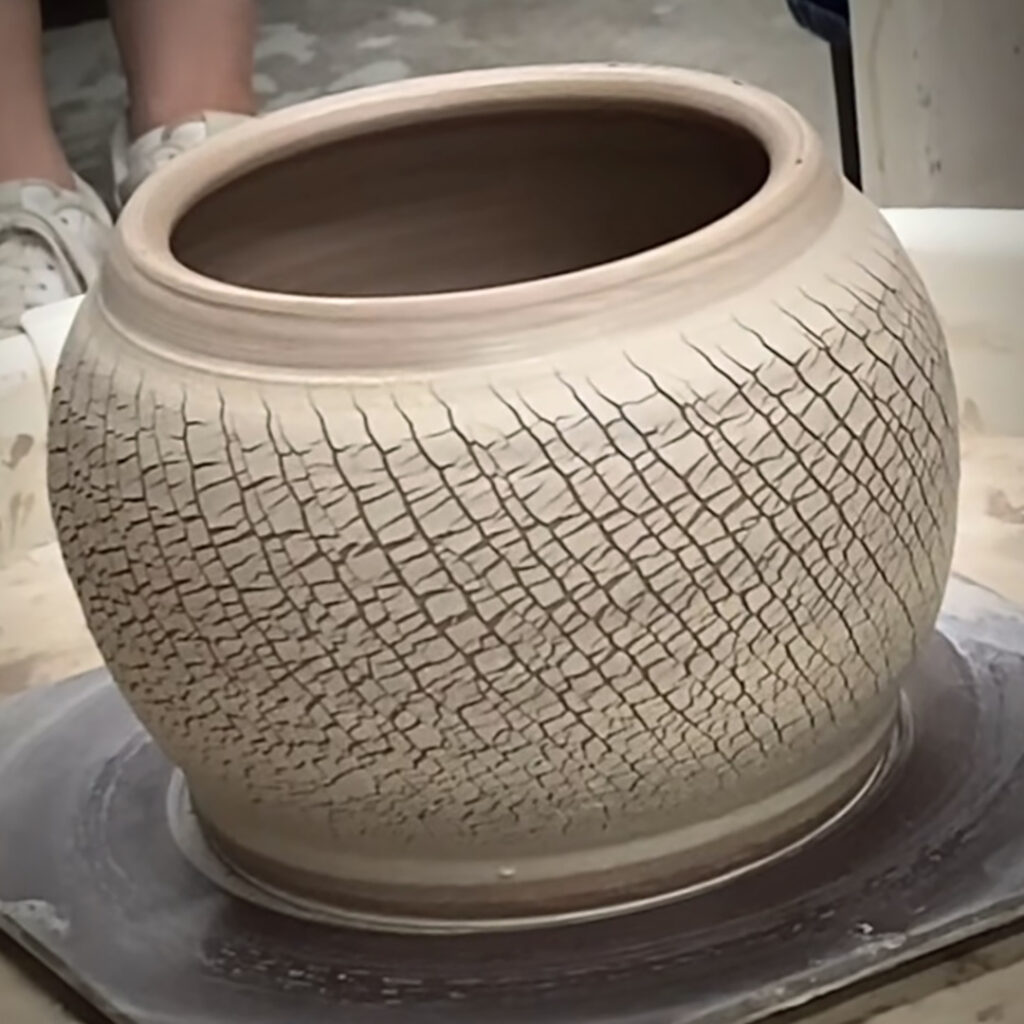
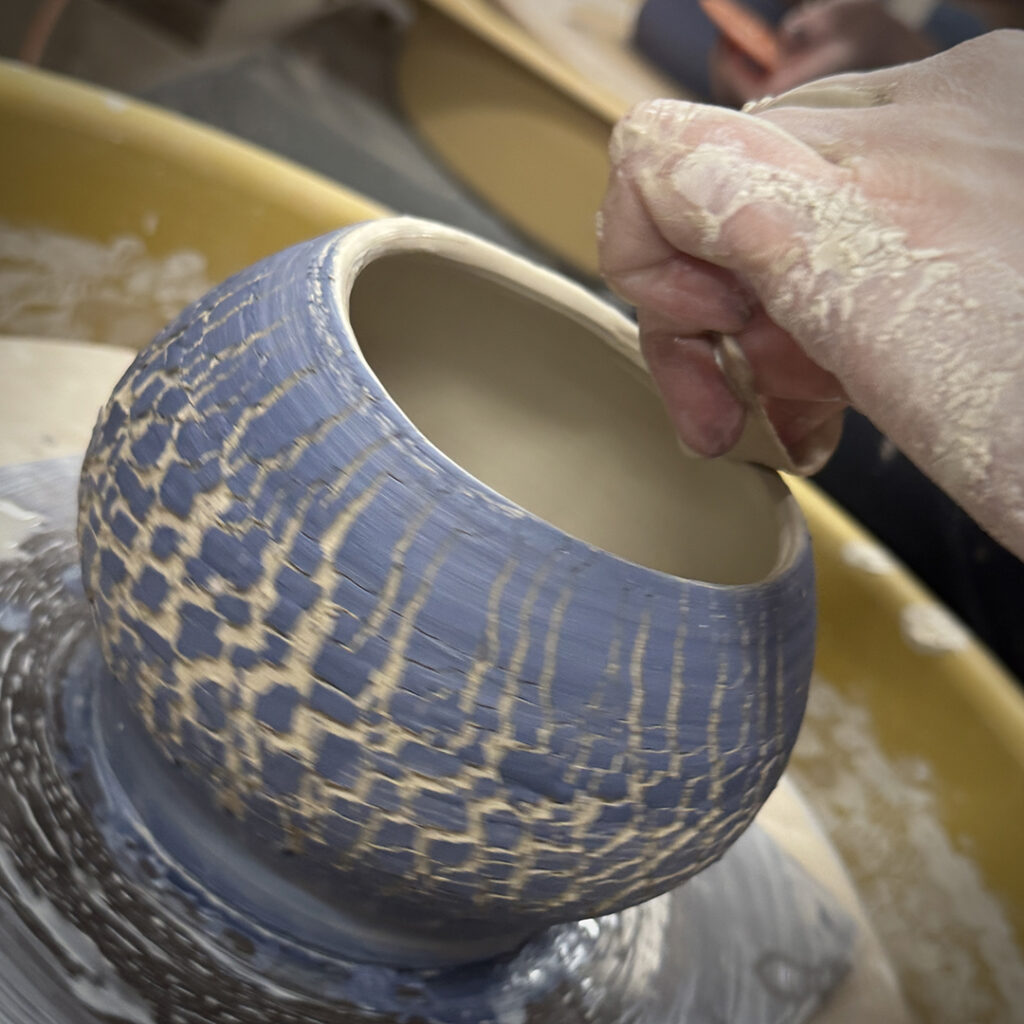
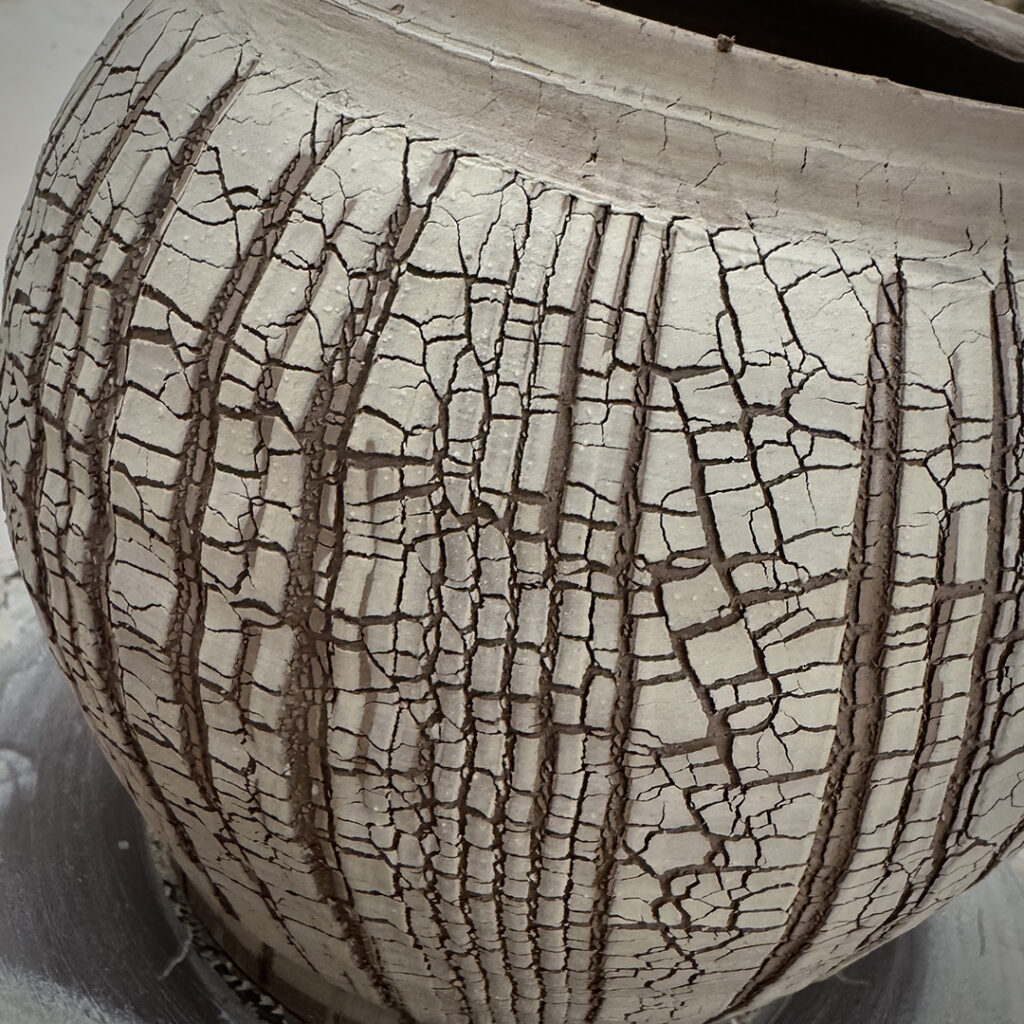
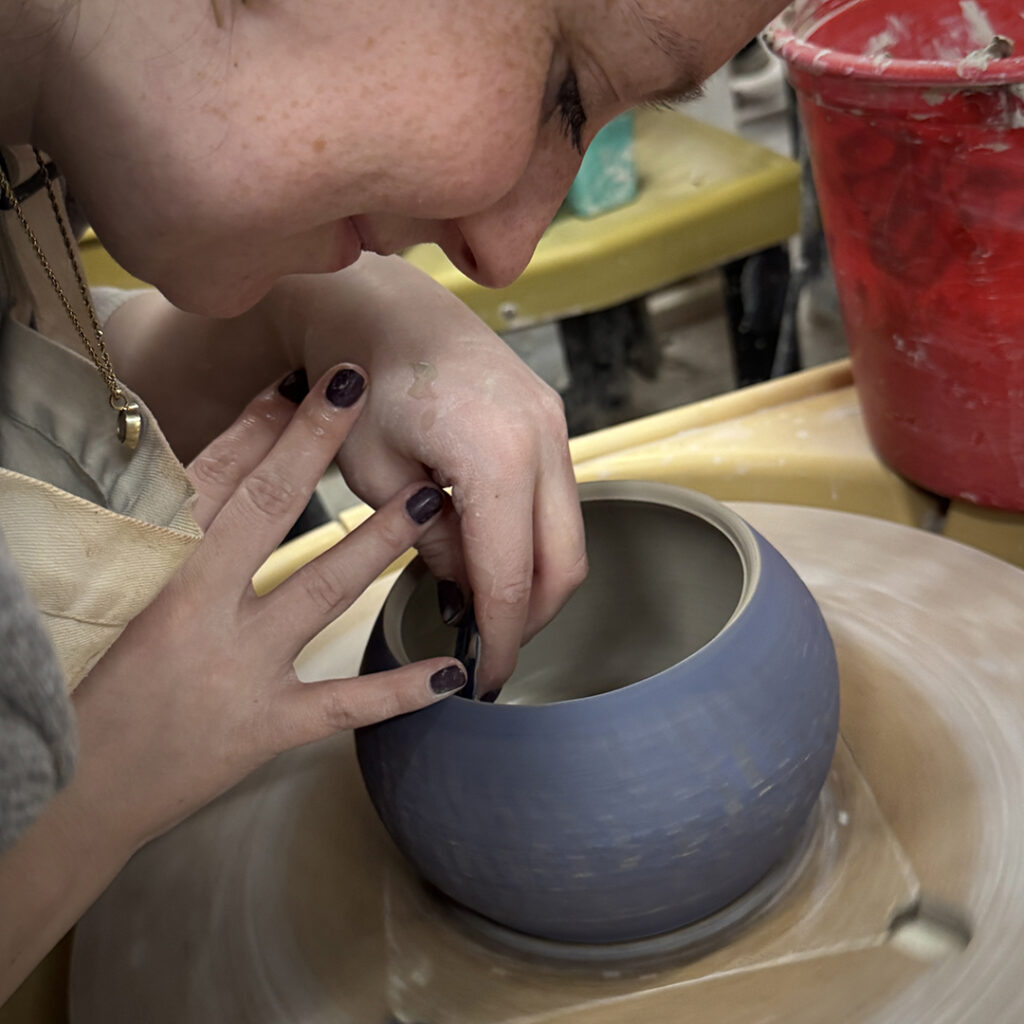
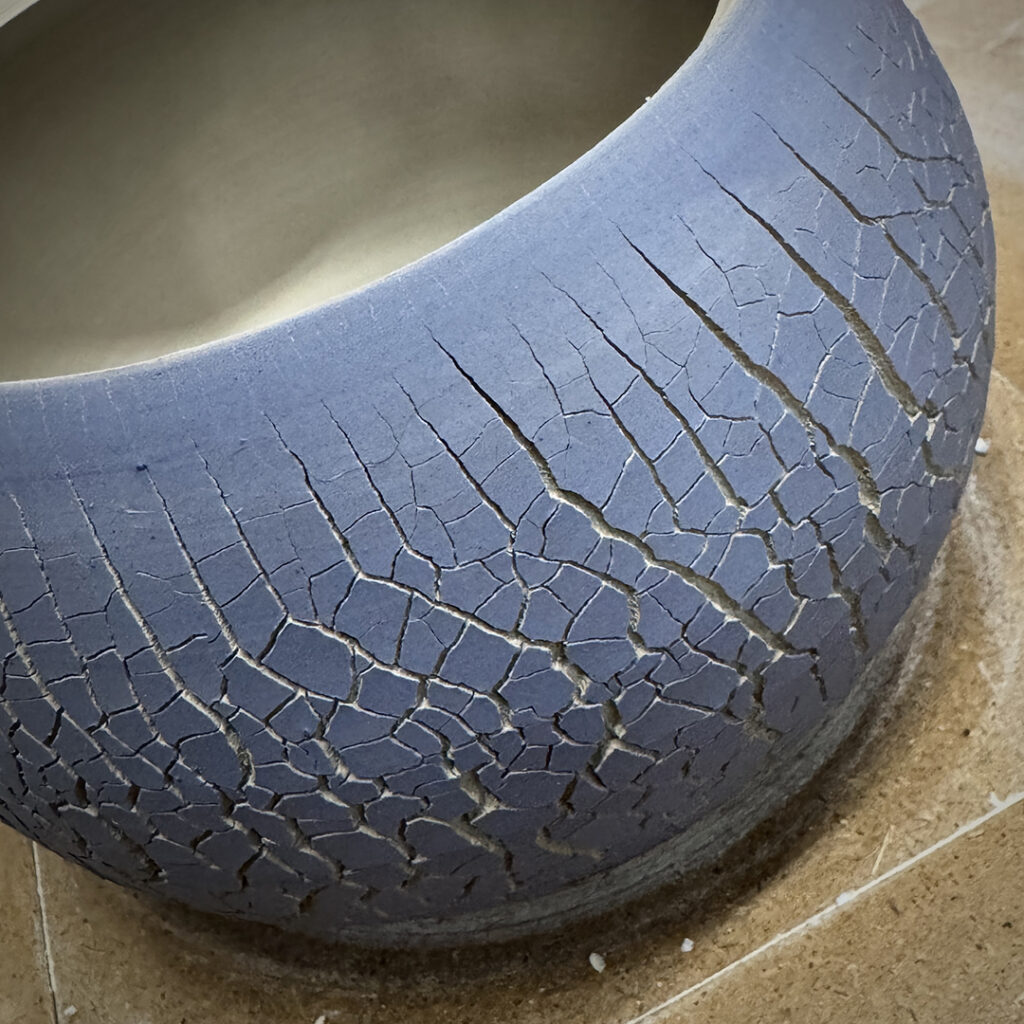
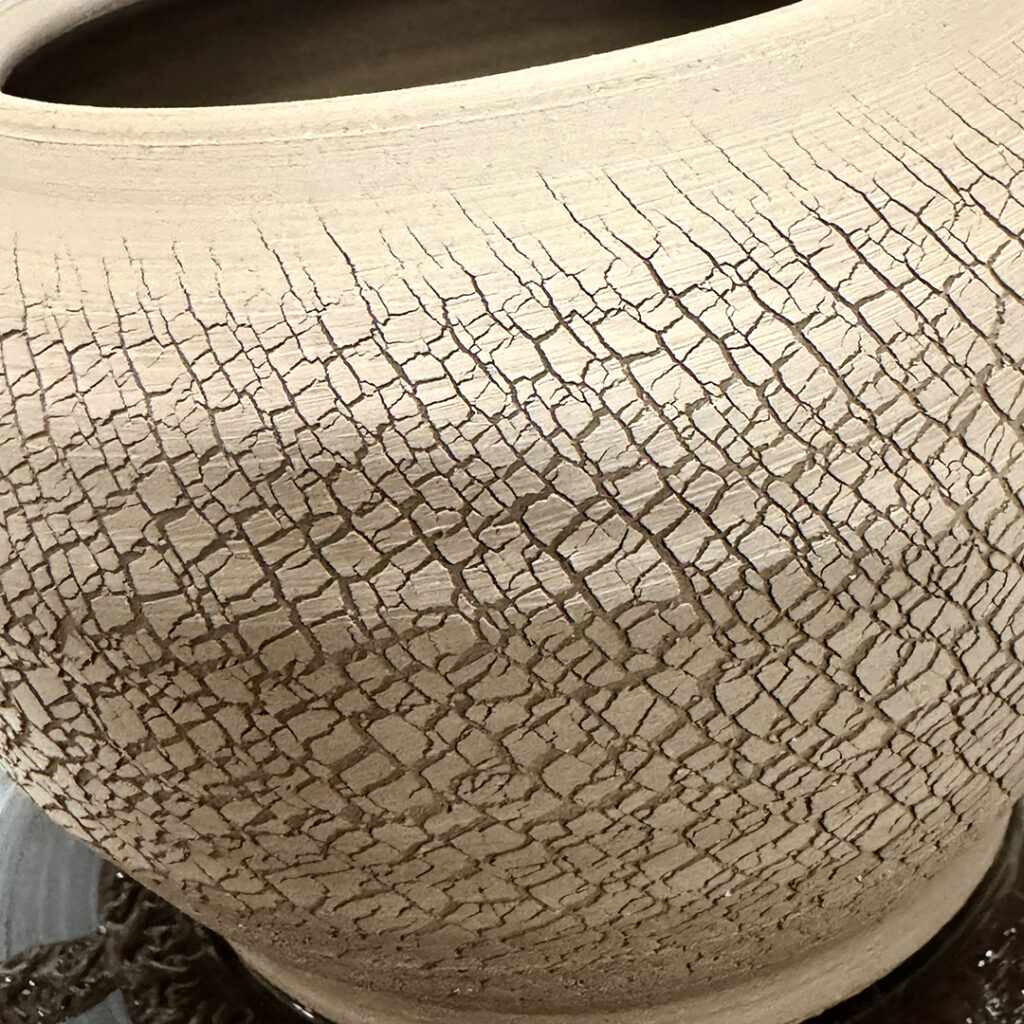
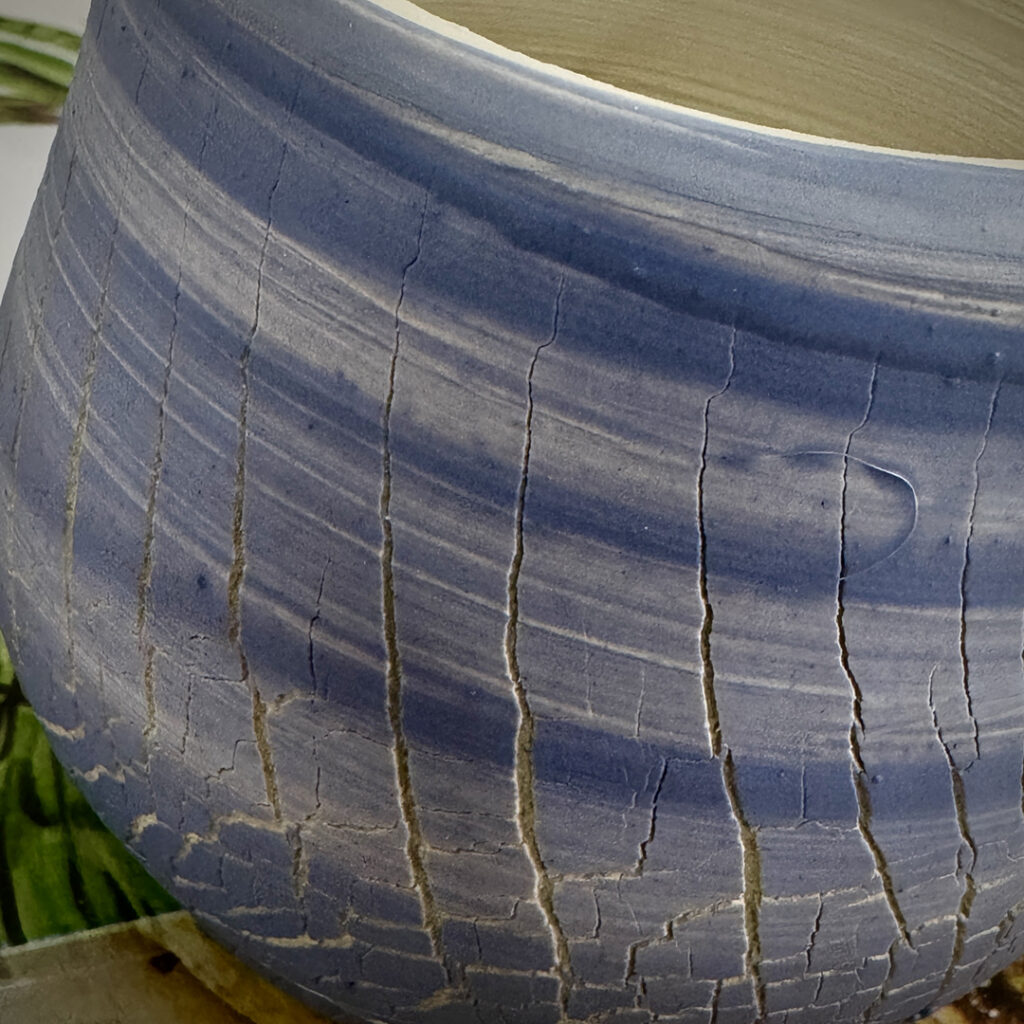
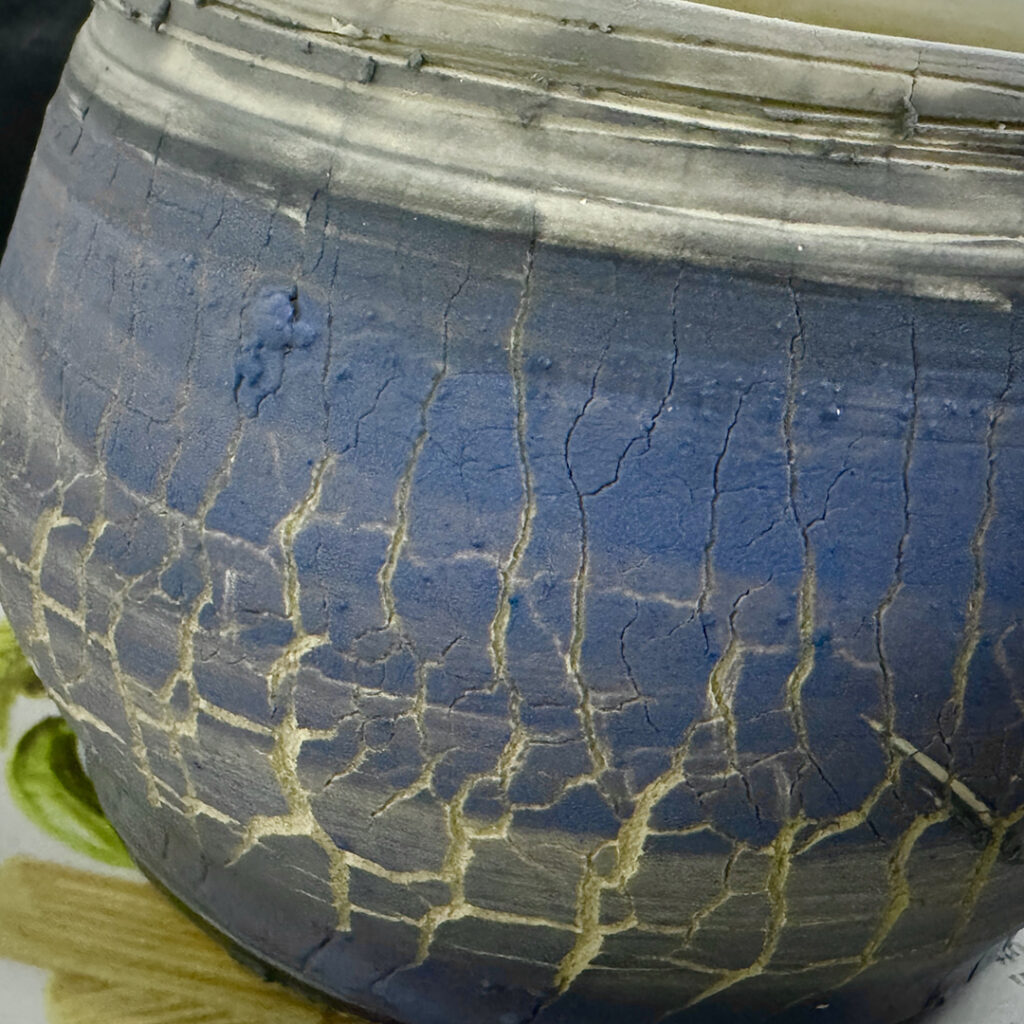
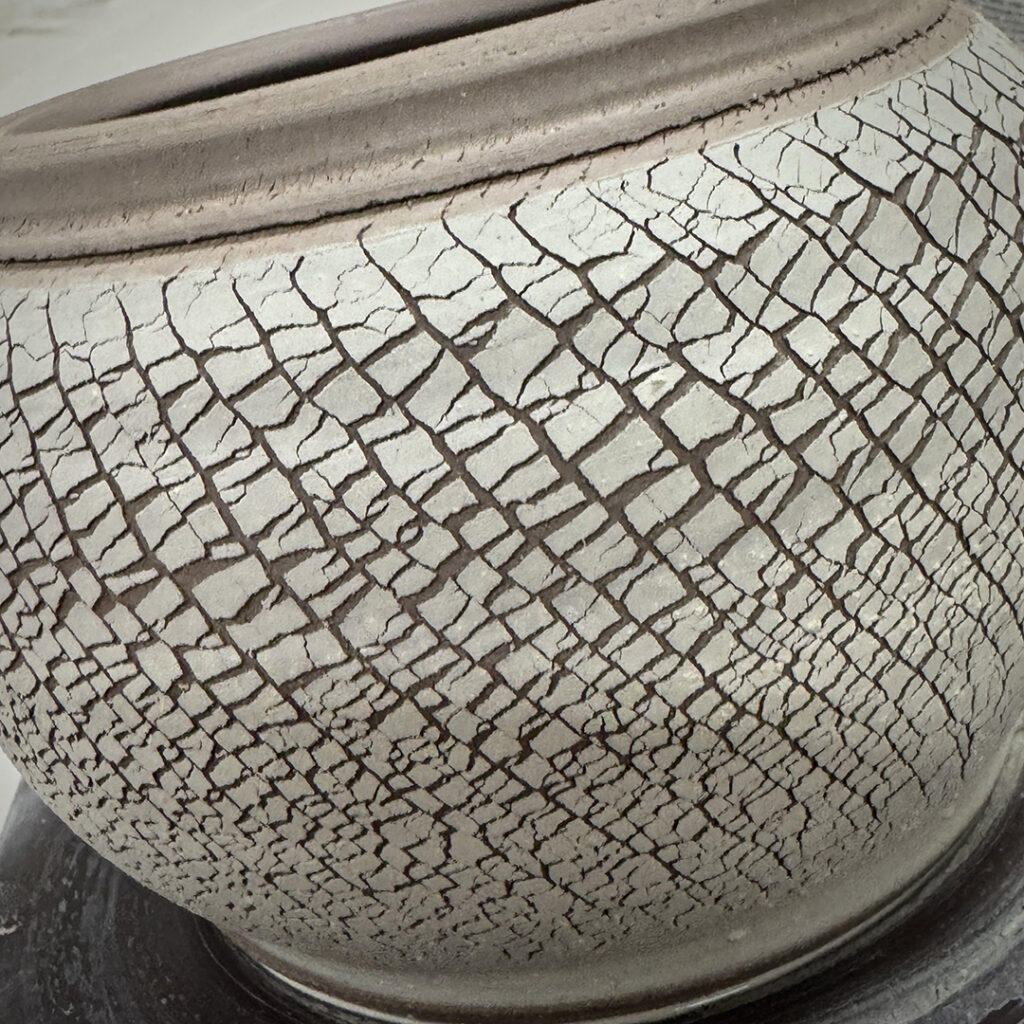
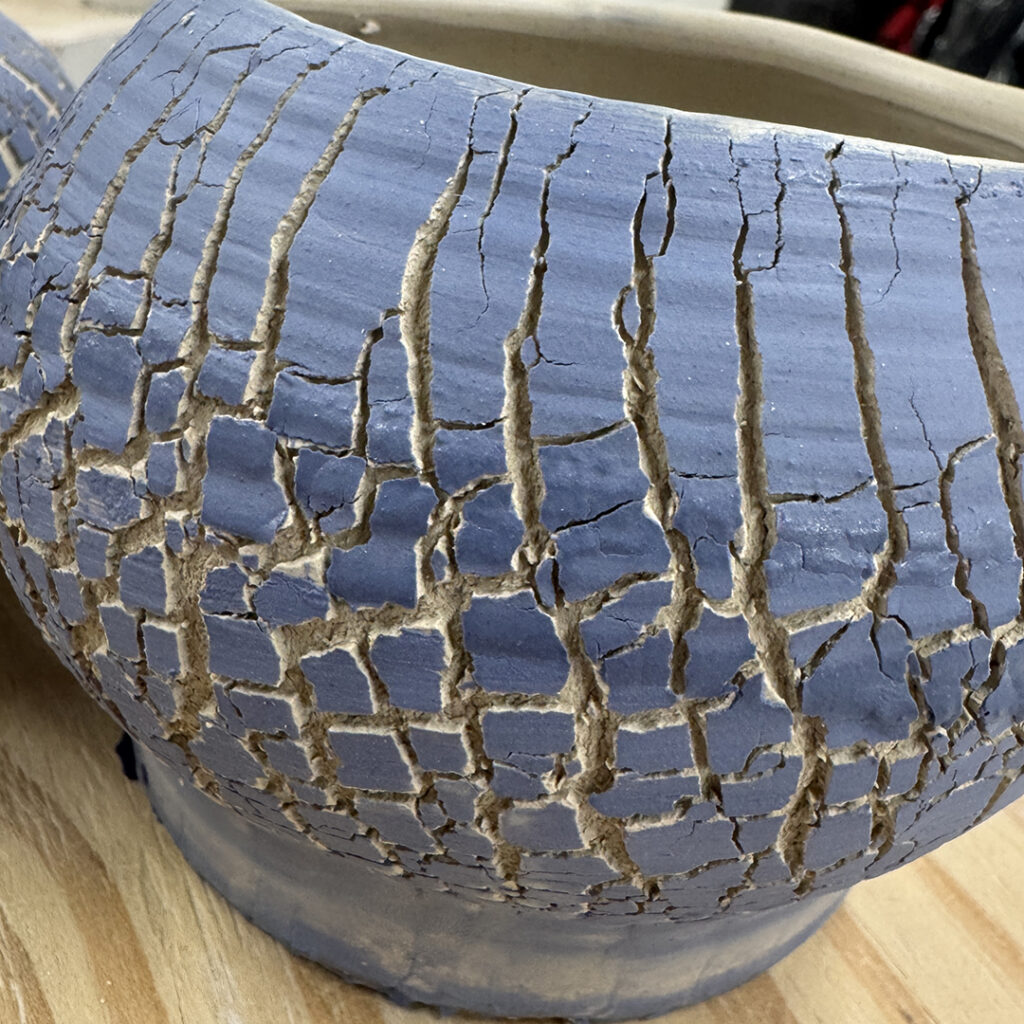
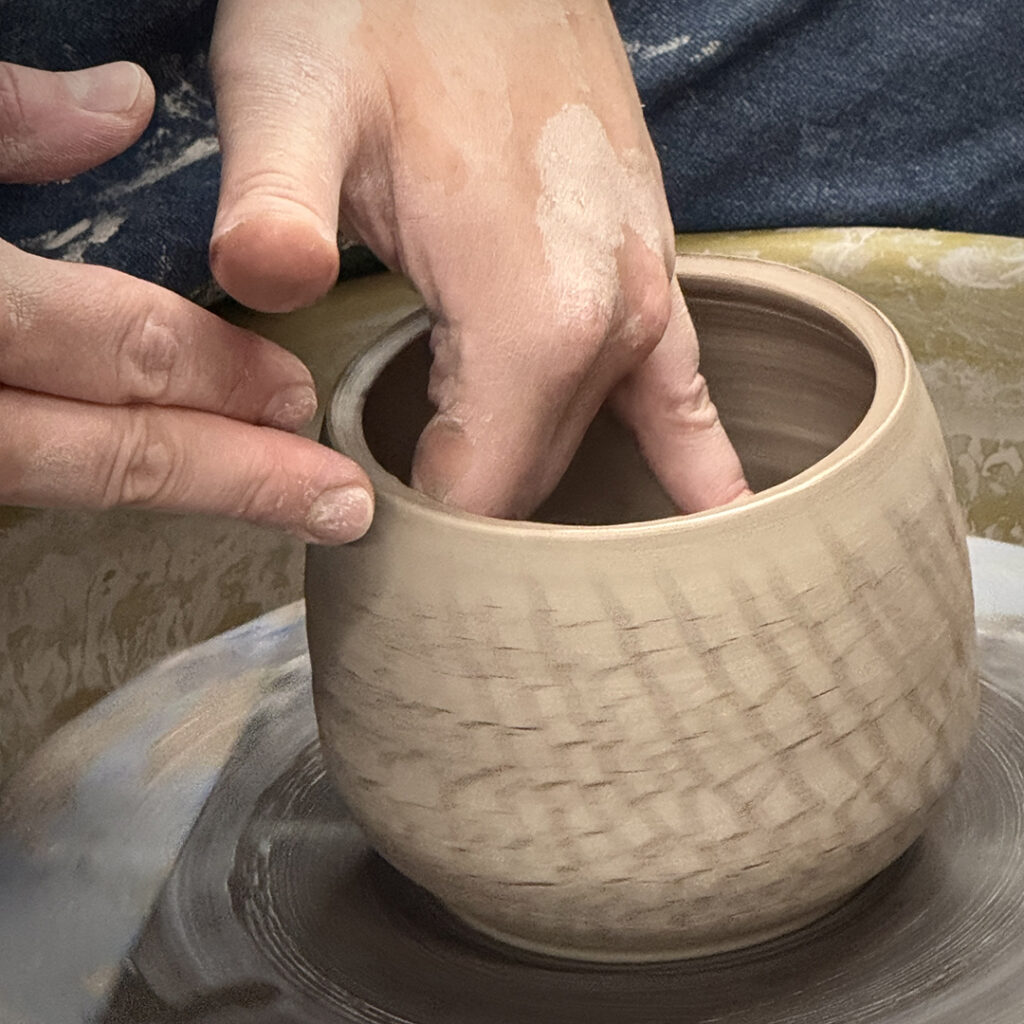
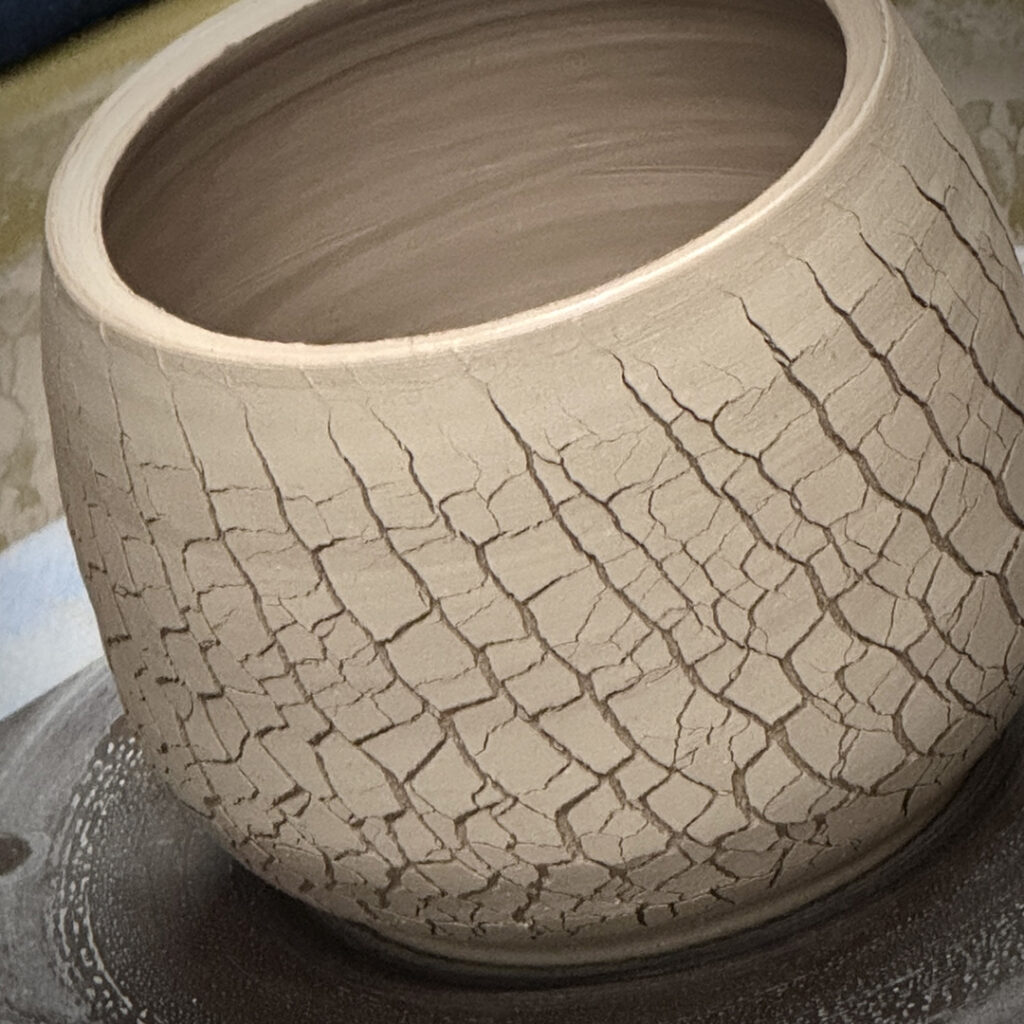
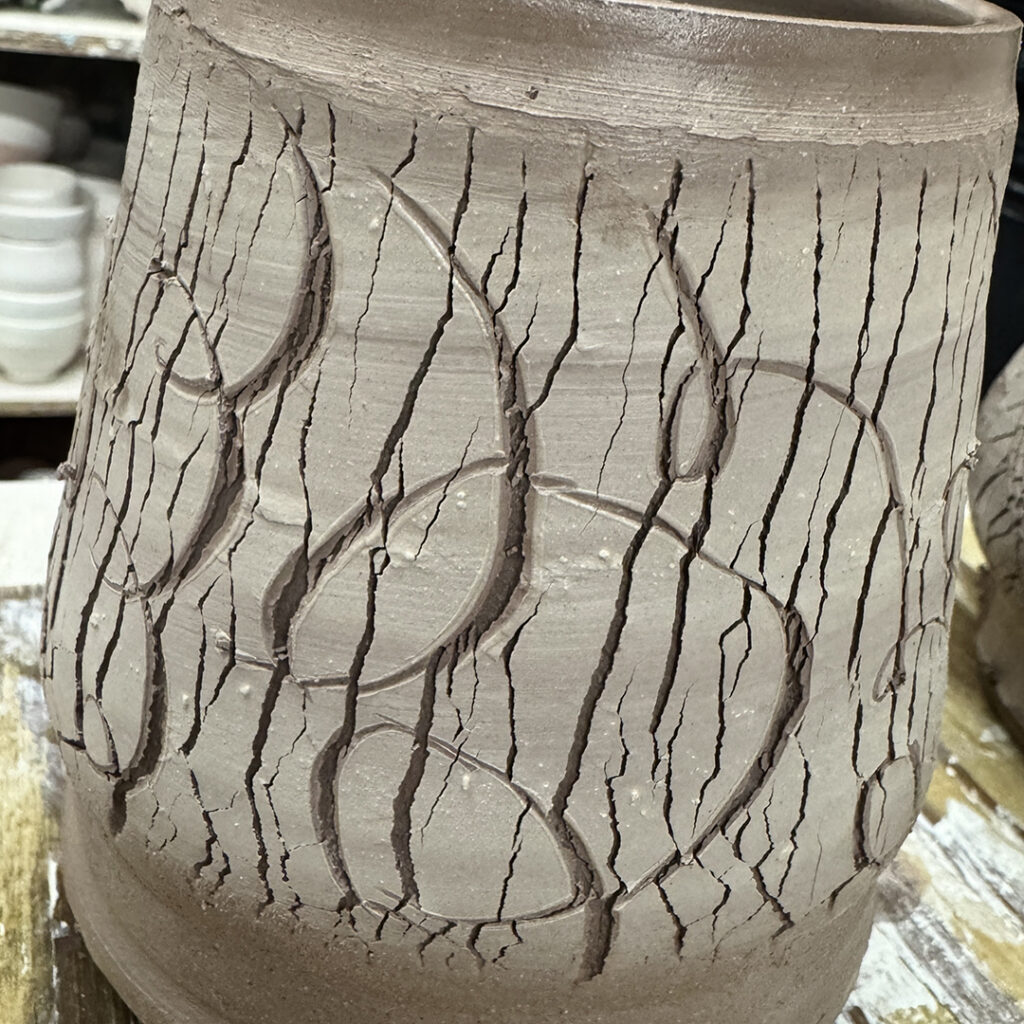
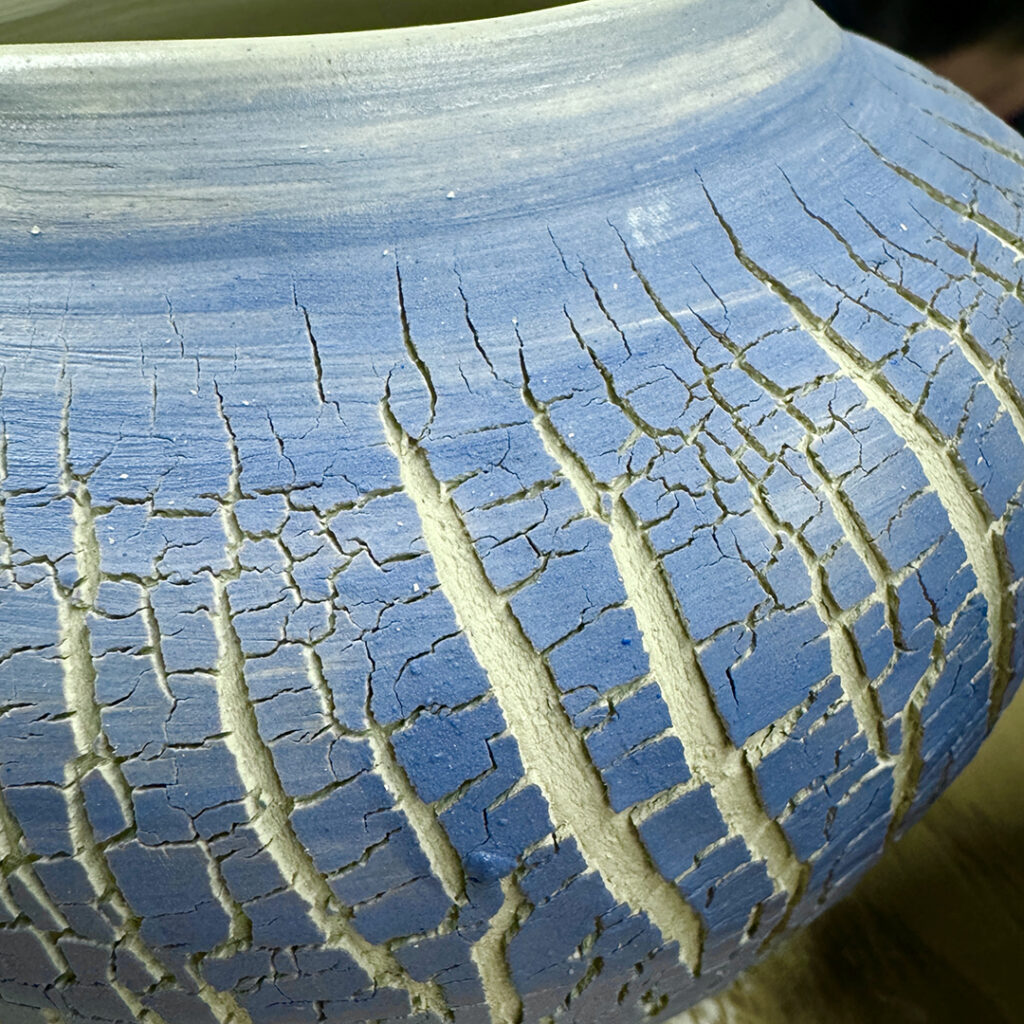
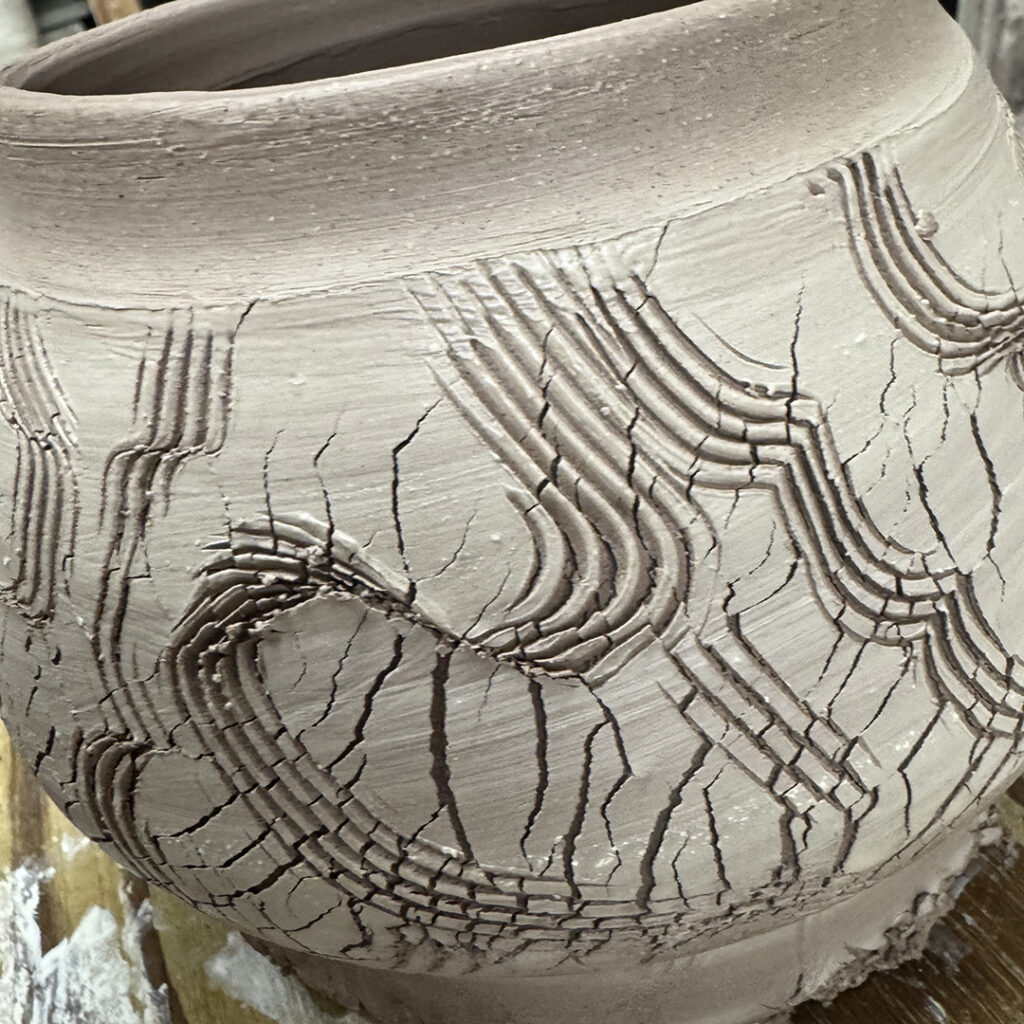
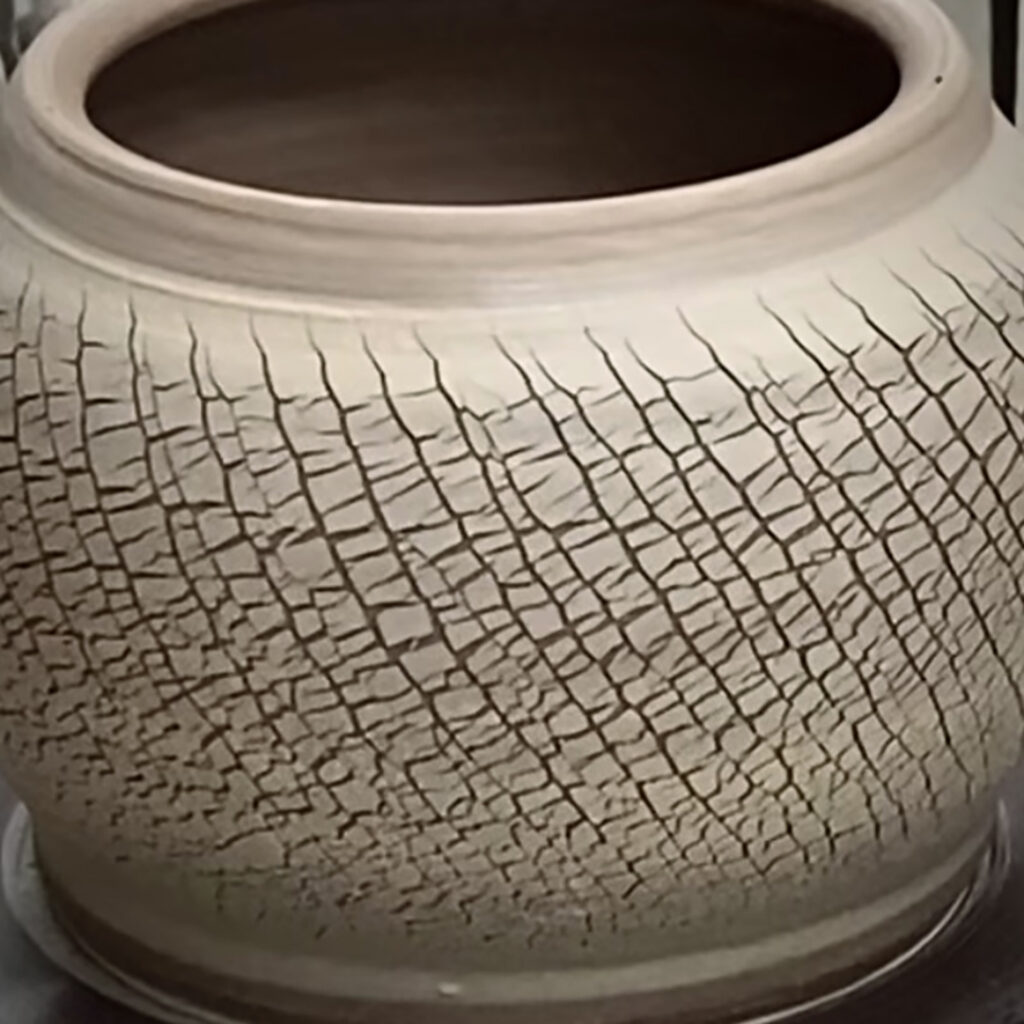
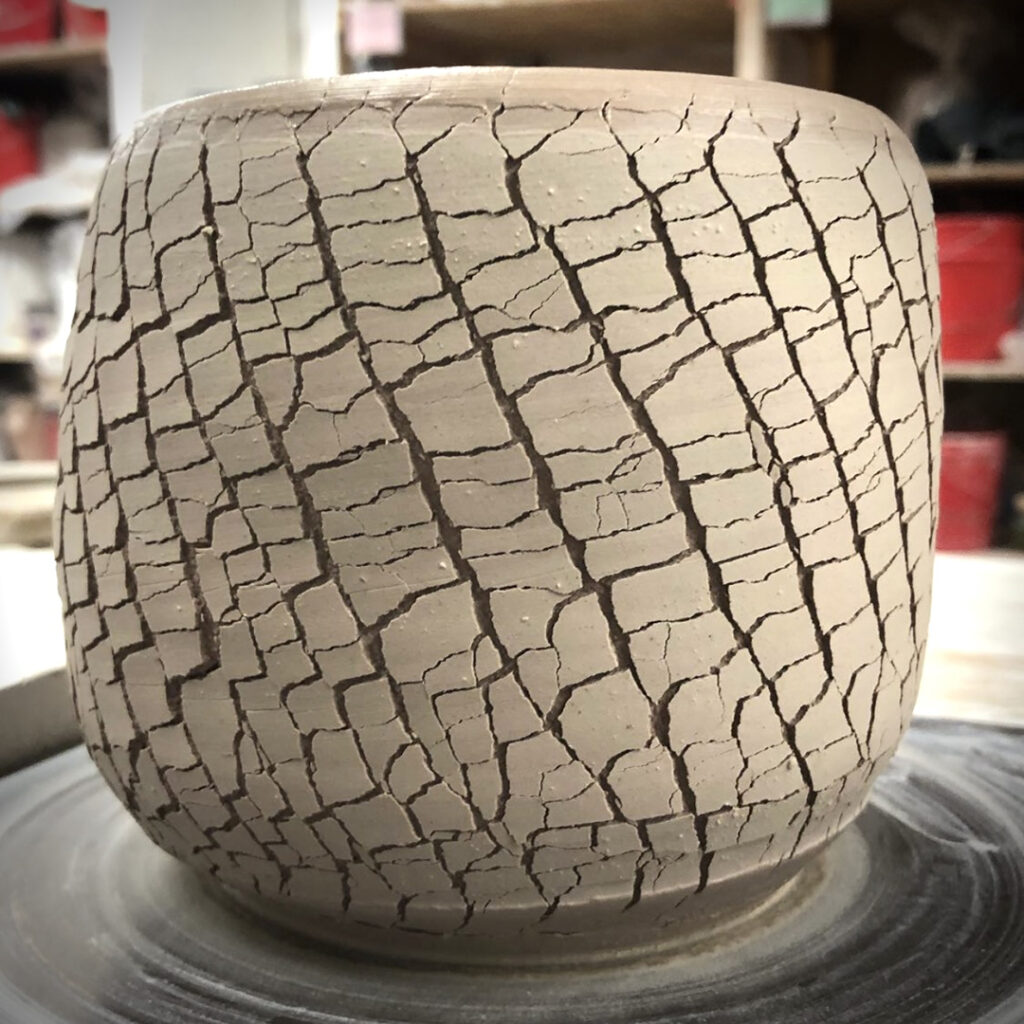
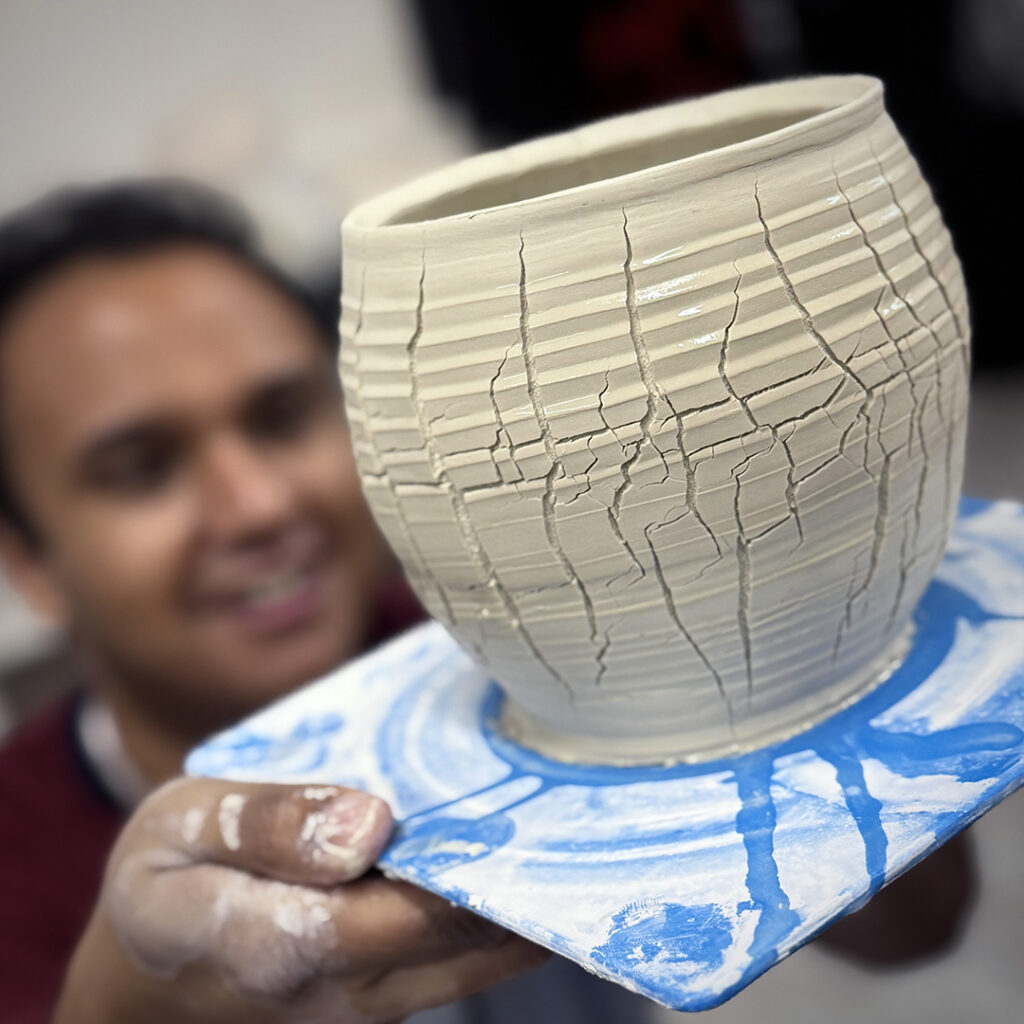
Last night in my SURFACE DECORATION class, we played with some different slip colors mixed with a sodium silicate solution to help us create these wonderful crackled surfaces on our wheelthrown pots!!! Exciting as every one is different every time!!!

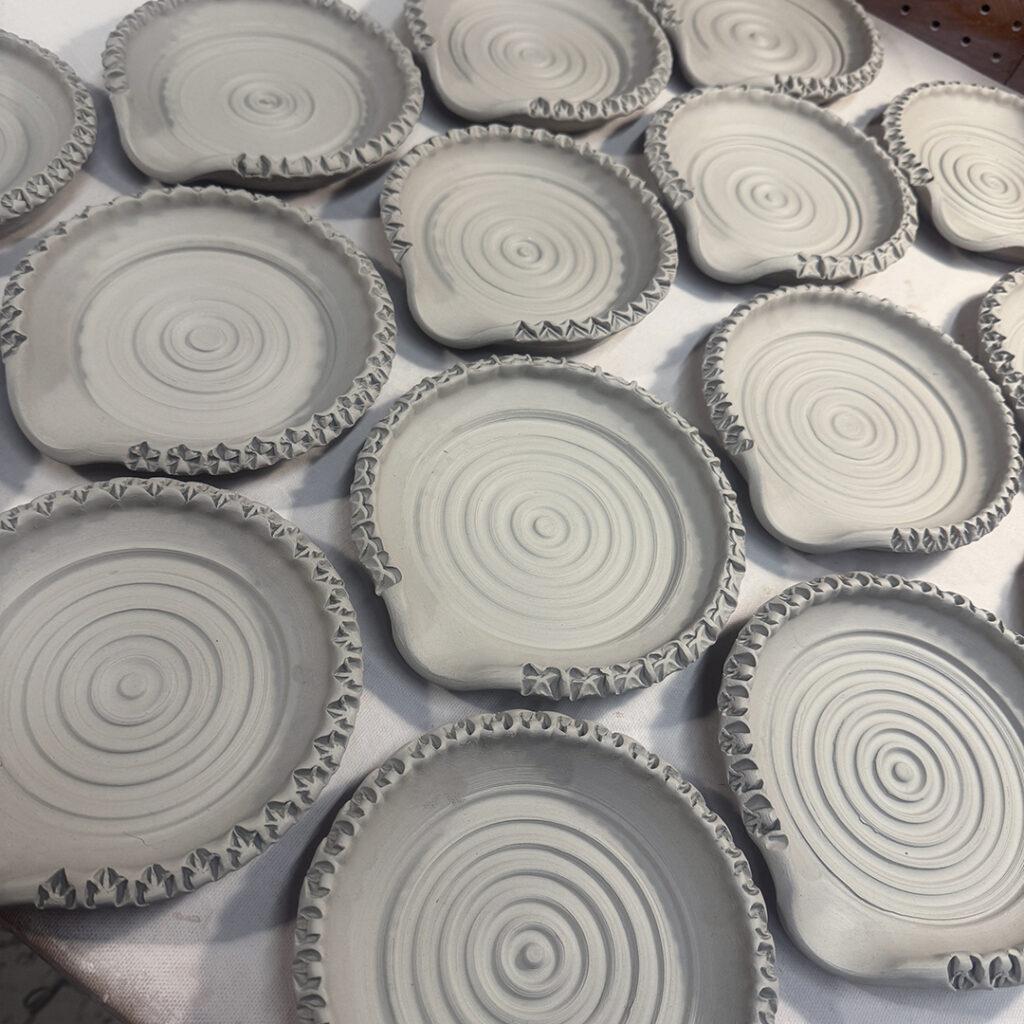
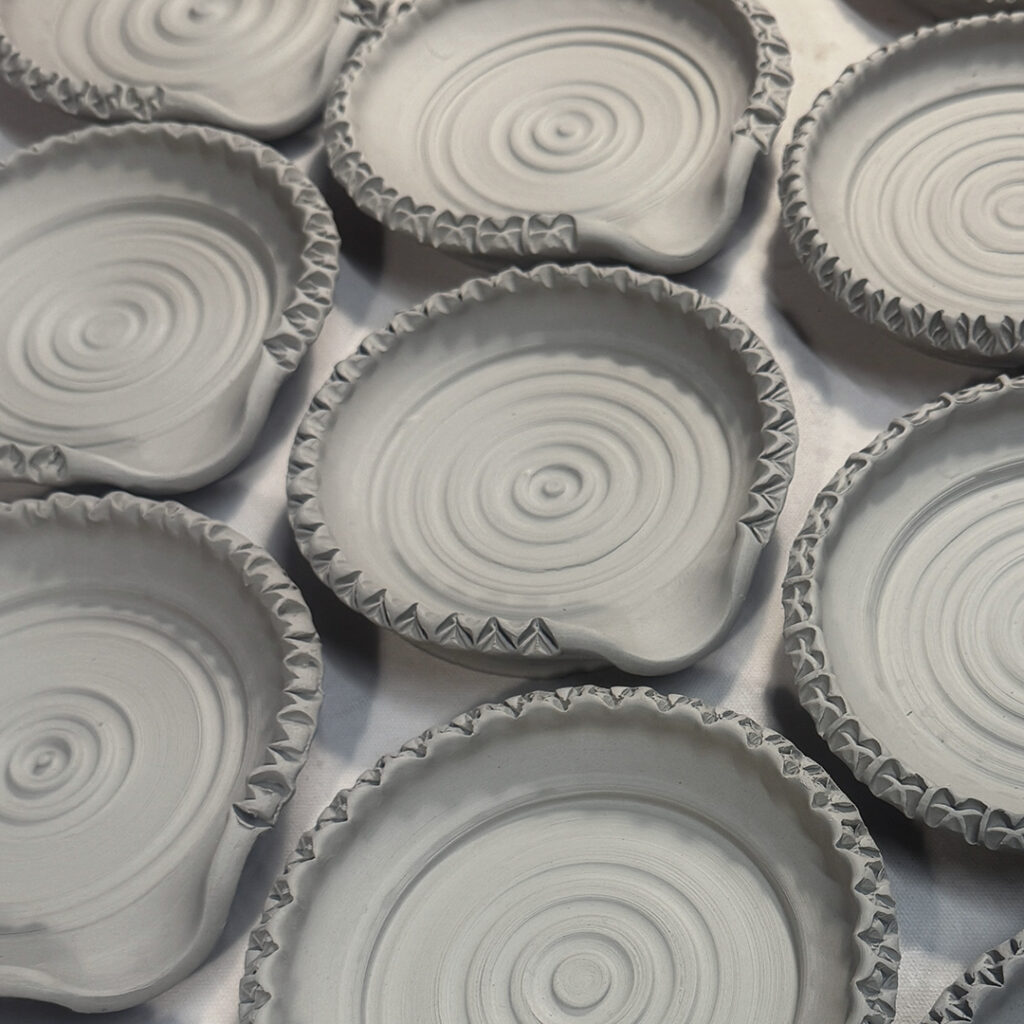
Time for some stamping… giving the spoon rests some decorative edges.
Gotta make those sloppy spoons look good while you’re cooking, right?!
|
Gary Jackson: Fire When Ready Pottery
Lillstreet Studios ∙ 4401 North Ravenswood, Chicago, Illinois 60640 ∙ 773-307-8664 gary@firewhenreadypottery.com |