Every session my Tuesday night Wheelthrowing Class “challenges” me with something new & different. It’s usually Week Nine when I get to do the challenge piece. We’ve tackled things from goblets to Menorahs, from oyster plates to lotus fluted bowls. Never one to turn away from a challenge, tonight we tackled yet another one… MARBLED CLAY.
So I did a little prep work ahead of time in my studio. I started with two different clay bodies that fire to a dramatic color difference. The clay on the left is Stoneware With Ochre which fires to a dark chocolate brown. The clay on the right is B-Clay which fires to a light gray color.
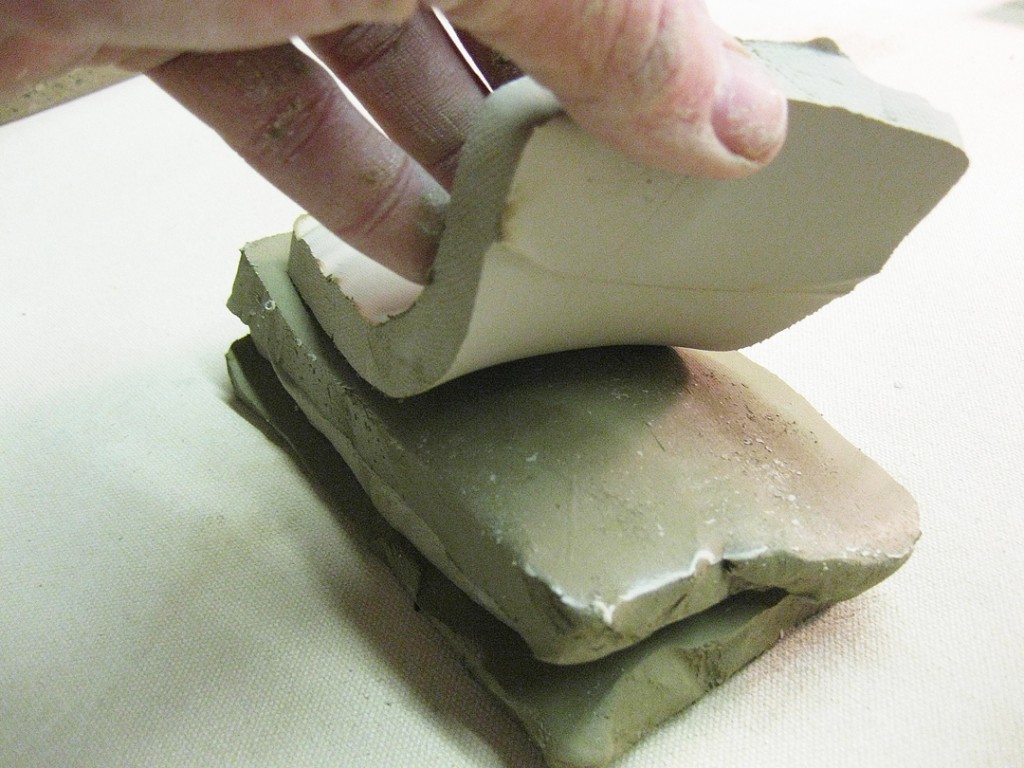
I cut thin slabs of clay and layered them together.
Trying carefully not to add air bubbles in between the layers.
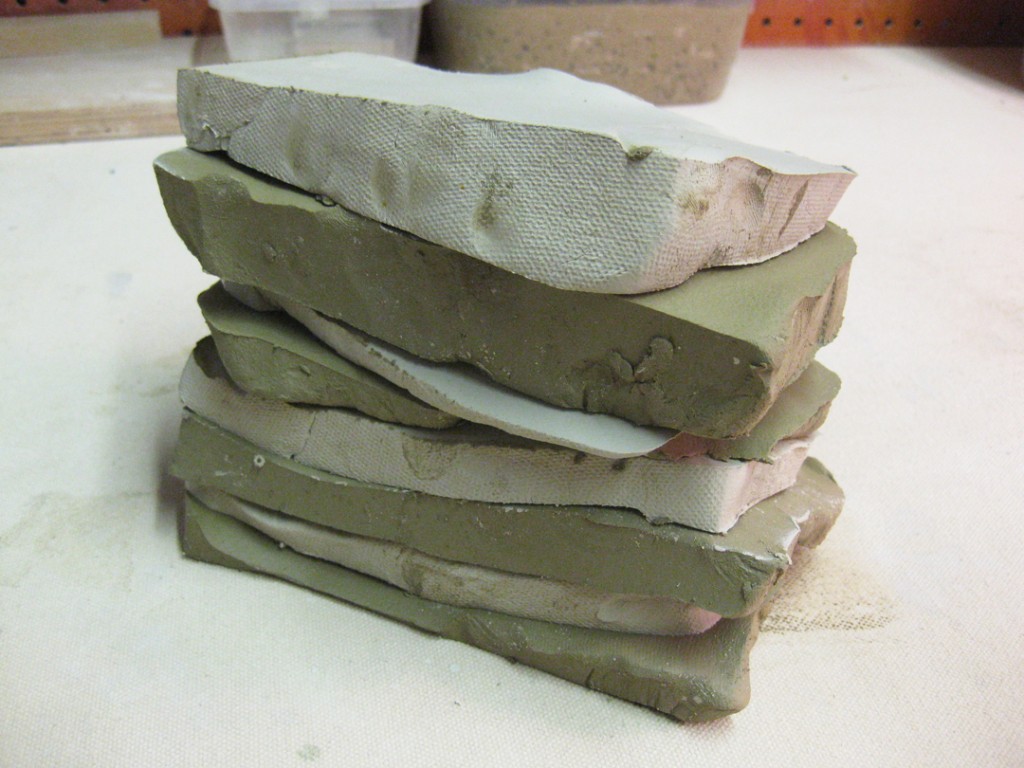
Here’s the stack of layered clay from the side.
A quick pounding on the table, and a slice in half…
followed by stacking them one on top of the others.
I did some very minimal wedging to “mix” the two clays, but not enough to totally blend them together. Remember, we’re going for marbled clay. So I may need to deal with a few air bubbles along the way from not completely wedging the ball. But keeping a “good swirl” is more important at this point.
Let the throwing begin… slap it down, get it wet and start throwing!!!
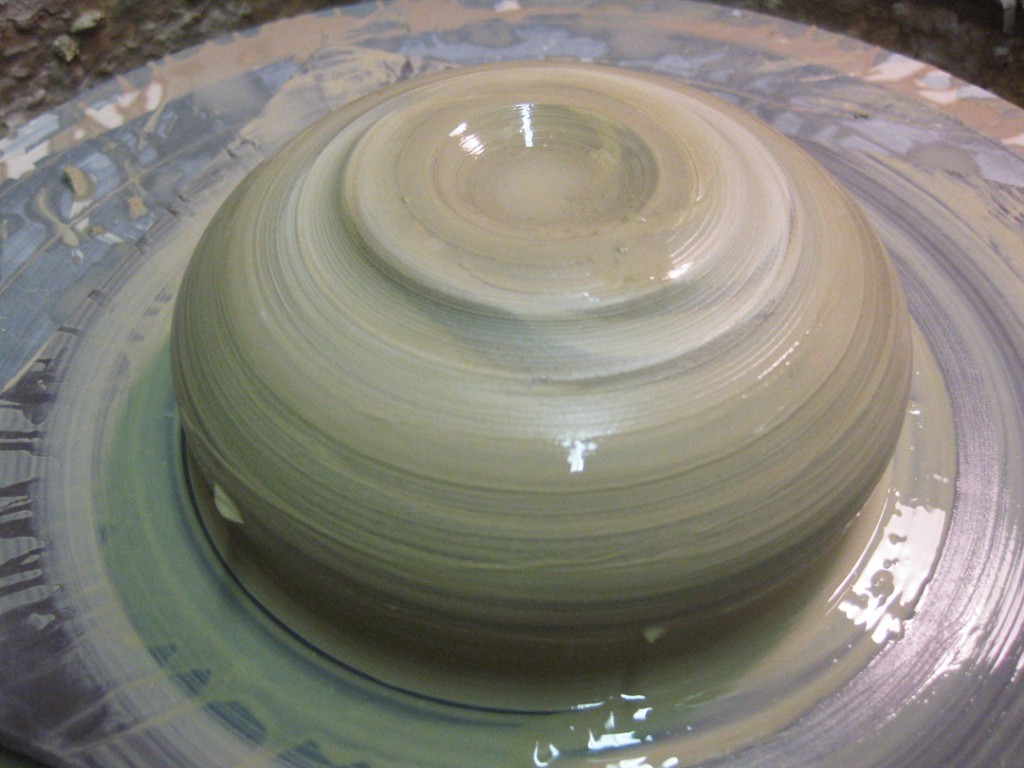
Notice how the marbling effect disappears pretty quickly when it gets all blurred together with slip & slurry. If you look close, you can see a hint of marble… but not much.
Center. Open. Widen. Curve. Compress. Throw. Rib. Suddenly it turned into a bowl.
The bowl stayed loosely under wraps as I wanted it leatherhard for trimming in my class.
Fast forward to tonight… when the bowl had stiffened up to a leatherhard state…
ready for trimming. As you can see, the “blurred’ color mix”skin” is still there
hiding the marble effect.
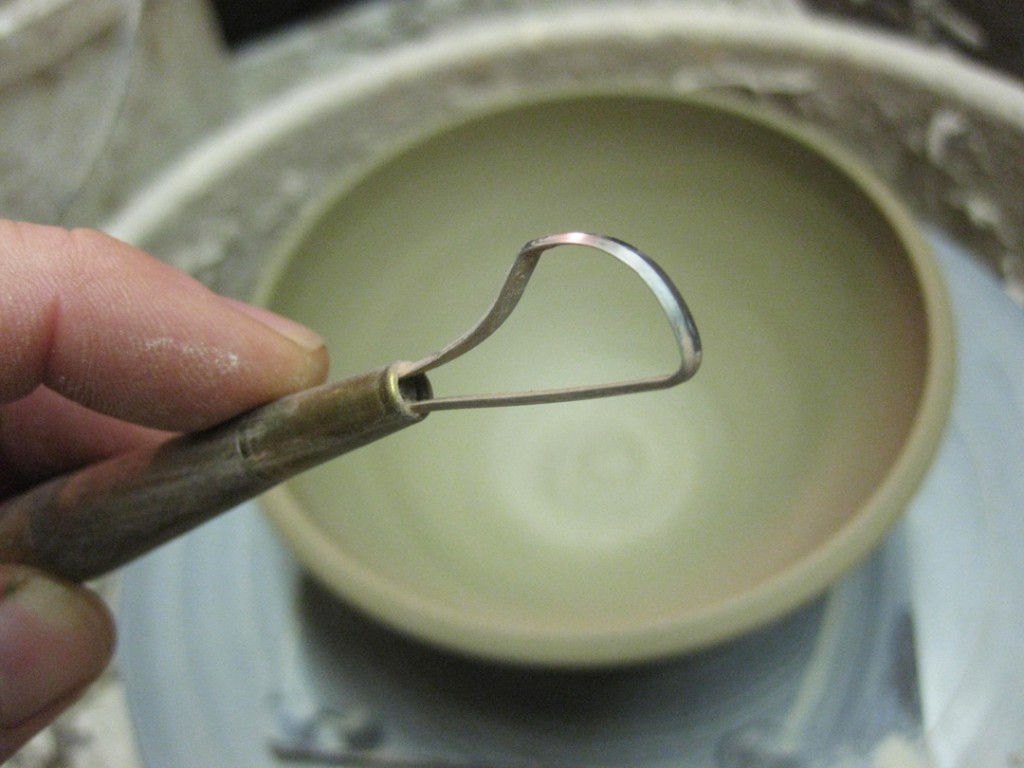
So for one time only, I told my students they can trim the “inside” of the bowls. Generally the rule is they can only trim the outside & foot of a piece. Never on the inside!!! But for the marble effect to show, you need to trim off all of the “skin” from the pot. Luckily, I kept the bowl attached to the bat. That way, when I put it back on the wheel the bowl was still perfectly centered. So I started with my a wide loop tool to trim the inside. I wanted to make sure my loop tool didn’t have any corners.
After a quick trimming of the “skin” the marble effect is revealed. Keep in mind that I’ve marbled Stoneware With Ochre with B-Clay. So my hope is that the white clay will stay light, while the brown-ish clay will fire to a dark chocolate brown.
A quick flip, and I did the same on the outside and trimmed a foot ring. Let me just say, it was a little mesmerizing & a little tough to see as I was trimming the foot. Too many swirls. Too much contrast. Too many stripes all spinning around. Good thing I don’t have vertigo!!!
So there it is, my bowl thrown with marbled clay. I’m sure every bowl would turn out different with this marbled clay trick. It’s a matter of how much you layer, how much you wedge and probably even which way the clay is sitting on the wheel?! It’s a pretty fun trick… and my students were impressed. Especially when I threw a fresh, new bowl with marbled clay as a demo… and then did the “cooking-show-switch-out”… and produced the leatherhard one to do the “skin” trimming right in front of them!


I do a lot of agateware. Finally a topic I can contribute to rather than just leech off your blog! A few things that I’ve found –
I prefer really high contrast so I’ll barely mix the clays at all letting all of the mixing happen on the wheel. Grab some of each color, smack them together, and wedge only enough to make it wheel ready. I’ve also found that a tiny smidge of black clay (like a pinky sized piece for a mug sized ball) really makes the other colors pop.
Center the clay then cut it off the wheel, turn it upside down and center again. That will give you stripes some pull back onto themselves so you get more zigzag and marbling rather than just pure stripes.
Metal kidney ribs are really good for clearing off the slip when you finish the initial throwing. It’s good for inside bowls and the colors become visible almost as crisply as if you had waited for leather hard and then trimmed, but with fewer trim lines.