Gary Jackson: Fire When Ready Pottery
A Chicago potter’s somewhat slanted view of clay & play
Categories: bowls, classes, pottery, process

You know I usually cringe when one of my students starts off with that.
“So I saw this video on YouTube…”

I love when there are so many tips & tricks out there for potters, but frequently they’re also learning “bad” tricks along the way. So I’ve tried to steer clear of YouTube for the most part. But recently, I did do a quick search looking for new techniques to share with my students. This week is Week Eight for my class so they’re well on their way… and ready for some more surface decorating techniques.

We’ve already used colored slip to change the color “skin” of their work. But when I saw this slip trailing… err, dripping… I though that my students would love this trick. And it’s not too advanced. It appeared to be pretty easy… so of course I decided to go for it. And “teach” this technique to my students without ever practicing myself!!! And quite honestly… I think it worked out pretty well. Click here for the YouTube video of slip trailing on a bowl. You may not understand a word he says… but the video alone is pretty mesmerizing! Here’s a still shot from the video…
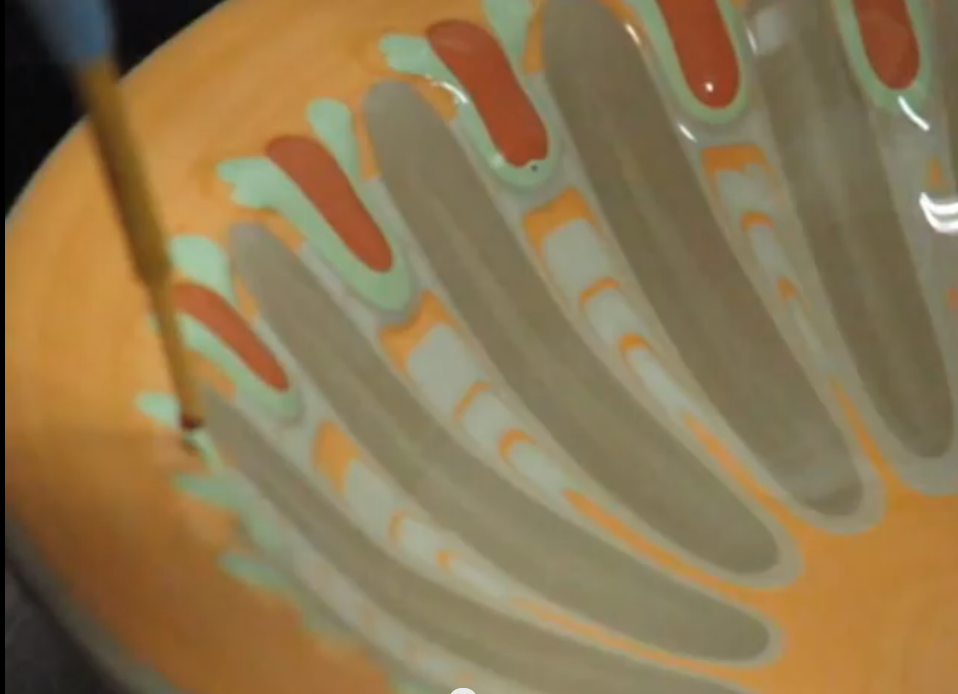
Basically, you cover the surface with a thick layer of slip. The add a couple spirals. Then add some “drips” that will run down through the drawn spirals. The demo pieces on the video are a bit cleaner than mine… but I’m sure he’s been doing this technique a bit longer than me. Can you say 10 minutes?!
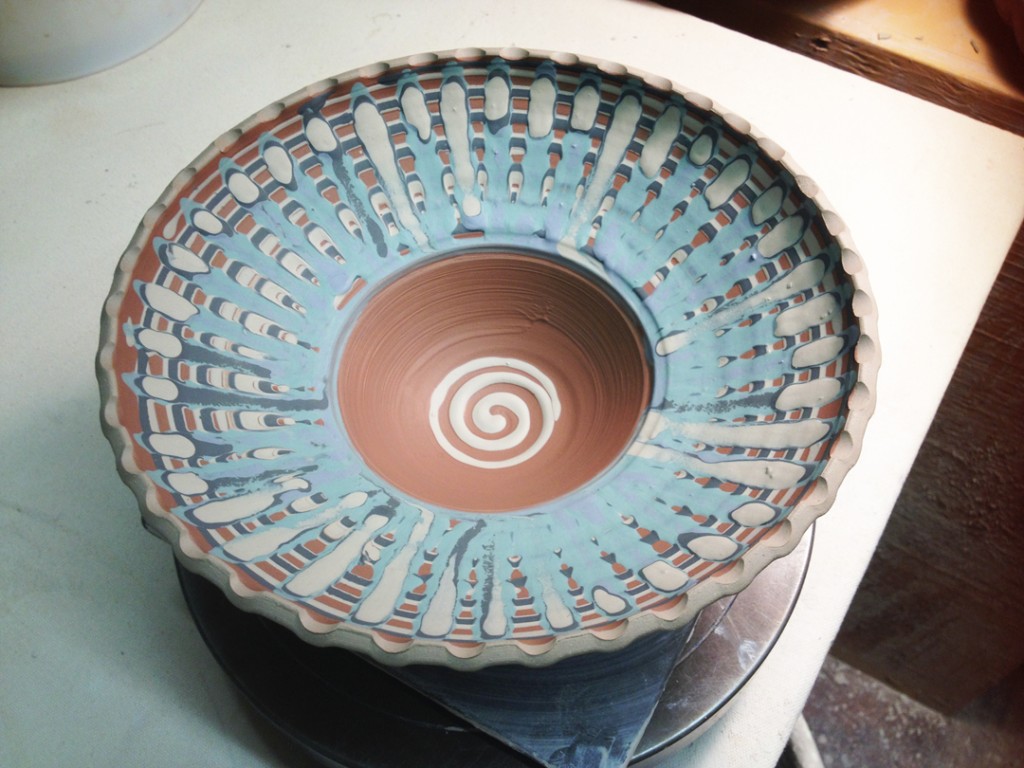
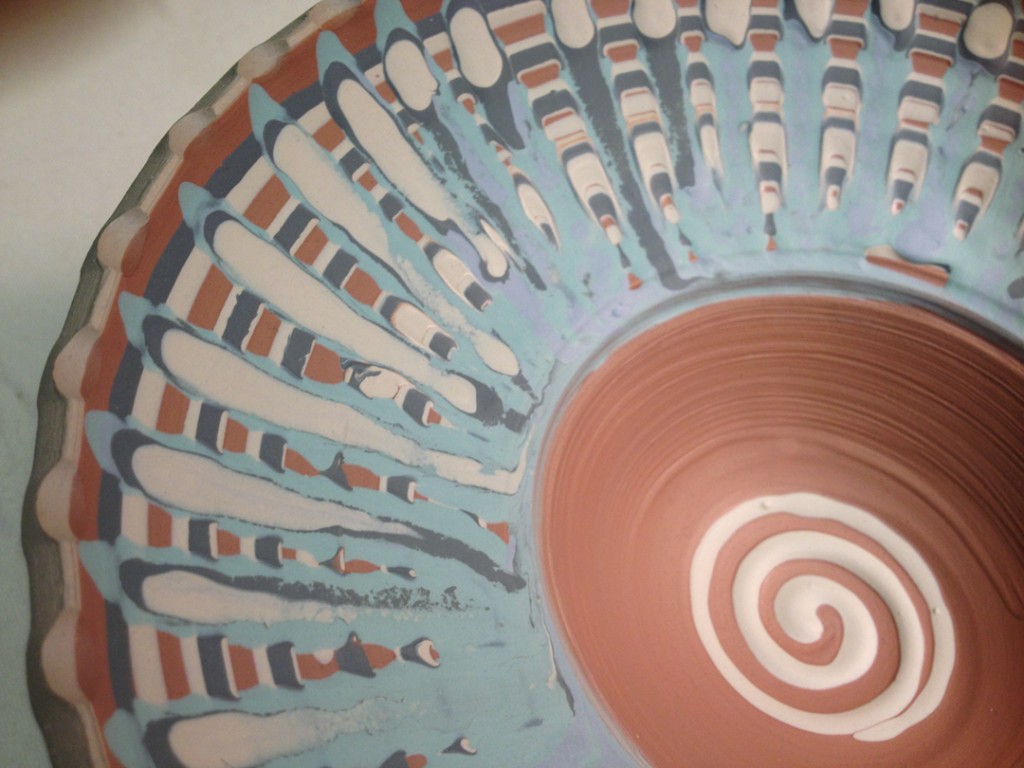
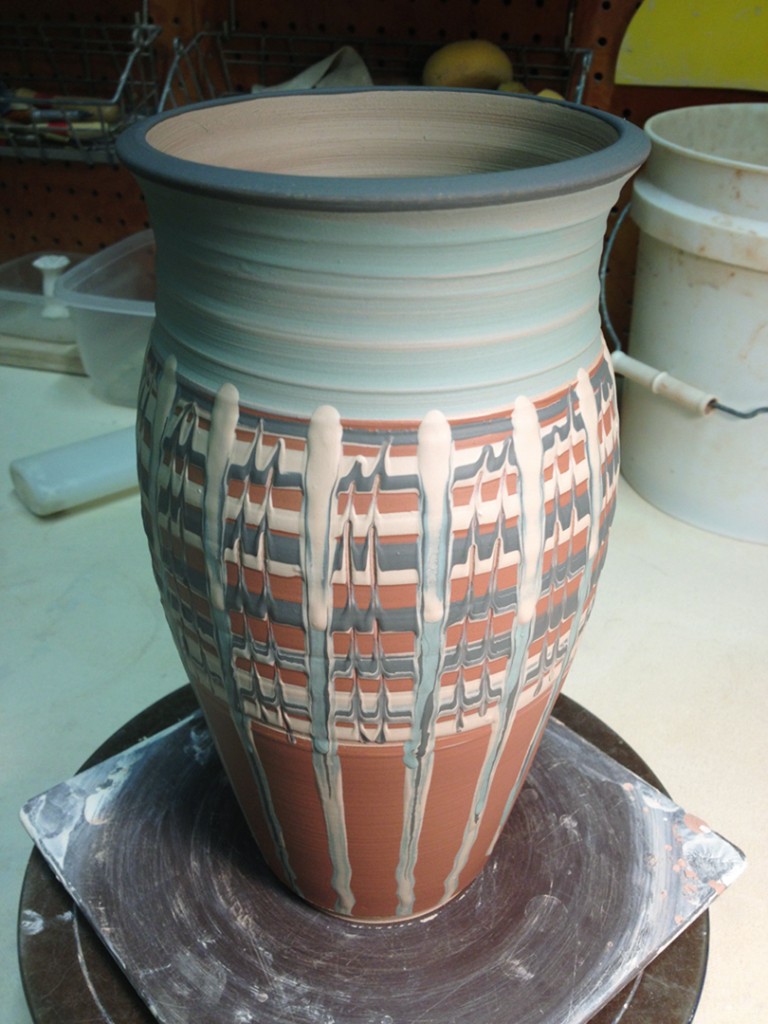
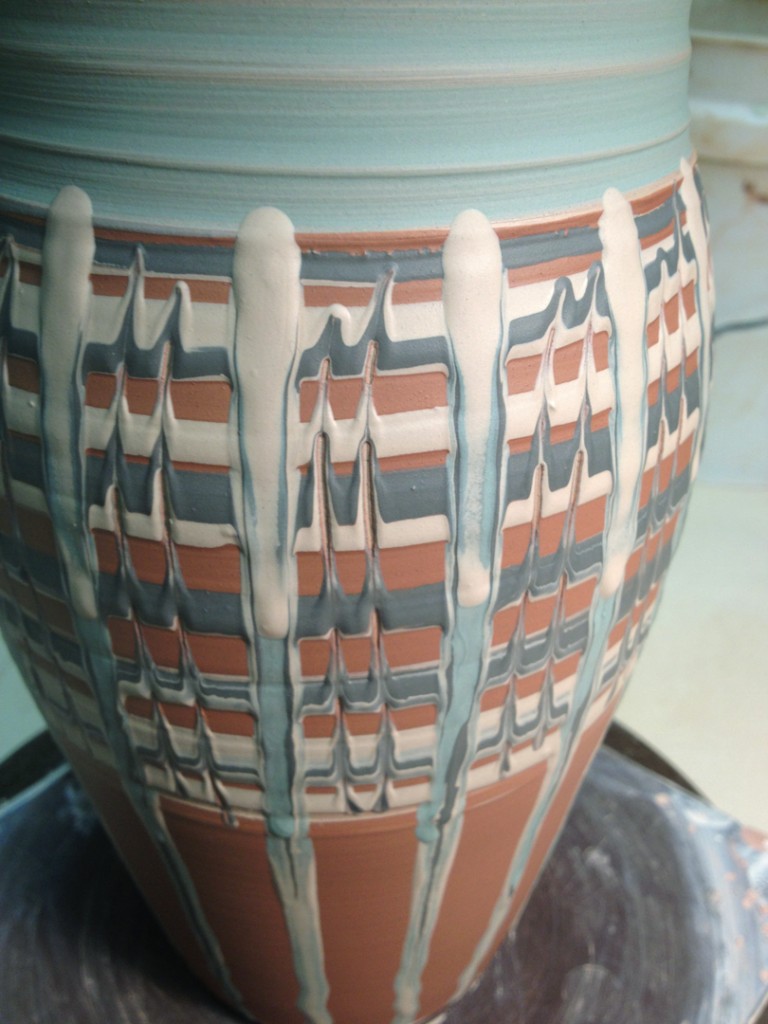
And once I had some confidence after the bowl, we tackled a more vertical surface on a taller vase. More room for the slip to run & drip. Click here for the YouTube video of slip trailing on a vase. Again, I think the potter may be speaking Russian?… and I’m not sure if this is “his” signature style or if it is more of a traditional Ukranian style of decoration? Here’s a still shot from the video…
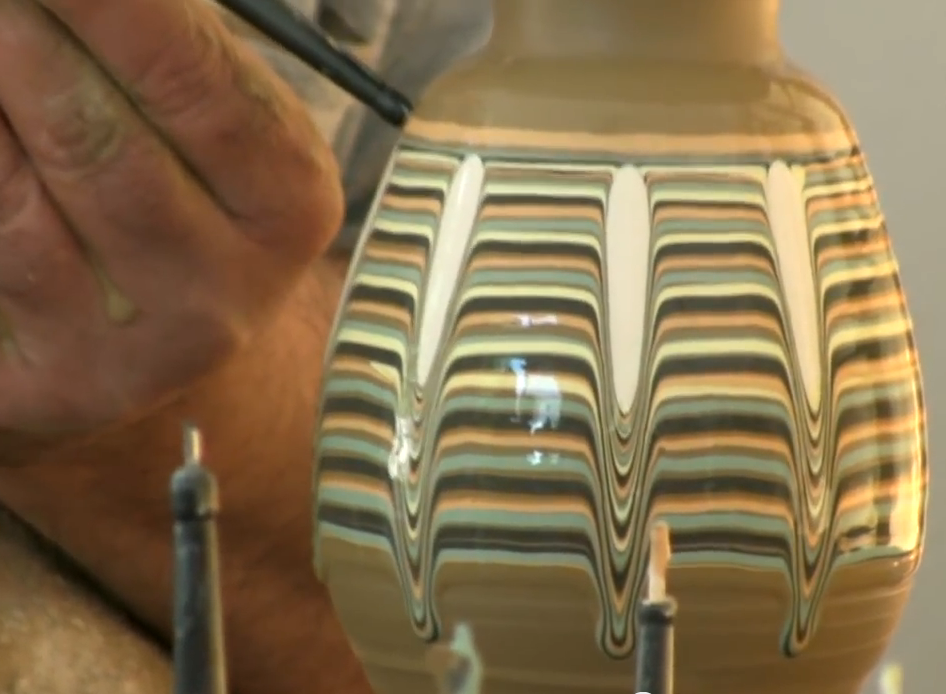
We did learn a few things along the way. My slips probably should have been sieved through a fine mesh screen. And I should have tried to get them all to be a better consistency… a couple of them were a bit too watery. And I think I needed to make the base layer and the horizontal spiral with thicker slip so that there was enough slip to “move” as the drips pushed down.
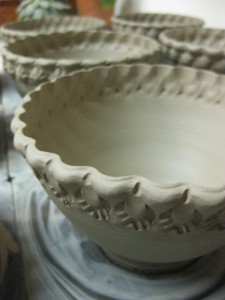
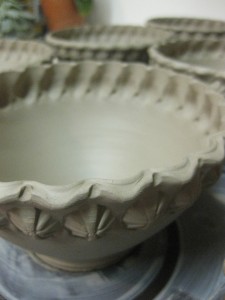
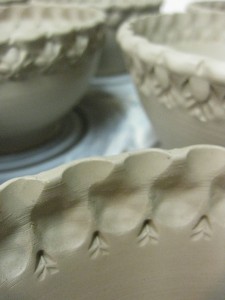
After we had “played” with drippy slips, I switched it up and did a much cleaner demo for my class. I took a wet-leatherhard bowl and did a carved texture pattern around the outside wising my round loop trimming tool and a smaller sgraffito loop tool. It’s a carving technique I learned from Amy Higgason of Pigeon Road Pottery. She used to be one of the Lillstreet studio artists, but now she lives up in the Wisconsin Northwoods. Luckily, she has shared her carving techniques and they still pop-up from time to time. In fact, she even did a demo for my class a few years back… click here to go to the blog post!
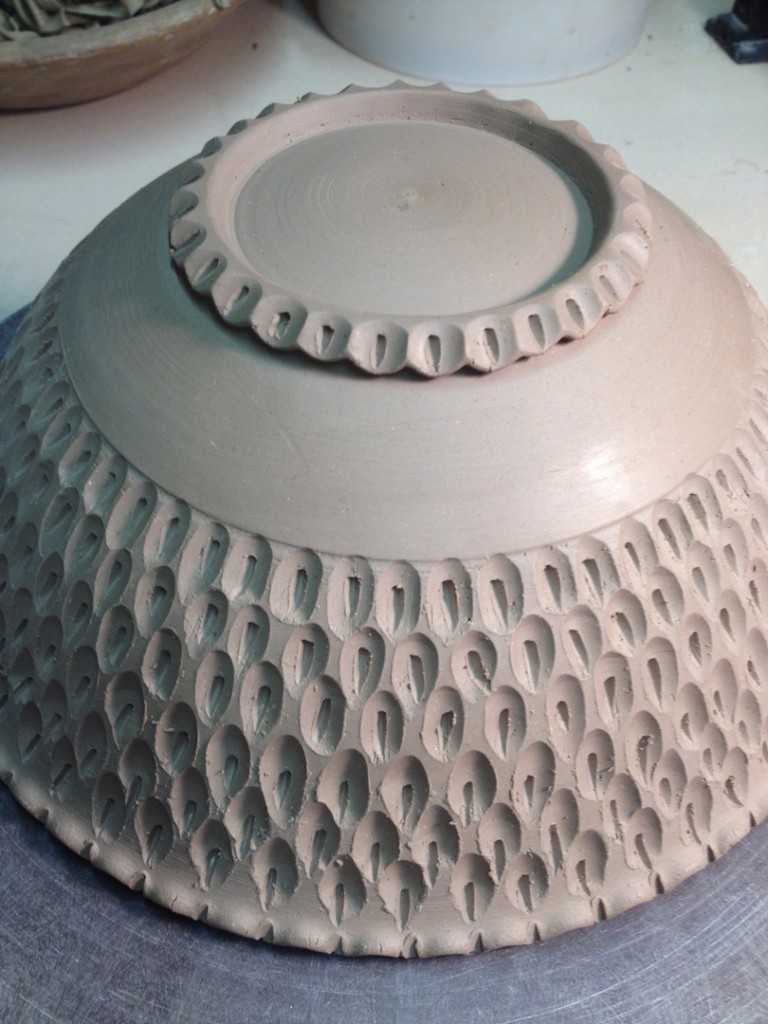
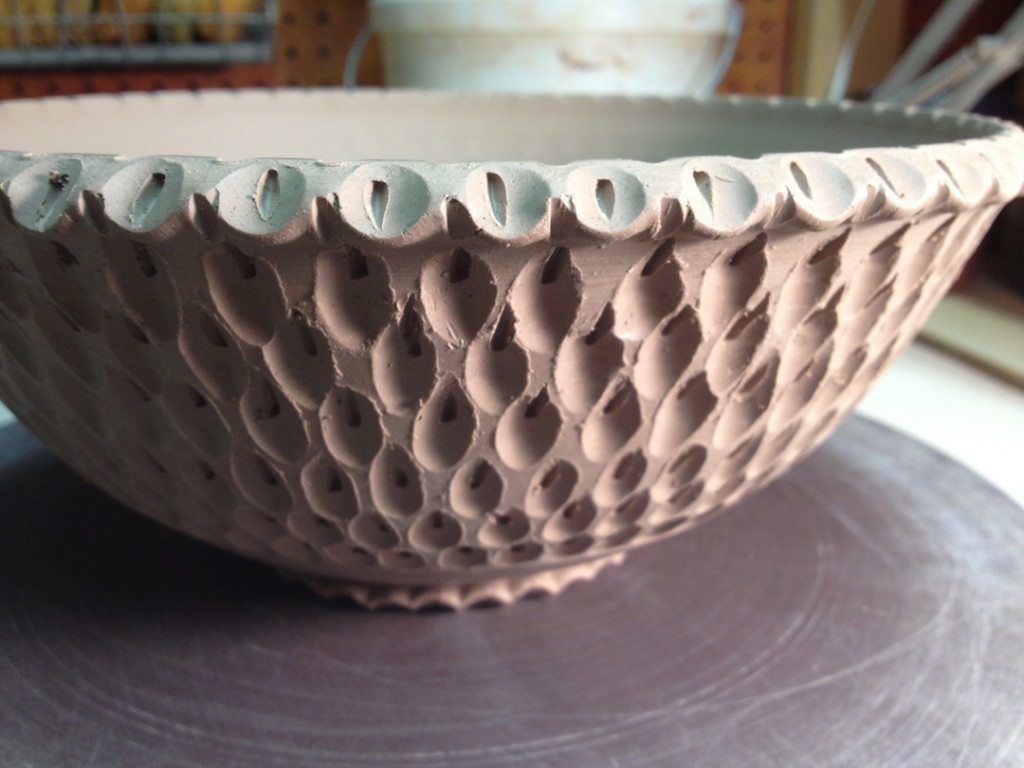
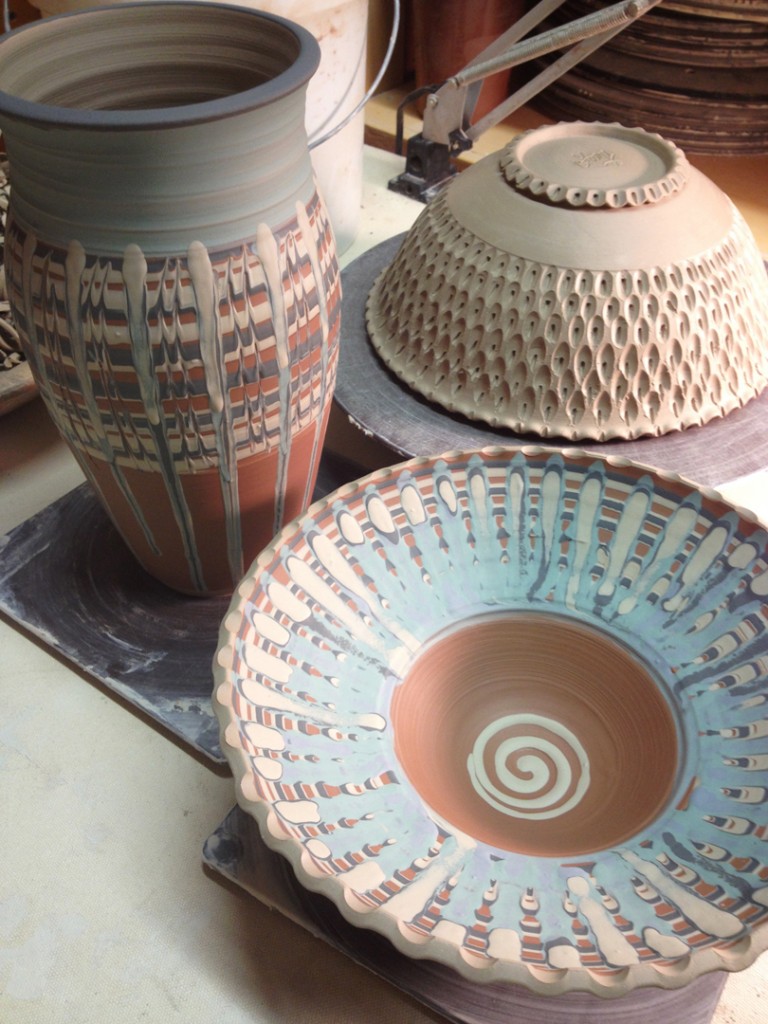
So now all three pieces are done, back up in my studio, and wrapped up for the night. I still need to trim the slip decorated pieces, but I need to wait until the slip is a bit dryer. All in all, I think it was a pretty successful evening. Several of my students gave it a shot & had fun with drippy slip… and I hope when they get around to trimming a few more pieces they may consider some decorative carving!!!
Categories: bowls, classes, process

Three new pots freshly thrown for tomorrow night’s class demos.
One bowl for carving… another bowl & vase for slip decorating.
And I’m going to be trying a new slip technique (for the first time) with my class!!!

Categories: process, production, stamps

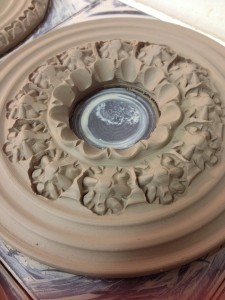
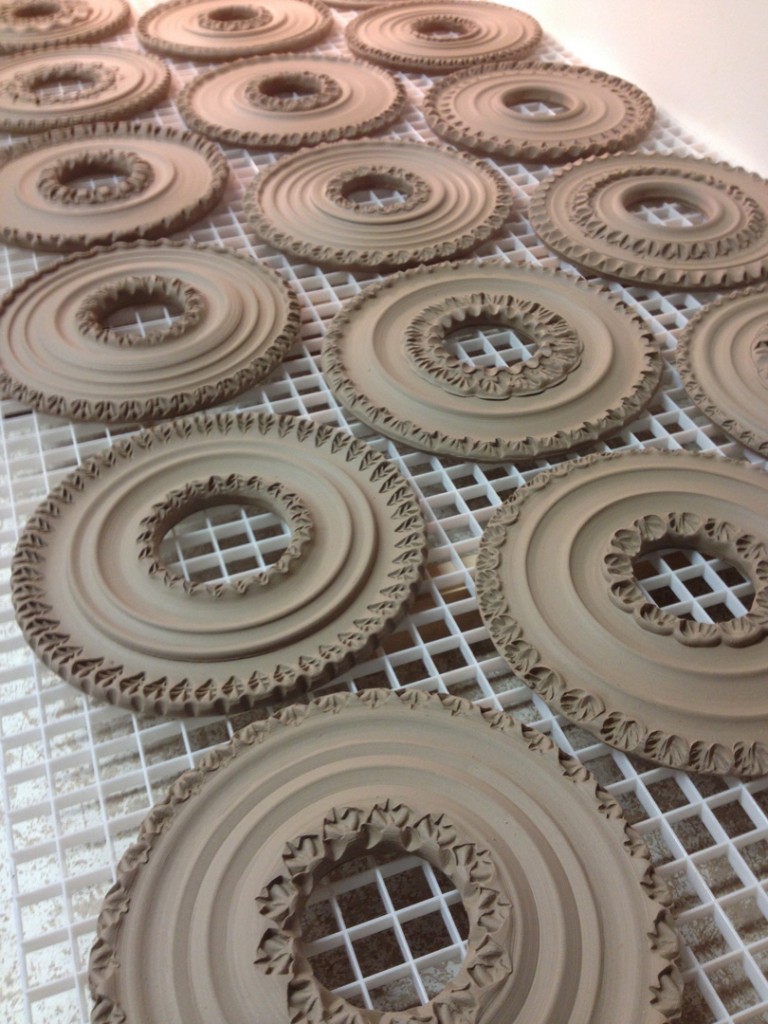
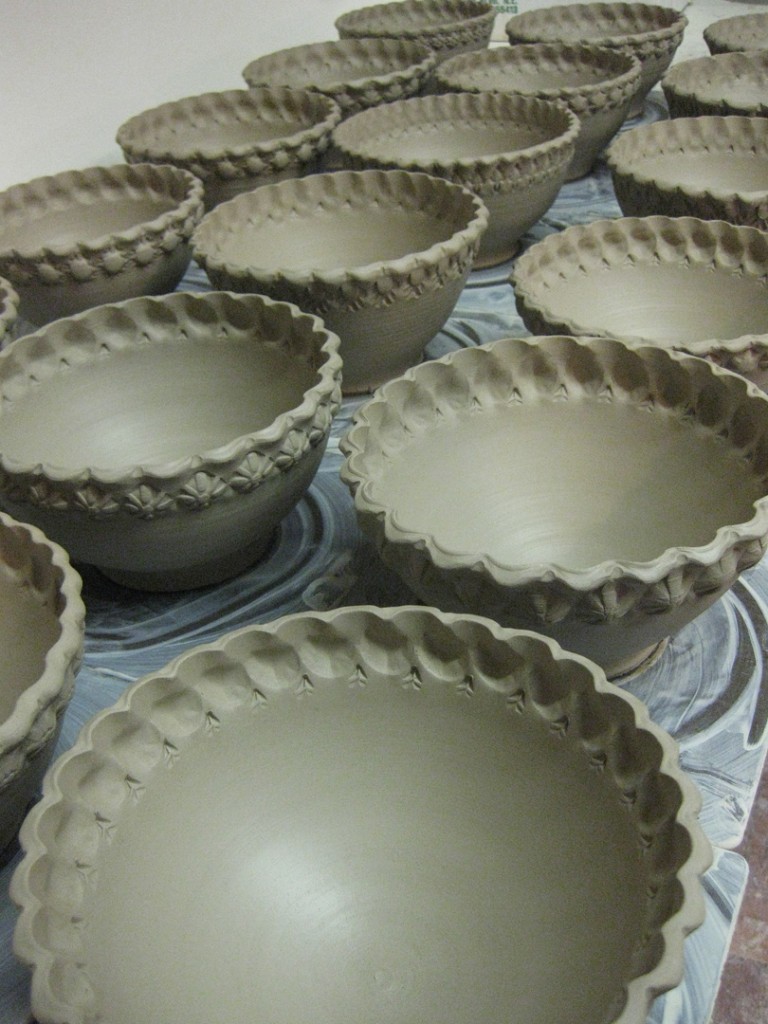
This morning I stamped & stamped & stamped… and stamped some more.
Round & round I went stamping the inner rings AND the outer rings!

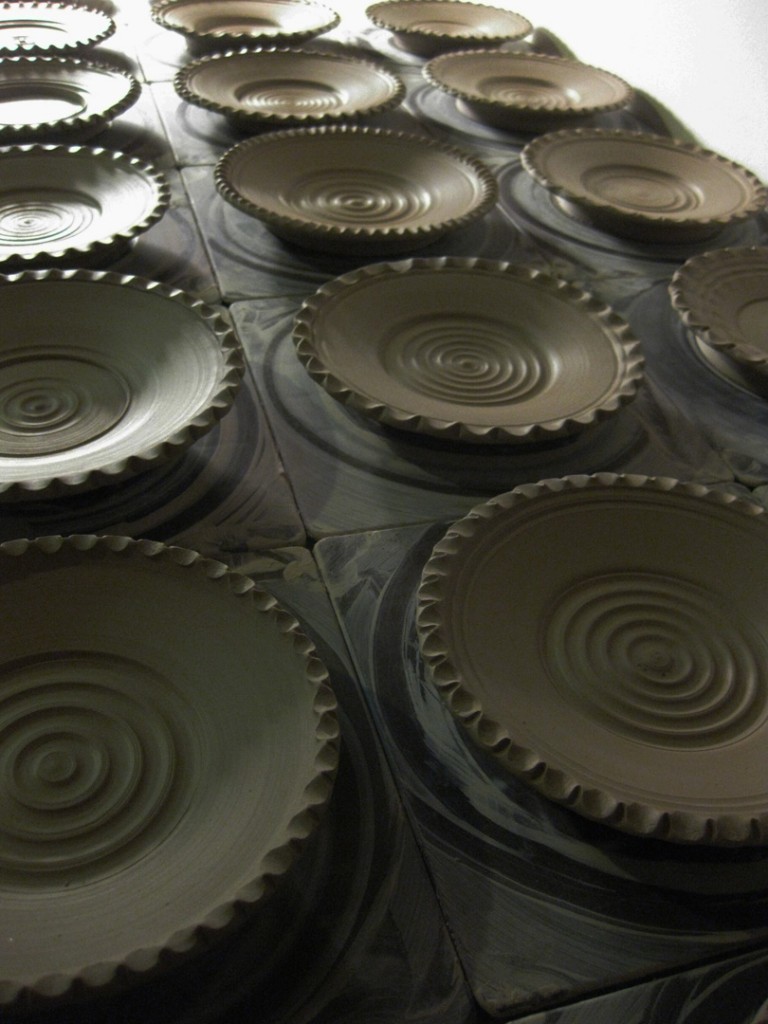
Now they’re all stamped and laid out on a plastic grid to help them dry more evenly… and hopefully prevent them from warping. The idea is that they can dry from both sides at the same time – hence the lack of warping!

Categories: pottery, process, production, studio

So I went back into the studio today hoping to find that my lightbulbs had been replaced.
Sadly, not so much. So it was another day of working “in the dark” with my little task lights. Ike did stop by to check on the bulbs, and he found out that they’re currently out of replacements. So he needs to order more… and I need to wait. Great… just great.

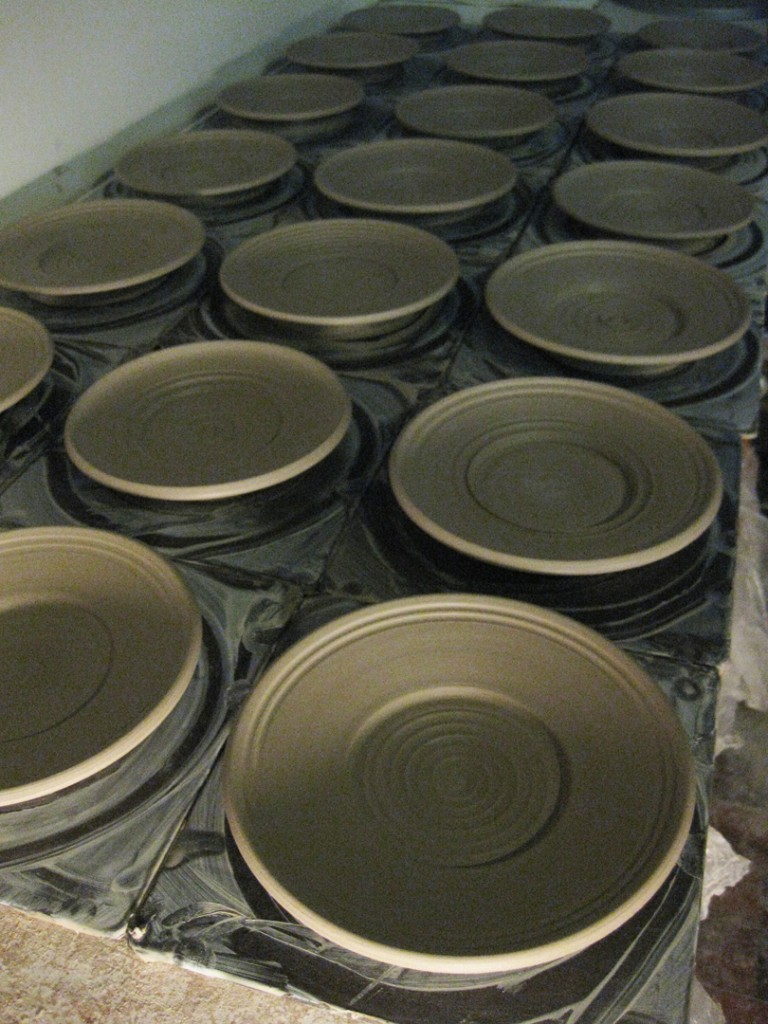
Twenty balls of clay… twenty berry bowl plates coming soon.

Almost done… only one more to go!
And finding that throwing in the dark is somehow more relaxing. Who knew???

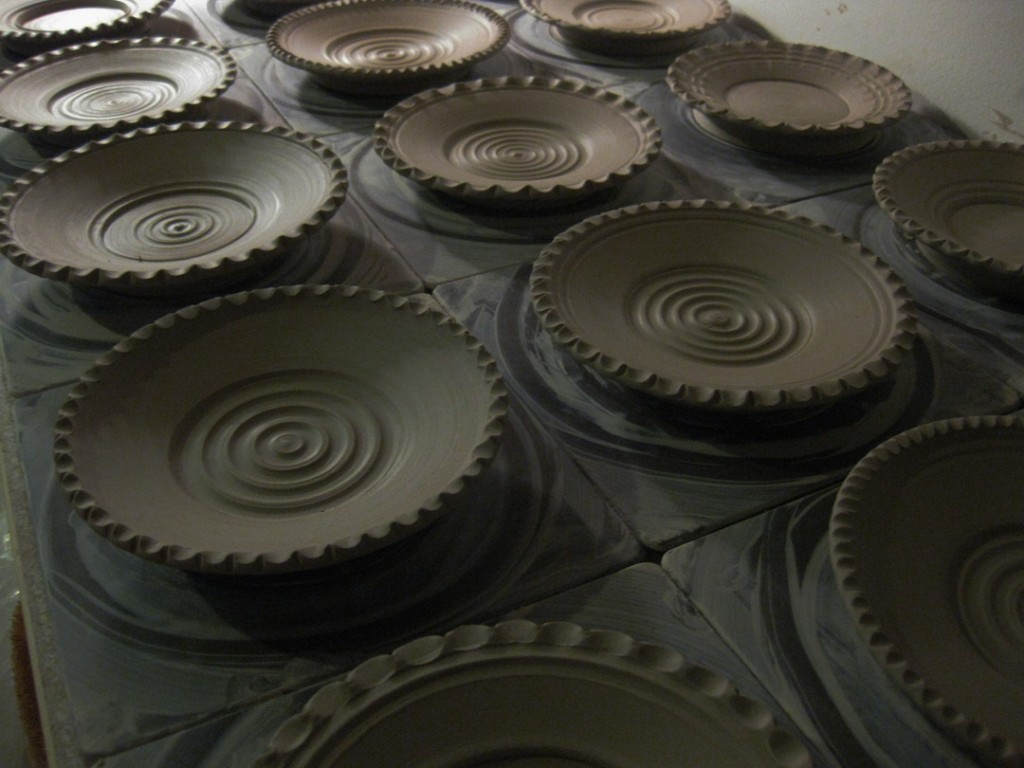
Under cover of darkness, I finished throwing the small plates.

I putzed around for awhile, and then realized that that they were drying up pretty quickly. So I decided to do some decorative fluting on the edges before I wrapped them up for the night.

Categories: process, production, studio

While I was working tonight, the fluorescent ceiling lights in my studio began to flicker. Kind of an irritating strobe-like effect. It went on for about 20 minutes. But then, all of a sudden, they went out all together.

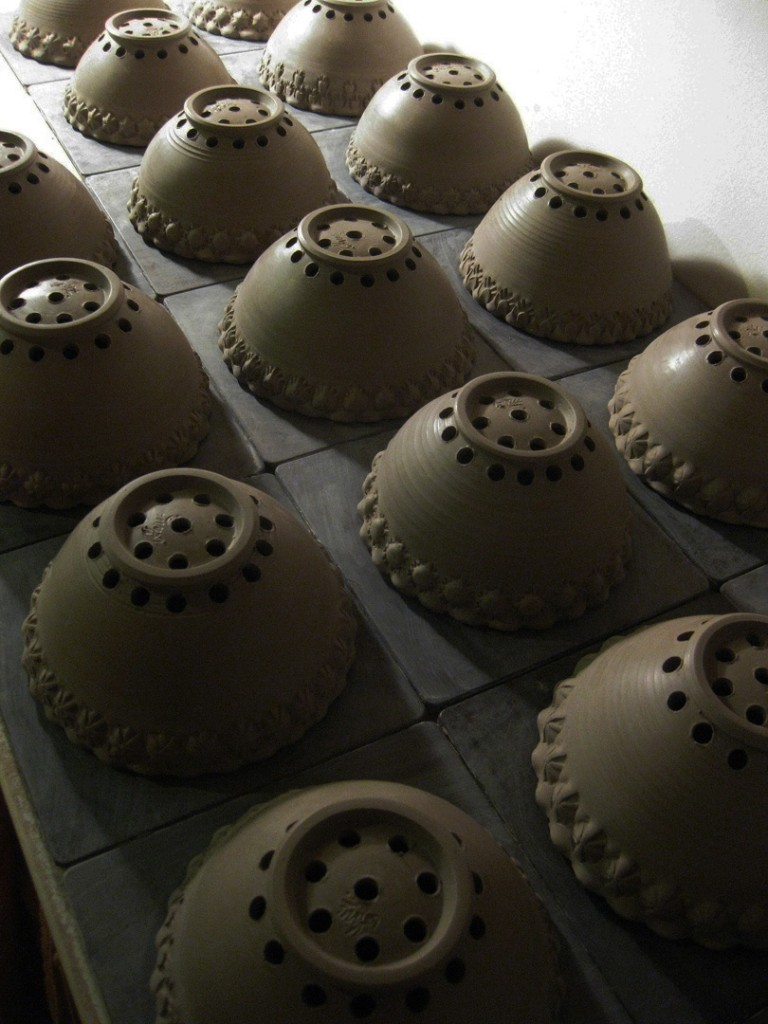
So there I was trying to finish trimming & drilling holes in my newest batch of berry bowls… in darkness!!! It was pretty tough working in the small “spotlight” from my table-top task lighting. Good thing my power drill is cordless & battery-operated!!!

Categories: patterns, process, production, stamps, YouTube

Okay, you’ve asked for it… many times. And I just kept putting it off.

Well, today I FINALLY tackled my first stamping demo video.
While I’m no Steven Spielberg, but I’m fairly pleased for my first attempt.
And I’m pretty sure the next one will be better… or at least shot in a horizontal format?!
Let me know what you think.

Click here to watch my VERY FIRST demo video!!!… which is now also on YouTube!!!

Categories: movie, process, production, stamps

Anyone out there want to see how this class demo platter went from plain to fully stamped???
You’ve been asking… there’s a “very good chance” that there may be a video in the works?!

And the stamps that did most of the “magic”…

Categories: movie, process, stamps

Guess who is playing with iMovie???…
and might just have something fun to share later this evening???

Categories: bowls, classes, process

Tonight’s syllabus line-up for my class demos was a little aggressive.
A lot of things to cover in a short mount of time. A lot to do. A lot for them to take in.
Trying not to overwhelm my Beginners, but still keep my returning students engaged.
I think they doubted that I could get it all squeezed in… but I did!!!

Demo #1 – We started with another bowl demo. It was much the same as last week’s bowl demo. Just one more. It wasn’t until I got home and posted the photos that I realized that I had forgotten to do the one demo shape that my student Dave had requested. Shoot. So tonight I corrected that oversight and made one more bowl. With one more design. This time with a split rim and some “lotus” shaped alterations.

Demo #2 – Next, I did a plate & platter throwing demo. I showed them how easy it is to throw a plate… basically a very wide cylinder, with the sides flared out. Then I explained that the slow drying to leather-hard and trimming is the tough part of the process.

Demo #3 – Next up, I showed them how to convert a normal bowl into a pedestal bowl. First I trimmed the bottom of the bowl to a smooth, “domed” bowl bottom. And then I scored & slipped a ball of clay onto the top of the “dome” bottom. A quick centering of that ball of clay, and a quick thrown cylinder, collar, shape, groove lines, and voila’…

When you flip it over… pedestal bowl.

Demo #4 – The next bowl conversion was a demo on how I turn them into berry bowls. And what better way than with power tools!!! I brought my drill in and we made some holes the easy way.

And oh, but wait there’s more… we ALSO covered basic glazing techniques!
Demo #5 – Yes, we squeezed in a full glaze demo… starting with waxing the bottoms, all the way to dipping, drying, cleaning, finishing and putting them onto the glaze cart for firing.

So after a very fast-pace two hours, we had completed our demos, fully discussed the Olympic Opening Ceremonies, the Beatles 50th Special, and still had over an hour for all my students to get some work done. And here’s what I got done…

Categories: bowls, process, production, stamps

Tonight I stamped… and stamped… and stamped…
All of the bowls I threw yesterday were “ready” to be stamped. Sure, again I might be rushing it. And sure, they might have been a bit squishier than I would like. And sure, maybe they weren’t as “ready” as I had hoped. But sometimes when it comes to stamping my pots – I JUST CAN’T WAIT.

So now they’re all stamped and ready to dry a bit more. Next up… trimming & drilling holes. And then I need to make small plates to go with each of the bowls before I can consider them berry bowls sets!