Gary Jackson: Fire When Ready Pottery
A Chicago potter’s somewhat slanted view of clay & play
Categories: bowls, process, stamps

Tonight I did a little detailing of my class demo bowls from Tuesday night.
They’re still a bit too wet to trim, and al little too squishy to stamp… but what the heck…
I decided to go for it!!!

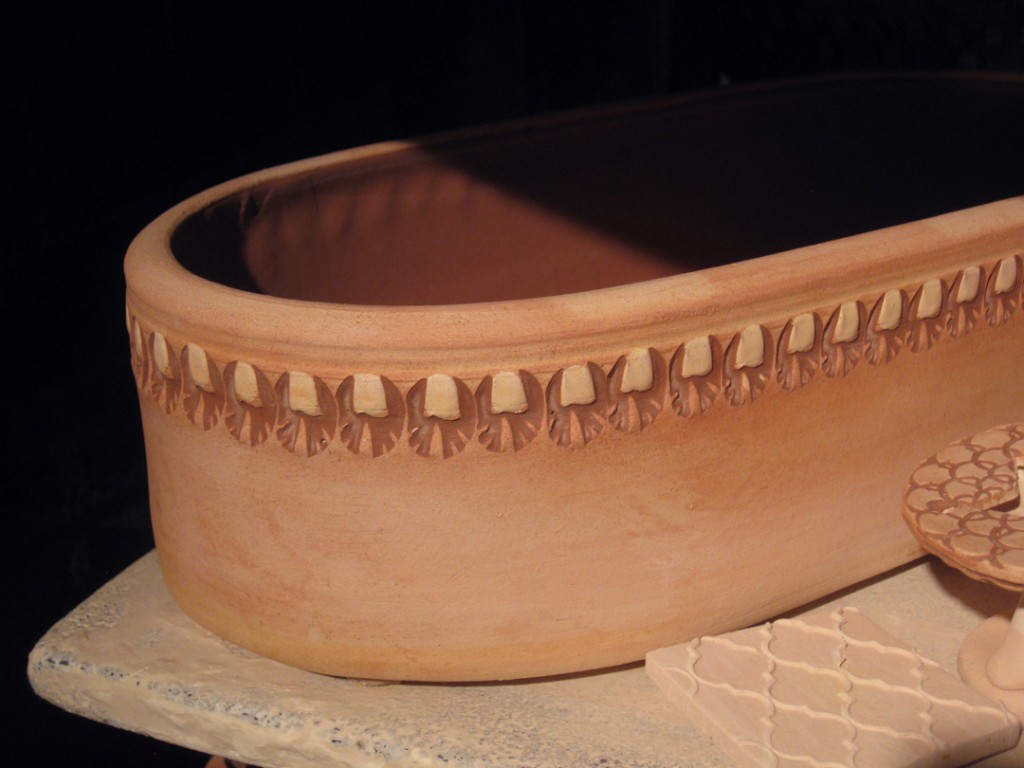
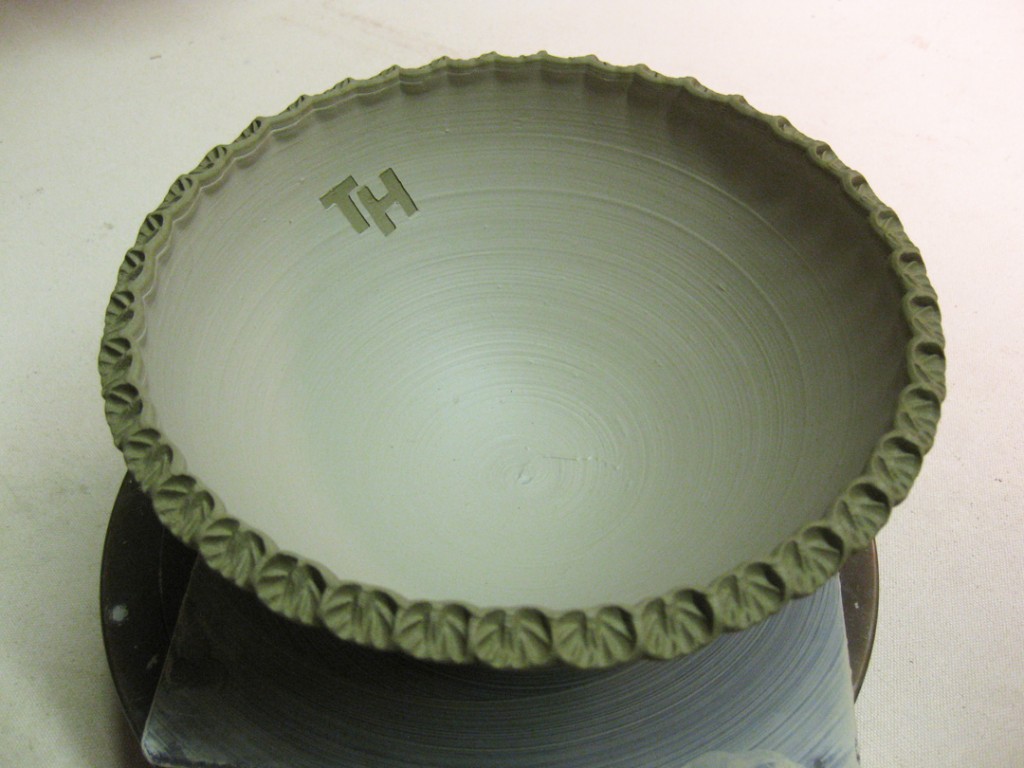
Stencil & Slip Bowl – now with a decoratively stamped rim.

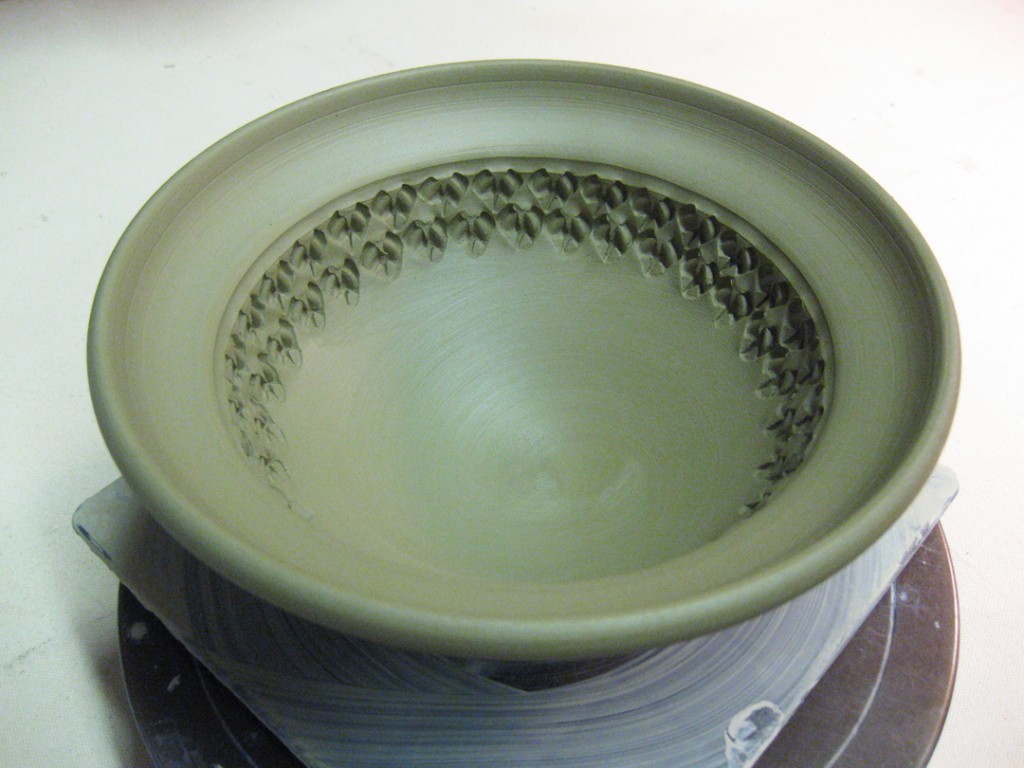
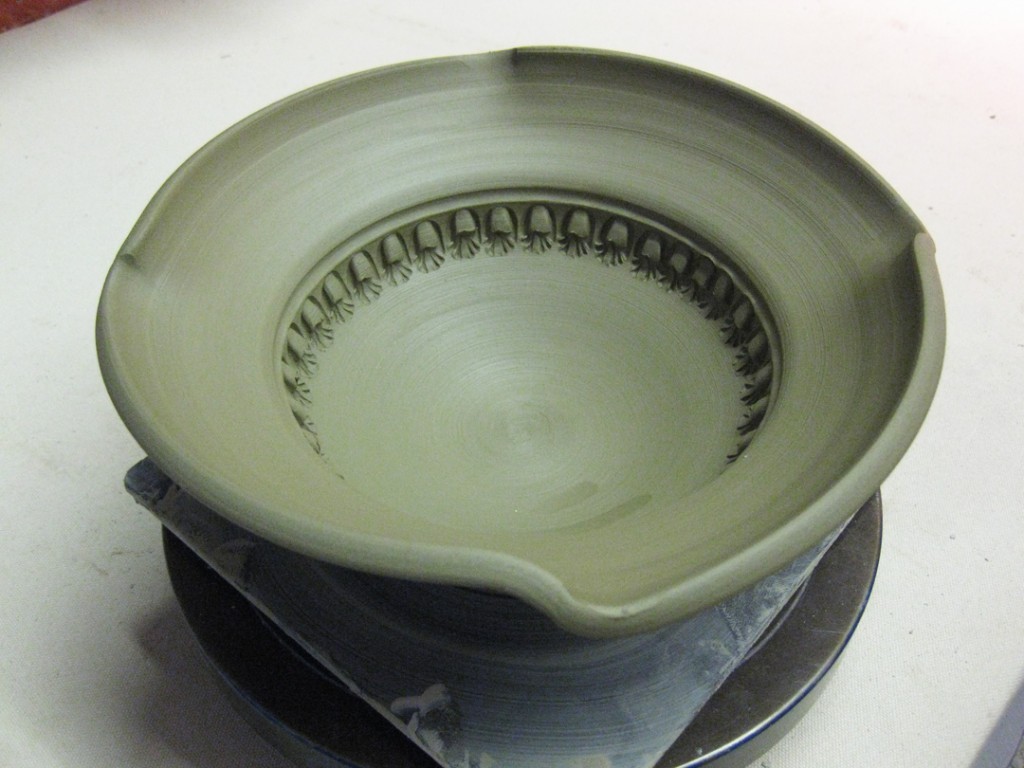
Flared Flange Bowl – now with a stamped interior band.

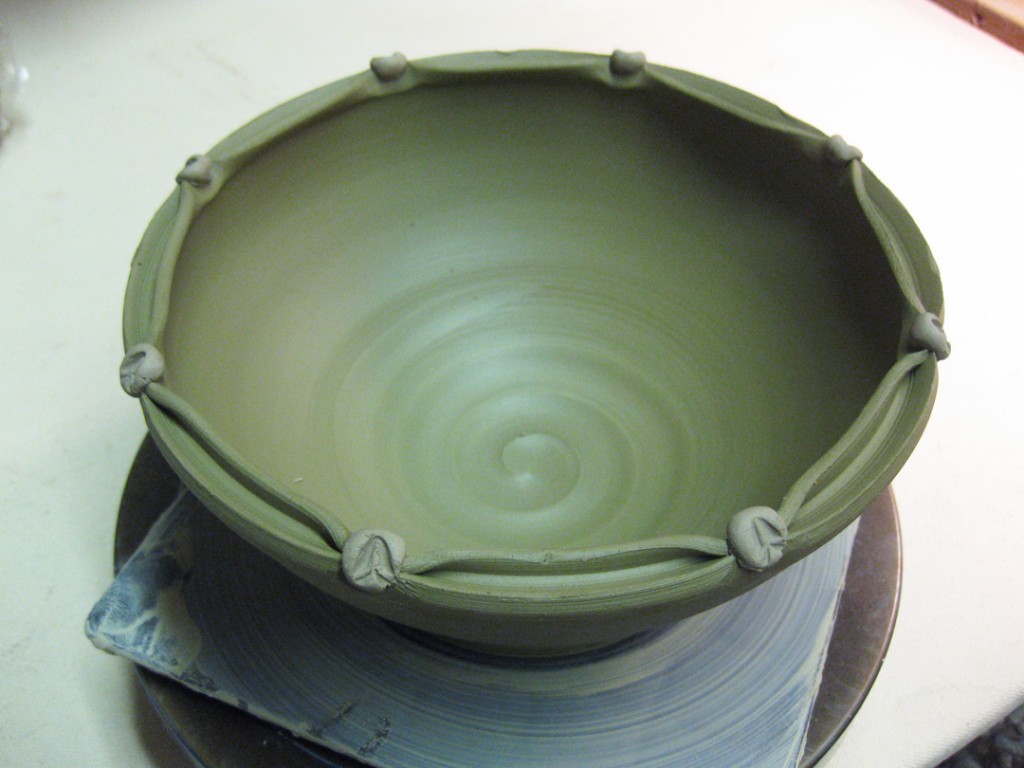
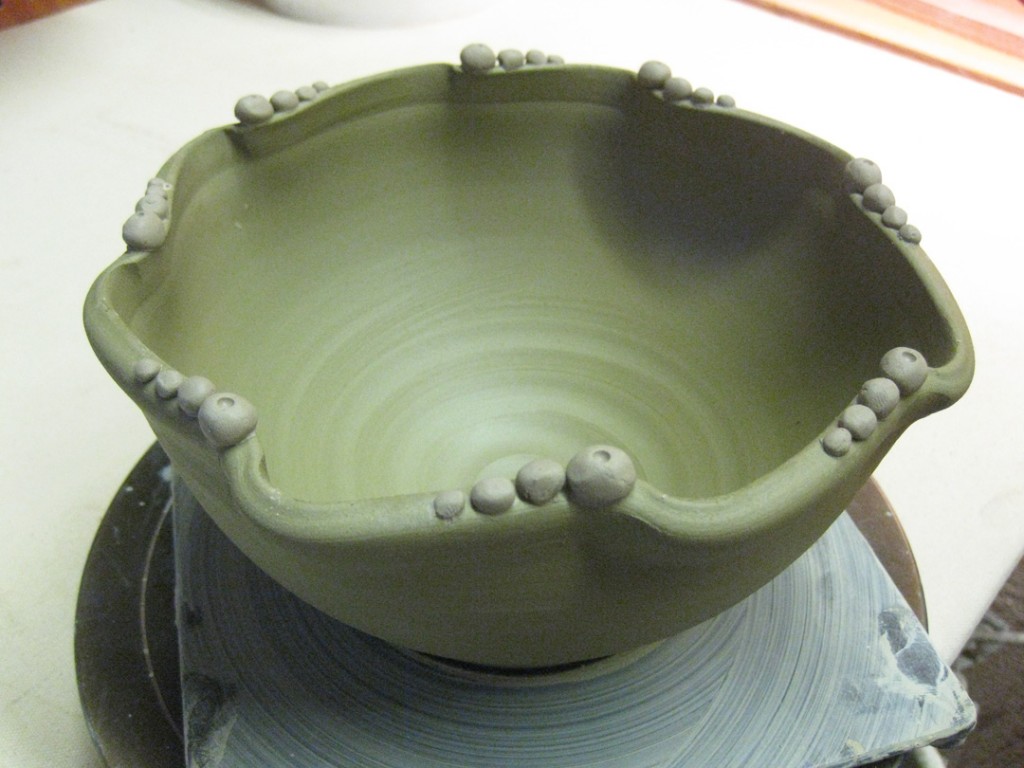
Split & Pinched Rim Bowl – now with stamped dots on the pinches!

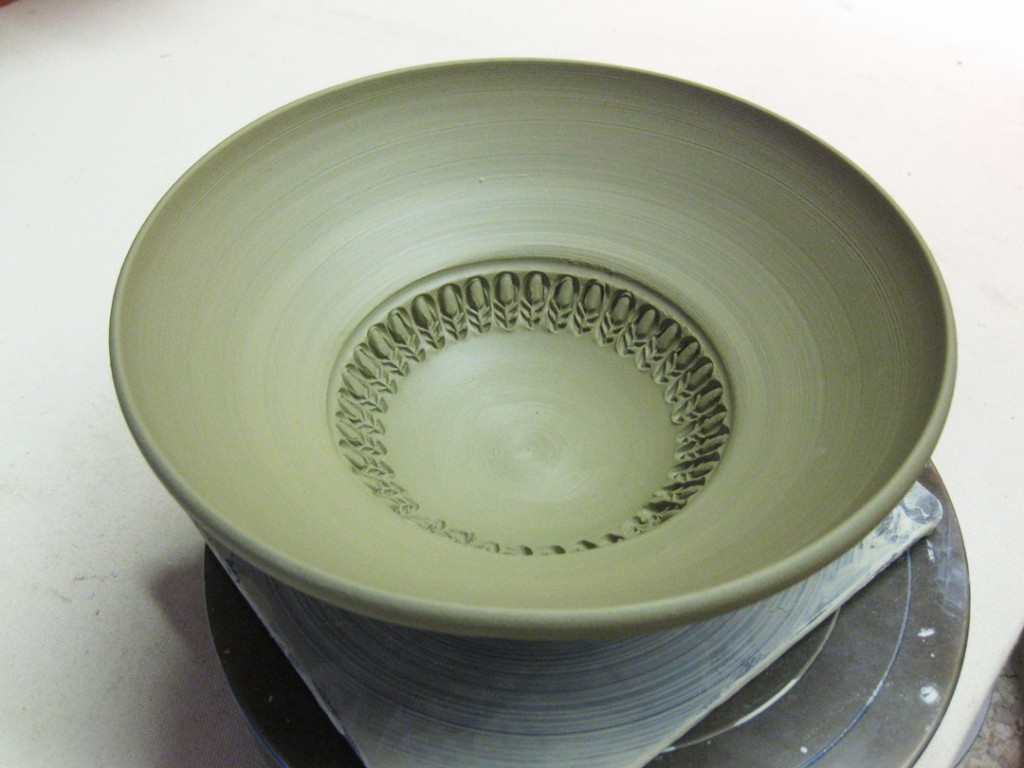
Super-Wide Flanged Bowl – now with a band of decorative stamping.

Fluted Rim Bowl – now with some graduated “beads” along the rim.

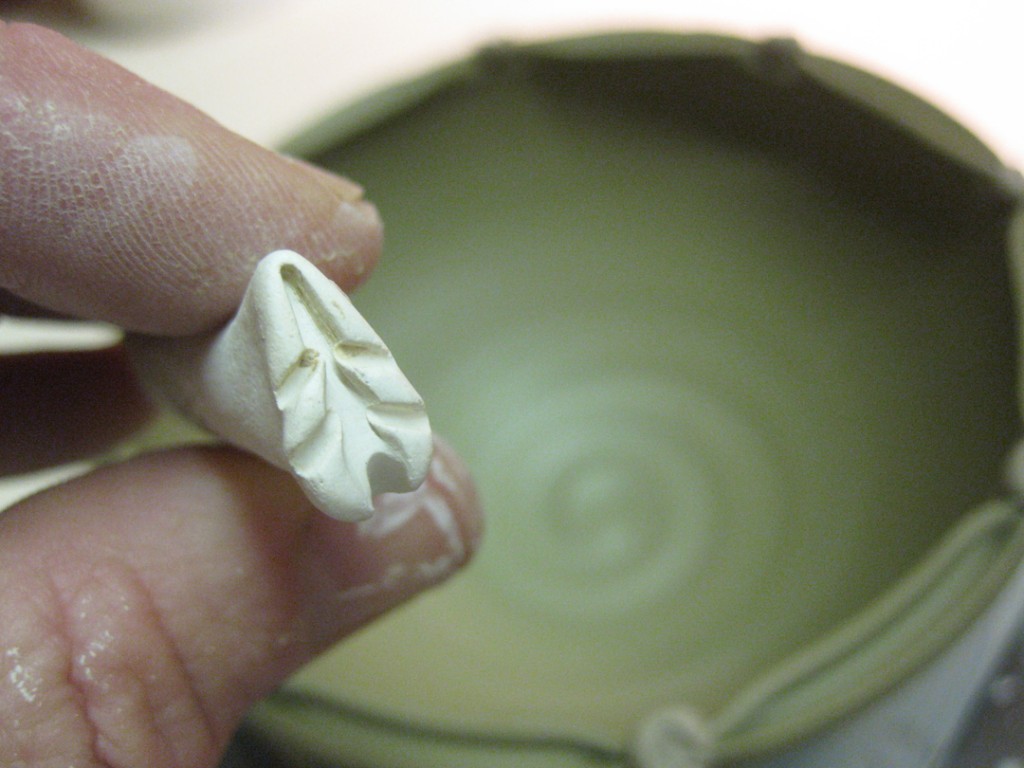
Flanged & Fluted Bowl – now with a ring of stamps!


Categories: mugs, process, production

So I’ve got forty cylinders stamped, trimmed and under wraps.
Today is the day they become MUGS!!!

So I started by wedging up some clay from the same mix I made the cylinders from. And then I pulled some handles and flipped them up so they can start to stiffen up in a “looped-almost-handle-already” shape. Gotta wait a few…

And then, one by one… the forty cylinders became forty MUGS!!!
Talking each cylinder and determining handle attachment location, cutting out a part of “the loop” and then scoring & slipping & attaching the handle.  Pressing & attaching. Securing & smoothing. Trying to finish each mug so the handle looks seamless before going back under wraps for the night.

Score… slip… attach… smooth… repeat…

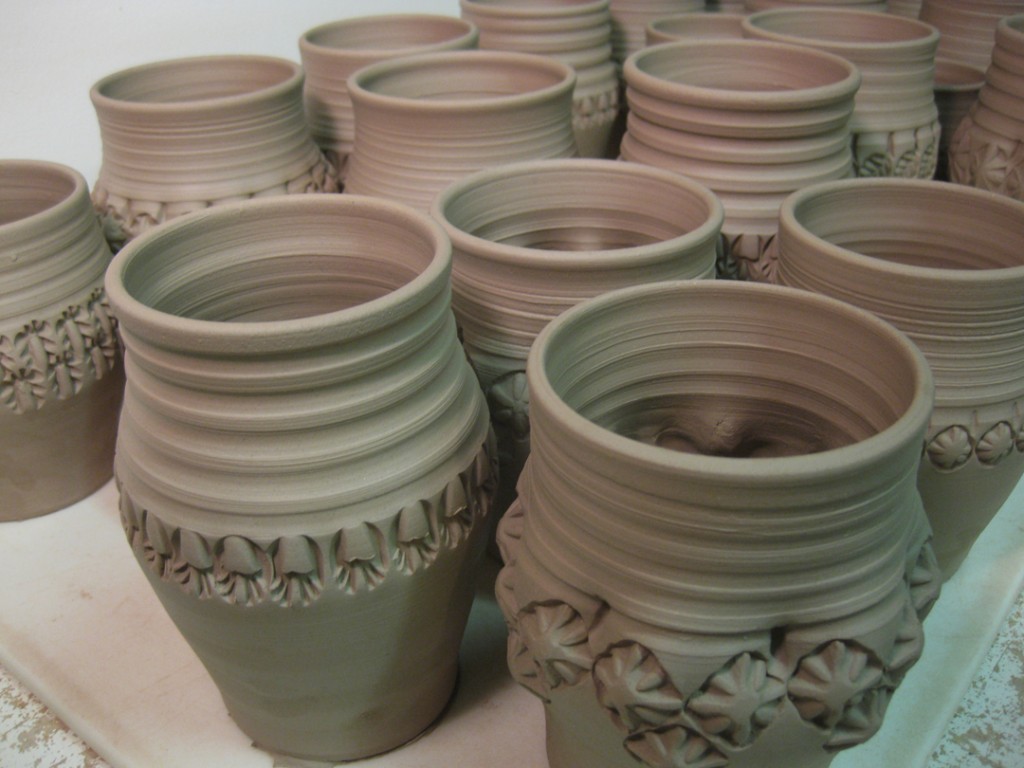
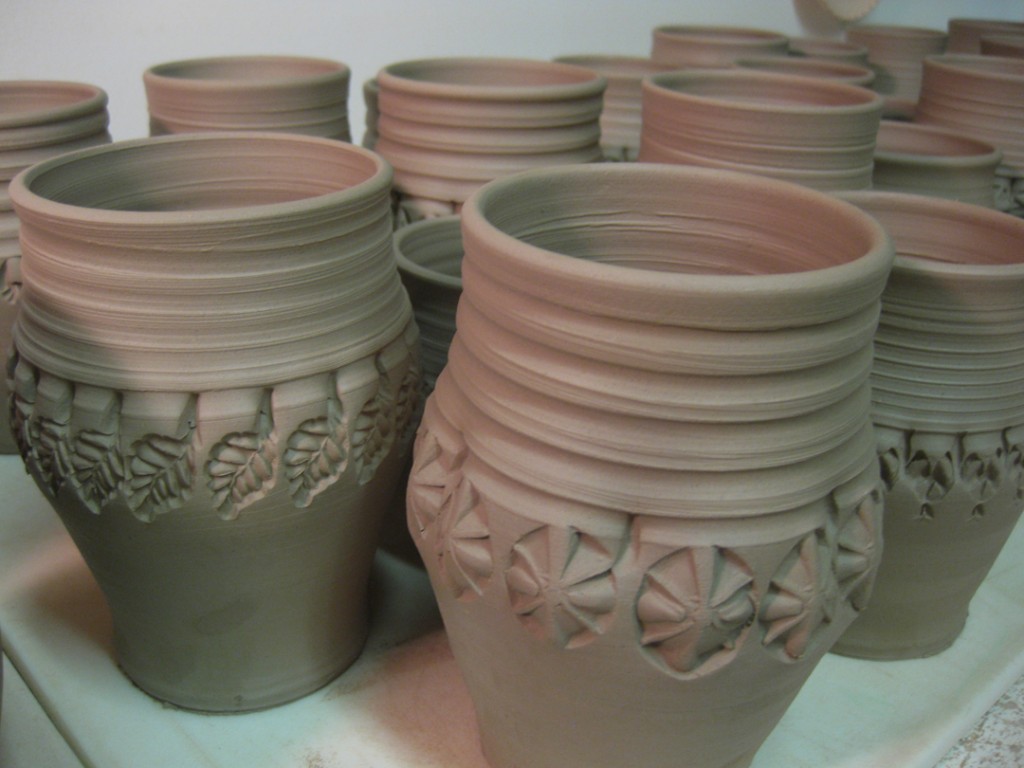
So now they’re all done… and quite honestly, this is my favorite part of the process. This freshly finished, leatherhard and now quite starting to dry yet stage. This “I’ve-done-as-much-as-I-can-do-for-now” stage. So I had to take a couple photos before wrapping them back up. I always wrap up my “freshly-handled-mugs” overnight…. my “theory” being that the handles & cylinders need to even-out a bit moisture-wise. And then tomorrow, I can unwrap them, check each one last time and then let then start drying slowly.

Categories: mugs, process, production, stamps

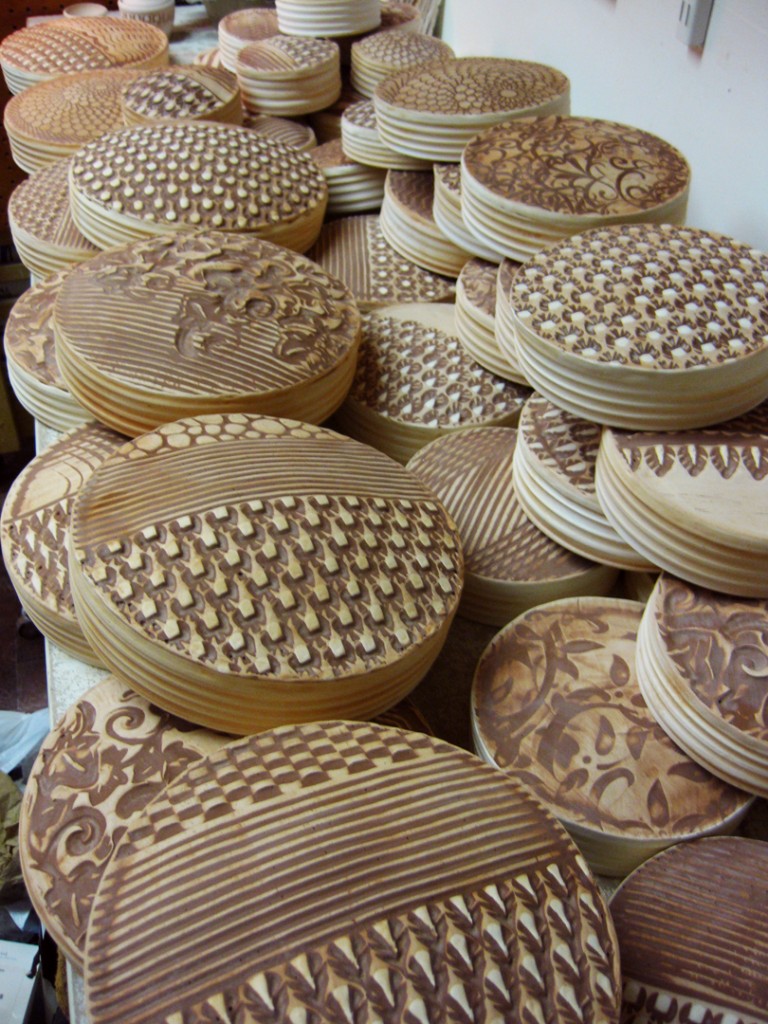
Tonight I stamped… and stamped… and stamped some more!
My cylinders were still a little squishier than I would like them to be, yet I persevered.
It was a synchronized rotation of unwrapping some, moving some, re-wrapping some, rotating, testing, touching and stamping mugs as they were dry enough to stamp. Sometimes I like them on a little softer side so I can manipulate & move the clay more. Tonight was one of those times… plus, I just wanted to get them done!

So, after a well-orchestrated evening of stamping, I got them all done.
Ten per ware board. One ware board at a time.

Finally, all four trays of mug cylinders have been stamped. So it’s 40 mugs under wraps for the night while they dry up a bit more to a drier leatherhard. Hopefully, I can trim them all tomorrow… and then add handles to them all this weekend?!

Categories: mugs, process, production

Well, I had a tower of clay to play with. So I decided to start with my “favorite”… MUGS!!!
I attached the tower, cut it into smaller pieces, wedged ’em up… and started throwing!

A few balls of clay later… and my work table was filling up fast. Time to cover them up for the night. I need them to stiffen up a bit, but not too much, so that they are ready to stamp later. Maybe tomorrow???

Categories: clay, process, studio

So you know when you have  a partial bag of “this” clay, and a partial bag of “that” clay. Some of it is a bit too dry. Some of it is a bit too wet. None of it is ready to go. Not quite enough of any one of them to make much of anything. So why not combine them???

As long as they all have the same firing temperature, it’s pretty easy. You might think it takes a lot of wedging. But not really… it’s easier to let gravity do the work for you! It’s a great little trick I learned from Emily Murphy, a former studio neighbor. And I’m going to share it with you!

So I started with three different kinds of clay. Some fairly dry soda clay (top), some squishy, unwedged reclaim mix (middle) and some stiff stoneware with iron (bottom). I start by cutting thin slices of each clay and making new stacks. I try my best to keep the layers even, and restack them by alternating the clay bodies within each stack.

As you can see, each pile is several layers of each different kind of clay.
Some soda. Some reclaim. Some stoneware with iron. Sliced. Layered. Stacked.
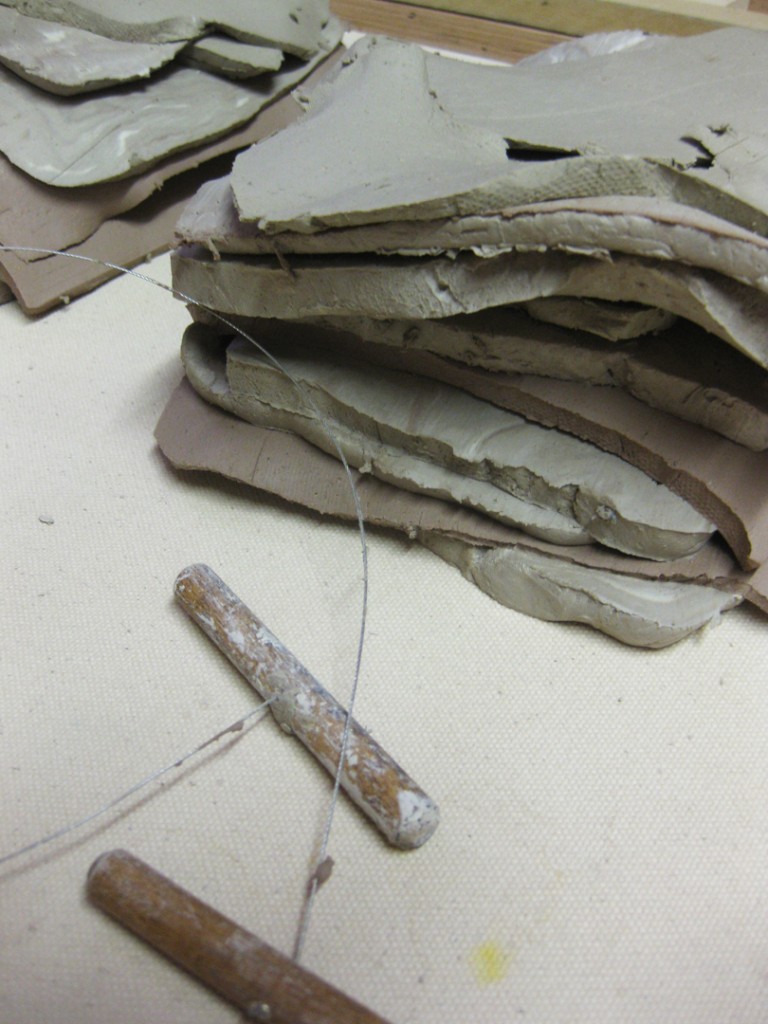
So here’s the stack of clay before I start combining the layers… nothing fancy.

Start by picking up the pile and slamming it down on the wedging table. Let gravity do most of the work. And I find it best to slam it down on the corner of my wedging table directly over the corner leg. Seems sturdier… and doesn’t make nearly as much noise!!!

After a quick slam, cut the clay in half. When you look at it, you can see all of the layers of different clays. I don’t know for sure how many there were… so let’s just say 12 layers for demonstration purposes!

So, after slicing the stack in half, put one piece on top of the other…
and now you’ll have 24 layers in your stack.

Another quick pounding on the table and it squishes together and flattens out a bit.
Cut it in half again, and you can see how your layers have doubled and squished thinner.

Stack one half on top of the other, and suddenly you have 48 layers!
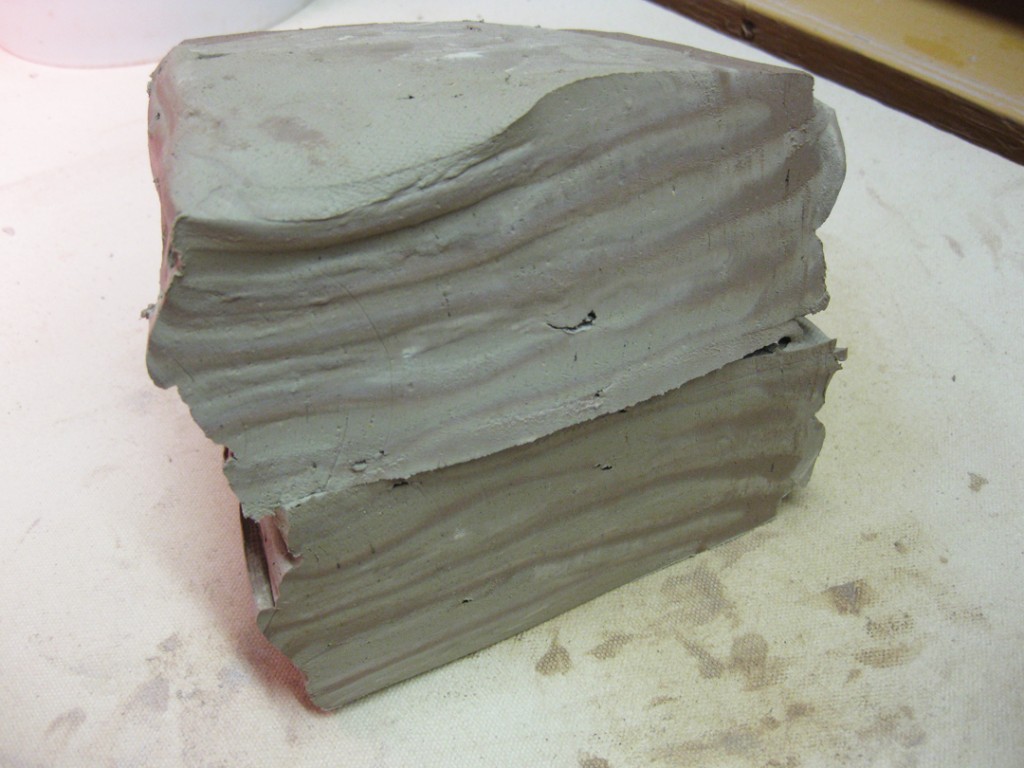
Pound it again, cut in half again… and you’ll see how the layers are getting thinner & thinner.
Just from slicing and dropping it on the table! No power wedging. Very little physical labor.
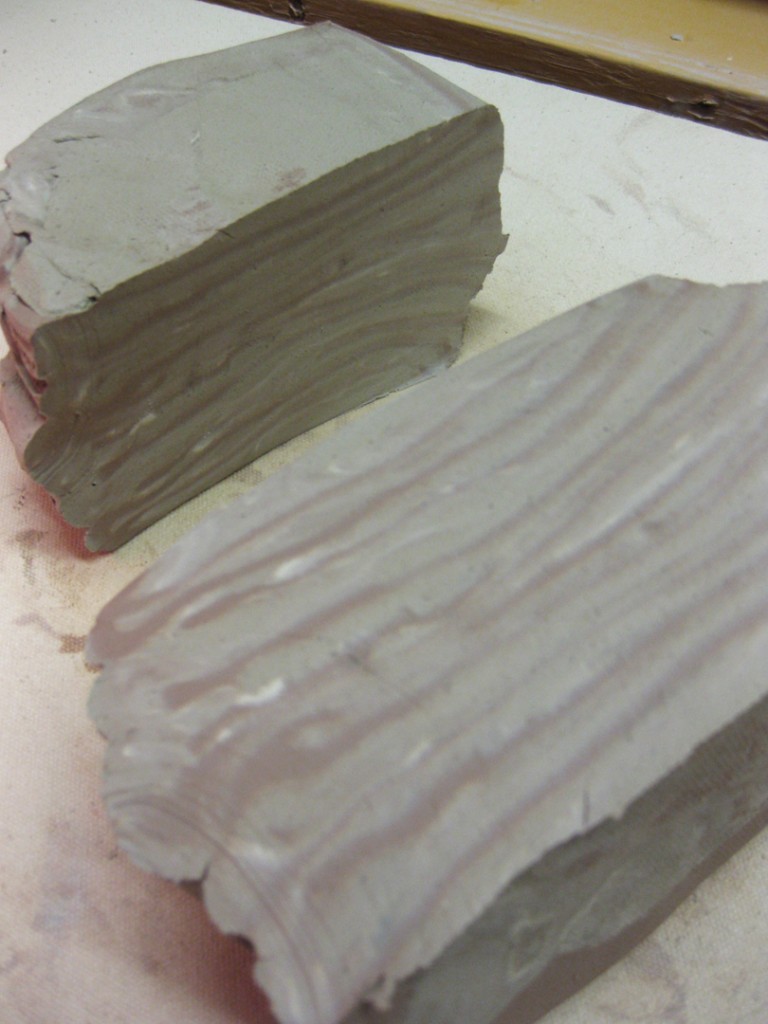
Stack it back up… slam it down and now you’re up to 96 layers!
Pretty amazing how the number of layers multiplies so quickly… more & more, thinner & thinner!
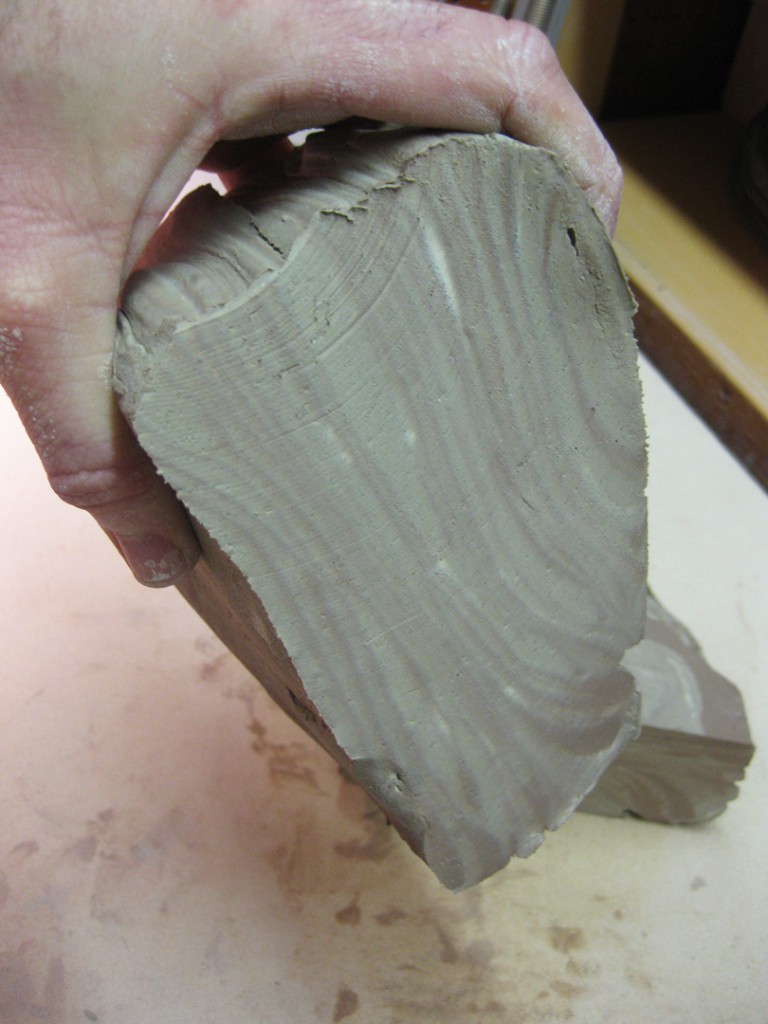
Slice again. Stack again. Slam again. 192 layers!

Slice again. Stack again. Slam again. 384 layers!

Slice again. Stack again. Slam again. 768 layers!

Slice again. Stack again. Slam again. 1,536 layers!… and almost blended.

One last time… Slice again. Stack again. Slam again. 3,072 layers!
And it’s looking pretty well homogenized after some simple slicing & slamming.
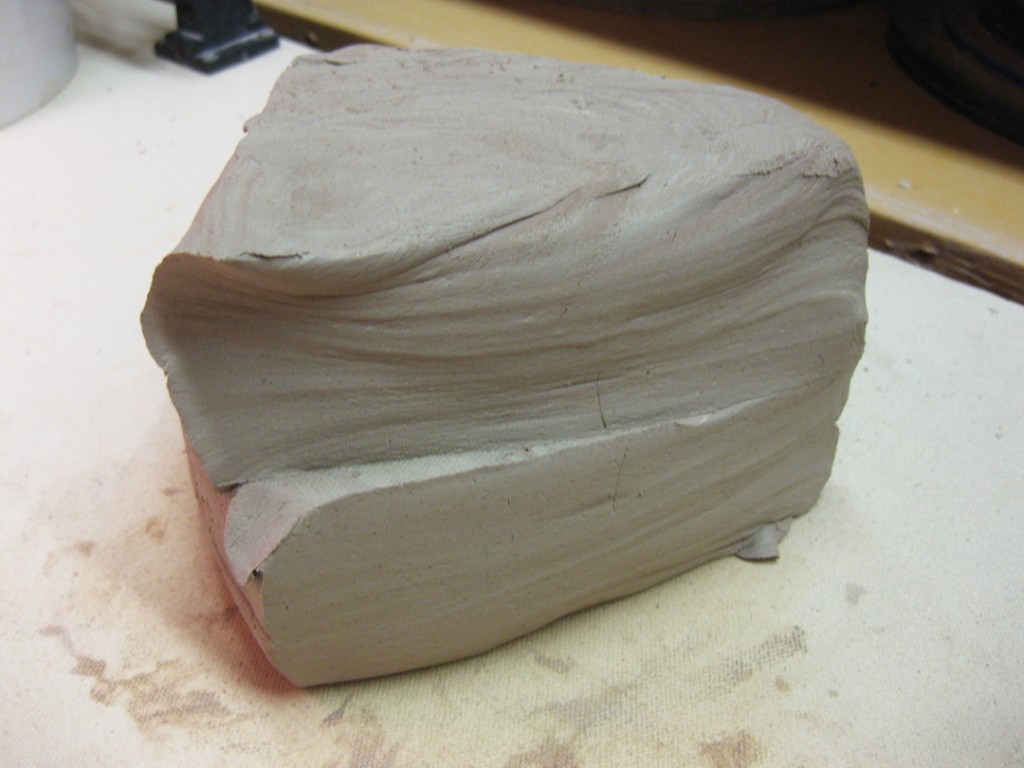
So then I just pounded up the pile a bit and I now have a solid block of clay. The three different clay bodies are well integrated. And the difference in moisture levels has been taken care of. Ready to go. Much better to use.
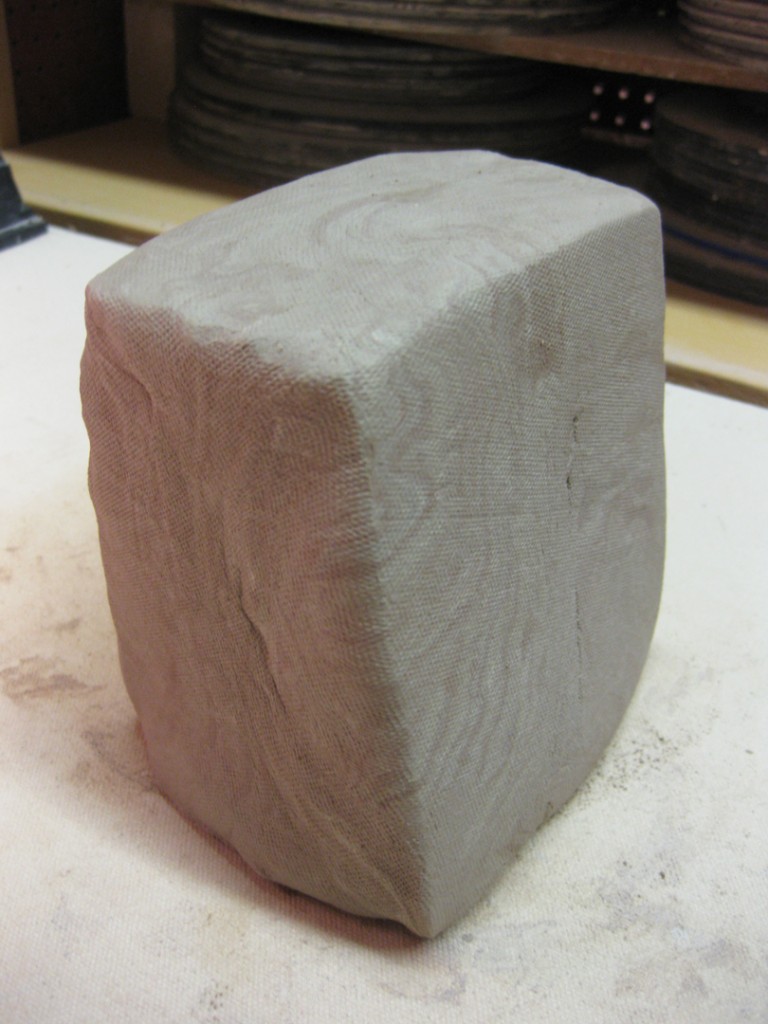
I tackled all seven of the layered stacks I made from the three different clay bags.
Slice. Stack. Slam. Repeat… Slice. Stack. Slam. Repeat… Slice. Stack. Slam. Repeat…
And now I’ve got a tower of clay ready to go. Sure, the clay still needs some final wedging just before throwing. And now I’ve got to make something with this tower of fun!

Categories: clay, process, studio

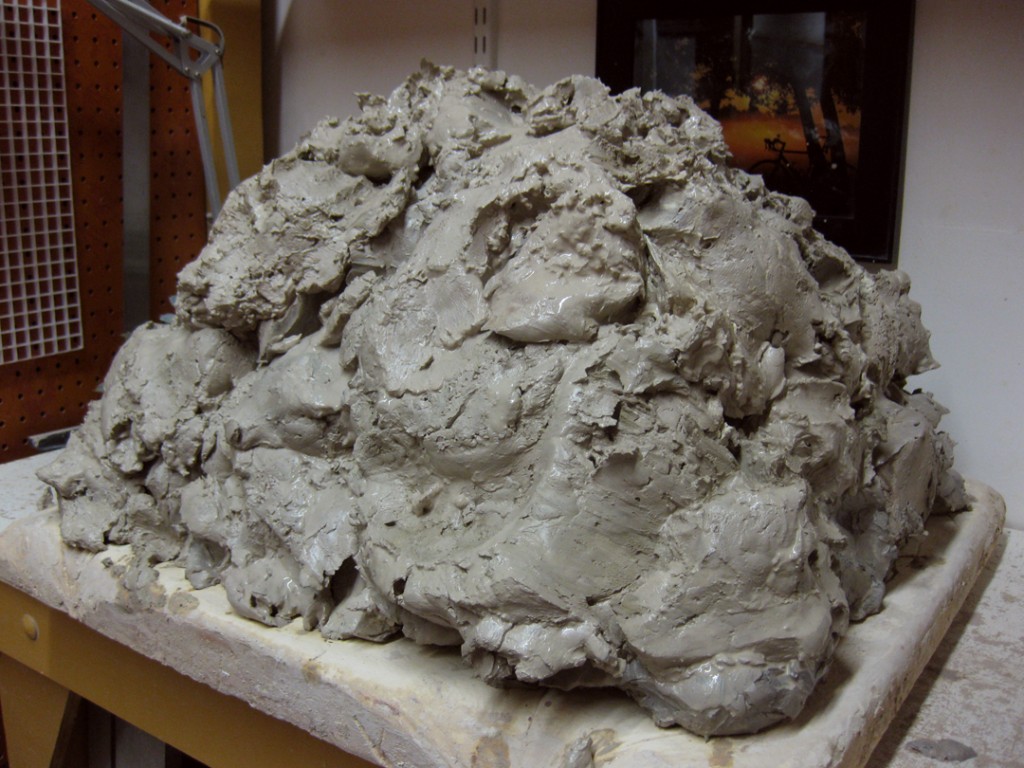
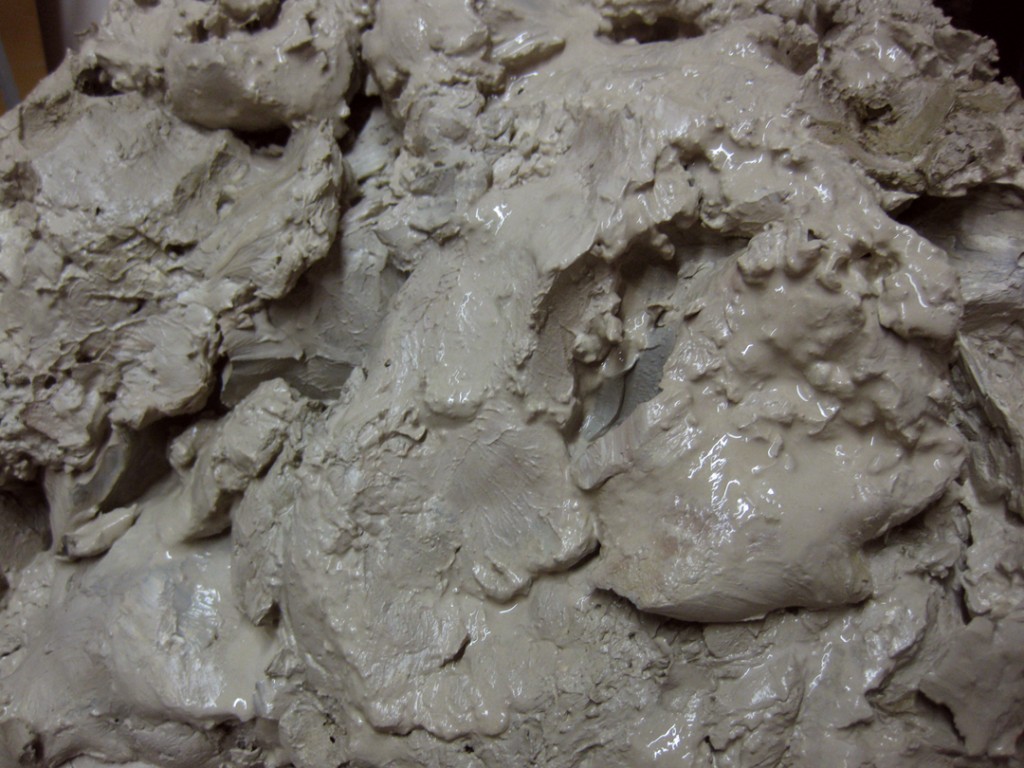
Once again, I’m kicking off the New Year by turning out a new batch of reclaim clay in my studio. It’s a pretty big pile this time. Lots of trimmings & scraps all re-hydrated and ready to go. Unfortunately, I think I may have let it go a bit too long over the holiday break… and the pile is bit drier “stiffer” than I’m accustomed to.  I actually added some more water to it and stirred it up BEFORE I turned it out onto my plaster bat to get it to dry again. Kind of counter-intuitive. And I’m a bit concerned that the “wedging it back into clay” process may be a bit tougher than usual. I usually need to let it sit for a couple days to stiffen up… but this time I might be wedging tomorrow!!!

And every time I do this, it reminds me of “The Blob” from my childhood. Very few people seem to remember this, but it was really cool. “The Blob” was basically a pile of clay on a pedestal that “came to life” as an artist did some quick cutting & sculpting to give it a personality. To the best of my recollection, it was from the kid’s show “BJ and Dirty Dragon.”

Categories: clay, mugs, process

My friend & fellow potter Greg Schultz gave me a container of slip. Apparently it’s just “some mud” that he dug up out of the ground and “processed” into a slip. This was the first time we were trying it in the soda kiln firing atmosphere. We assumed it would flux out pretty well. Maybe too well. So here are two test tiles that got a good amount of soda. The one on the left got more soda, the right one less soda.

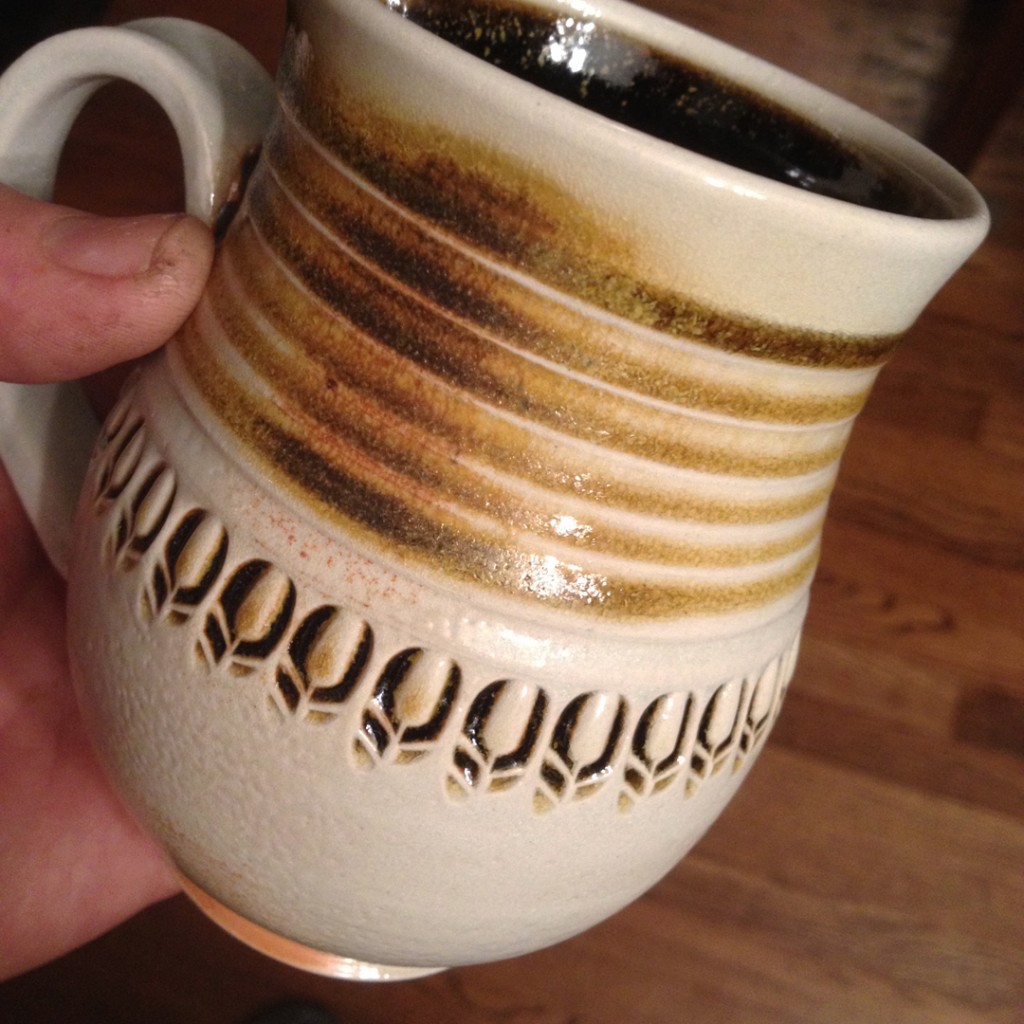
And here’s one “test” mug which I painted the top portion with Greg’s new “mud” slip. It fluxed out really well, “broke” in all the right places and kind of has a temoku glaze appearance after soda firing. If you look closely, there’s also some crystals forming it the slipped areas too.  Love ’em. I now need to do another test where it would get hit with a lot less soda. To see if a drier section of the kiln might give us a different effect. This mug was on the very top shelf where things tend to get a LOT of soda on them. But so far… very encouraging!

Categories: kiln firing, pottery, process, production
Categories: kiln firing, process, production

Well, the soda kiln is packed tight & bricked up for the night.

Now it’s home for a quick “nap,” followed by a quick shower,
then it’s back to the studio in a couple hours to fire it up!!!

Categories: glaze, pottery, process, production, stamps

Night two of glazing was quite productive. Things were literally stacking up.

After I added the wadding these pieces went onto my rolling studio cart to make room on the table to glaze even more! Especially since I’m glazing to fill my own soda kiln AND share a cone 10 glaze kiln with two other studio members. Glazing for two different kilns at the same time is a little daunting.