Gary Jackson: Fire When Ready Pottery
A Chicago potter’s somewhat slanted view of clay & play
Categories: clay, process

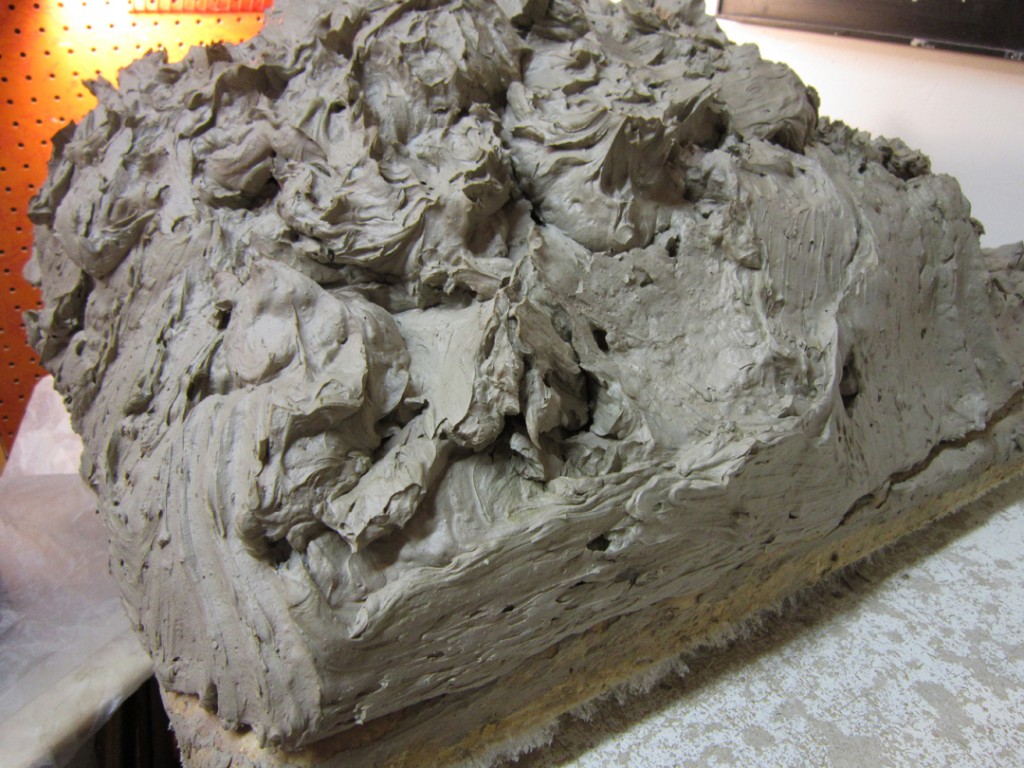
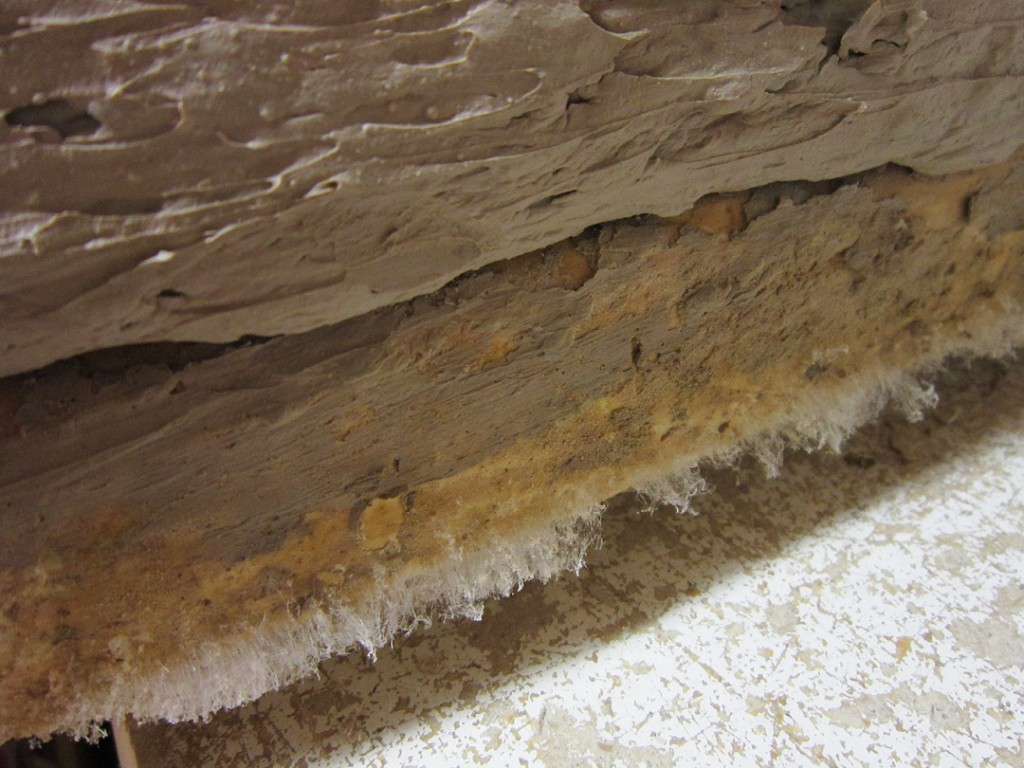
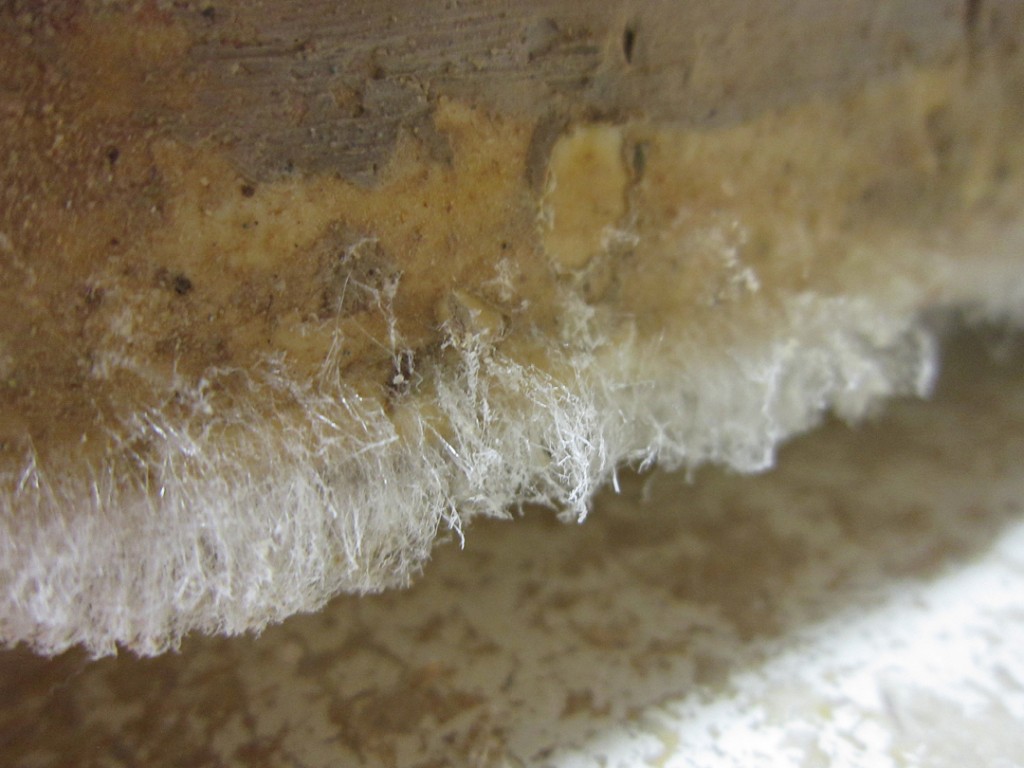
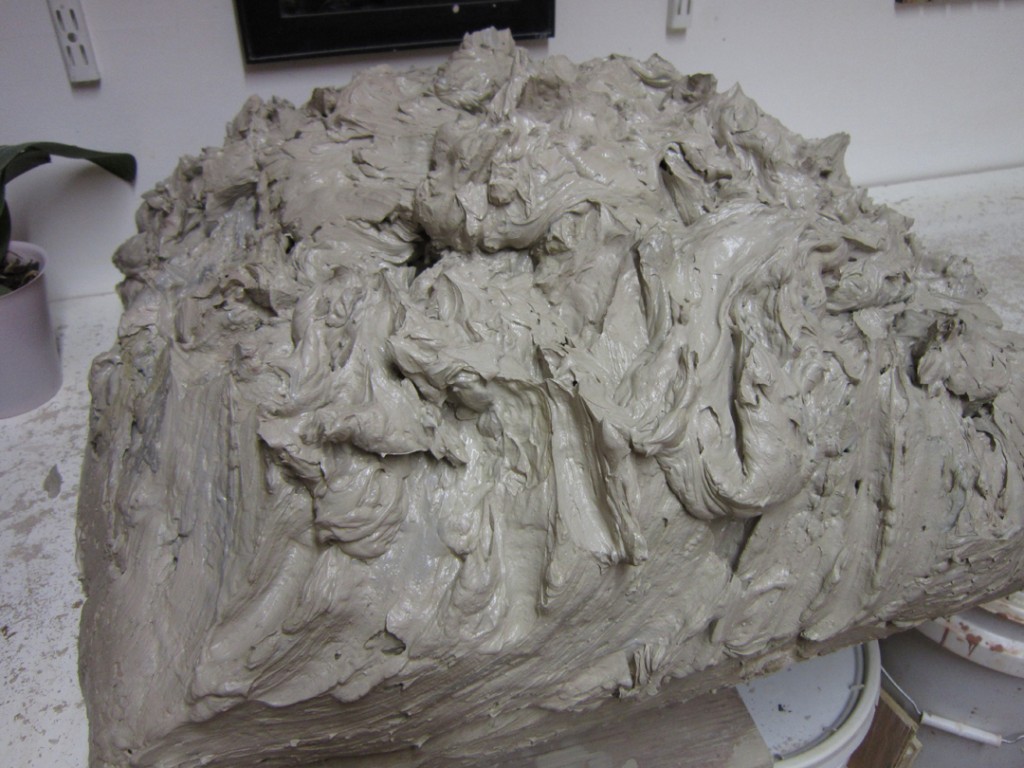
While working in the studio this evening, I stopped for a second to look at my pile of reclaim clay. Typically it just sits there on the plaster bat and dries out slowly. But tonight something odd caught my attention… look closely at the bottom edge of the plaster bat!!!

Yep… there’s something “funky” growing down there…

Now I’m not really sure what’s going on here?! I probably should call my sister the High School Science Teacher. Or maybe someone else out there can explain this “fuzzy phenomenon” to me?!!! Either way, it’s pretty cool…

Categories: clay, process

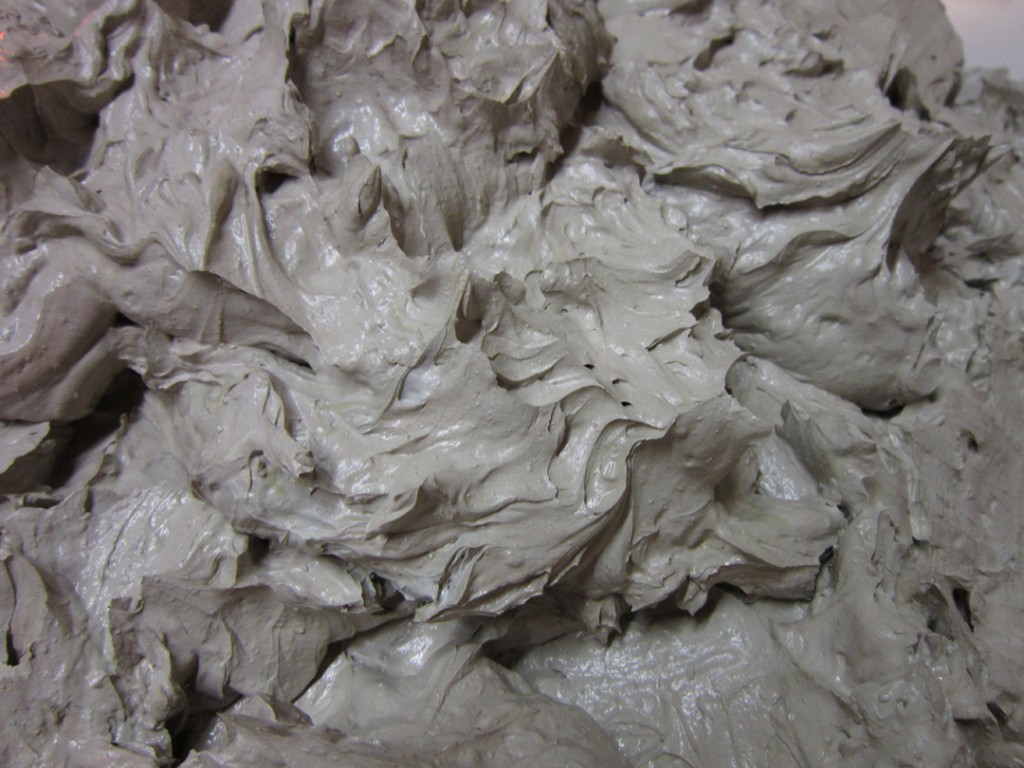
With several bags of dried porcelain scraps from Emily, I felt obligated to get the process started. So I turned out the stoneware reclaim that I’ve had in my orange tub. So I stirred it up, added a little more powdered EPK and stirred some more. I then turned it out onto a large plaster bat for it to set up. The plaster bat will help absorb the moisture out of the gooey clay blob. After a few days, I’ll be able to start wedging it back into usable clay… FREE usable clay!!!

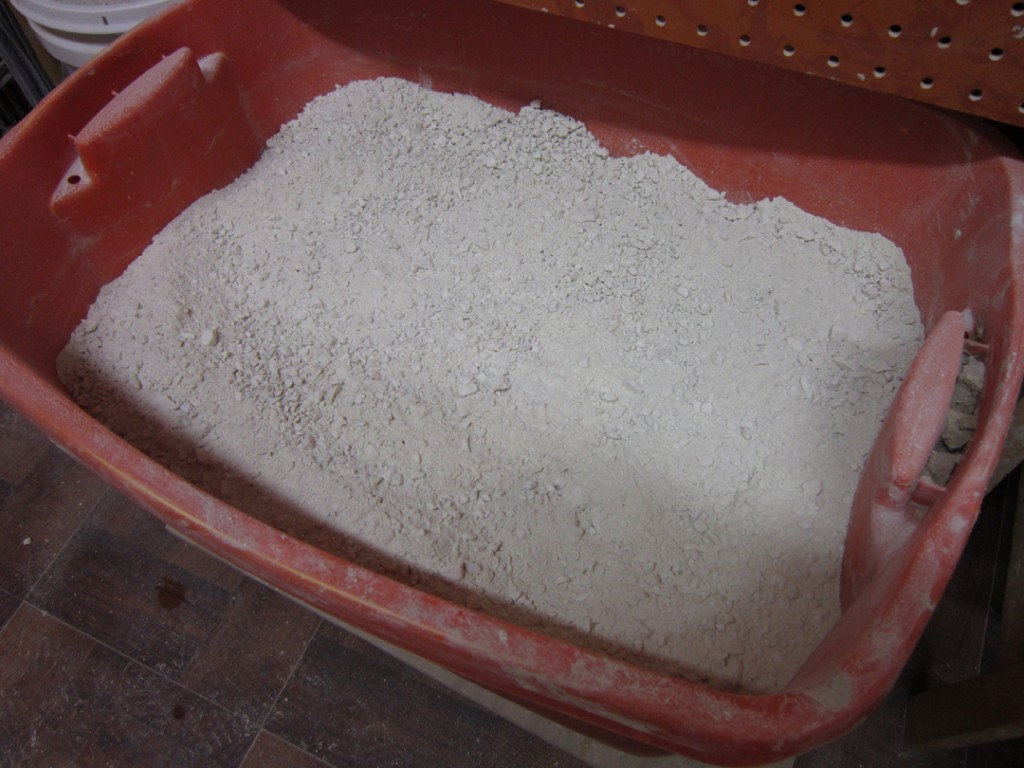
Then it was tine to start the porcelain reclaim. I scrubbed out my orange reclaim bin… and started adding the porcelain scraps into it. A lot of the porcelain scraps are in large chunks, so I did a lot of banging, breaking and “pulverizing” into smaller flakes. The smaller the pieces, the smoother the reclaim.

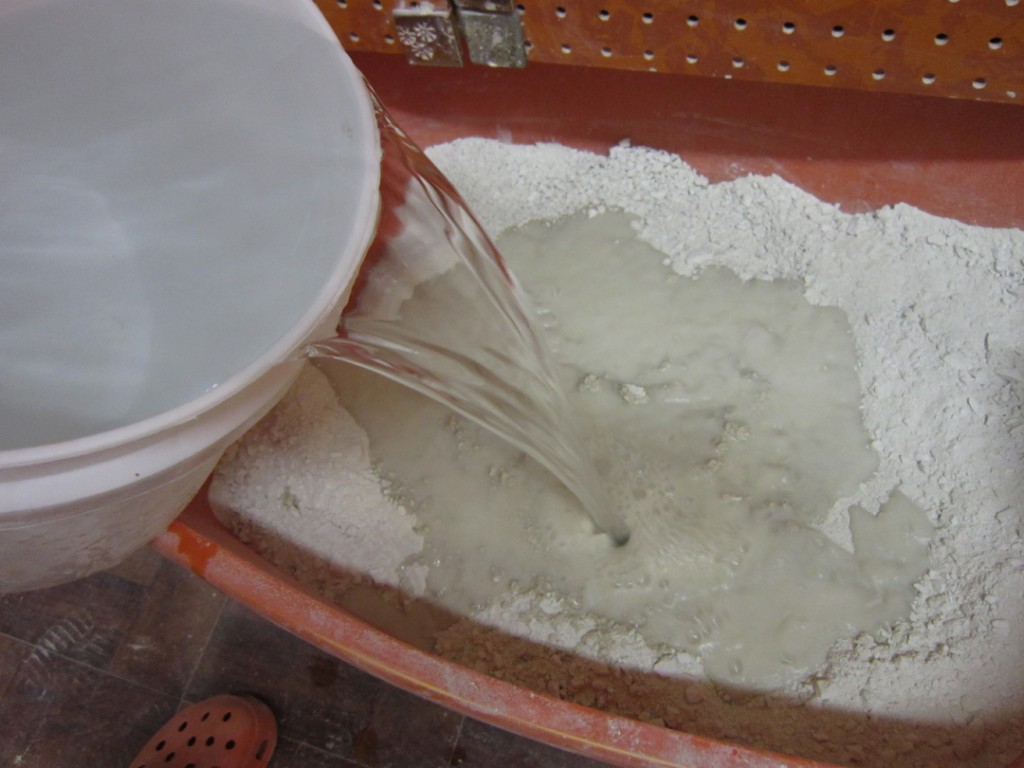
Add in some water, let the bubbles some up, then add some more water. Once the pile of porcelain flakes are covered with water, the clay will begin to slake down. I’ll stir it up a few times as the water evaporates. And soon enough, I’ll have a huge pile of FREE reclaimed porcelain!!! Thank you Emily!!!

Categories: kiln firing, process, production

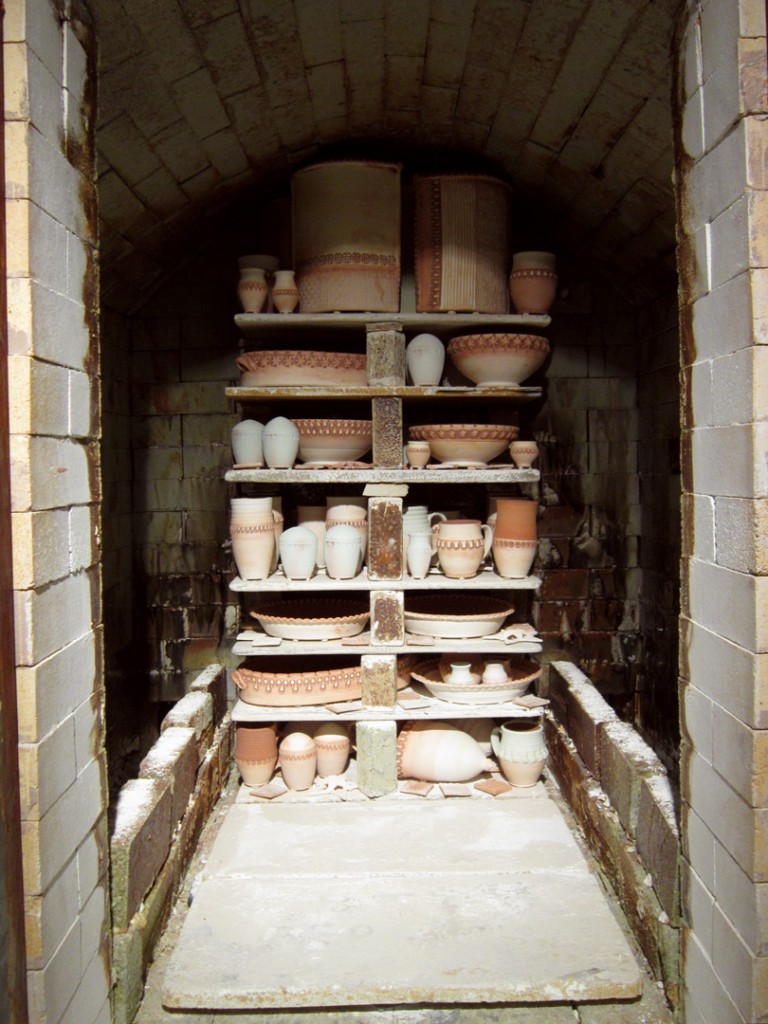
After a few long days of glazing & wadding, I was finally ready to load the kiln.
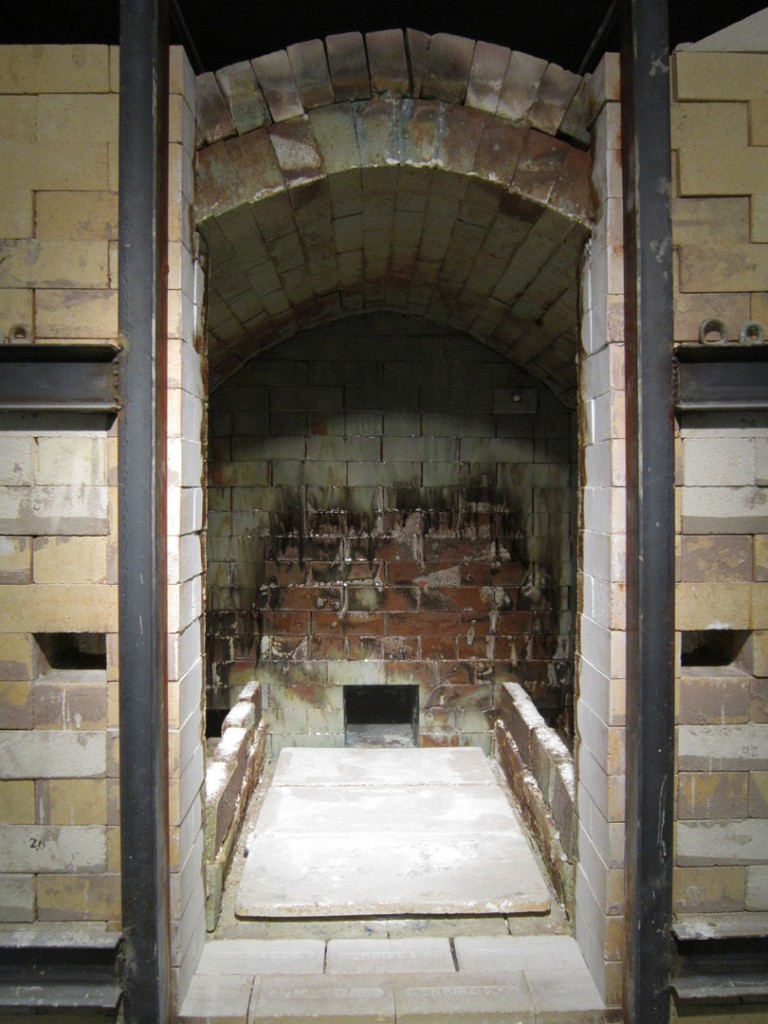
An empty kiln has such potential…

I always start in the back with a single stack of shelves. These will get hit with a bit less soda than the front, so I plan ahead and use different clay bodies for this area. Porcelain & B-Clay “blush” really well back here without getting “blasted” by the soda. As well as pieces that have a git more glaze, or I’m hoping for a more subtle effect.

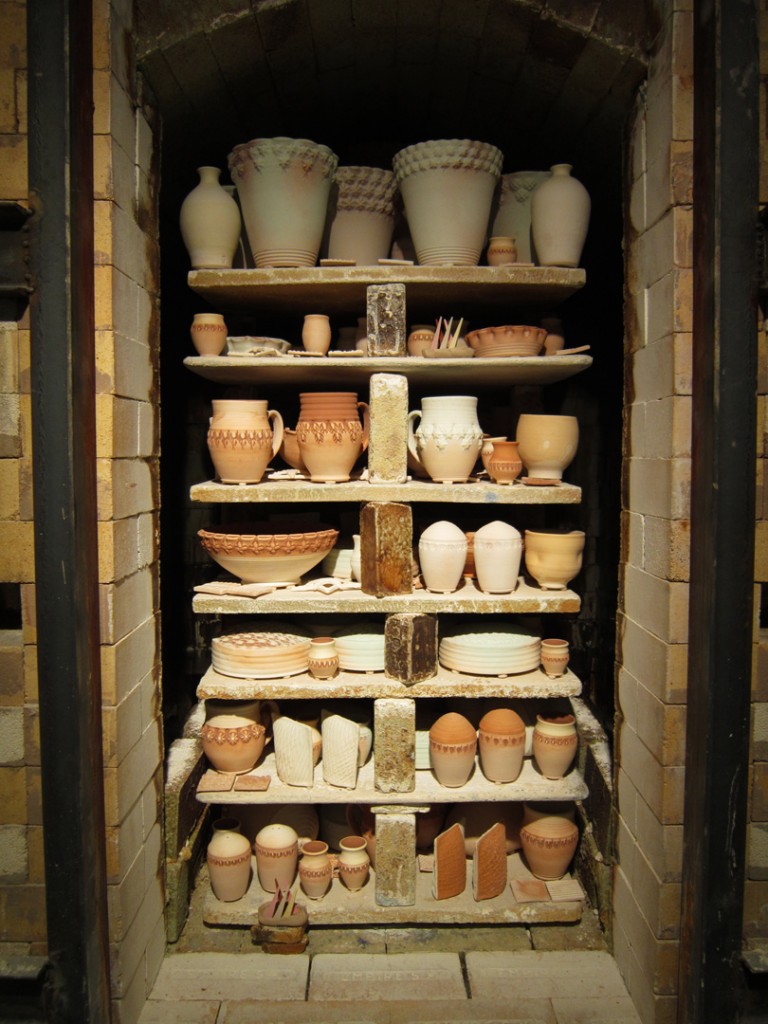
The middle & front stack of shelves get built at the same time. It’s always a puzzle putting it together. Trying to fit in as much as you can while leaving a bit of airspace for the soda to travel through. As you’ve seen… I LOVE to pack a kiln. And I LOVE kiln filler. So it all comes together in this final glaze firing… as I pack it tight and try my best to cover every possible space of kiln shelf!!!

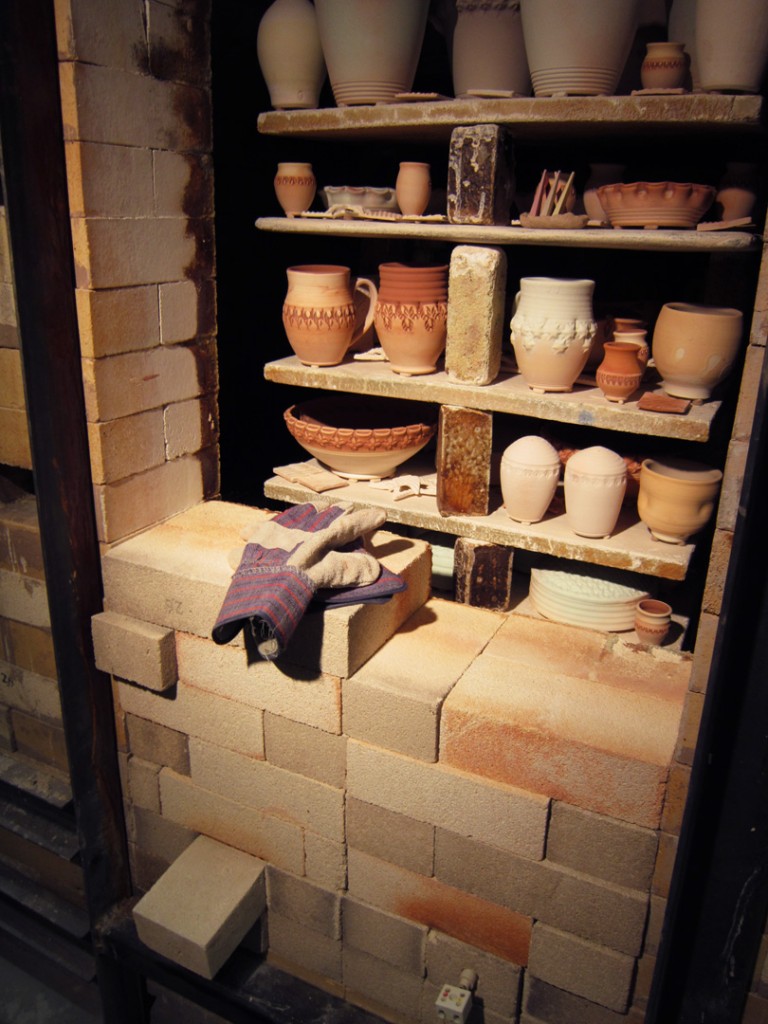
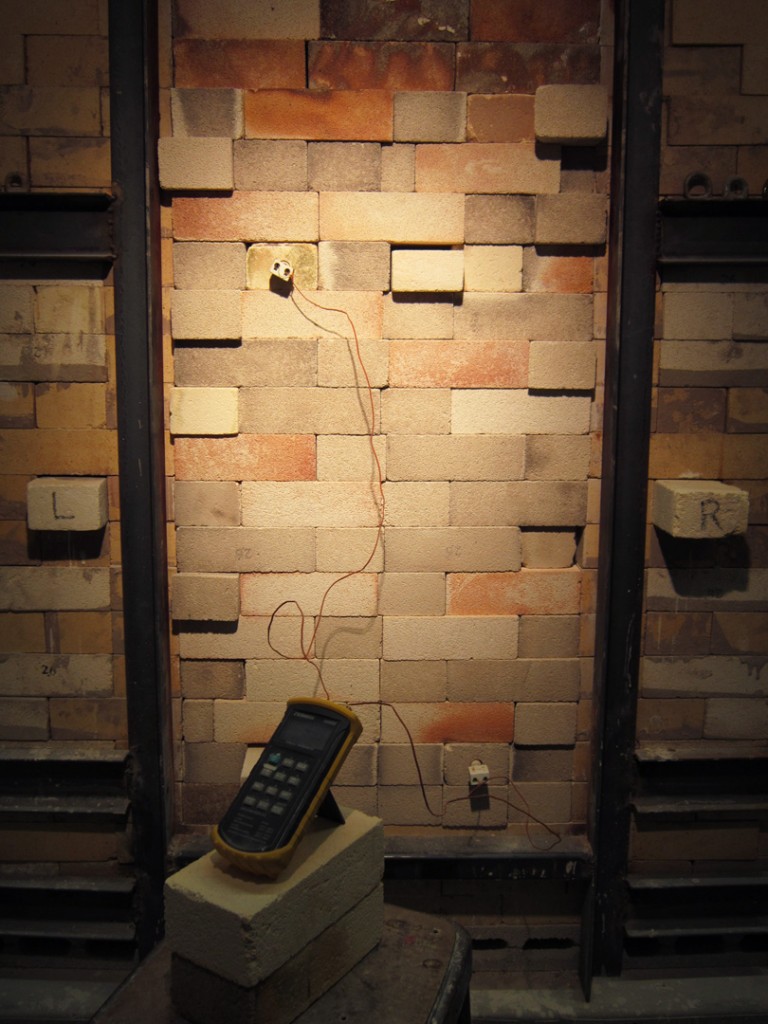
Once loaded and the cone packs are in place, it’s time to start bricking it up… one brick at a time!

All closed up. A very short preheat while I tidy up & gather my things.
And then it’s off for the night – waiting for an early start tomorrow morning.

Categories: glaze, process, production

Today I glazed… a lot of temoku.
Today I wadded… a lot of glue.
Today I repeated… and repeated… and repeated… until the cart was full.

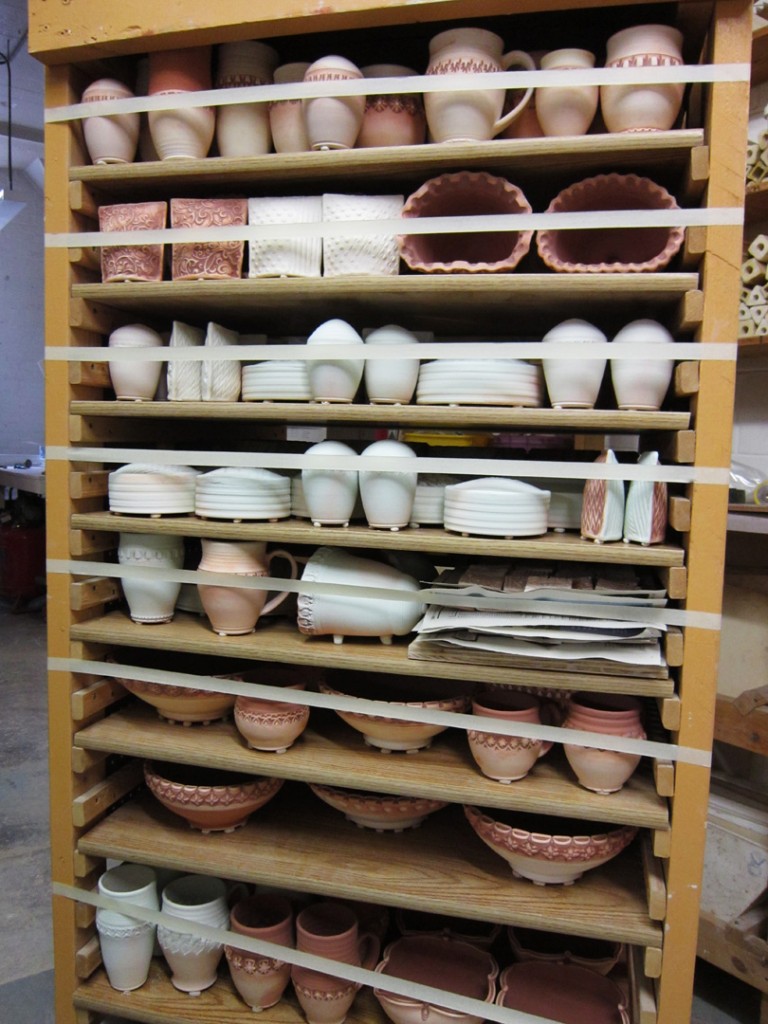
Once my studio cart was full, I was ready to roll it downstairs using the rickety freight elevator. I always use a few strips of masking tape as “safety belts” to keep pieces from jumping off the cart during the trip!

Categories: glaze, process, production

So I’ve stirred ’em up and the glazing has begun.
Trying to be efficient & methodical to get it all done quickly.
Inlaying some glaze into the stamped impressions. And a simple liner glaze.
Unfortunately, I had to stop to go downstairs to teach class… so it’ll more glazing tomorrow!!!

Categories: glaze, process, production

With another kiln firing… it’s time to tackle all of the bisque that has been piling up. I’ve been busy making a lot of “stuff.” Now it’s time to get some glazing done… as I need to load the soda kiln on Friday night so I can fire this Saturday!!! Yikes… time to get my glaze on!!!

Categories: kiln firing, process, production

It’s always tough to do a second bisque kiln so close to the one before. Generally not enough small pieces to fit in all the small places. I made a few more tiles, and that last batch of mini vases… but still, I would have liked to have more to squeeze in here!

Kiln Layer #1 – textured wall pillows, tiles and two large porcelain platters by my studio neighbor Karen Patinkin.

Kiln Layer #2 – a few stacked bowls, textured wall pillows, mini vases & tiles.

Kiln Layer #3 – a partial layer… with textured wall pillows, mini’s and more tiles.

Kiln Layer #3-1/2 – another partial layer of taller pieces… the textured slab vases I made this weekend. Which aren’t quite dry yet… but I’m putting them in upside down so the damp bottoms aren’t flat on the shelves. More room for air flow, evaporation & drying this way. I think.

Still a few damp pieces in there… but they won’t be for long! Preheat already on…


Categories: bowls, process, production

Today I trimmed all of the bowls from my class demo last Tuesday night. The fifteen bowls have all been decorated, altered, stamped and detailed… the last thing to be done before bisque firing was to trim a good foot on each of them. Done.

Categories: bowls, kiln firing, process, production

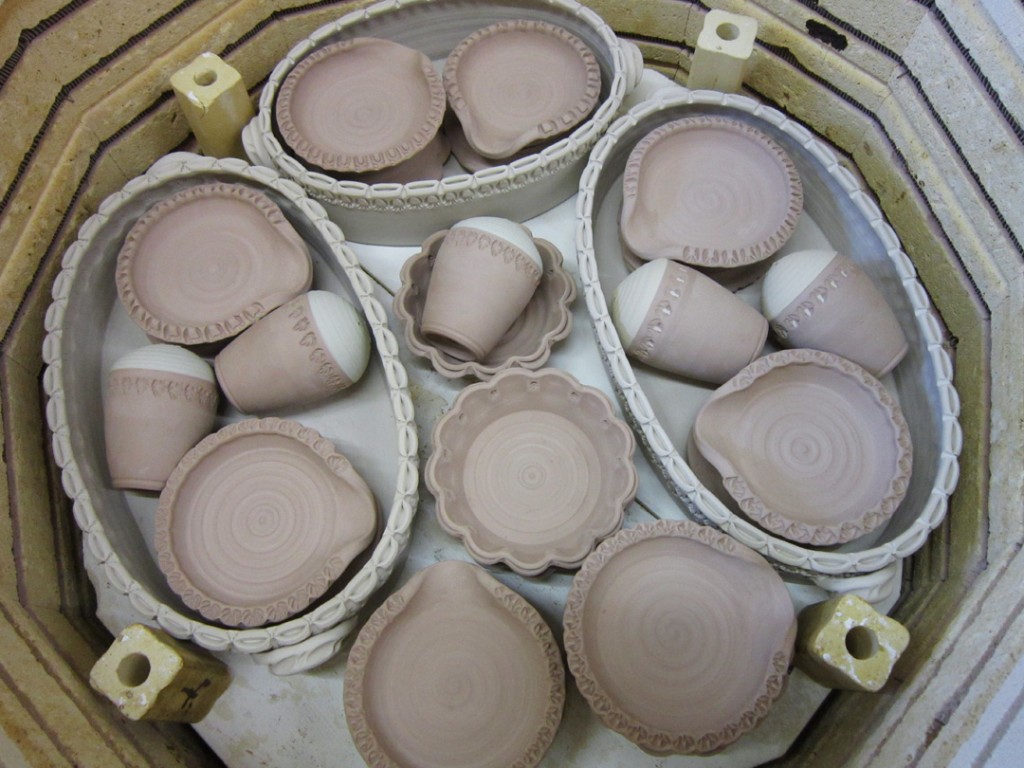
Tonight I loaded another bisque kiln. And as usual, I tried my best to pack it tight. I think I did pretty well this time… and sadly, a few bowls & an oval casserole did not make it in!!! Good thing I have another bisque kiln scheduled for early next week. For which I need to make a LOT of work to fill that one too!!!

Kiln Layer #1 – flower pots, tumblers, salt & pepper shakers

Kiln Layer #2 – oval casseroles, flower pot drip plates, salt & pepper shakers & tiles.

Kiln Layer #3 – oval casseroles, spoon rests, flower pot drip plates & salt & pepper shakers.

Kiln Layer #4 – bowls, flower pots, salt & pepper shakers… and two adorable terra cotta mugs made by my little friends AJ & Lizzie… who I’m sure have been waiting anxiously to get their masterpieces back!

Categories: pottery, process, production

Time to make more oval casseroles!!! So I started by throwing the side walls on the wheel. I let them sit-up so that they’re not squishy & sticky.

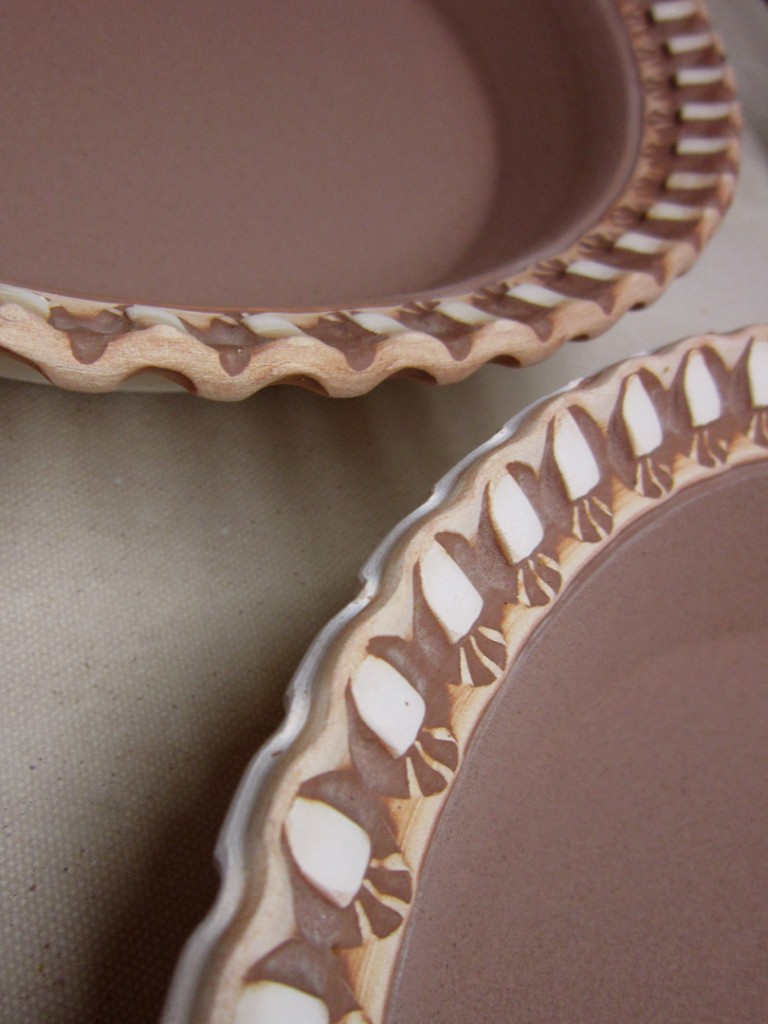
Once they get to a good “wet” leatherhardness, I carefully wire them off the bats, and curve them into the oval shapes I like. Then I go around and stamp the patterns… one stamp at a time!!! Then I wrapped them up and let them stiffen up even more.

When I came back the next day, I made some nice slabs of clay and attached them to the thrown oval sides. A lot of scoring & slipping, a little paddling to make a tight connection, and a lot of good smoothing & blending to make it appear as though it was all one piece.

I also added handles and then set them aside… trying to keep them out of my way. It’s getting more than a little crowded in my studio these days!. “Real estate” and shelving are getting very important.

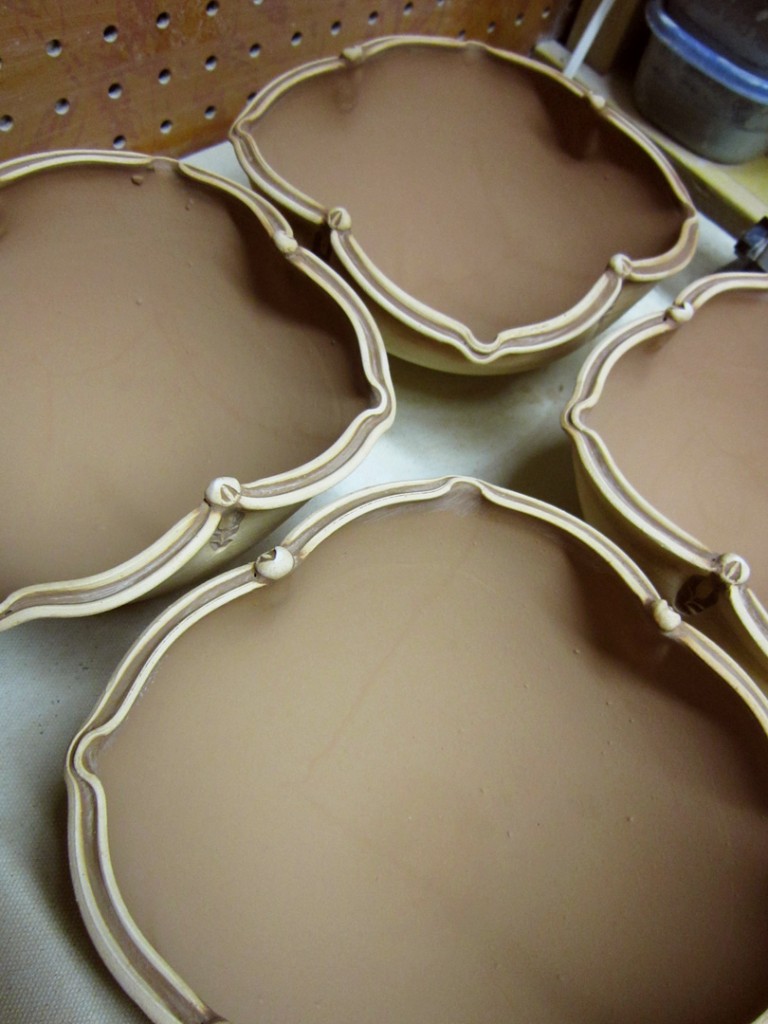
Once I had them all constructed & handled, I did a little bit of slip decorating before I set them off to dry. I’m always concerned with warping as these larger, handbuilt pieces start to dry. So I’ve placed them on elevated plastic grids with a sheet of paper on between. My thought is that the paper will help draw the moisture out, and the elevated grid will allow air circulation around all sides of the pots.

Once these are dry, they’re going to go into the bisque kiln.
Okay, who am I fooling… I need these to be dry FAST so they can get into Wednesday night’s kiln loading. Let’s hope they dry quick… and flat… and crack-free!!!