08.27.2014
So this is where I’m starting tonight.
Cory’s whimsically sculptural tiles have been adhered to the boards.
Now it’s time to add my part…

Gary Jackson: Fire When Ready Pottery
A Chicago potter’s somewhat slanted view of clay & play |
So this is where I’m starting tonight.
Cory’s whimsically sculptural tiles have been adhered to the boards.
Now it’s time to add my part…

While it was storming outside, I was being quite productive inside!
Trimmed, slipped & starting to dry.

Tonight I worked in the spotlight. And not in a good way.
Once again, the fluorescent lighting in my studio is on the fritz. They’ve changed the bulbs, but now apparently it’s the ballast that needs to be fixed?! So I’ve been working in the dark now for about a week… waiting to see the light!!!]
Until then, I’m working in the warm “glow” from my task lighting mixed with a bit of annoying flicker from the fluorescent lighting. Fun, huh?!

Last night I trimmed my cylinders, so tonight it was time for handles!!! I start by making these little “carrot-shaped” pieces of clay. One for each handle. One for each mug… and usually, at least one extra in case I goof up somewhere along the way.


Then I pick them up from the fat end and start “pulling handles” the traditional way. Wet hand sliding down the “carrot” with a bit of friction to help “massage & stretch” the clay into a strappy handle. Then I loop them over and stand them up on themselves. so they can stiffen up a bit with the curved-handle-shape already started.

Loved the shadows being thrown through the handle loops from my “moonlight” task lighting.

Once they’ve stiffened up, I start to attach them to the cylinders. Cutting out the section of the strappy handle that I want, bending it a bit more to fit the mug and then attaching. Score, slip, attach, repeat. Score, slip, attach, repeat…. repeat… still in the yellow “moonlight” glow…

Eventually I had them all done…. a couple dozen new mugs ready to be wrapped up for the night. When I come back, I’ll do a few minor touch-ups, add some soda colored slips and then let them start drying.

When I got home from the studio tonight, I added one last layer of stain to the boards that will host our collaboration project. It’s been a long process… staining each side twice with a good amount of fumes & drying in between. My dining room table hasn’t been used this much in a long time. But now, when these are dry, I can start assembling my pieces with Cory’s pieces to see our collaboration come together.

I stopped into the studio tonight to do some trimming. These cylinders are now ready for handles to be added… maybe tomorrow night?

My glazed tiles are still cooling in the kiln, so tonight I decided to start prepping the boards that will be the base for the collaboration project that Cory and I are working on. So tonight it was cutting, sanding & staining… well, at least staining one side. I’ll stain the other side once “side one” dries.”


It’s been a little while since my last video… so I decided it’s about time!!!
This platter was made with B-Clay, and was a little bit softer than I would normally like for stamping. But with my busy schedule this week, I knew that I had limited time in the studio. So… go for it now?… or wait and run the chance of it drying up too much?
Of course I decided to go for it!!!
You just need to be a bit more careful, use more even pressure on both sides…
and hope that the stamp doesn’t “stick” when it gets a little damp.
Click here for my latest Platter Stamping Demo on YouTube.

And here’s the set of tools that did all of the work…
one handmade stamp, two wooden tools and a thin sgraffito loop tool.

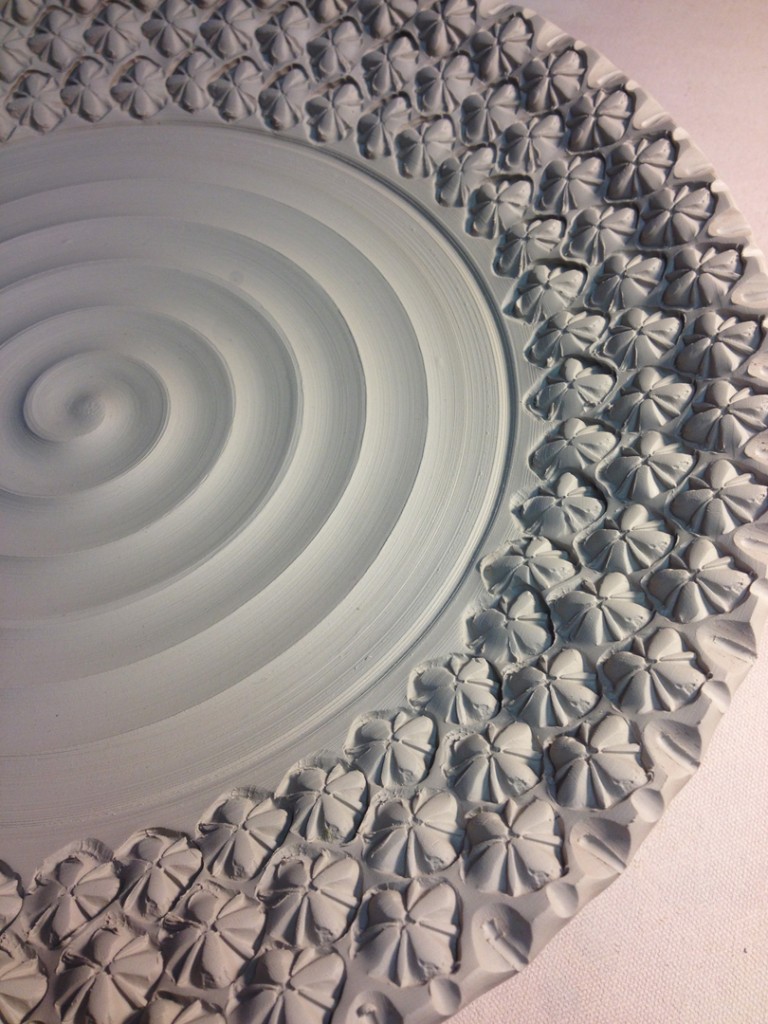
Click here for my latest Platter Stamping Demo on YouTube.
It never gets old.
I still love watching other potters making their work. Whether throwing, trimming, stamping, carving, decorating. or whatever. Always beautiful. Always mesmerizing. Always a great creative inspiration for all of us. And these Icheon Master Hands from Korea are pretty darn incredible! Each one showing their techniques… and making it “look” so easy!!! Although we all know it’s NOT!!!

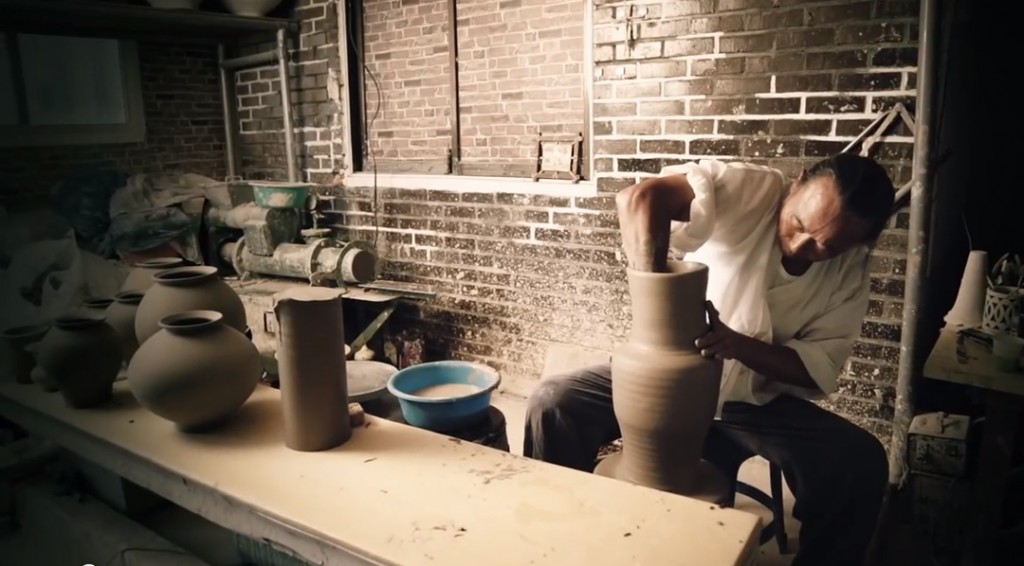
For a compilation video of five great Icheon Master Hands from Korea, click here.
If you want to see more… continue on. You’ll be glad you did.

For more video of Master Hand Choi In-Gyu… click here.
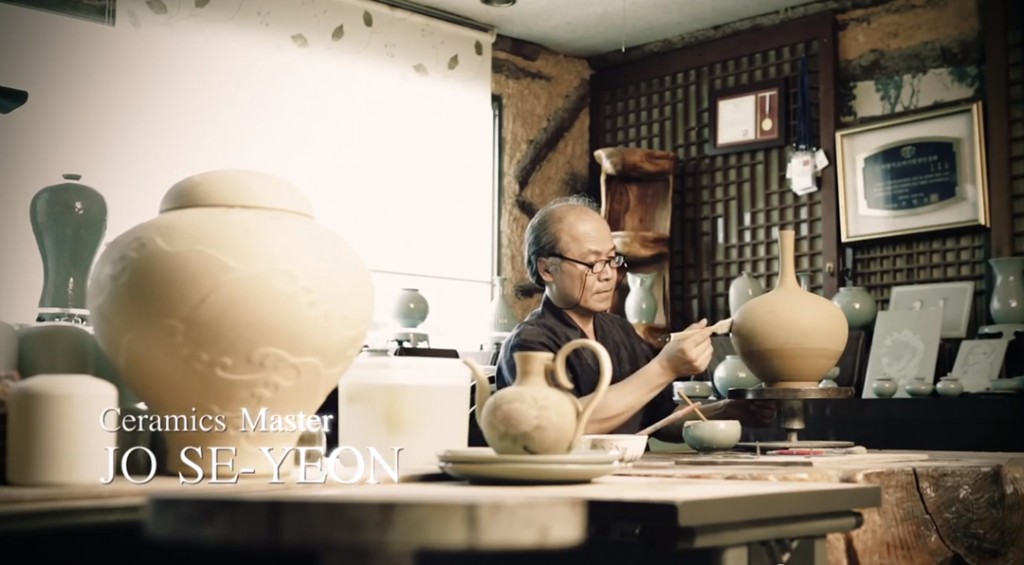
For more video of Master Hand Yo Se-Yeon… click here.
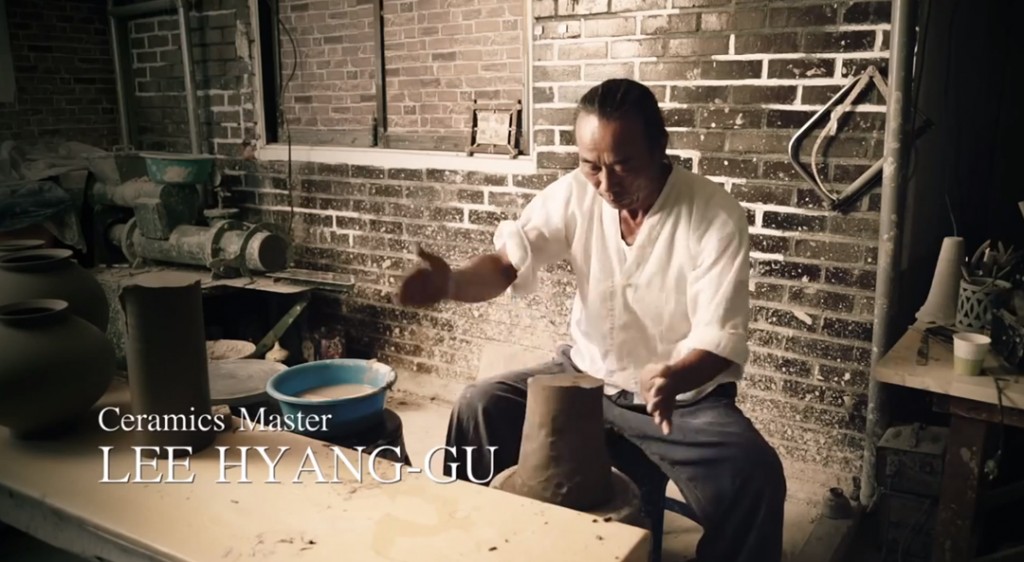
For more video of Master Hand Lee Hyang-Gu… click here.
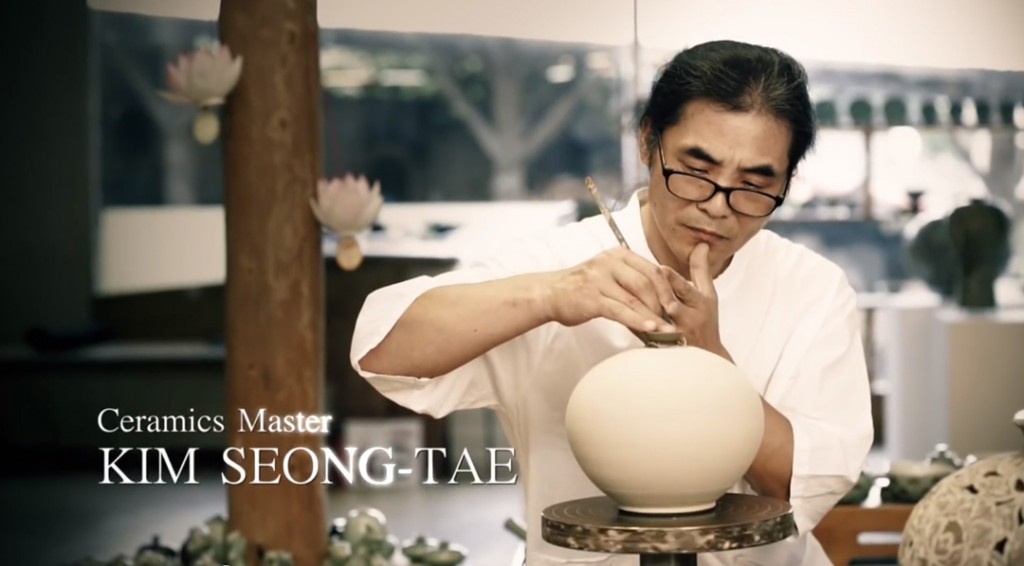
For more video of Master Hand Kim Seong-Tae… click here.
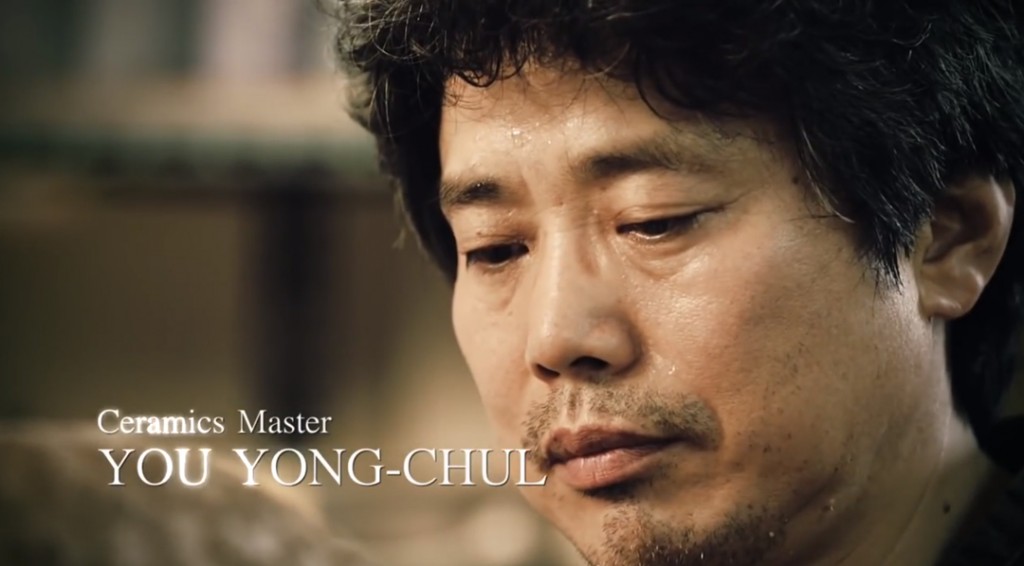
For more video of Master Hand You Yong-Chul… click here.
Some great inspiration for all of us.
I especially loved the work by Kim Seong-Tae. The carving is pretty impressive, and I was pleasently surprised with the big reveal of the layered colored slips as he carved through to add colorful details to the remaining parts of the pots. So beautiful. So delicate. So inspiring.
My friend & wonderful artist Cory McCrory has started to share a few sneak peeks into our collaboration project… she’s such a TEASE.

Well, I’ve done a few rounds of testing. Pretty pleased with my new Cone 6 options. So I’ve decided that I might be ready to mix up a bigger batch and actually try firing a kiln full of real pieces. So I’ve measured, mixed, sieved, mixed, sieved again, and soon I will be ready to start glazing… and hoping that they turn out well?!… and don’t do something stupid like melting right off the pots and onto the kiln shelves?!

I’ve decided to go with two of the recipes I’ve been testing. And two of my cone 10 glazes that seem to work pretty well at cone 6 too. And then I also found two cone 6 pre-mixed glazes when I was up at Continental Clay in Minneapolis. So I will be kicking off my first cone 6 test firing with six glaze options… and ten fingers crossed.
|
Gary Jackson: Fire When Ready Pottery
Lillstreet Studios ∙ 4401 North Ravenswood, Chicago, Illinois 60640 ∙ 773-307-8664 gary@firewhenreadypottery.com |