08.05.2013
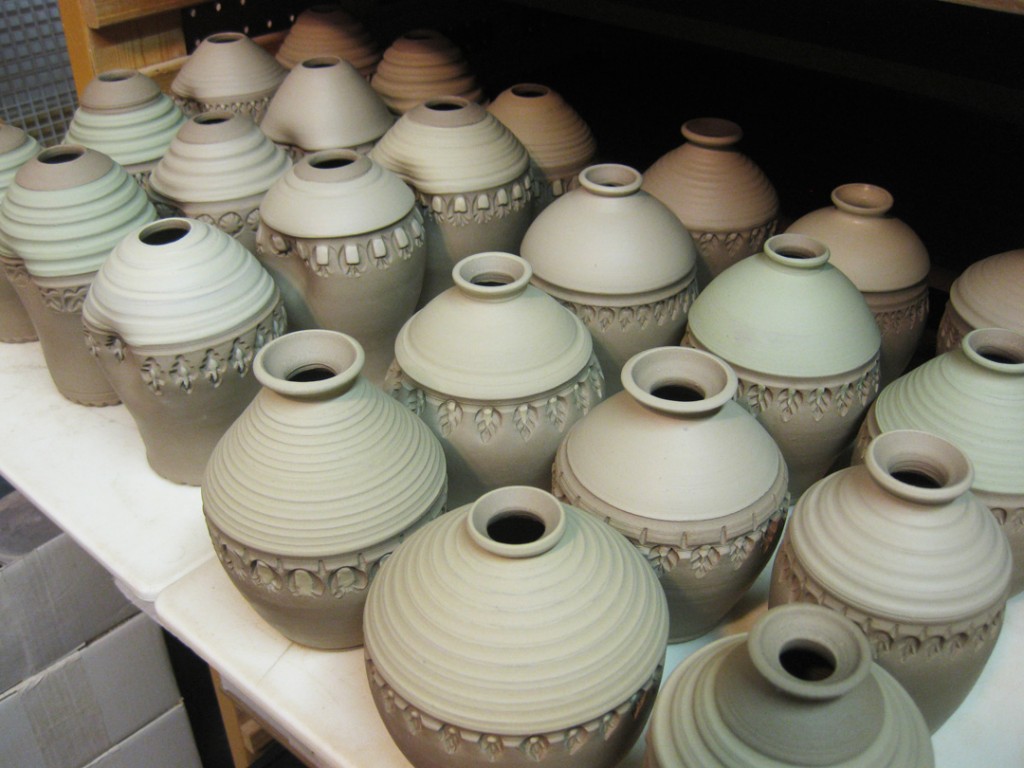
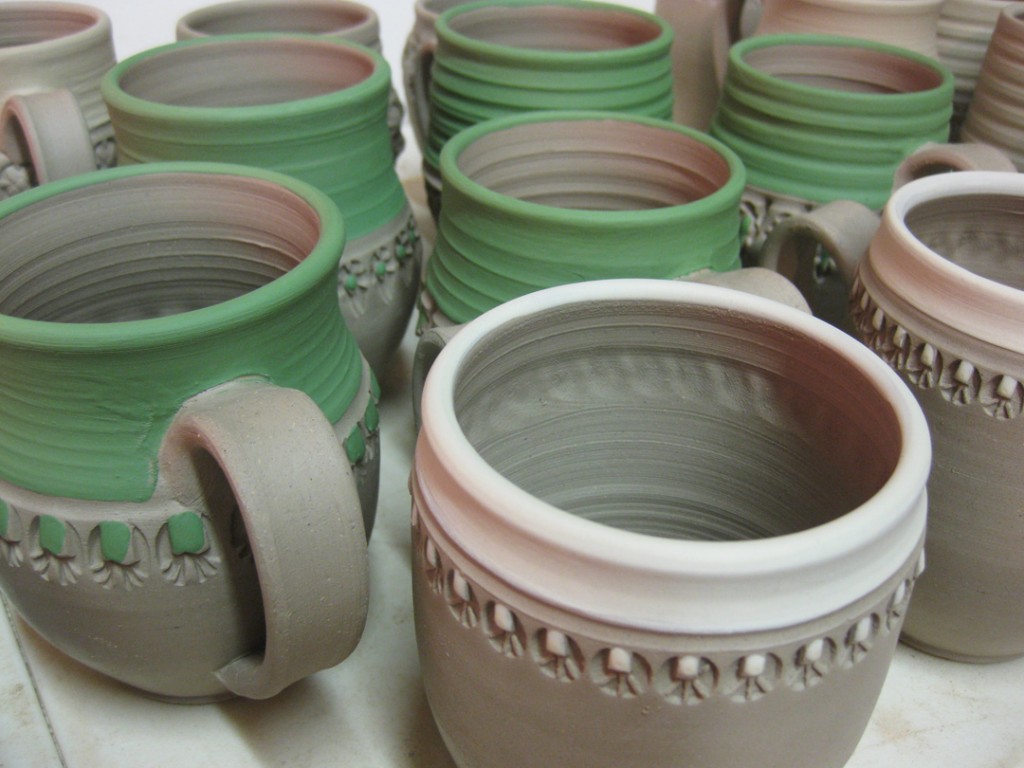
I also trimmed all of the “24”… and added some colored slip accents to the tops & stamps.
Now all set and drying.
Gary Jackson: Fire When Ready Pottery
A Chicago potter’s somewhat slanted view of clay & play |
I also trimmed all of the “24”… and added some colored slip accents to the tops & stamps.
Now all set and drying.
It felt great to get back into the studio tonight after this weekend’s art fair in Evanston… and the start of another week of Summer Camp kicking off today. Luckily, the bowls I stamped last week were at a perfect leather-hard state for trimming. So now they are all trimmed, burnished, signed and drying upside-down.
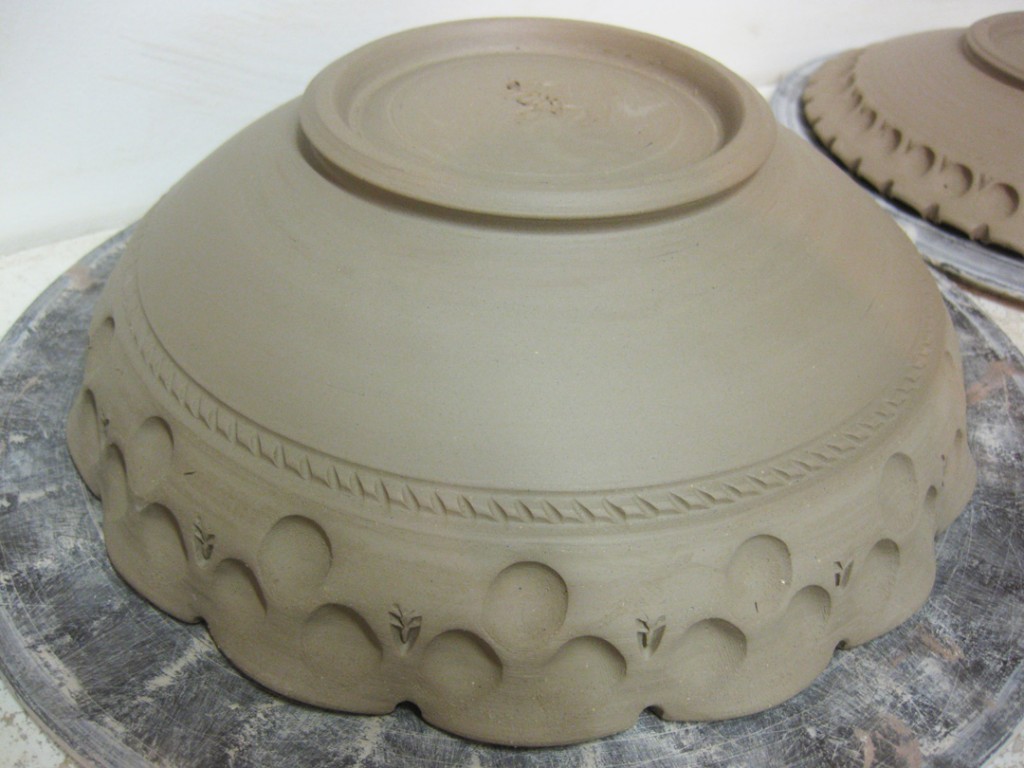
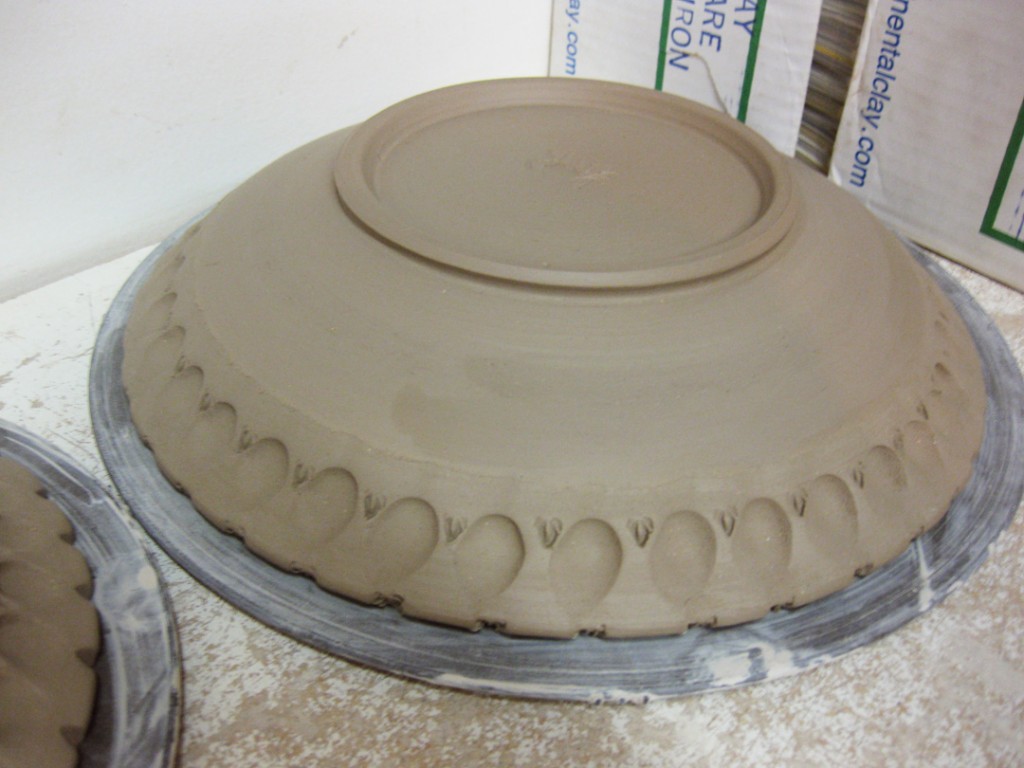
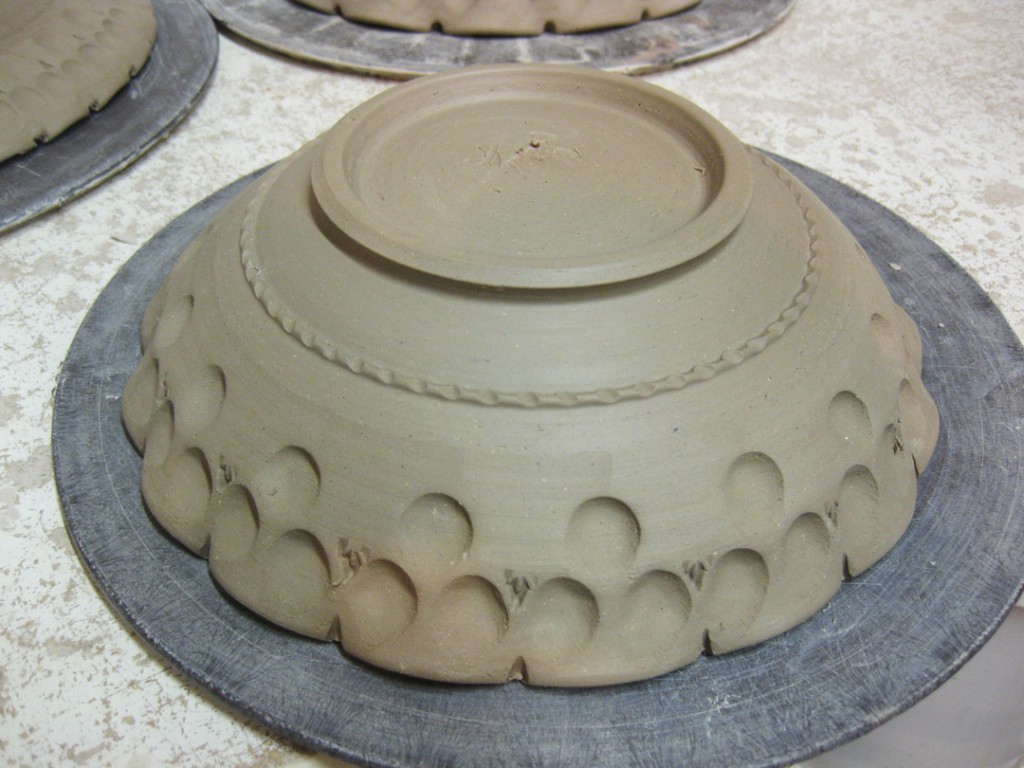
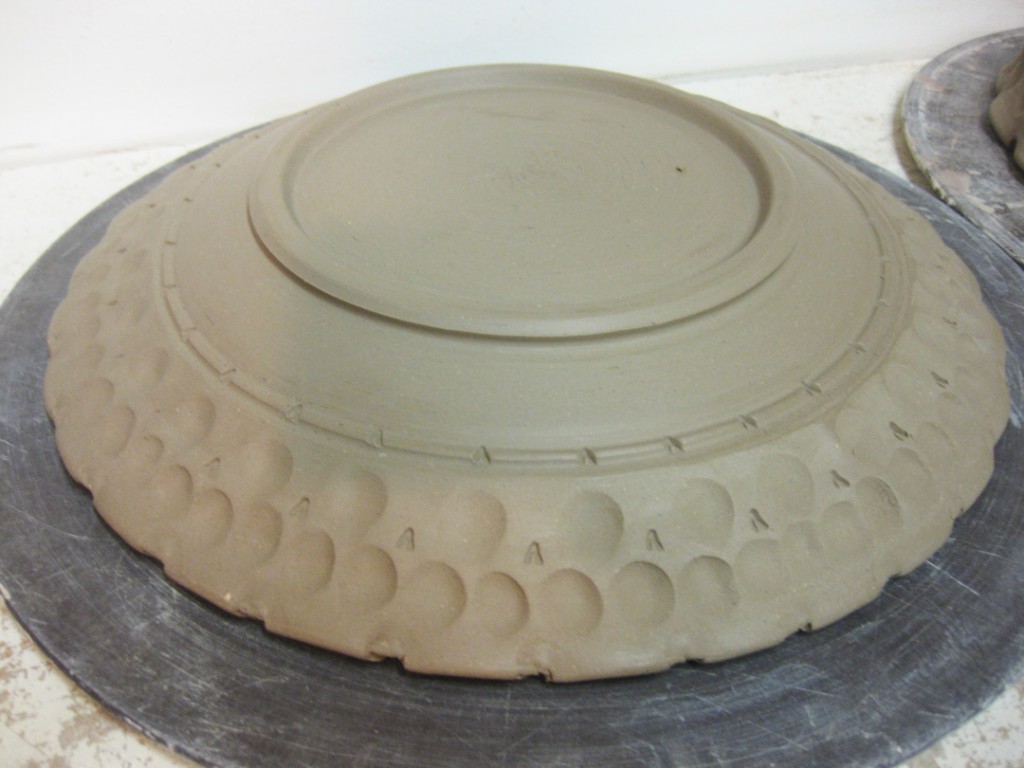
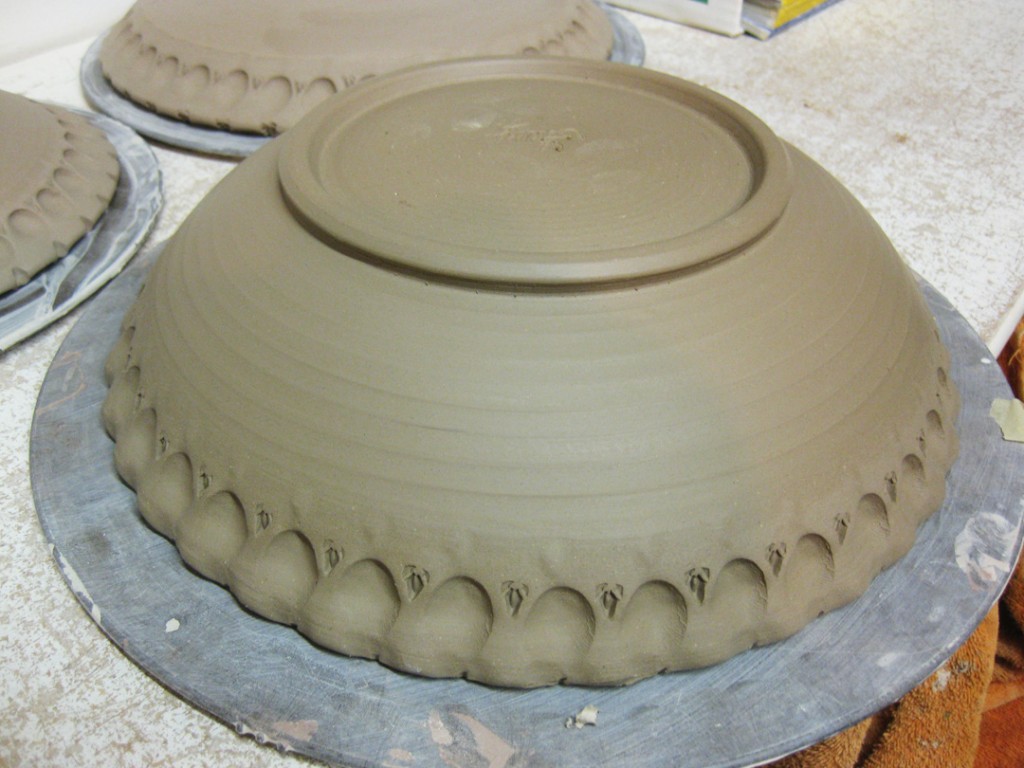
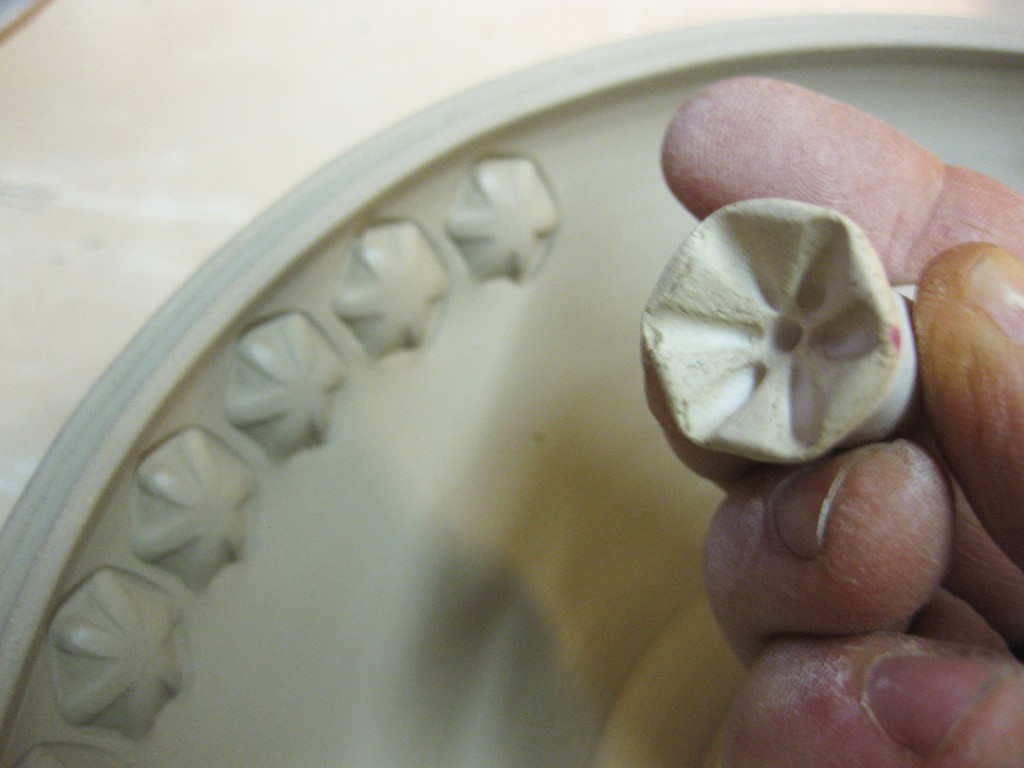
Last night I stamped some more larger, serving bowls. I always love to see the transformation from the “plain” round bowl to the stamped & textured finished bowl. It always surprises me when I see how much of a change can be made with just a couple stamps!!!
Bowl #1 –
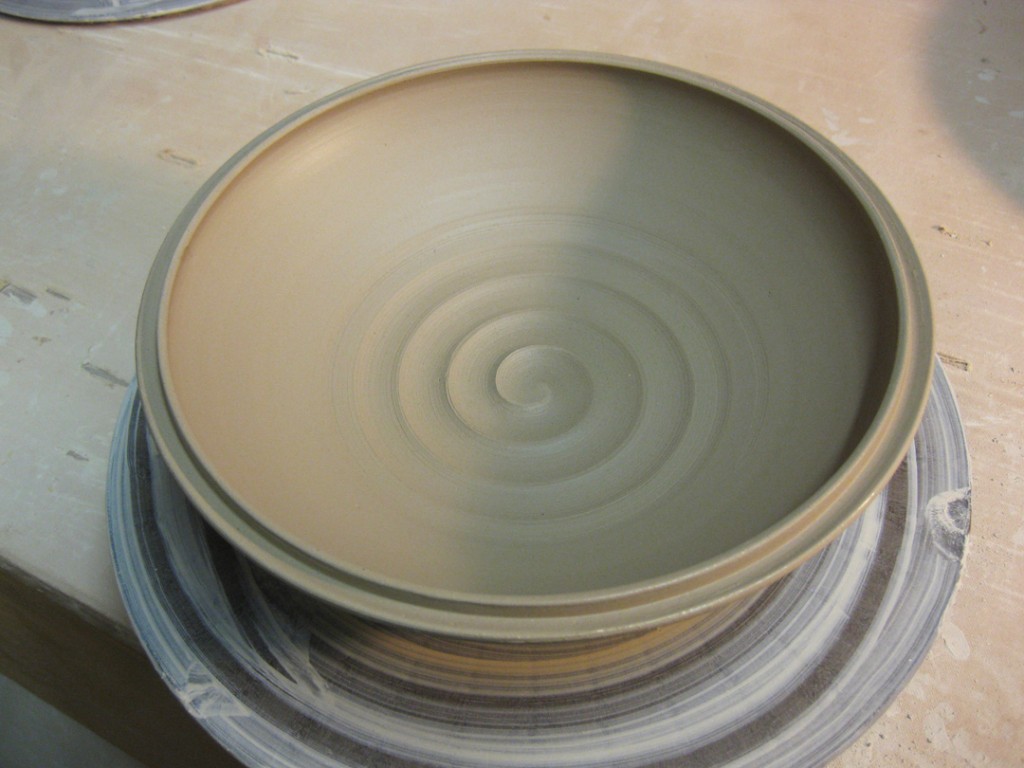
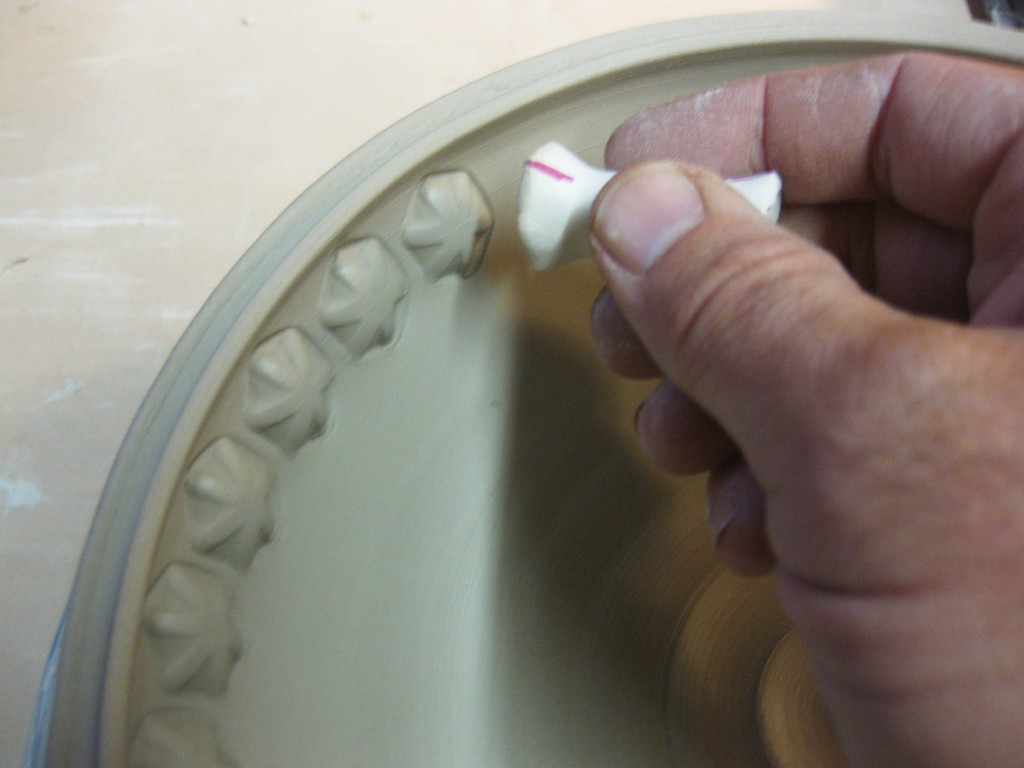

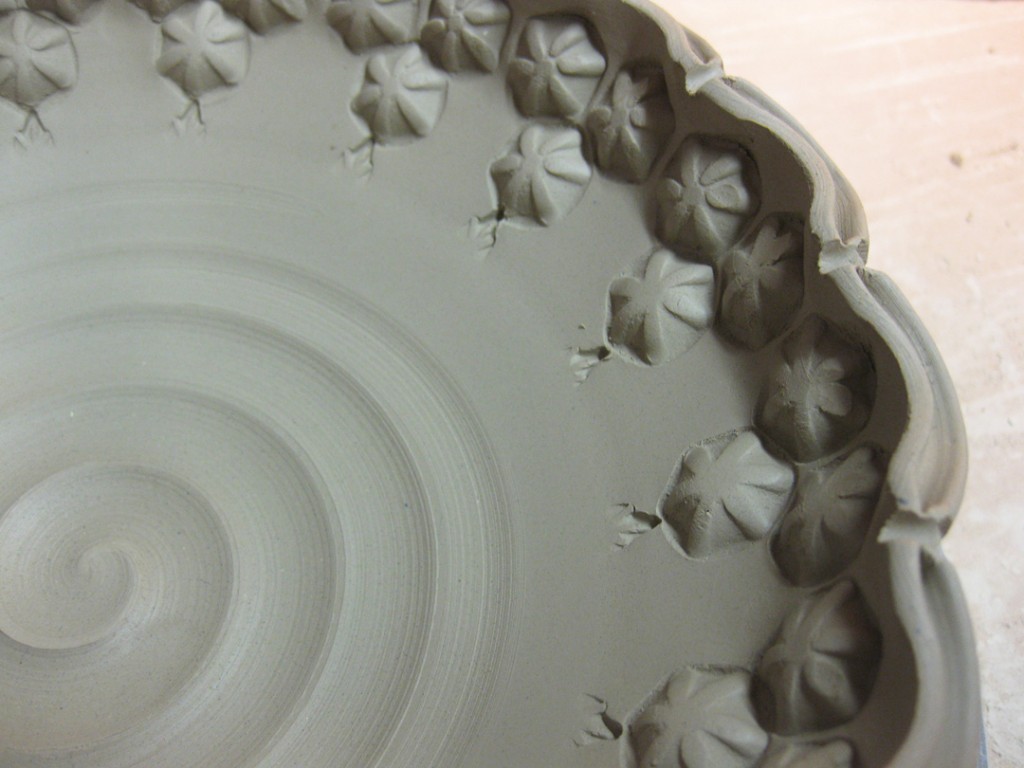
Bowl #2 –


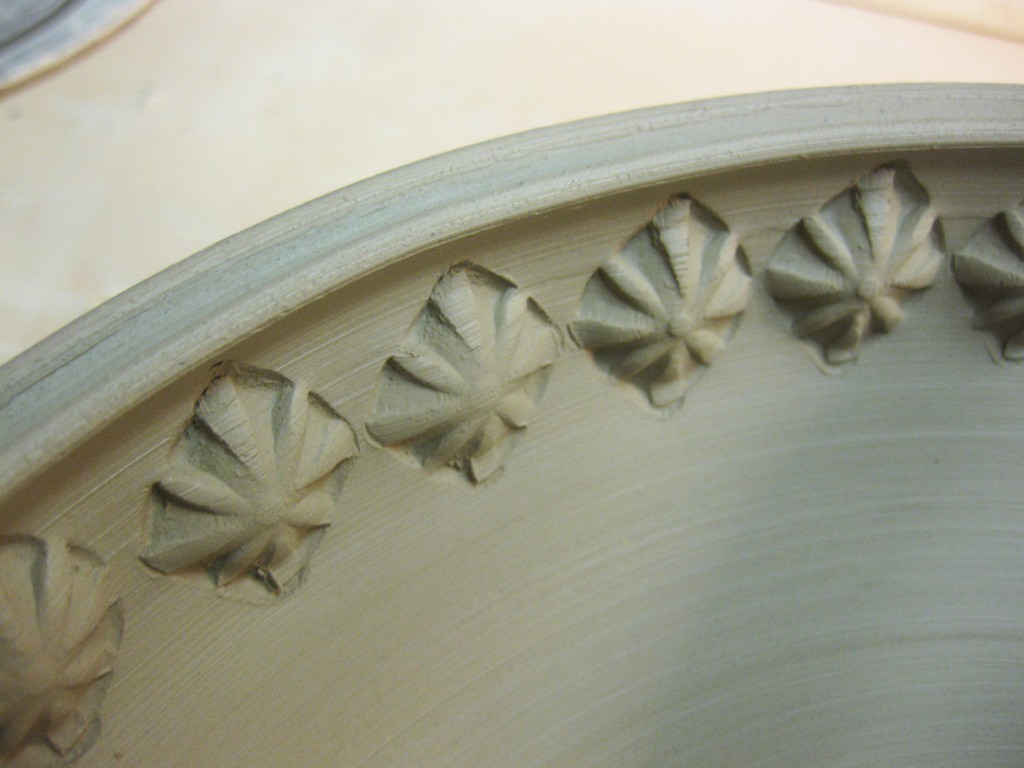


Bowl #3 –

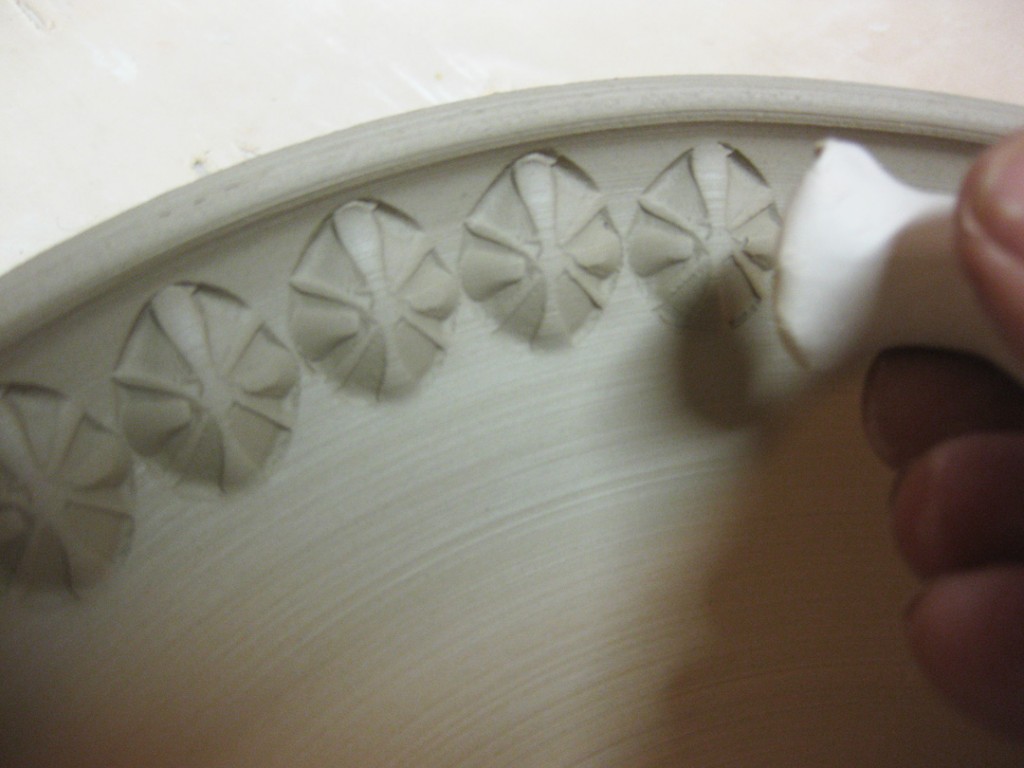


Bowl #4 –
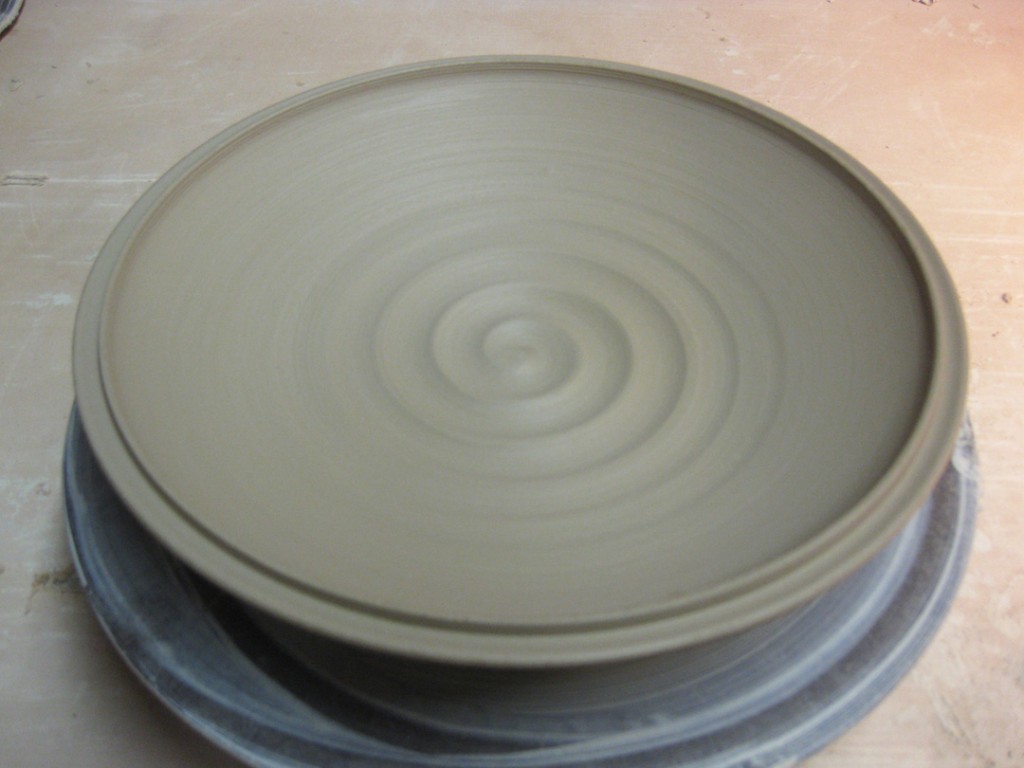


Bowl #5 –


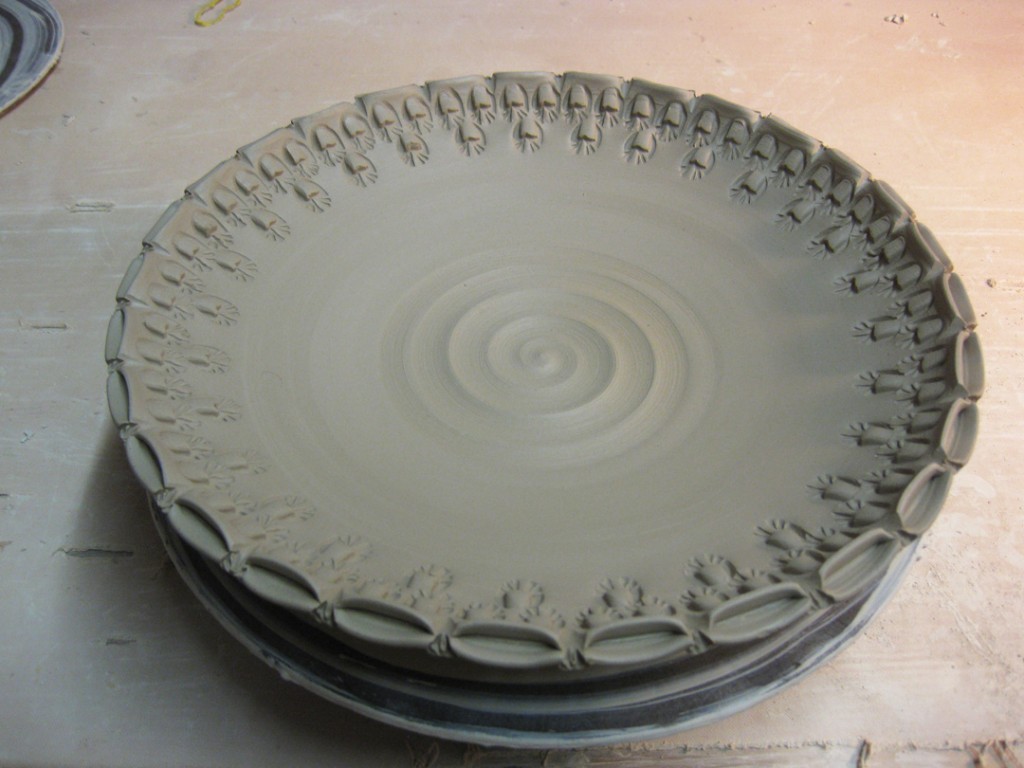

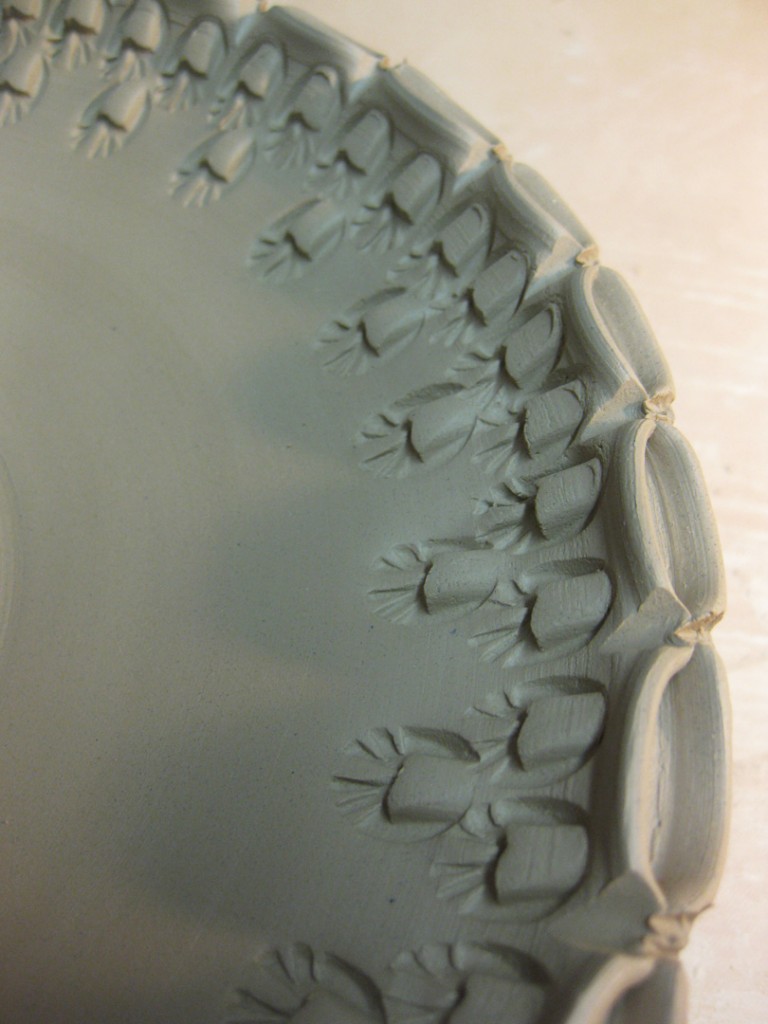
So now they’re wrapped up loosely for the night… hoping to dry them up to a good leather-hard state so I can do some trimming on the bottoms.
Last night I attached all of the handles to my mugs. Then the spent the night under plastic to help the moisture levels even out… and allow me a little more time to add some colored slip accents. Today, after a full day of Summer Camp, I stayed and worked in the studio to finish off all forty mugs. So here’s a basic mug fresh from the plastic… and waiting for a little pop of color!

I start out by choosing the colored flashing slip that I want. In this case, the light slip color will change to orange when & where the soda flames hit it in the soda kiln. First I attack the stamps, by adding a little patch of color on the raised portion of each & every stamp.

When the stamps are done, I then work on the top “smooth” portion of the mug… using the same “smooth orange” slip for color continuity on the mug.

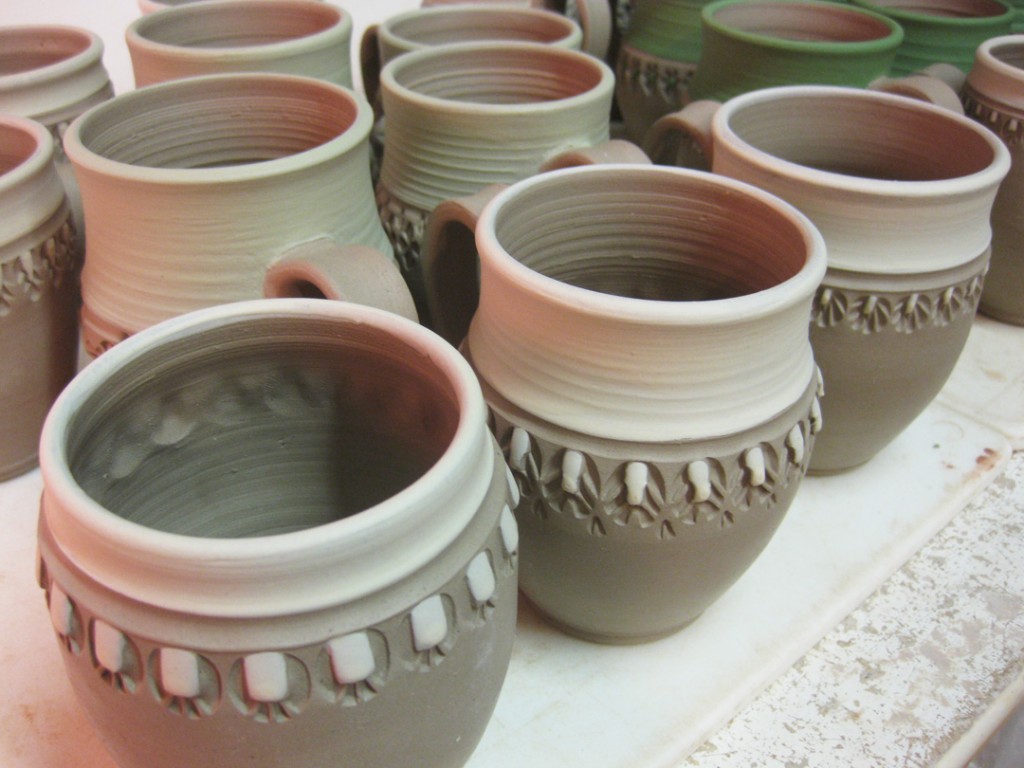
So here it is… finished off with some colored slip accents.

And now they can be left out to the air to dry overnight. The production portion of the mugs are done. Keep in mind, there’s still a LOT of work ahead of them. They still need to be bisque fired, glazed and soda fired. They are by no means done… just done for the night!

This past Tuesday night, I did a demo on making larger bowls. Remember, last week I introduced making “bowls on purpose” instead of a cylinder gone bad. This week we went a little further. And I showed them how to make a larger bowl… with a larger piece of clay! When I took my demo bowl upstairs to store it in my studio, it was still too wet to stamp. So I let it sit under plastic overnight so I could finish off the bowl with a little stamping!!!

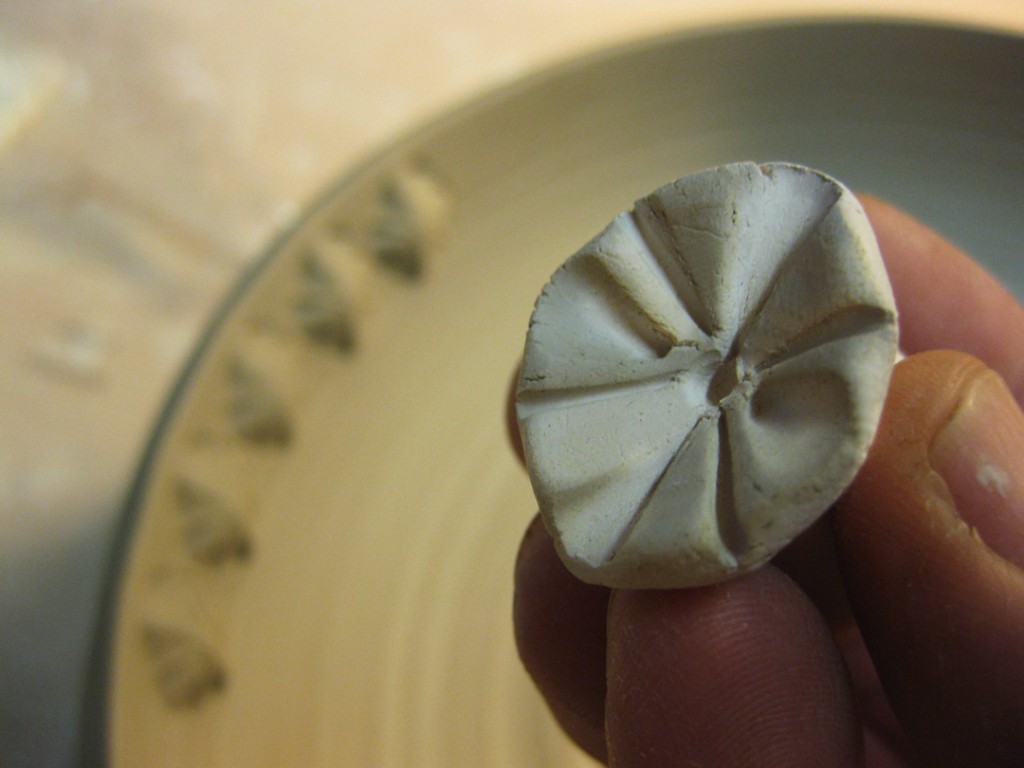
Here’s the bowl after the first round of stamping. Just a single row of stamping around the rim can make a HUGE difference. Suddenly, it’s no longer just a plain round bowl.

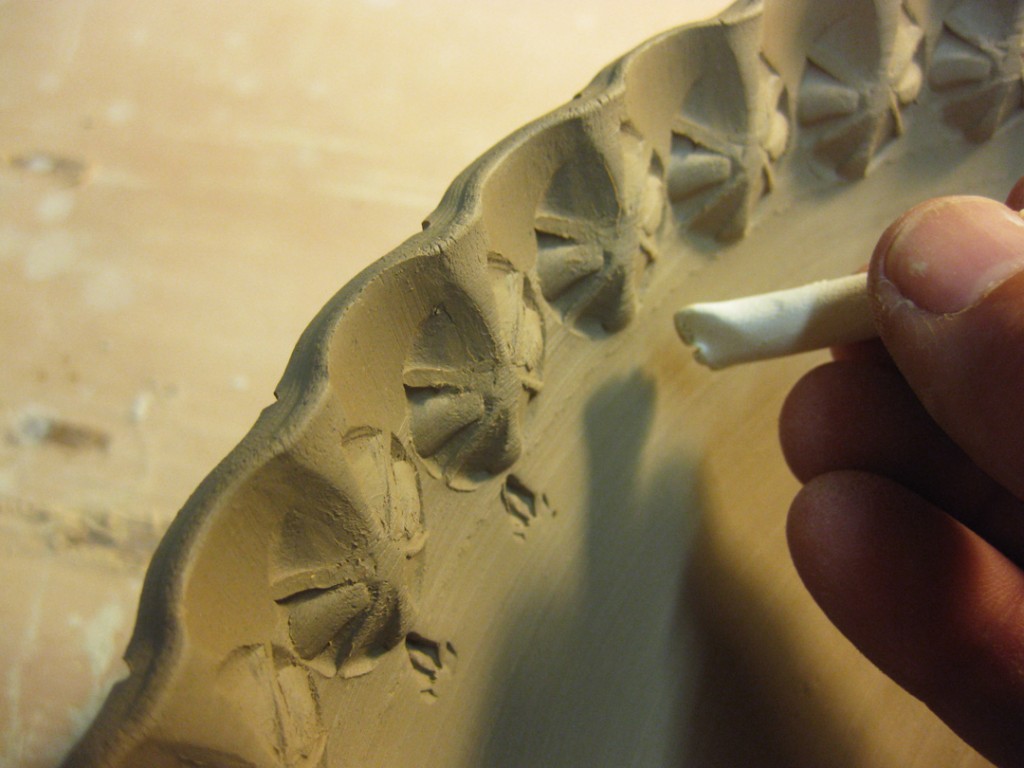
Next, I took the rounded end of my large loop trimming tool and did a little decorative curving of the edge. Lining up the curves in between each of the stamps.


And if one line of stamps is good… wouldn’t two rows be even better?! So I added another of stamps with a smaller “detailing” stamp just for fun. And sadly, you can’t see it, but I added another row around on the outside of the bowl too!

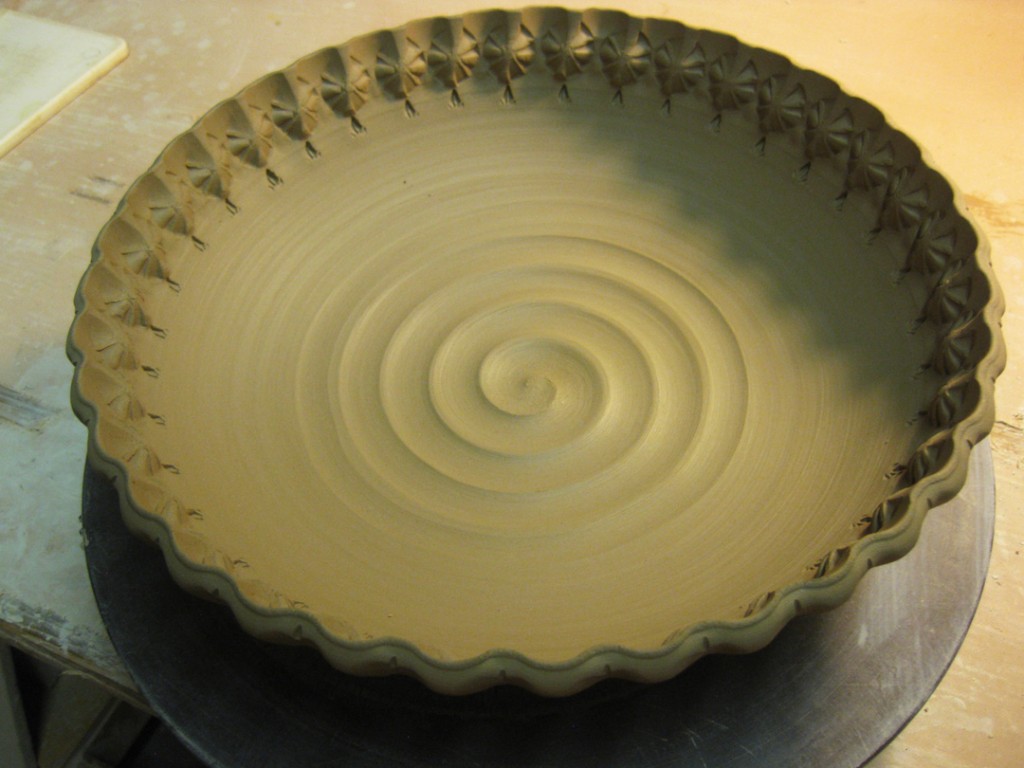
So here’s the “finished” bowl after stamping. Now it still needs to dry slowly to leather-hard so I can trim it. Then the usual… trimming, drying, bisque firing, glazing & final glaze firing!


Last night I threw cylinders. Forty of them out of my newly reclaimed clay.
Today I was prepared to stamp them all after Summer Camp. So first I had to pick out a few stamps… and yes, I have more than “a few” to choose from. In fact, I have five tool boxes just like this one!!! Can you say addiction?!

Then I set to it… stamping each cylinder one by one, cylinder by cylinder, stamp by stamp, impression by impression. Sure, some of them were a little on the wet side of leather-hard. But I’m kind of finding that I can “play with them more” when they’re just past that edge of squishy!

A little close-up of a cylinder in mid-stamping. With each and every impression, I make sure to support the clay from the inside as I press the stamp into the cylinder – so as to not warp or squish the cylinder.


One by one. Mug by mug. And soon enough… all forty were stamped! So I wrapped them up for the night… and I hope to trim them all tomorrow after a full day of summer campers!!! And then if all goes well, I might be able to start adding handles & slip decoration by Wednesday night?!


This evening was a very productive night in the studio. Wedging & throwing!
Already putting my new reclaimed clay to good use…

And since I’m just now beginning to build a whole new kiln’s worth of pots, you know I’ve got to start with my favorite… MUGS!!! So tonight I started by throwing the basic cylinders out of the new clay I just finished reclaiming. And I must admit… the clay was pretty darn sweet. It threw very well. A good mix of who-knows-what???

After a week on the plaster bat, it turns out that my latest batch of reclaim clay gave me 129 pounds of FREE clay! Okay, so sure there was a lot of slicing, layering, pounding, layering, slicing, wedging, bagging and sweating… so I guess it wasn’t quite “free” after all. But you still gotta love reclaim!!!
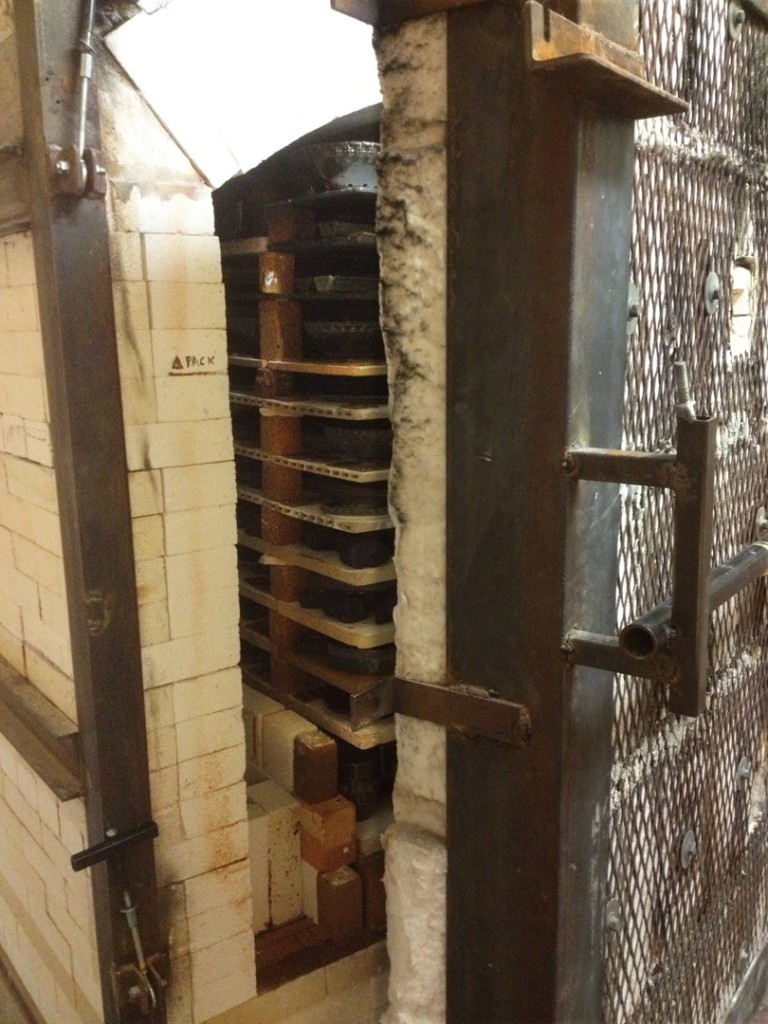
Still cooling…
but at least now the door is off so I can start unloading from the bottom up.
There’s something very special about holding pots hot out of the kiln… but not too hot! And let’s just say, the more shelves… the more treasures to be found inside!!!
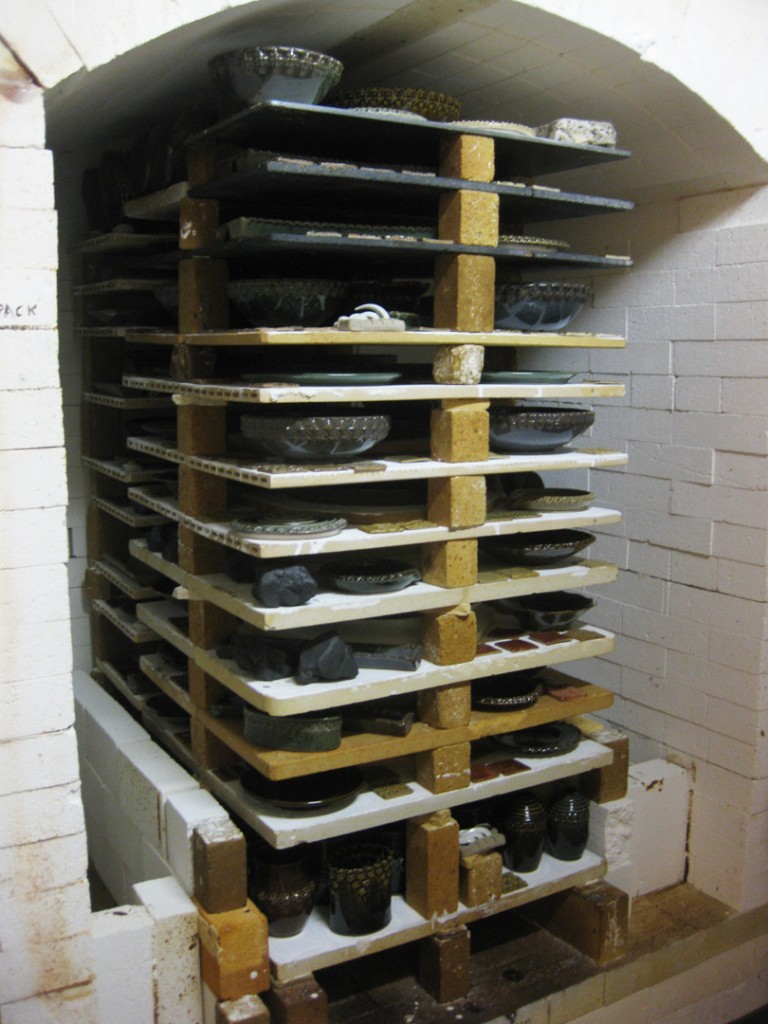
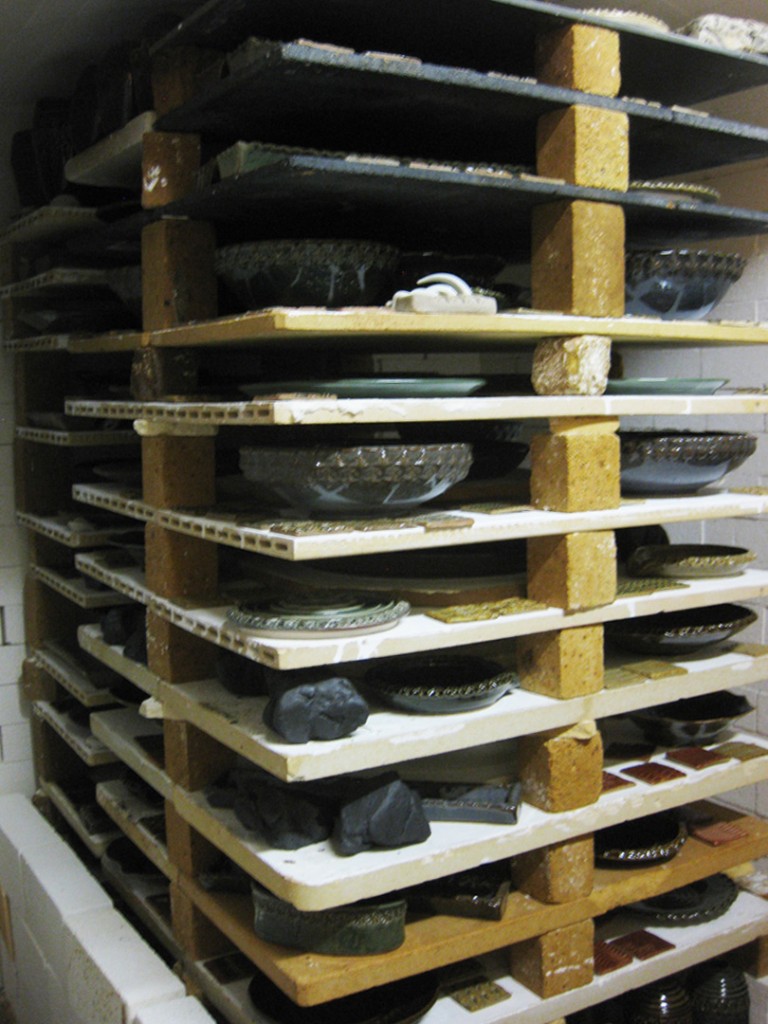
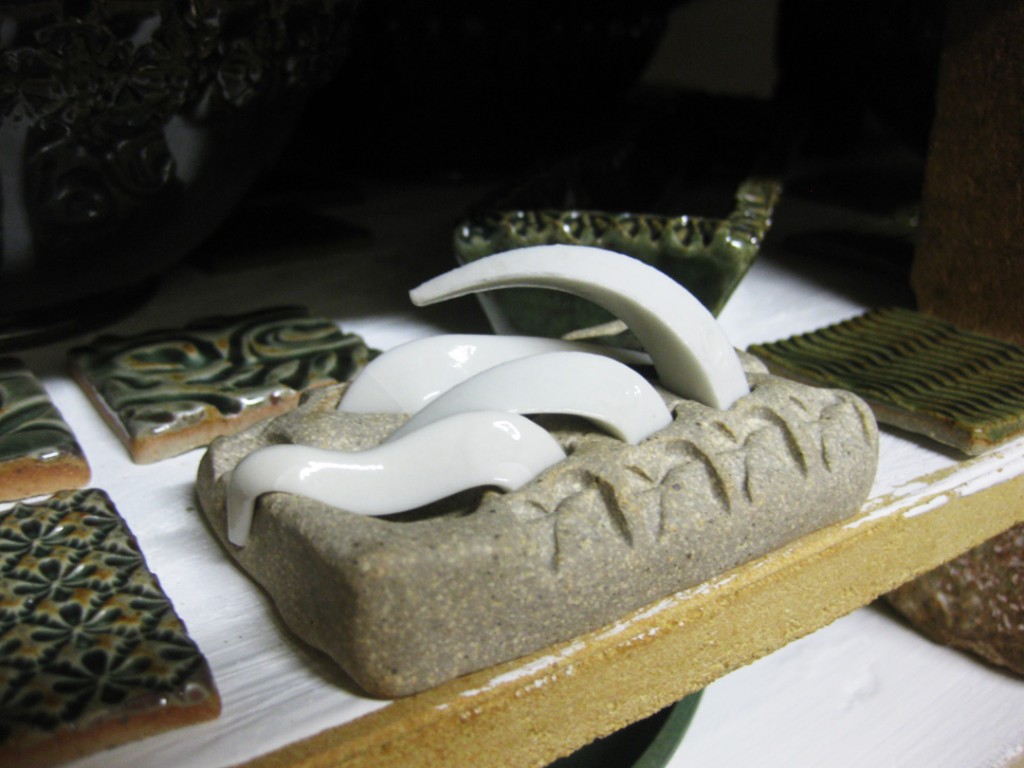
And look here… a seemingly “perfect” Cone 10 towards the top of the kiln. Nicely bending, but not melted flat. Perfect kiln firing timing thanks to my studio neighbor Karen Patinkin!!!
The kiln door has been popped open… still a little warm inside. But not TOO hot.
Unloading will begin soon!!!
|
Gary Jackson: Fire When Ready Pottery
Lillstreet Studios ∙ 4401 North Ravenswood, Chicago, Illinois 60640 ∙ 773-307-8664 gary@firewhenreadypottery.com |