08.22.2013
All assembled. Moisture levels evened out. Colored slip accents painted. Done. Drying.
One more thing… err, a dozen things.. checked off today’s “to do” list…

Gary Jackson: Fire When Ready Pottery
A Chicago potter’s somewhat slanted view of clay & play |
All assembled. Moisture levels evened out. Colored slip accents painted. Done. Drying.
One more thing… err, a dozen things.. checked off today’s “to do” list…
So it’s been FAR TO LONG since the last time I made teapots. I’ve put them off. And put them off. But I figure it was finally time to tackle teapots. So here we go… the beginnings of six teapots. I started with six shaped cylinders. And then made several lids and several spouts. Pieces & parts. As a production potter, I planned ahead and made the opening pretty much the same size on all six of them. I figure it would give me more chances of a lid fitting if I threw them the same size, and then made multiple lids to fit. Eventually, something’s got to fit together, right?!
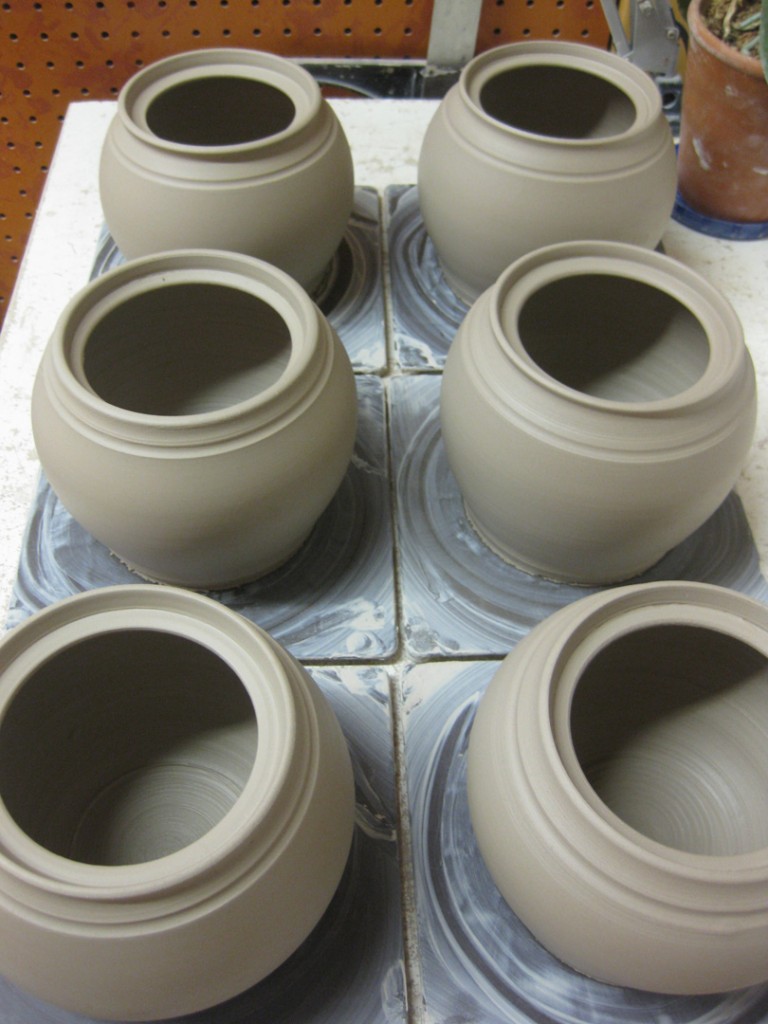
I let them stiffen up overnight under plastic. When I came back today, they were ready for some stamping. So I pulled out one of my stamp cases to figure out what patterns I would be using. Big choice… and somehow, I always tend to pick out my favorites. Go figure.
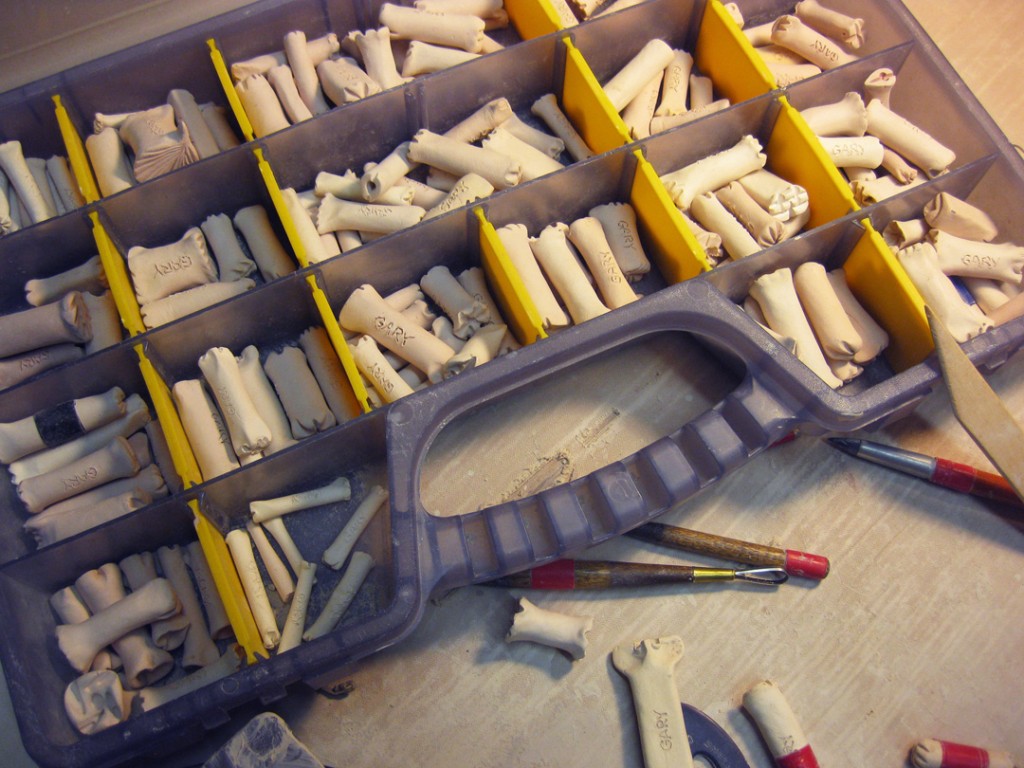
Teapot #1 –

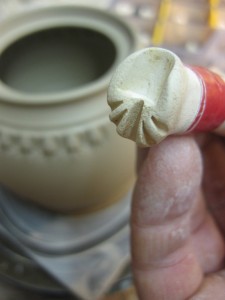
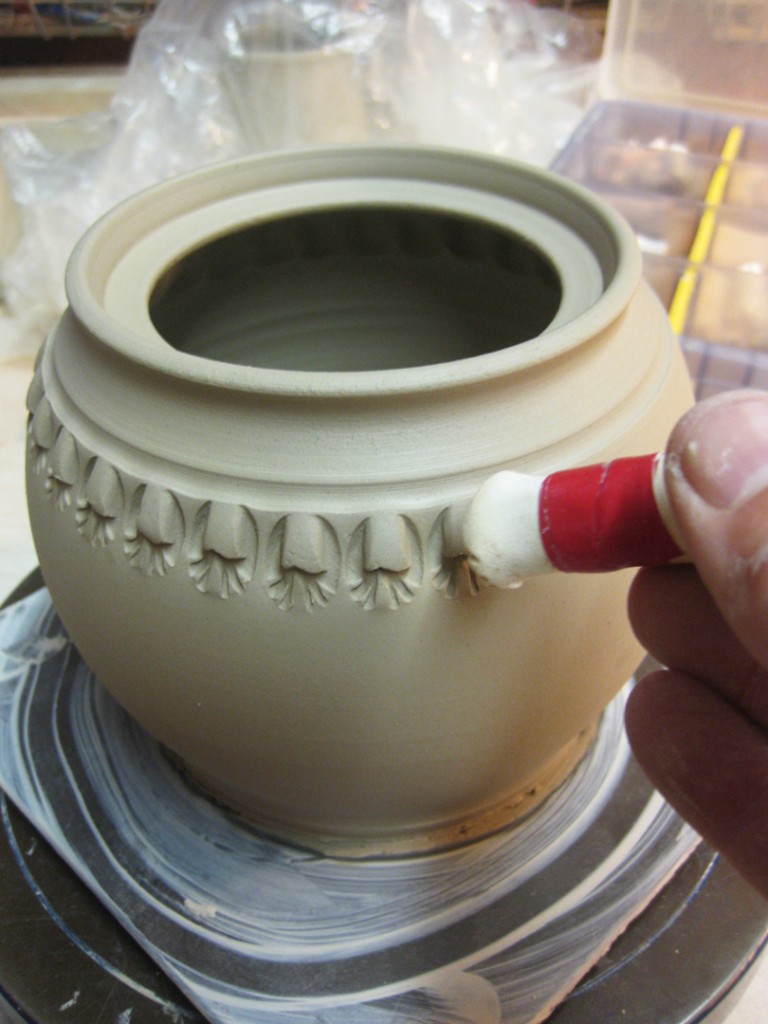
Teapot #2 –
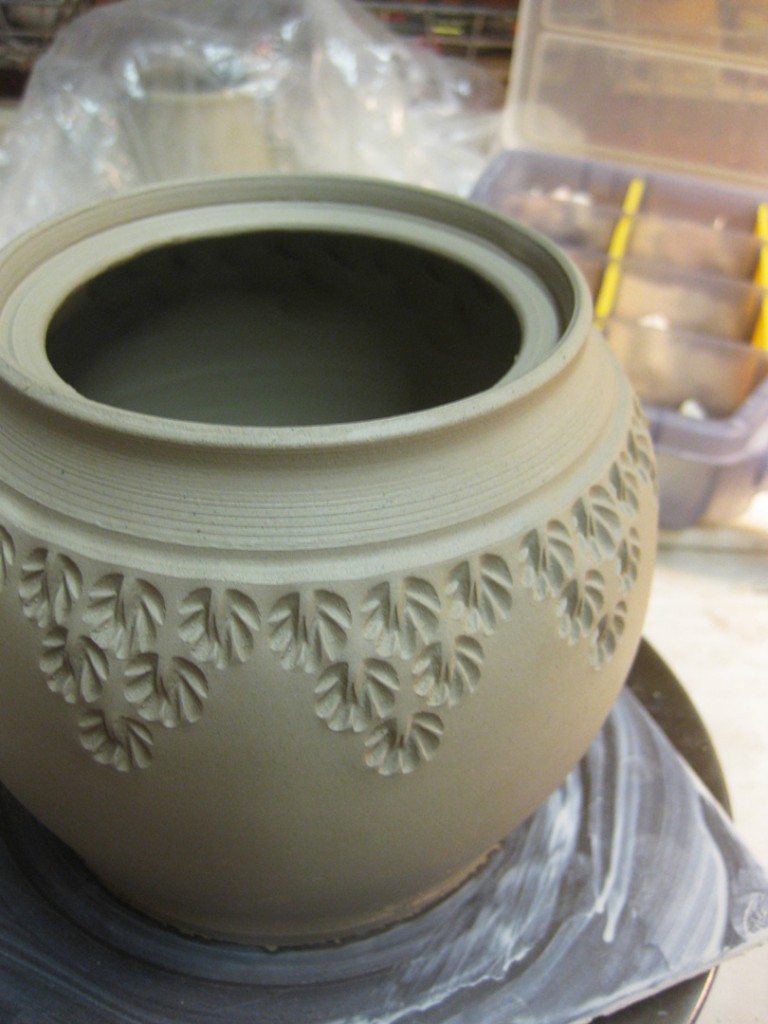
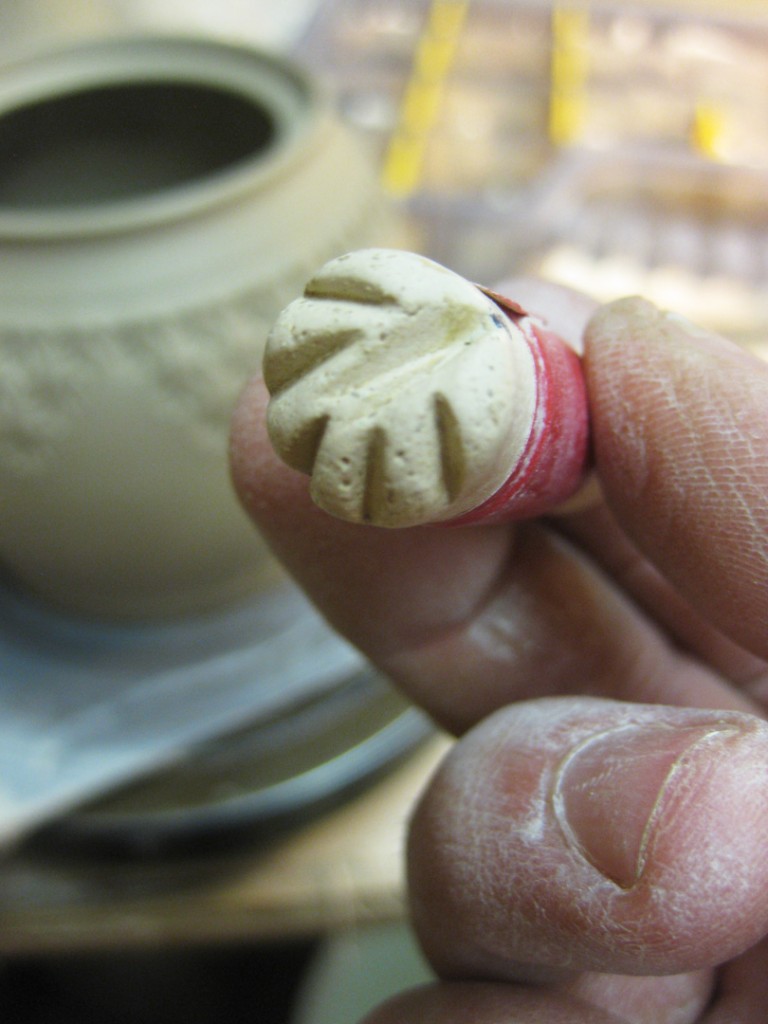
Teapot #3 –
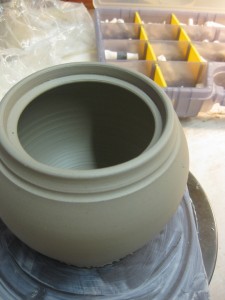
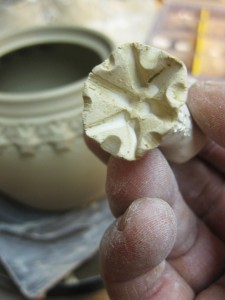
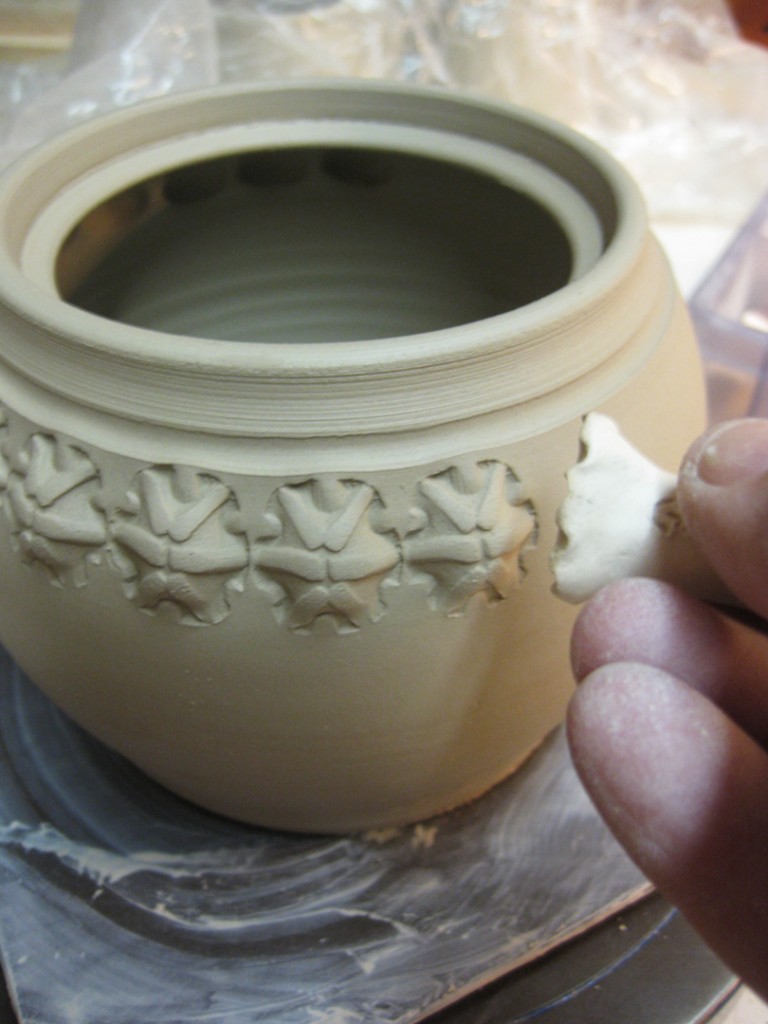
Teapot #4 –

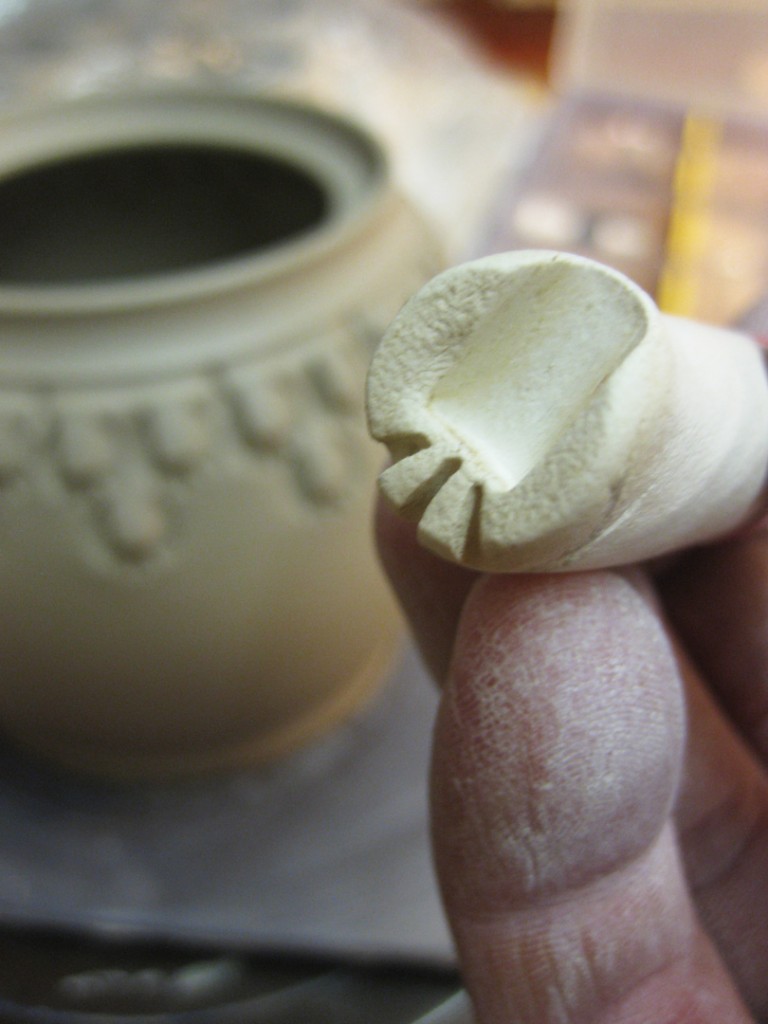
Teapot #5 –
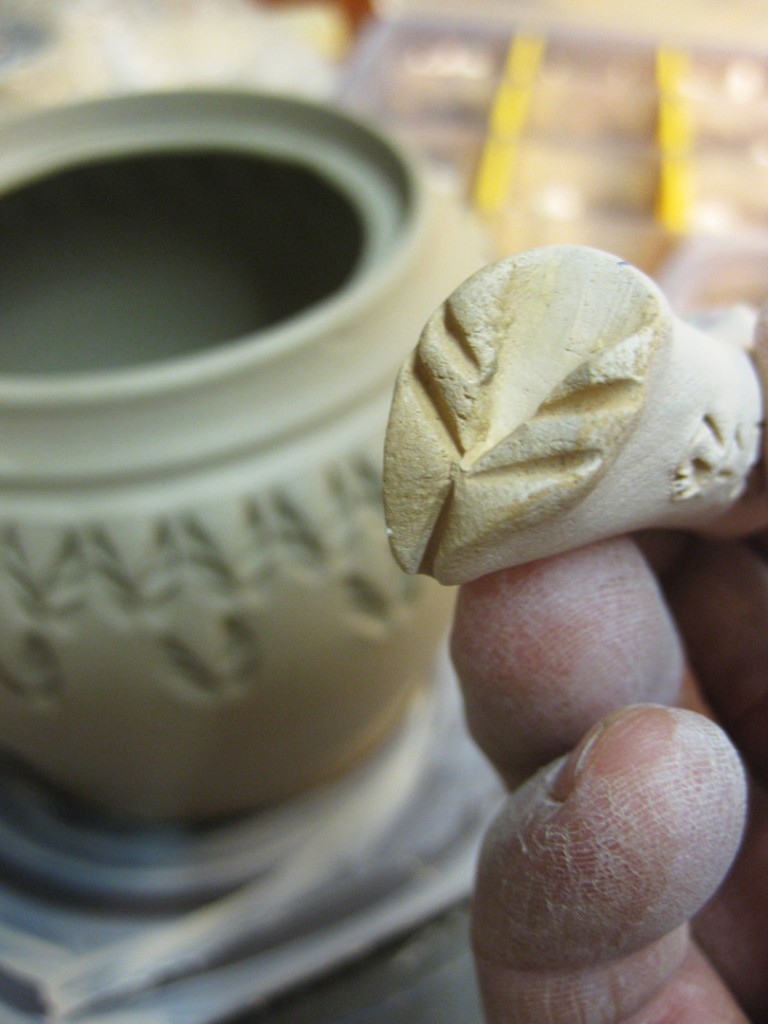
Teapot #6 –
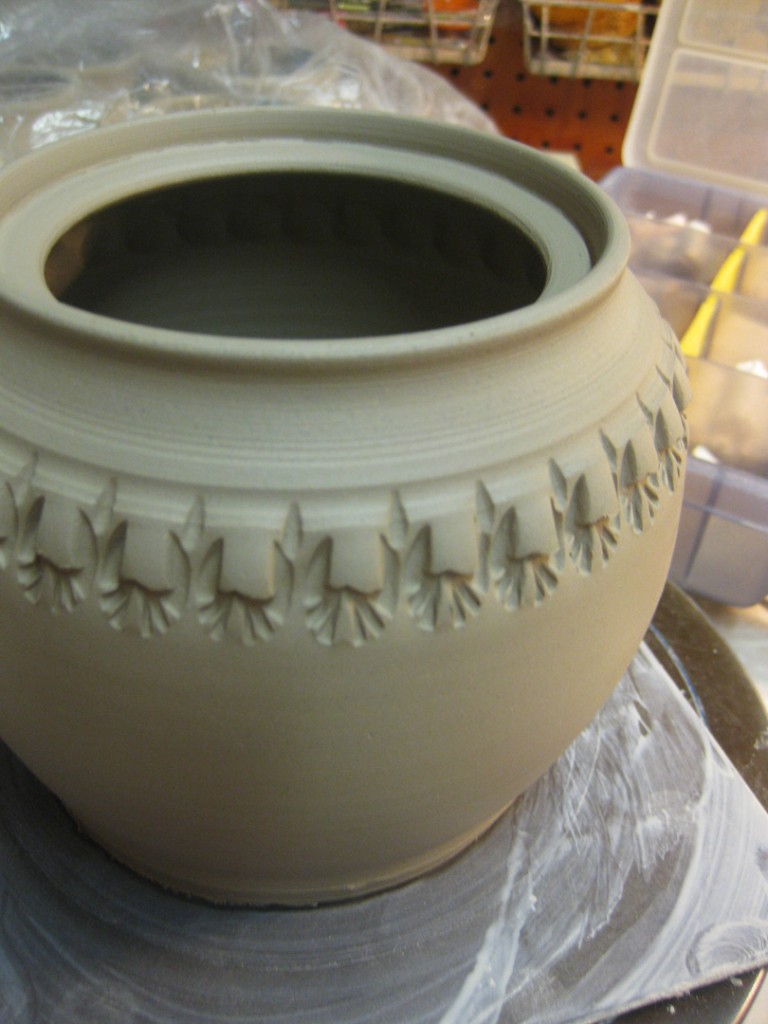
So now everything is wrapped up for the night, drying to leather-hard so I can assemble them later. Lots of pieces & parts to put together to make six new teapots!!!
I was painting some colored slip accents on pieces today. And found myself struggling to see the difference between the clay color and where I had already painted the slip. Then I remembered the “food coloring trick.” Luckily, I had a couple bottles of food coloring in my studio from the last time I did this. The flashing slip I was working with was Nichols Blue… but it looked very close to my clay color. So I added blue food coloring! Knowing that the coloring will burn out of the slip when it goes into the kiln. A quick trick to make my life easier! And it’s fun to watch…
In fact, I had already done it once to this batch of slip which is why it’s already a light blue tint. But I wanted more. I wanted to play. I wanted it bluer than blue. I wanted to do it again. And I knew if I did, I could take pictures and share with you!

The fun part is when the food coloring spreads over the “water surface” of the slip… emanating from the dark center where the drop landed. So I let it spread… loving the tie-dyed effect until it stops. Then, and only then, it’s time to stir it all up!


Special thanks to my pottery friend Emily Murphy who showed me this trick years ago when she used to be my studio neighbor. She may not be right across the hall any more, but obviously the tricks she shared still influence my work!
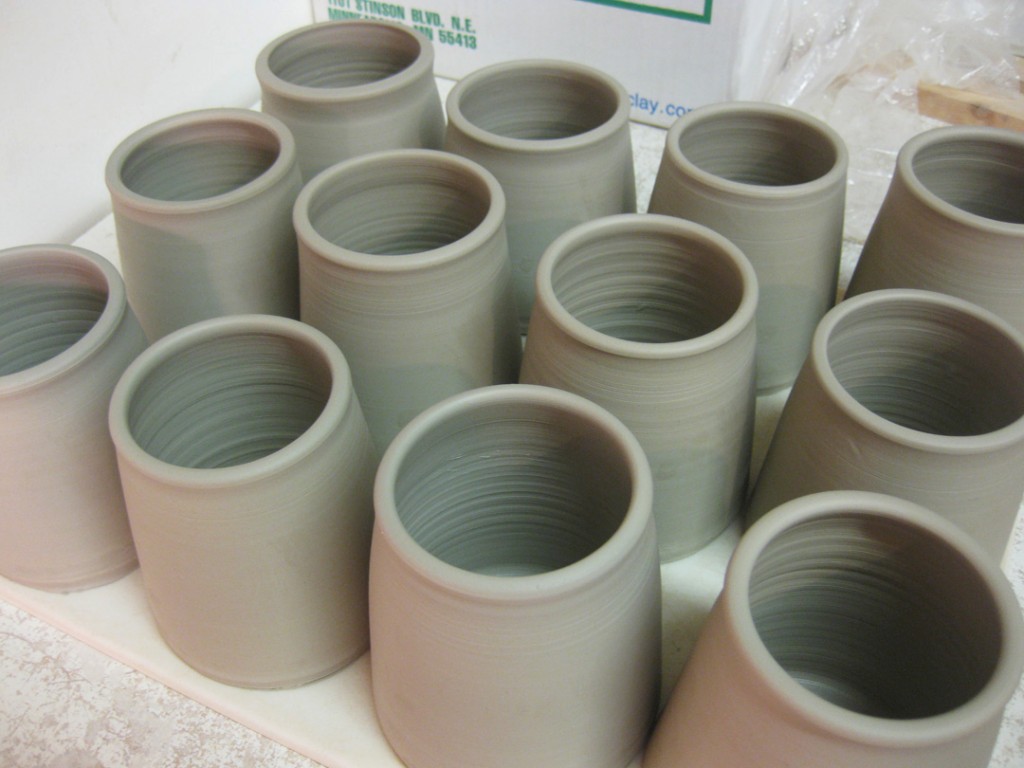
Today I assembled some new mini “pitcher” creamers. The cylinders are thrown, and then I added some textured pieces here & there to finish them off. Some quick handles… and then they’re back under plastic wrap for the night. I like to keep my work under plastic overnight so that handles & handbuilt add-on’s have a chance to balance out moisture levels with the cylinders before they start to dry together!


Special thanks to my friend Cory McCrory for the “pitcher” creamer inspiration. She never ceases to amaze me with her boundless whimsy & creativity. I’ve loved the black & white pitcher of hers in my “Cory Collection.” So much so that I had to do my own variation on a theme!
Today I tackled my ware board full of salt & pepper shakers.
First I paired them up, then stamped the matched pairs. Then I trimmed the bottoms and punched the bottom “fill ’em up” holes.


I then set out to drill the shaker holes… and by “drill” I mean POWER DRILL!!!
Yes, so much easier to use power tools to do the work than any other hand tool.
Cleaner, quicker, easier! Gotta love POWER TOOLS!!!


After drilling the shaker holes, I painted the pairs with colored flashing slips on the tops and stamp accents. Occasionally the shaker holes would fill in with slip… but a quick puff of air through the bottom hole would easily clear the slip out of the holes!

And now they’re drying for the night…

After Summer Camp, I finished adding handles to my latest batch of mugs.

It was moving along quite nicely, until it was time to teach my evening adult class… and I still had TWO handles to add. I “almost” got them done. Just two more. Two more and I would have been done. Instead, I had to come back up to my studio after class to finish those last two!!! So now they’re all under wraps for the night – and I’ll add some colored slip accents tomorrow!


Last night I continued my reclaiming of the “free” clay I got from Katie B.
The clay I had sliced thin was all dry, so I broke it up into small pieces and added it to my reclaim bucket. I then added enough water to cover the dried clay. Bubbles. Gurgling. And a slight hissing sound as the water seeped into the dry clay.
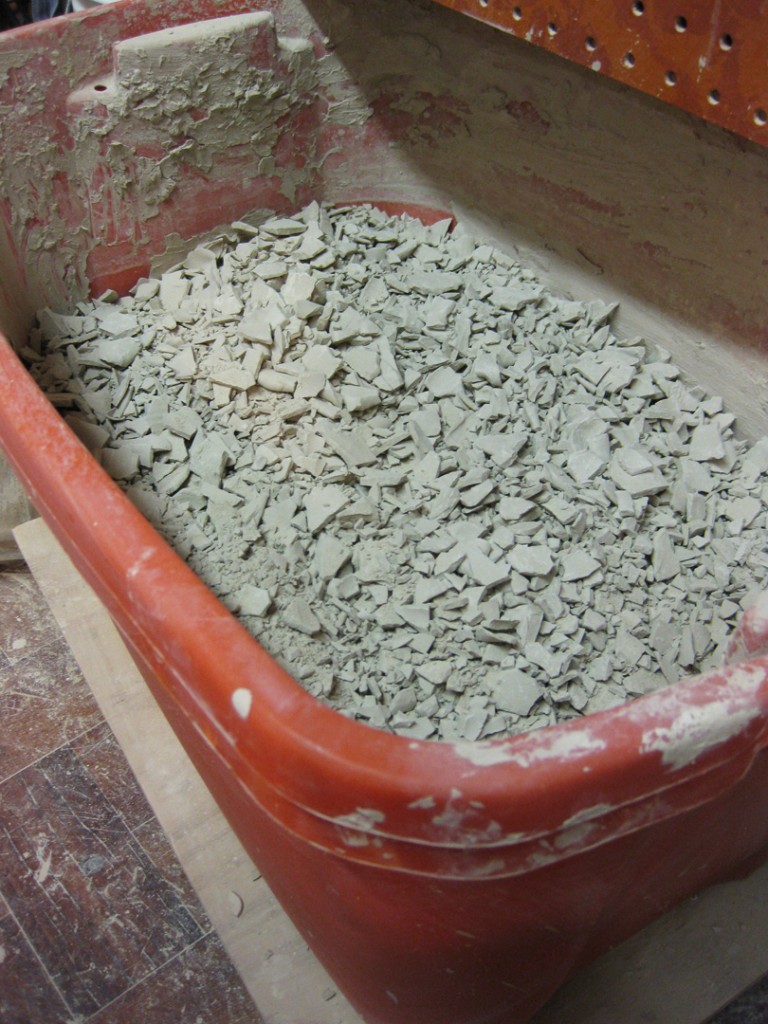


So now it sits… submerged & slaking. I’ll give it a few weeks, stir it up once & awhile, and when it’s ready… turn it back into “real” clay!!!

After camp, I went up to my studio to find a “surprise” pile of old clay to be reclaimed.
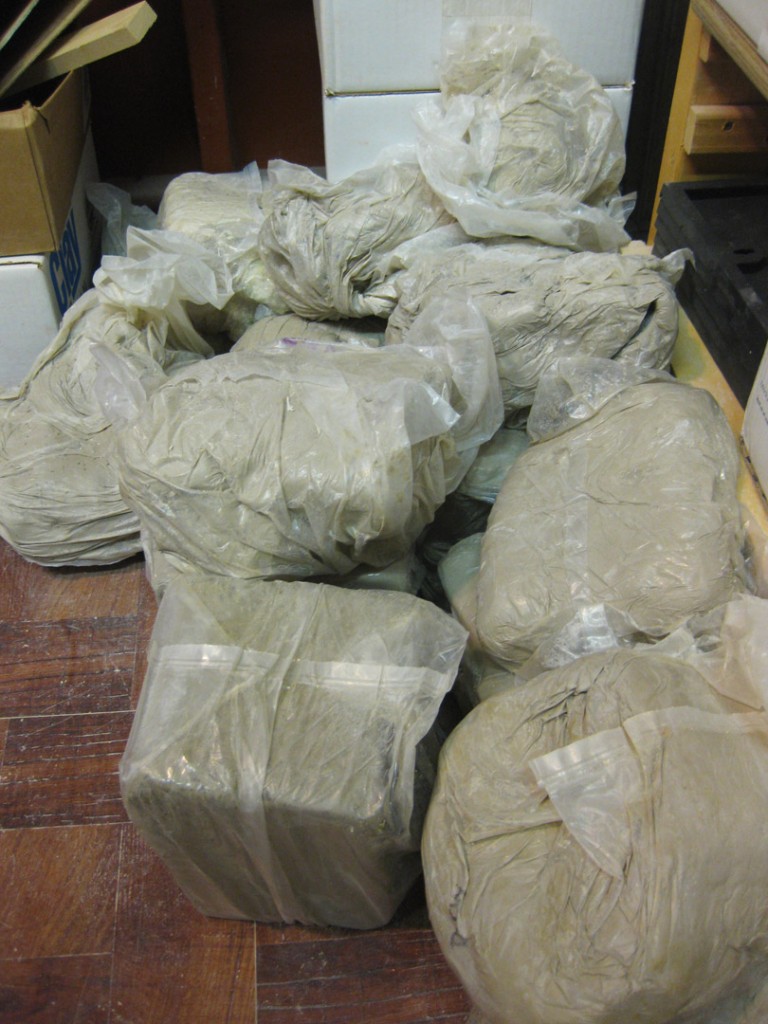
Katie Biderbost, one of my longtime pottery friends, gave me all of her “dead” bags of clay. She knows how much I love reclaiming to get free clay. So I sliced up several of the bags to help them dry out completely.
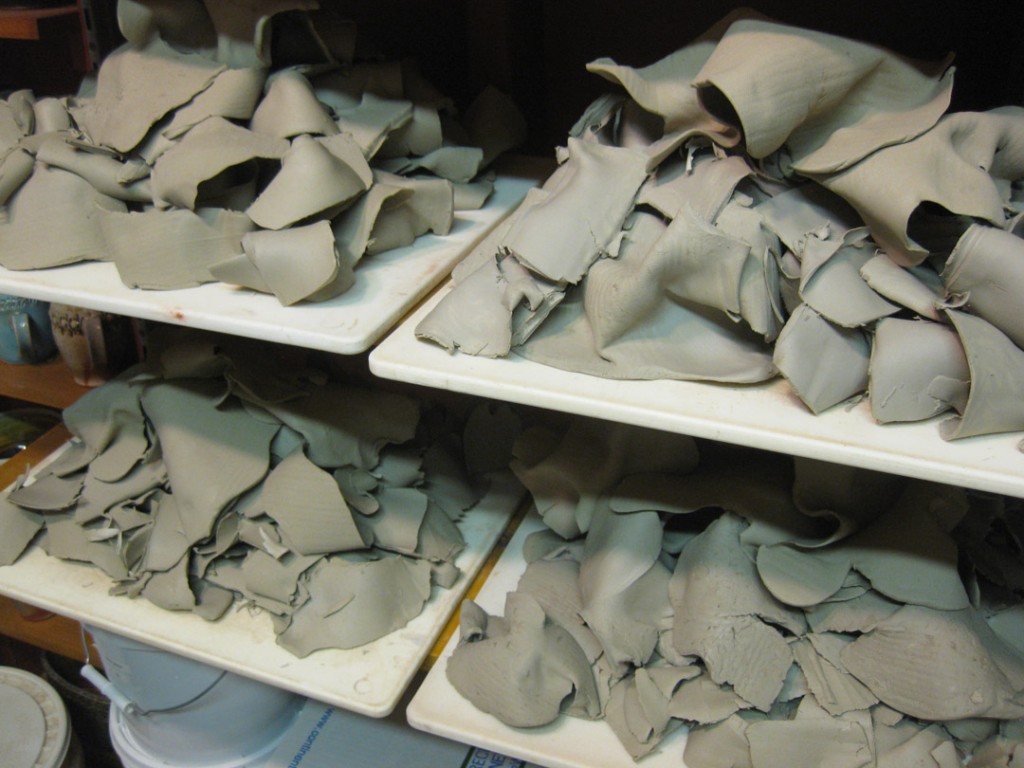
Tomorrow when they’re dry, I’ll crumble them up to add them into my reclaim bucket to begin the slaking process. Thank you Katie B. for the free clay!!!
Last week, I did a demo for my class on how to make plates & platters. I’ve kept the demo pieces well-wrapped, and occasionally sprayed, to keep them wet enough to stamp. Well, tonight I finally got around to stamping them.
Plate… freshly thrown… and plain!
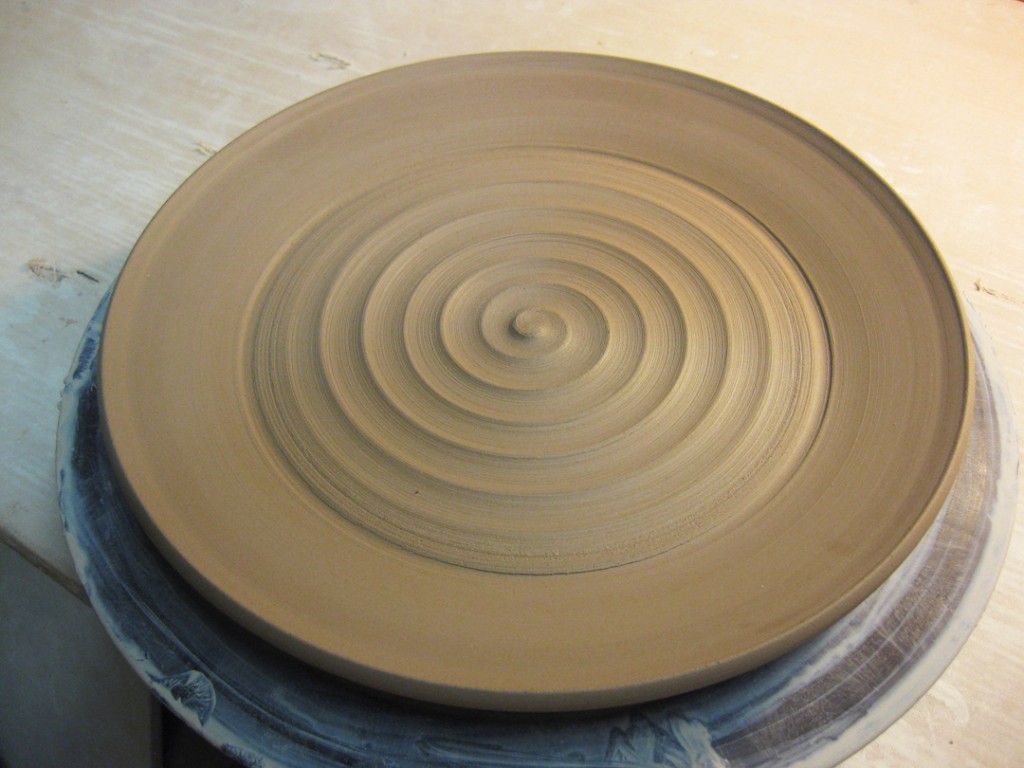
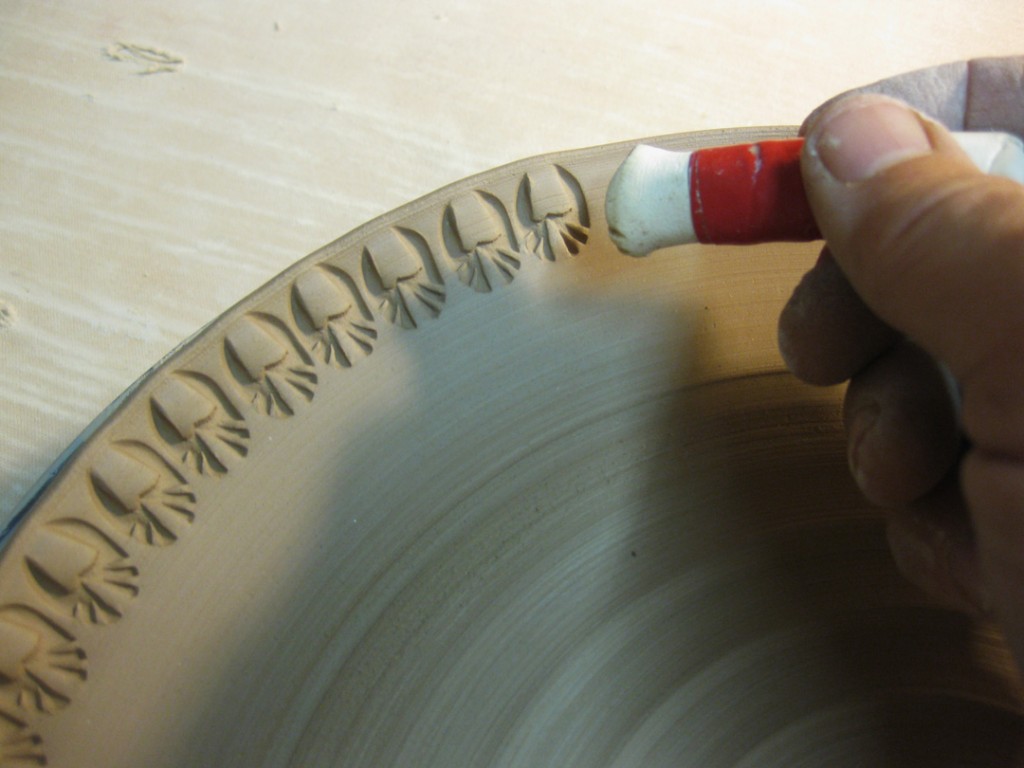
A little stamping around the perimeter… and the stamp that did it all.
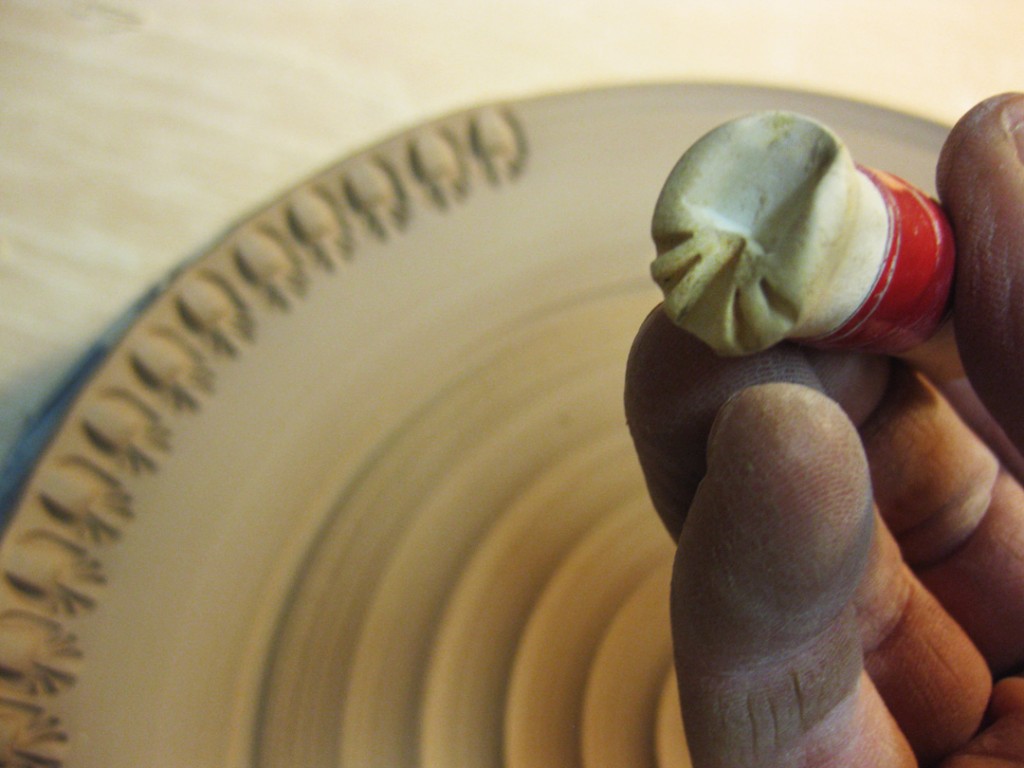
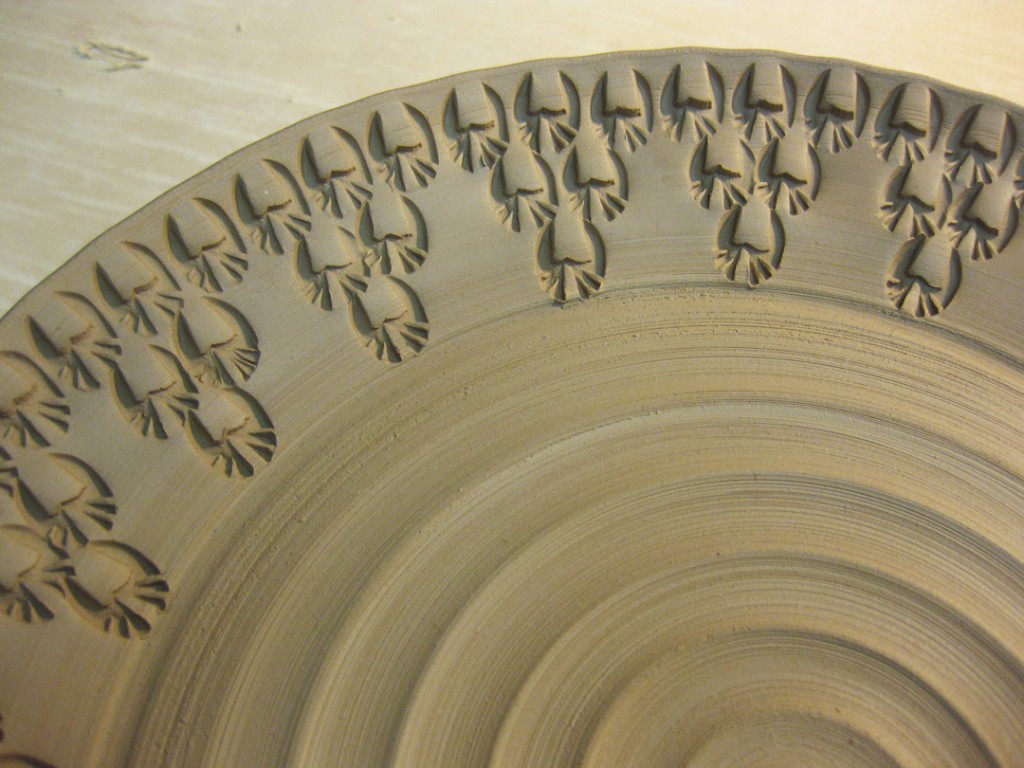
Once stamped, I did a little decorative fluting along the edge.
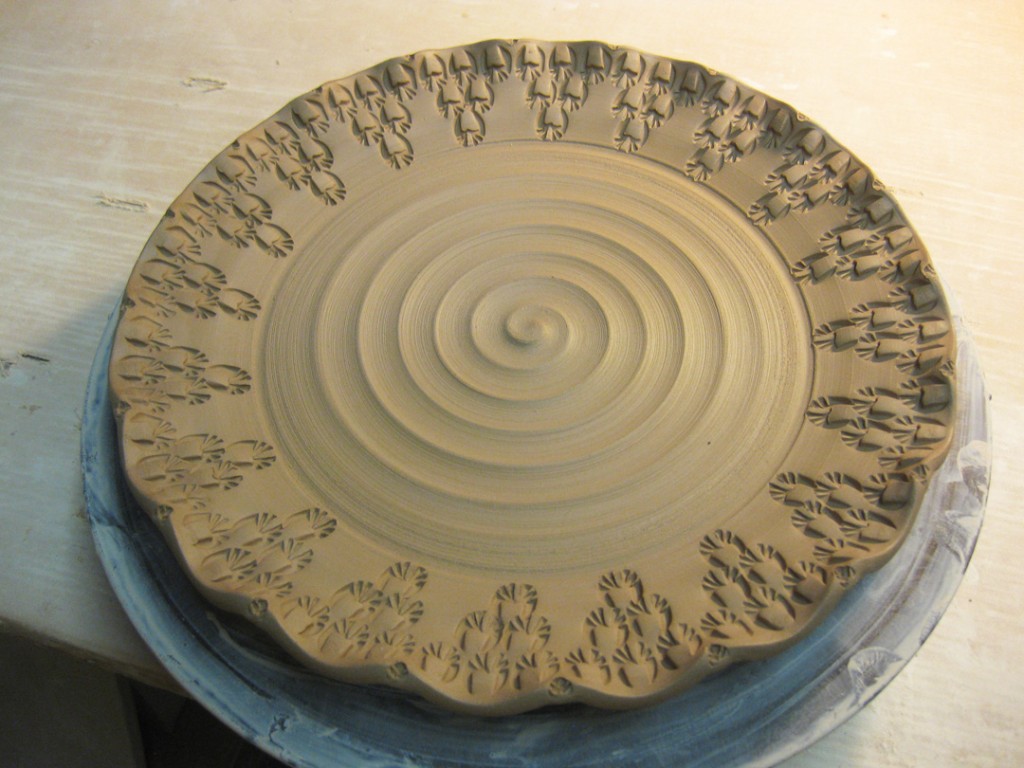
Platter… freshly thrown… and also plain!
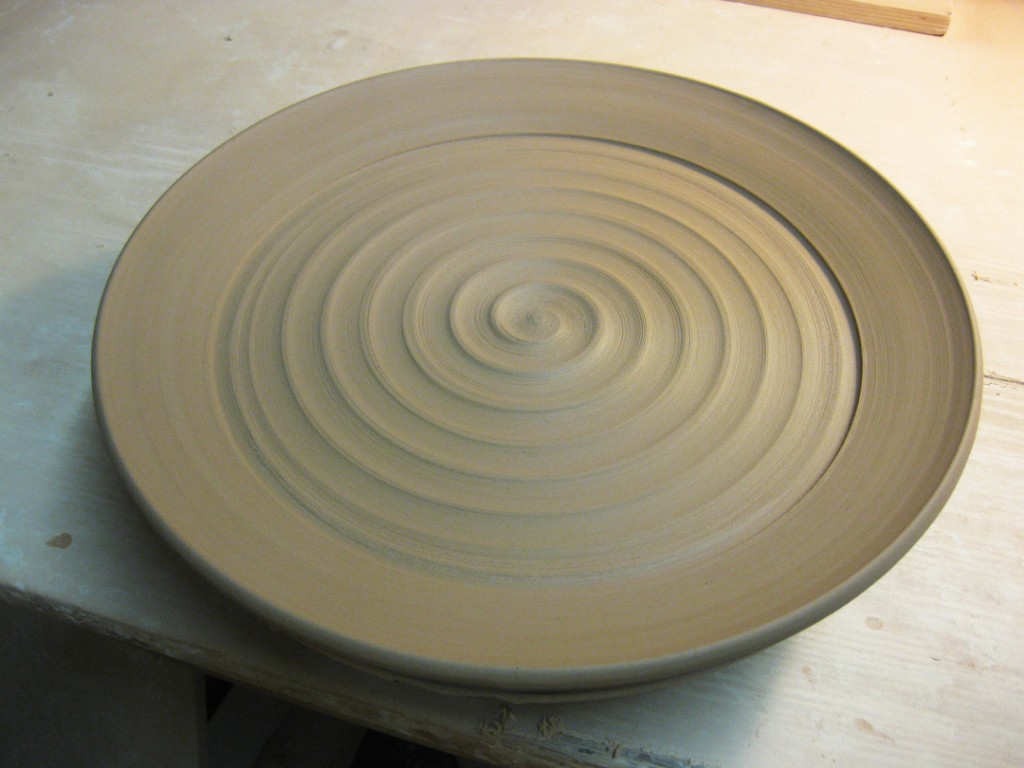
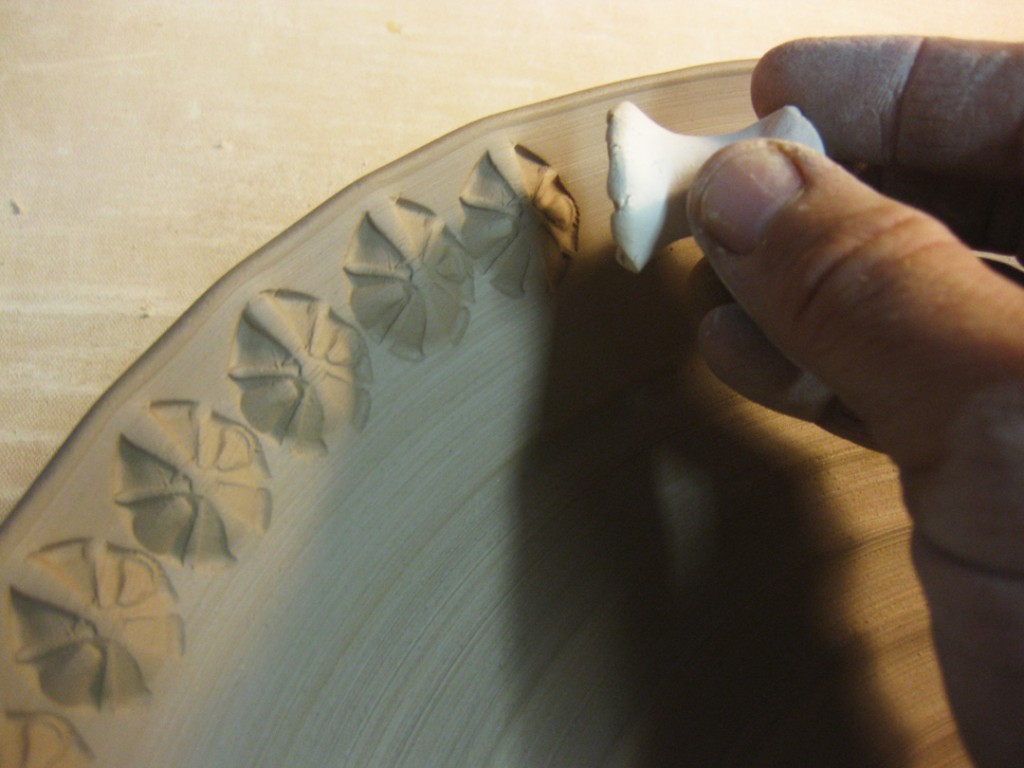
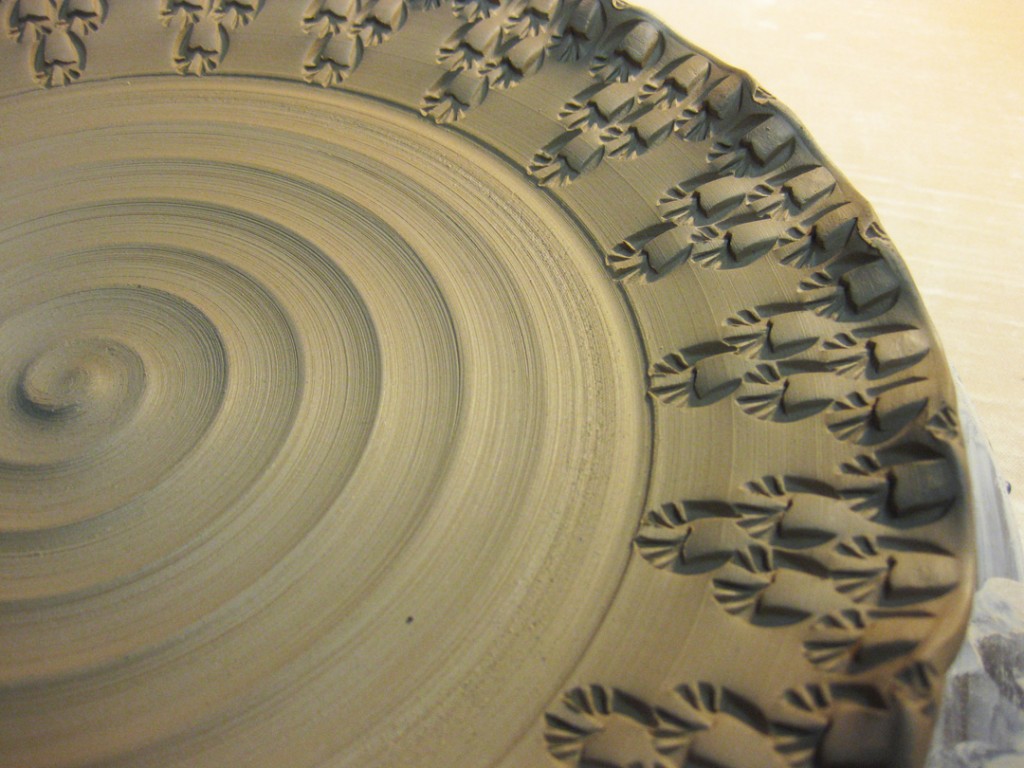
Stamped around the perimeter… and the stamp that did the impressions!
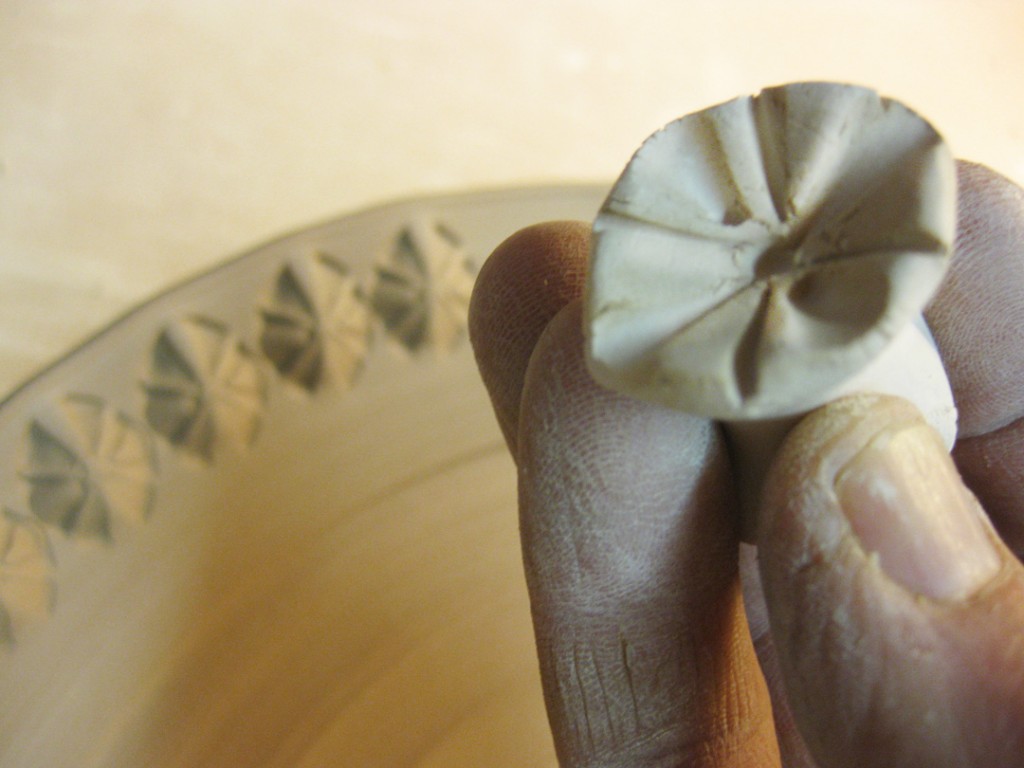
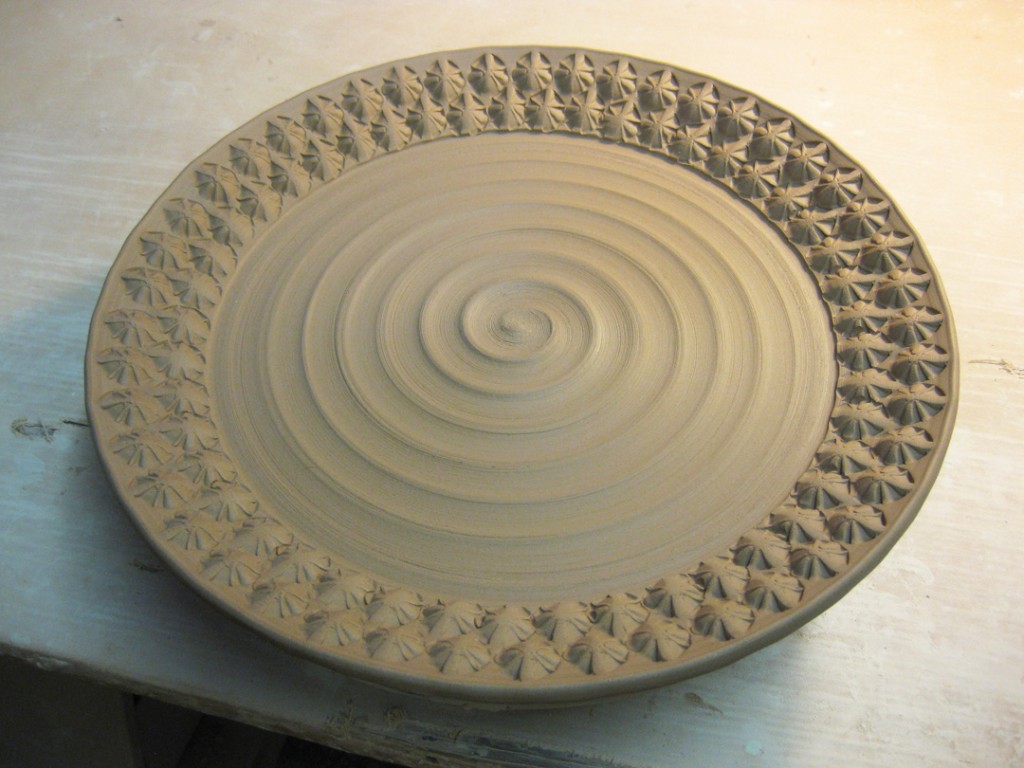
Once it was all stamped, I did a little fluting around the edges for a slight ruffled effect.
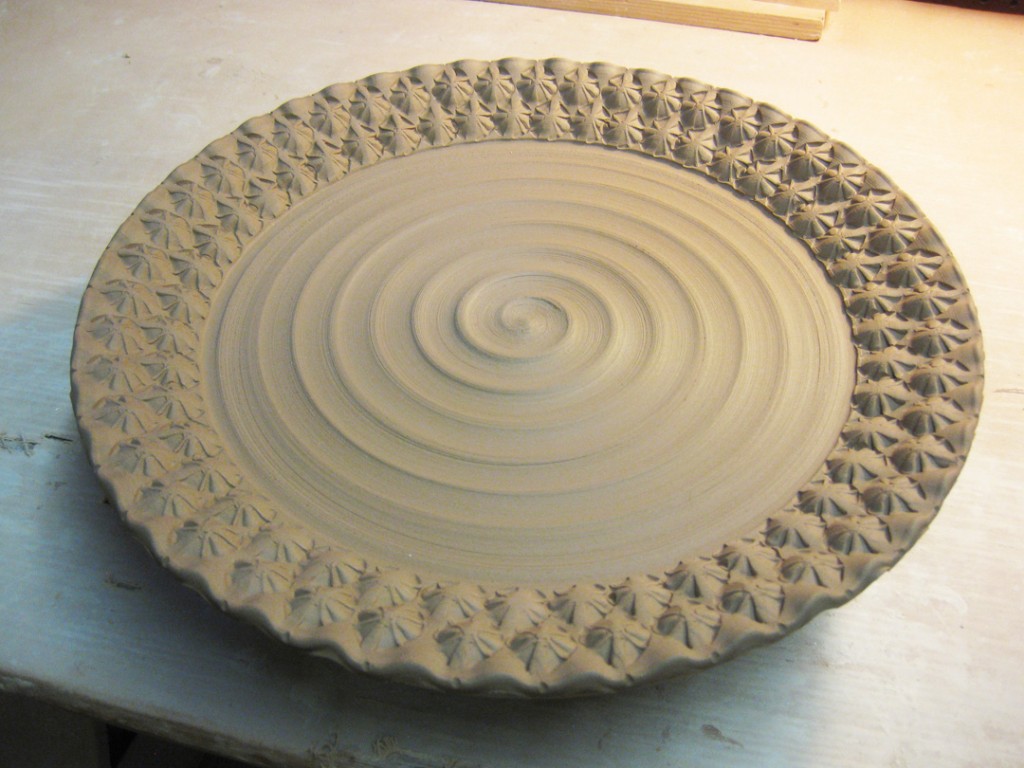
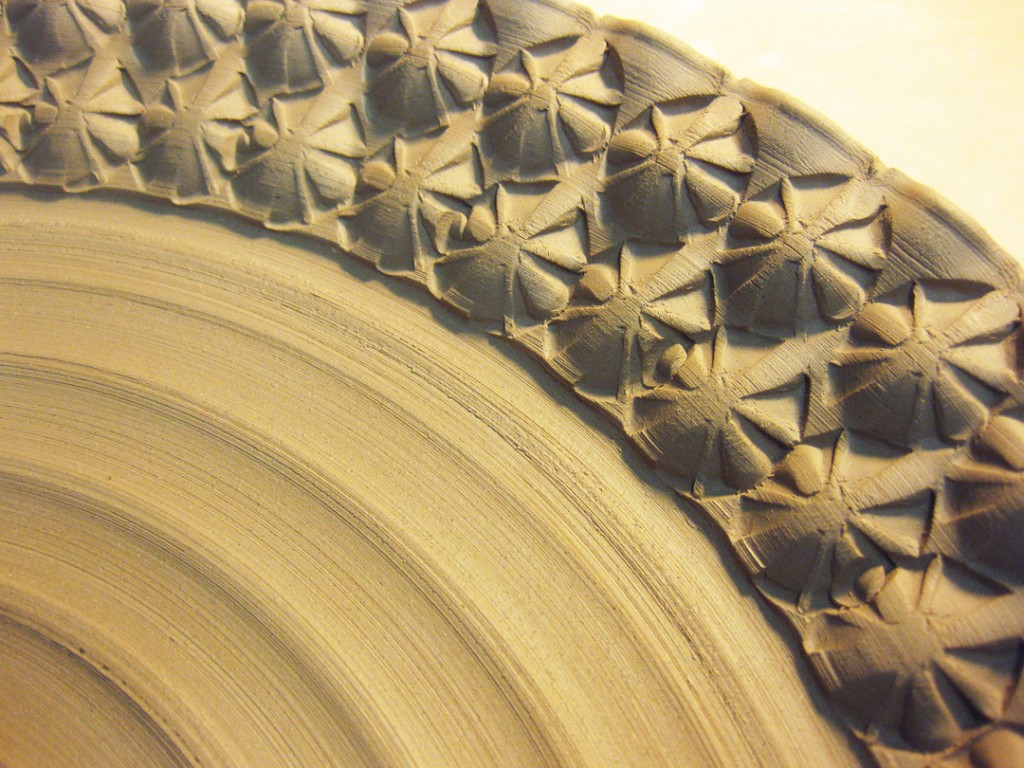
So now they’re back under the plastic to dry a bit more to leather-hard for trimming.
|
Gary Jackson: Fire When Ready Pottery
Lillstreet Studios ∙ 4401 North Ravenswood, Chicago, Illinois 60640 ∙ 773-307-8664 gary@firewhenreadypottery.com |