Gary Jackson: Fire When Ready Pottery
A Chicago potter’s somewhat slanted view of clay & play
Categories: process, stamped, studio, textures

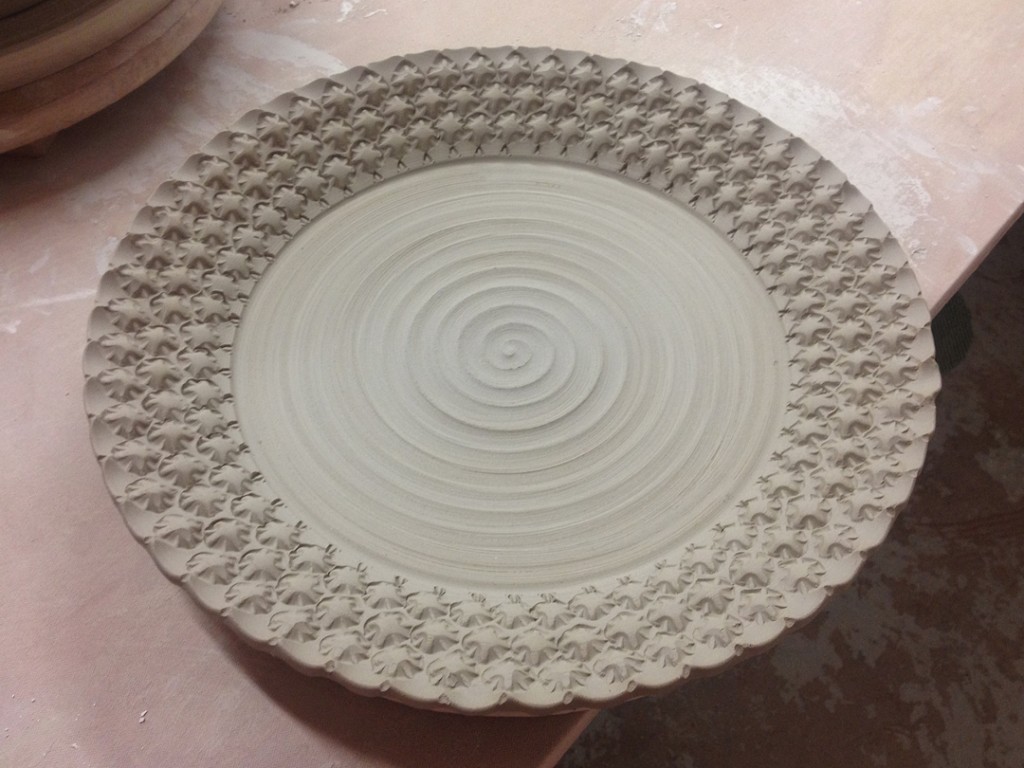
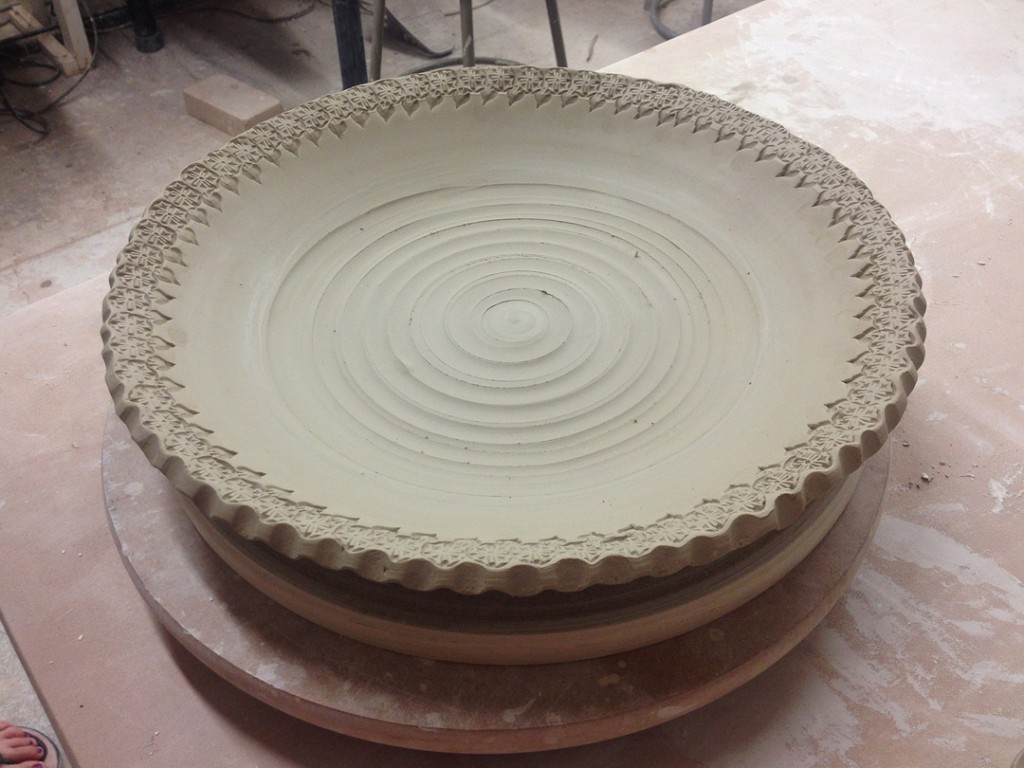
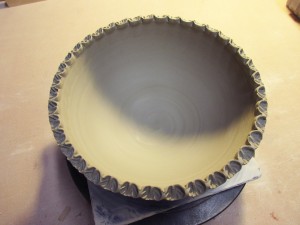
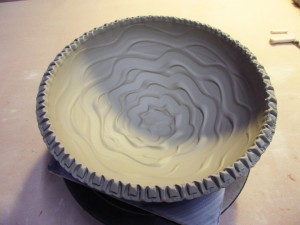
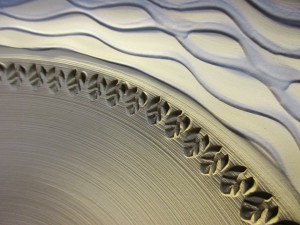
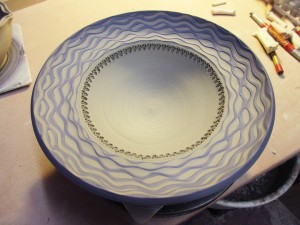
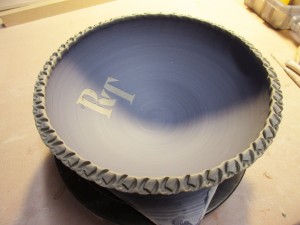
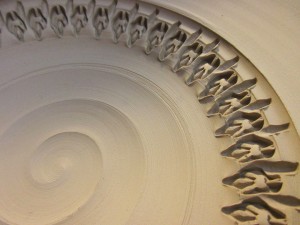
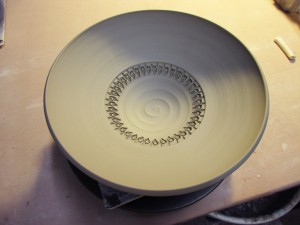
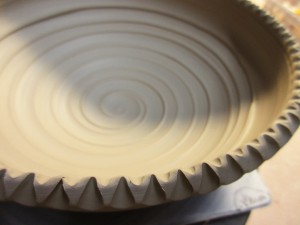
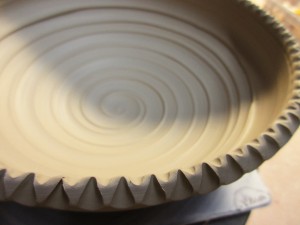
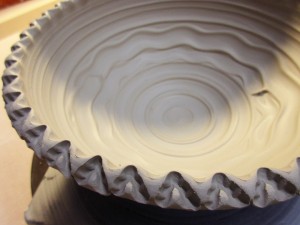
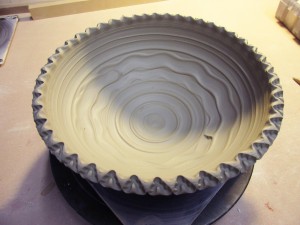
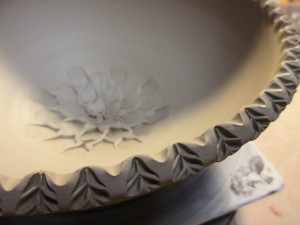
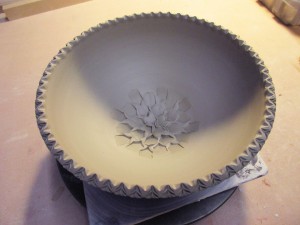
Here’s my stamped demo platter again from tonight’s class.
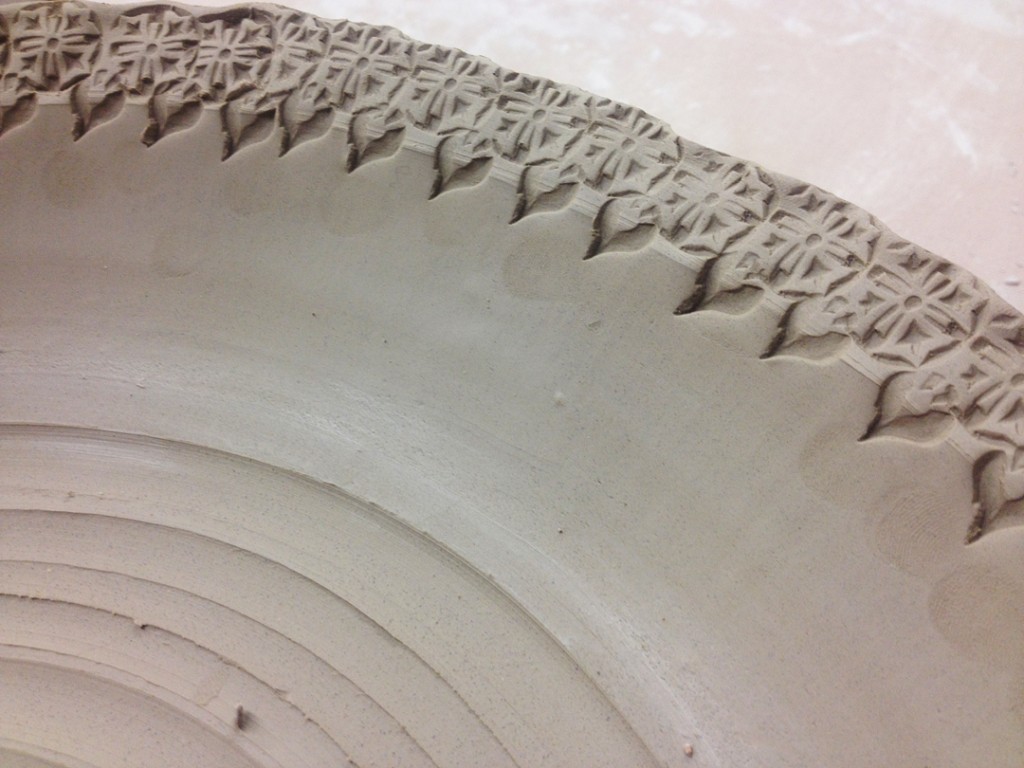
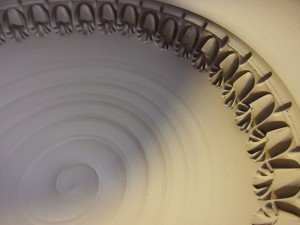
Amazing how a little different lighting can make a world of difference.

So much more dramatic, huh?! And this is just from the compact fluorescent bulb in the task lighting on my wedging table. I like the dramatic shadows it provides, but not a huge fan of the yellow tint it gives everything?! But for a cheap IKEA task lamp, it’s not too bad!!!

Categories: classes, lillstreet, process, stamped

Tonight I subbed for Dave Trost’s Advanced Wheelthrowing Class.
I gave them the option for whatever they wanted me to show them… “Demo On Demand.”
One guy requested a goblet thrown as one piece, and I offered up a stamped platter.
Other than those demos. it was a pretty easy night… no crazy requests?! Bring it on!!!

So I did a platter demo, both throwing & stamping.
Presumably the “best” demo that class has ever seen!!!
Or at least that’s what we’re telling Dave when he gets back from vacation! Ha!!!

So here’s my stamped demo platter…

And here’s one of the student’s stamped platters. Nicely done Stephanie!
I love when students actually follow along and do the demo piece in class.

Categories: mugs, process, production, stamped, stamps

The second batch of mugs I’m working on is made out of reclaim clay. I’m thinking that they will still go into the soda kiln, but will look smoother & more evenly finished after the firing. Last night I threw the cylinders… tonight I did the stamping!!!

Categories: mugs, process, production, stamped

Tonight I made handles for the first set of mugs I’ve been working on. This set is made of soda clay. I’m trying to make enough work to fill my next soda kiln. So I’ve still got a couple weeks to make more work. But it’s summer… and I want to play outside!!! Needless to say, I’m “trying” to stay productive… and finishing off another set of mugs.

I start by making “carrot” shaped wedges of clay. Slammed on the table to compress, and cut to the right size. I pick them up by the fat end to pull the handles the traditional way.

As each handle is pulled, I do a quick little flip-over to make the rounded shape of the handles. I set them up so they can stiffen up to a “usable wetness.” By setting them up with a curve already established, you don’t need to bend them as much later.

Then the attachment process begins… one mug at a time. Score, slip, attach, repeat. Again.. and again… Once they are all attached, I give them a quick spray of water and keep them wrapped up overnight. That way I feel the moisture levels balance out a bit so the handles are less likely to pop off later.

Next up?... some colored slip accents with flashing slips for the soda kiln.

Categories: mugs, process, production

When in doubt of what to make… MAKE MUGS!!!

So I threw twenty new cylinders… wrapped up for the night for tomorrow we start stamping!

Categories: process, stamped, stamps, YouTube

One of my students was playing on YouTube and ran across this pottery video.
Click here for the video.

It’s kind of long… about an hour and 19 minutes.
But if you jump to about the 1:03 mark that’s when “the magic” begins!!!
And by “magic” I mean a crazy reference about ME!!!

Apparently this whole blogging, Facebooking, YouTubing and more has made me “a little famous” in Santa Clara, California?! The instructor in the video makes a specific reference of me and my “oodles & oodles of stamping.” Kinda cool, huh?!

Categories: bowls, process, production, stamped, textures

Tonight I did a little stamping & detailing of my class demo bowls from Tuesday night.
“Not so basic” just got a little more textured!!!

Categories: bowls, classes, process, production

Last night in my Beginning Wheelthrowing class we worked on bowls.
Basic bowls thrown the right way and on purpose… NOT a cylinder gone bad.
So we did a demo of the basic bowl with a nice round interior using my green plastic rib.

Bowl #1 – Plain
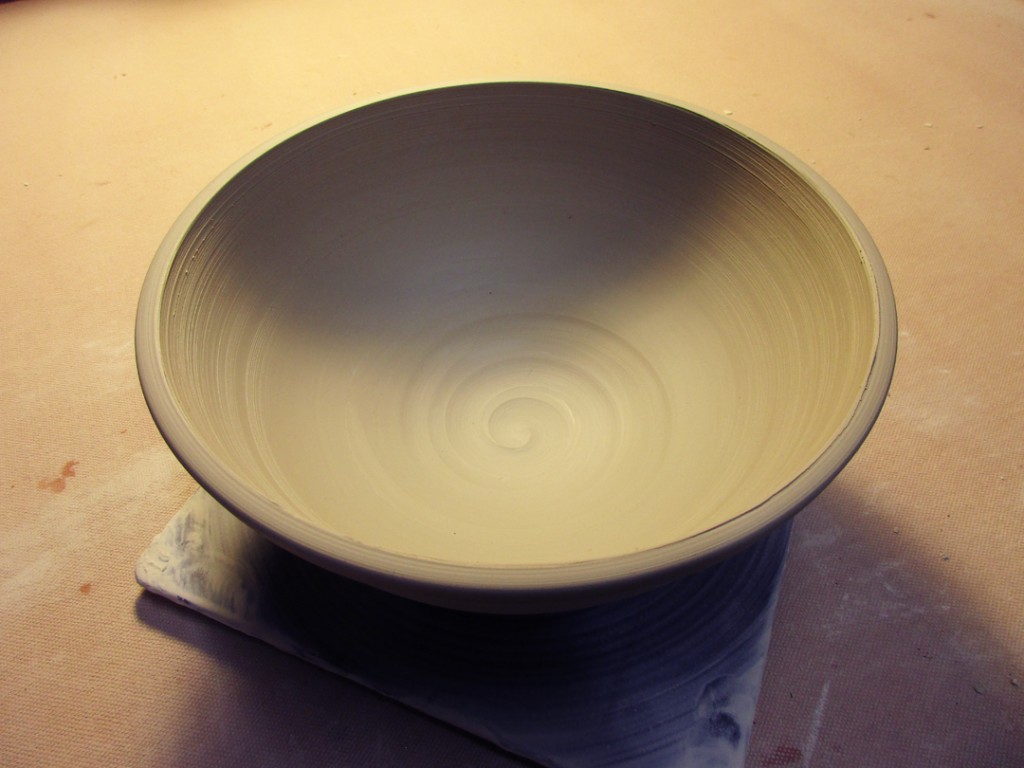
After this first bowl, my students went back to their wheels to keep working. As they were making pots, I continued to throw more bowls. After I had made 15 more bowls, we reconvened by my demo wheel. I then showed them some quick ways to “decorate” their basic bowls to make them “not so basic” anymore!!! We talked about playing with your clay, taking a chance, committing to your alterations and making the bowl “yours.” Just because the wheel makes round pots doesn’t mean that they need to stay that way!!!

Bowl #2 – Two Twisted Flutes.
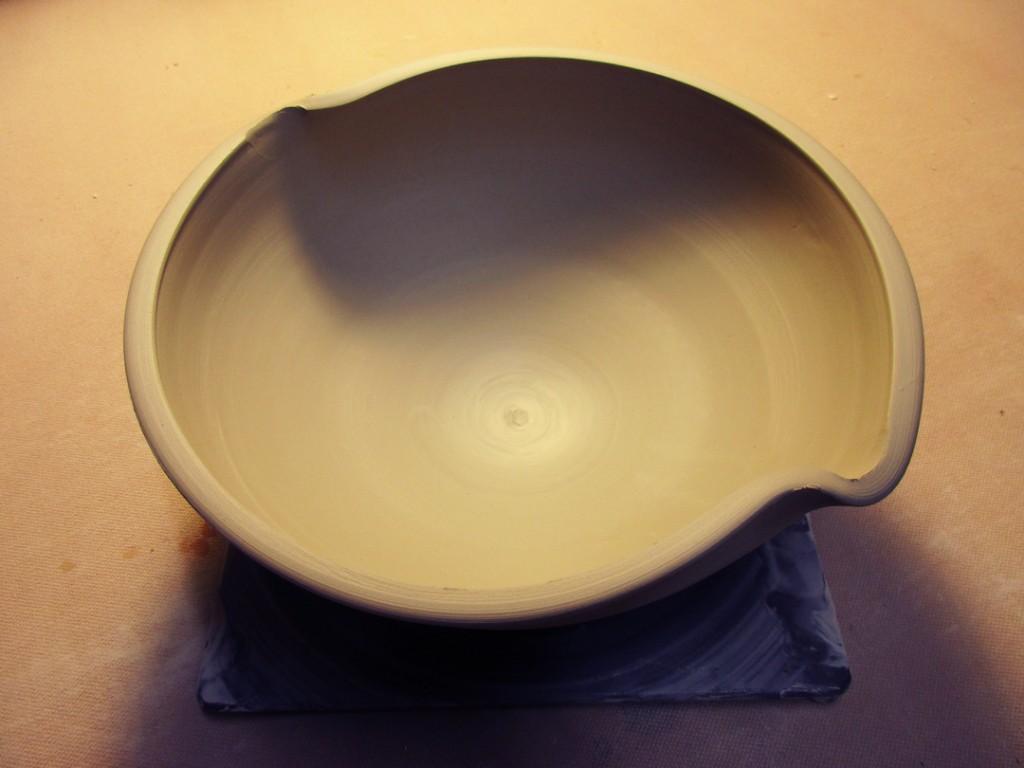
Bowl #3 – Eight Twisted Flutes.
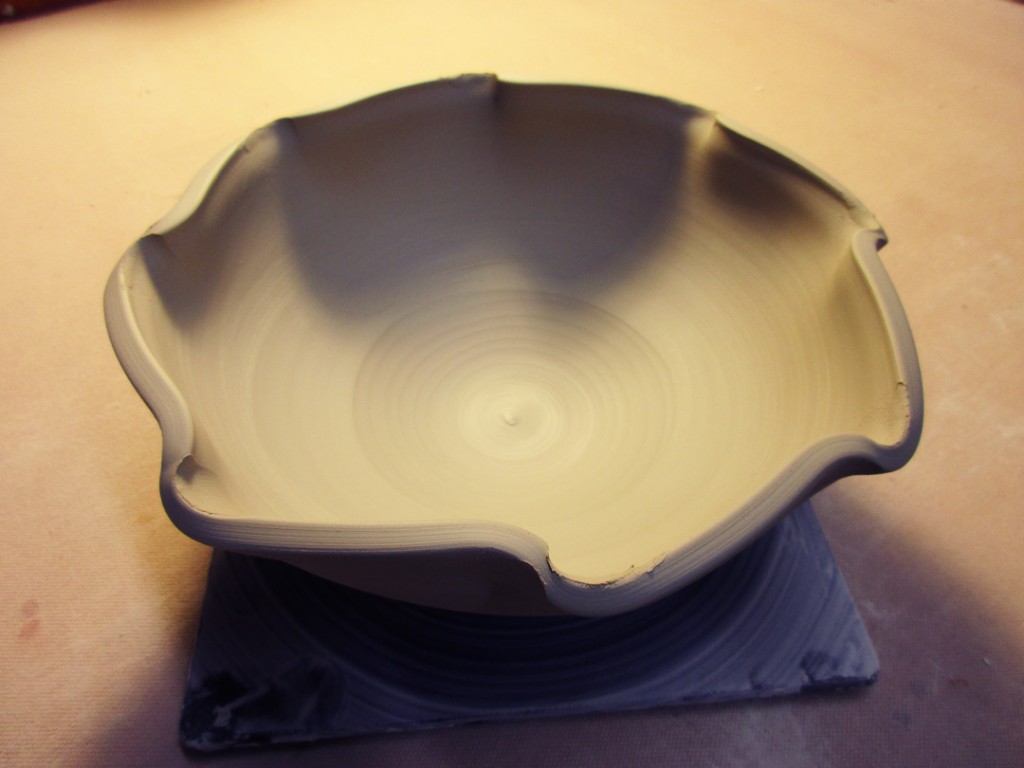
Bowl #4 – Thin Flange bent outwards.
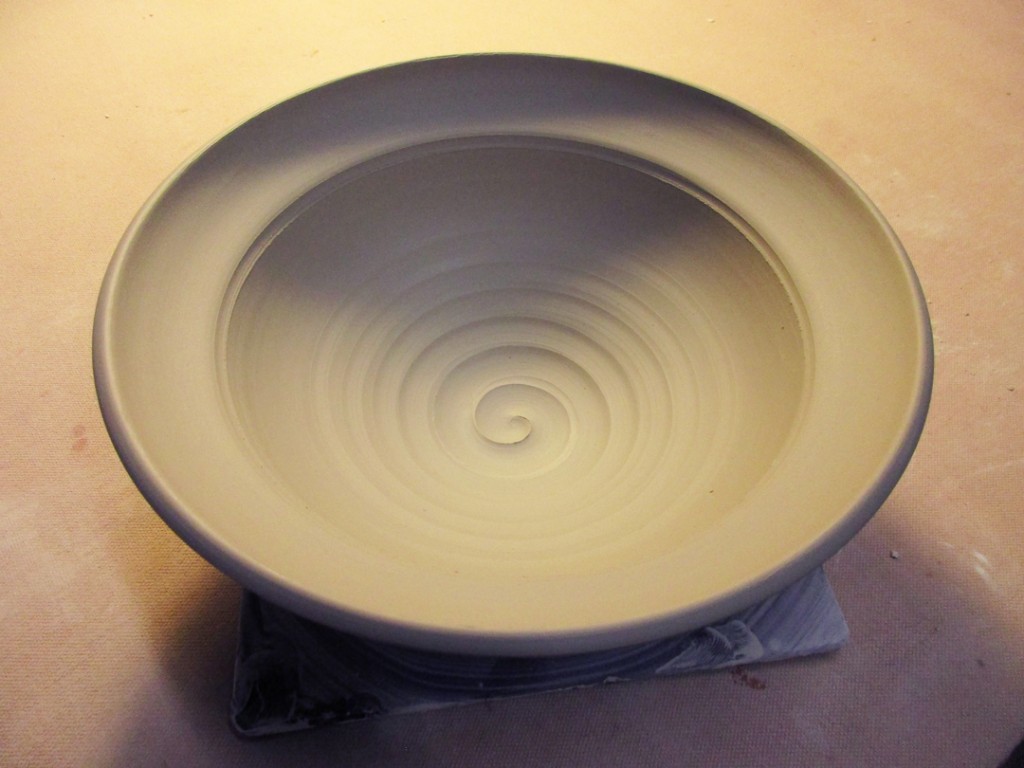
Bowl #5– Wide Flange bent outwards.
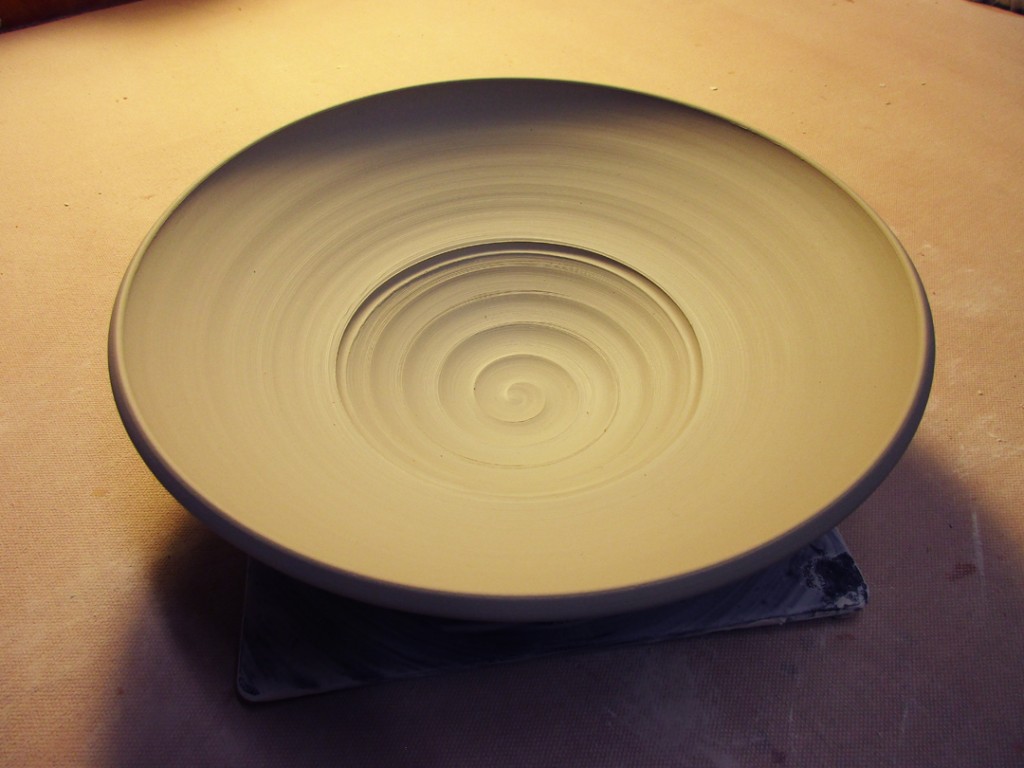
Bowl #6 – Flange and Twisted Fluting.
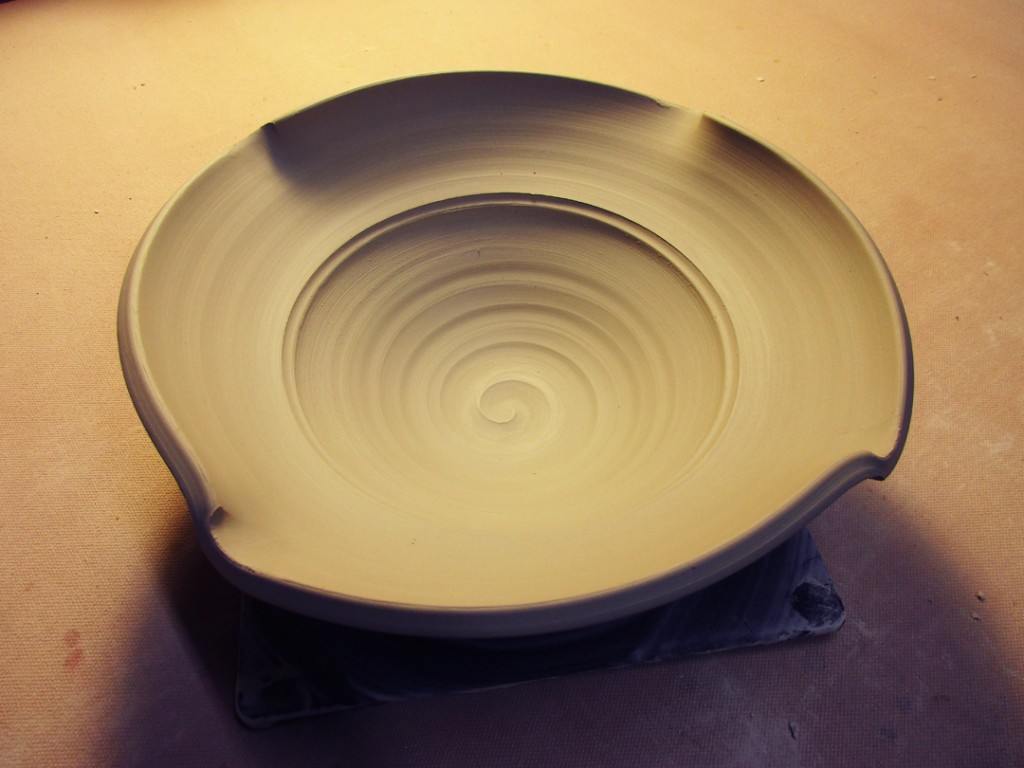
Bowl #7 – Split Rim with Pinches.
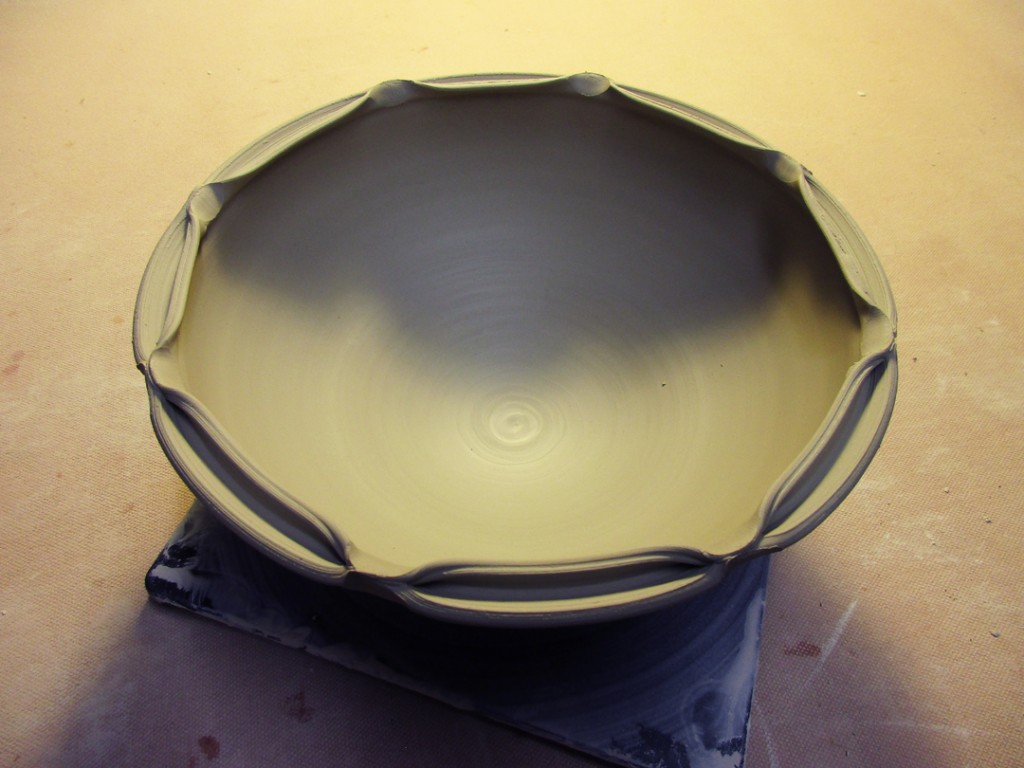
Bowl #8 – Split Rim and Fluted In & Out
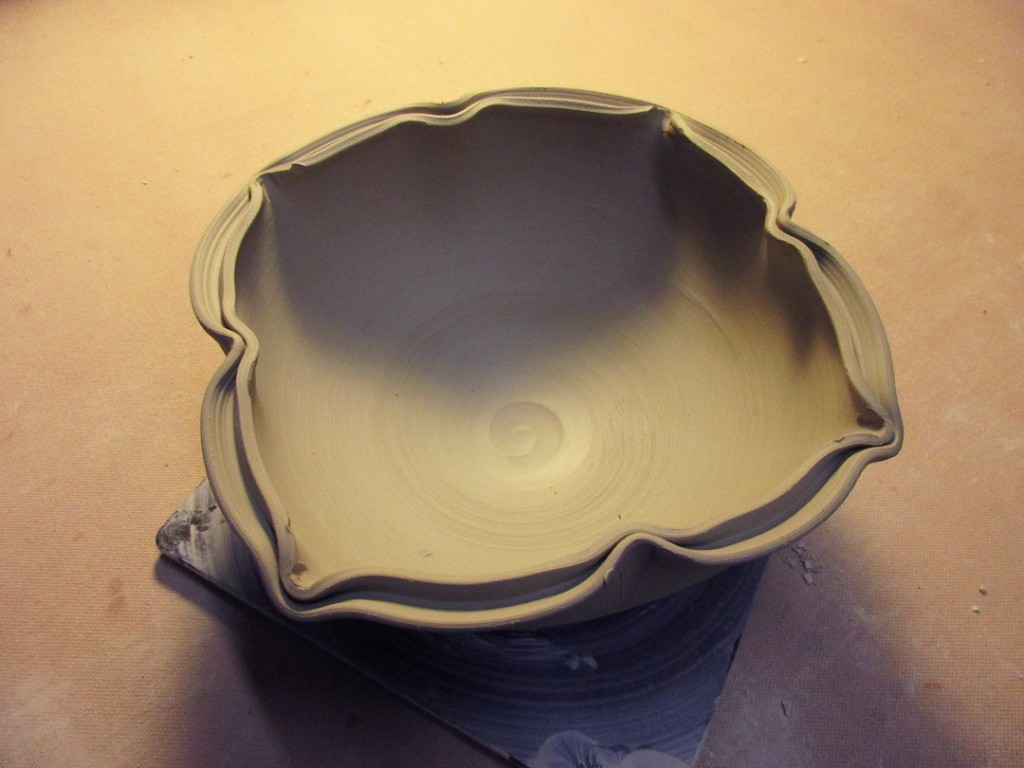
Bowl #9 – Split Rim in a Lotus Flower Style
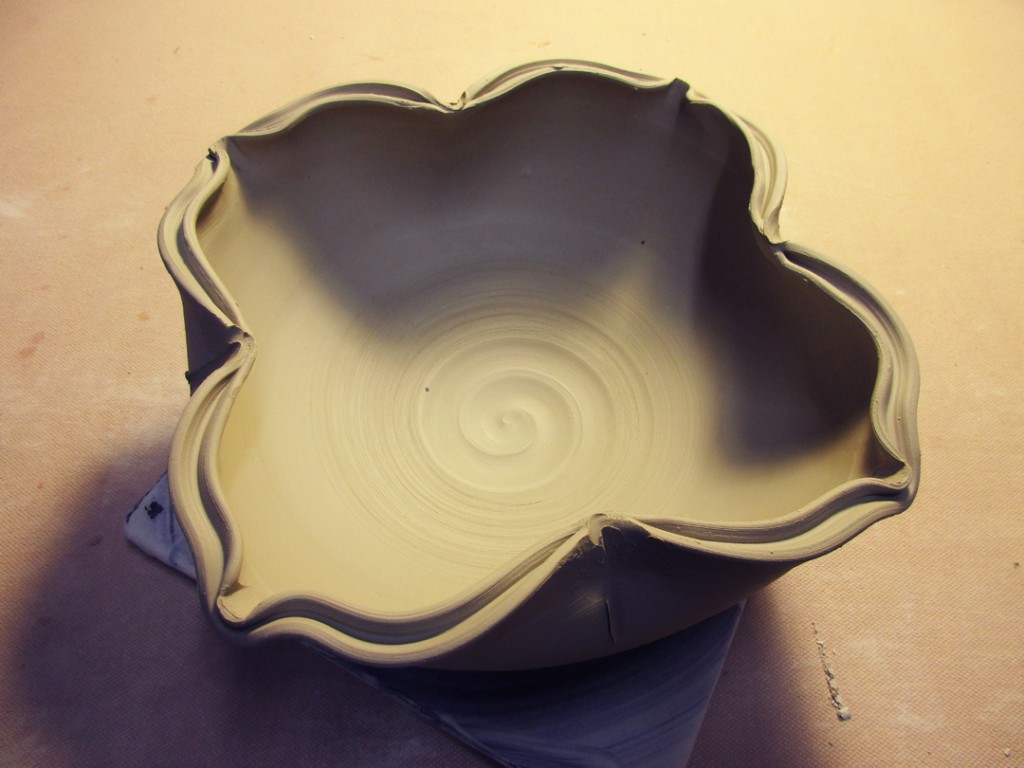
Bowl #10 – Plain with a Flower Pressed in the bottom with a simple dragonscale tool.
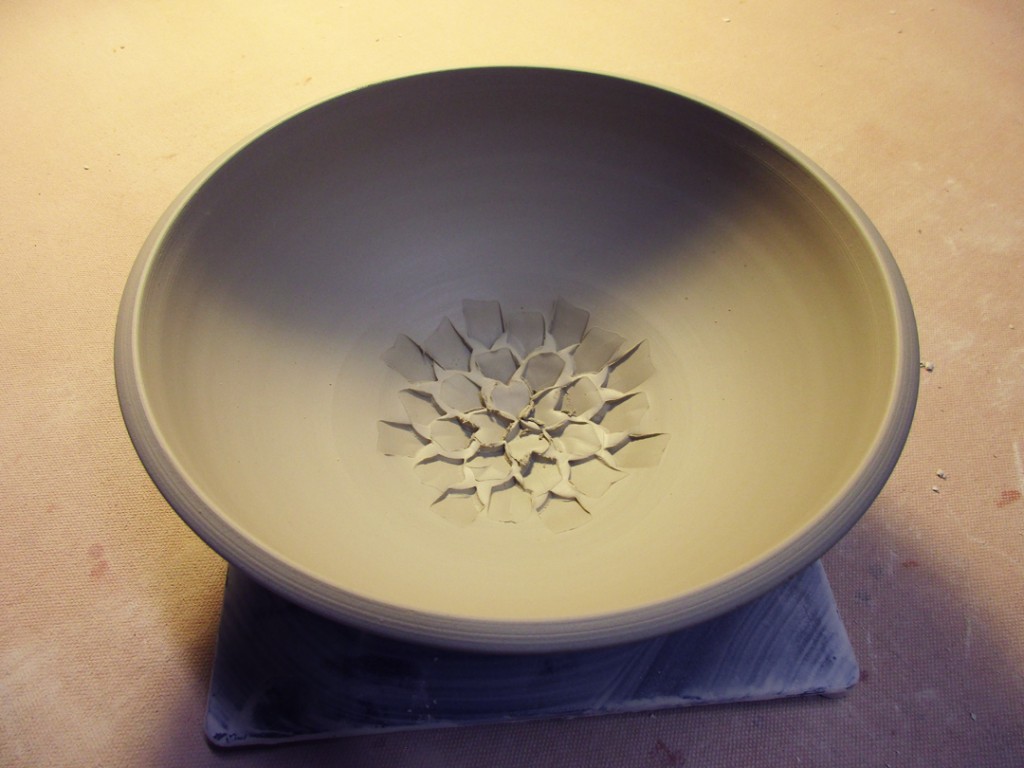
Then we started working more with colored slip. For the demo I used thick white slip and thin blue mazzerine. Now looking at the photos, I probably should have used a darker slip to show more contrast to the lightness of the B-Clay. Oh well… next time!!

Bowl #11 – White Slip Spiral using the rounded end of my wooden knife.
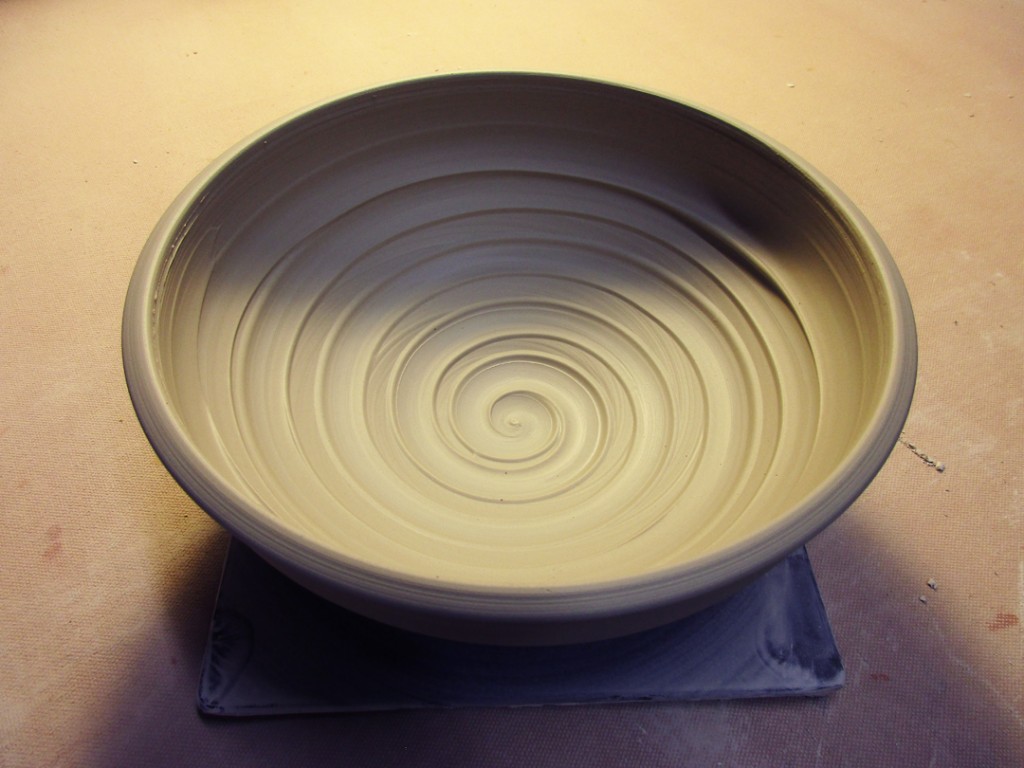
Bowl #12 – White Slip Squiggles with my finger tip.
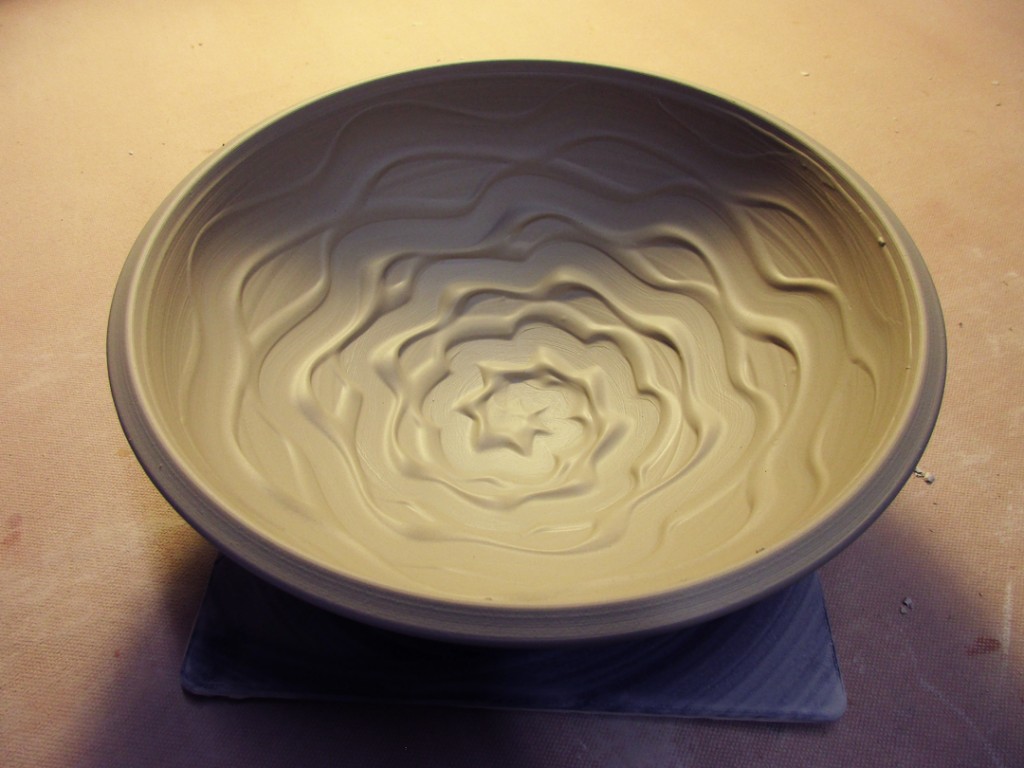
Bowl #13 – White Slip Banding & Squiggles
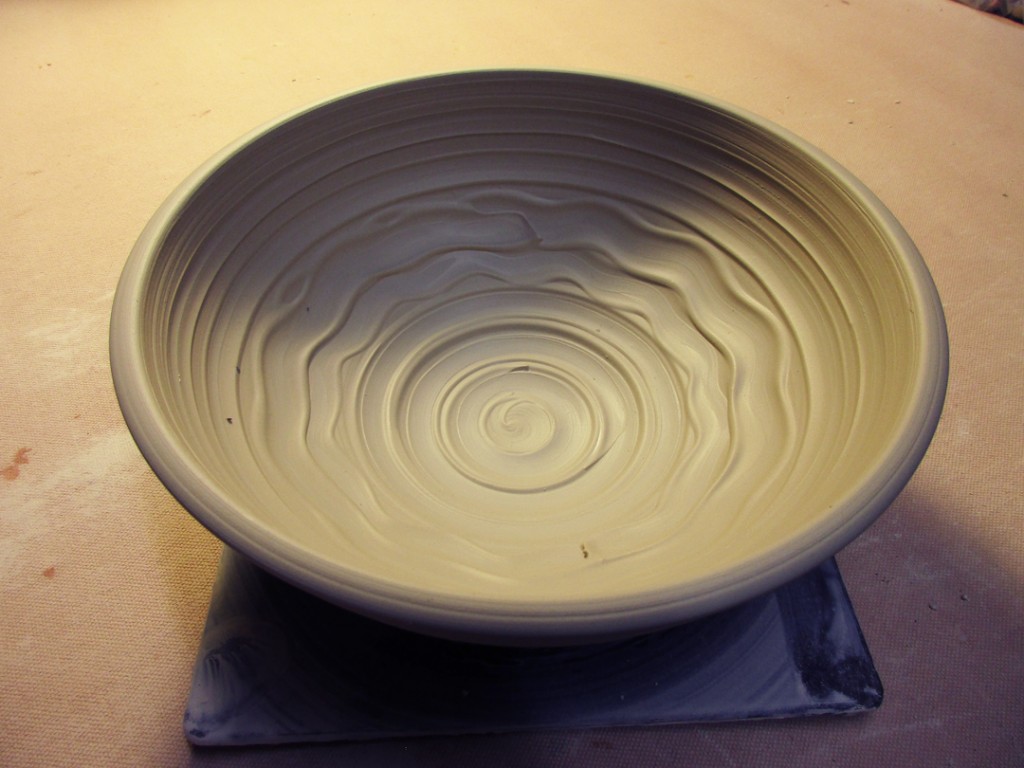
Bowl #14 – Blended Gradation Ombre with Chattering Texture
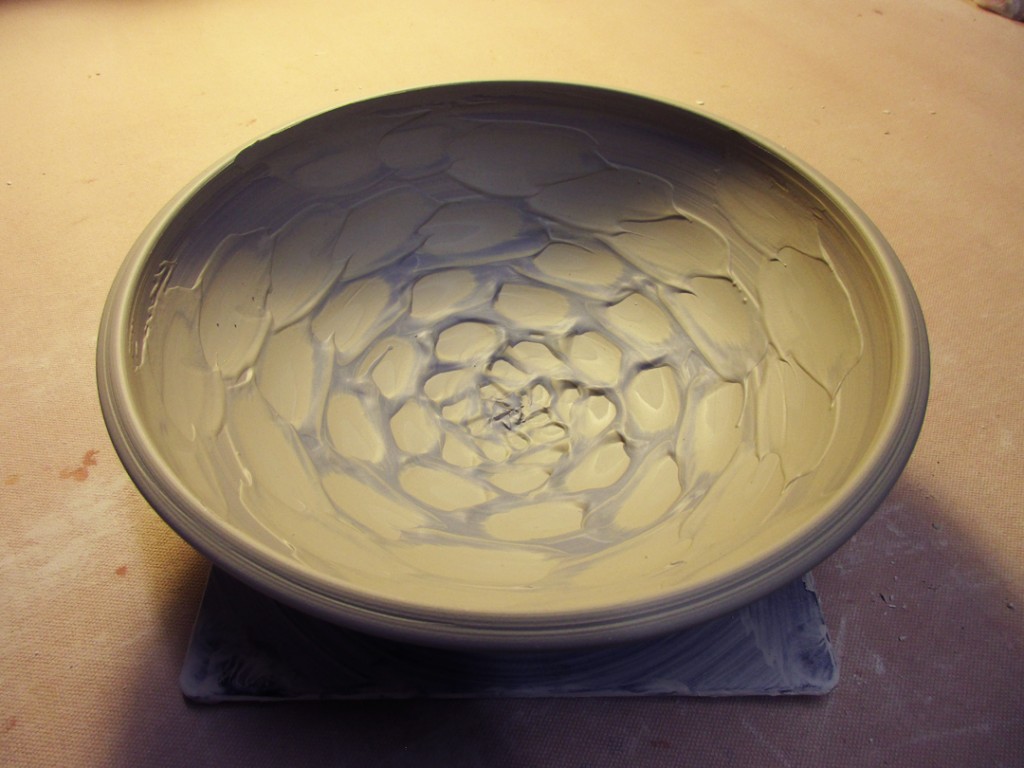
Bowl #15 – Wide Flange with some Mazzerine Squiggles.
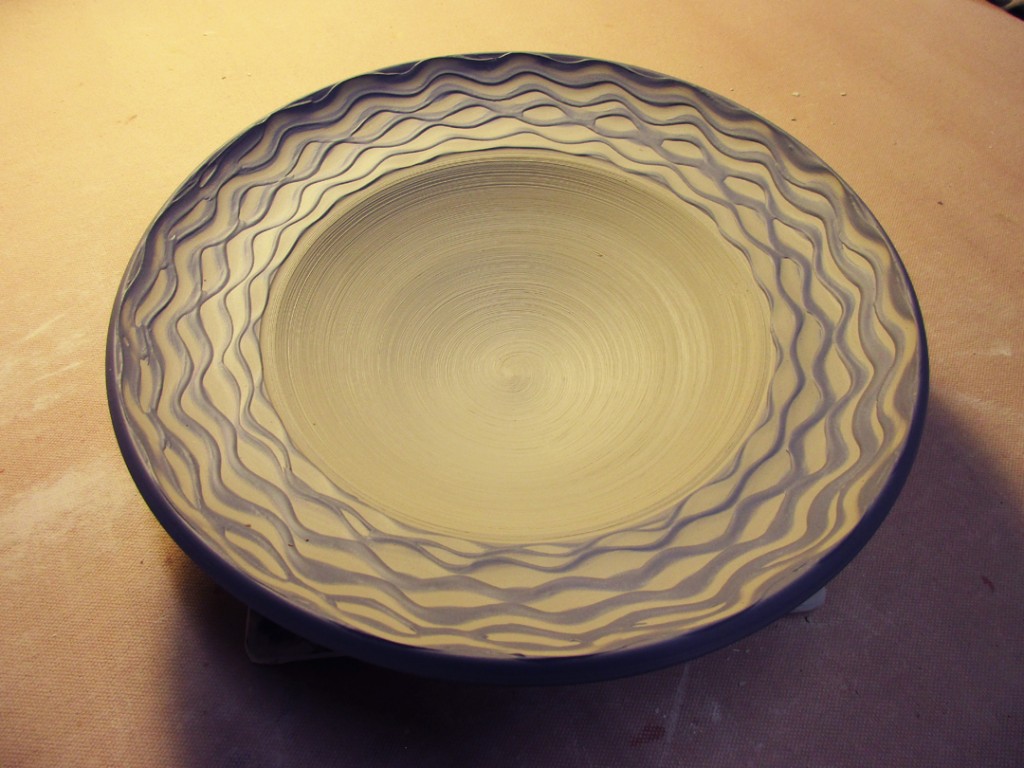
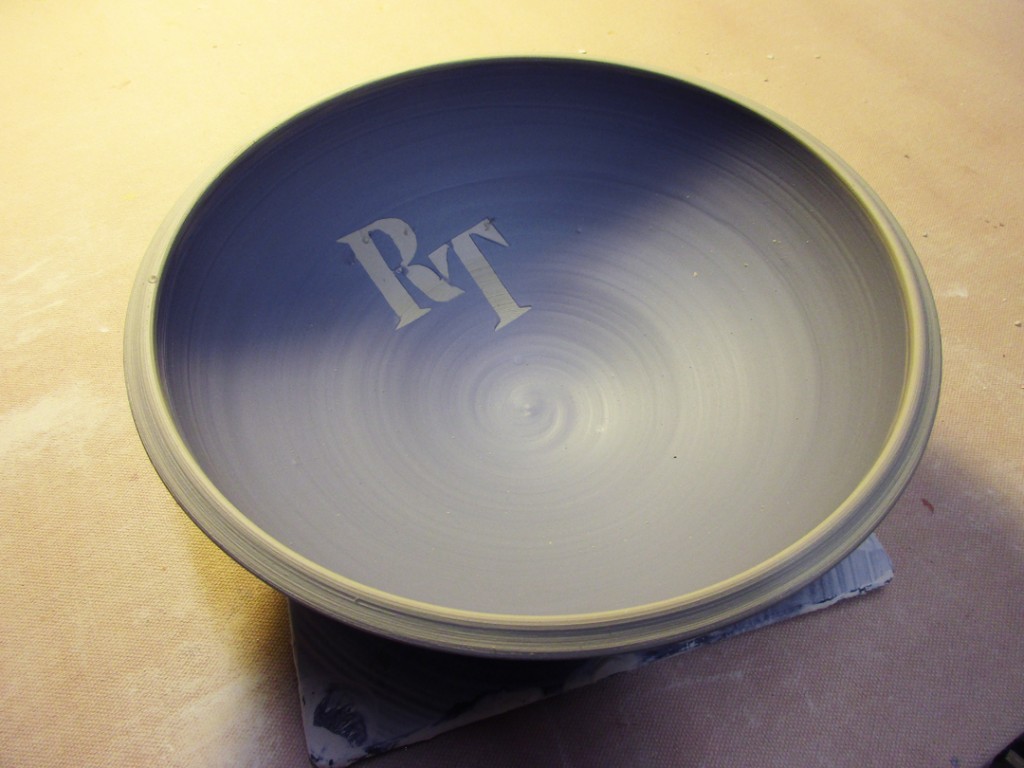
Bowl #16 – Mazzerine Slip with a couple Newspaper Letter Stencils.
So now they are all in my studio under wraps. Covered with plastic so they can dry a bit slowly. I’m hoping that maybe tomorrow night they will be ready for some stamping, detailing & accenting. If so… most like more photos will follow!
 

Categories: classes, process, stamps

So last night in class, I did a little “interpreting” of where my students stand in their clay skills. We were scheduled to make mugs out of their existing cylinders… trimming, handles, attachments, etc. However, no one had a cylinder at the right stage. So we postponed that demo and went straight for “Demo-On-Demand.” After a little discussion, we did a basic cylinder from the start for the brand new beginners… followed by a larger vase, a plate and a platter for the advanced beginners. The “challenge” for my students this session is to make a plate that they are willing to trade & exchange during the last class. So we jumped ahead a bit… and went straight to plates!!

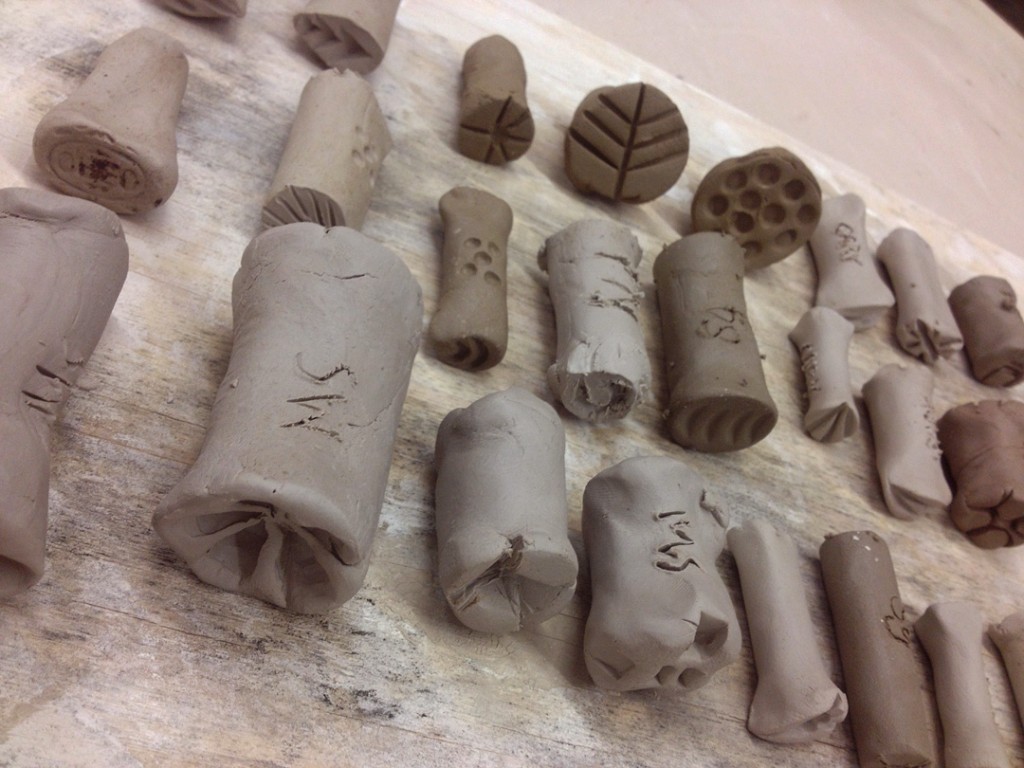
After the throwing demos, they all went back to work at their wheels… and we ended the class by making a few stamps. We’ll get them fired and then they can use them on their pots for the rest of the session. Gotta get ’em started early on the stamping obsession!!!

Categories: pottery, process, stamped

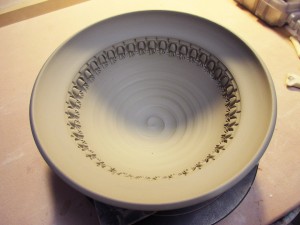
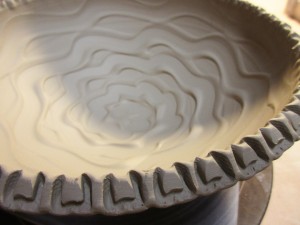
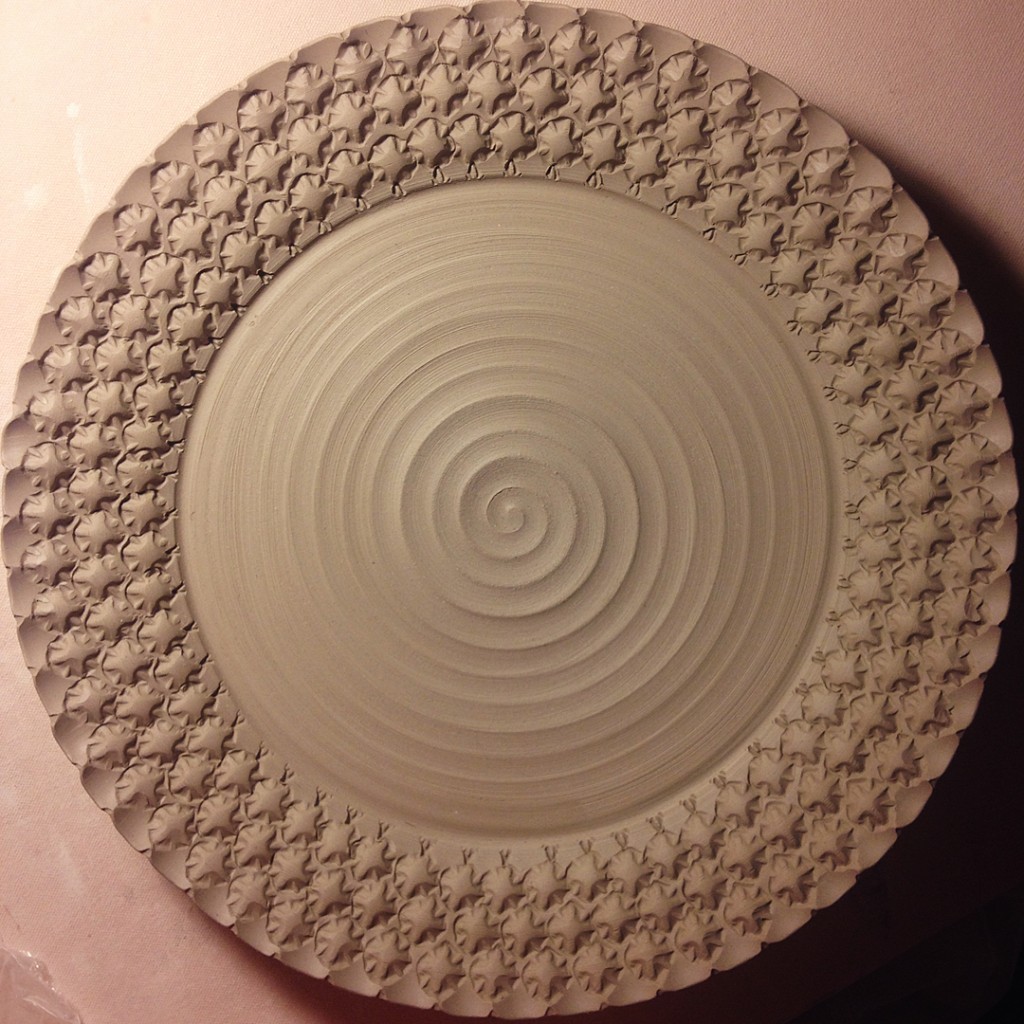
Looking straight-down on another platter.
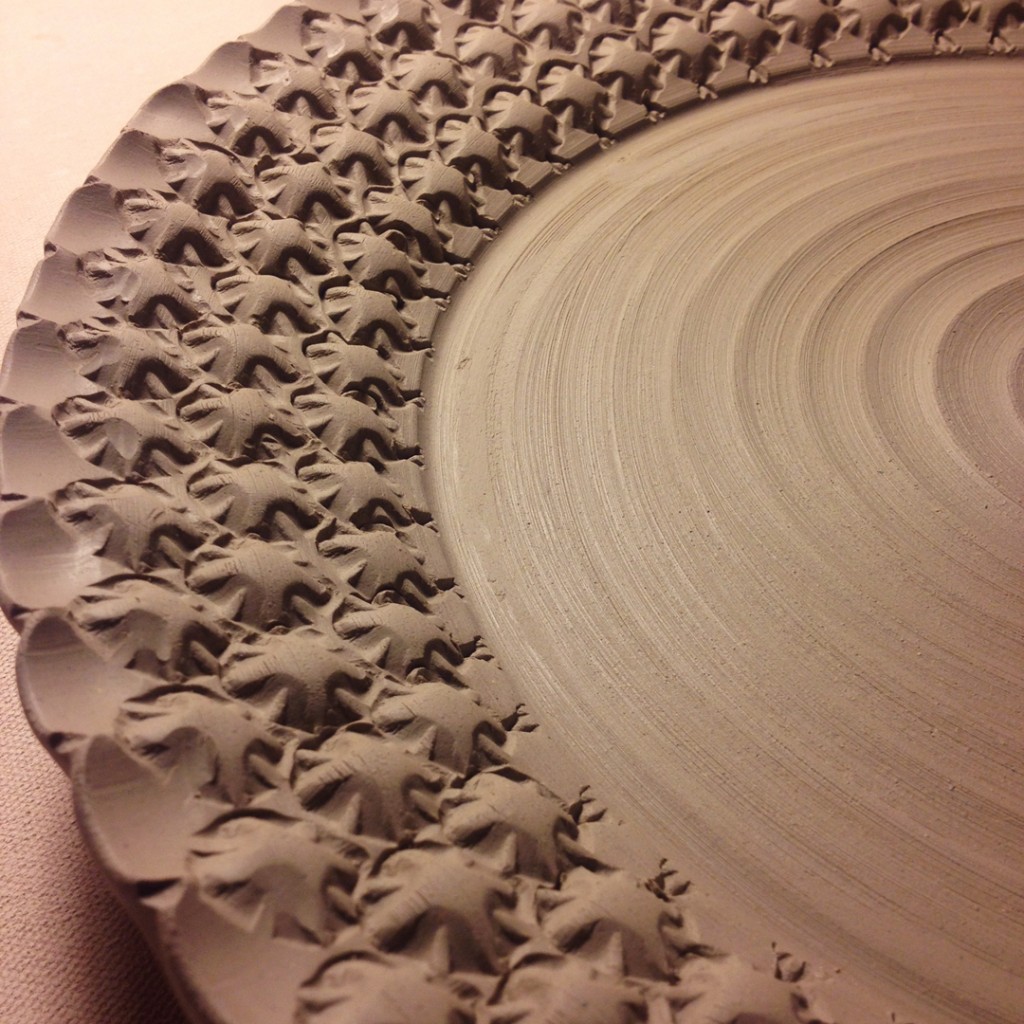
And loving how the dramatic side lighting accentuates the stamped textures & center spiral.