Yes, the bubble glaze craze continues!!!
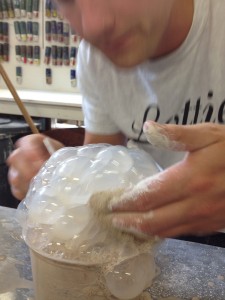
Here’s another one of my students playing with the “glaze bubble” technique again.
Great glazing fun with great results… and so much more fun to watch someone else do it!!!
Blow harder Colin!!!… Â Â Blow. Scoop. Press. Repeat.
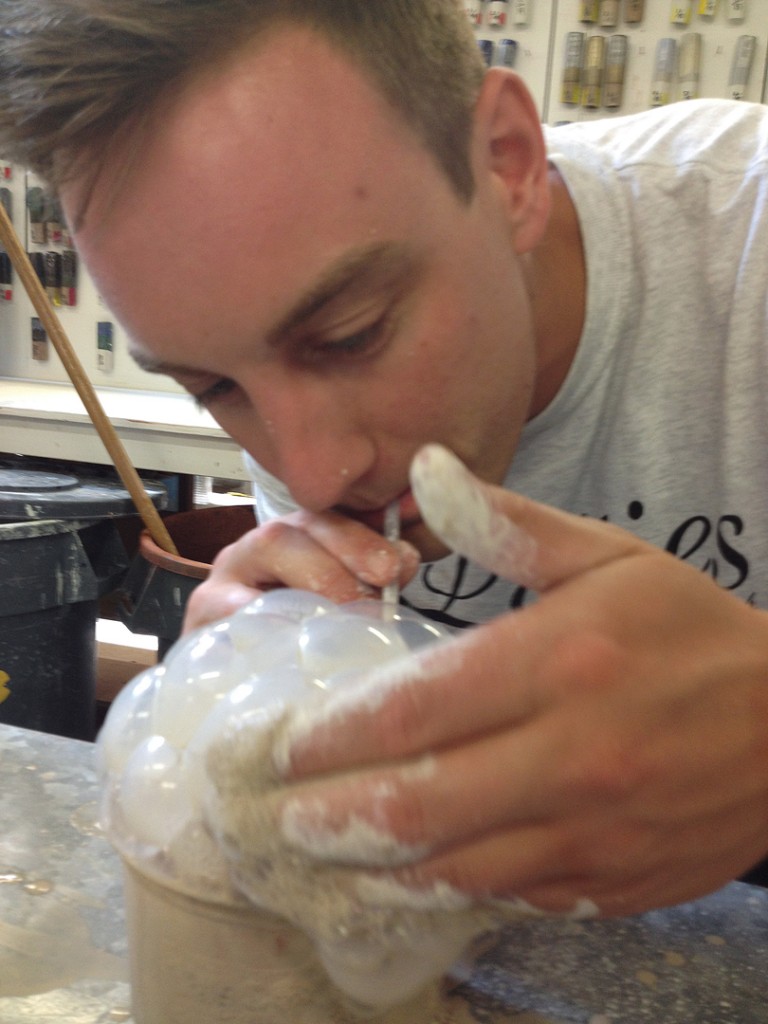
Basically it’s just glaze and dishwashing soap mixed up. Then blowing bubbles with a straw. We’ve found it easiest to scoop up the bubbles with your hand and then gently press them onto the pot. Be careful of the runny drips though… we don’t like those!
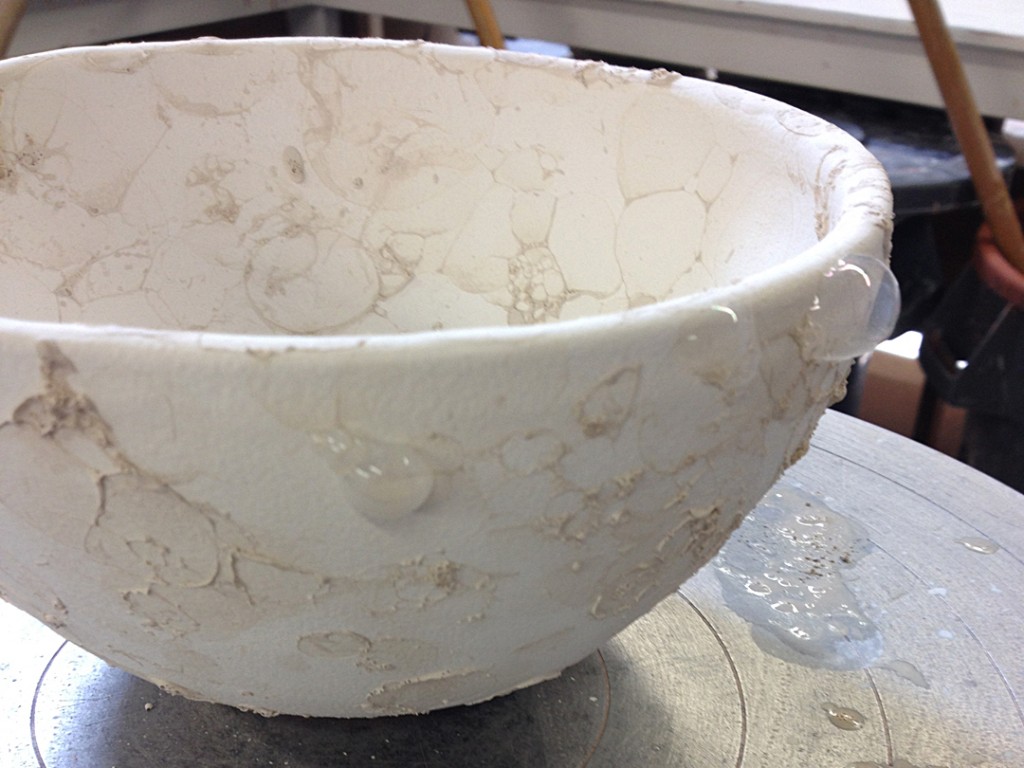
As the bubbles pop, they leave behind a slightly textured residue of glaze.
Don’t smooth it in… that’s the beautiful bubble pattern you’re looking for!
The more color contrast between your two glaze choices, the more bubble effect you’ll see!
Hopefully I’ll get to see this bowl of Colin’s before he snatches it up to take home.
I’ll try my best to share a photo if I can get one!
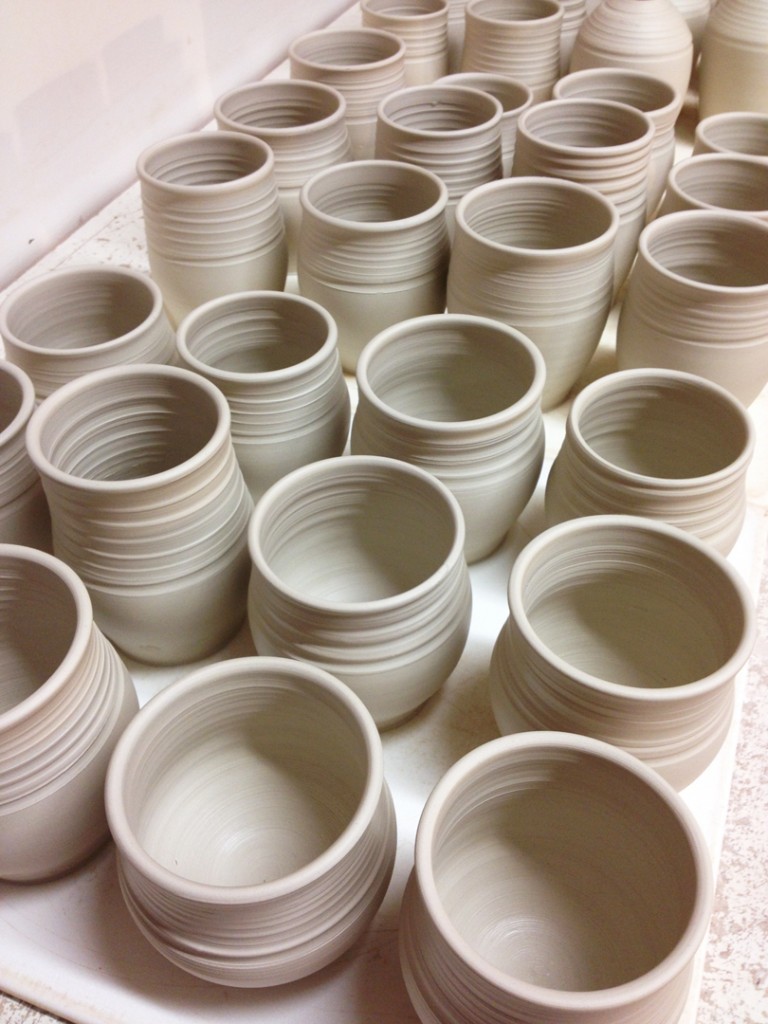
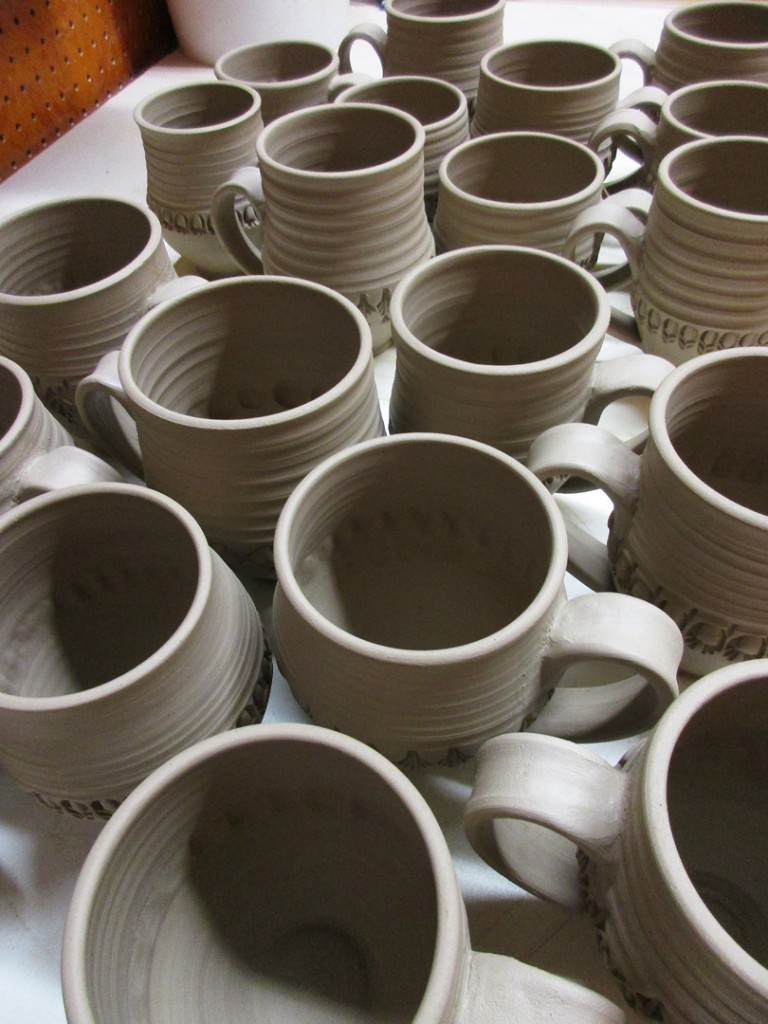
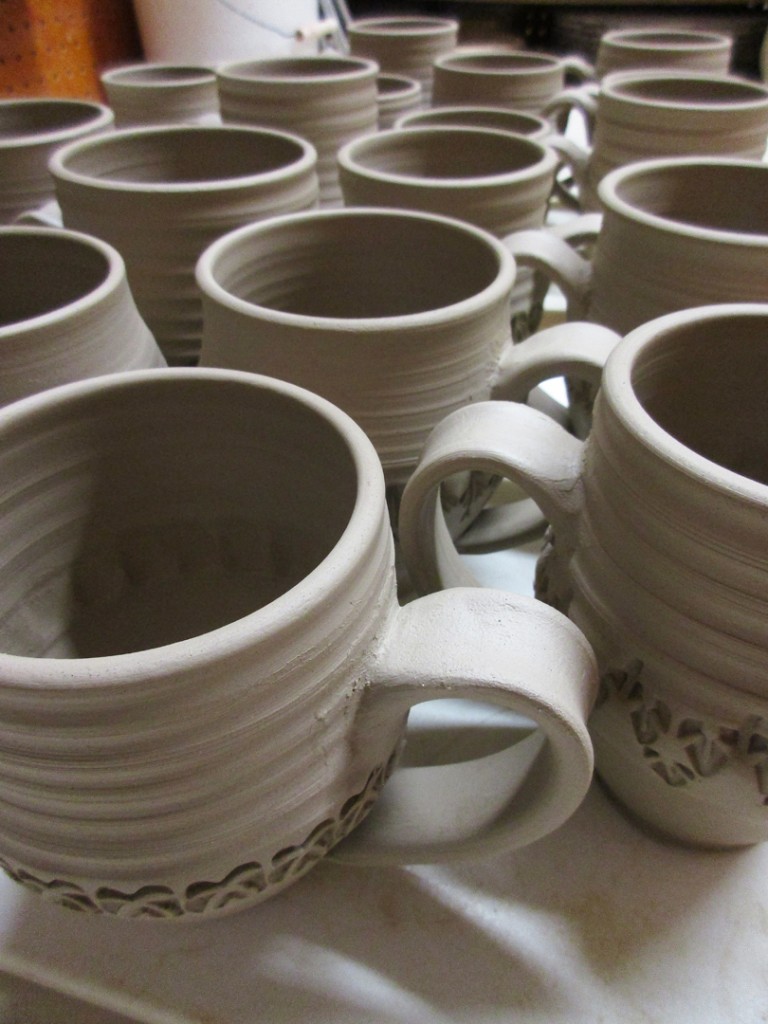
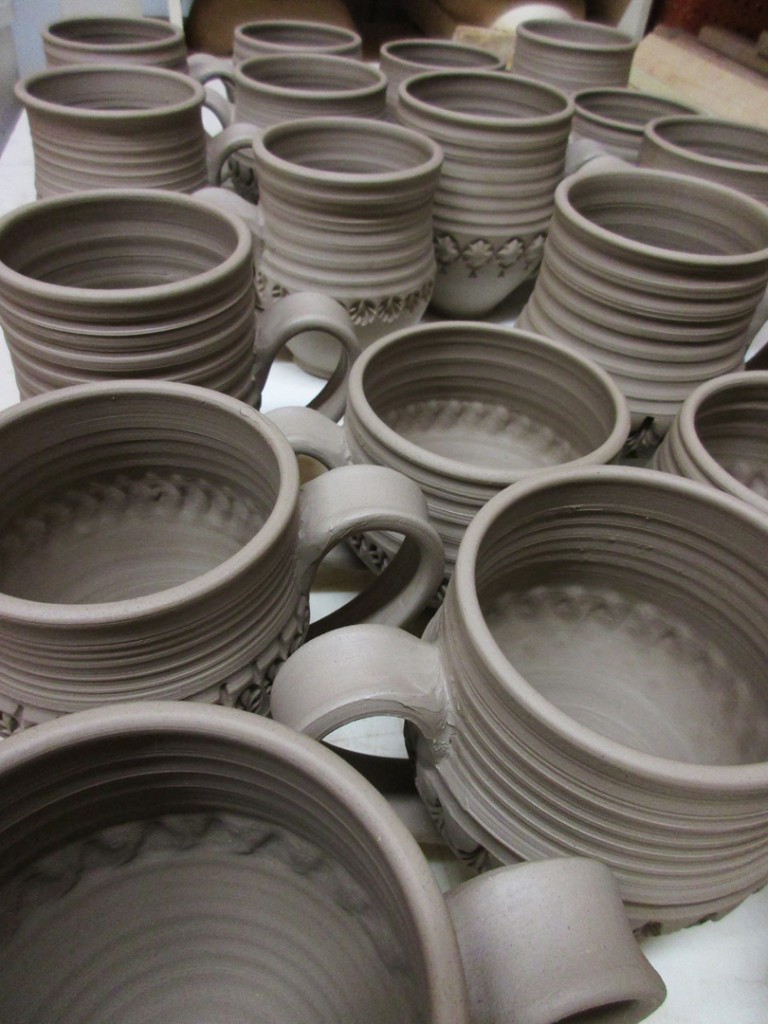
While porcelain is inherently white… and so many people love it because it’s SO white... I need to add a little color. So I paint on some colored slip accents on each mug. The top section above the stamped line gets a smooth coating of a colored flashing slip. Then each stamp also gets a small dab of the same colored slip to help draw the eye and the color down into the pot.
Once they’ve been accented with color, I can now leave them open to dry in my studio. All of these pastel slip colors will change dramatically in the soda firing atmosphere. The colors should get more vibrant, and have random effects caused by the flames touching the pot and deposited soda mixture.
After this morning’s race, I went to the Bucktown Arts Festival to see some of My Talented Friends. A goo dchance to say hello, see some art and walk off a little stiffness. Then to the studio for some more “porcelain therapy.” Gotta wrap ’em up so I can get home early to pack my gear, eat well & go to bed early for tomorrow’s big adventure!
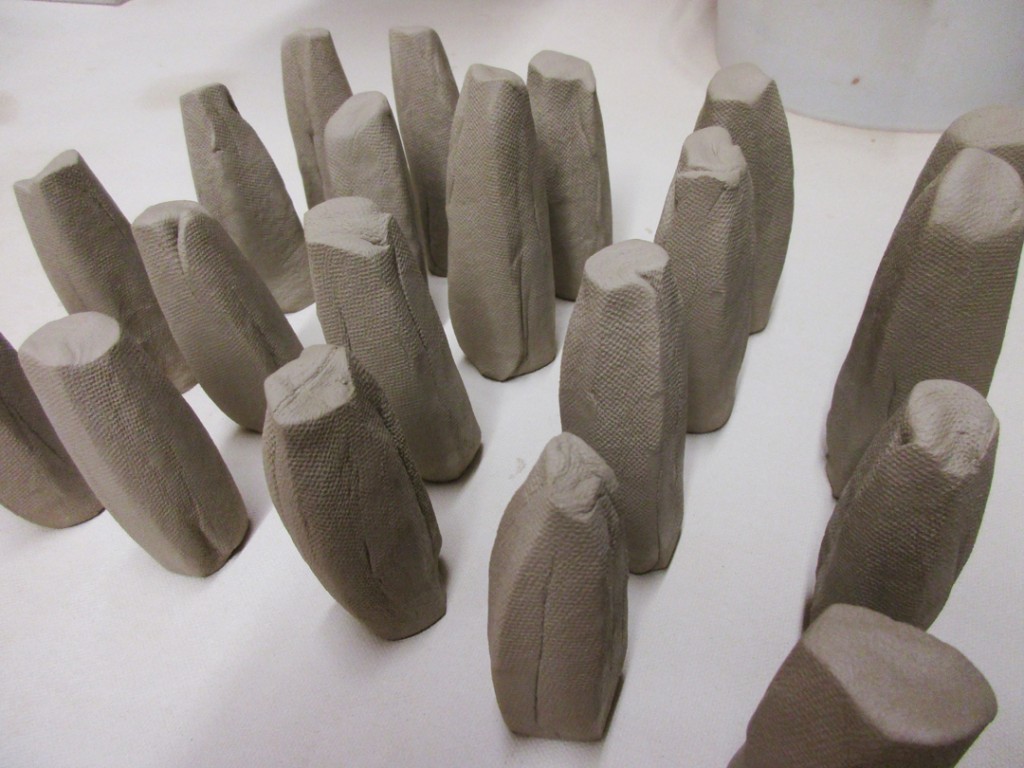
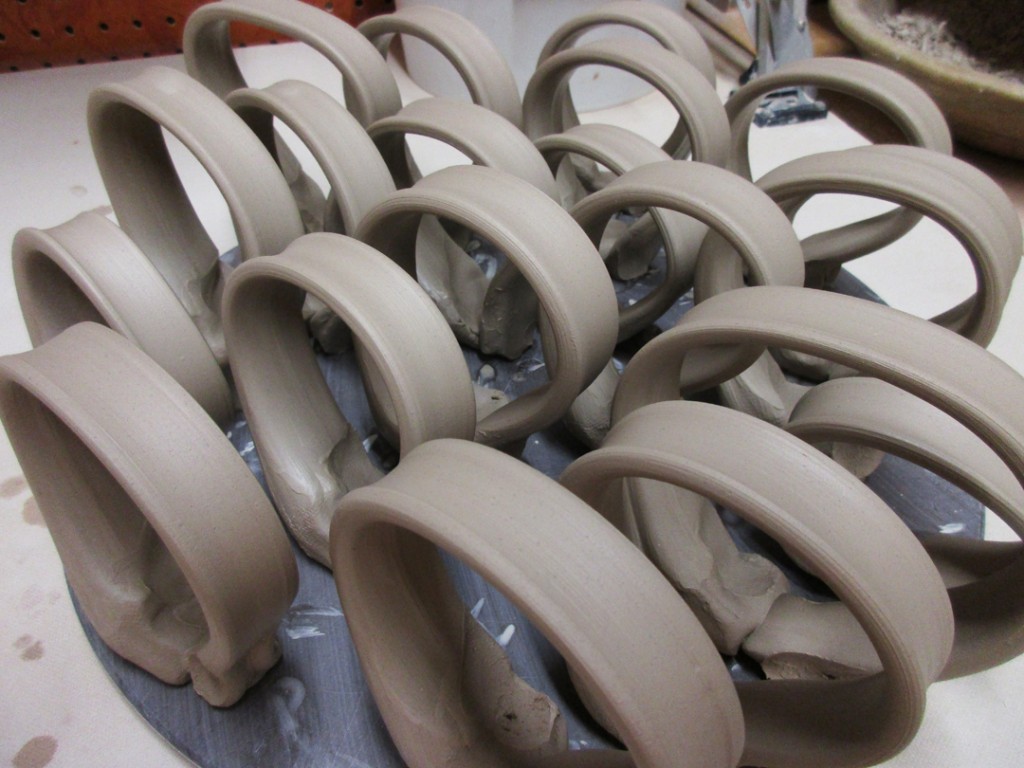
Today I added handles onto my latest batch of cylinders-to-be-mugs. They’ve been under wraps for a couple days, waiting for my schedule to calm down a bit. But tonight I bit the bullet and tackled the mugs! I start by making “carrot-shaped” wedges of clay.
I then hold them by the fat end and pull a traditional handle. When I get the strap to the right width & thickness, I do a quick flip-over to establish the curve of the handle. I let them set-up like that for a few minutes before I start attaching them to the cylinders.
After a lot of scoring, slipping & attaching… the cylinders are now officially MUGS!!!
So now that they’re attached, I’m keeping them under wraps so that the moisture levels can settle down and even out a bit. I will add some colored flashing slip accents to them before I leave them out to dry.
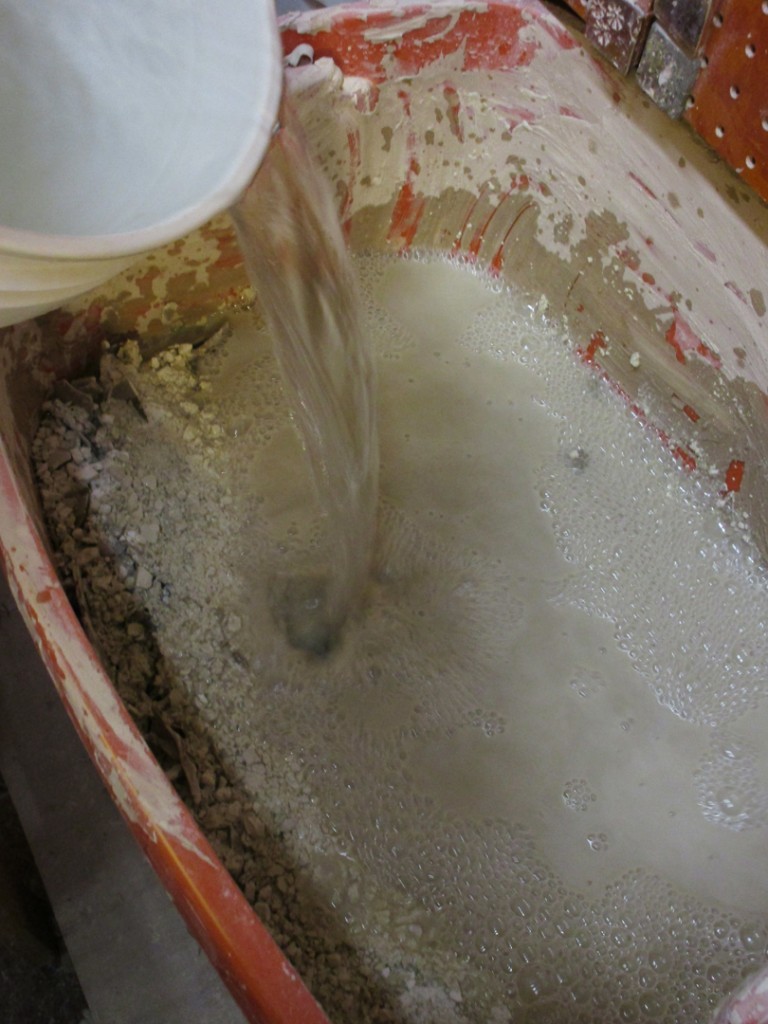
So I’ve collected another batch of clay scraps & trimmings.
I’ve dried them and smashed them as small as possible. Time to add some water so that the dried clay can slake down. I’ll leave it sit for a week or so and then turn it out onto a plaster bat so it can stiffen back up into “new” and usable clay!