Gary Jackson: Fire When Ready Pottery
A Chicago potter’s somewhat slanted view of clay & play
Categories: pottery, process

I’m continuing my Spring cleaning efforts. And a few more “non-perfect” pots were the “victims” of my efforts. The first batch of pottery shards were snatched up by some Facebook Fans VERY quickly!!! I’m looking forward to see what they “create” with the shards. I believe that this latest batch of shards will go towards the new bricolage project in the back staircase of Lillstreet Art Center

It’s tough for me to smash my own pots…
luckily, my Dad was more than willing to take care of “the dirty deed.”

Categories: bowls, pottery, process, production

Tonight I washed the dust off of some old bisque pots.
They’ve been on my studio shelf a little bit too long… and needed some good dusting.
So I literally hosed them down at the sink. Now they’re drying overnight so I can glaze them this weekend. Some new pots getting ready for the Hinsdale Art Fair in two weeks!!!

Categories: art fair, process

It’s Pottery Pricing & Packing Day!
Lots of new berry bowls headed to the Schaumburg Prairie Arts Festival this weekend.

Categories: kiln firing, process

After just a couple hours of sleep…
my kiln is all closed up, burners on and warming up quickly!

Categories: kiln firing, process

I loaded my latest “spoon addiction” into the kiln tonight.
Part of the soda firing process tells us that everything “must” be elevated form the shelves so that the pieces don’t stick with the soda build-up. And I didn’t’ want to have any huge wadding spots left on the spoons, so I made my own pointed stilts to prop them up. I also dipped the tips in kiln wash to help make sure they don’t stick.

My fear is that the props might not hold them up as they shrink. With two separate points of support, I hope they continue to prop up the spoons. This was the “best” solution for now… and my fingers are crossed. It’s very similar to how I fire my wheelthrown Christmas ornaments. Those work fine, so I hope these do too!

Categories: kiln firing, process

Finally, it was time to start loading. I love kiln loading. I’t s wonderful, three-dimensional Tetris kind of puzzle. Fit everything in. Leave enough space for the flames & soda to flow through. Shelves. Posts. Pots. Repeat.

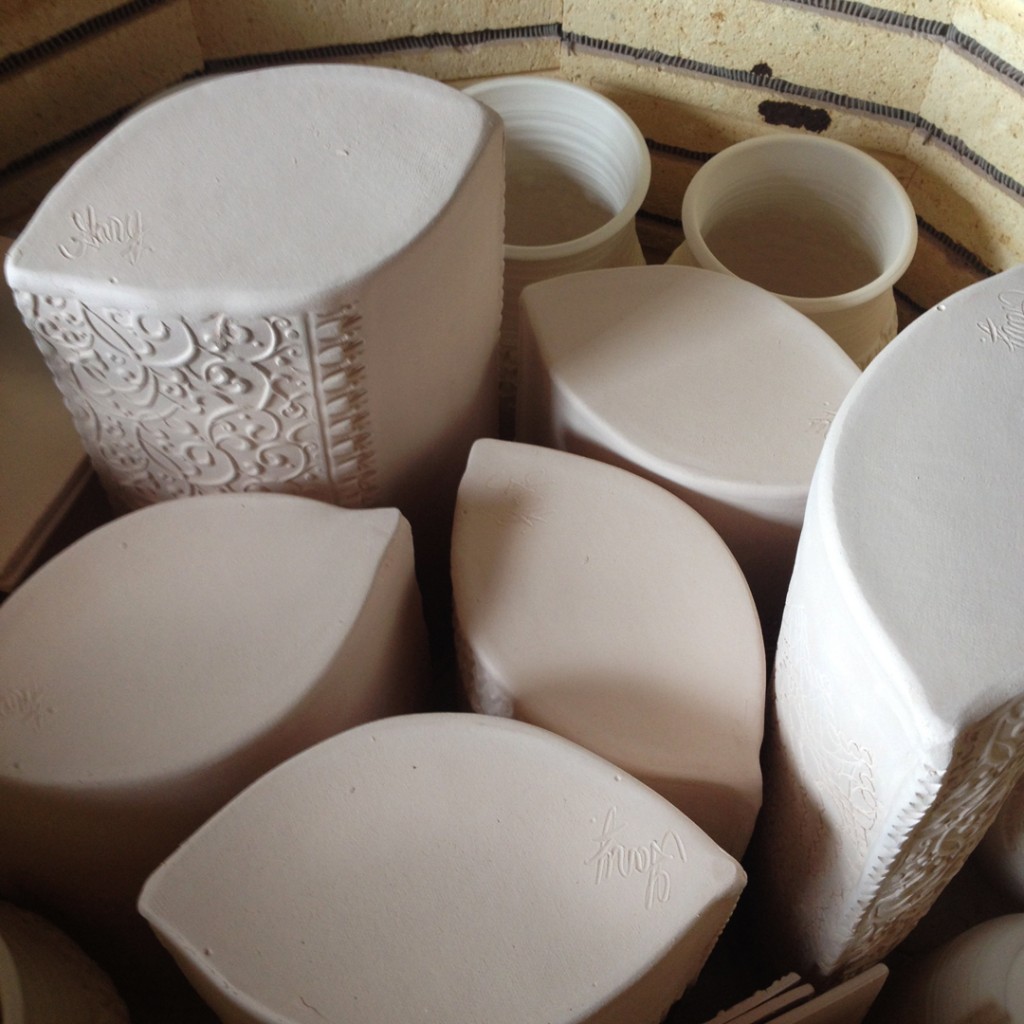
Here’s the back half… a single shelf stack all the way to the top. I know that the very top shelf of the kiln usually gets a lot more of the soda blast. And I know that I don’t want the vases to get blasted. That’s why I dropped them down a layer – hoping they get a better blush &  shine instead of a soda blast.

And the front stack of two shelves… complete with a lot of spoons scattered throughout the kiln.

SO now it’s all packed up for the night. Kiln packs in the right places….
all I need to do is brick up the front door. Brick by brick.

Categories: glaze, process, production

Almost ready to start loading. My pots are glazed, wadded and separated by shelf depending on what kind of clay it is. I like to stack my soda kiln with porcelain in the back, B-clay in the medium soda areas, and soda clay where it will get more soda exposure.

Categories: glaze, process, production

So the spoons are getting one step closer to completion..
and I for one can’t wait to see how they turn out.

I added a temoku glaze inlay to most of them… as well as in the spoon itself.
And then gave some of them a slight spraying with a colored glaze for a pop of color.

Categories: glaze, process

And so the glazing continues… painting temoku glaze on top of the stamped impressions. I let it dry and then I wipe off the top layer with a damp sponge. That way the temoku glaze stays in the impressions and make the stamped texture really pop!

Categories: glaze, kiln firing, process, vases

No exploded bottoms from firing my vases while they were still wet.
Even more to glaze tonight. Success!!!