Gary Jackson: Fire When Ready Pottery
A Chicago potter’s somewhat slanted view of clay & play
Categories: mugs, porcelain, process, production

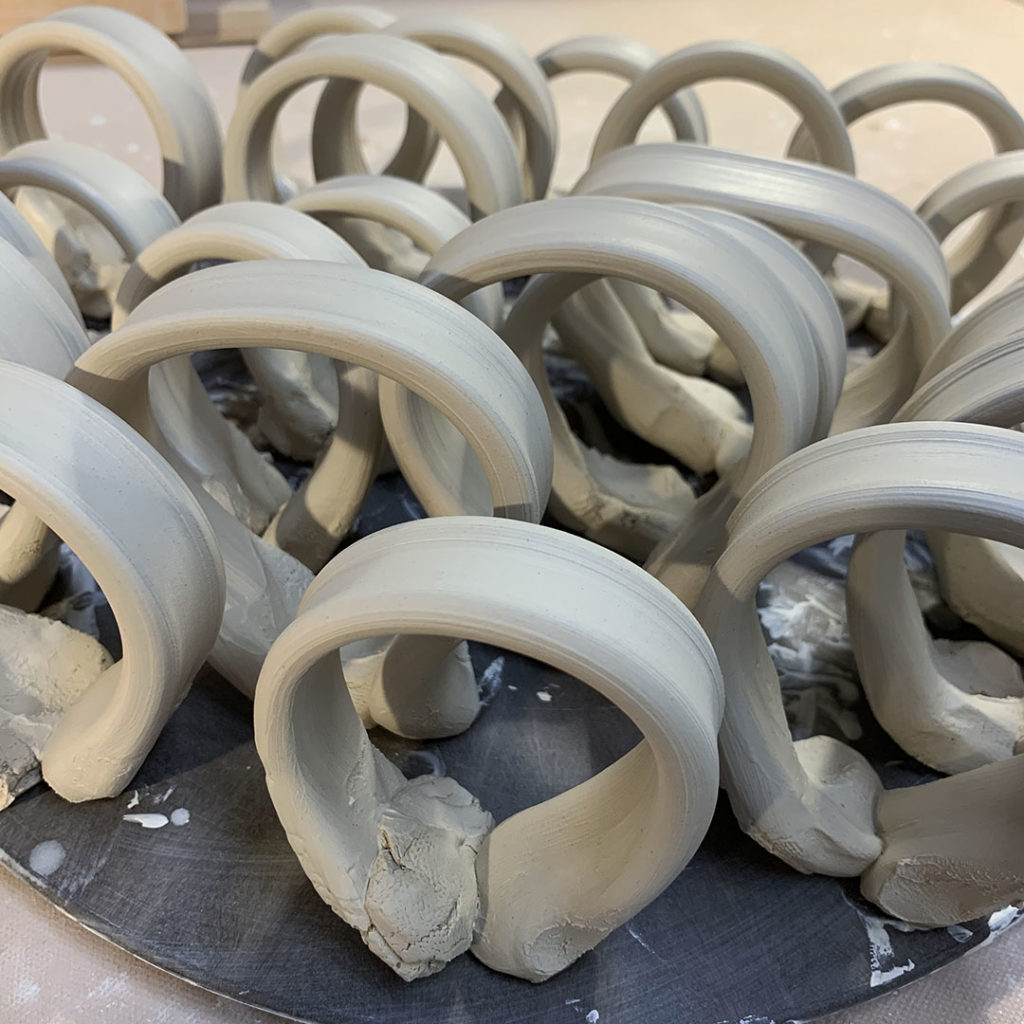
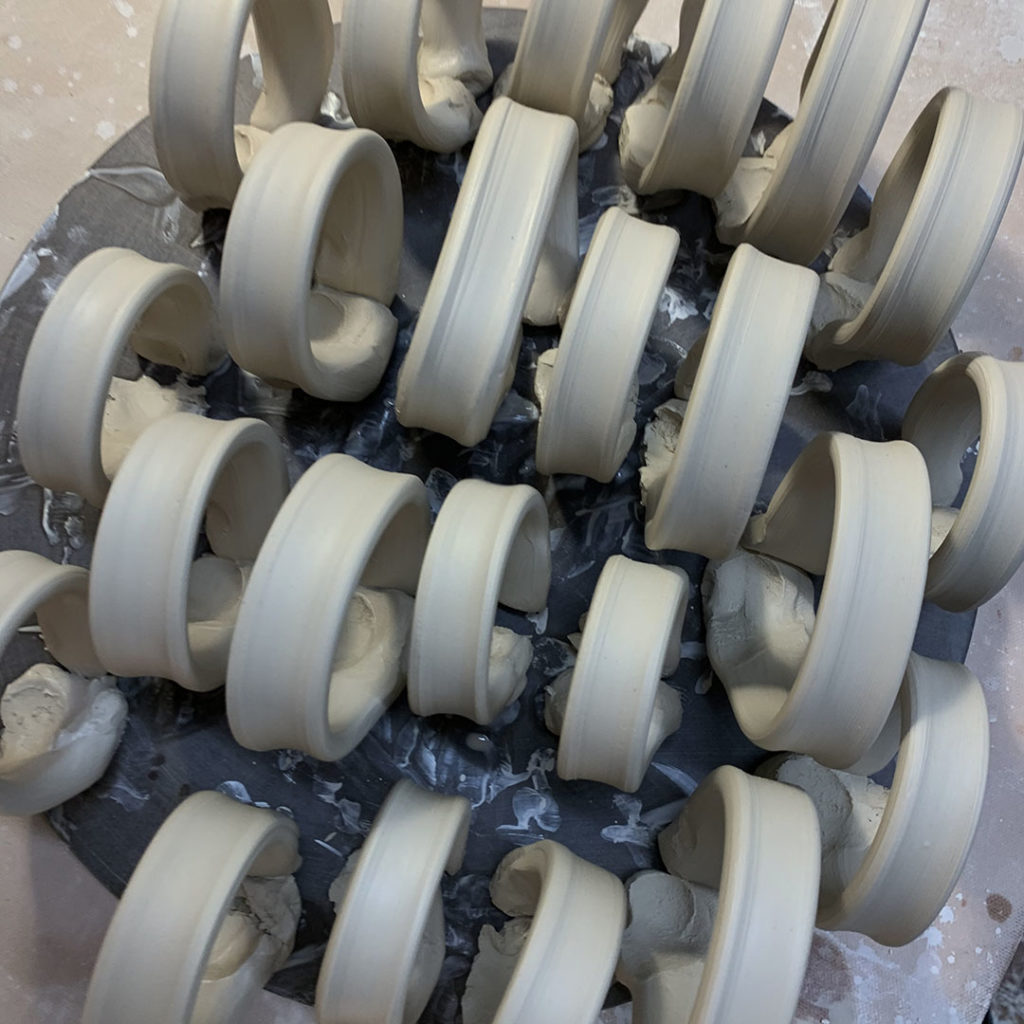
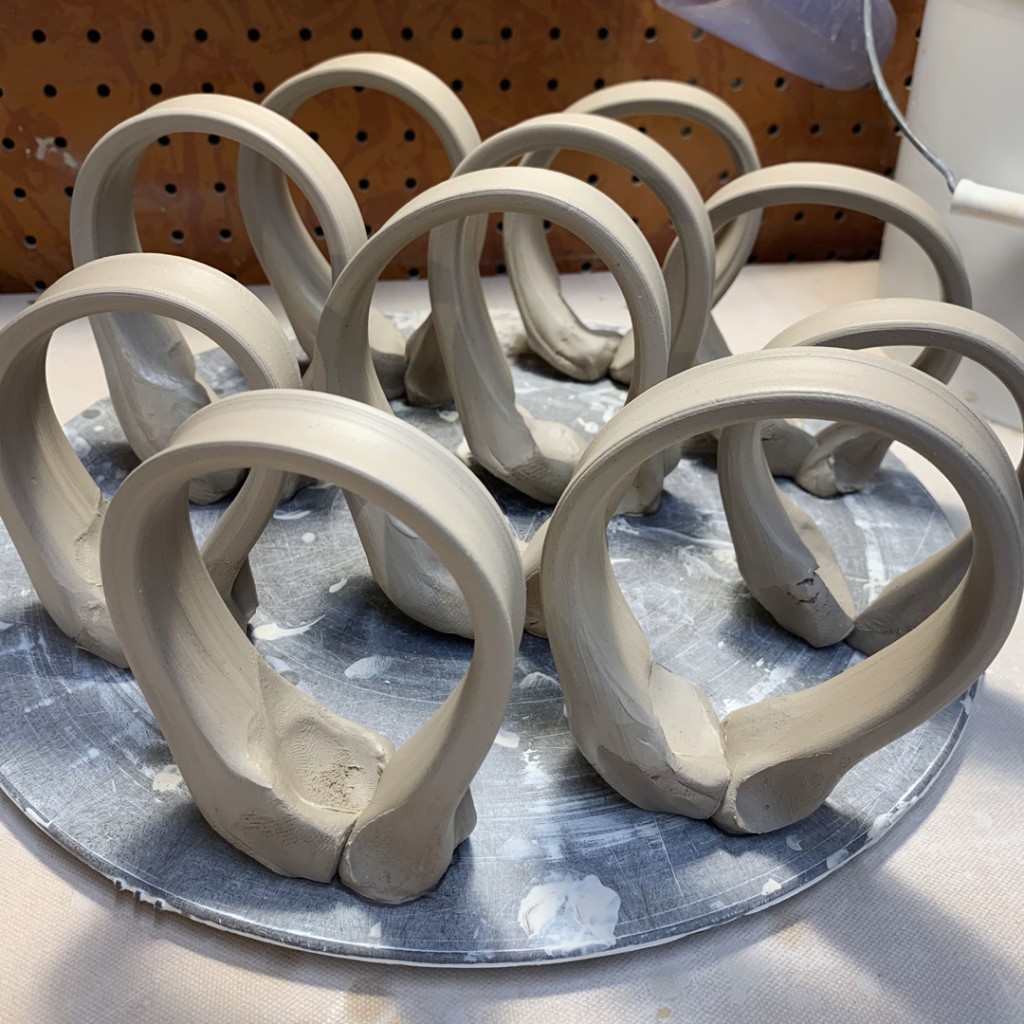
Porcelain handles pulled… just setting up a bit before I start attaching. I like to sit them up in an arched curve as they stiffen up – so that the majority of the bending is already done so there’s less cracking if they dry out a bit too much.

Categories: mugs, process, production, stamped

Another night… another two dozen mugs!!!
Happy Mugshot Monday… making my favorites!!!
Now just for a little clean-up & colored slip accents tomorrow.

Categories: mugs, process, production

Score… slip… attach… repeat… repeat… repeat…

Categories: process, production, tools

Just setting up for an early morning trimming session.
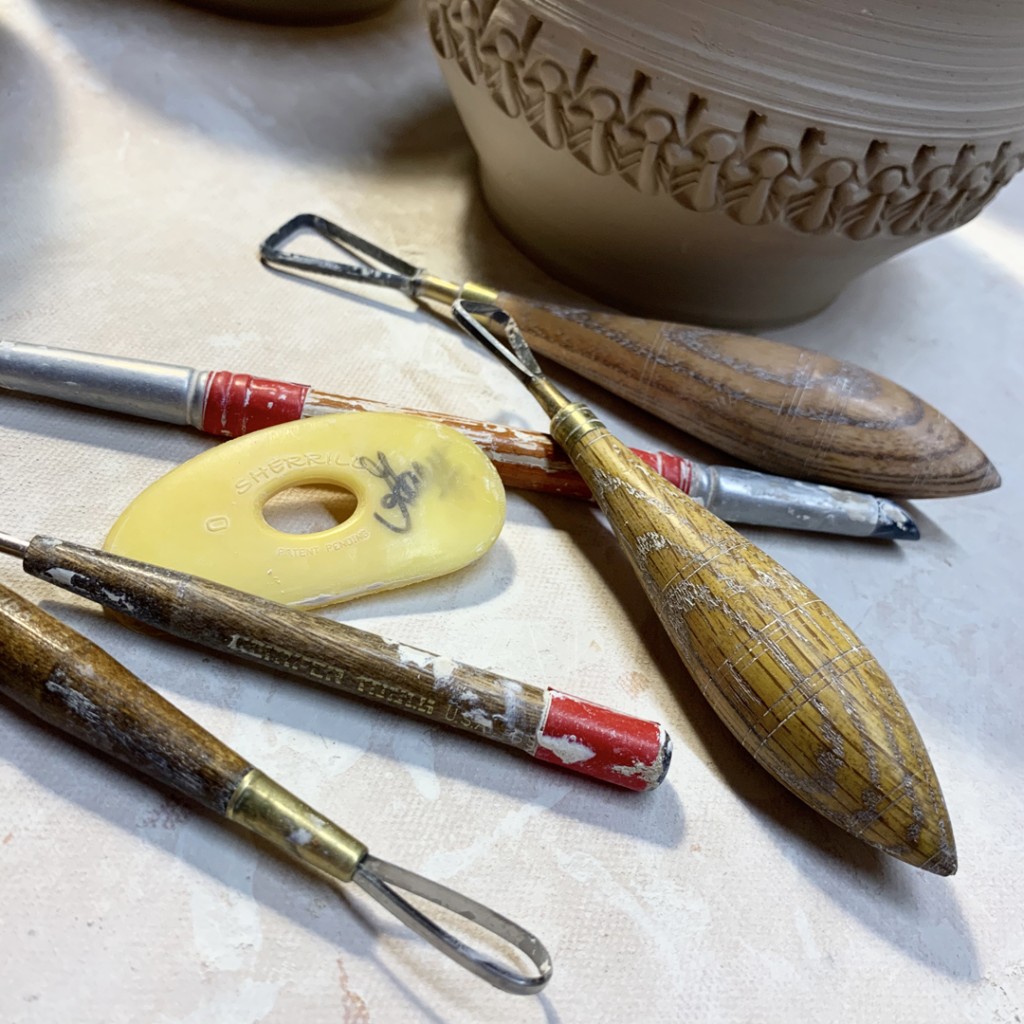
Always better when you ave some great tools to work with… like my Bison Trimming Tools!

Categories: mugs, process, production, stamped, stamps

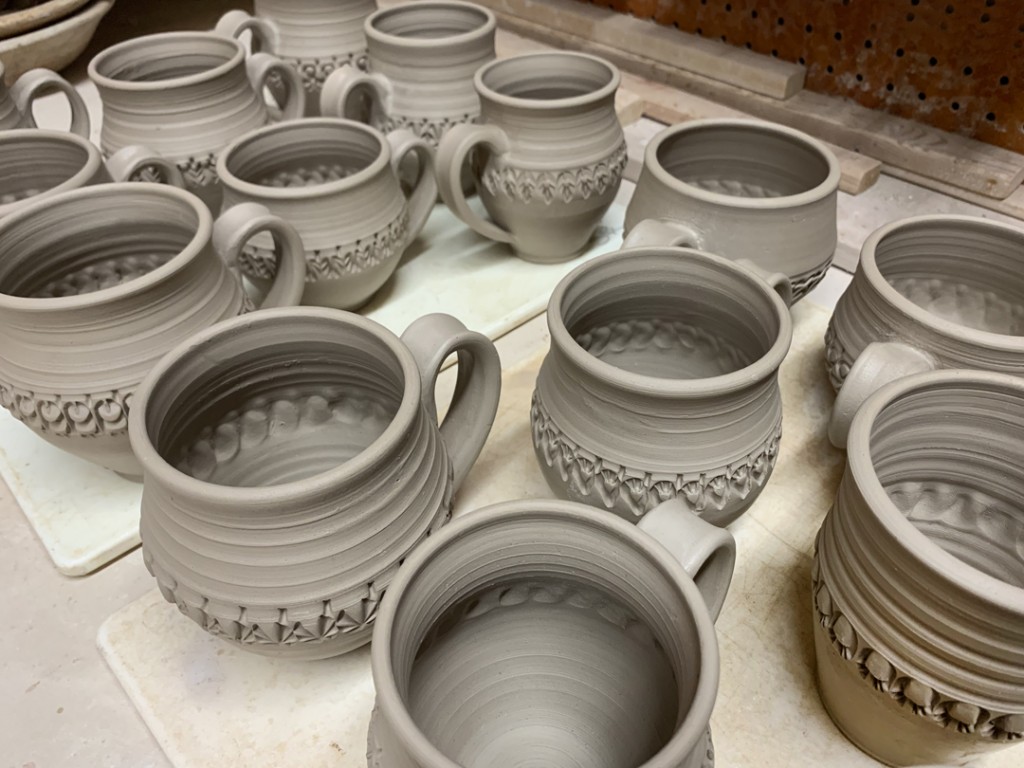
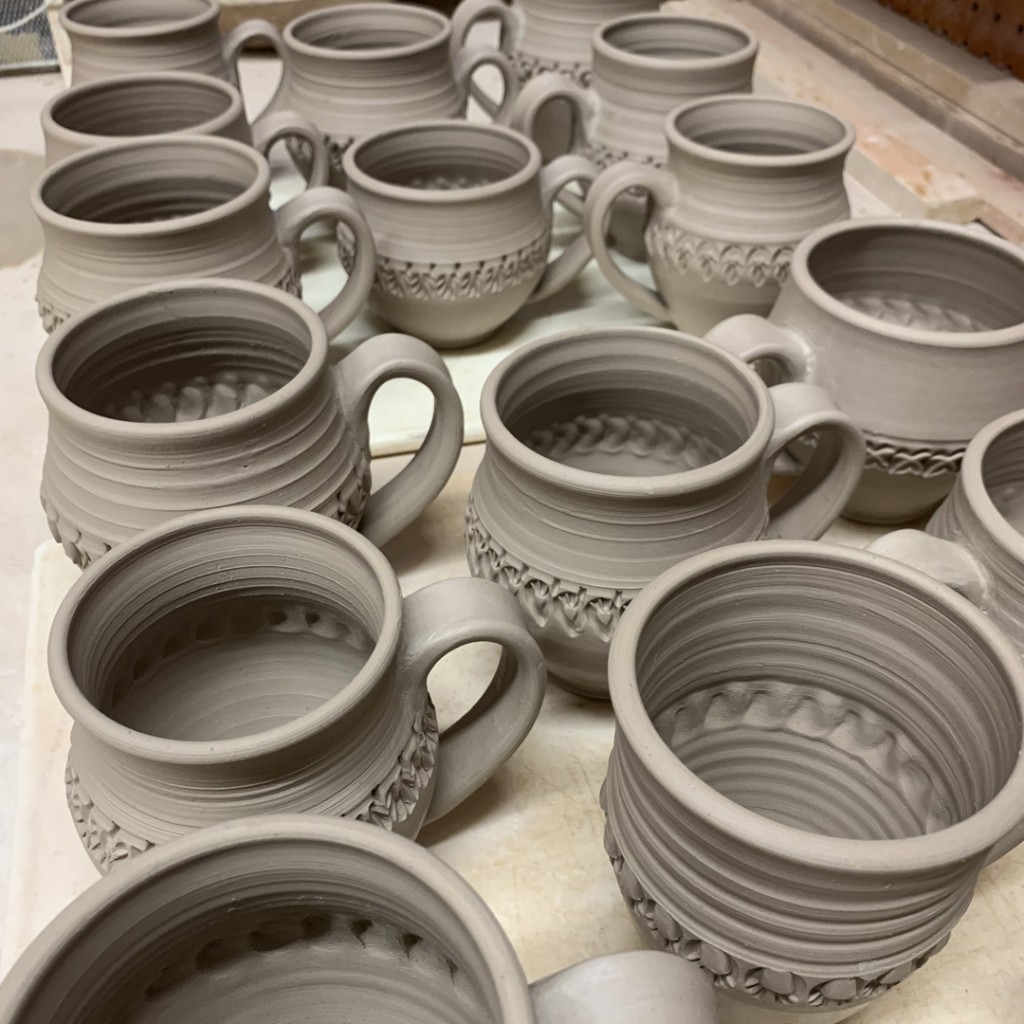
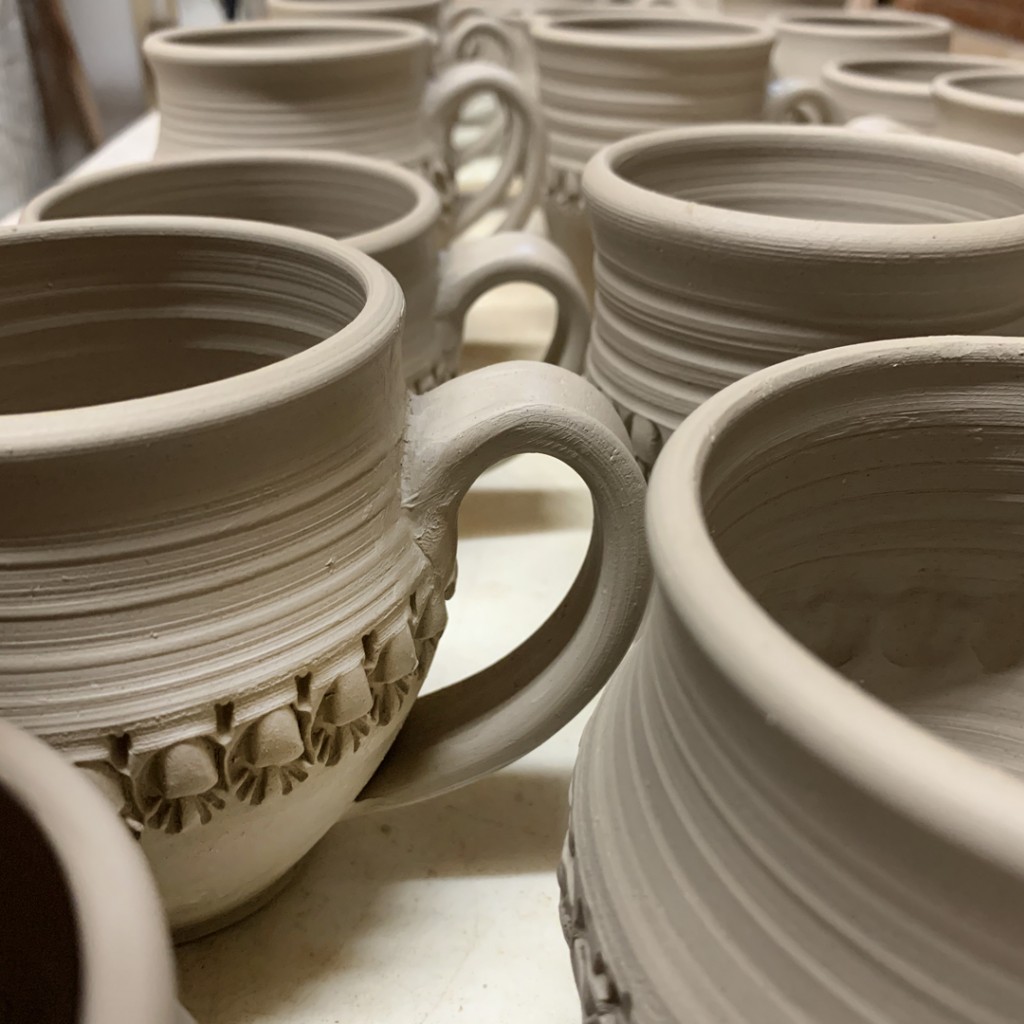
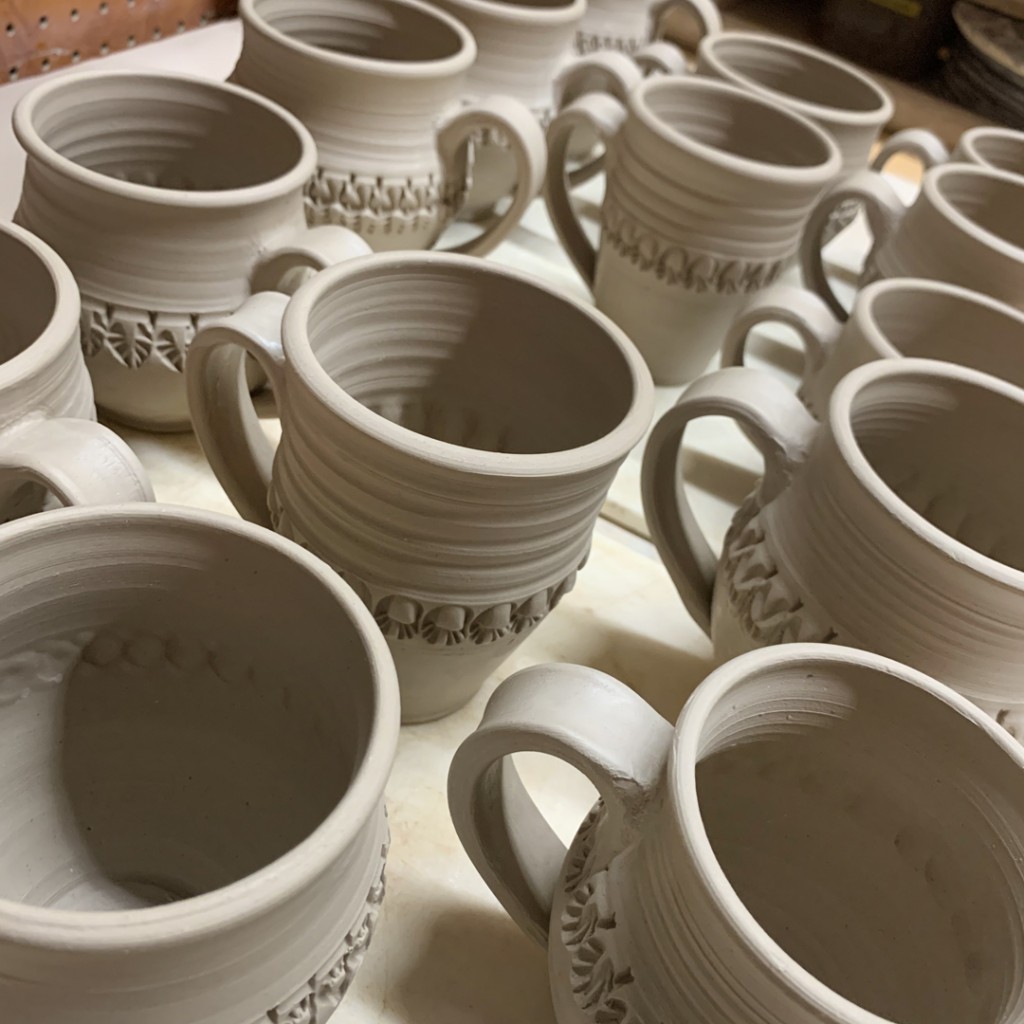
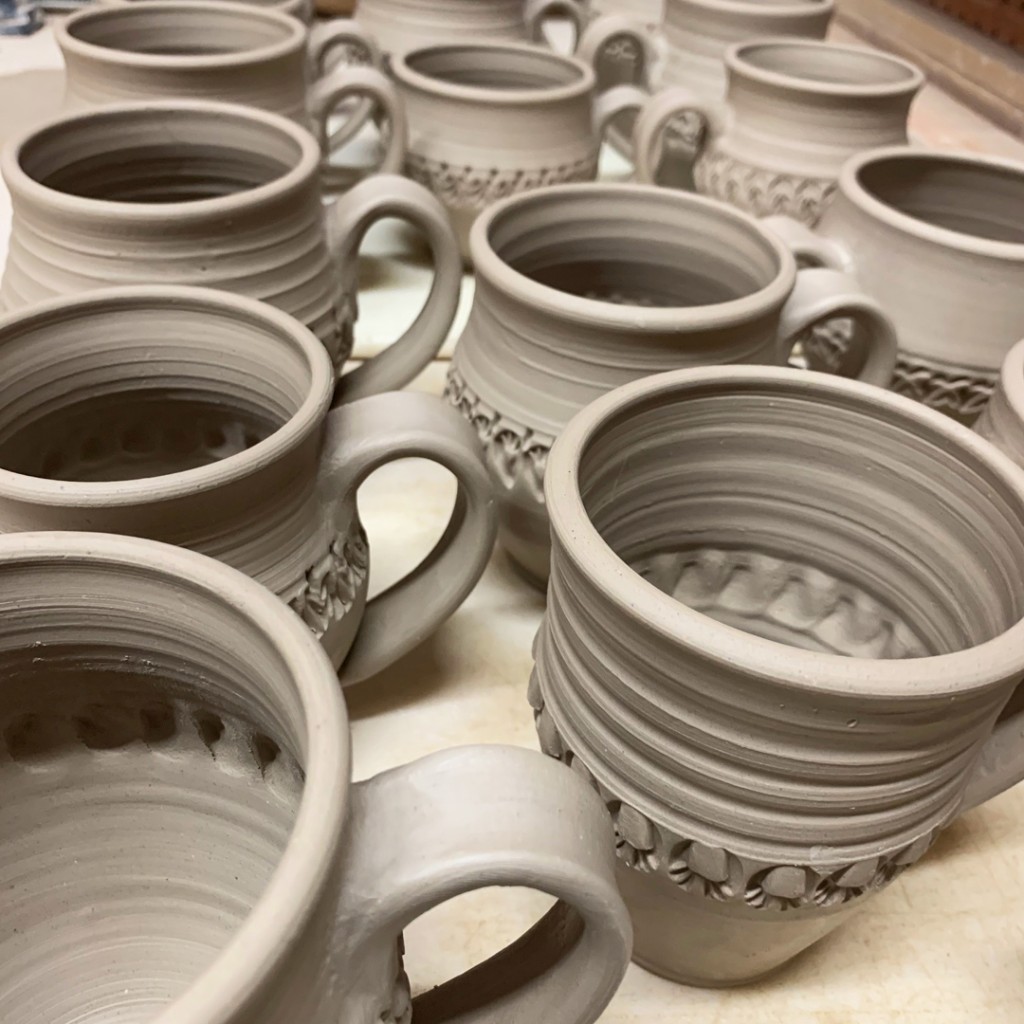
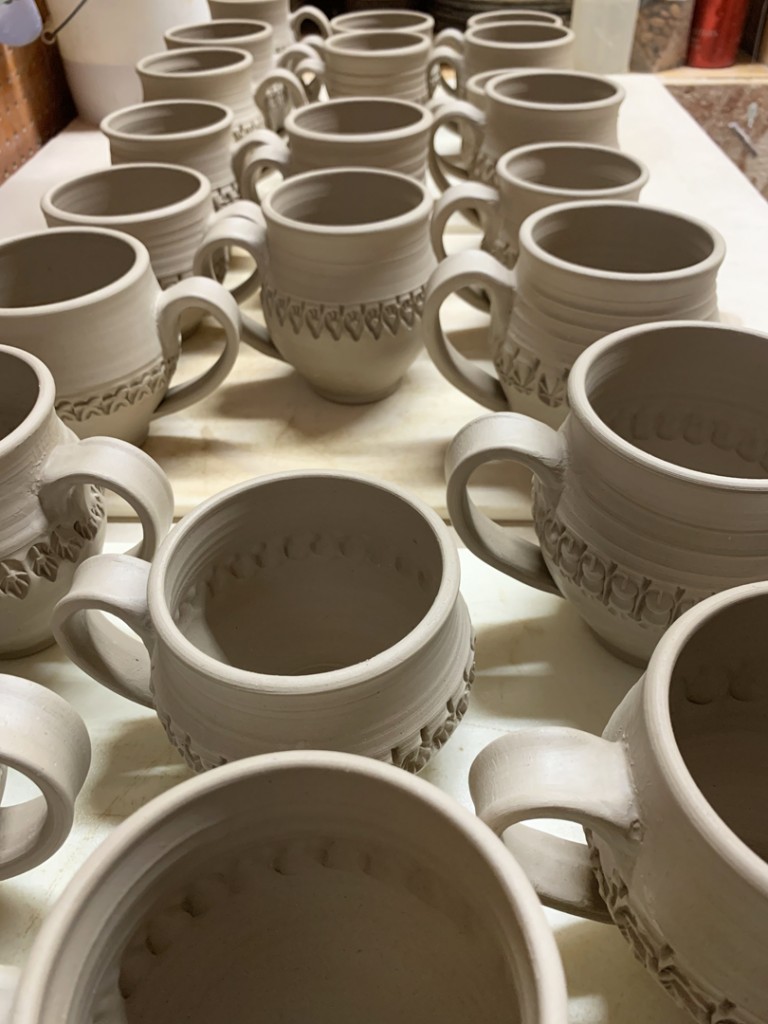
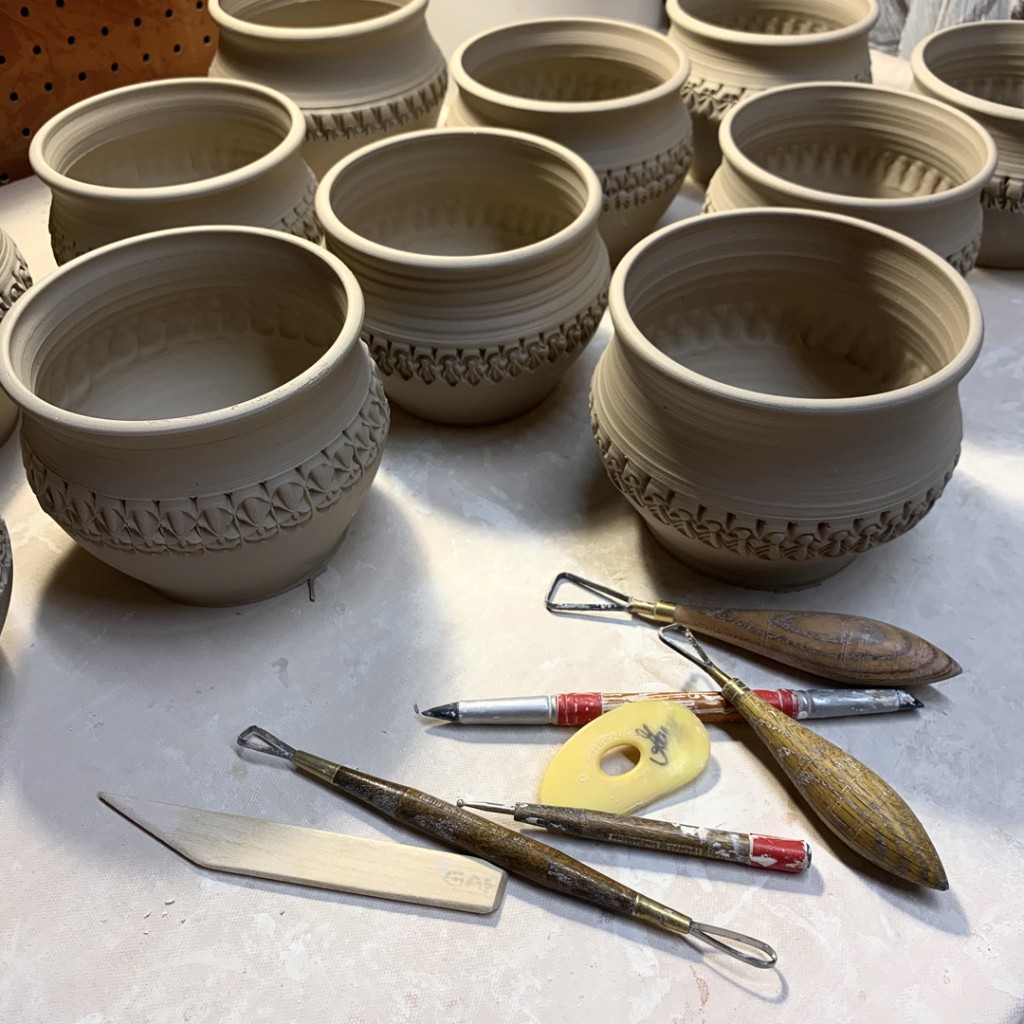
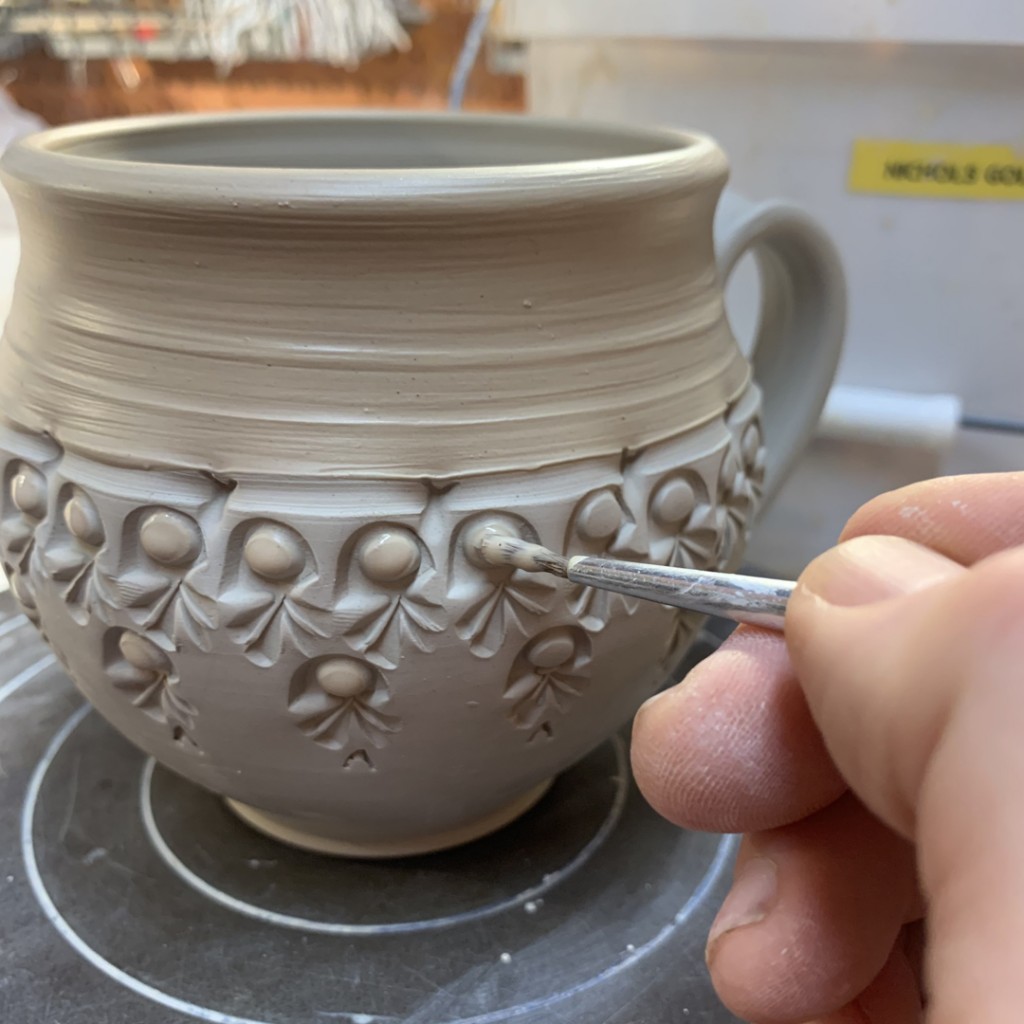
Last night I finished off the latest batch of mugs with some final accents & detailing with colored flashing slips. So now they’re drying before they go into a bisque kiln… and then glazed… and then into the soda kiln where these flashing slips will change colors as they get hit with the flames & the soda atmosphere!

Categories: classes, process, production

After class last night, I happened to see two of my THROWDOWN students working on feverishly on their homework project in another classroom. I tried my best not to peek… not to see… not to get a glimpse… I tried, really I did... but I LOVED this pile of orange masking tape that Jacob was using to help with his detailed underglaze applications. Okay, I will say this… from what I “didn’t see”… these two projects are going to be AMAZING!!!

Can’t wait to see them “finished” tomorrow night in class!
Because I didn’t see them yet… much… maybe… okay, just a little… how could I not?…

Categories: mugs, process, production

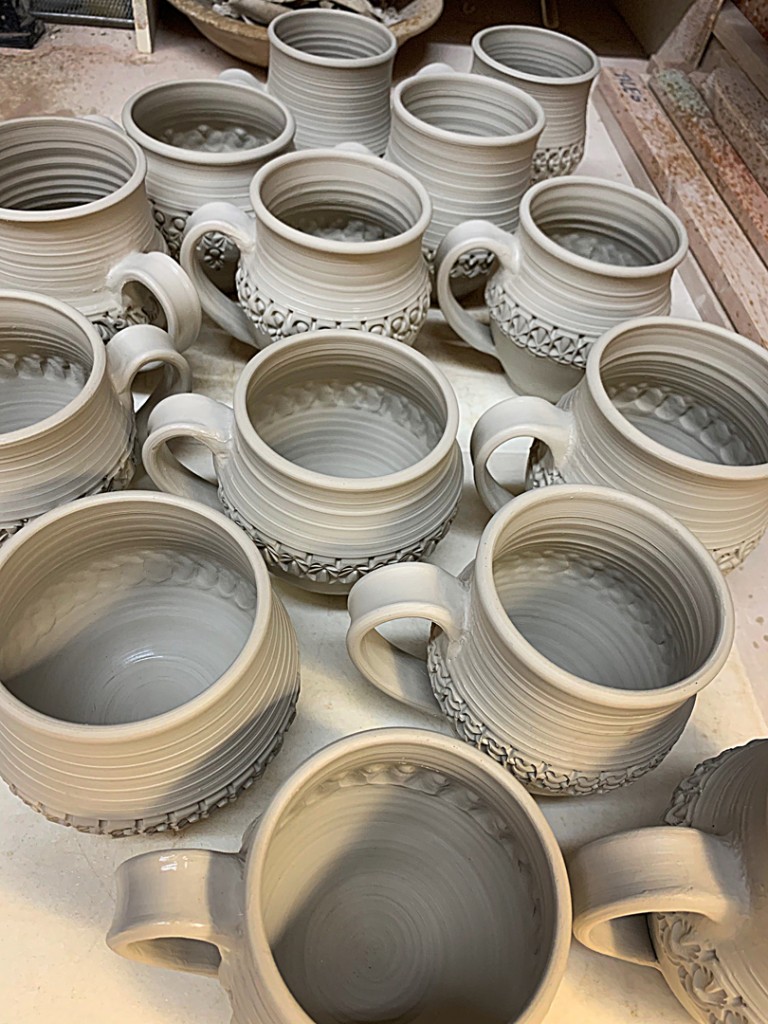
Celebrating another Mugshot Monday by making another batch of MUGS!!!
All assembled tonight… for tomorrow they’ll get some colored flashing slip accents painted on!

Categories: process, production

Pulling a few new handles to turn some stamped cylinders into stamped MUGS!!!
You know they’re my favorite thing to make!

Categories: process, production, tools
I LOVE TRIMMING!!!
Especially when it’s the bottoms of “mugs-to-be” and using two of my favorite tools…
a Bison Trimming Tool and my ever-spinning Giffin Grip!!!

Categories: clay, process, studio

So my reclaim pile of clay has been sitting on my plaster bat for awhile…
as the extra moisture settles out and the clay stiffens up. It was still a bit sticky to the touch, but firm enough to get started with the cutting, wedging & bagging part of the process. I start by shaving off large chunks of the clay with my wire tool.

You can see that my reclaim clay mixture is just that… a MIXTURE.
I am more than willing to mix-up all of my assorted reclaim scraps. I will add in any kind of clay as long as it’s a high-fire cone 10 clay body. So you can see there are still some sections of porcelain, darker, ochre clay, lighter B-clay, some organic grayness… and unexpectedly, some blemishes of terra cotta red that must have gotten in there accidentally. Luckily, there wasn’t a lot… so I figure it will just blend in and add a bit of iron-richness to the clay… and it won’t affect the final firing temperature of the mixed clay.

Cause after all… as I tell my students… IT’S JUST CLAY!!!

I take the large chunks and lay them out on my wedging table so the canvas can soak out some more of the extra moisture. I do a very brief wedging of the clay, and then shave off layers and re-stack them into small piles.

I take the stacked piles, cut them in half and stack them back on themselves. Cut the stack in half and layer them on top of themselves again. Repeat a couple times and the layers begin to get thinner & thinner as the clay mixes evenly. It’s a LOT quicker & easier than just straight wedging. The layers squish together easily with a little bit of gravity & slamming down on the table to help along the way!

A bit of quick wedging, and then I set it aside to carve off another chunk from my reclaim pile.
Piece by piece… slice by slice… chunk by chunk…
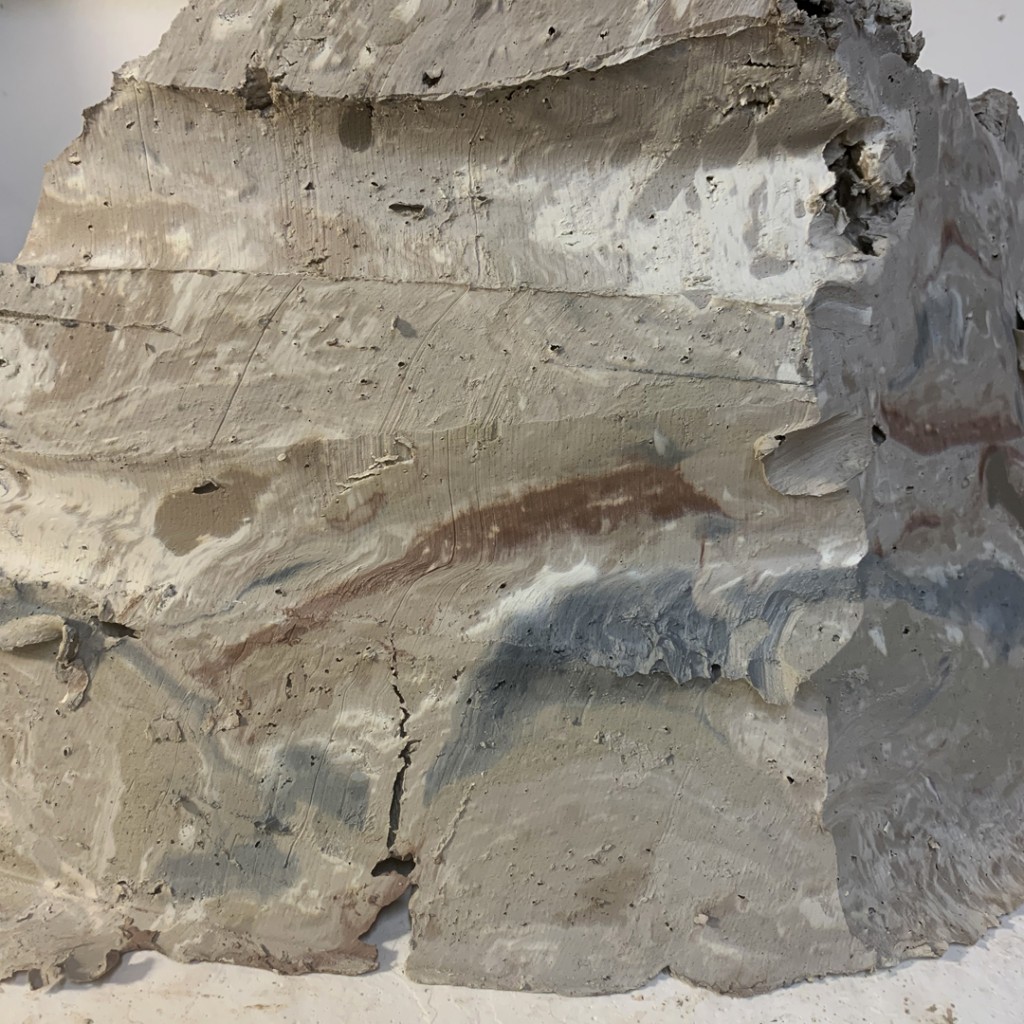
As I wedge up the piles, the clay is still a bit wetter than I want, so I throw them out stretched as a quick slab… and stand them up so they get some extra air exposure.

Some more wedging of the pieces and they get placed in clear bags. I don’t worry too much about a “perfect” wedging at this point, as I know I will do more wedging when I get around to actually using the clay.
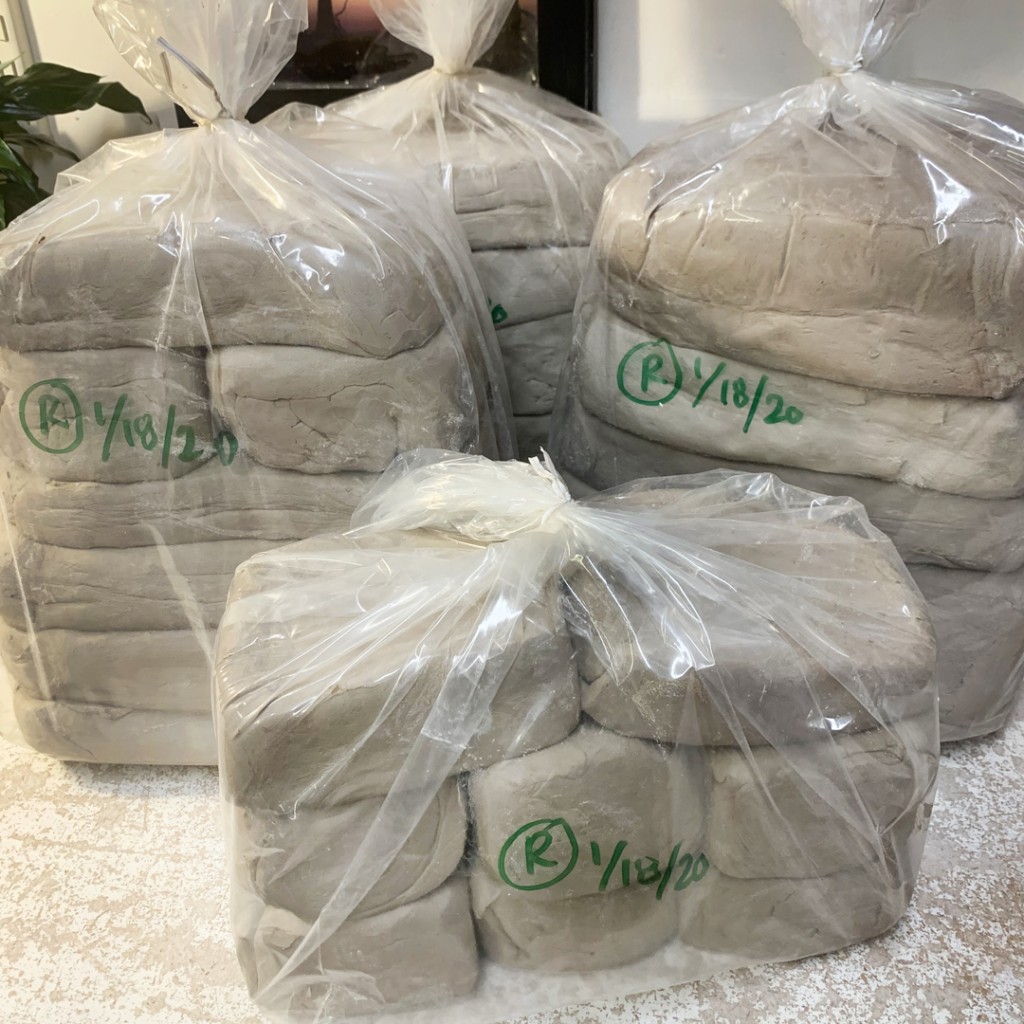
So after a couple hours of cutting, layering & wedging…
I now have well over a hundred pounds of reclaimed clay.
FREE CLAY just from a little work… my favorite kind of clay!!!


Save

Save

Save