Gary Jackson: Fire When Ready Pottery
A Chicago potter’s somewhat slanted view of clay & play
Categories: kiln firing, pottery, process, production

So tonight I finally loaded the soda kiln. After months of making work, bisquing,
glazing, wadding and more… tonight was my night to load the kiln. Tomorrow I’ll be
firing the kiln all day. But first… here’s my step-by-step loading process from tonight!

The kiln was empty and waiting for me. You always start with the back stack. I load
the entire back stack, one shelf deep, all the way to the top… then move to the front
two shelves and load them all the way to the top. Each shelf is placed on kiln posts
of different heights to make the shelves work with the heights of your pots. With lots
of tiles conveniently fitting in between all of the pots – the perfect kiln filler!

Lots of pots. Lots of tiles. All different sizes. All different shapes. It’s sort of a 3-D puzzle…
loading in pieces, trying to get as many pieces in as possible – while making sure there’s
enough air space around everything for good soda flow & coverage. It’s tough…
the more I “squeeze” in, the more I feel like I’m getting my money’s worth for the cost
of the kiln firing! Pack it too tight, and some of the work may not be covered & glazed
with soda. So I keep packing… up to the top!

Then it’s time to move to the front two shelves – and load them both at the same time,
layer by layer. Again, matching the brick heights with the work going in. Part way up…
another Kodak Moment.

More pots. More shelves. More posts. Layer by layer. And a LOT of tiles!!!
But then it’s done. Loaded all the way to the top. With one last shelf carefully slid in
at the top… just a few more tiles and a couple cups. Whew… a lot of stacking,
a lot of posts & heavy shelves! And I’m sweating… but glad it’s done.

Once the kiln is packed, and the cone packs in place, the door then needs
to be bricked closed. One brick at a time. Alternating, some this way, some that way.
Making sure that the peeps are in, and line up with the cone packs so I’ll be able to see
them during the firing. Yes, the peeps are the “brighter white” bricks that can be
pulled out for a quick peek.

And then it’s done for the night. Put to bed. Trying to get a good night’s sleep
for tomorrow’s long day of firing! And… scene!

Categories: kiln firing, pottery, process, production

Oh, the possibilities… like the calm before the storm.
Loading starts tomorrow afternoon! Let the games begin!!!

Categories: pottery, process

It was cold & rainy outside today… kinda damp & dreary… no fun outside…
So today I tackled the bowls. Glazing bowls. Wadding bowls. Everything bowls.
With the new “bulging stamp” design, I’m intrigued to see how they glaze up.
I’m so accustomed to the glaze being inlaid INTO the stamp… whereas on these bowls,
the glaze “inlay” actually turned out to be “around” the stamp instead of “in” the stamp?!
I hope they turn out… I’m hopeful, but a bit apprehensive.

Categories: pottery, process, production, studio

After the mini’s… I did a LOT of glazing! A lot of liner glazes. A lot of inlaid glazes.
A lot of wadding. With a bit of colored glazes sprayed on for accents here & there.
My studio cart filled up quickly… ready to be rolled downstairs to the kiln.
Well, not quite yet. Before I left tonight I rolled the cart and turned it around…
so now the entire other side of the cart can be filled with glazed pieces!!!

As mentioned, my rolling cart will travel downstairs for the kiln loading.
With a rickety freight elevator as my only means of transportation, I have found
that some masking tape “safety belts” tend to keep my pots safe… as they jiggle
and bounce around on the trip downstairs!

I will be loading my soda kiln next Friday, and then firing on Saturday.
And I still have quite the pile of bisque stacked up waiting to be glazed!

Categories: pottery, process, production, studio

Miniature pots… Miniature vases… Miniature bowls… just a “little” glazing!!!

Categories: pottery, process, production

Tonight I started glazing. After a LOT of rearranging… a LOT of stacking…
just trying to make some space to organize my bisque & make room to work.
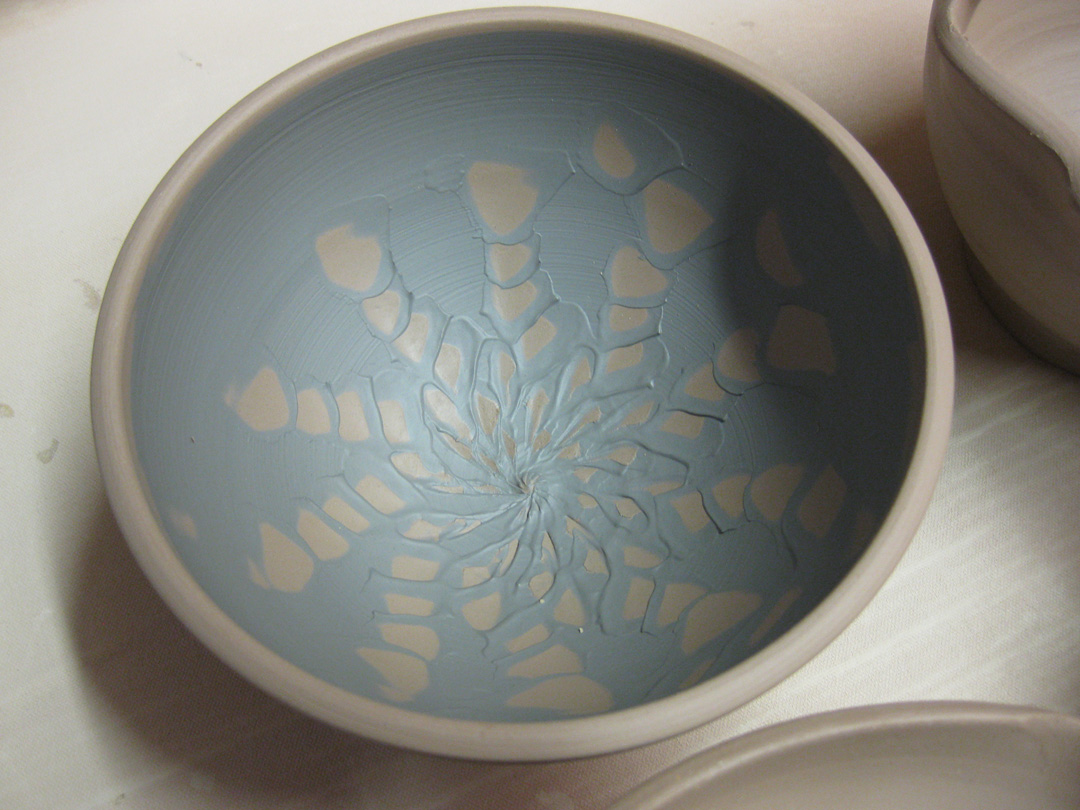
But I finally got my act together and started inlaying glaze into my stamped textures.

It’s kind of a lengthy process where I fill the stamps with glaze, let it dry
and then wipe off the top surface with a damp sponge to clean off the pot surface,
but leave glaze in the stamped recesses. Since these pots will be soda-fired, the pot
surface will remain unglazed – leaving the soda atmosphere to do its magic! The glaze
inlays will help accentuate the stamping, and the colored slip will give it color accents.

Tomorrow the glazing process will continue with liner glazes, wadding and a bit of
sprayed glazes for a little extra splash of color on a few of the pieces. Then continue
the same process all over again with the bowls… flower pots… vases… and more!
A lot of pots to glaze & wad before I can load & fire the kiln!

Categories: pottery, process, production

You’ve seen the kilns… you seen the loading.. now I have PILES of bisque.
Everywhere I turn in the studio… piles of bisque. Gotta start glazing soon…
if nothing else, to make a little more room to make more work?! Where to start?!

Categories: kiln firing, pottery, process, production

Another loaded bisque kiln… layer by layer… piece by piece… firing today!!!
Love the challenge of stacking, nesting and piling in of as much work as you can fit in.
Guess I’m going to need to do some glazing – and get a soda kiln scheduled soon!

Layer One – flower pots, mugs and tiles!

Layer Two – bowls, flower pots, tumblers and more tiles.

Layer Three -bowls, mugs and a LOT more tiles!!!

Layer Four – bowls, flower pots, tumblers and tiles!

So while my bisque kiln cools tomorrow…
I’m taking a day off and heading out of town for a little hiking in the woods!

Categories: classes, pottery, process

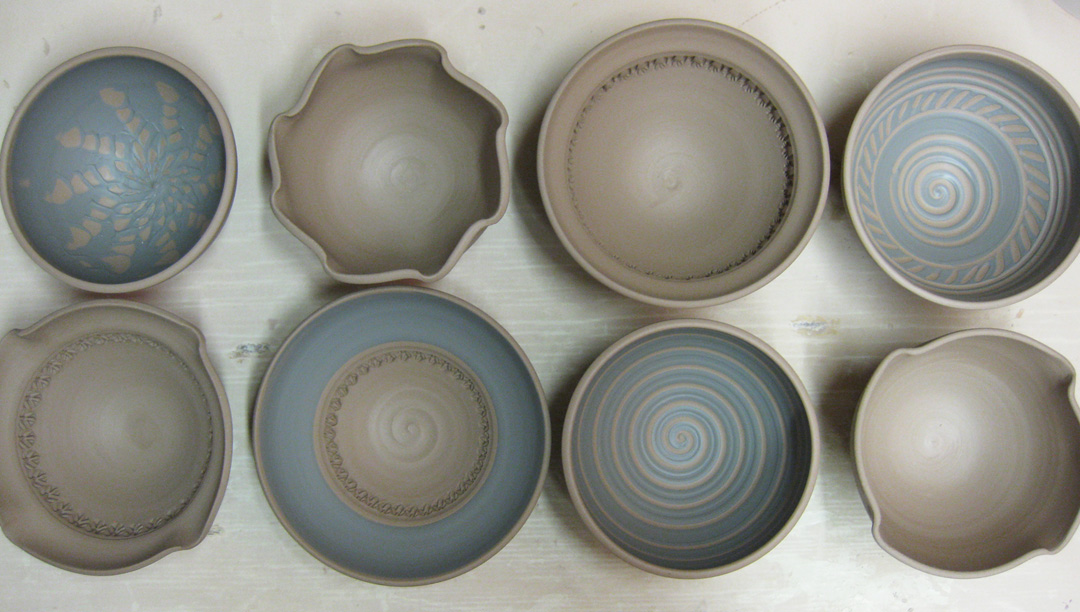
Last night’s topic for my Beginning Wheelthrowing class was “basic bowls.”
Truthfully, teaching my beginners how to make a bowl on purpose
instead of a cylinder gone bad and “oops, look I have a bowl” bowl.

So we started with basic bowl instructions & demonstrations. Then we took a quick break
from the demo as I sat down and quickly threw eight basic bowls. Then we regrouped &
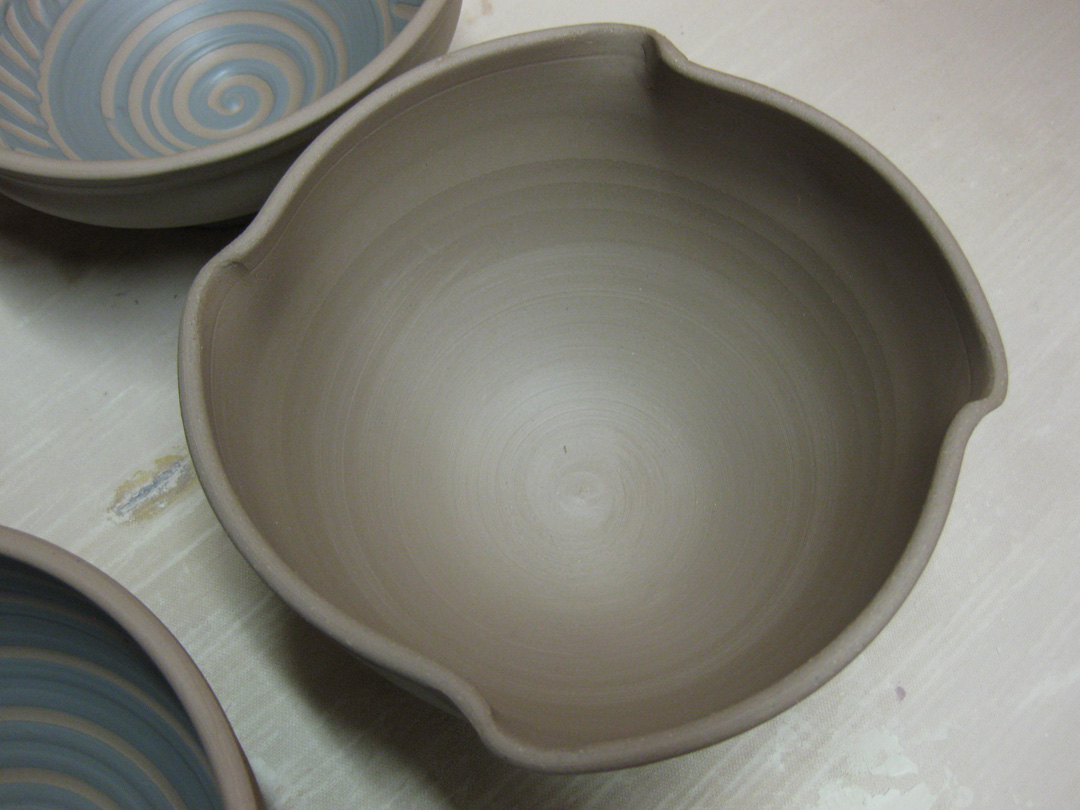
discussed how to alter these basic bowls and turn them into something not “quite so basic.”
Before they knew it, the “strikingly similar” eight 2-pound bowls were suddenly all different
with the help of a little fluting, flaring, slip painting and a quick creativity.

I hope that they get the point that they should commit to their artwork and make it
their own. Anyone can make a smooth, round, plain bowl. That the clay is not as fragile
as they think… that they can push it a little further. And that a little effort, design
& creativity can make a huge difference in their bowls!

Categories: process, production, tiles

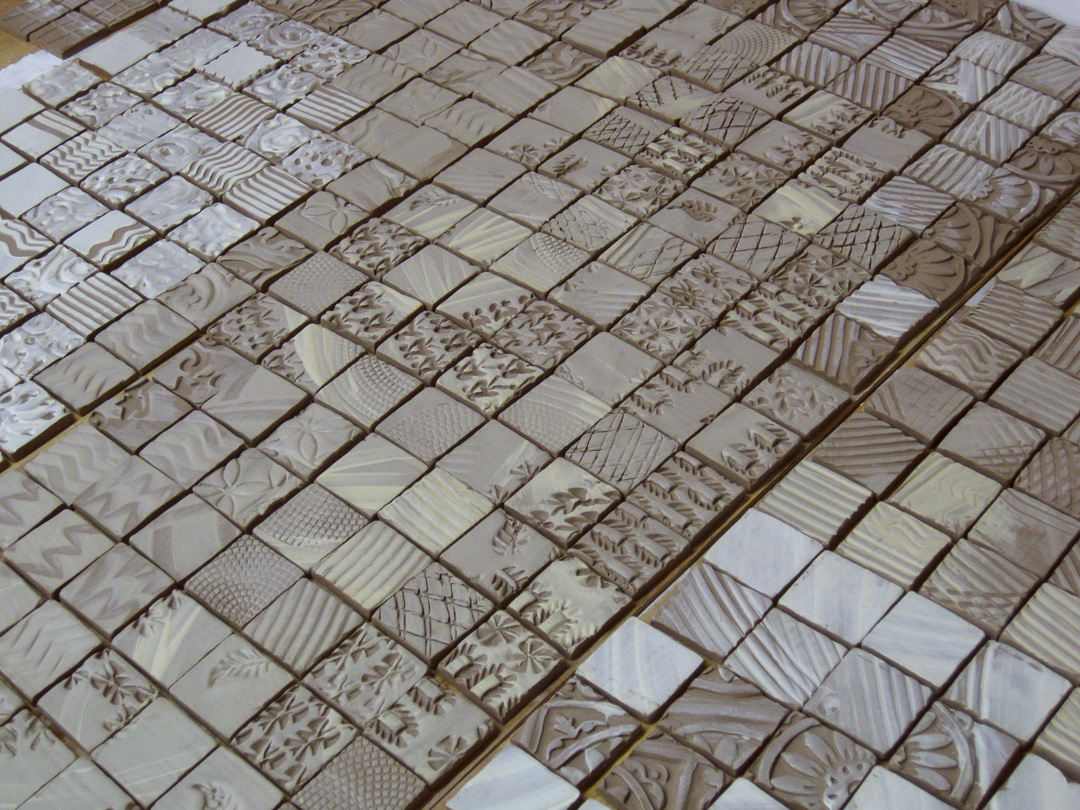
Not quite “inspired” today, and I thought I needed more “kiln filler”… so I made tiles.
This batch is drying and will go into my bisque kiln this Thursday night.
After the bisque firing, they will be soda-fired where the different textures
and slip colors will be accentuated by the soda kiln atmosphere. Once fired, the tiles
will be assembled into my “Clay Quilts” just in time for the upcoming art fair season!