06.02.2010

Tops. ‘Tachments. Treatments. Tomorrow.
… and hopefully more alliteration!!!
Gary Jackson: Fire When Ready Pottery
A Chicago potter’s somewhat slanted view of clay & play |
Tops. ‘Tachments. Treatments. Tomorrow.
… and hopefully more alliteration!!!
One of the most frequent questions asked at every art fair, including this weekend…
“How long does it take to make this?”
And there’s never an easy answer. I try to explain that it is a “process” and that
I frequently have several pieces all going at the same time, at different stages
in the process. This season I’ve created a picture postcard to handout at the art fairs
to help illustrate the pottery process in just 12 easy steps! Here’s quick preview…
1. Wedging

2. Throwing

3. Stamping

4. Trimming

5. Attaching

6. Slip Decorating

7. Bisque Firing

8. Glazing

9. Kiln Loading

10. Firing.

11. Admiring

12. Marketing
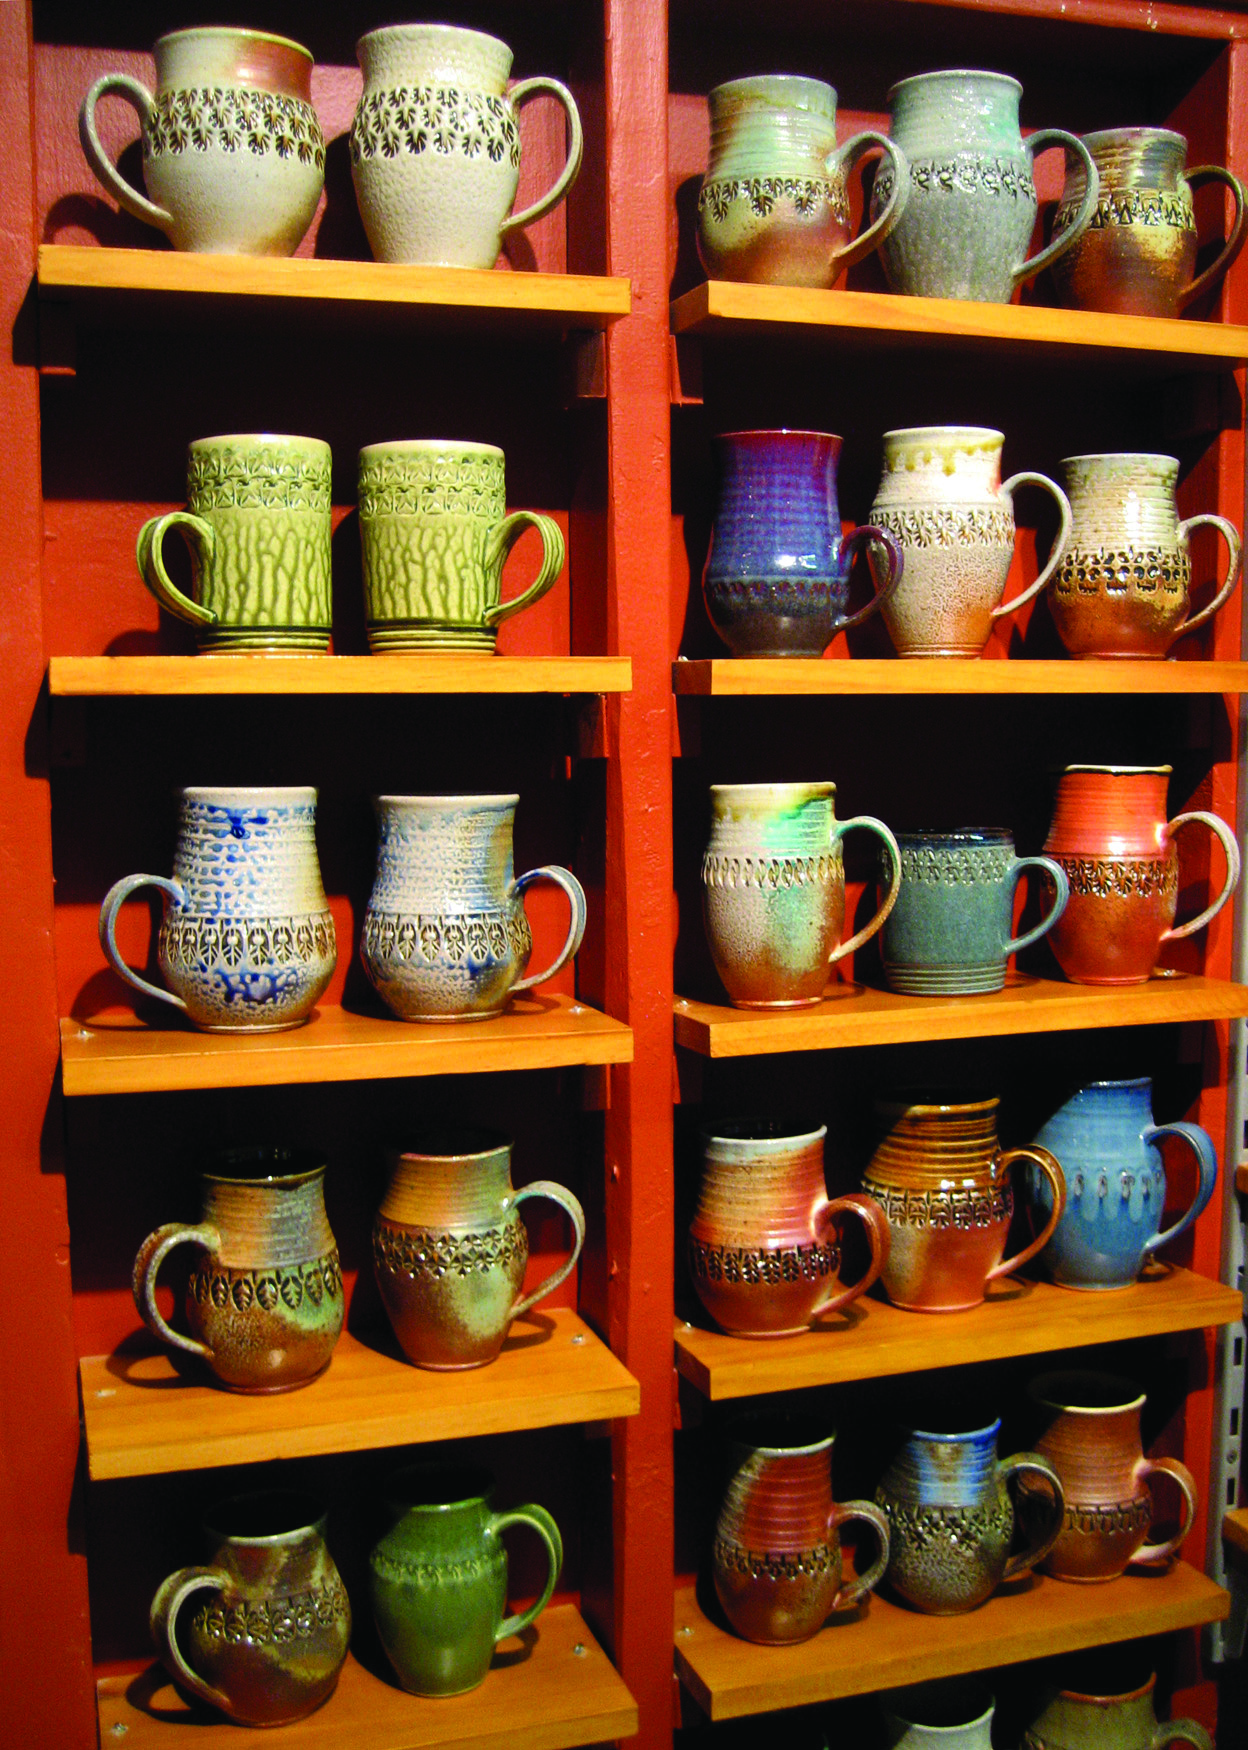
As for marketing… no one’s going to do it for you if you don’t do it for yourself.
Luckily, I have many years of corporate retail advertising & marketing experience
prior to my pottery career. I think that experience definitely helps any artist
who is trying to make a go of it as a full-time, self-supporting artist.
For a more informative description of the complete “process,” be sure to check out
the “Pottery Process” page on this website – see the top right corner to find the tab!
With the Schaumburg Prairie Fine Arts Festival right around the corner…
and final preparations, pricing & packing well under way, I decided to add one
more kiln just to add a little more pressure into my already hectic week?!
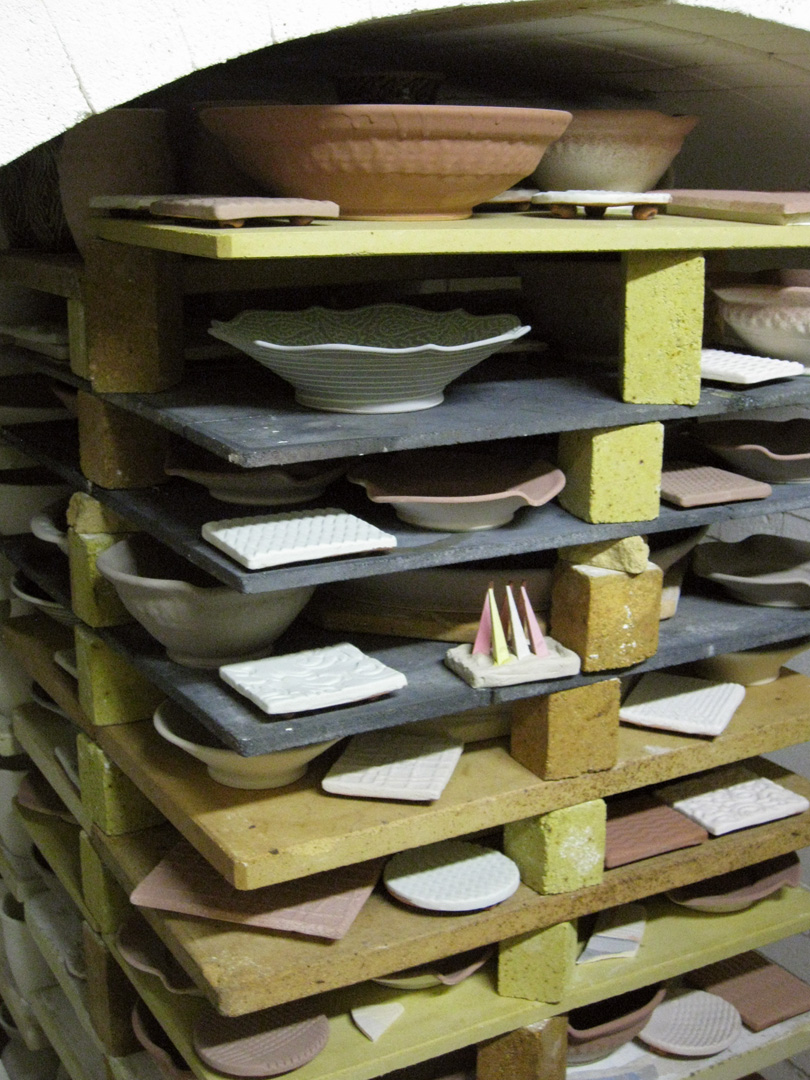
So today I helped load a cone 10 reduction kiln with a few more pieces for the show.
I’m sharing the kiln with two other studio members who are getting ready for their
art fairs the following weekend. The back stack of shelves is all Marian’s, while the
front is a mix of mine , Karen’s and Marian’s.

So the kiln is loaded and will be fired all day tomorrow… cooled on Thursday…
and unloaded on Friday just in time to come to the art fair – without a moment to spare!
Glazed, stacked, packed and ready to go… after Karen makes one last check!

So the Schaumburg Prairie Fine Arts Festival is just one week away!
And while I probably have more than enough work ready for the show, I definitely
suffer from that “uncureable artist disease” symptomatic of ALWAYS thinking
that you need to make more! Must make more… glaze more… finish more… in a week!
So I started off today with high expectations of making entire electric kiln’s worth of
terra cotta pieces – as they are low-fired and cone be finished with a single electric kiln.
Theoretically, I could make everything today, let it dry over the weekend, glaze it on
Monday, load the kiln on Tuesday, fire on Wednesday, and unload on Friday…
just in time for the weekend’s art fair! But then… reality set in!
As I’m sharing a cone 10 reduction kiln on Wednesday, I still had some glazing to do for that.
And I thought better of glazing the work that is already done… instead of adding a whole
bunch of pressure on myself to crank out some last minute work.
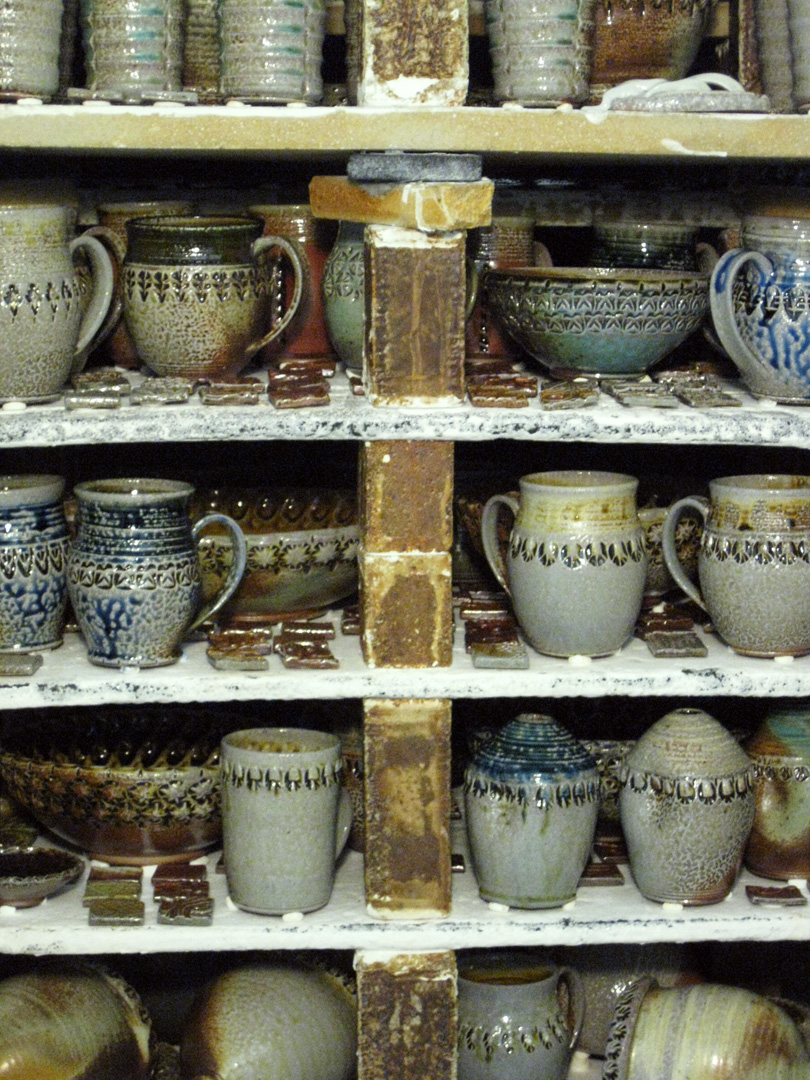
So tonight I glazed some more pieces for next week’s kiln. As it is mostly Marian’s kiln,
I’m focusing my efforts more on smaller pieces, berry bowls and “kiln filler.” So I pulled out
my buckets of glazed, stirred them up, and started the night’s activities…


But still, after a night of glazing…. there’s still a few more piles of bisque waiting in the wings!
Already waxed, dried and stacked – with paper in between to keep the wax from transferring.

Tonight I’ve been working on “stitching together” some more of my “ClayQuilts.”
Small, soda-fired, textured tiles that are put together as a work of art for your wall.
And what appears to be random, is anything but. I find it interesting every time,
how much effort goes into making it look random while it is all very controlled.
Can’t have too many similar tiles in one area, need to keep colors dispersed evenly,
and I sometimes try to create “thematic” color combinations as I go!
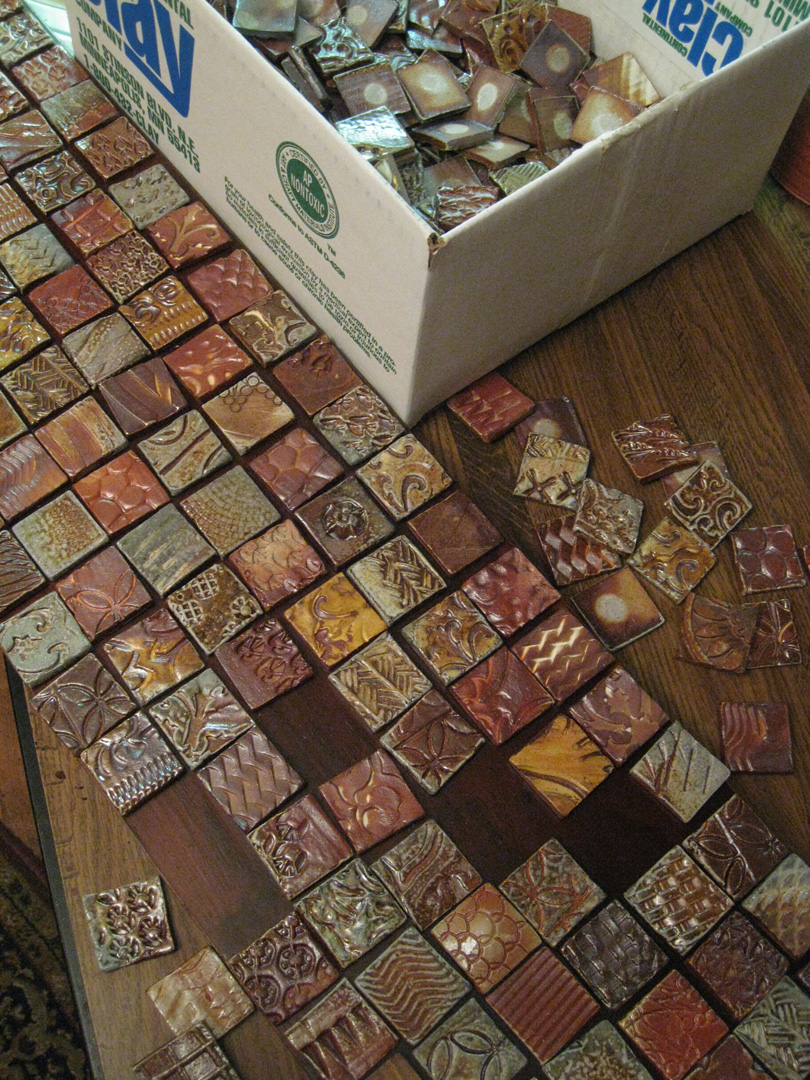
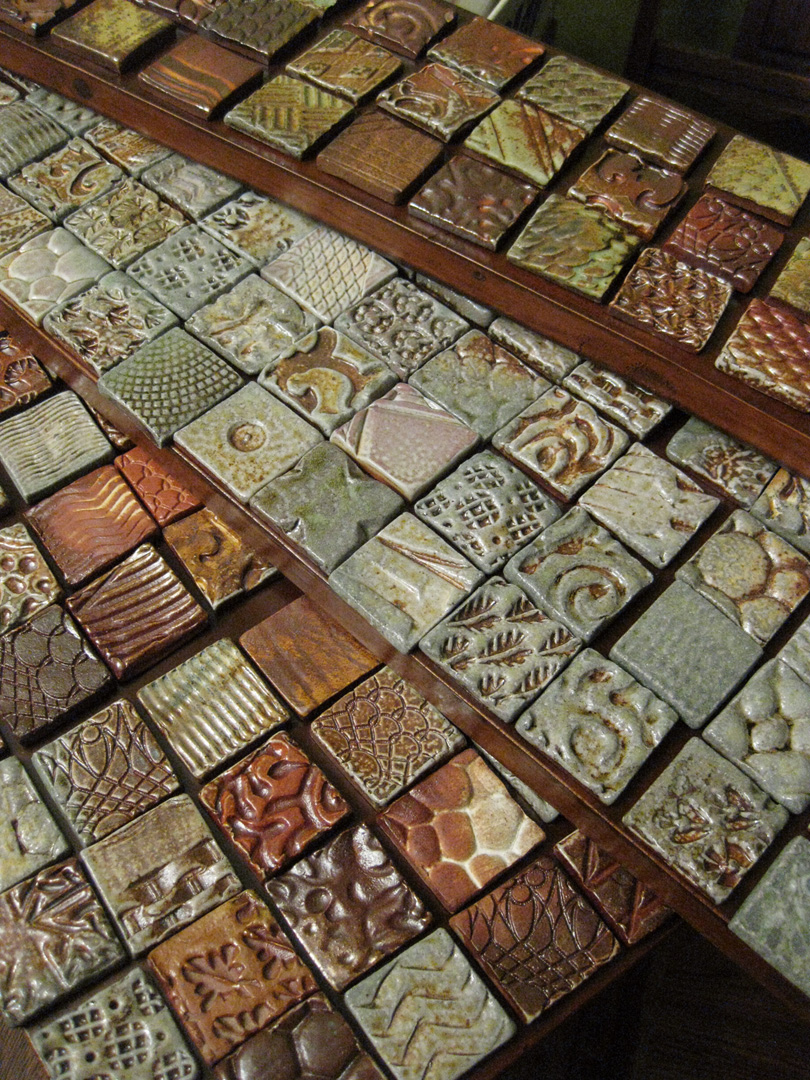
Tomorrow, I’ll look at them again with fresh eyes, make a few alterations,
and start gluing them in place. Again, “forced random” as I like to put it.
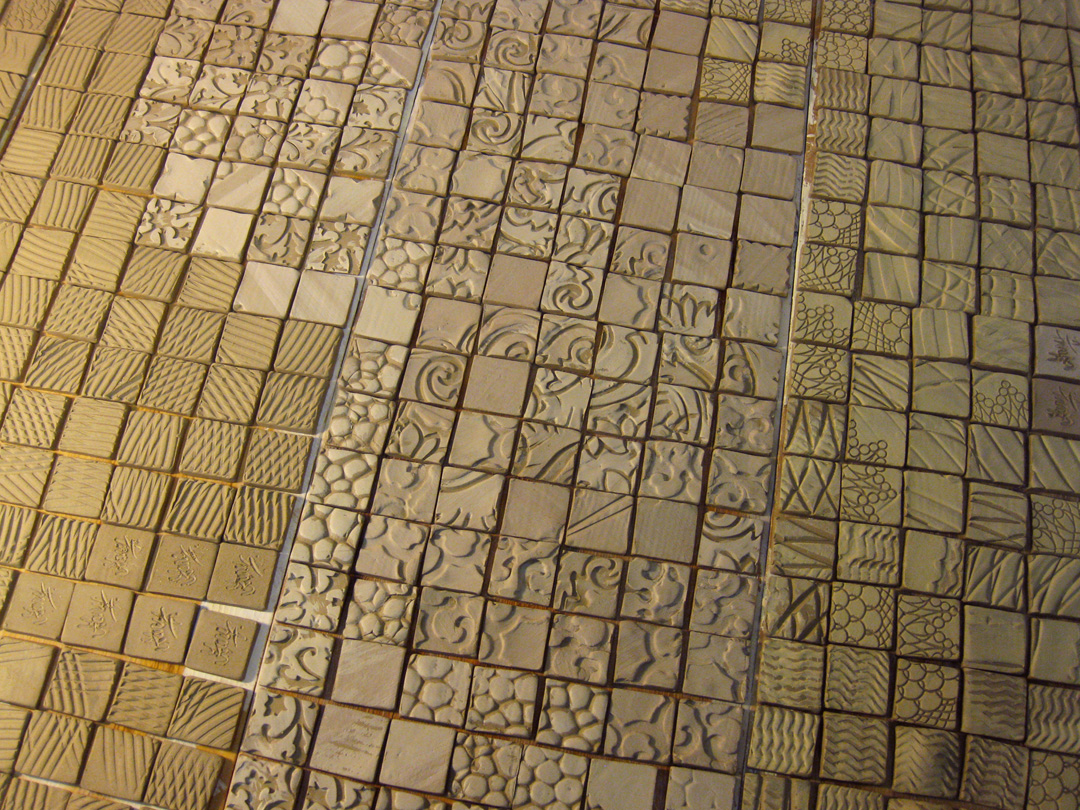
Remember… before the soda firing, they were just a lot of textured clay squares
with a bunch of different colored & flashing slips on them for different effects.
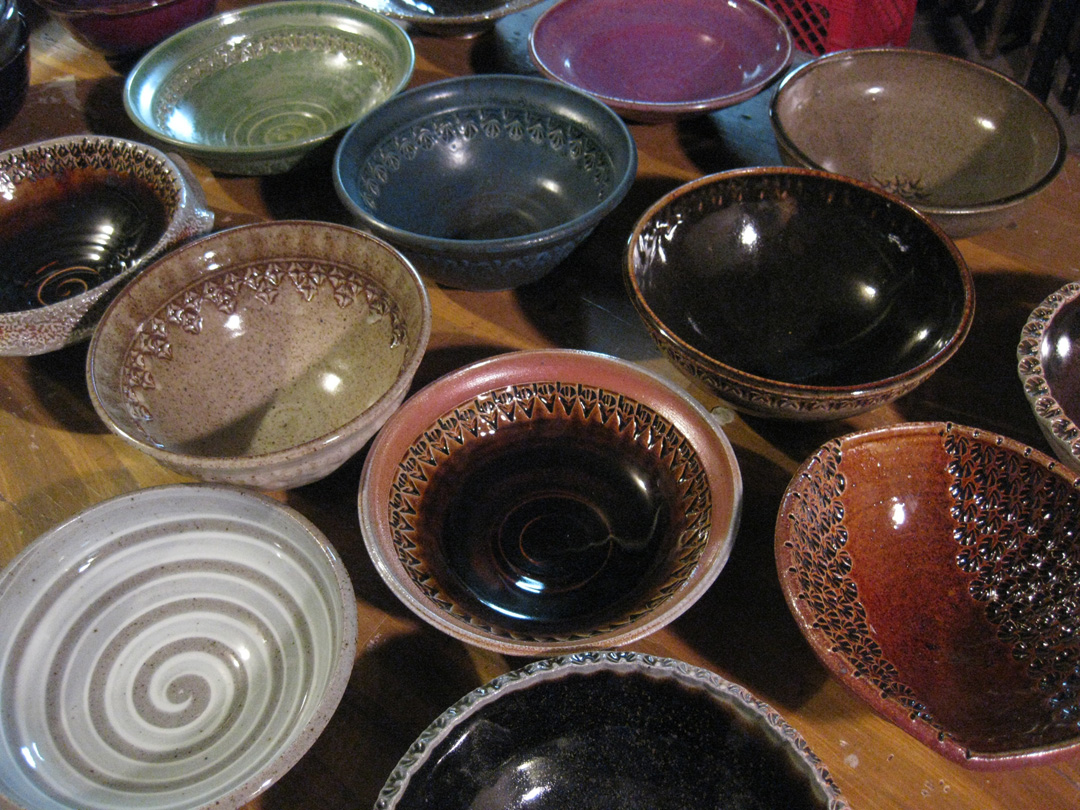
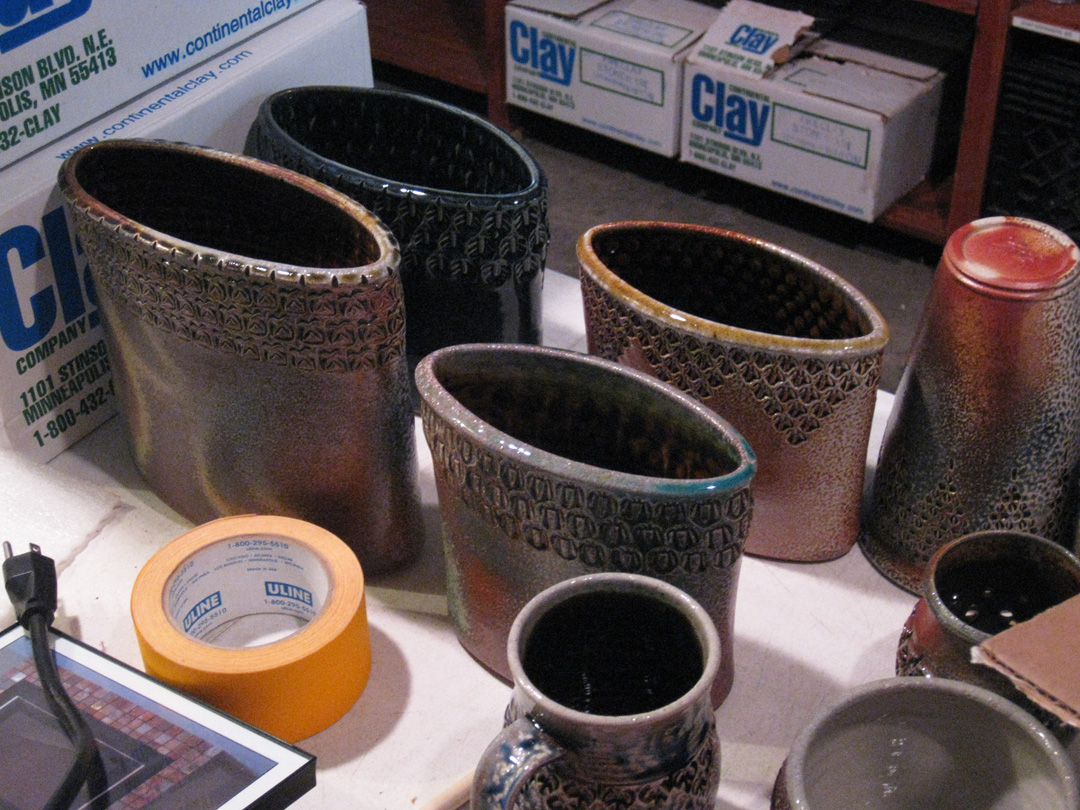
It’s been a long day in my pottery storage room today.
Unpacking pots. Cleaning pots. Pricing Pots. Repacking pots.
Repeat. Repeat… Repeat.
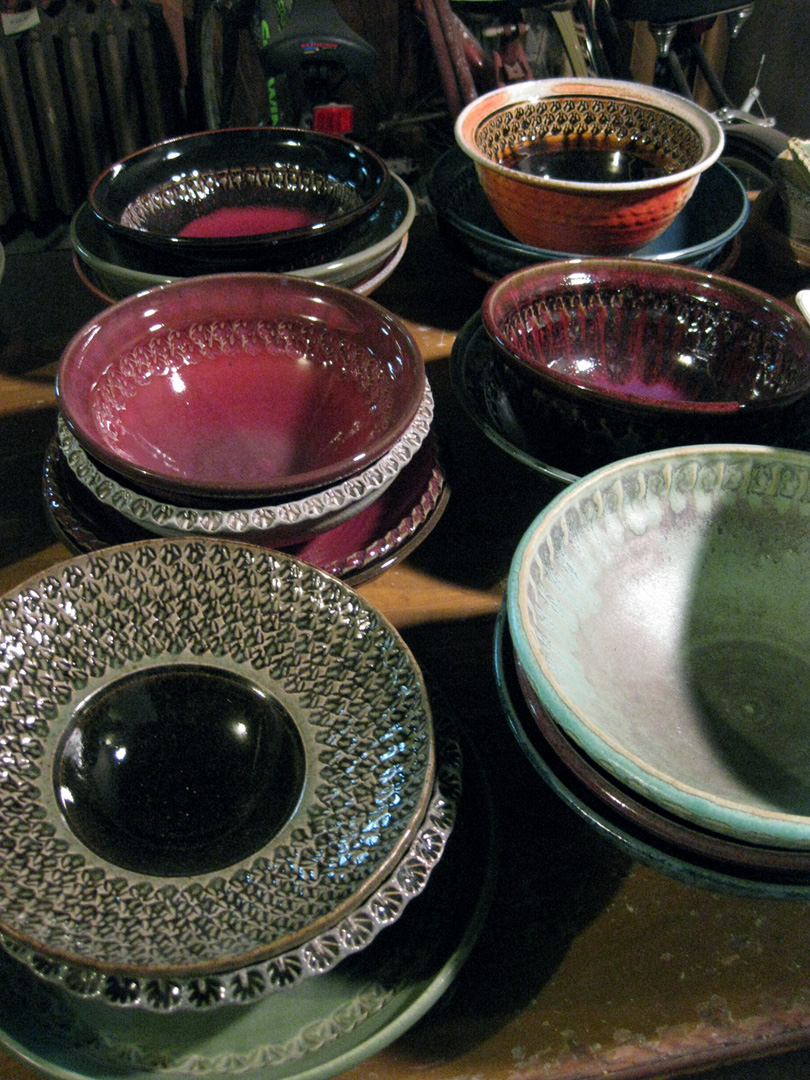
I’ve been putting it off for a long time, and my storage room
has taken over… growing well beyond its limits, piles everywhere,
pots here, pots there, pots everywhere! And with the art fair season
coming soon, I had to dive in a tackle the situation. So with the help
of my parents, the best art fair assistants ever, we made some good
progress… but I still have a long ways to go. I didn’t even make it
to the boxes filled with the new pots from my latest soda kiln.
I can’t wait to see those pots again…
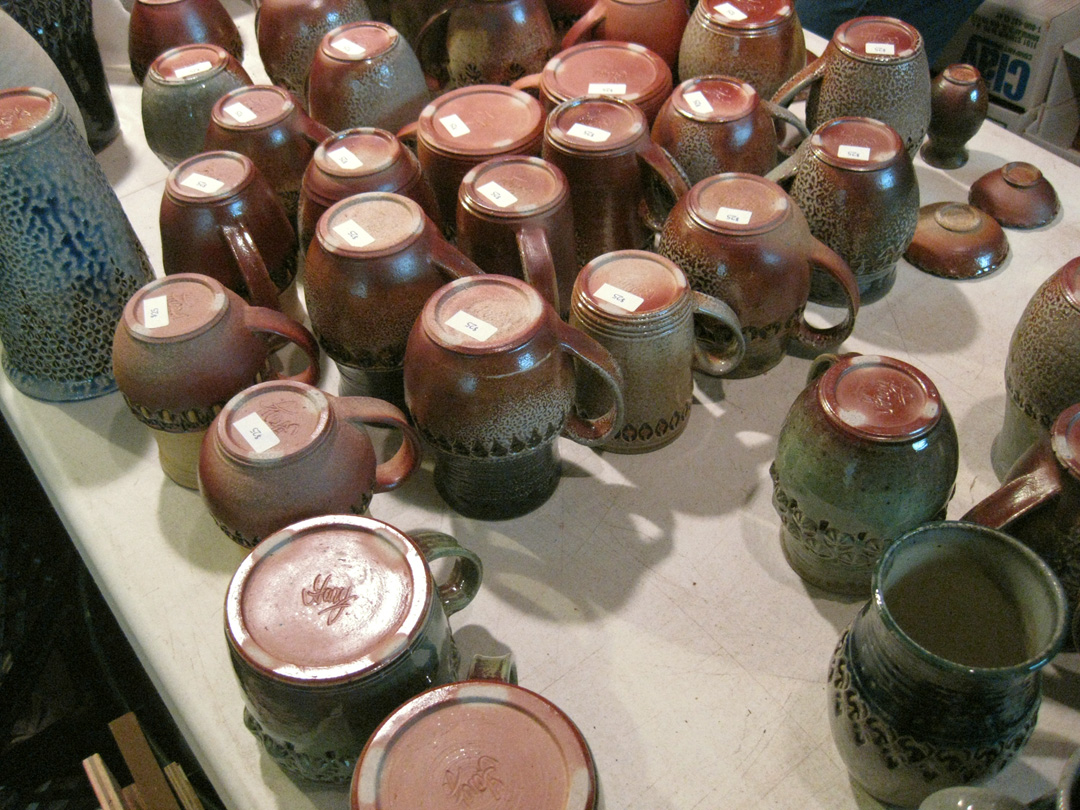
Last night in my Beginning Wheel throwing class, some of my students asked
to do some basic handbuilding… so of course, I said yes. I think they’ve all realized
that throwing & trimming plates on the wheel is a little tougher than they expected.
And now they know that handbuilding is always an option… just because it’s a
wheelthrowing class, does not mean they can only make things on the wheel.
It’s just clay. And the wheel is just a tool.
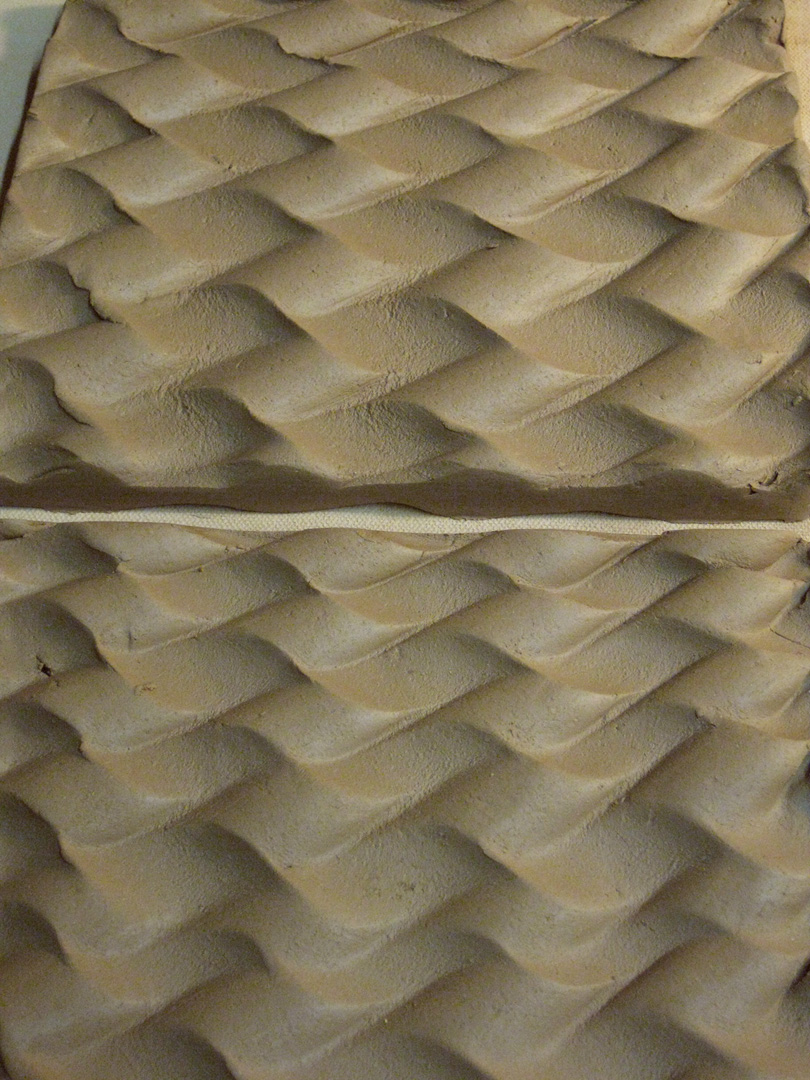
So we started with some basic instruction & demonstration of pulling slabs and adding
some texture to them. Once decorated, the slab was then “draped” over a simple clay
coil “frame.” The plate slumps into the frame and the edge is smoothed & finished off.

Then, as a quick “show-stopper” demo… instant plates trimmed right off the block of clay!
Using a stretched out spring to cut the squiggles, and a straight wire to cut the under side.
Tonight, once they set-up a bit, I added some small feet to the underside for a bit of lift.
I can’t wait to see how these sculptural “plates” will turn out when the glaze pools!
It was a long wait today… as the kiln temperature dropped ever so slowly.
I kept opening it slowly to “encourage” the cooling process; being careful
not to open it too quickly. When it got to about 250 degrees, I felt it was okay
to unbrick the door. And then it was time to start unloading the kiln.
Like a little kid on Christmas…
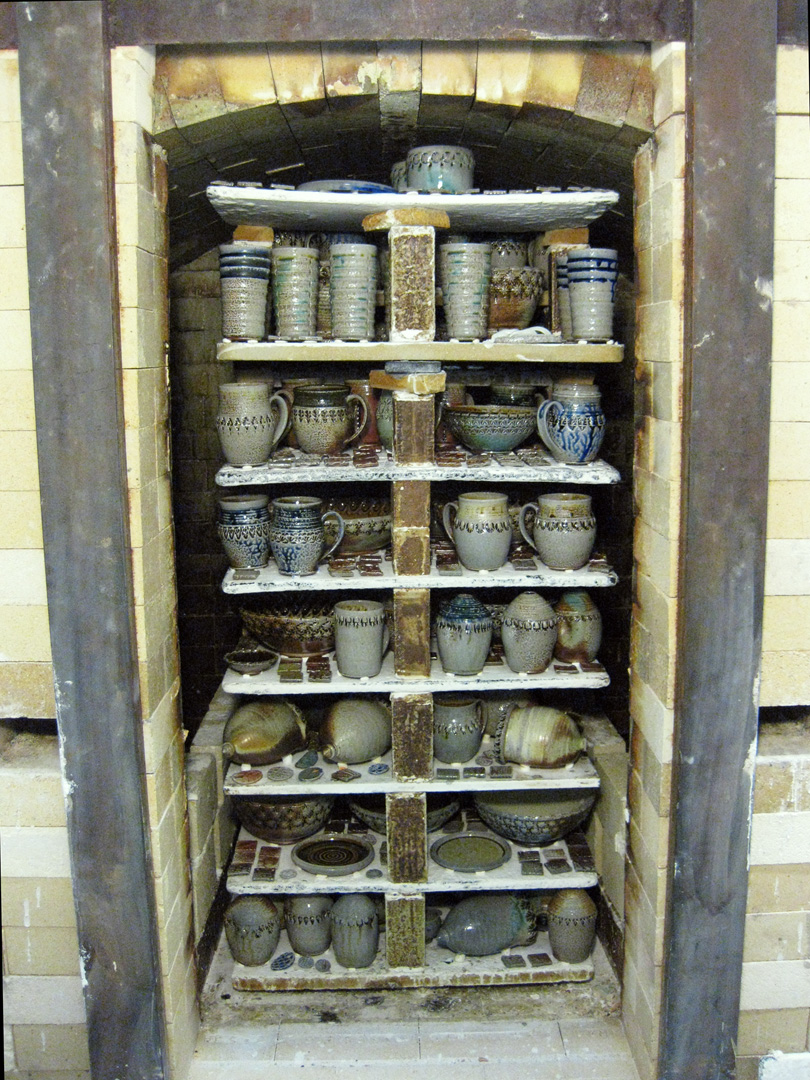
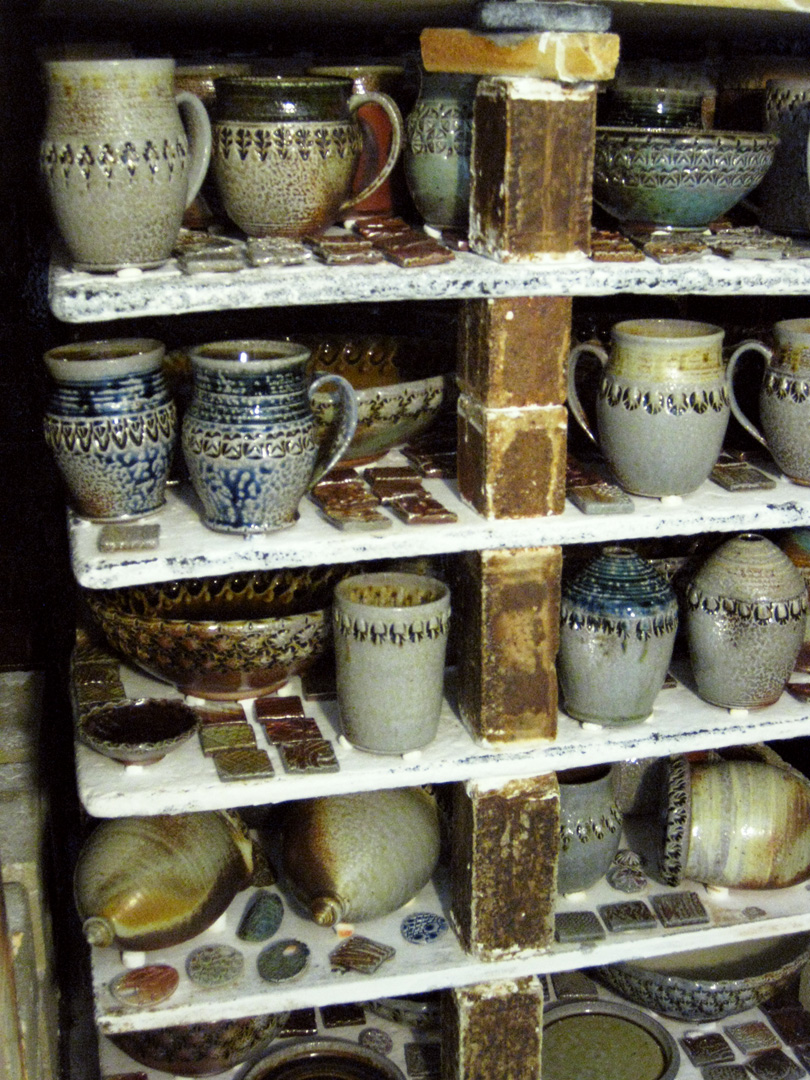
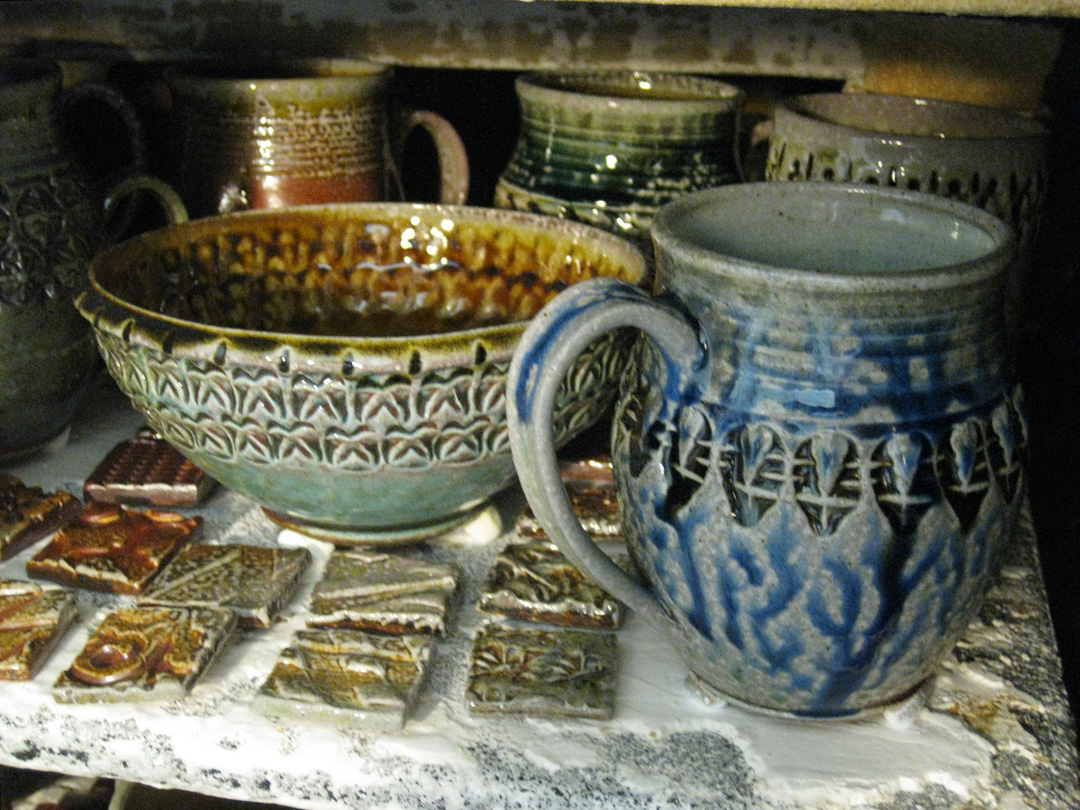
It’s always fun to unload the kiln – to see the results of your hard work. And to see how
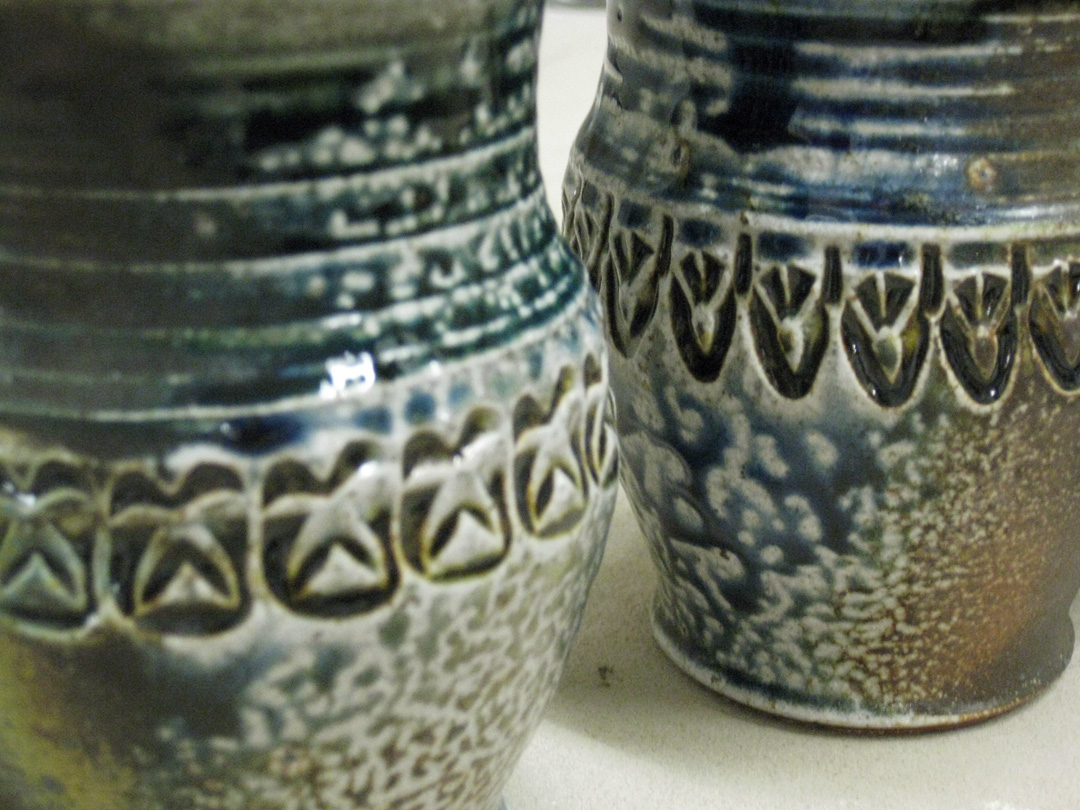
things have been transformed during the atmospheric firing process. It was a very
tightly packed kiln. I was concerned that there may be some “dry patches” in the kiln
because it was packed too tight… luckily the soda made its way through the kiln and hit
everything quite nicely… if I do say so myself. Only two mugs were on the “drier” side.
All in all, it was a great firing with great results.





But then, after unloading and packing everything into boxes to get it home…
I still had to clean the kiln, scrape & kiln wash all the shelves, sweep out the fire box
and all of that fun stuff that comes with maintaining the kiln! Exhausting…
Today was firing day. A long day. But worthwhile when I get to open it in a couple days!
So I started early this morning by “pumping the flames” into the kiln. There are two burner
ports on the back of the soda kiln, one on each side of the chimney. It starts up slowly,
with gradual increases in gas & air to ramp it up for the first couple hours.
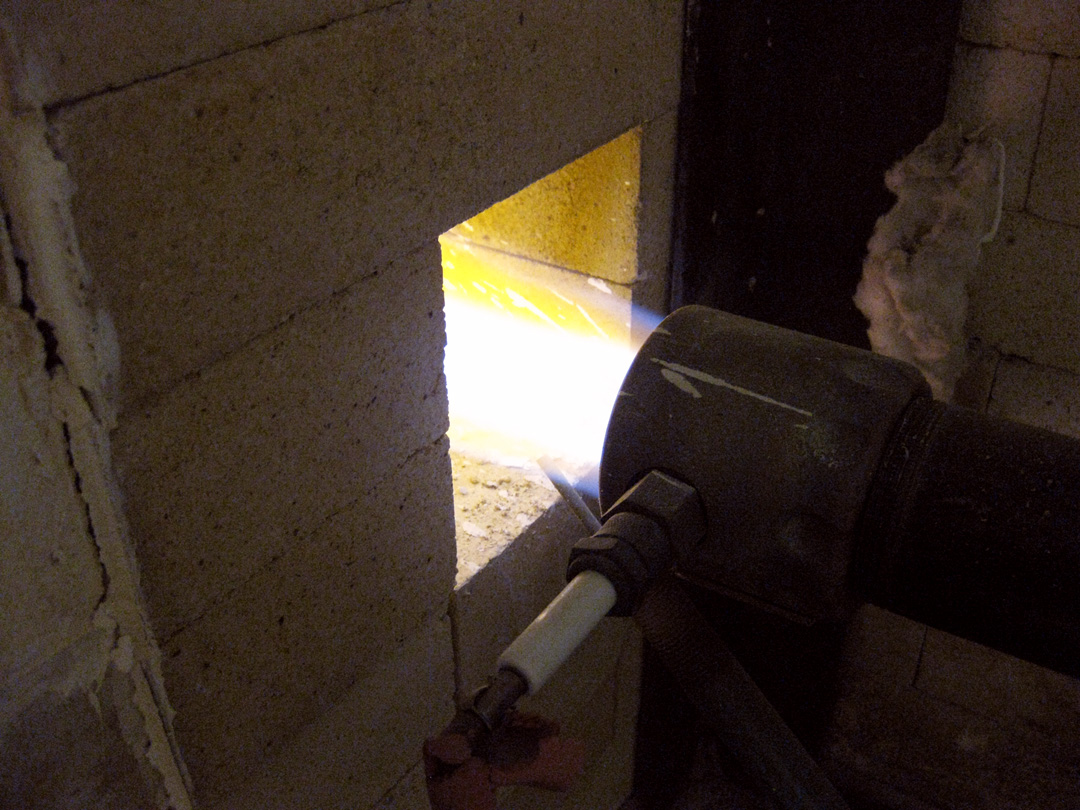
About a half-hour into it, I came down for the first turn-up, checked the kiln,
checked the flames, checked the reduction, checked the cone packs… only to be
surprised to find that the bottom cone pack was gone!!! Missing. No signs.
My guess is it must have exploded or fallen off the shards that held it in place.
Luckily, I rely on the top cone pack a lot more than the bottom.
During the firing, you’re “trapped” at the studio… can’t leave, can’t really start much
as you need to check the kiln throughout the day. So it’s a lot of finishing little projects,
cleaning, sweeping, dusting, trimming class demo’s, chatting and waiting for the kiln.
When the kiln finally begins to reach the top temperatures, it’s time to mix up the
soda mixture that will be introduced into the kiln. Who knew that such a “sloppy mess”
of soda ash, soda bicarbonate, whiting, wood chips & water could make your pots
look so great?! It looks like an odd mix of oatmeal & tuna?!
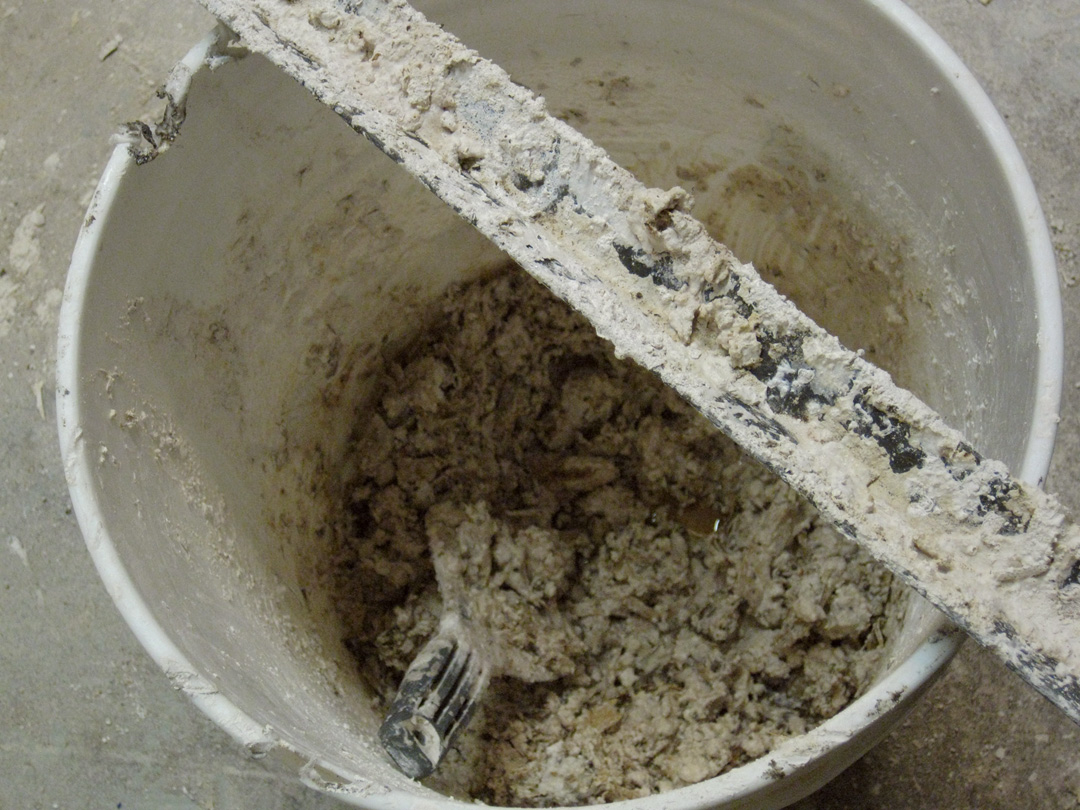
When the kiln is around cone 9, I start introducing the soda mixture into the kiln
on an angle iron. Dropping soda mixture into the kiln every 15-ish minutes until the mixture
is gone. Tonight I also had two assistants putting the soda in. Two of my beginning wheel
students were there working and had never really seen a kiln firing before. So I offered
to show it to them, and even let them put some of the soda in. Pam was surprised
how hot it was back by the kiln, and Chuck had that instant look of “pyro-addiction.”
He loved putting the soda in… the flames, the heat, the danger… he’s in!
And I loved having the help. After the soda is introduced, the flames come shooting out
of the peeps as the atmosphere inside the kiln is quite volatile – with the evaporated soda
mixtures flying all around the kiln and hitting the pots inside!
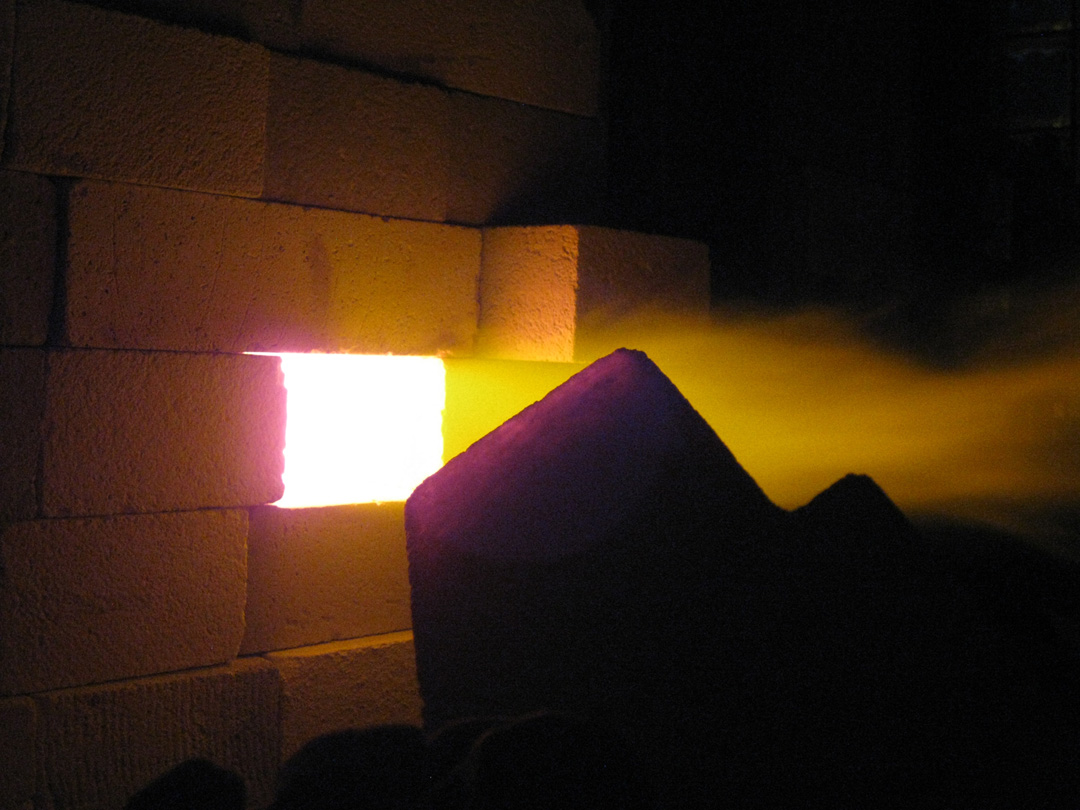
After all of the soda is in, I let the kiln continue longer so the soda can “soak” and spread
a little more as it gets to it’s top temperature and cone 10 finally drops! During that
soaking time, I had a chance to hang out with Chuck & Pam… and had to laugh at the
persistence, dedication & focused attention Chuck had as he was applying slip to one of
his pots! Not bad for one of my “tile-class-convert” wheelthrowing beginners, huh!!!

After a good soaking, it’s time to turn the kiln off… and it’s suddenly silent.
Turn off the gas. Turn off the blowers. Turn off the exhaust fans. Close the damper
and call it a night. Now it’s time to wait again… as a watched kiln never cools!
|
Gary Jackson: Fire When Ready Pottery
Lillstreet Studios ∙ 4401 North Ravenswood, Chicago, Illinois 60640 ∙ 773-307-8664 gary@firewhenreadypottery.com |