Gary Jackson: Fire When Ready Pottery
A Chicago potter’s somewhat slanted view of clay & play
Categories: glaze, ornaments, process, production

Looks like it’s going to be a long day of glazing, wadding and loading for my soda kiln firing tomorrow!!! I unloaded my last bisque kiln this morning and now have another large batch of mugs to glaze!

I’ve also been working on my holiday ornaments adding some glaze details. Still a lot of other pots waiting for their chance to take a “dip” in the glaze too! It’s going to be a LONG night!!!

Categories: glaze, mugs, process, production

With my last batch of “new” work drying for tomorrow night’s bisque kiln, it’s time to turn my attention to glazing everything else! Starting with the first big batch of mugs.

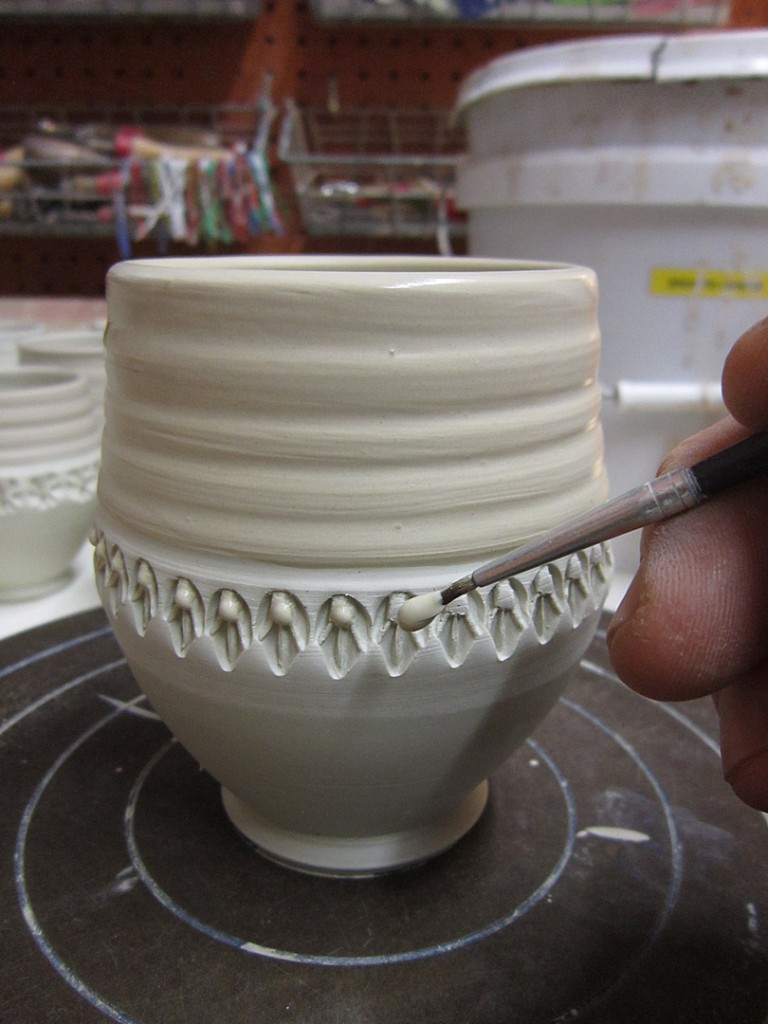
The first step is to clean them all and inlay the temoku glaze into the stamps. I painted it into & over the stamps, and then wipe off the top layer with a damp sponge to reveal the stamped texture now with inlaid color contrast.

Categories: clay, mugs, process, production

So I’ve been dabbling with the reclaim porcelain I bagged up a couple weeks ago. I’ve made a few batches of small cups, but this time decided to go a bit further and tackle porcelain mugs. Not as bad as I expected… gooey when throwing, quick drying, easy to stamp and handles a little fussy. We’ll see how they turn out…

Categories: kiln firing, process, production

Last night I loaded another bisque kiln full of pots. I’m working to get enough pieces made to fill my soda kiln in a week or so. Still need to make some more, but it feels good to have these pieces “safe” in the kiln. Firing overnight… unloading Friday so I can start glazing & wadding everything this weekend.

Kiln Layer #1 – mugs & minis.

Kiln Layer #2 – mugs, minis, bowls, ornaments & more.

Kiln Layer #3 – tiles, cups, ornaments.

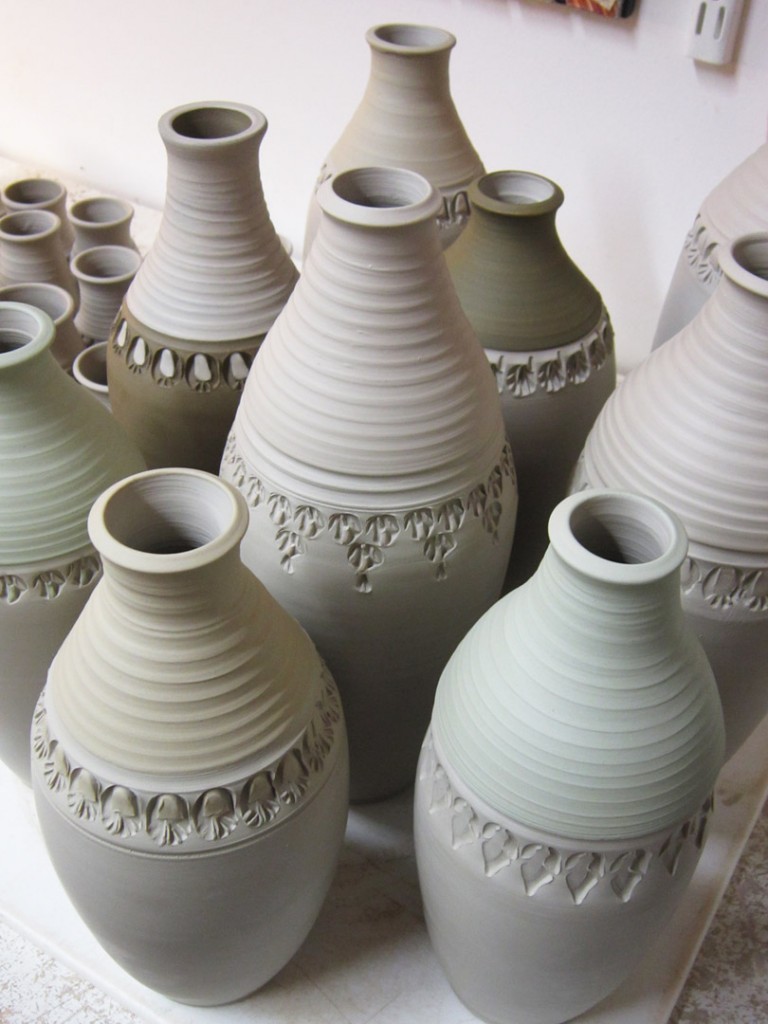
Kiln Layer #4 – bottles & tiles.

Kiln Layer #5-ish – same bottles, more tiles.

Kiln Layer #6-ish – again, same bottles, different tiles & little cups.

And you know how I love a well-packed kiln…
always fun to see it packed so close to the top. As long as the lid closes, right??

Categories: process, production, stamps

Another night with some colored slip accents.
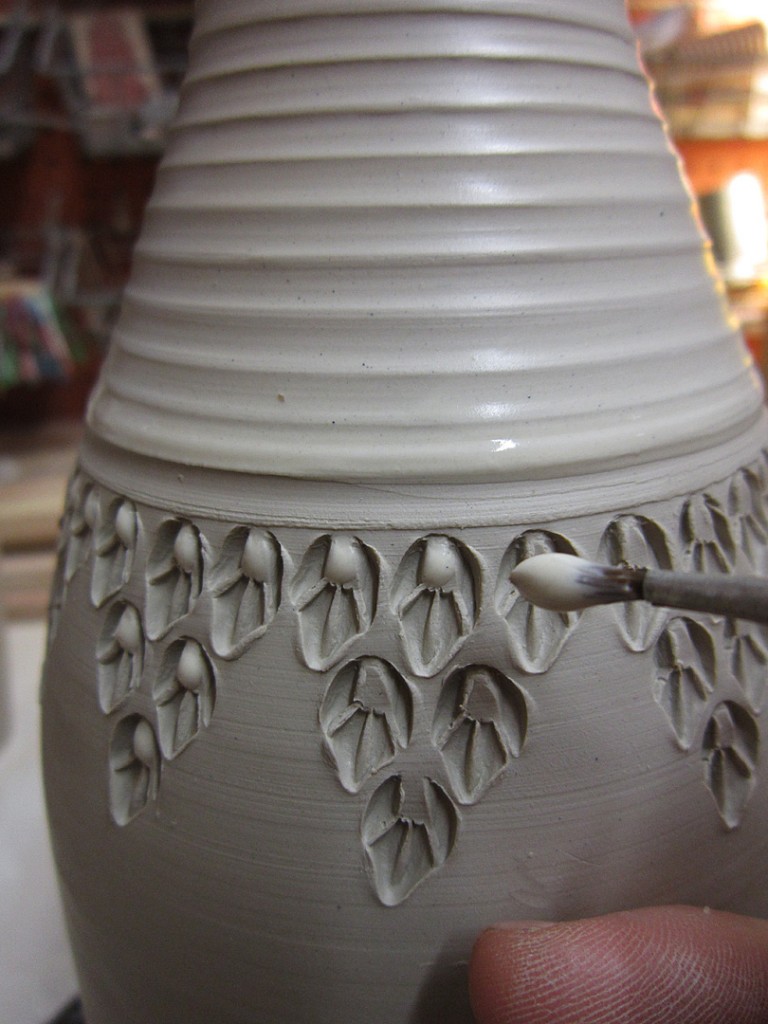
The top of the bottle, as well as a small dab of color in every stamp.
Still getting ready for my next soda kiln.

Categories: process, production, stamps

So I figured them out… and stamped the bottles when they were a little bit drier than normal, so I could stamp them without pressing from the inside. I think they turned out pretty well, with some colored slip accents… starting to dry!

Categories: process, production

After stamping & trimming, I frequently add some colored slip accents to my pots. These colors will show up a lot more in the soda firing. And the atmospheric firing will “kiss” the pot and leave behind some wonderful flashing results on the pieces.

By the end of this evening, I had added colored accents to quite a few pots. They’re drying overnight… and will hopefully be dry tomorrow so I can put them to the side to make room to make more pieces!!!

Categories: clay, process

Sometimes your bucket of “colored” slip doesn’t seem to be so colorful?!

And sometimes it seems as though your “colored” slip matches your clay body. Which really makes it tough to see what you’re painting… and what you’ve already painted. So why not make it easier to see?

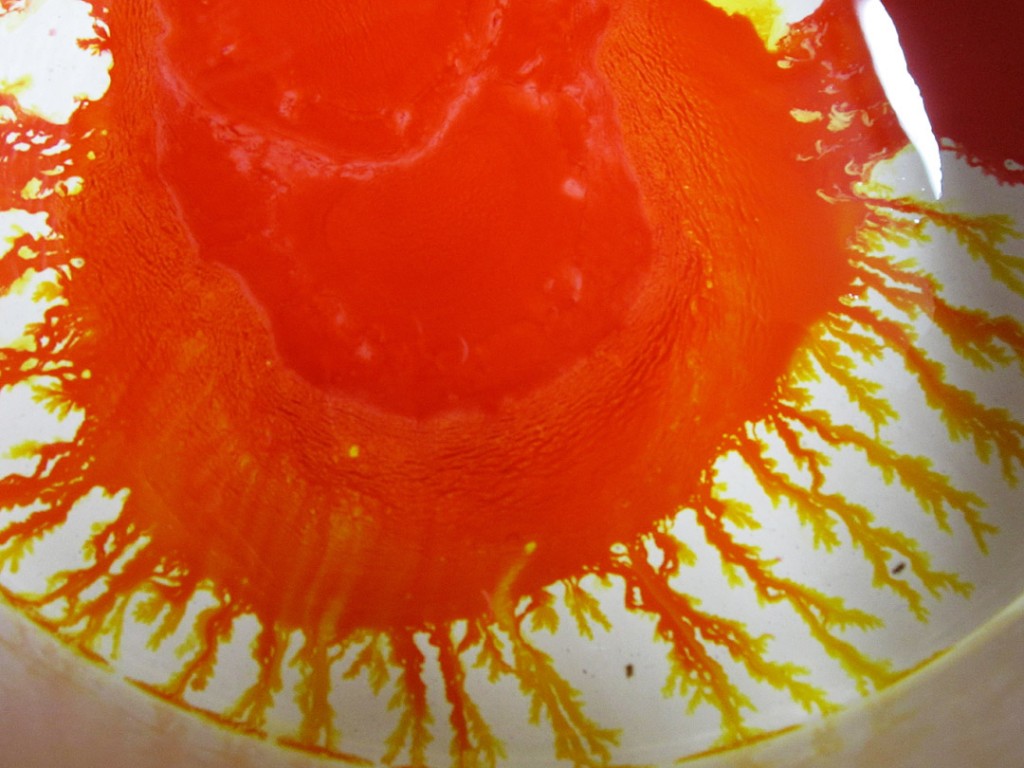
I like to add a few drops of food coloring into my slip bucket. Not only does it look REALLY COOL when it hits & spreads… but then it sort of fans out in really cool trickles. Then when you stir it all together, your colored slip will have some more color to it. And it will be much easier to see as you’re painting on your slip accents. When you’re firing, any residual food coloring will burn away well before the slip starts to set.

Categories: process, production

Tonight I tackled the bottoms of a LOT of pots.
I love trimming… but this was a LOT even for me!!!

Categories: mugs, process, production

Another batch of handles.
Another batch of mugs.