Gary Jackson: Fire When Ready Pottery
A Chicago potter’s somewhat slanted view of clay & play
Categories: clay, process, studio

Another pile of porcelain reclaim pulled out tonight… plopped onto my plaster bat for some drying time. Maybe tomorrow I can start wedging it up. And then I’ll need to figure out what to make out of it?!

Thanks again to my friend Emily for passing along her dry scraps… I love free clay!!!

Categories: mugs, process, production, stamps

Tonight I did a LOT of stamping. Turning “plain” cylinders into stamped forms which will become mugs soon. So now they’ll sit under plastic wrap until I have time to trim them. Once they’re trimmed, they’ll get handles attached and some color slip accents. Then onto the kilns for bisquing & glazing…

So now they’re set aside, under wraps, drying up a bit… waiting to be trimmed.

Categories: mugs, process, production

After detailing the bowls, I decided to start another batch of mugs. You know how I LOVE making mugs!!! They’re my favorite. And if I’m hoping to start the Holiday Home Show with a 100 mugs again this year… I’ve got some makin’ to do!!!

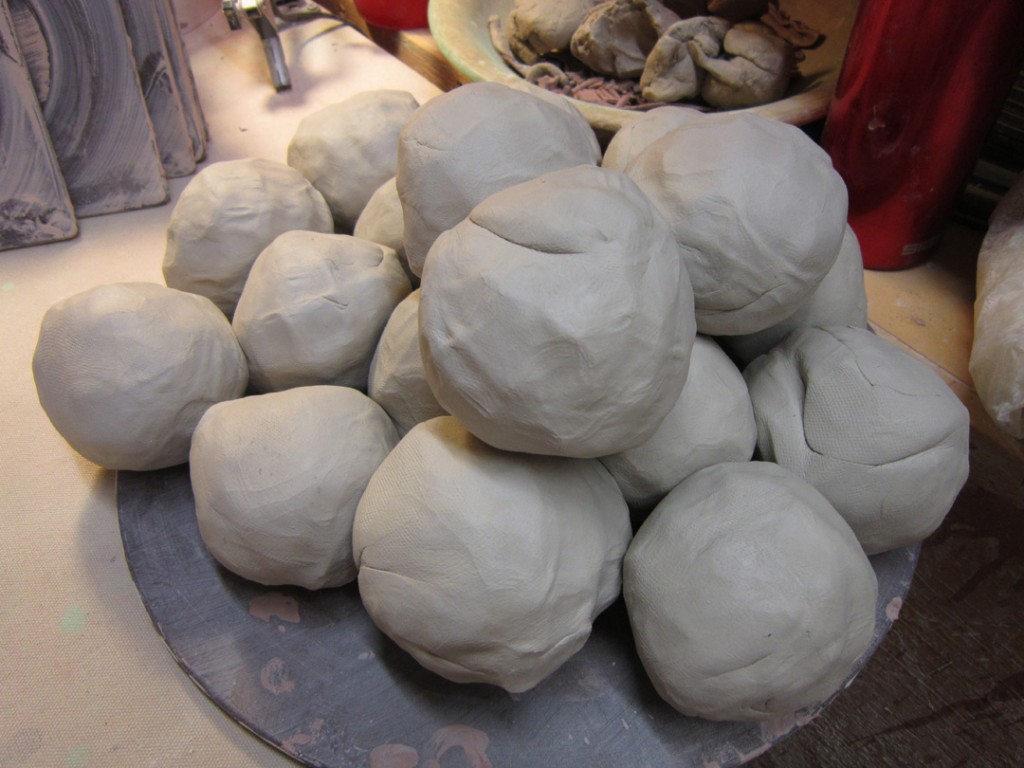
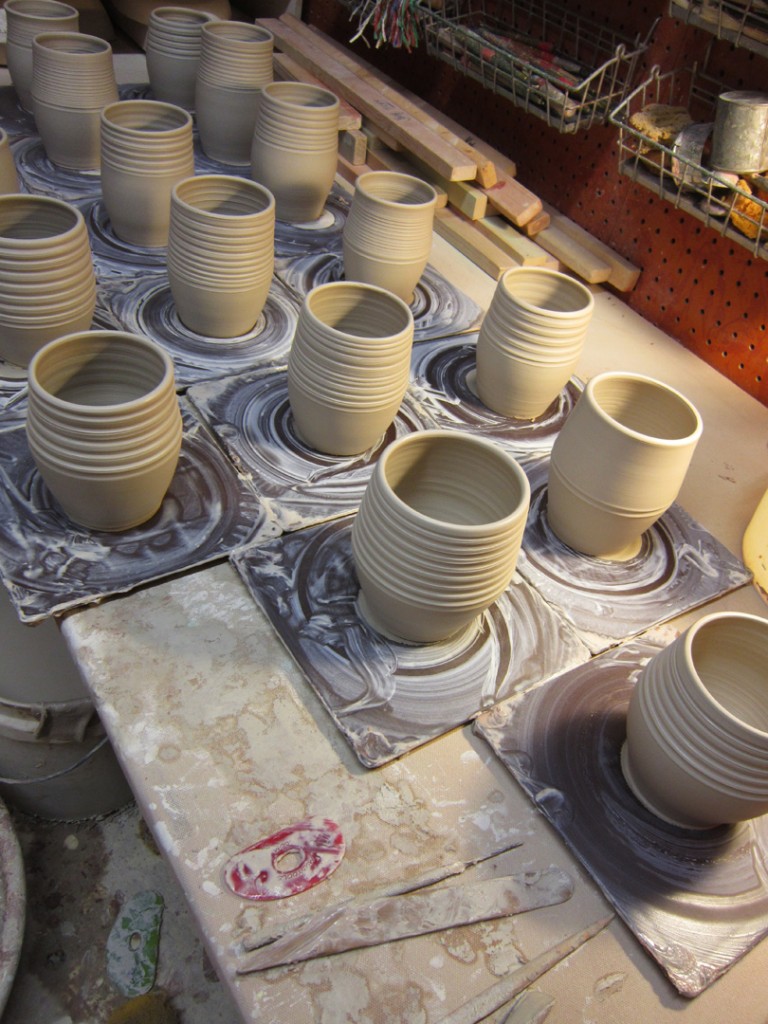
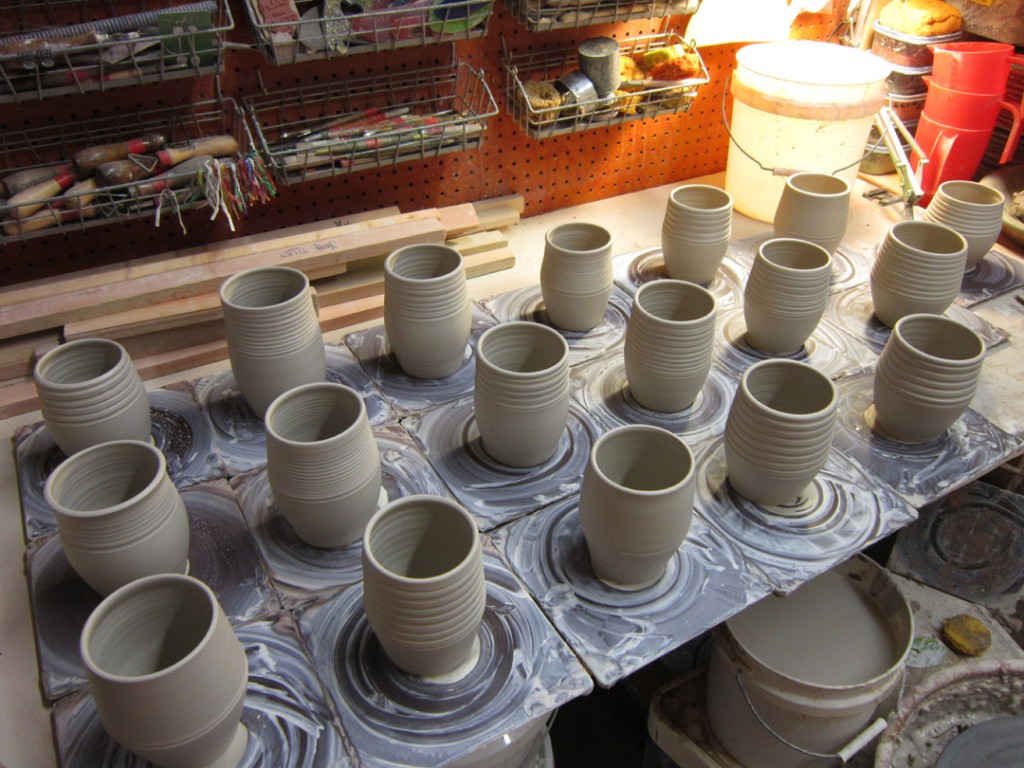
And from those balls of clay I made 18 cylinders. Each one a bit different.

Thrown on square bats – because I love throwing everything on a bat.

After they stiffened up a bit, I carefully removed them from the bats and placed them on a plastic ware board. A great way to condense space… and free up my bats for another round of something!!! They’ll all stay under wraps until I have time to stamp them all… maybe tomorrow???


Categories: bowls, classes, process

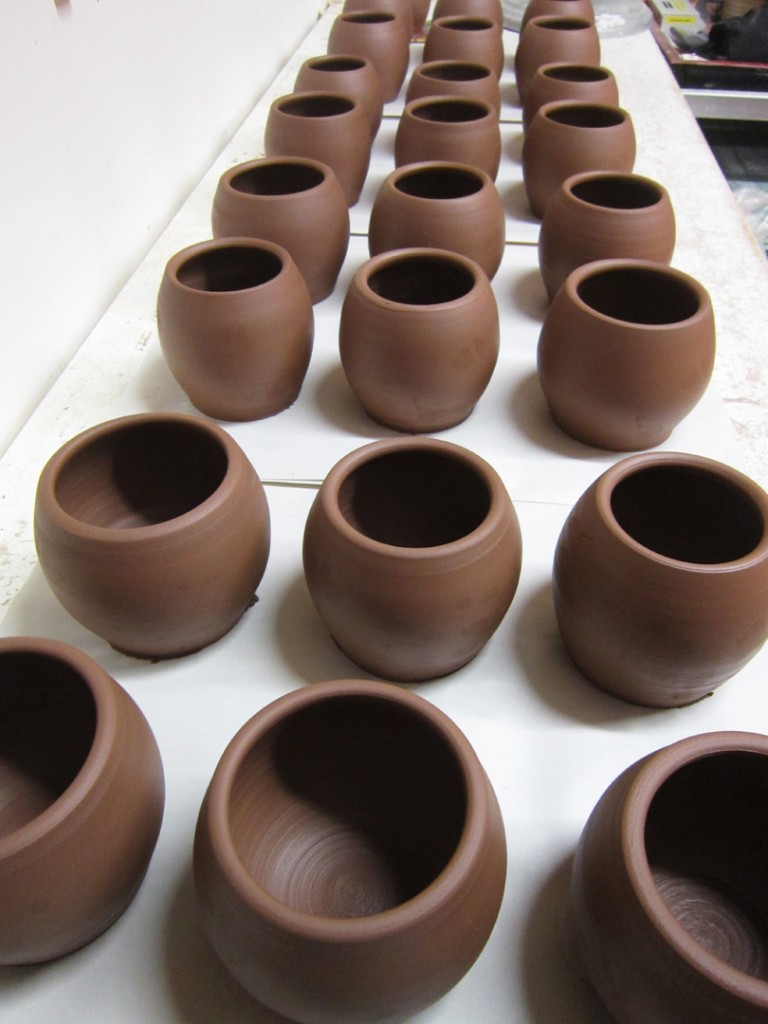
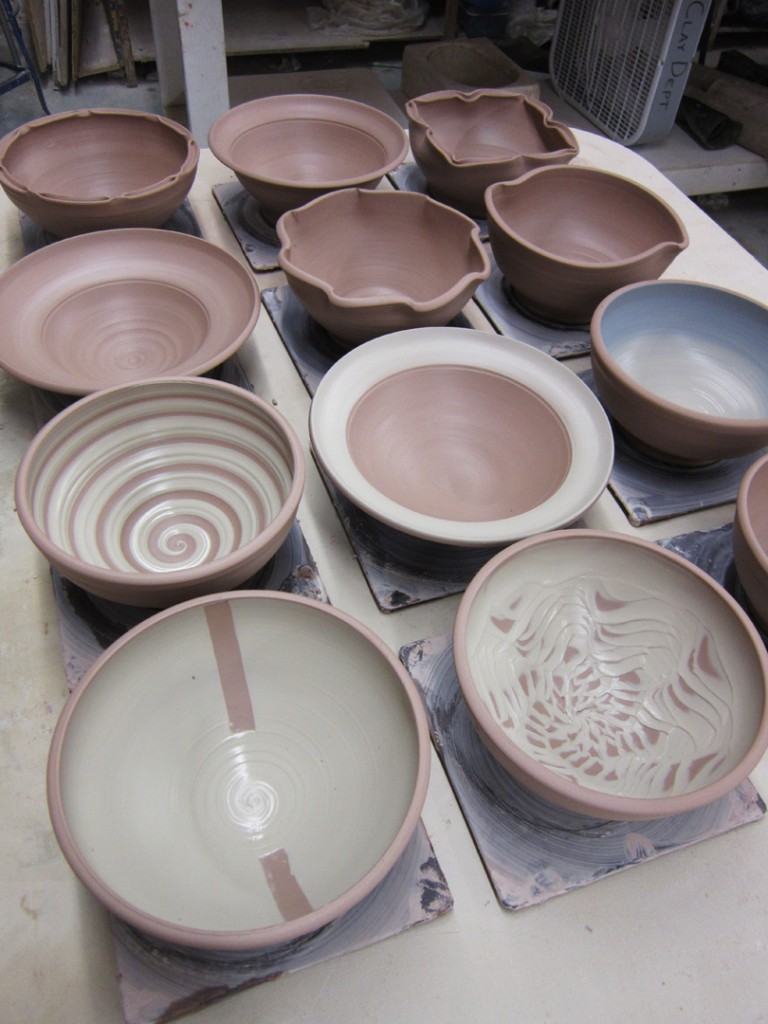
Last night was my “bowl-making-on-purpose-instead-of-a-cylinder-gone-bad” demo for my Beginning & Advanced Beginning Wheelthrowing Class. It’s my favorite demo every session. I start by showing them how to make a nice bowl with a well-rounded interior. Throwing the bowl on purpose and not allowing it to “just happen.” After I show them how to make that one “perfect” bowl, I send them back to their wheels to practice. Meanwhile, I throw eleven more bowls of a similar size & shape. And then we all regroup at my wheel so we can do some quick alterations.

Some quick “tricks” to make each bowl different from the others.
Encouraging my students to do something fun with their clay, to experiment, to play
and to make it their own. Trying to get each of my students to push it a bit further…
and to have fun with their clay!
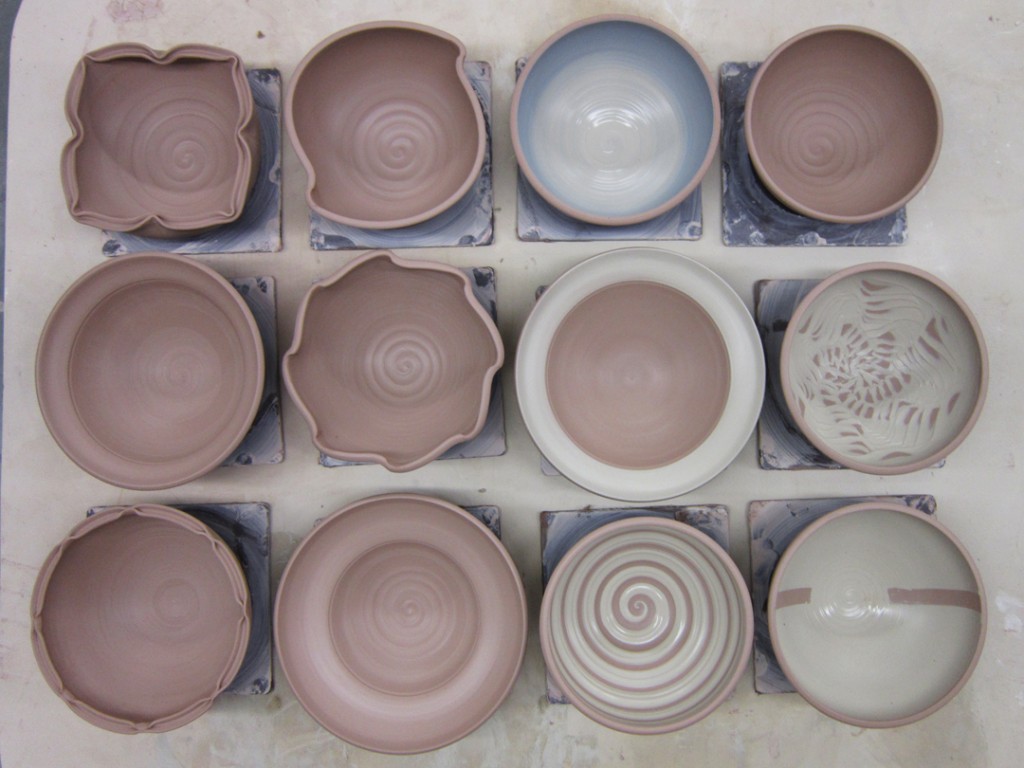
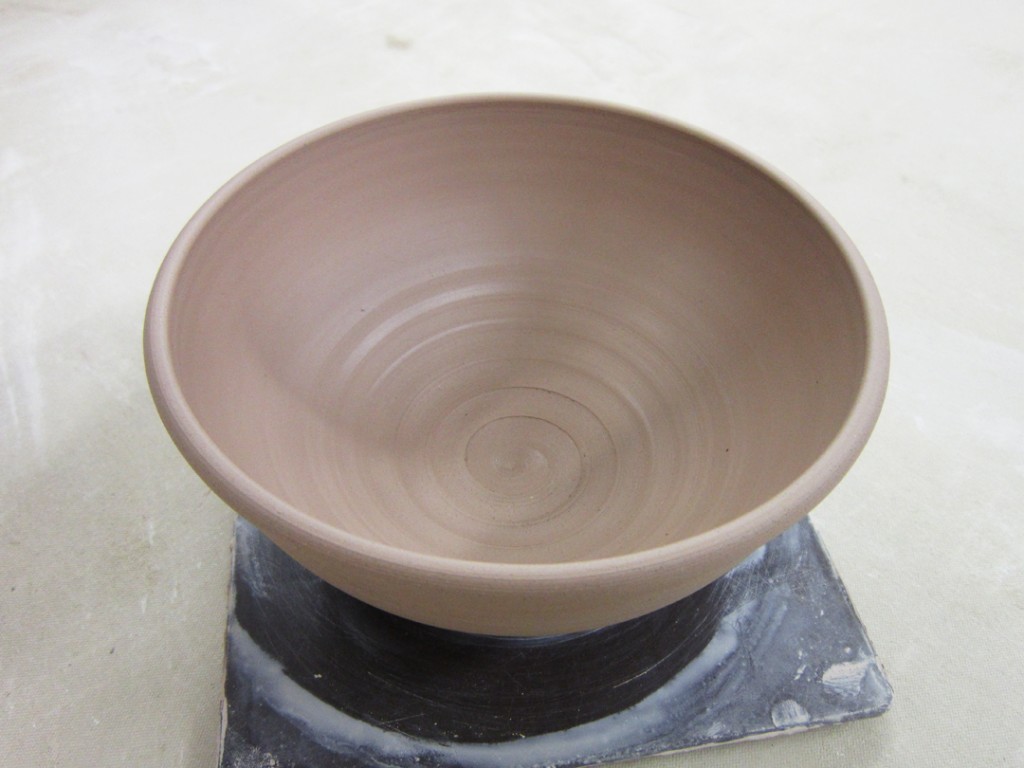
Bowl #1 -The basic bowl. All twelve of them started just like this.
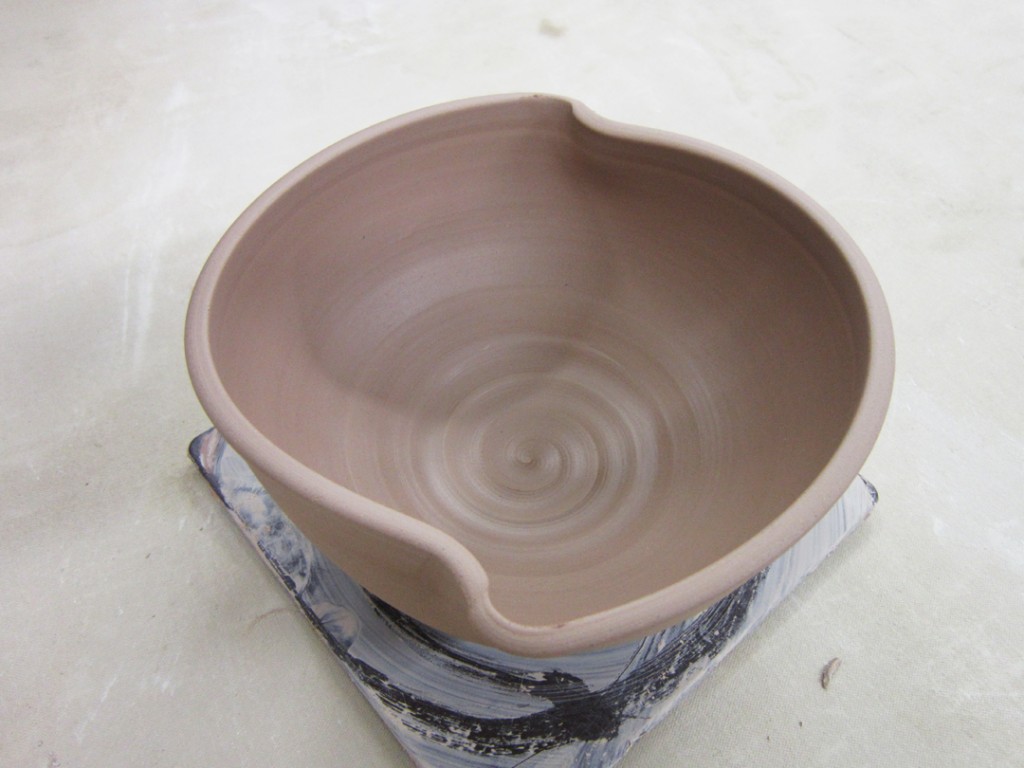
Bowl #2 – Two twisted flutes on opposite sides.
Bowl #3 – And if two flutes are sweet, maybe eight are even sweeter?!
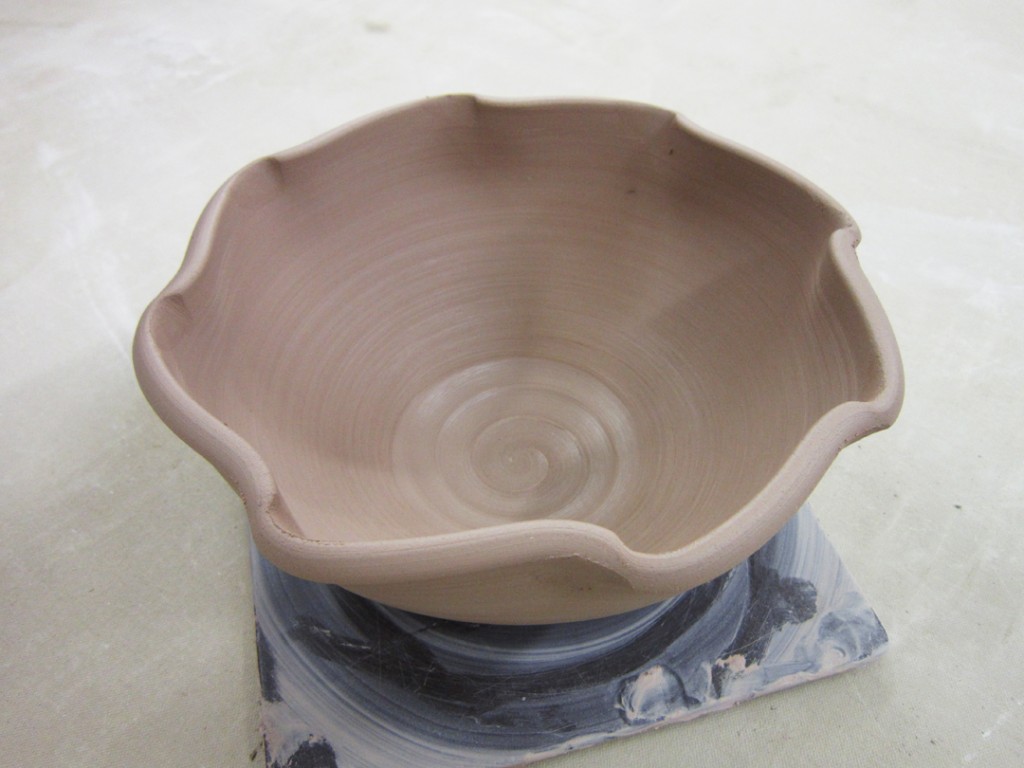
Bowl #4 – A simple flared flange.
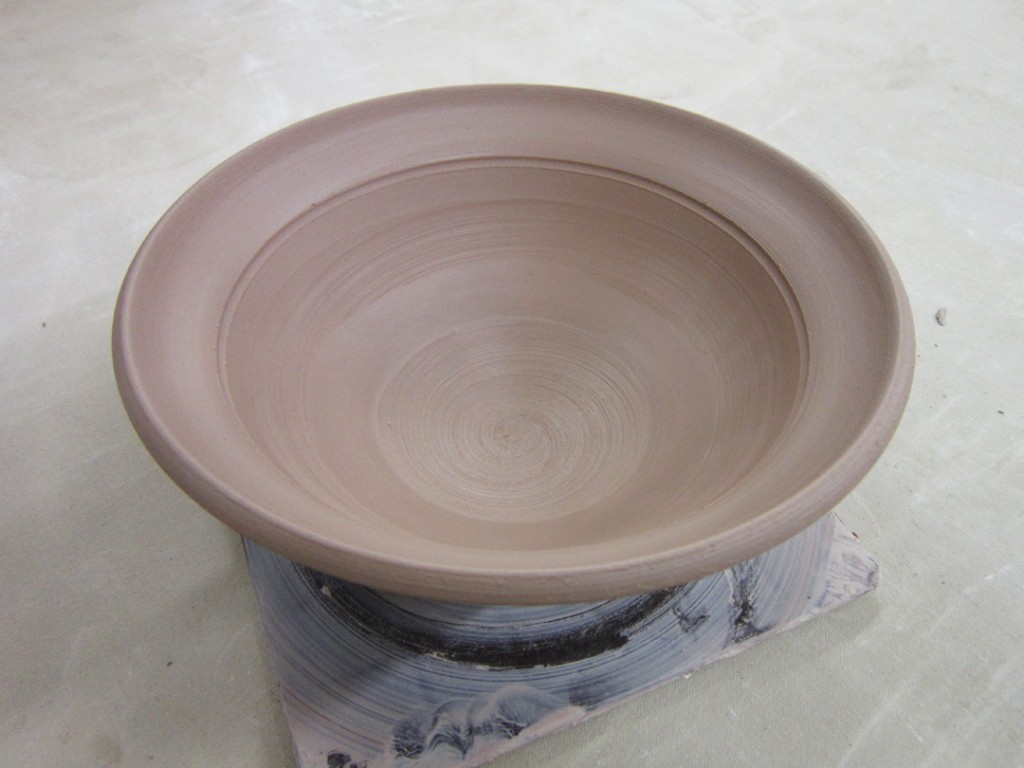
Bowl #5 – And if a little flare is nice, maybe a larger, wider flange is even nicer?
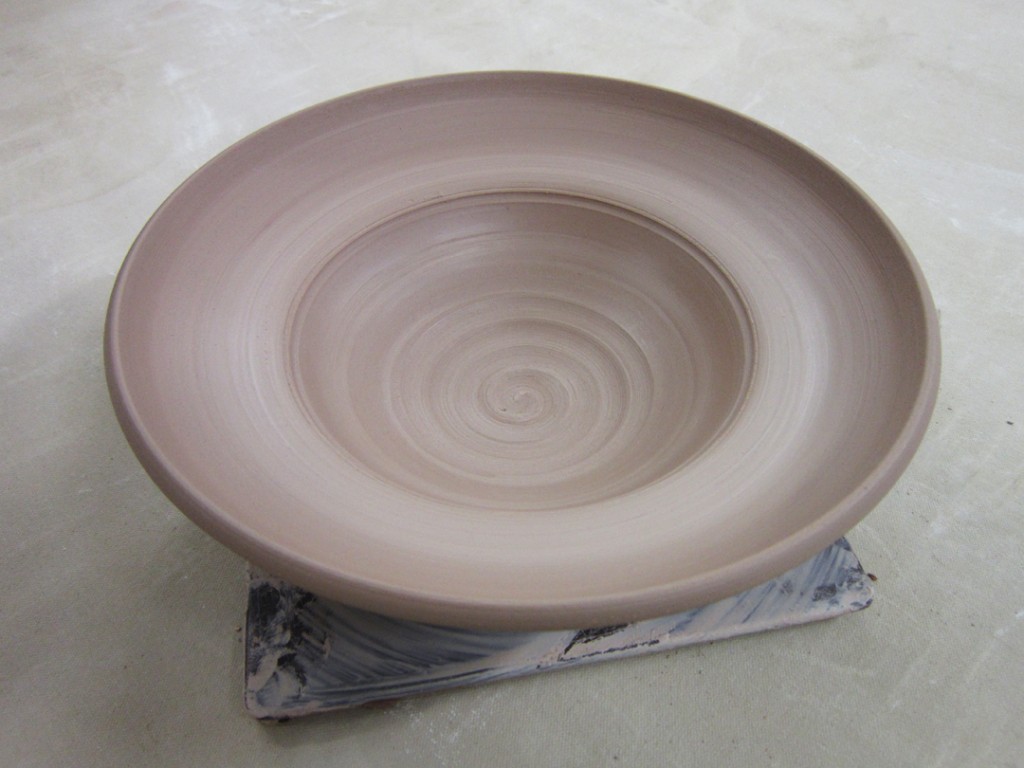
Bowl #6 – A split rim with some pinches around the edge.
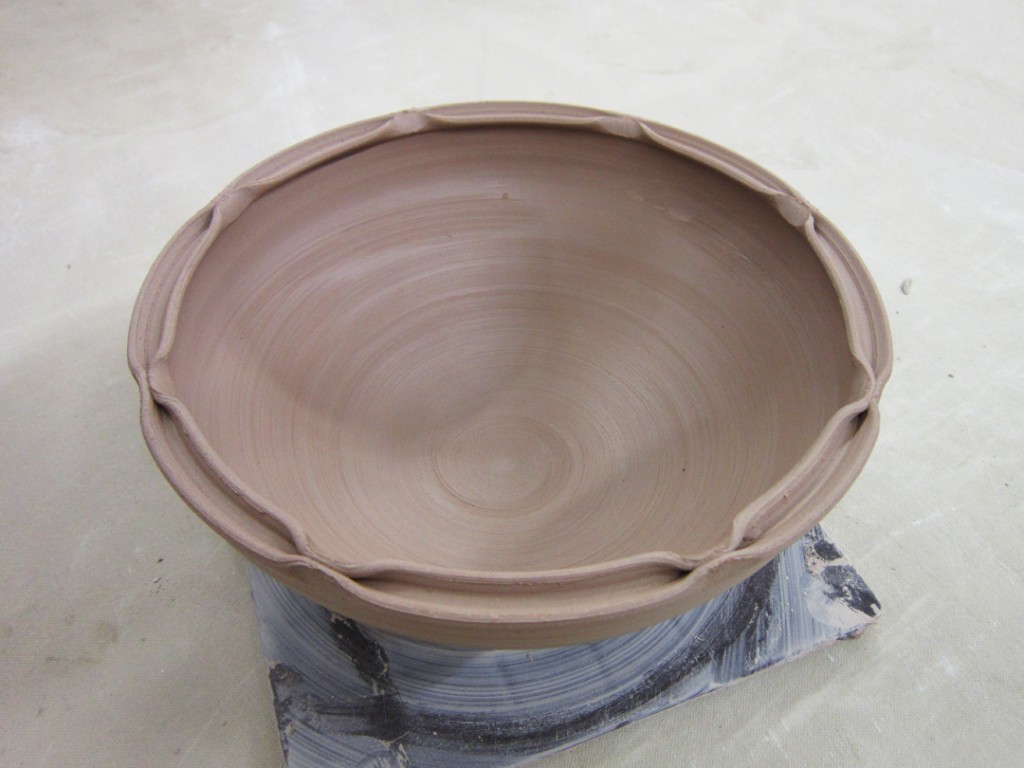
Bowl #7 – A split rim pushed in and pushed out for a lotus-like shape.
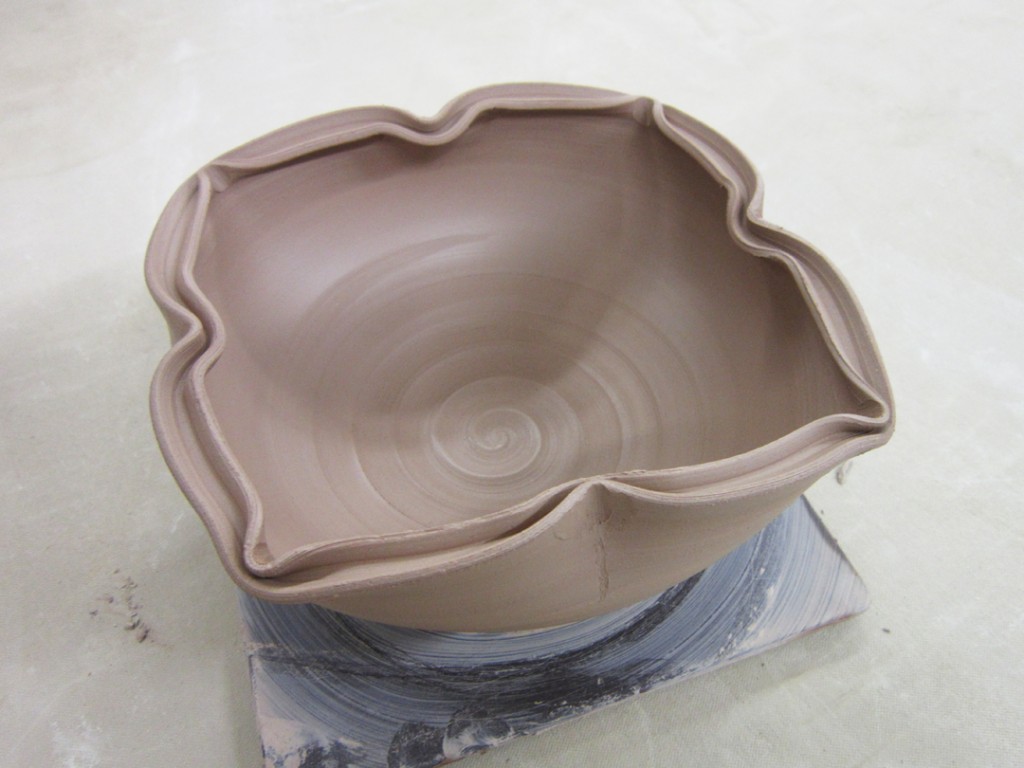
And then, once I have them adequately overwhelmed with making bowls… why not throw them all the way over the edge by introducing colored slip?!

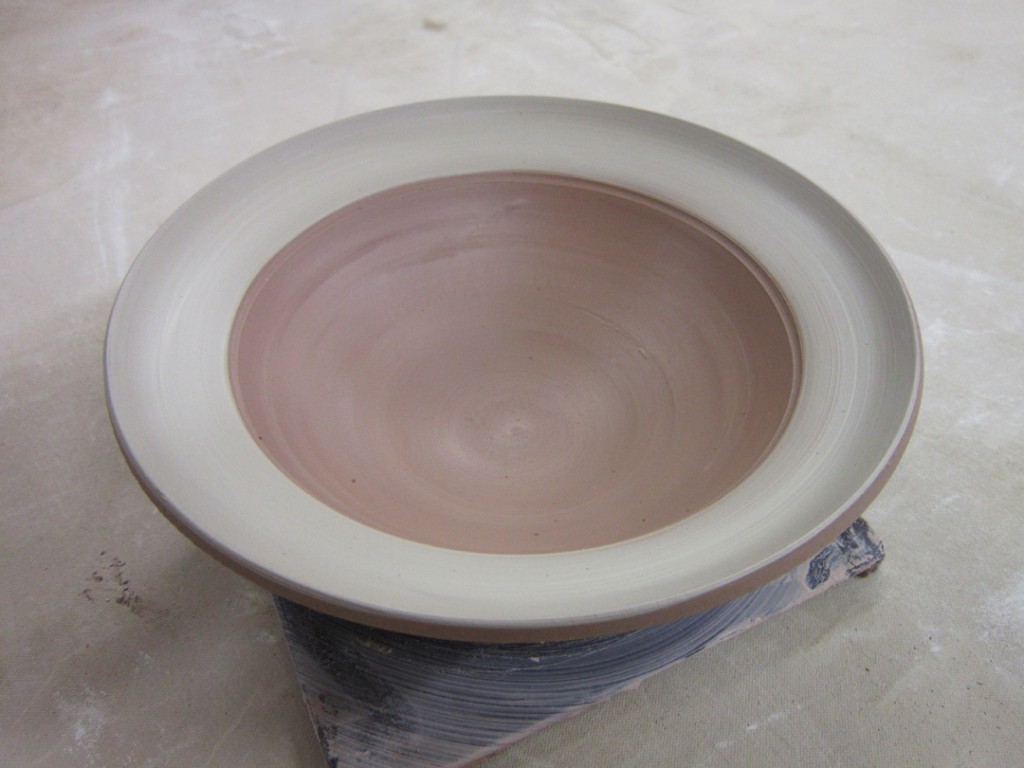
Bowl #8 – White slip on a simple flared flange.
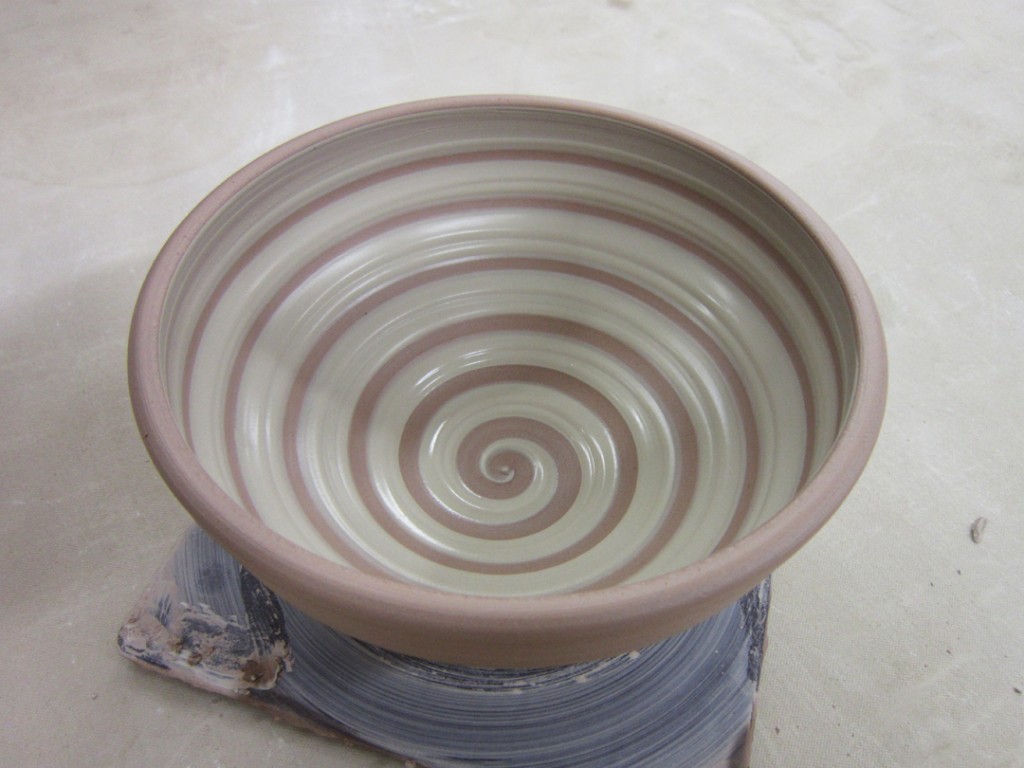
Bowl #9 – A spiral dragged through white slip to reveal a spiral of the clay color using the rounded end of my wooden knife.
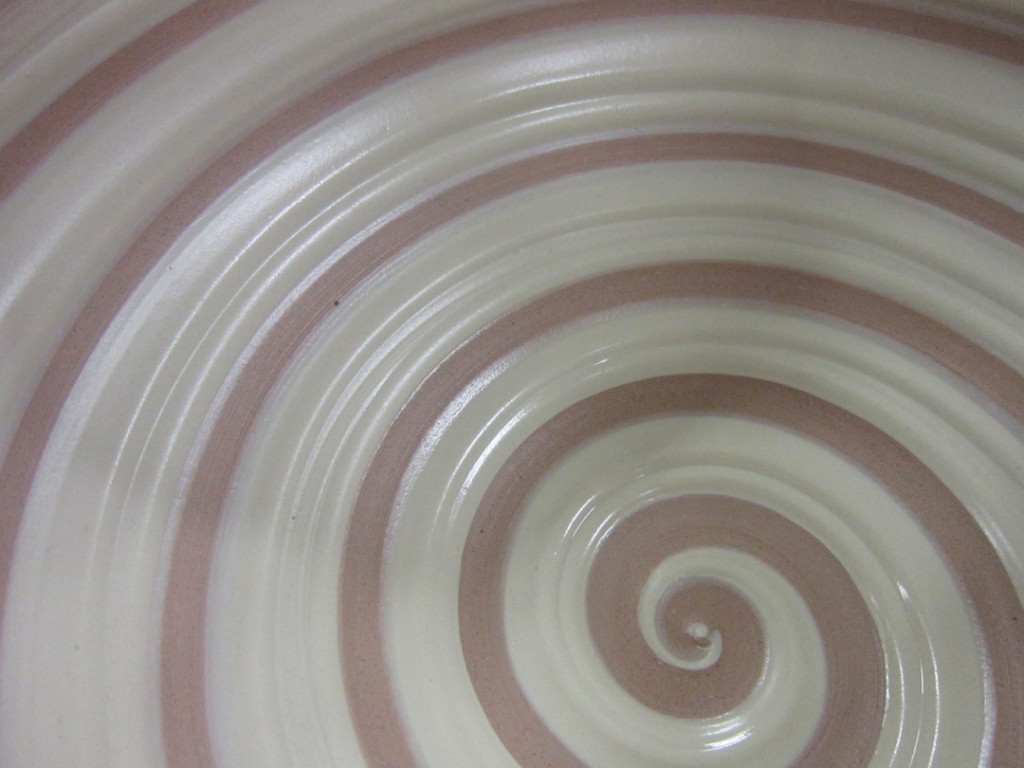
Bowl #1o – A chattered pattern by using a rounded edge rib and doing some rhythmic tapping through the white slip while the bowl is rotating.
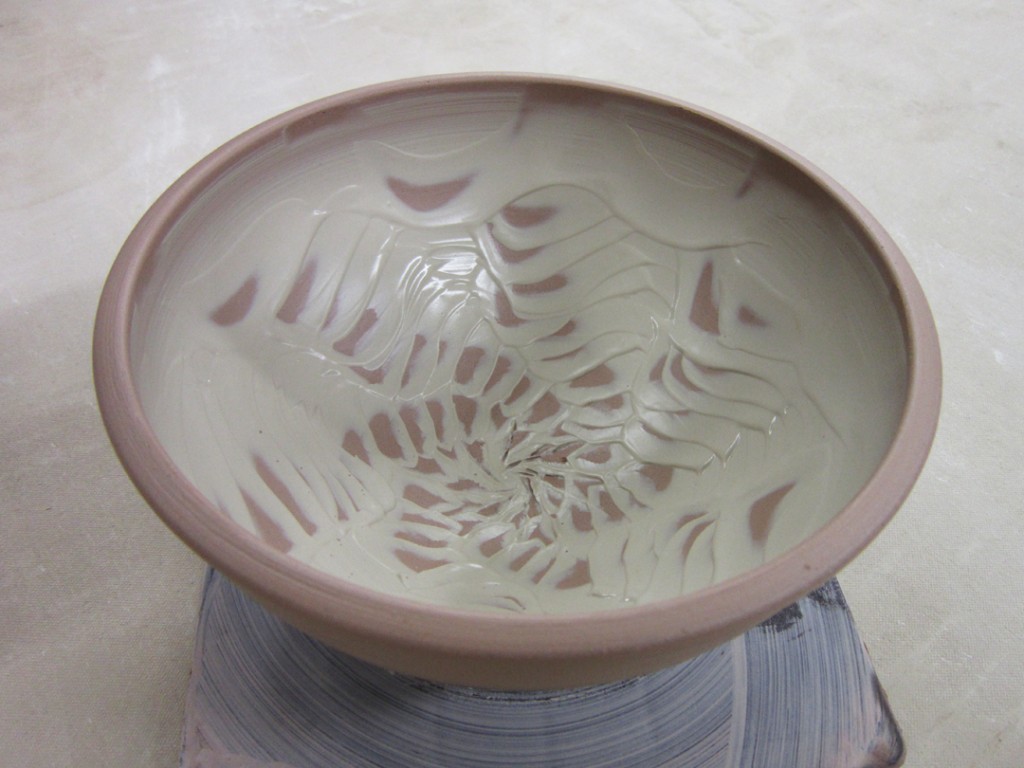
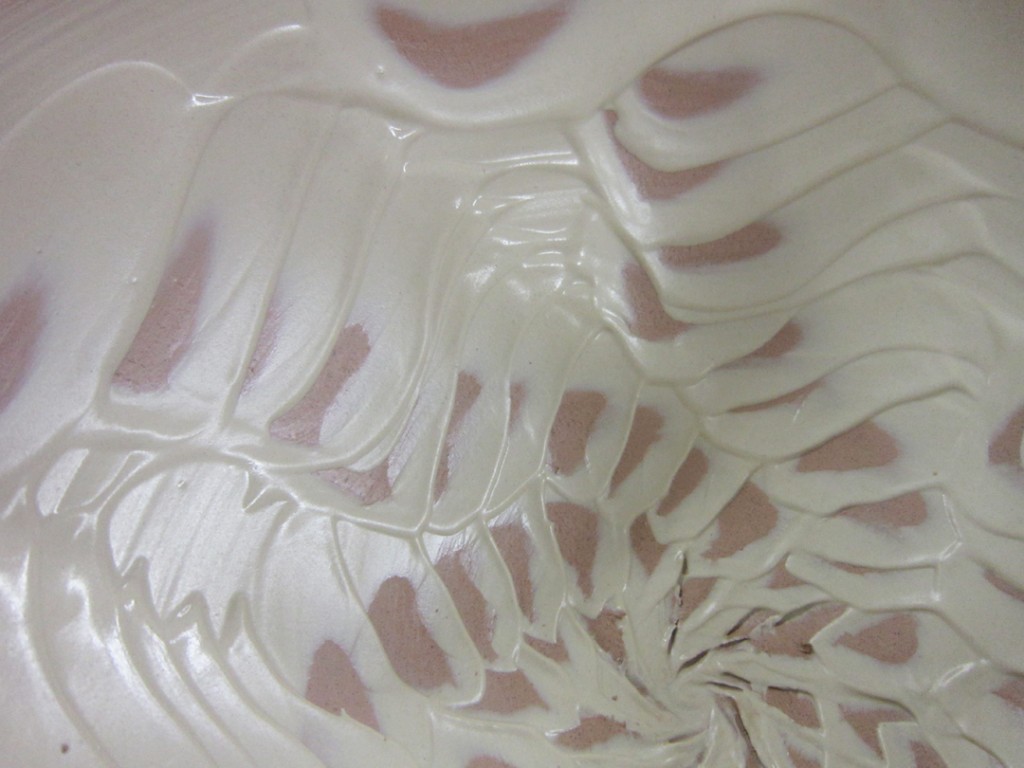
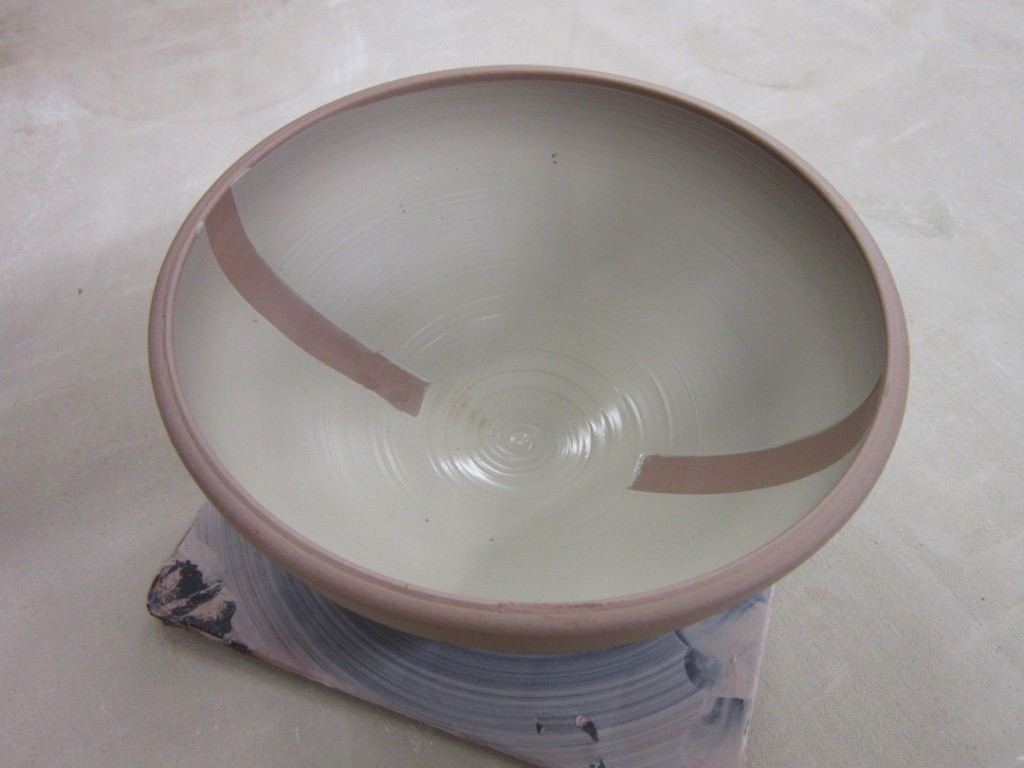
Bowl #11 – A couple simple slices of newspaper used as stencils in the white slip.
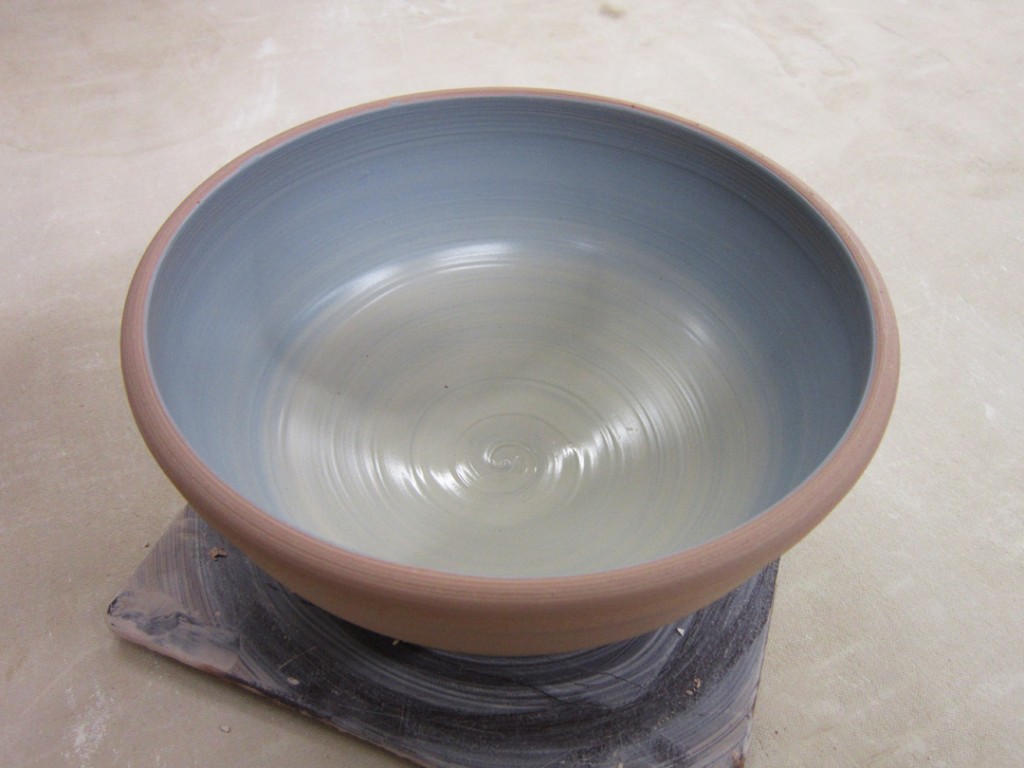
Bowl #12 – A simple ombre blended color gradation using white & delphinium blue slips.
So for now, they’re up in my studio wrapped in plastic. Waiting for them to stiffen up a bit so I can do a little more detailing. Maybe some stamping. Maybe some carving. Maybe some add-on accents. And then at some point… trimming will commence!
Categories: art fair, mugs, pottery, process

Let the pricing & packing commence. Lots of pots. Lots of mugs!!!

Categories: process, terra cotta

As if I didn’t have enough on my plate already…
for some reason I also decided to make six new Mummies. We completely ran out of them last year at ART IN THE BARN. So if I wanted to sell a “complete set” of Ghouls, I needed to replenish a few Mummies!!!

Categories: kiln firing, process, production

Last night I unloaded my soda kiln. After a full day of firing and a full day of cooling, you’re always a little anxious to unbrick the door and get your first peek of what’s inside. The front of the kiln is always “pounded” with a bit more soda… and there fore a bit more “gray.” But the backsides of those pots on the edge are usually pretty sweet, with great contrast to the soda blast zone. Here’s the front stack of the kiln…

And then the back stack of the kiln…
looks like pretty good coverage throughout. No dry spots that I can see so far.

Yep, everything turned out pretty well. A good coverage of soda on the pots.
A lot of nice flashing. Some sweet glaze effects.

A LOT of mugs… you know they’re my favorite thing to make!!!

A couple new sets of salt & pepper shakers…

And some new tiles, in a few new sizes…

Categories: process, production, terra cotta

Okay, so we’re less than a week away from ART IN THE BARN.
My soda kiln is cooling… so what better time to START making the newest Ghoul to add to the collection?! Could I have put it off any later? I don’t think so…

Categories: kiln firing, process

After a rickety ride downstairs in the freight elevator, my studio cart made it to the kiln room. With a few masking tape “seat belts” none of my pots were bounced off the cart.

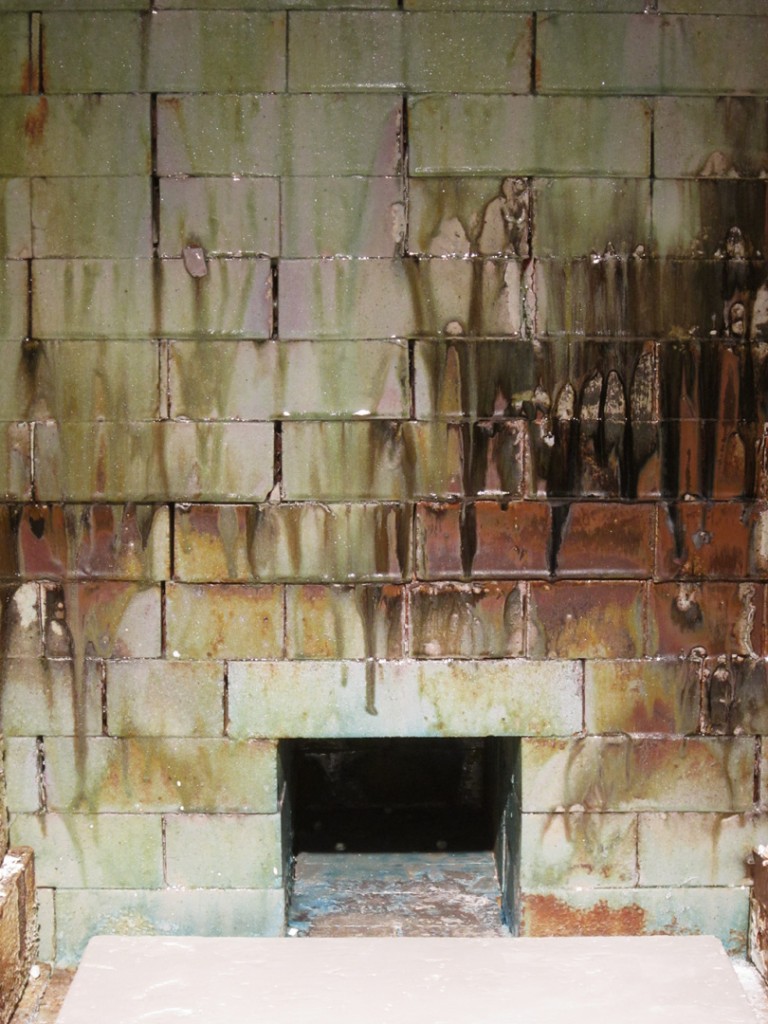
So then it’s time to start loading the soda kiln. But first, a look inside…
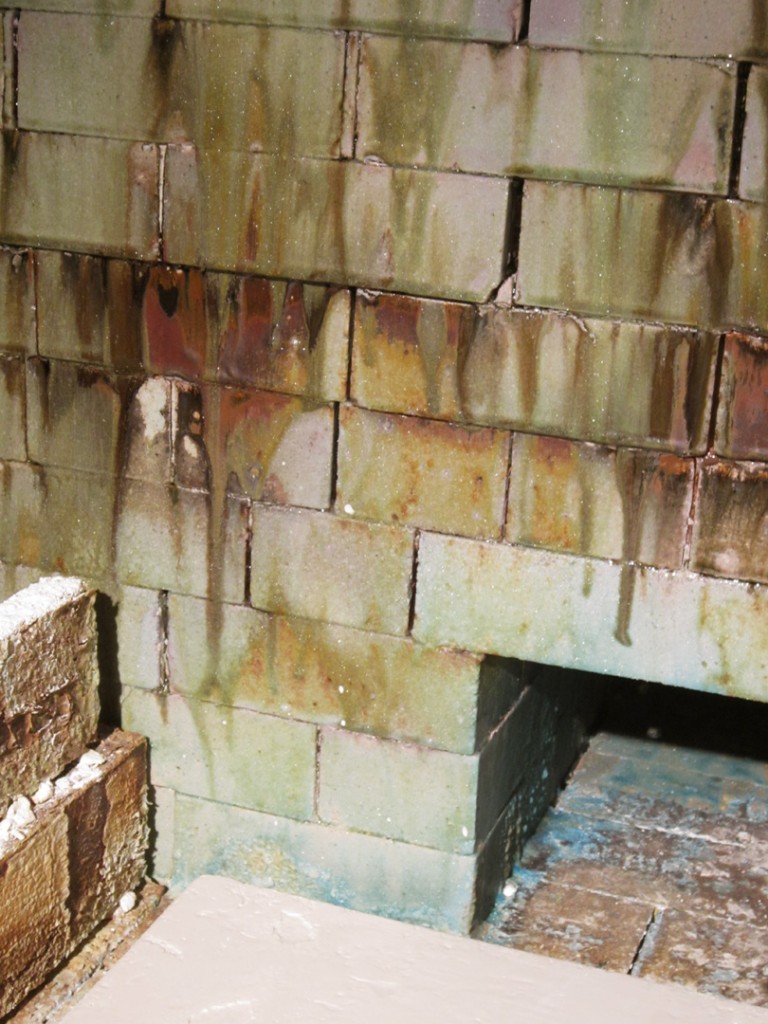
And the beautiful, drippy layers of residual soda build-up glazing the kiln bricks.
After many classroom firings, the back wall of the kiln is GORGEOUS!!!

Pretty, huh???
Okay, back to me. And my soda kiln loading.
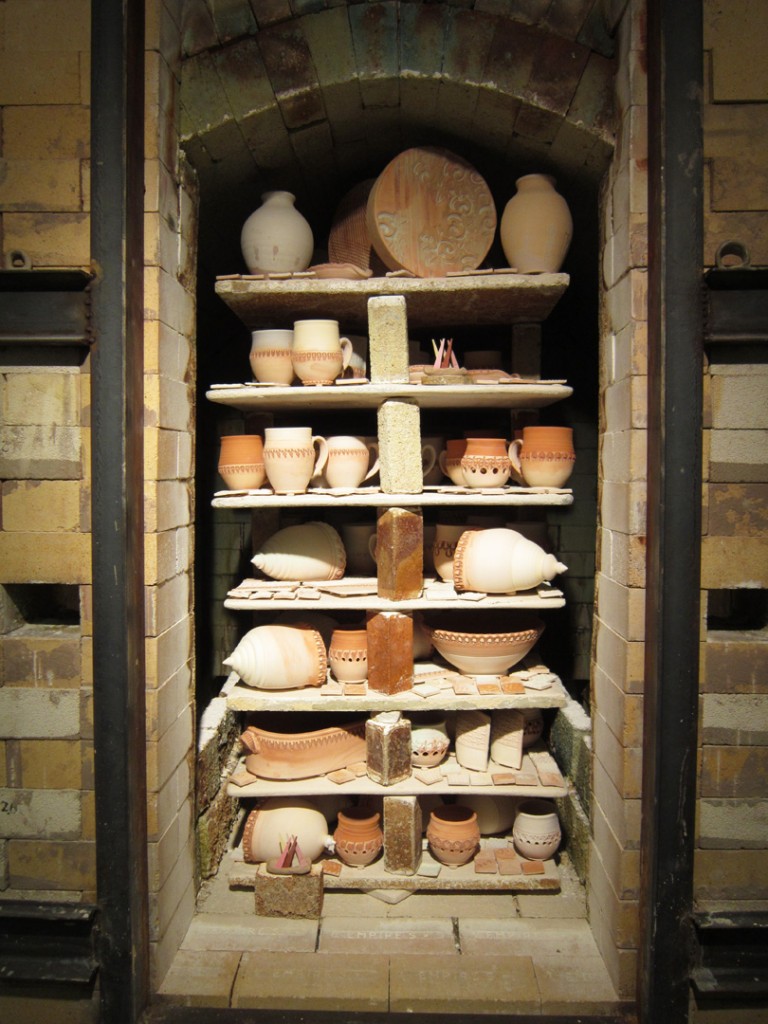
First, the back stack, a single shelf deep…

And now the front stack, two shelves together…

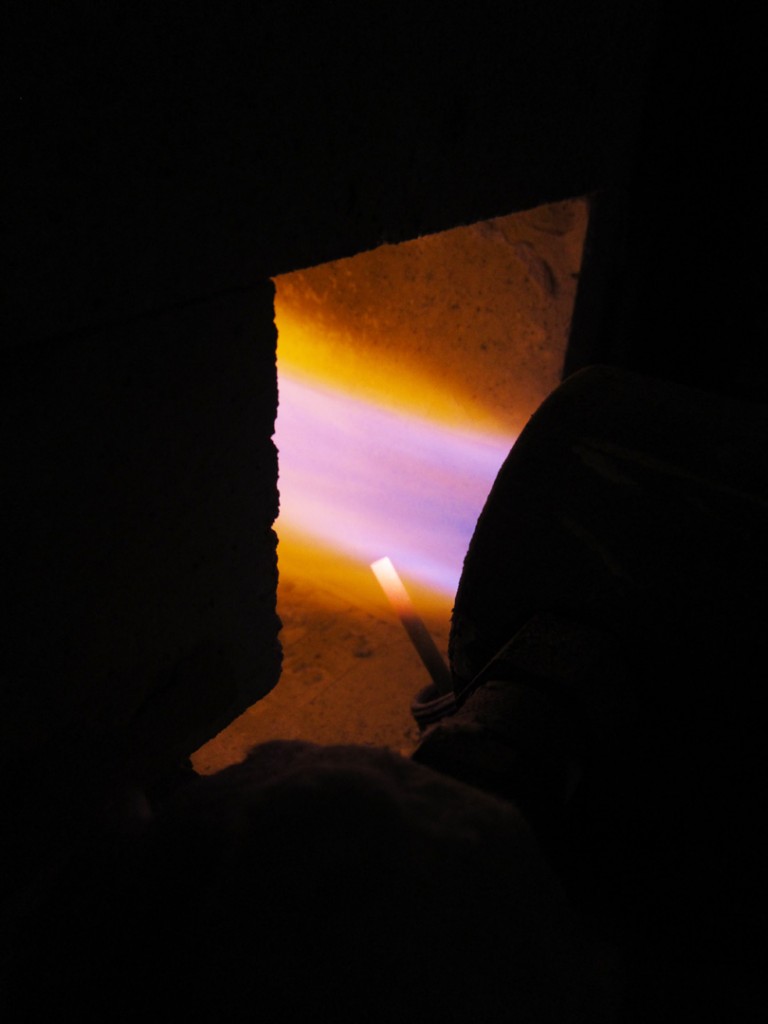
Then it’s closed up brick by brick by brick… and I turn the burners on for about 20 minutes Long enough for me to clean up my mess, take the cart back upstairs, grab my things and get ready to go. A little “candle” heat into the kiln to dry things out overnight.

After the quick warm-up, my kiln is all loaded, turned off and closed up for the night.
Tomorrow we start again with an early morning…

Categories: glaze, process, production

It’s been a very productive day in the studio.
Just getting my glaze on!!!

So I’ve been glazing, cleaning, and wadding getting everything ready for loading.
Luckily, my studio rolling cart is pretty much the same size as the soda kiln. I know that when the cart is filled with glazed pots, I’m pretty much done.