Gary Jackson: Fire When Ready Pottery
A Chicago potter’s somewhat slanted view of clay & play
Categories: mugs, process, production, tools

I was getting ready to paint some colored flashing slip accents on another batch of mugs. But every time I do this, I wish I could see better where I’ve painted. This particular slip color is just too close to the color of my clay body. Hard to keep track of where you’ve already been!

So I finally did it… I added some food coloring into my bucket of slip. The plan is to tint the slip so it shows up better… all the while knowing that the food coloring will burn out during firing. Cool trick, huh?

So I squeezed a few drops of yellow food coloring into my bucket of Smooth Orange Flashing Slip… and if you wait a few minutes before stirring, you get this really groovy pattern as the food coloring spreads. You kinda just want to stand there and watch!!!

Eventually I had to get back to work… so I stirred it up and started painting the slip accents on some mugs. I like to paint the top section as well as a center detail on each stamp. Since I only had yellow food coloring, the color change was not too dramatic. But it did give the slip a bit of a pale yellow tint so it was easier to see what I had painted and what I hadn’t as I was rotating the mug.

Categories: process, production, stamps, vases

Throwing off the hump making some mini vases.
And yes, smaller vases need smaller stamps!!! Go figure.

Categories: process, production, tools

Spinning fast. Trimming quick.
I LOVE my Giffin Grip!!!

Categories: mugs, process, production, stamped, stamps

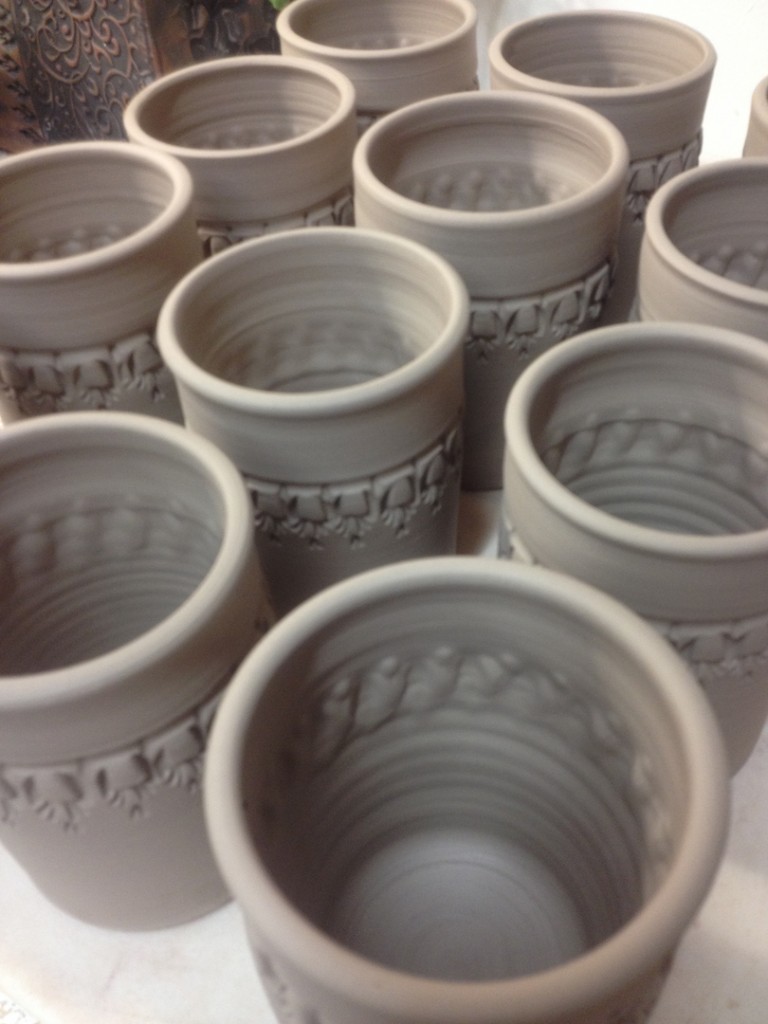
It’s been a long morning of stamping cylinders. One step closer to making another batch of mugs. This time I made a few different shapes of cylinders… kinda hoping to find a new one that intrigues me. I also “forced” myself to do all the stamping with the new batch of stamps I made a couple weeks ago. So here are a few new mug shown before & after stamping… as well as the stamp that I used to make the pattern.

Mug A

Mug B

Mug C

Mug D

Mug E

Mug F

Mug G

Mug H

Mug I

Mug J

Mug K

Mug L

Mug M

Mug N

Mug O

Mug P

Mug Q

Mug R

Mug S

So now all of the cylinders are stamped and under plastic.
Next up will be trimming the bottoms and adding handles.


Categories: artists, lillstreet, pottery, process

Last night at Lillstreet Art Center, we had a great little workshop by one of the Artist-In-Residence Artists before my class. Nolan Baumgartner demo’d three different large platters… but more importantly, three different techniques of centering & throwing them. Since the demo was right before my class, I encouraged my students to come an hour early. Even though my students are mostly Advanced Beginners, it’s always good to watch someone throwing pottery. Even if their skill sets aren’t quite ready to tackle this amount of clay!

Platter #1 – Traditional Centering
Nolan started with a large ball of porcelain… about 20 pounds. He muscled & finessed his way through centering the clay in the traditional way. Locking in his elbows and pressing everything to the center. He then started throwing a large cylinder with a slight angle inwards before the pull of centrifugal force sets in. You could just see my students soaking up every little bit… intrigue, concern and understanding.
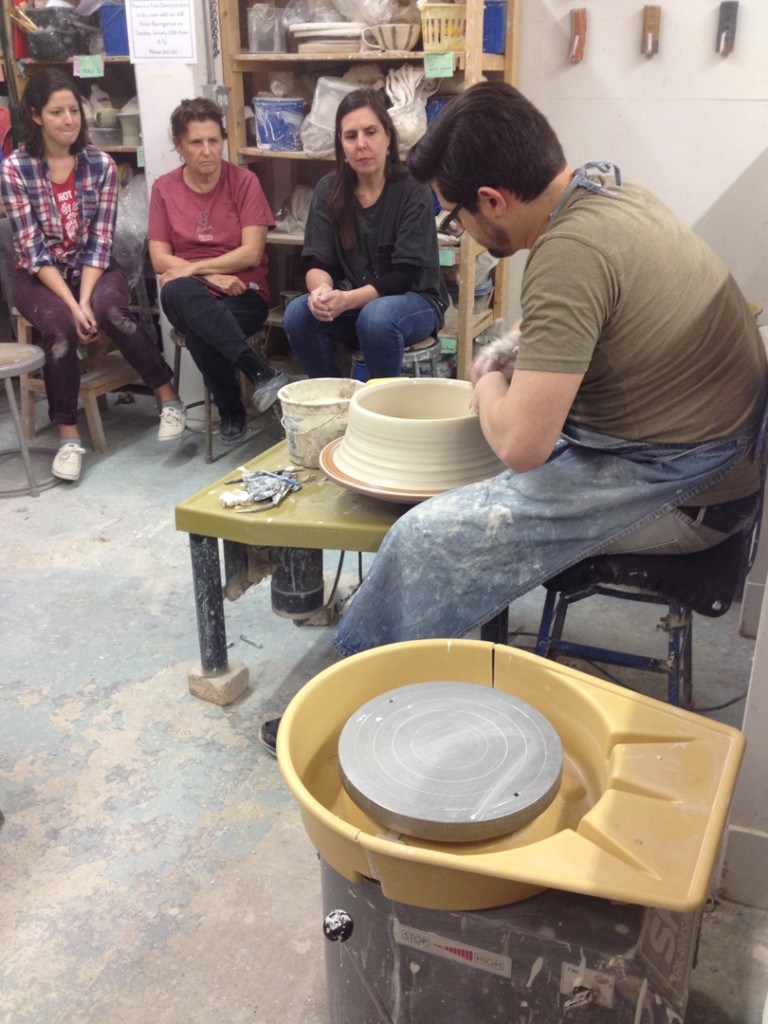
But when Nolan pulled out the blow torch…. WATCH OUT!!!!
My students were mesmerized... and I had to nip it in the bud. I don’t even allow my Beginning students to use fans or blow dryers. So when they saw Nolan using an open flame to help stiffen his clay quickly, I knew I was in trouble!!! But I kept “glaring” at my students with my best “don’t even think about it” look!

After stiffening up his clay a bit, Nolan went back to doing some more shaping of his platter… flaring out the flange wider & lower. And look at my students Taylore, Patty and Catherine right there closely watching his every move!

Some finishing touches and Platter #1 was ready to be set aside.
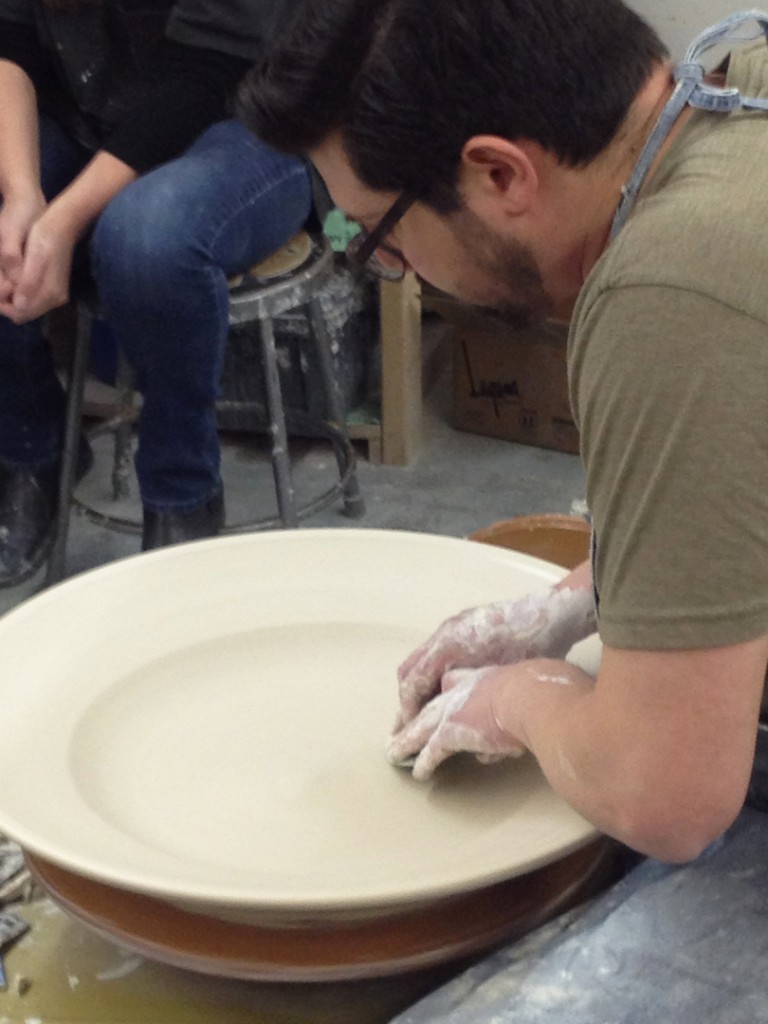
Platter #2 : Centering Layered Balls of Clay
For his second platter, Nolan started with centering a 5-pound ball of clay. He then carefully set another 5-pound ball of clay on top of it… and then slapped and centered it downwards.
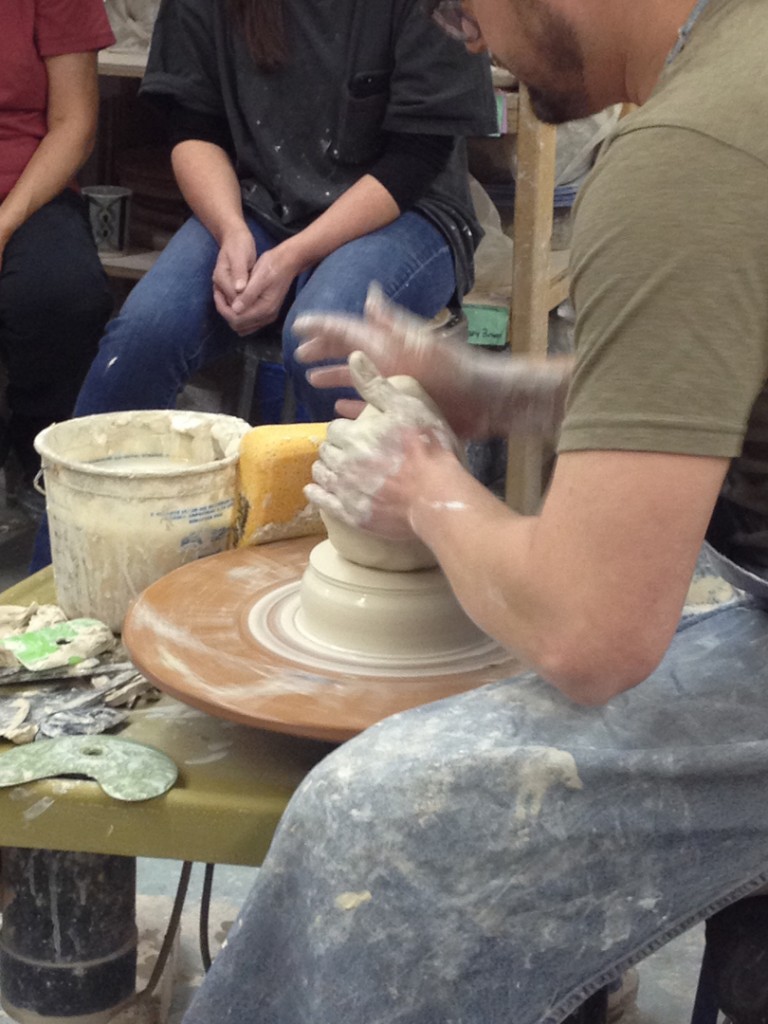
After smoothing & centering the second five pounds onto the bottom five pounds…
Nolan added another 5-pounds on top making it a total of 15 pounds of clay. Again, centering the top ball of clay down onto the centered bottom two-thirds. Once he had all three balls of clay centered & incorporated, Nolan went back to throwing the second platter similar to the first one.

And then again… THE BLOW TORCH!!!
Really?… you’re killin’ me! I know I’m going to need to “re-direct” my beginning students a bit when we get back to my classroom! But for Nolan’s large porcelain platters, I get it. Especially for a workshop demo like this. If he pushed it too far too fast, the porcelain platter would just flop down.
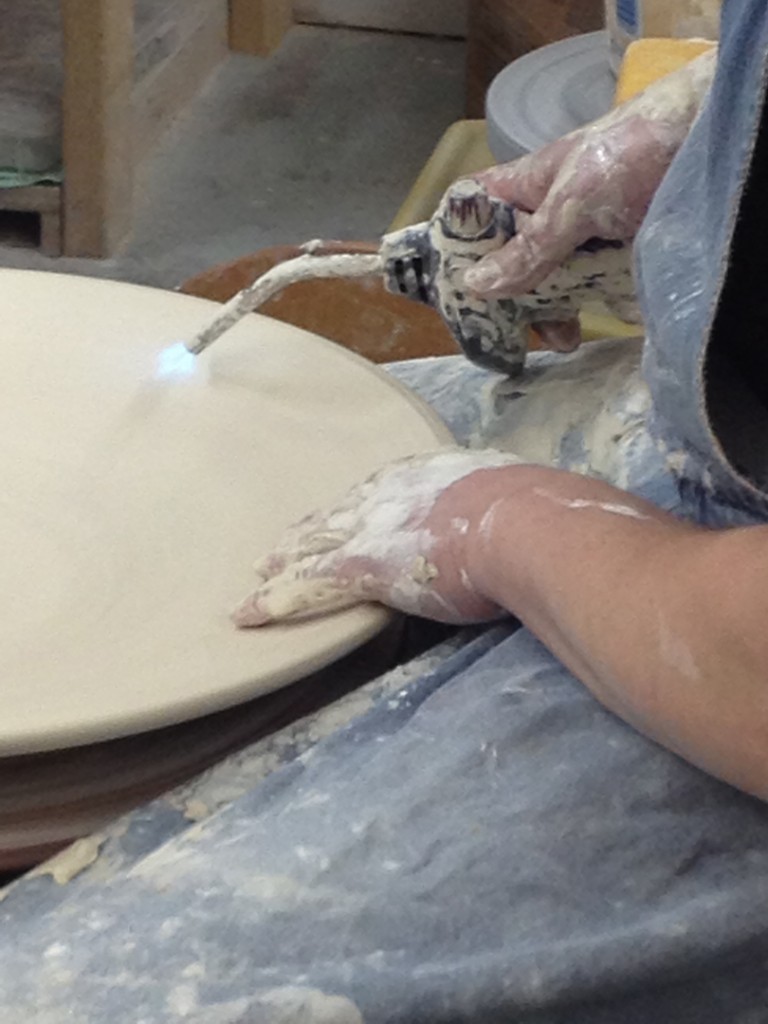
A little more shaping with ribs, and a little more blow torching, and Platter #2 was ready to set aside.

Platter #3 : Pounded, Paddled, Beat-up and Fluted Platter
For this one, Nolan started with another large ball of wedged porcelain. He set it on the wheel and slapped it around a bit until it was close to centered. But his third technique was to make this platter WITHOUT centering it the traditional way. So he started slapping it down while the wheel was rotating slowly with open palms.
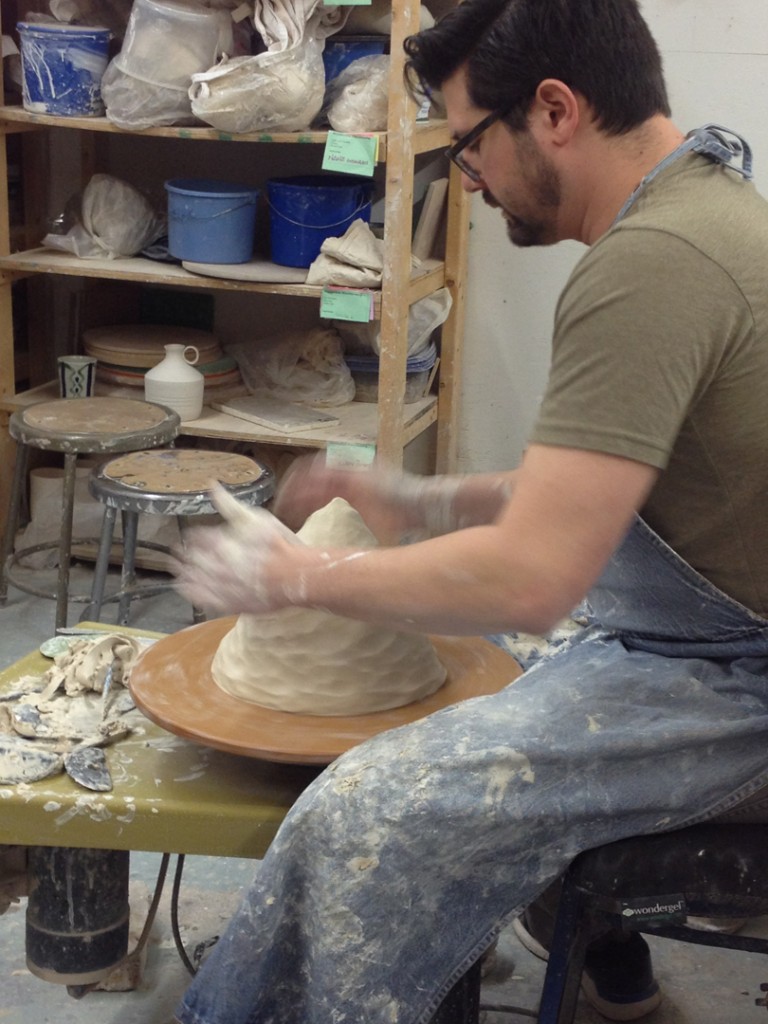
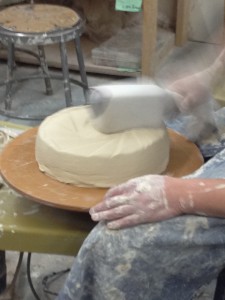
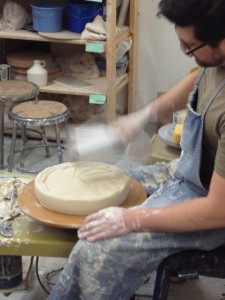
Once it was “kinda” centered, he then pulled out a square mallet… and started pounding!!!
The wooden mallet is covered with a white gym sock. Again, pounding the clay evenly as the wheel is rotating slowly. I think the trick is to keep the spacing even, as well as the strength & power of each pounding of the mallet.

Pounding the sides, then the top… then the sides…. and the top again…
Getting it more & more centered, compressed and flattened out.
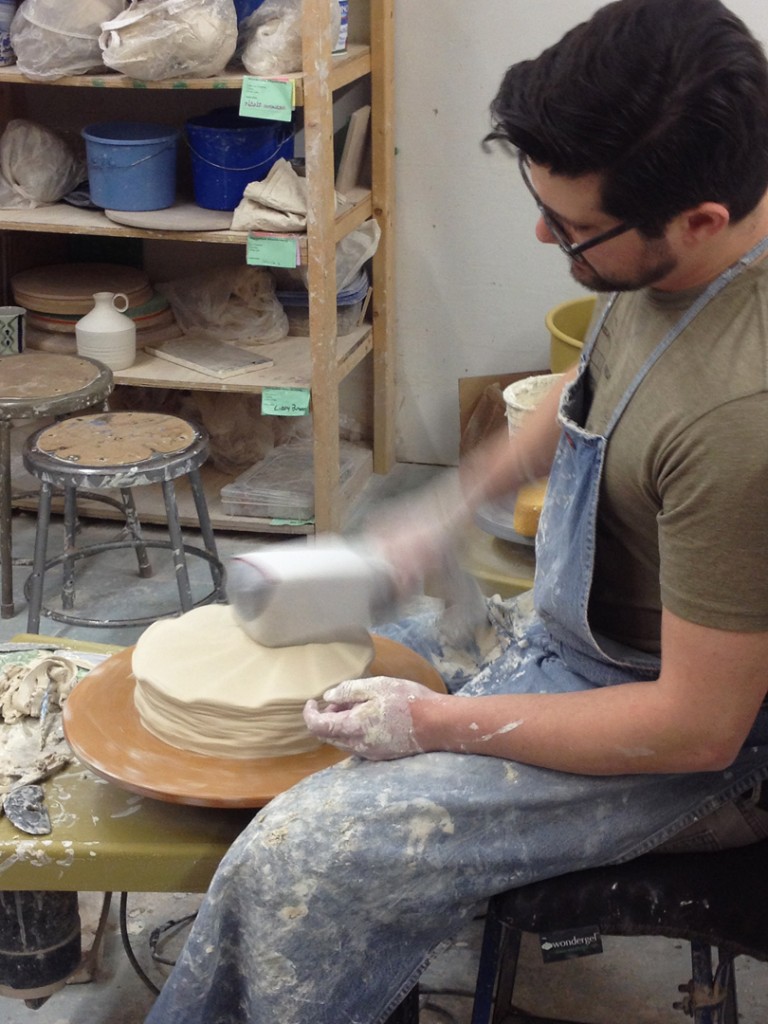
When it gets low enough, flat enough, and centered enough… Nolan switched to pounding it with a closed fist. Again, rhythmic pounding as the wheel is rotating slowly.
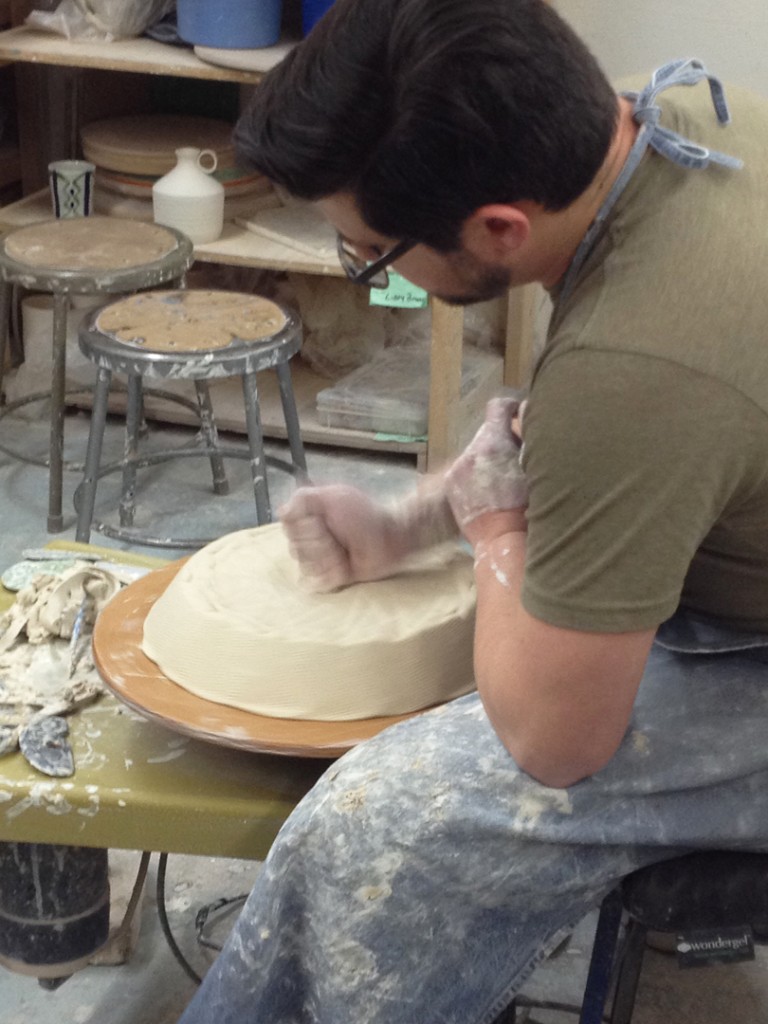
At some point, the clay is “centered” and it was time to throw the rest of the platter the “normal” way. Since this was the third and final platter, Nolan decided to decorate this one with his special fluted technique. He did a split rim, and then curled up even spaced areas using an MKM Decorating Disk.
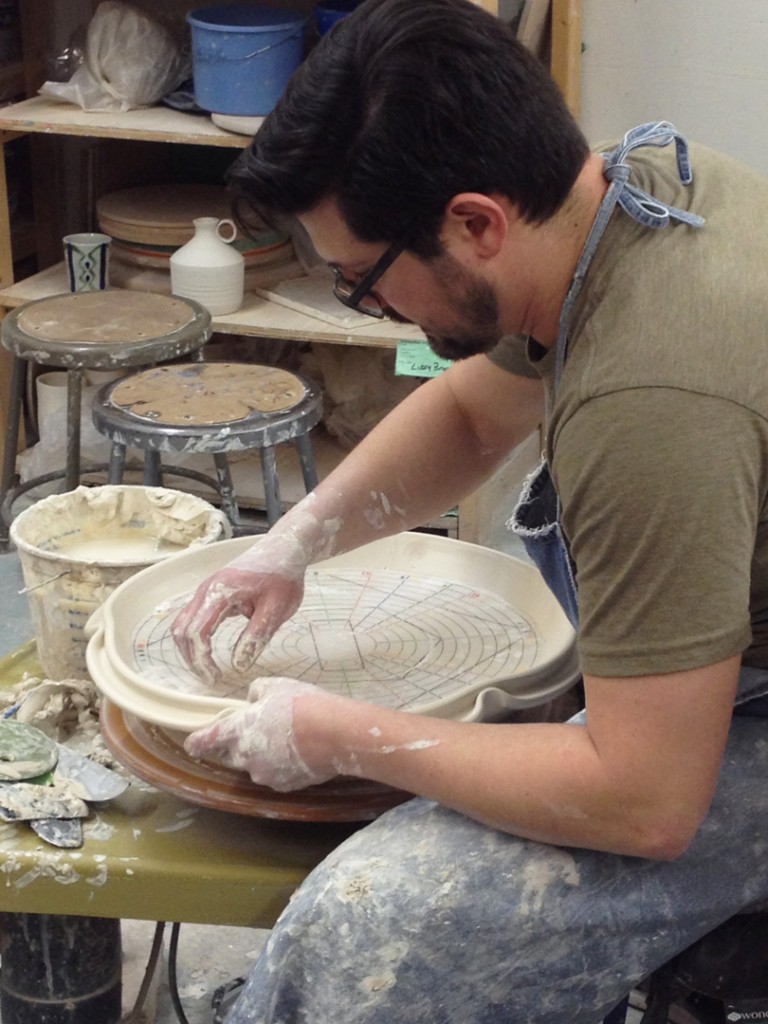
A quick pinch and a pull upwards…

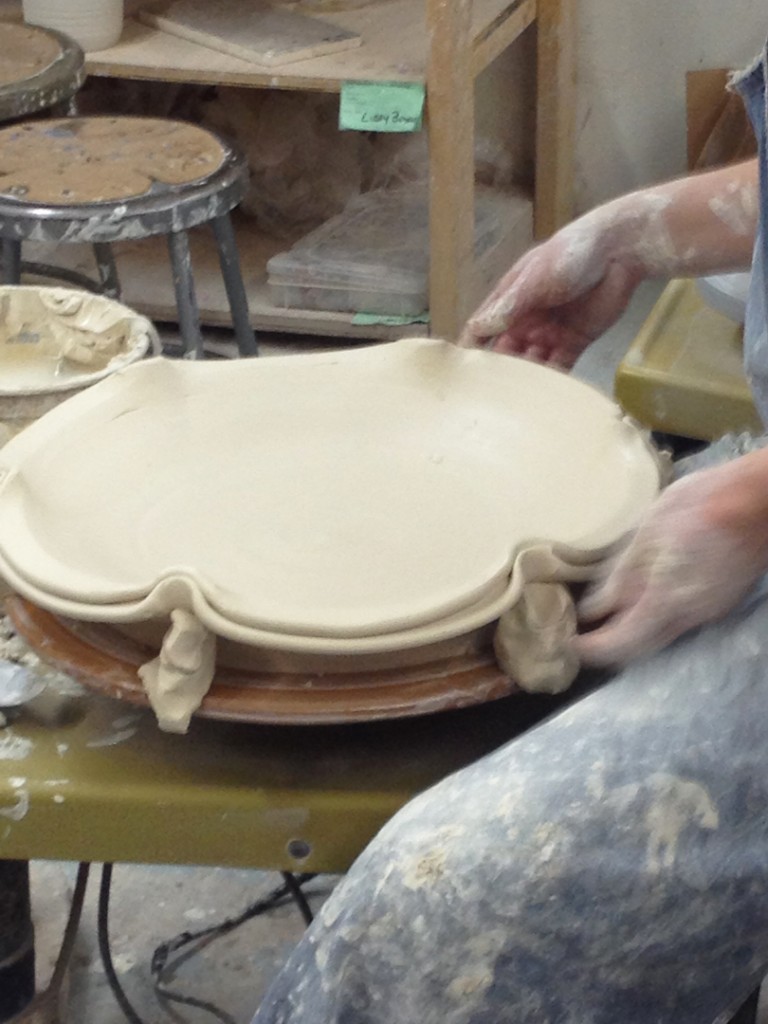
And since the clay was still a bit squishy & slumpy, Nolan likes to use some clay “logs” to hold up the fluted points. A quick hand-squished coil to put in… kinda like flying buttresses.

Once supported, Nolan then curves the spaces between the pinches downward to give it some sexy curves.
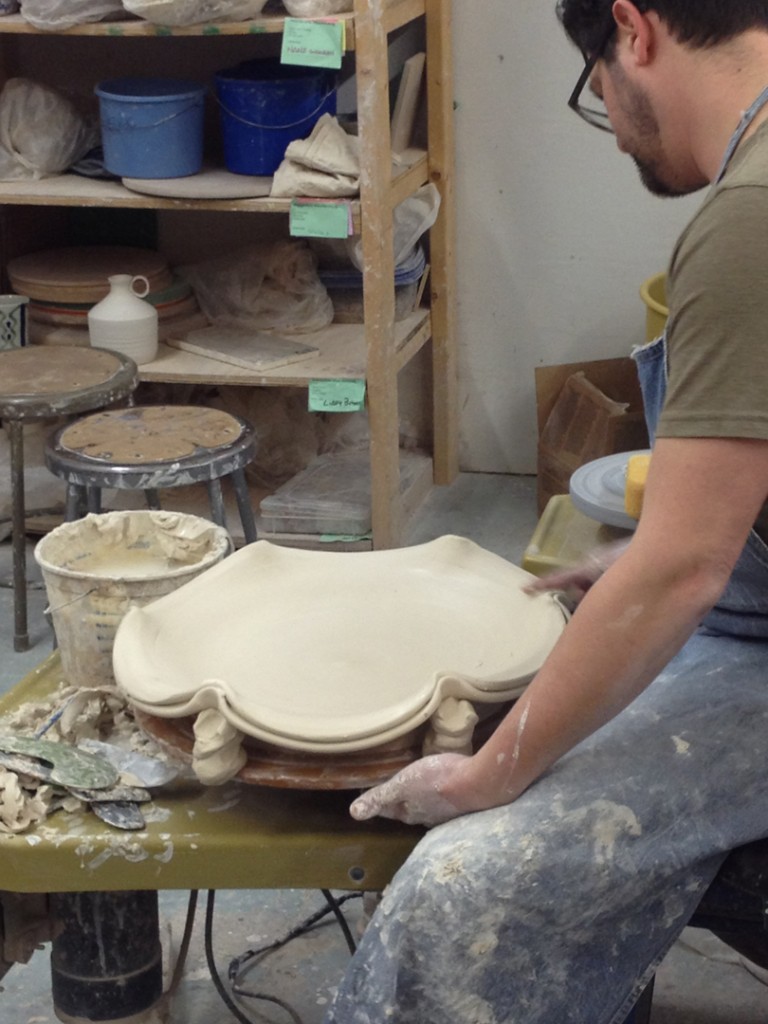
Huge thanks to Nolan for sharing his tricks & techniques. My students loved the demo, as did all of the other students who came to his workshop. He definitely gave everyone a lot of great ideas… some too good for my Beginners.

Did I mention the blow torch?!!!

Save

Categories: movies, mugs, process, production, studio, television, tools

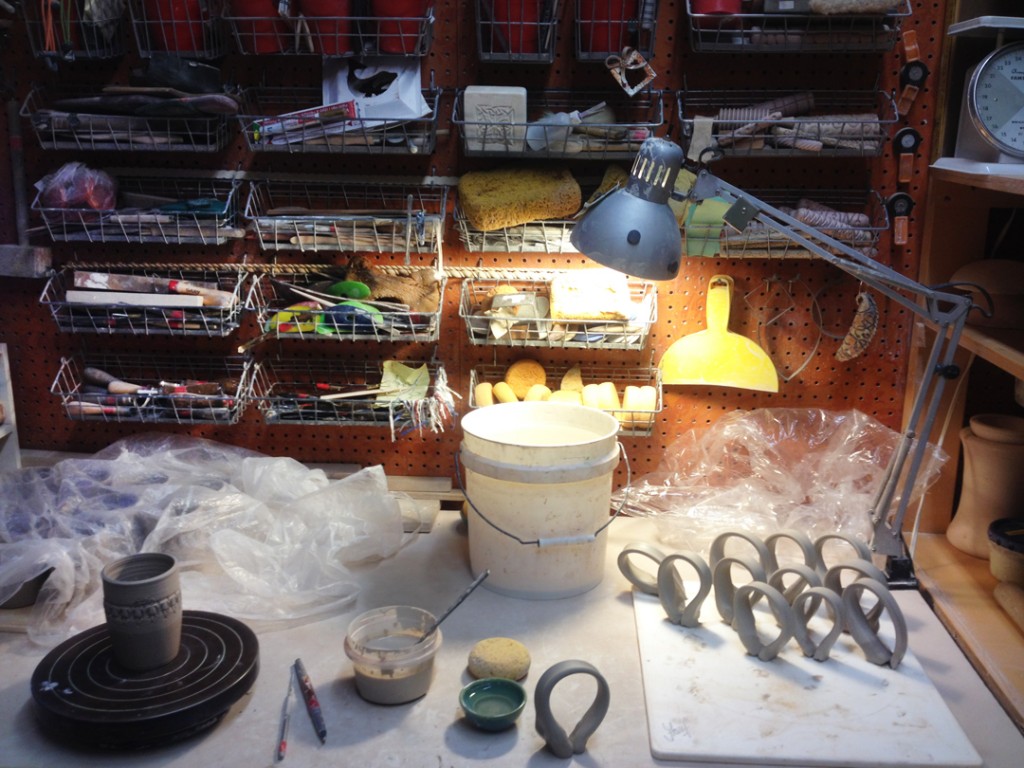
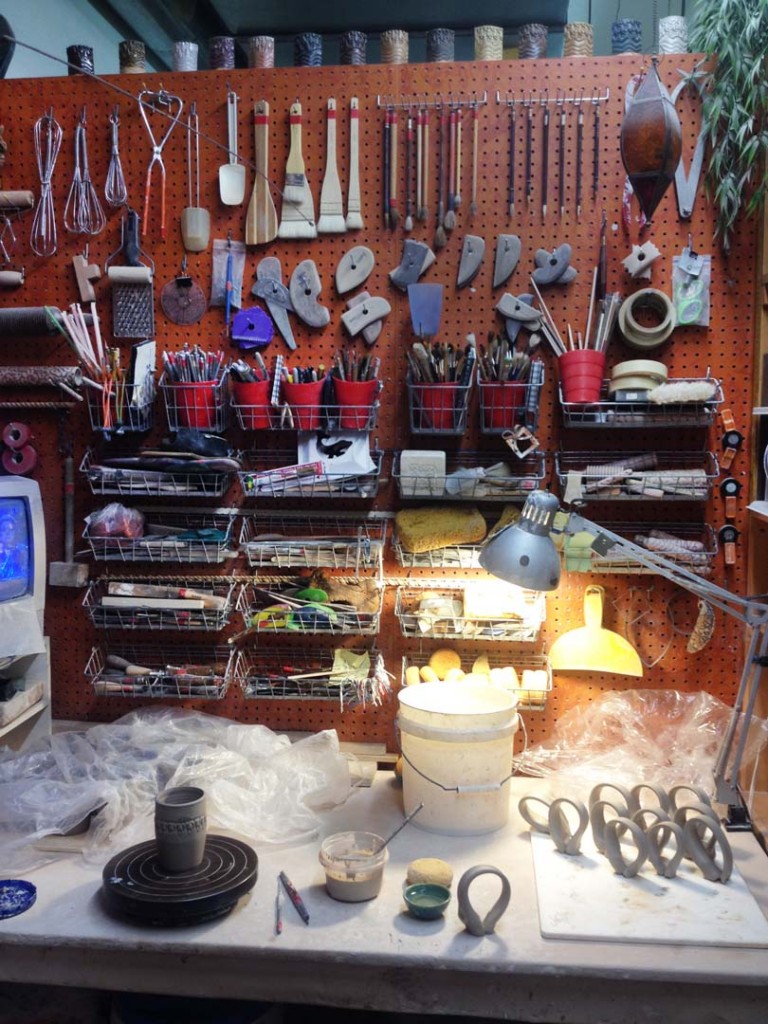
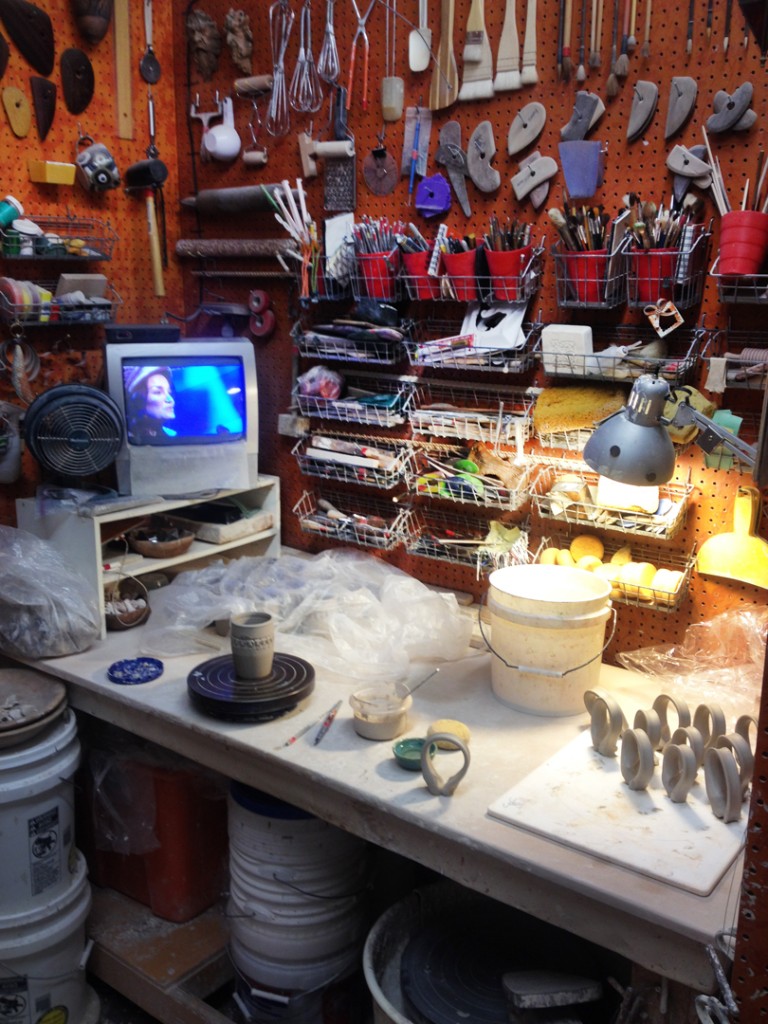
I frequently get asked what my studio looks like…. well, here it is as I was working at my wedging table this afternoon. A lot of pegboard. A lot of tools. A lot of handles to be attached to mugs!!! And one of my favorites on the TV… any guesses?


Save

Save

Save

Categories: mugs, process, production

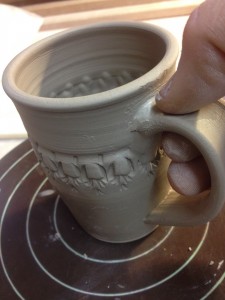
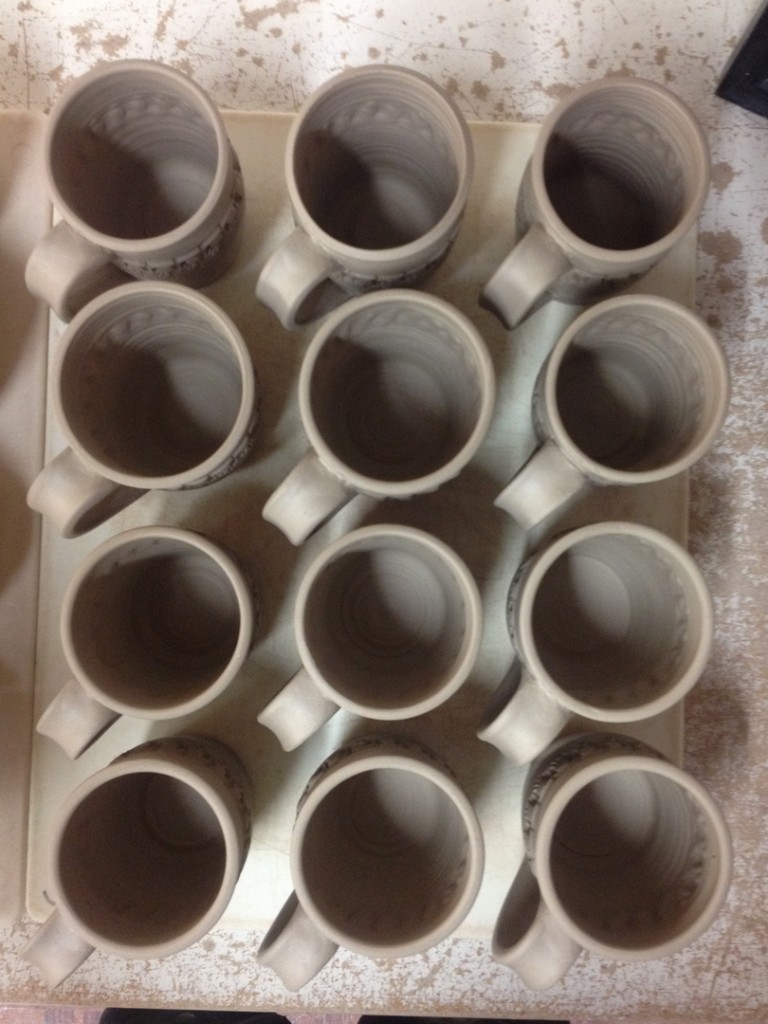
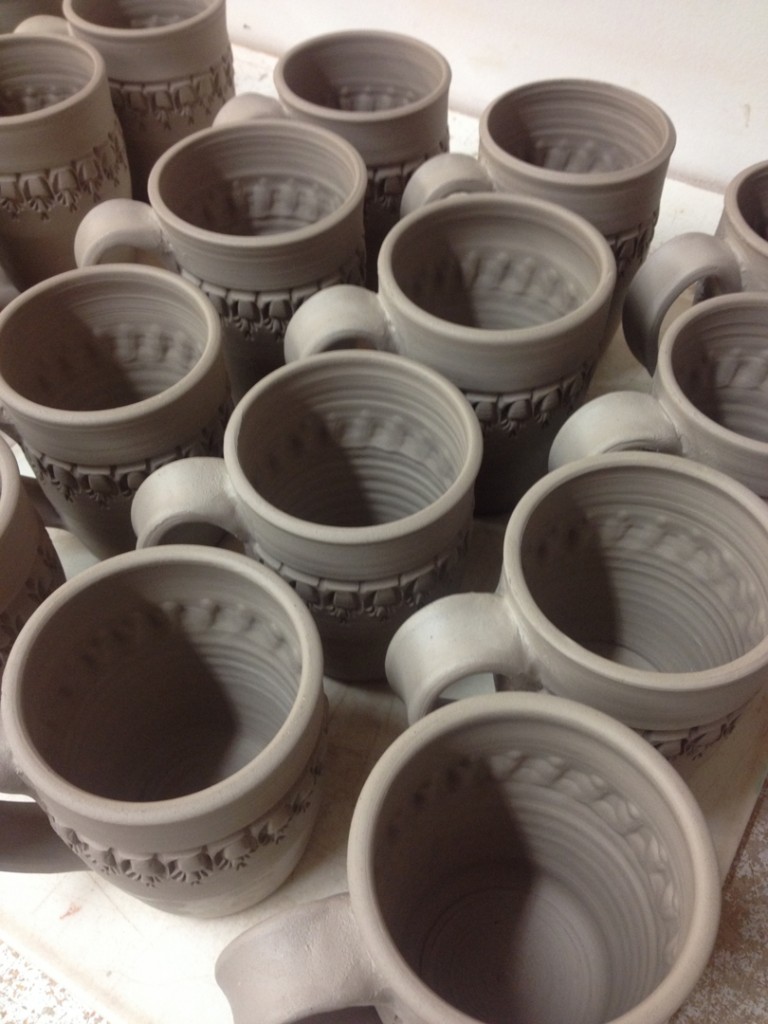
After the workshop, I was back in the studio to turn my stamped cylinders into mugs.
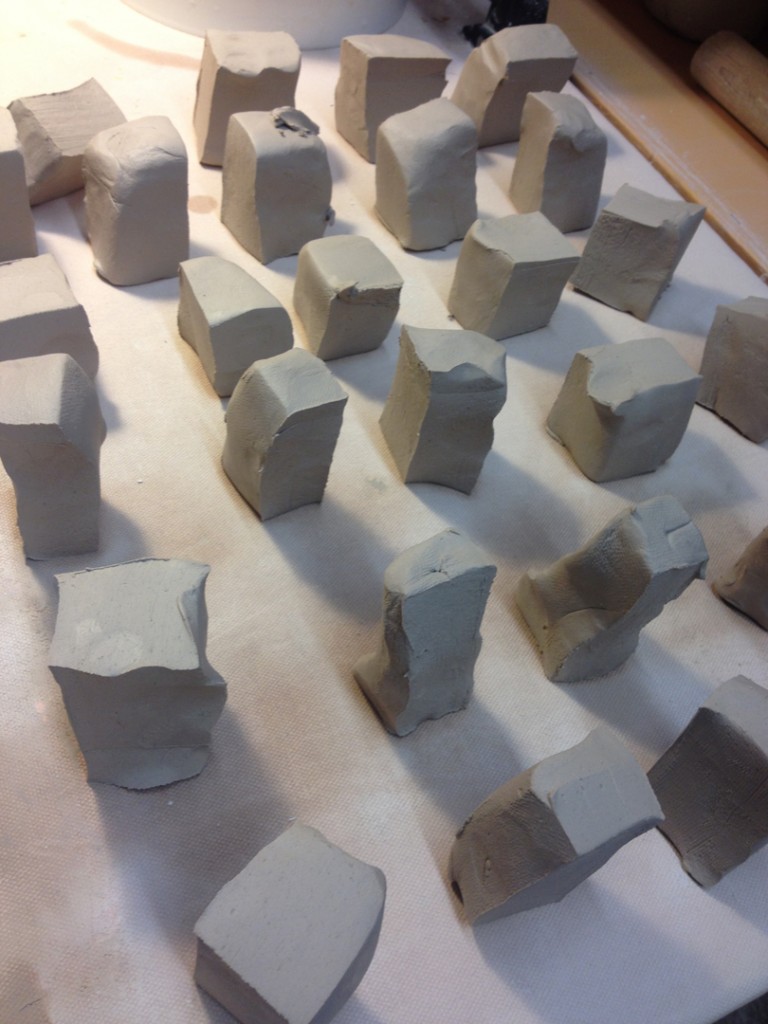
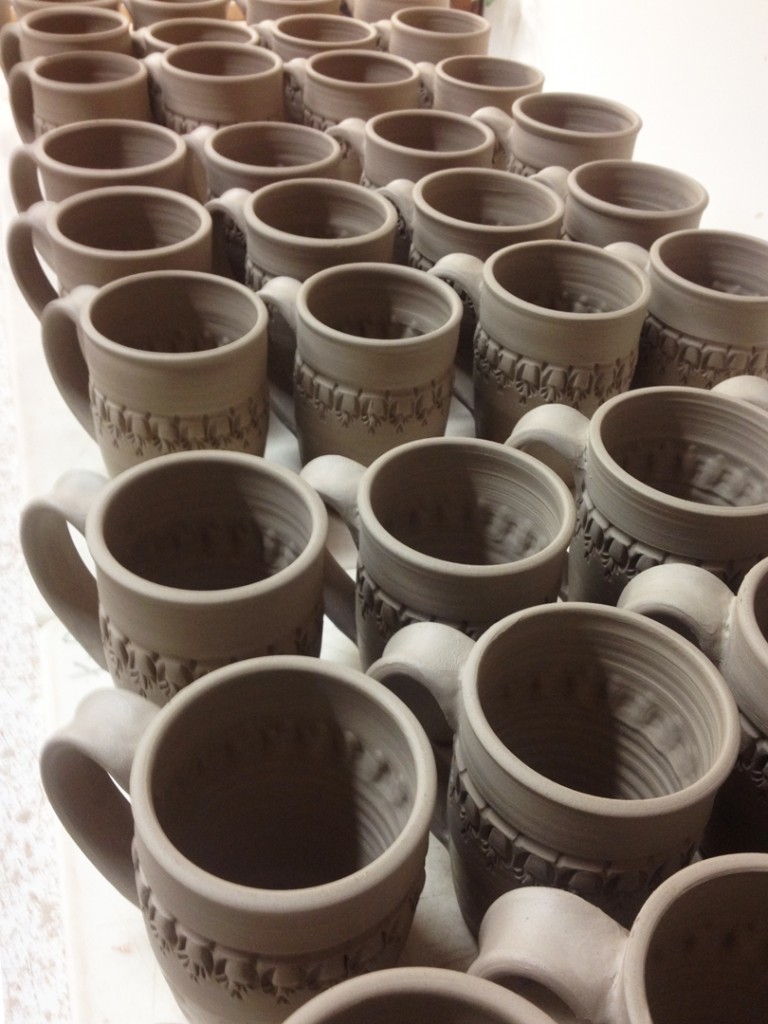
So I started by wedging up some reclaim clay. It’s the same clay body as the thrown cylinders, but I needed to dry it out a bit as it was still too squishy. So I wedged it and then flattened out pieces as slabs so the moisture would soak into my canvas-covered table faster… and then wedged it back up again. I then cut it up into 36 nuggets of clay… one for each of the cylinders. It’s going to be a LONG afternoon!

Then I take each “nugget” and slam it against the table, throwing it a bit away from me so it compresses and elongates at the same time. I rotate the nugget in between each toss. After a few times, you start to get this “carrot” shaped piece of clay.

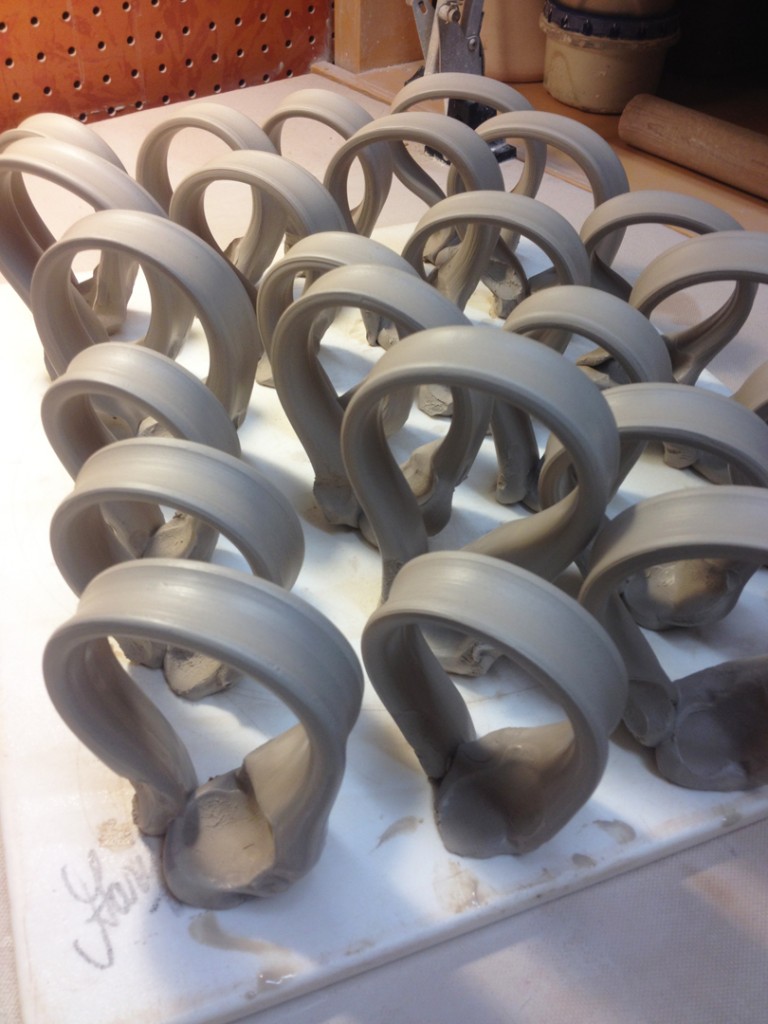
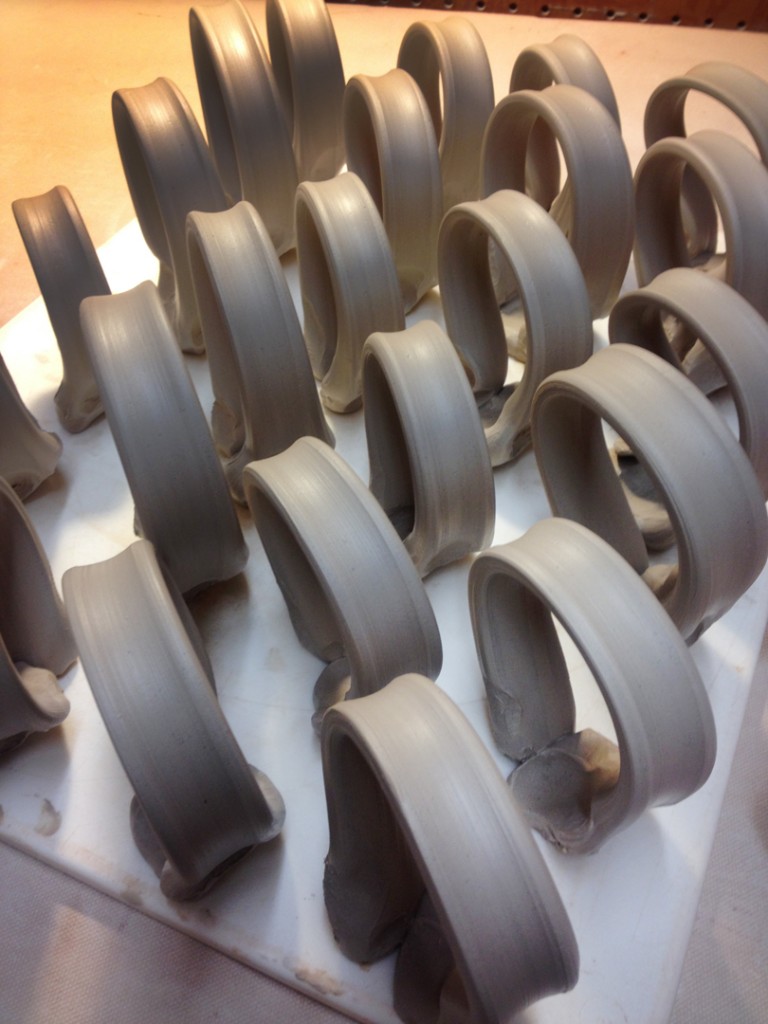
Then I pull my handles the old-fashioned way. Holding the thicker part of the “carrot” at the top, wetting my hand and sliding it down with a bit of friction. It’s that repeated swipe of friction that starts to lengthen the clay and make it into a strappy handle.Once I get it to the width & thickness I like, I do a quick flick, loop and squish to get them to stand up like this. I like how it establishes the curve of the handle right at the start. Easier than trying to manipulate a straight strap into a curve later.

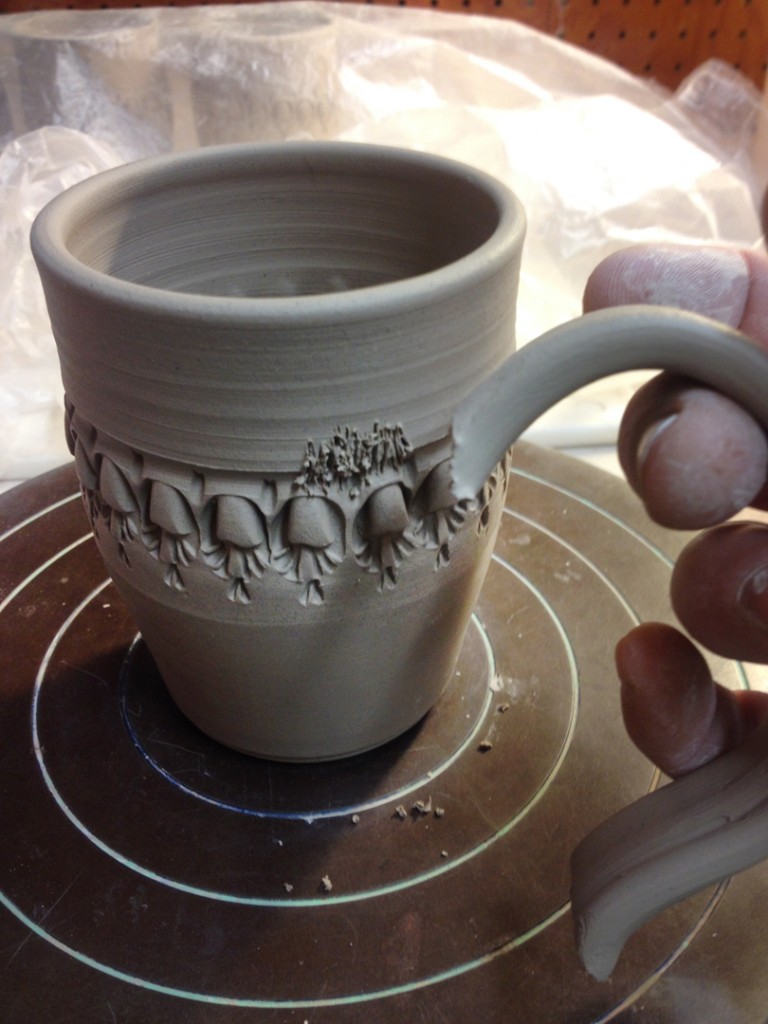
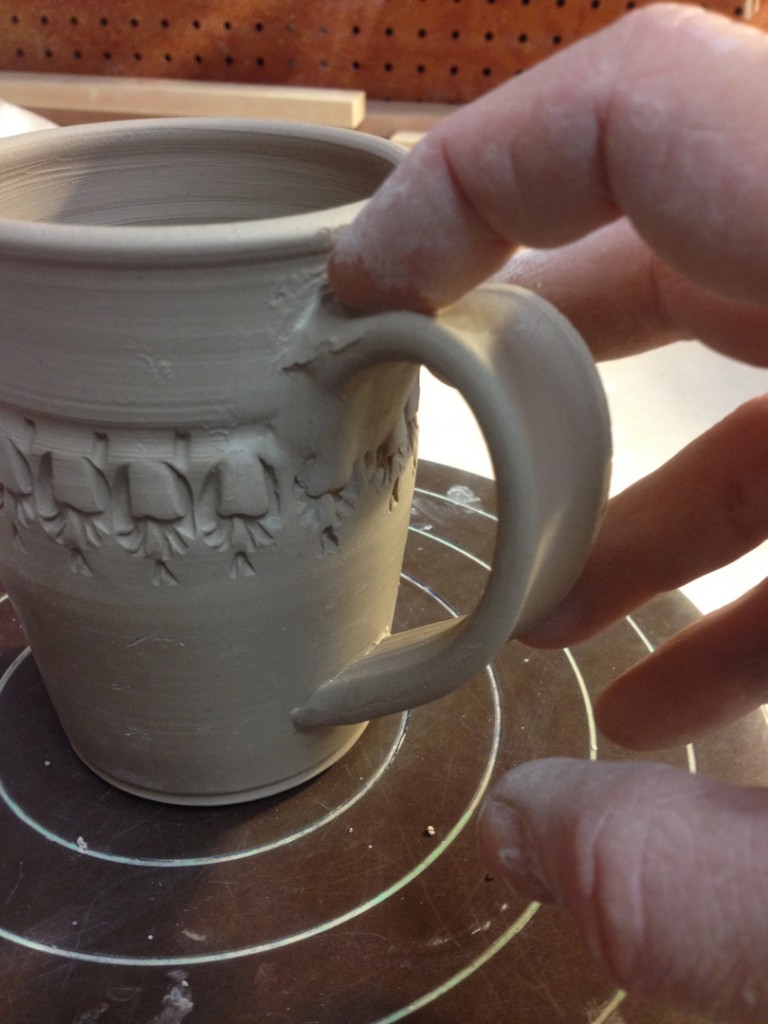
I let them set-up for about 15-20 minutes. I want them to be malleable, but not sticky or squishy. Then I set in to attaching them. I do a bit of scoring on the cylinder, and then cut off the “good” portion of the handle that I want to use. I score the end of the handle and add some slip. Carefully squishing them together and smoothing out the attachment. I always do the top attachment first, but then do the same for the bottom once I’ve established the right size for the handle.

One the handle is attached both top & bottom, it’s on to the task of smoothing it all together. Trying to make it look nice and smooth, like the handle has grown out of the mug and is actually part of the mug… not just a squished on attachment.

Score. Slip. Repeat…  Score. Slip. Repeat…   Score. Slip. Repeat…  33 more times!

And now all 36 mugs are back under wraps for the night.
Tomorrow night I plan to add some accents with colored flashing slips.

Save

Save

Save

Save

Save

Save

Categories: process, production, tools

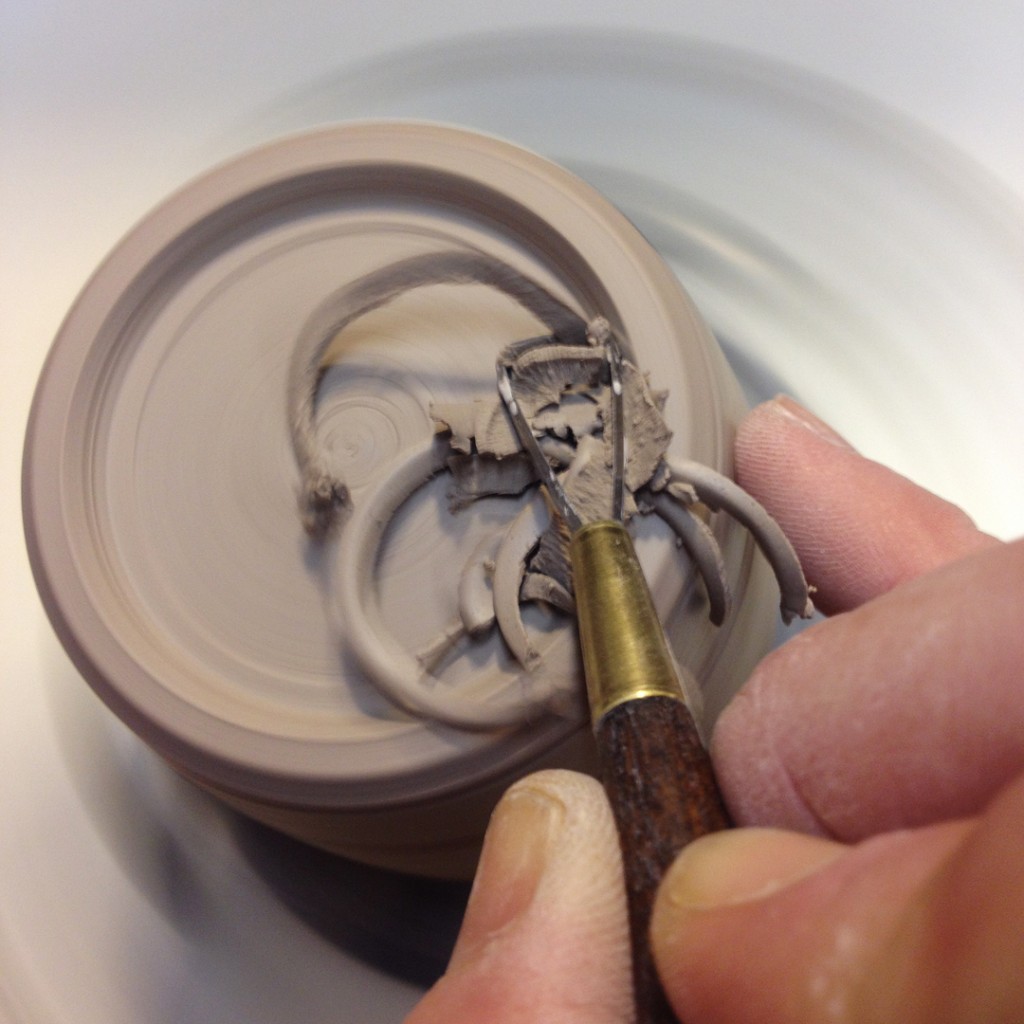
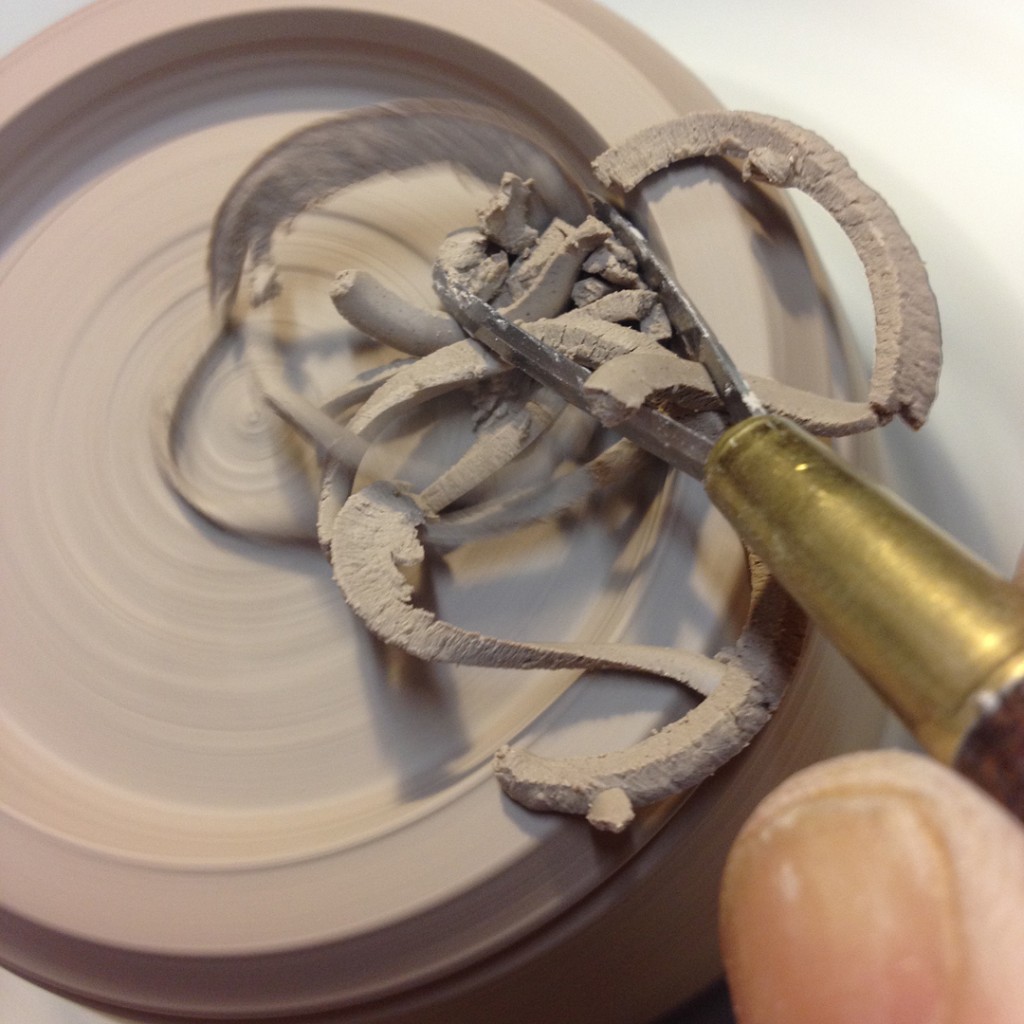
Spinning fast. Trimming smooth.
Love working with my Giffin Grip… makes studio life so much easier!

And then some signing to finish off the bottoms.
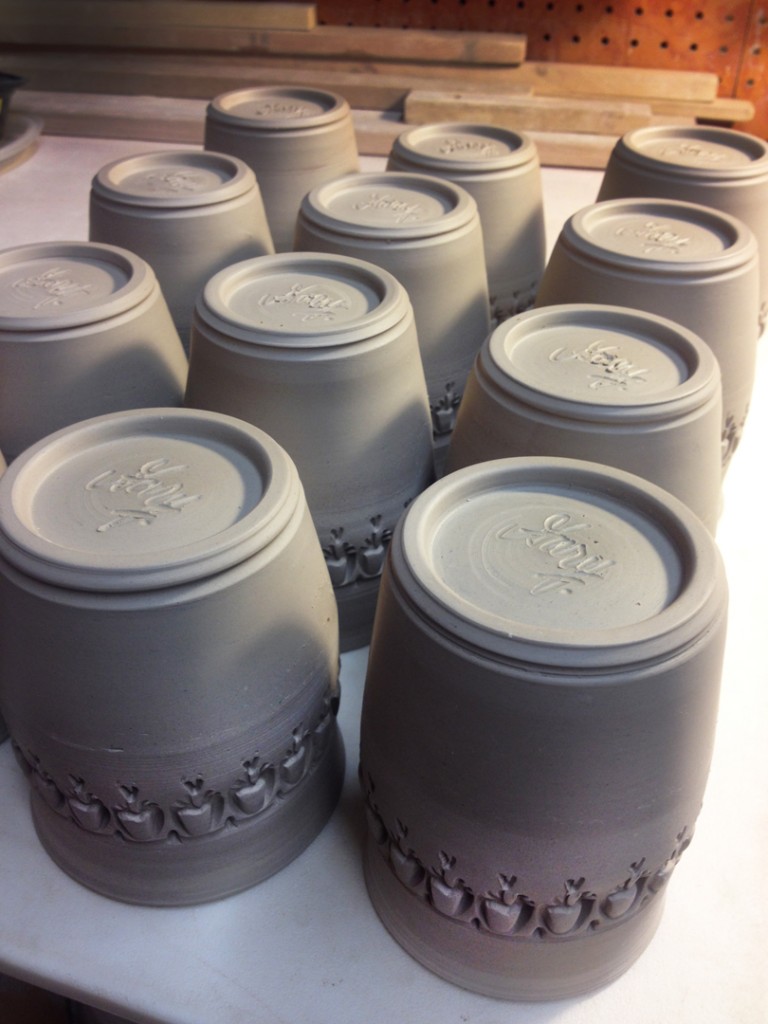
They are now under wraps again for the night… for tomorrow I add handles!

When I first started making pots, I signed the bottoms by printing my name in block letters. A couple years in, I switched to hand signing each and every pot. I prefer the personal signature to reinforce the “handmade-ed-ness” of each pot. And yet, I know some of those old pots are still out there… so we refer to the pots with printed letters as “vintage.”

Save

Save

Categories: mugs, process, production, stamped, stamps

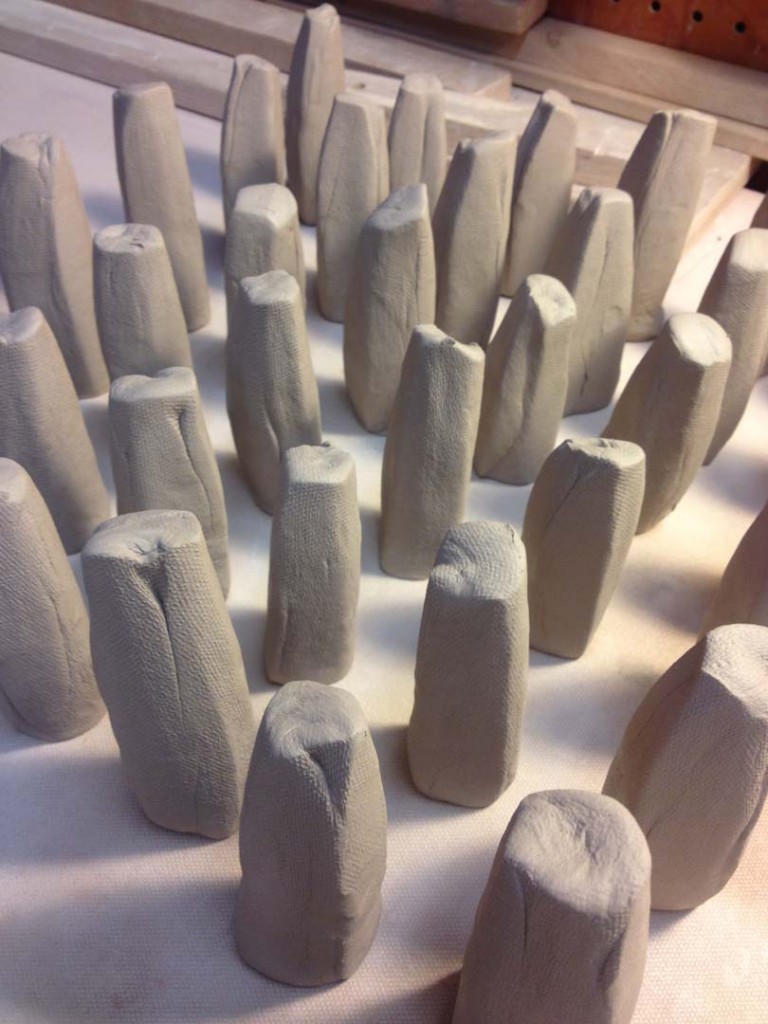
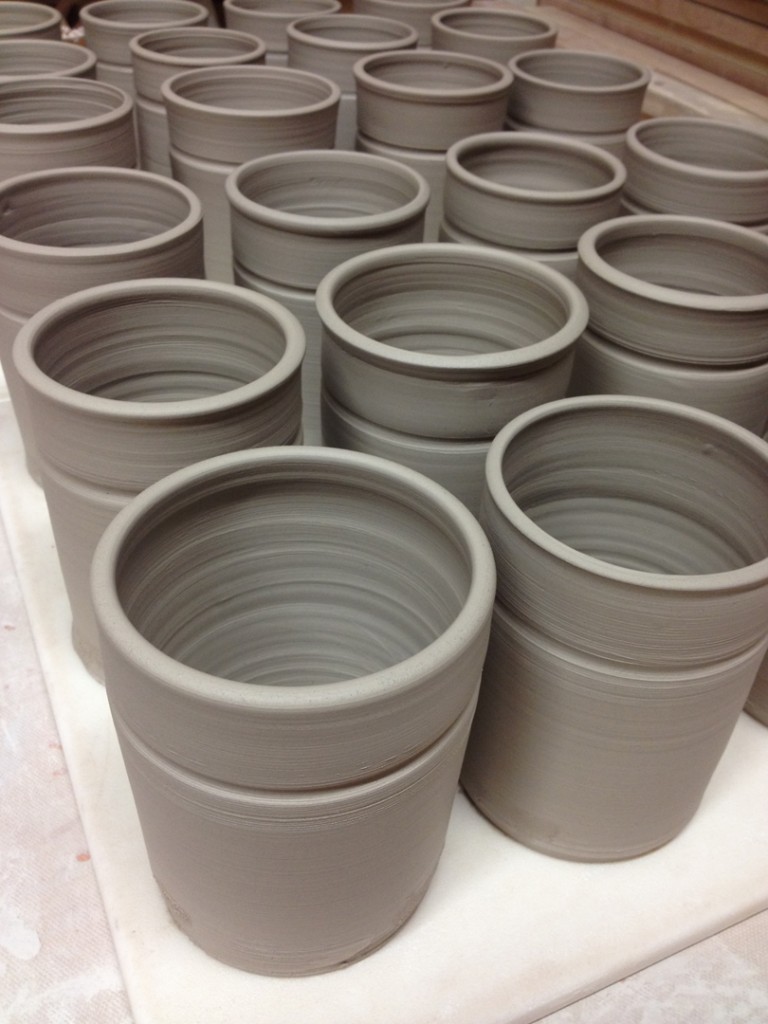
I started the evening with a bunch of cylinders… thirty-six to be exact.
They were way too plain… begging for a bit of textured fun.

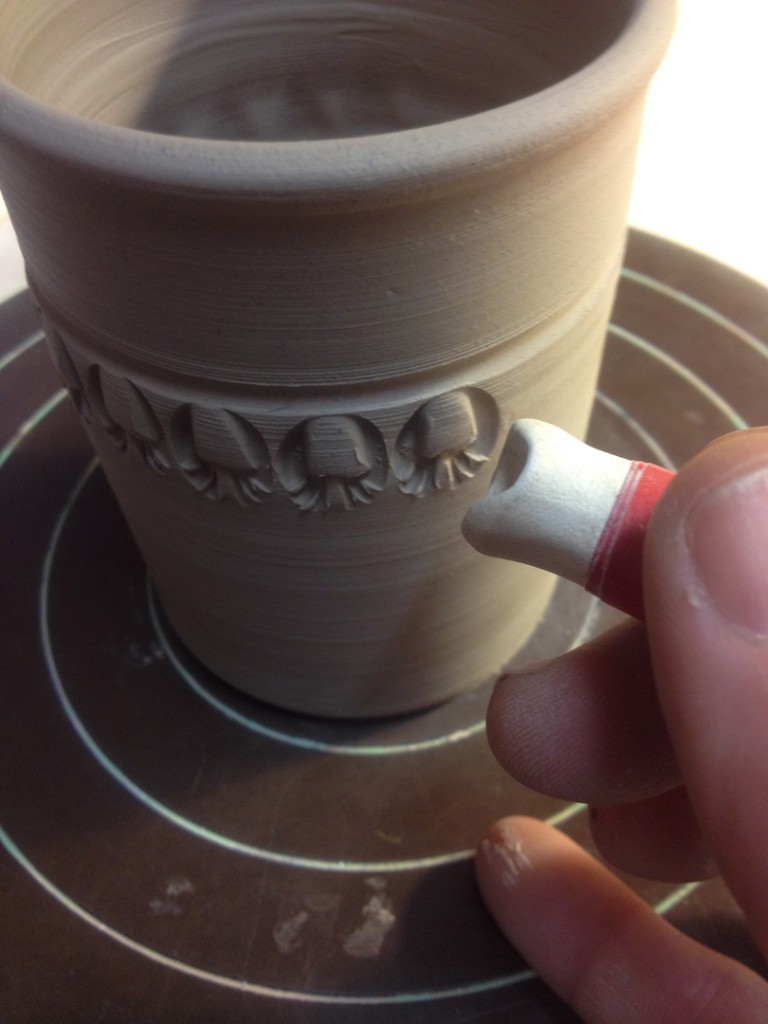
So I grabbed two stamps and set forth… first, a single row of lager stamps along the indentation. Which by the way, is the perfect “trick” to help keep your stamps straight.

Then a little “detailing” inside of the indentation to break it up and make it look a bit les obvious.

And then the same small stamp turned and tapped under the original larger stamp.

And here are the two stamps that did all of the work…

One done… thirty-five more to go!!!

Done… ready to be wrapped for the night. Trimming & handles still to come…

Save

Save

Categories: mugs, process, production

It felt great to be throwing again. Starting with my favorite… a quick two dozen cylinders to become mugs. I have “big plans” for these ones… but not until next November! Okay, so I’m starting “early” on a personal project I’ve been putting off for about three years now!!!

And for now they’re covered for the night… waiting to be stamped, trimmed & handled.