01.16.2019

Gary Jackson: Fire When Ready Pottery
A Chicago potter’s somewhat slanted view of clay & play |
Playing with porcelain again… making more of my favorite…
MORE MUGS!!!

Some time during the holidays, I got a request for a large oval casserole.
Of course I didn’t have one in the size & color they wanted…
so now I’ve got to make one. And I never make just one!!!… I’m making TWO
to hedge my bets, make sure at least one of them works and to give them a choice!
So I start by throwing a bottomless cylinder. I let it set-up for a bit on the plastic bat. When it is no longer tacky& squishy, I wire it off the bat, take it off very carefully – transferring it to a larger plastic ware board. Then I carefully form it into an oval shape. When it stiffens up a bit more, I stamp the textured pattern around the top edge… and then put it back under plastic so it can rest and dry a smidge more to leatherhard.


After pulling a slab on my wedging table, it compress and let it stiffen up a bit.
Then I take the bottomless cylinder and place it on the slab so I can trace the exterior curve.
Then some scoring & slipping…

And then I flip over the bottomless cylinders, do a minor bit of trimming, and then score the bottom surfaces.


Flip them back over and place them on the slab where I’ve already scored & slipped.
I press them together firmly, but gently, to make sure the scoring & slipping connect well.
I let them set-up together overnight under plastic.
When I got back into the studio, I continued by trimming off the excess clay slab.
I use my green Sherrill MudTool to scrap off the excess, smooth the edges, and compress it all into place. I like how this one tool can trim & smooth all at once!

Any extra clay can also be trimmed off with a needle tool.

Then I carefully flip the oval over, and gently paddle the corner to confirm that the slab-to-side attachment is secure. I also like how it creates a slight beveled angle along the bottom.
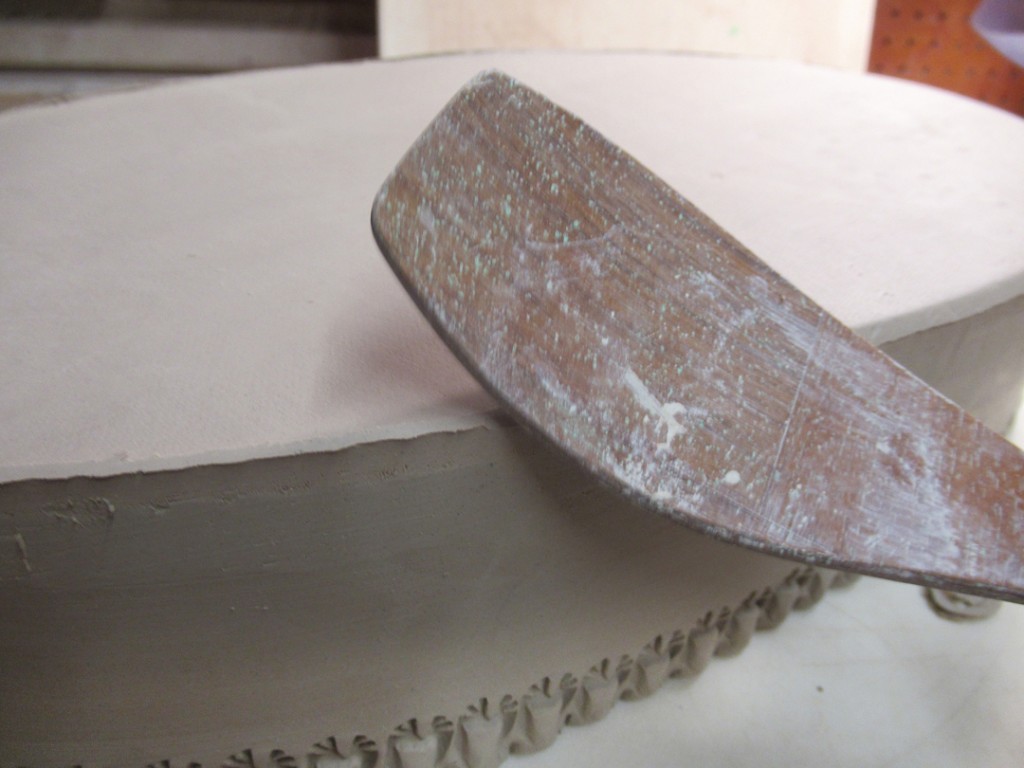
And after paddling & trimming off any excess clay, I go around and gently smooth it all together with my finger tips. I always wont to make sure it looks like one cohesive piece – and not a cylinder with a slab slapped on the bottom!

Gently flip it back over… and now the oval has a bottom!!!

Next up… HANDLES!!! You know these oval casseroles will be hot and hard to get out of the oven of they don’t have handles. I start with rolled coils – all of the same length. Remember, I’m making two ovals so four coils… two handles per oval.

I take the rolled coils, press a textured roller into them, and then score & slip them into place on the ends of the oval casserole.
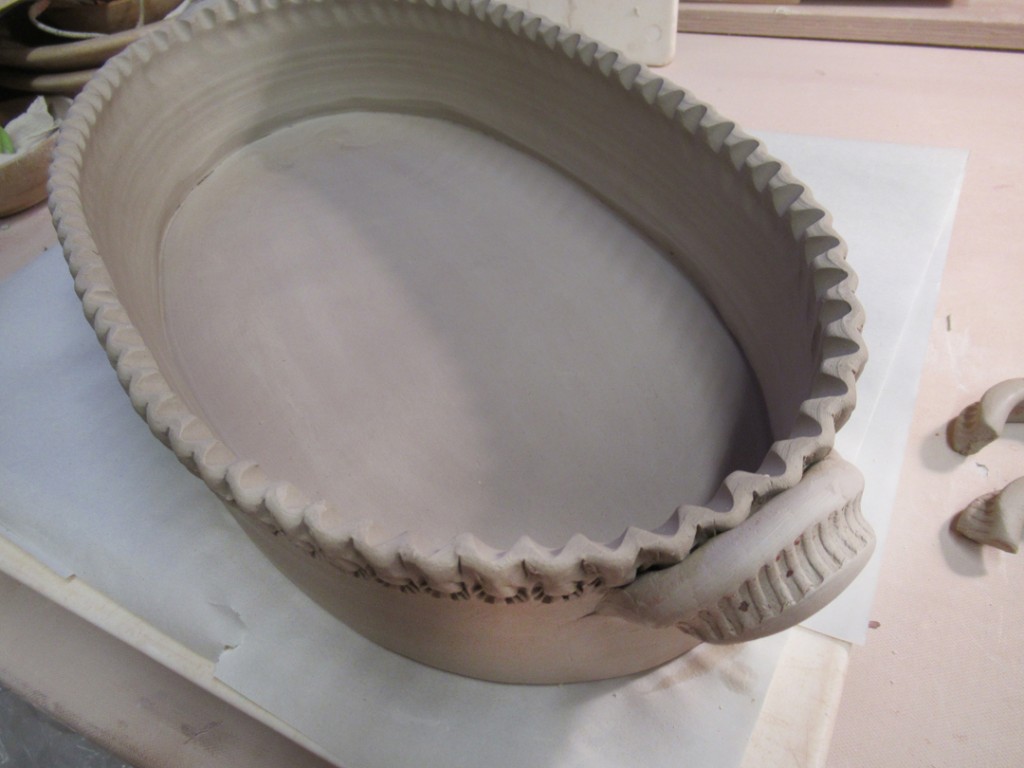
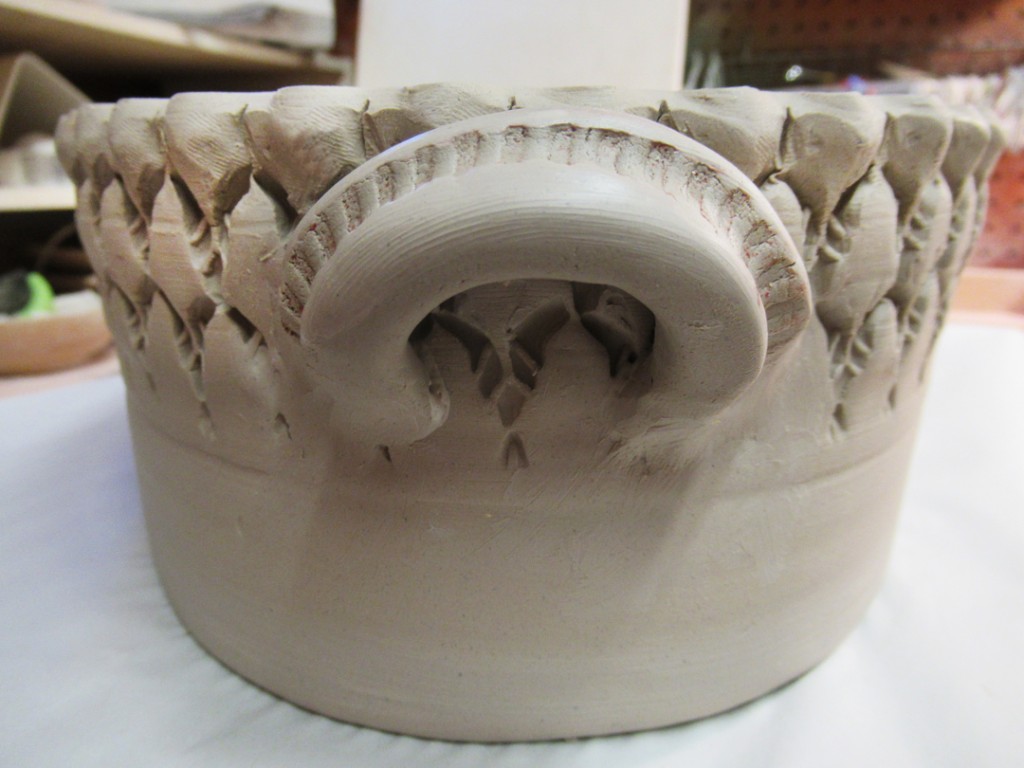
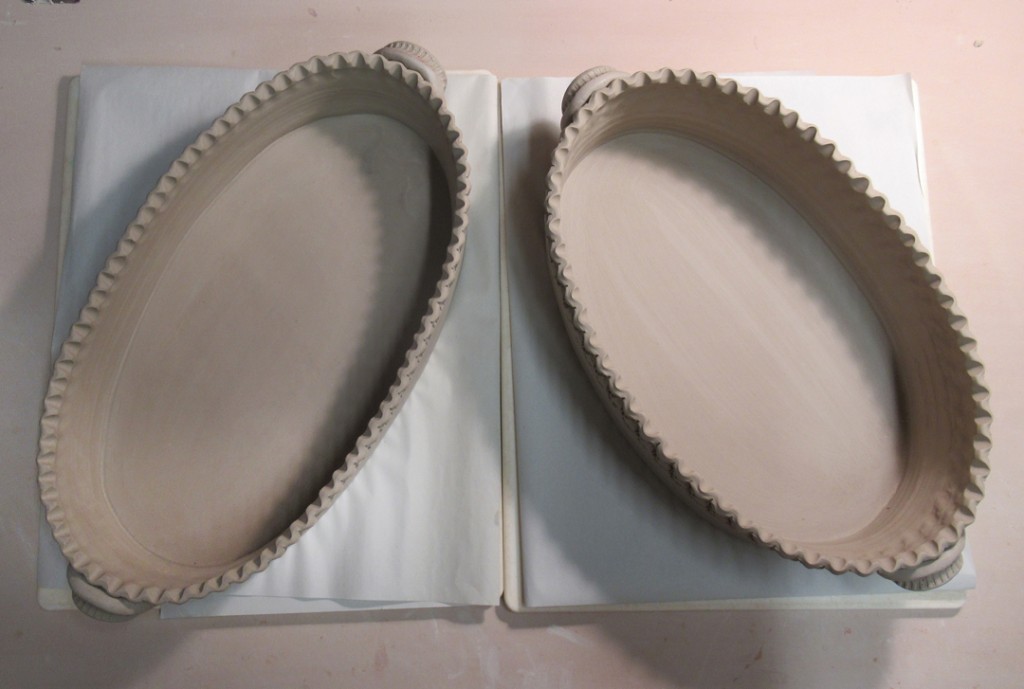
And there it is… an oval casserole ready to go. Well, not quite. So for now, they’re all assembled and ready to dry slowly. I like to leave them on my plastic wareboards, but with a sheet of paper between them. The paper assures that it wont’ stick to the board, as well as helping to dry the slab a bit faster as it “wicks” the moisture away. I loosely cover them with plastic so the drying a start slowly. I’ll keep them covered overnight and open them up tomorrow for a full drying session.

When they’re fully dry, they will need to be bisqued.. and then glazed.
Two more oval casseroles… hoping to make that “one” that they requested in the first place.

Glazing more bowls & pots for a quick cone six kiln this weekend…
just in time to replenish the shelves for next weekend’s
“MUD & METAL” Holiday Home Show!
If all goes well, these bowls will be a beautiful green!


Early morning waxing bottoms! Trying to crank out some new work for next weekend’s Holiday Home Show “MUD & METAL.” A second chance to check someone off your holiday gift list… pottery by me or beautiful silver jewelry by Amy Taylor on December 15th & 16th!


A couple weeks back I made a new batch of oil lamps. Wheeltrown stoneware stamped and painted with some colored flashing slips. You can’t really see it too much, but the colors should “pop” a lot better after the soda kiln firing.


After bisque firing, they were glazed with a liner and a bit of glaze inlay in the stamped indentations. A bit of colored accent glazes sprayed here & there.. and here’s what they look like after the soda kiln firing. And now I’m matching up some wick stones for the top to hold the wick.
All of them will be on the shelves this coming weekend for my HOLIDAY HOME SHOW!!!


Doing a little trimming on the bottom of the ornament I threw as a “throwing-off-the-hump” demo for my class. So much easier with my Giffin Grip holding it tight, spinning it fast!

As expected, it took me more than “a few” hours to load the soda kiln. Shelf by shelf, pot by pot, layer by layer. But I got a LOT of pots into the kiln… and tons of tiles filling the small spaces. Bricked up the door late last night and went home for a quick “nap” and a shower… and now I’m back at the studio firing the kiln! Gonna be another long day!
Back stack…

Front stack…

And the front stack from a groovy angle!

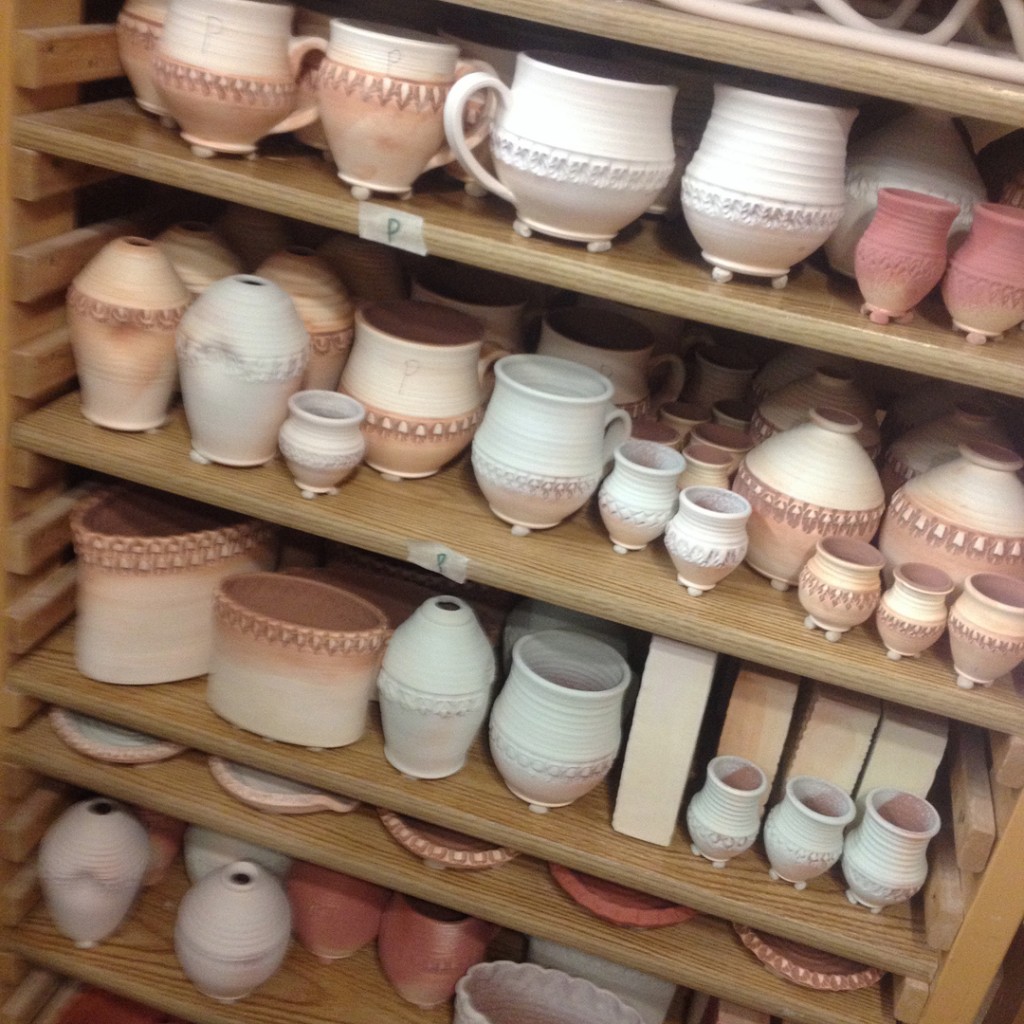
So my glaze cart is filling up nicely. Glazed & wadded… filling half of my studio cart. Now I’ll turn the cart around and fill the other side. A full cart pretty much equals a full soda kiln… give or take a few pots here & there!

Still glazing. Still working “in the dark.” Still waiting for my ceiling light to be replaced… and I kinda think I might be getting used to all of this dramatic mood lighting?! Hopefully the glaze is going on the pots where I “think” it’s going???

|
Gary Jackson: Fire When Ready Pottery
Lillstreet Studios ∙ 4401 North Ravenswood, Chicago, Illinois 60640 ∙ 773-307-8664 gary@firewhenreadypottery.com |