09.10.2025
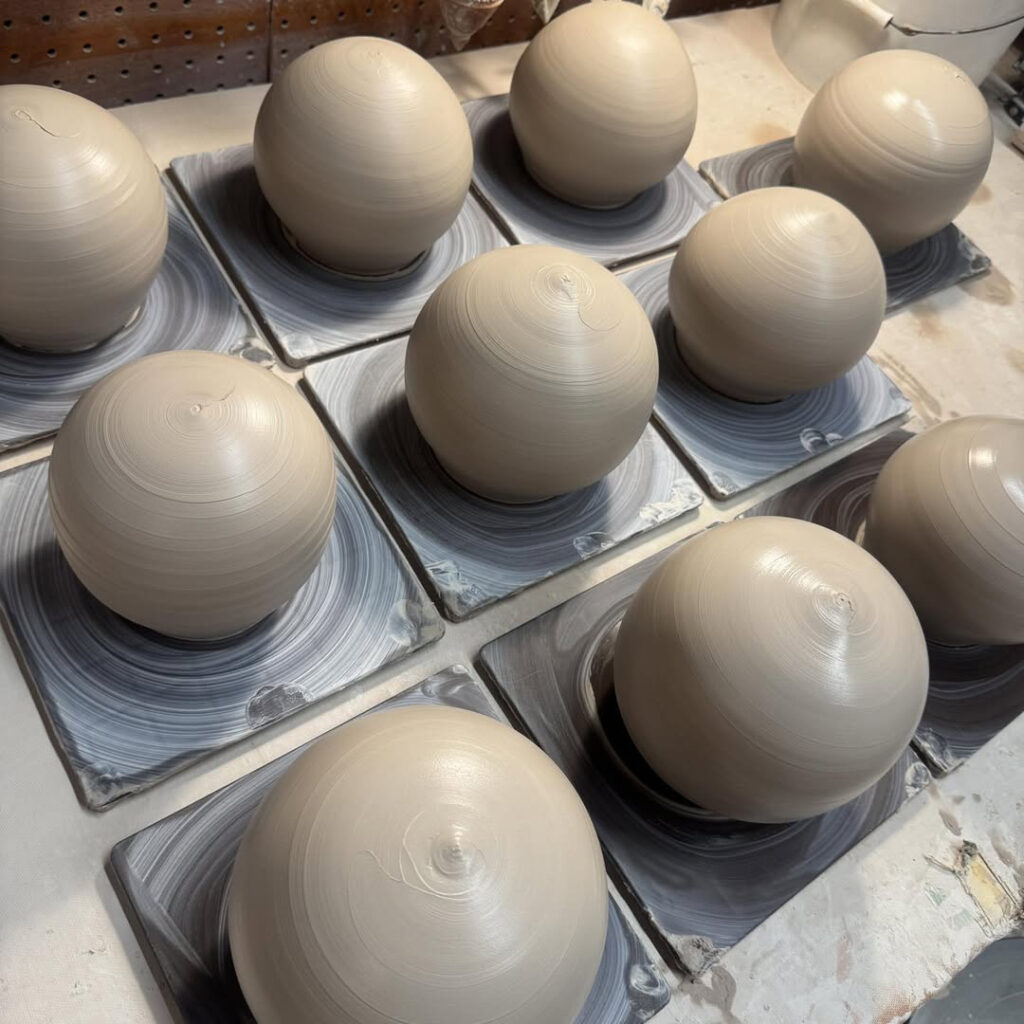
More than ten done before 10:00am! My “harvest” of pumpkins ran out at the art fair last weekend… so it’s time to “grow” some more in time for ART IN THE BARN in Barrington. Always the last weekend of September!
Gary Jackson: Fire When Ready Pottery
A Chicago potter’s somewhat slanted view of clay & play |
More than ten done before 10:00am! My “harvest” of pumpkins ran out at the art fair last weekend… so it’s time to “grow” some more in time for ART IN THE BARN in Barrington. Always the last weekend of September!
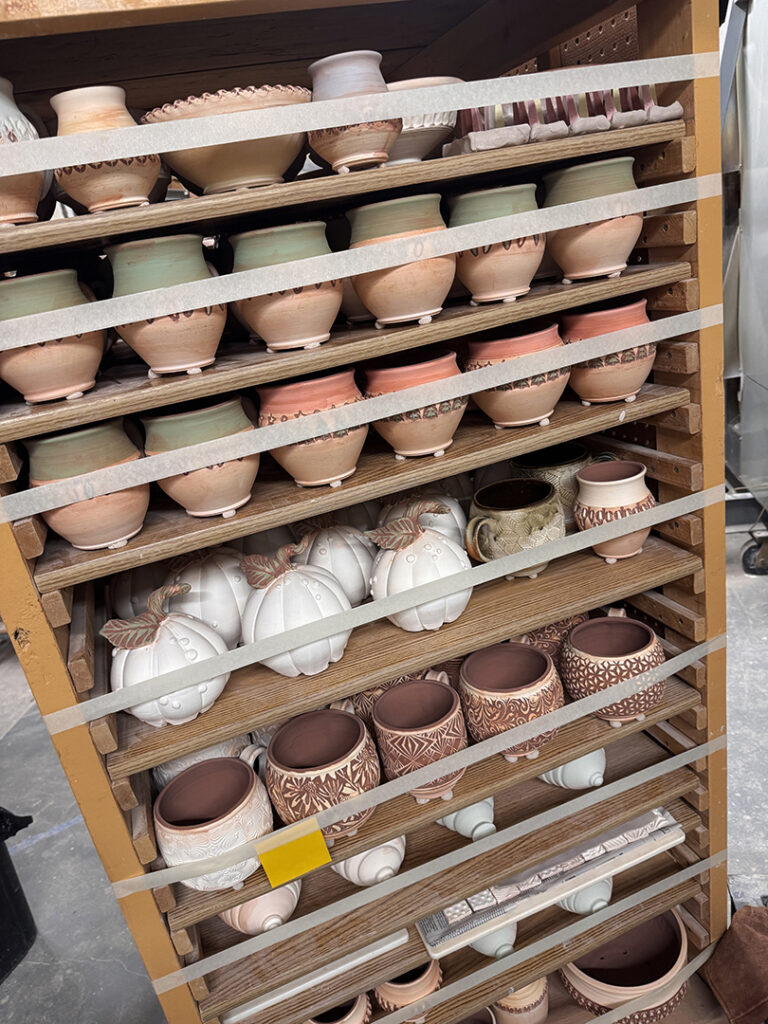
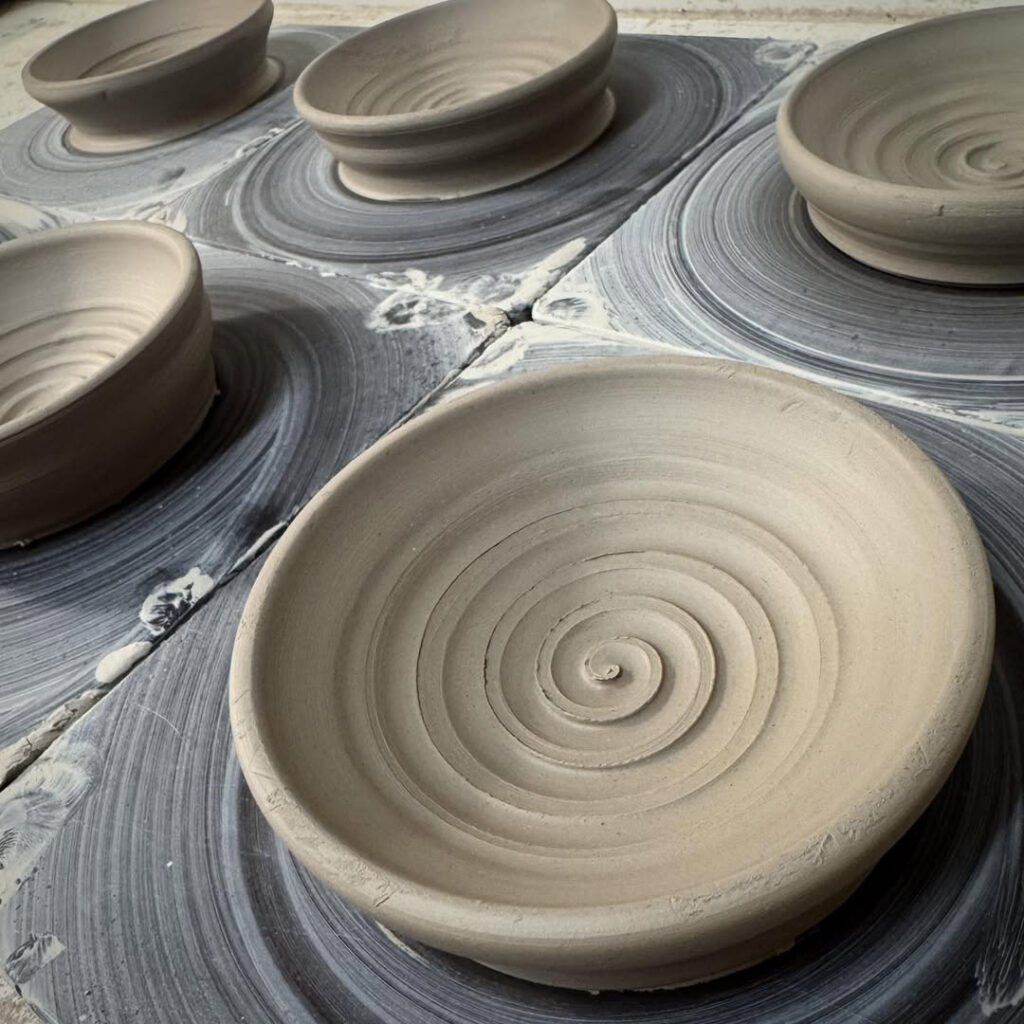
So it took my just about three hours to fully load the soda kiln… kinda like Pottery Tetris! Trying to fit in as much as possible, all the while trying to leave some space for air to flow through during the firing. The soda atmosphere needs to get in between everything to leave its glazed finish. I piled a LOT of work into this one! The back stack is a single shelf filled first to the top. Then front stack is a double-shelf filled up to the arch. It’s packed tight… so it might be a long firing today?!
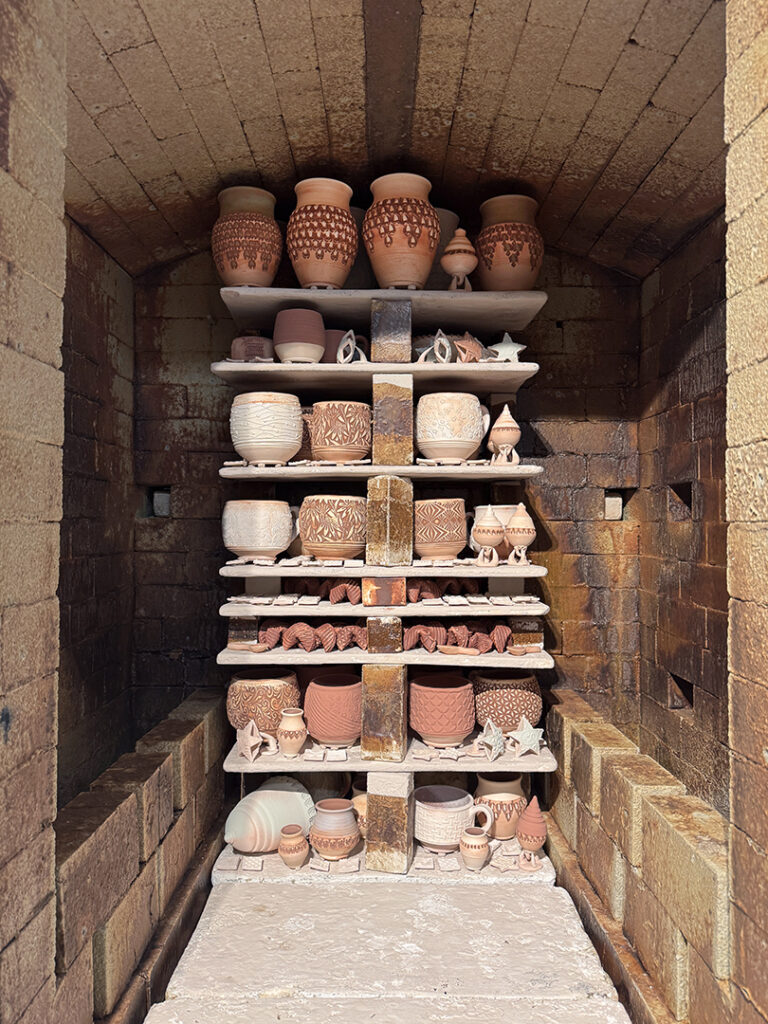
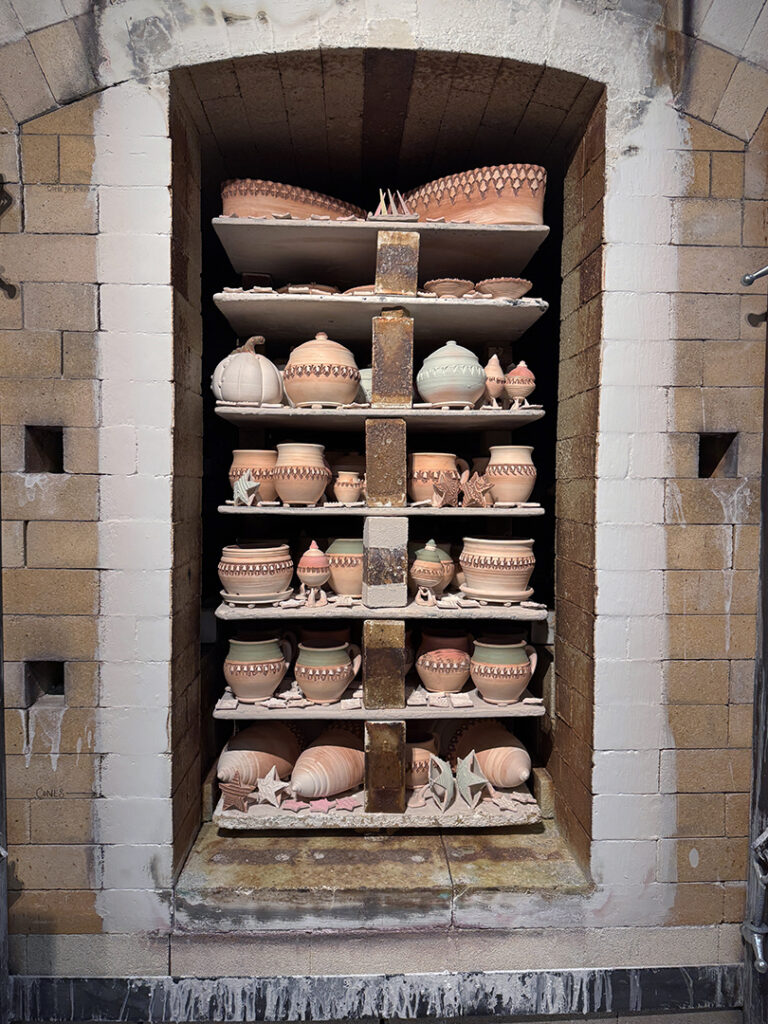
And then I rolled down my studio cart… the same one my Dad built for me several years ago! I have figured out that a full cart of glazed & wadded work pretty much equals a fully loaded soda kiln. The masking tape just works as a little “protection” so nothing jumps off the shelves while I take the rickety freight elevator downstairs… kinda like a pottery seat belt!!
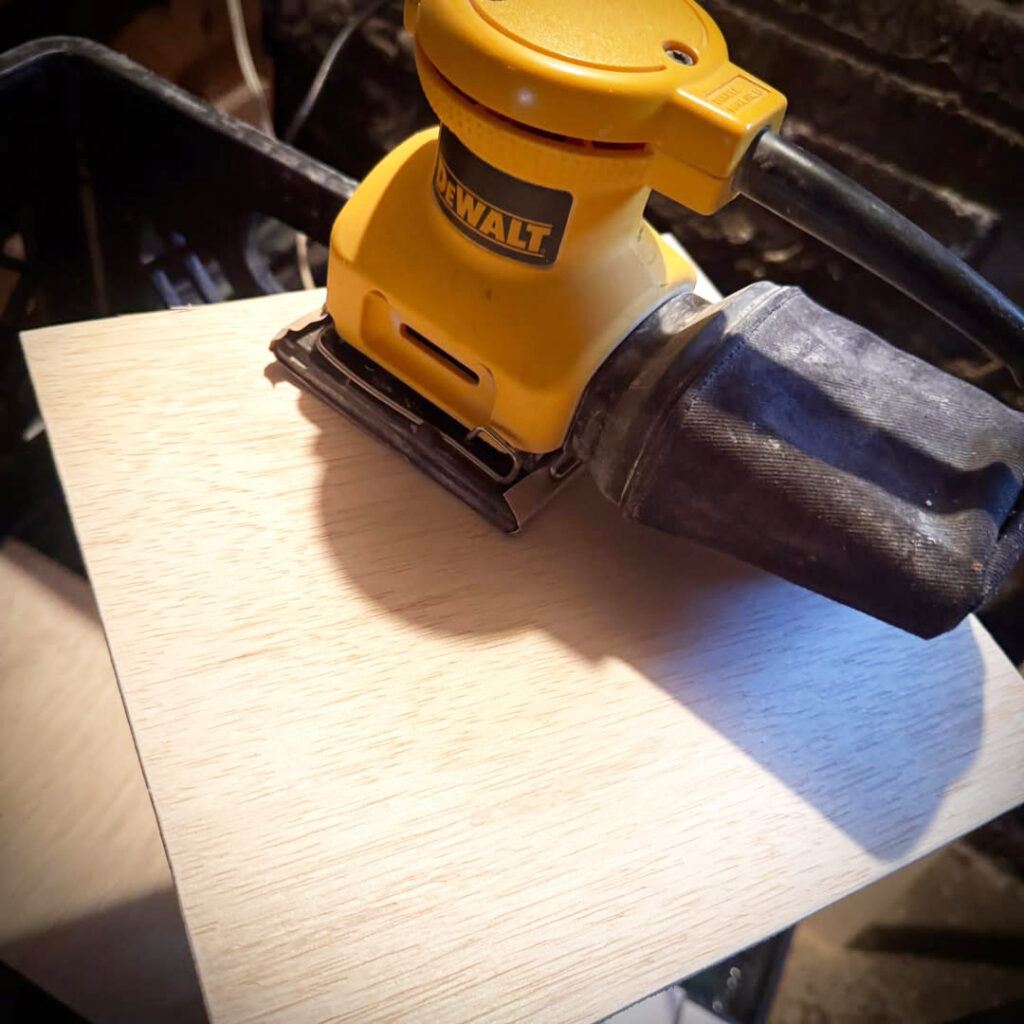
Playing with power tools! These boards aren’t gonna finish themselves!!!
Which means I need to keep working on these collaboration projects!!!
We’re a little over a week away from having it all come together… fingers crossed.
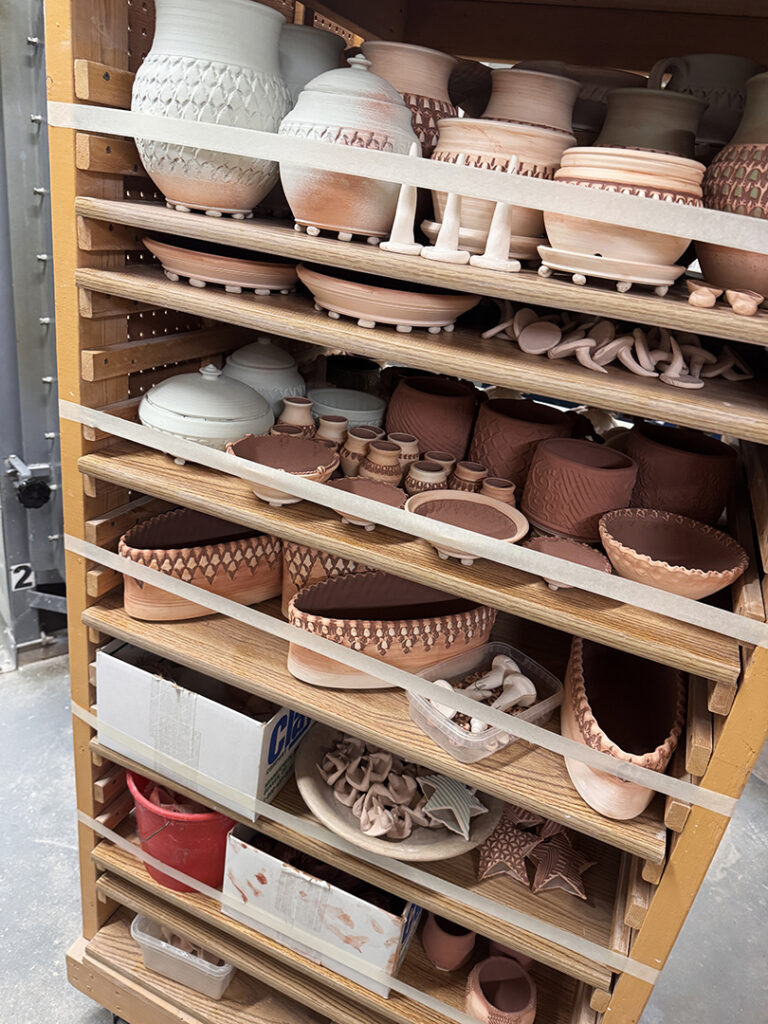
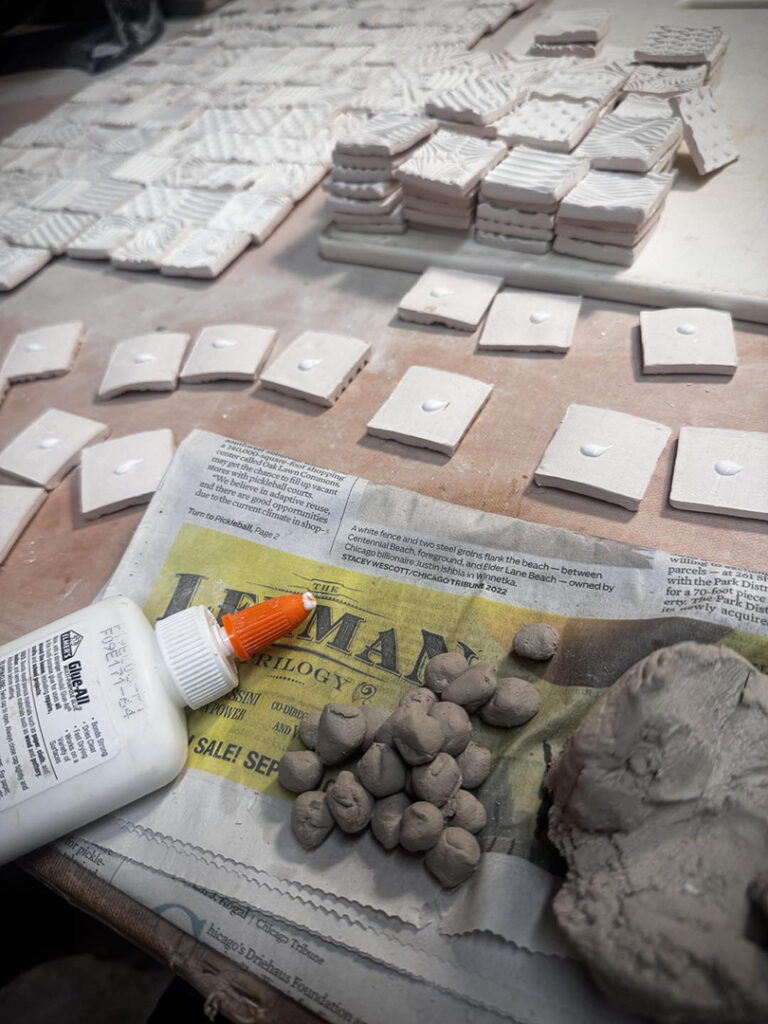
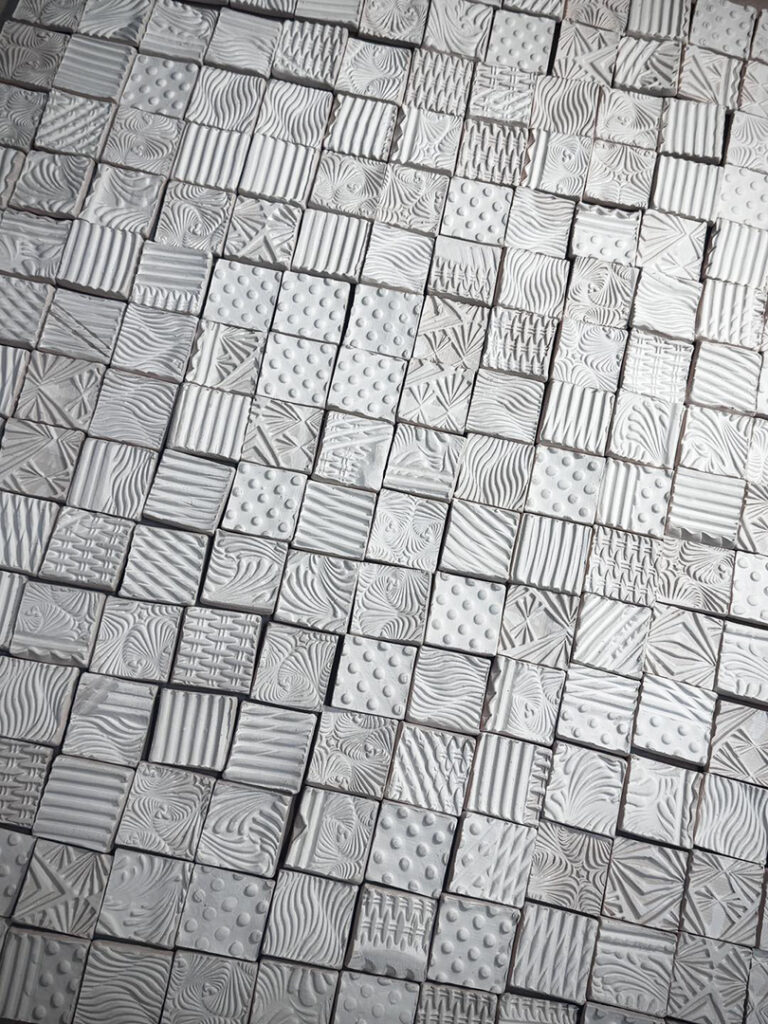
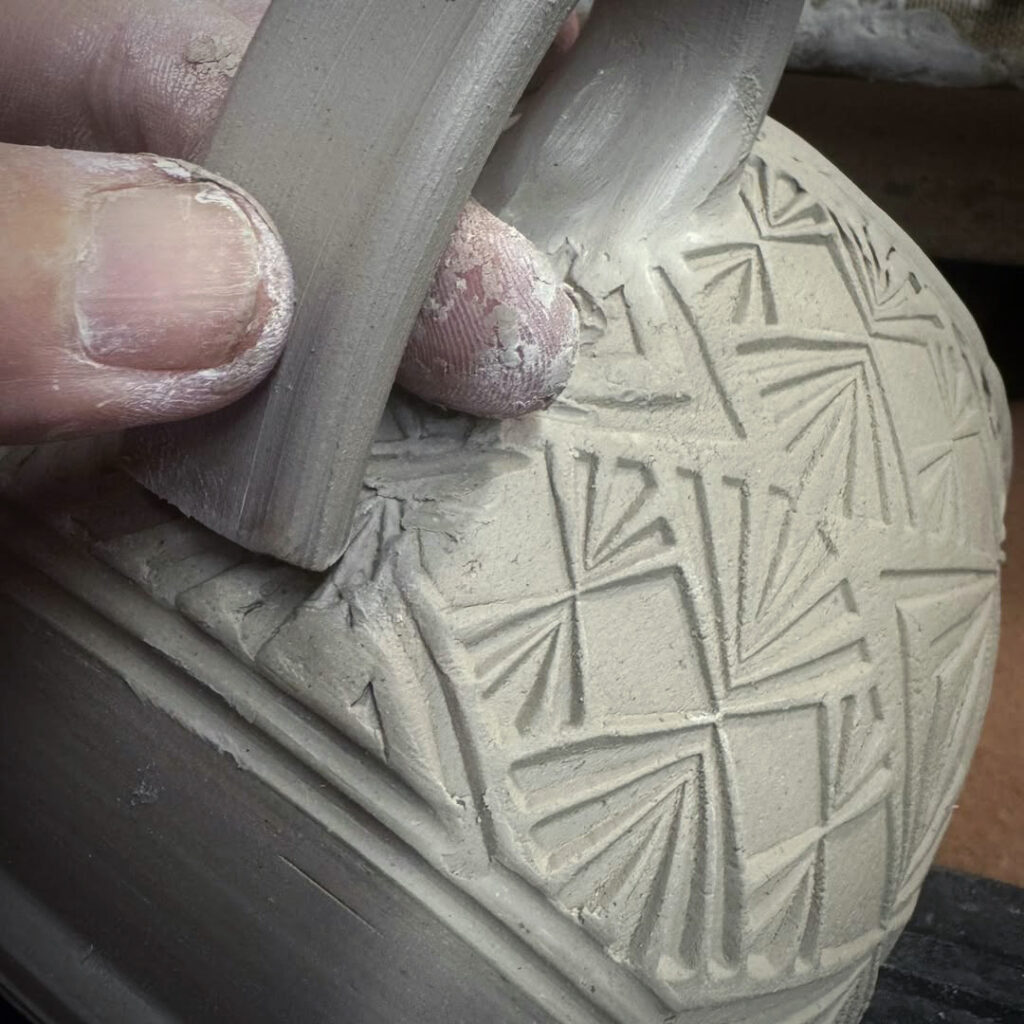
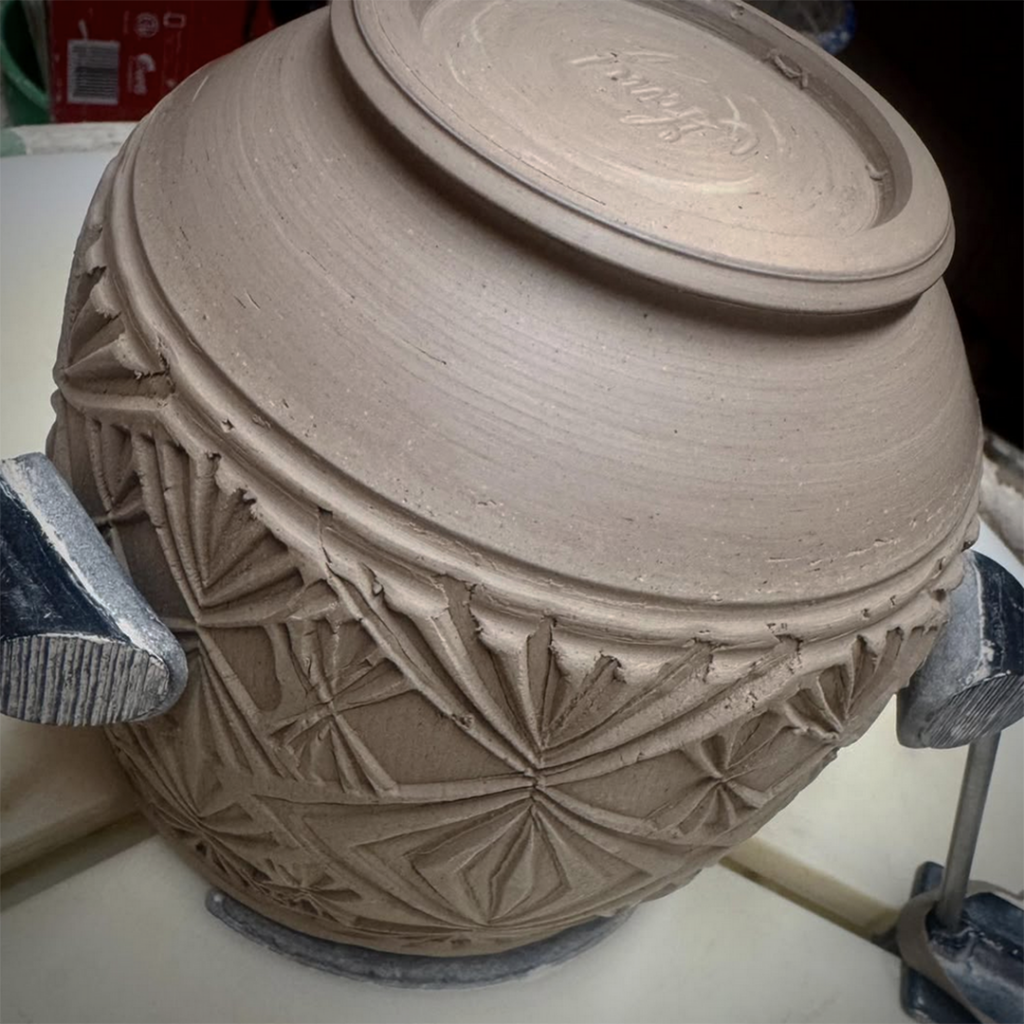
Roll, glue, stick, flip, press, repeat. Just adding a bit of wadding to every textured tile for my soda firing this weekend. They might look white now, but they’ve all got some colored flashing slips on them. So if all goes well, they should change to a range of oranges & yellows!!!
Handles attached… they are now “officially“ mugs! Hybrid mugs both wheelthrown & handbuilt. Using both techniques throughout the process. Just need to add some colored flashing slip tomorrow & then they can start drying.
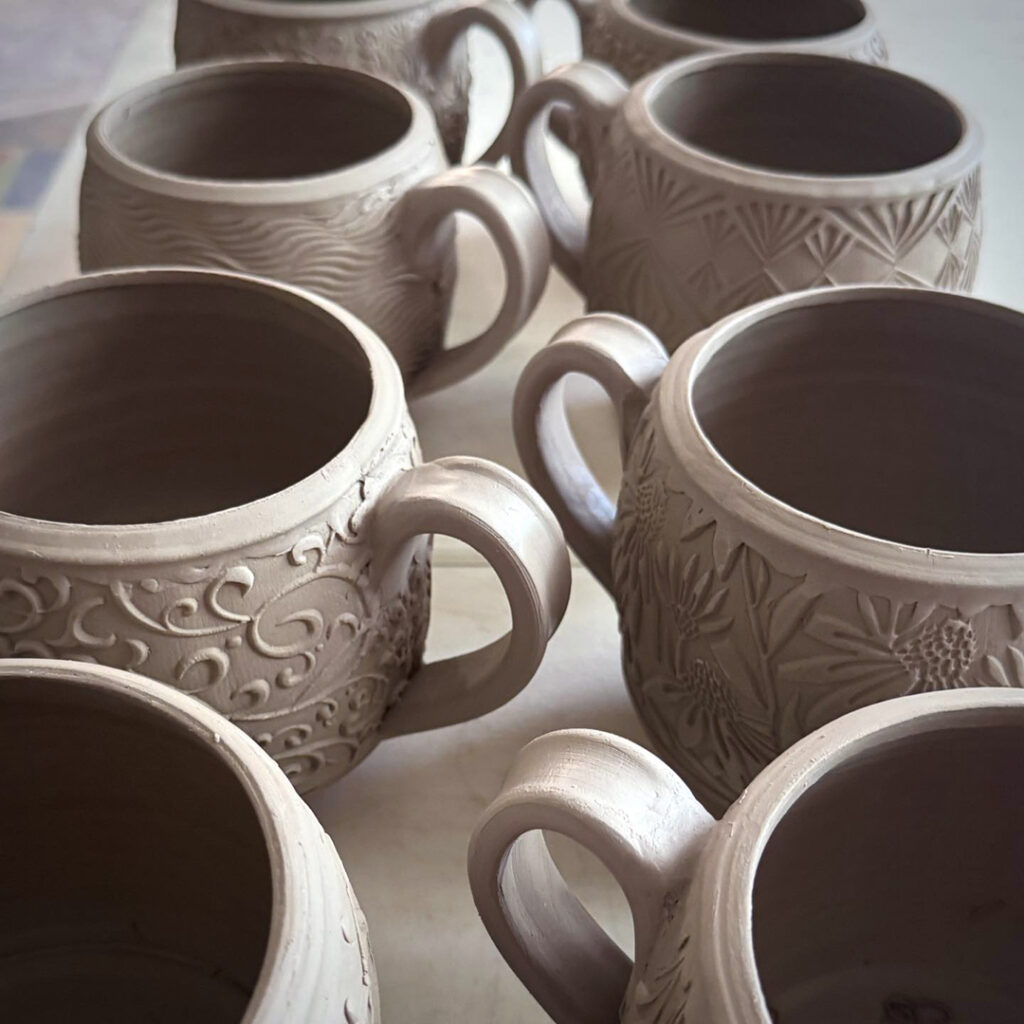
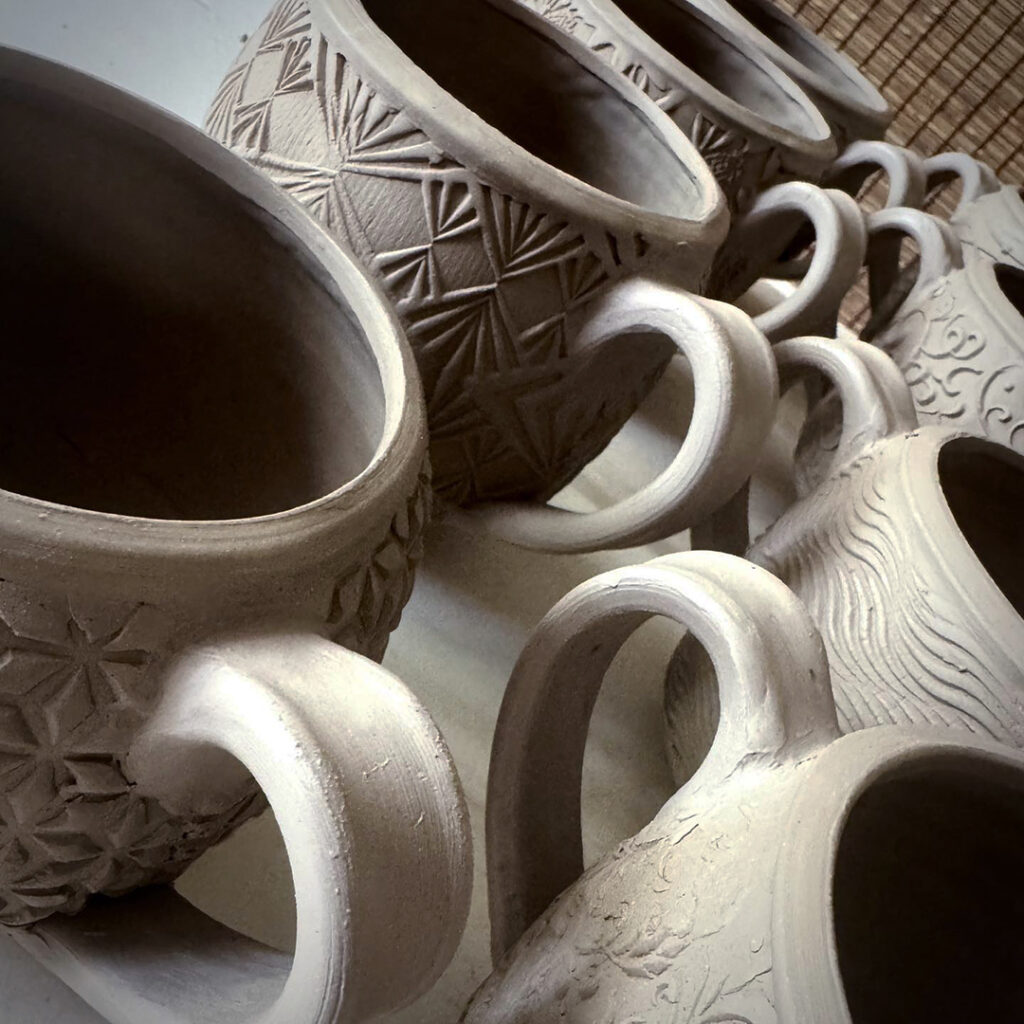
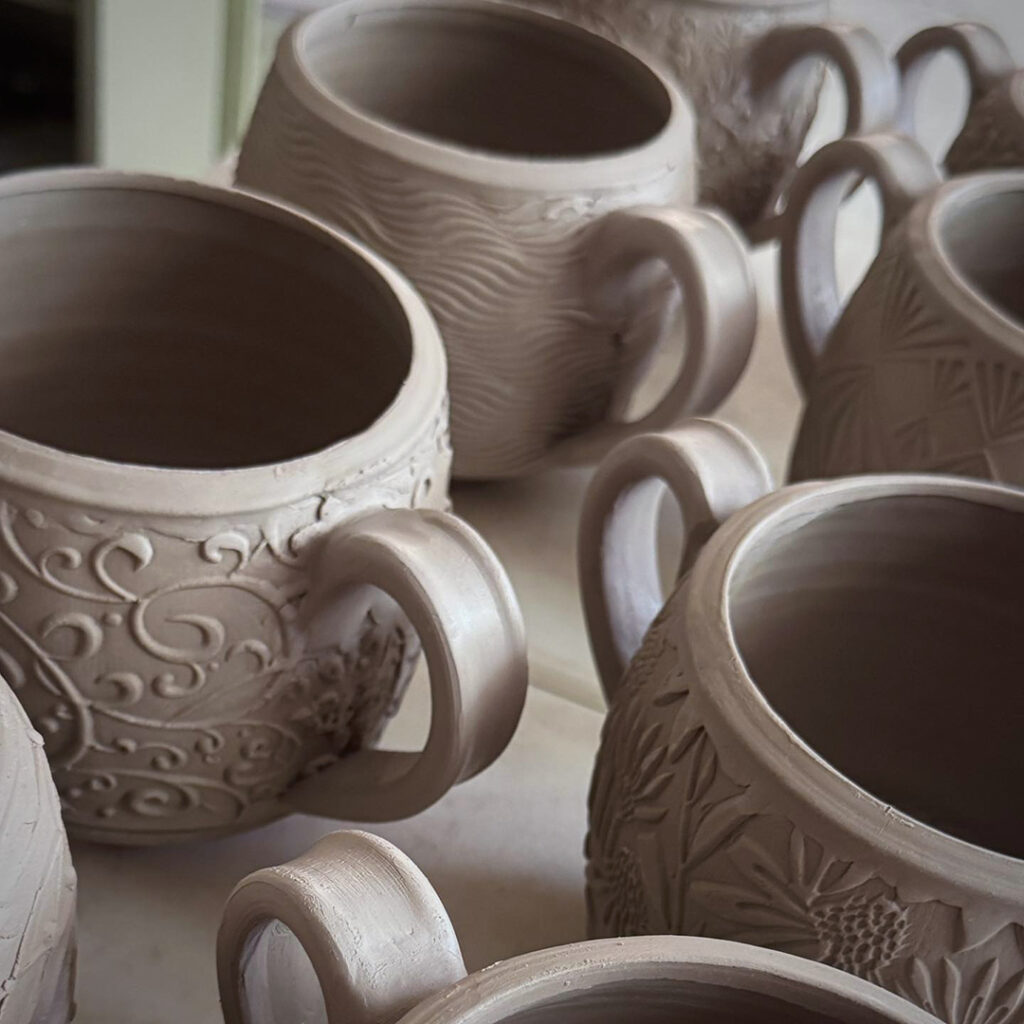
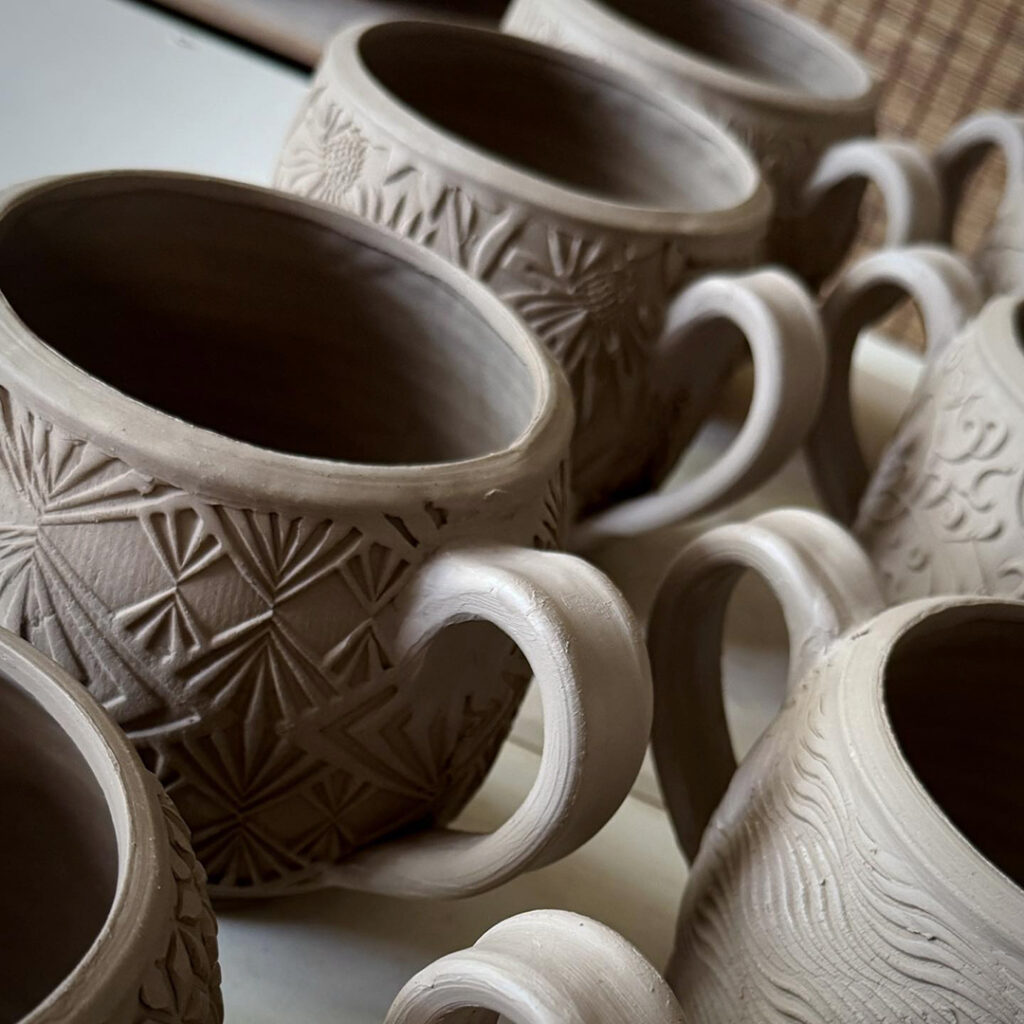
It’s been a productive afternoon… and now I’m adding pulled handles to the hybrid mugs. Score, slip, attach, repeat… repeat… repeat…
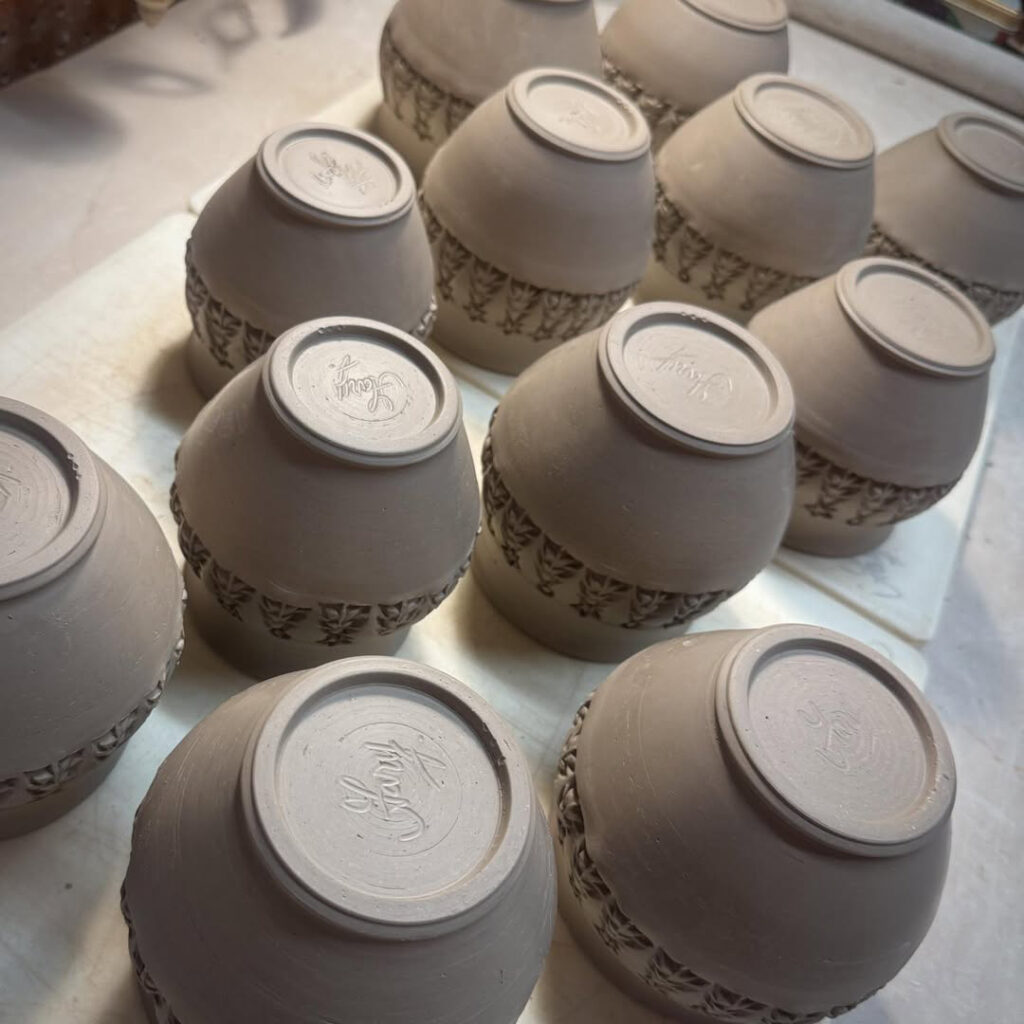
Trimming the bottoms on my newest batch of hybrid mugs. The bottoms are wheelthrown, the sides are handbuilt, and then shaped & finished in the wheel. Back & forth… and back & forth. You know I love trimming… AND a nice clean footring!
Just finished trimming this batch of mugs. Next up?… pulling & adding handles to make them truly mugs!!! Because I’m a firm believer that a mug must have a handle! Otherwise it’s just a cup!!!
Here we go again… another batch of “hybrid mugs” just starting up!!!
|
Gary Jackson: Fire When Ready Pottery
Lillstreet Studios ∙ 4401 North Ravenswood, Chicago, Illinois 60640 ∙ 773-307-8664 gary@firewhenreadypottery.com |