08.28.2013
Gotta start glazing. I’m loading another soda kiln Friday night, and I’ve got a LOT of blank bisque waiting for some color… no such thing as too many mugs, right?!


Gary Jackson: Fire When Ready Pottery
A Chicago potter’s somewhat slanted view of clay & play |
Gotta start glazing. I’m loading another soda kiln Friday night, and I’ve got a LOT of blank bisque waiting for some color… no such thing as too many mugs, right?!
Well, I’m working pretty much right up to the last minute. I’m firing another soda kiln this coming Saturday. Which means I’ve got to load Friday night, and get everything glazed before then. Fine, right? Except I’ve been working to make more work to fill the kiln… including some freshly thrown pieces from Saturday, stamped & trimmed on Monday, drying not quite fast enough… and going into this kiln a little on the damp side tonight!!!
Kiln Layer #1 – bowls, salt & pepper shakers, mini vases…
and a bisqued bowl being re-fired to get rid of some run-away wax resist!

Kiln Layer #2 -bowls, brie bakers, ring holders and mini vases.

Kiln Layer #2-1/2 – another brie baker, ring holders and soap dish drainer inserts.

Kiln Layer #3 – bowls, teapots, salt & pepper shakers and two lidded jars.

Sure, it may not be my tightest kiln loading ever… but I used so much kiln filler in my last bisque kiln that I had nothing left to “fill” this one with. And I was more concerned with finishing everything in time to get this kiln fired up!!!
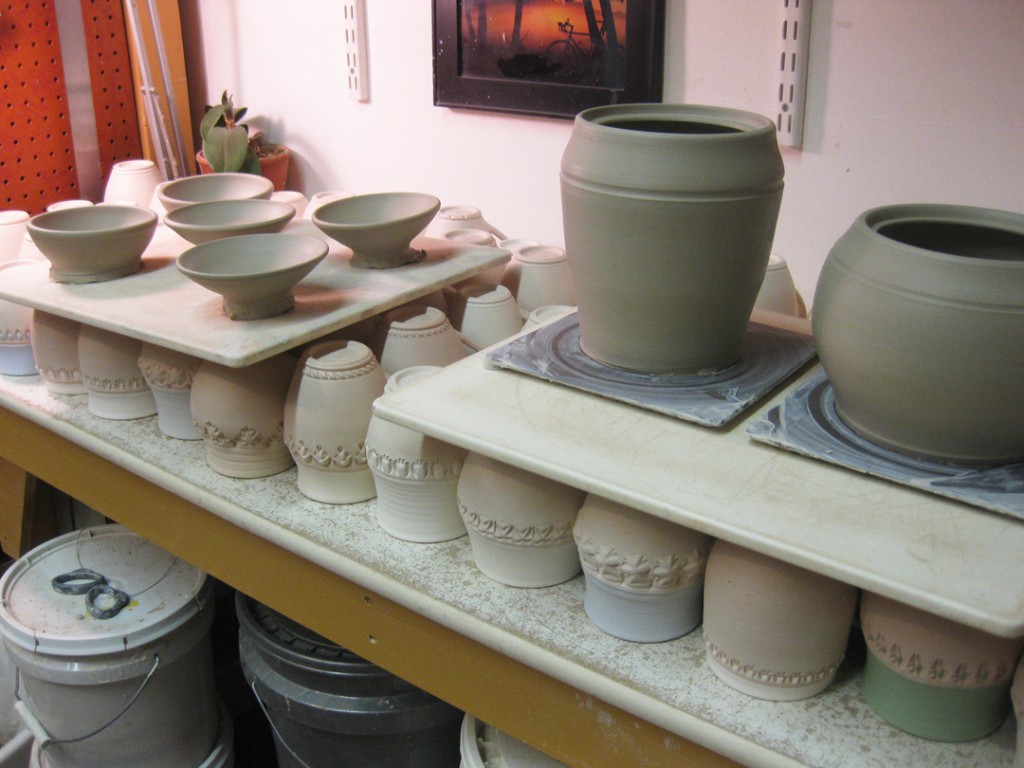
So I unloaded my bisque kiln… and it covered most of my studio work surfaces.
Problem being that I’m still trying to finish some more pieces for another bisque kiln tomorrow. And I am quickly running out of room to work. So… necessity was the mother of invention… and now I’m stacking my work in progress! Yes, it’s come to this. Yikes!
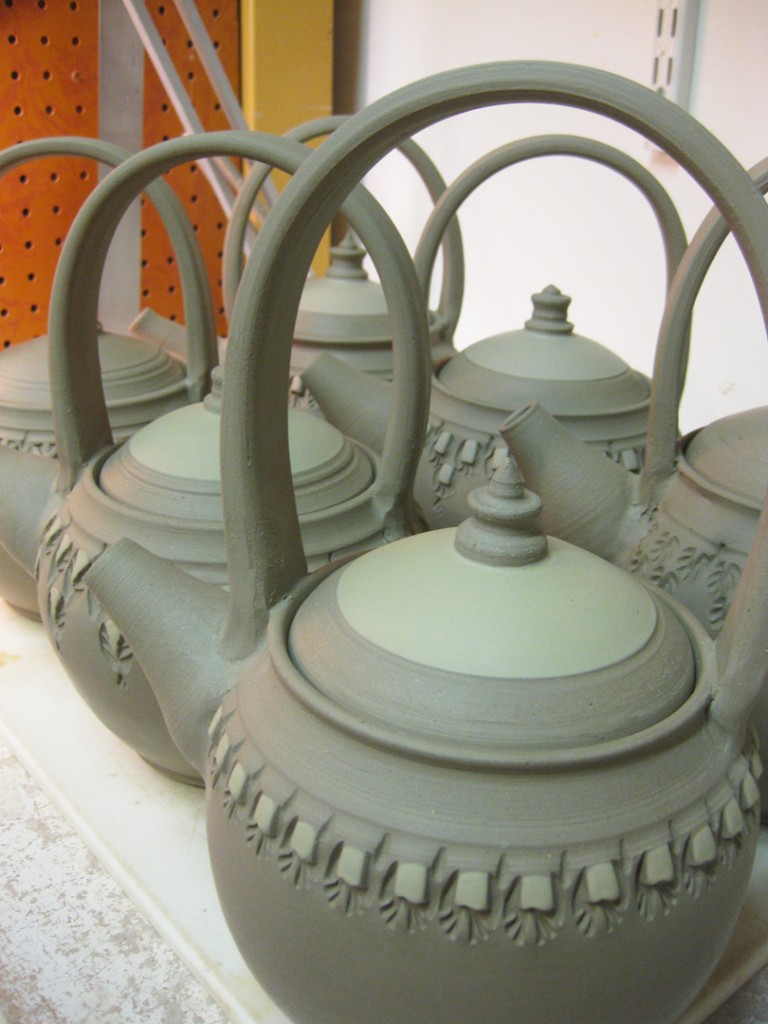
So I’ve assembled all of the teapots and decided that some of them needed a little more attention. A little pop of color here & there with some colored flashing slips.
Teapot #1 – slip painted accents on lid & each stamp.


Teapot #2 – just stamped… I figure this one will be glazed with a light coat of temoku.

Teapot #3 – slip painted accents on lid & each stamp.
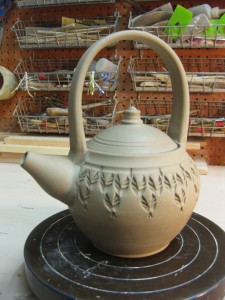


Teapot #4 – slip painted accents on lid & each stamp.


Teapot #5 – just stamped… I figure this one will be glazed with a light coat of temoku.

Teapot #6 – slip painted accents on lid & each stamp.


So now they’re all assembled & slip painted… and wrapped overnight one more time so they can “dry together” a little bit slower. One they’ve settled in together, I’ll unwrap them tomorrow night so they can start drying… so that they’re ready for my upcoming bisque kiln!

It’s been quite busy in my studio over the past couple days… weeks even. So today was my first chance to load a bisque kiln, with another one right around the corner. I’ve scheduled my next soda kiln firing for next Saturday… and I’m scrambling to get everything done in time. Racing up to the last moment as always!!! So while these pieces are dry and going into the bisque kiln, I’ve still got some brand new, freshly thrown pieces wet in my studio?! Hoping to get those done in time too!!! Yikes!!!
Kiln Layer #1 – mugs, mugs, and lots of mugs!!!… you know they’re my favorite!!!

Kiln Layer #2 – bowls, creamers, soap dispensers, ornaments and more mugs!!!

Kiln Layer #3 – creamers, soap dispensers, test tile, soap dishes, ornaments & more!

Kiln Layer #4 – oil lamps, yarn bowls, mugs, soap dispensers and more ornaments!

So close to the top… you know how I love to pack a kiln as tight as I possibly can. It’s always a little “iffy” when you get this close to the top. Will the kiln lid close?!… without cracking anything?! All goes as planned… it’s a snug fit. And things will shrink during the firing, so everything’s good.

With so many ornaments going into the kiln, I had to be especially careful with these fragile ones. I didn’t have room to lay them all flat individually on the shelf as I would have liked to… but I’m hoping this careful stacking will work for me too?!


My studio was more than full of stuff today. Wet pieces here. Drying pieces there. Stamping going on at the table. Things stacked on the floor. As usual, I was stuck looking for more space to work. Lucky for me, my studio neighbor Karen Patinkin has a large table that she wasn’t using… and I knew she was gone for the afternoon. And when opportunity knocks… I’m more than willing to answer. And more than willing to take over her studio too!!!


As part of my “big” production day in the studio, I threw five more serving bowls with soda clay. I let them set-up for awhile and had the opportunity to stamp them today. Usually I do it the next day, or even two days later. But since I was cranking things out today… it was great to be able to stamp them today!!! I’m kind of rushing to fill a kiln next weekend. The “faster” I can get things done, dried and into a bisque kiln the more time I’ll have to glaze & wad.
Bowl #1 –


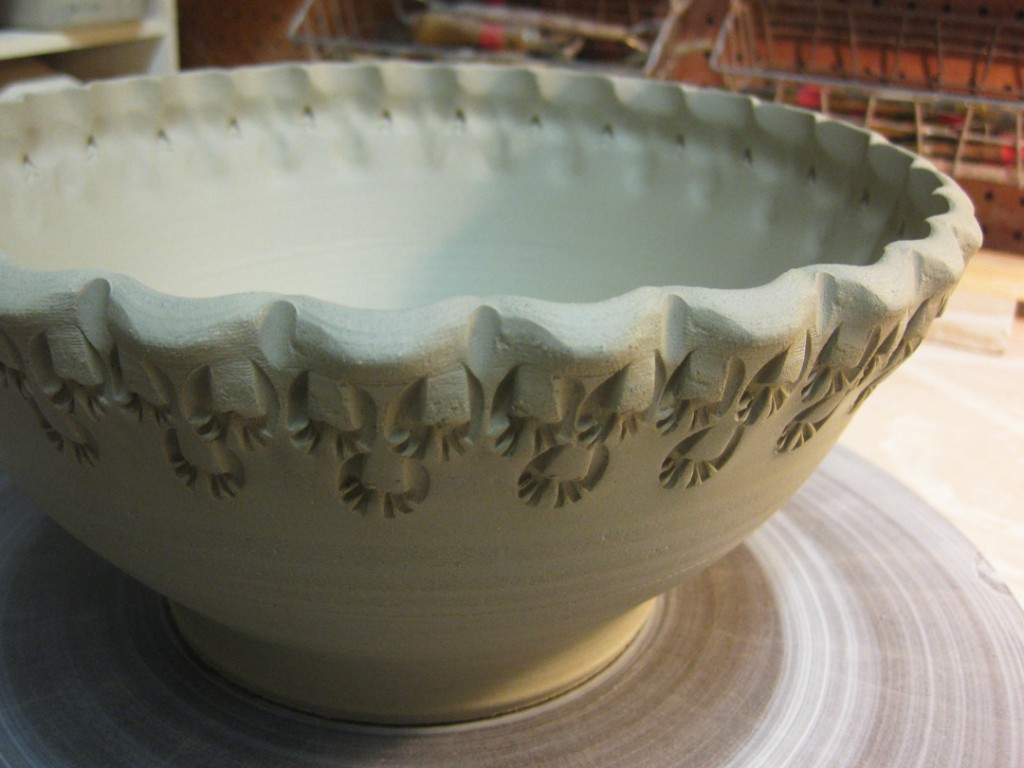
Bowl #2 –


Bowl #3 –

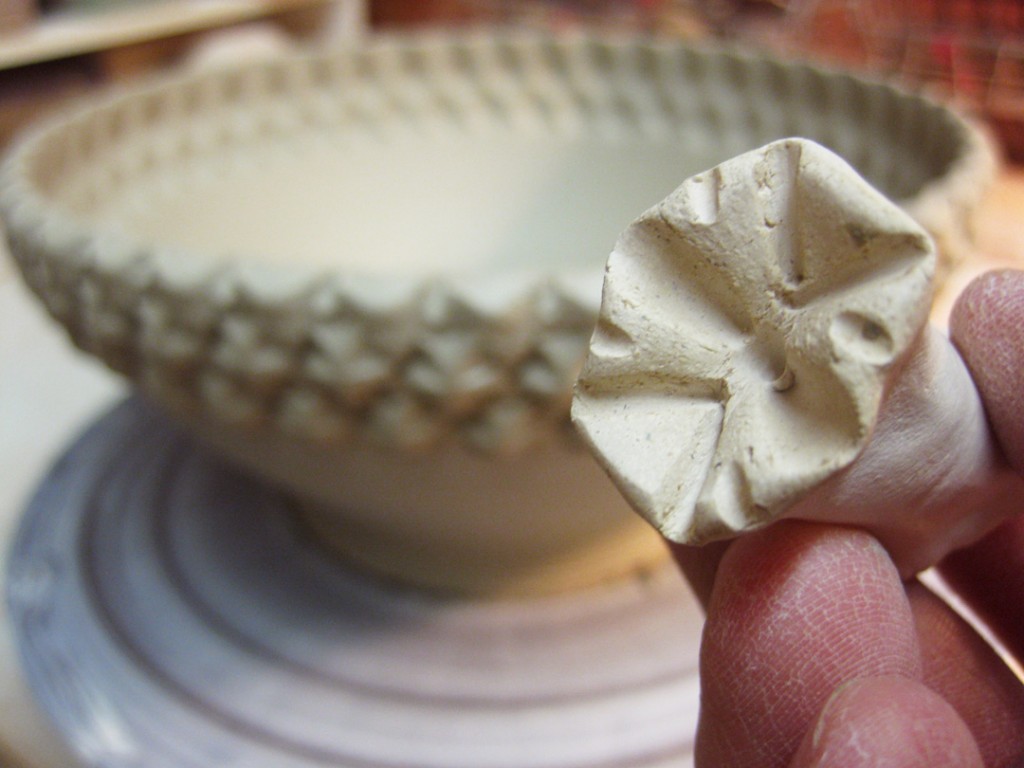

Bowl #4 –


Bowl #5 –


So now they’re loosely wrapped up for the night… and I hope to trim them tomorrow.
All assembled. Moisture levels evened out. Colored slip accents painted. Done. Drying.
One more thing… err, a dozen things.. checked off today’s “to do” list…

So it’s been FAR TO LONG since the last time I made teapots. I’ve put them off. And put them off. But I figure it was finally time to tackle teapots. So here we go… the beginnings of six teapots. I started with six shaped cylinders. And then made several lids and several spouts. Pieces & parts. As a production potter, I planned ahead and made the opening pretty much the same size on all six of them. I figure it would give me more chances of a lid fitting if I threw them the same size, and then made multiple lids to fit. Eventually, something’s got to fit together, right?!
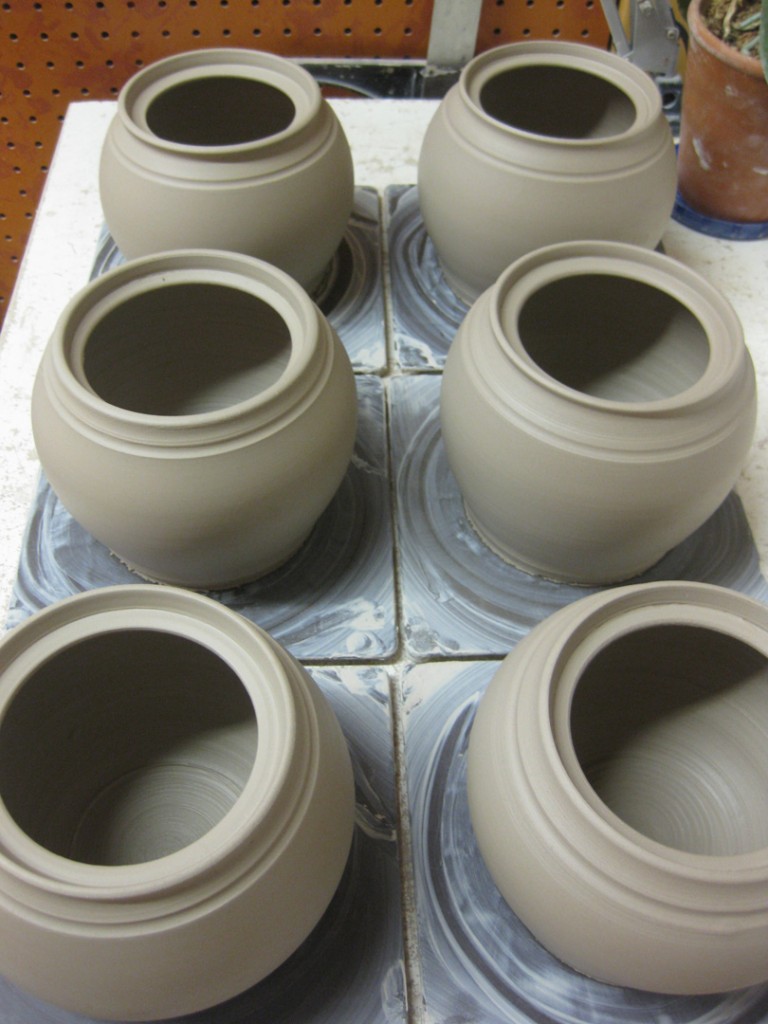
I let them stiffen up overnight under plastic. When I came back today, they were ready for some stamping. So I pulled out one of my stamp cases to figure out what patterns I would be using. Big choice… and somehow, I always tend to pick out my favorites. Go figure.
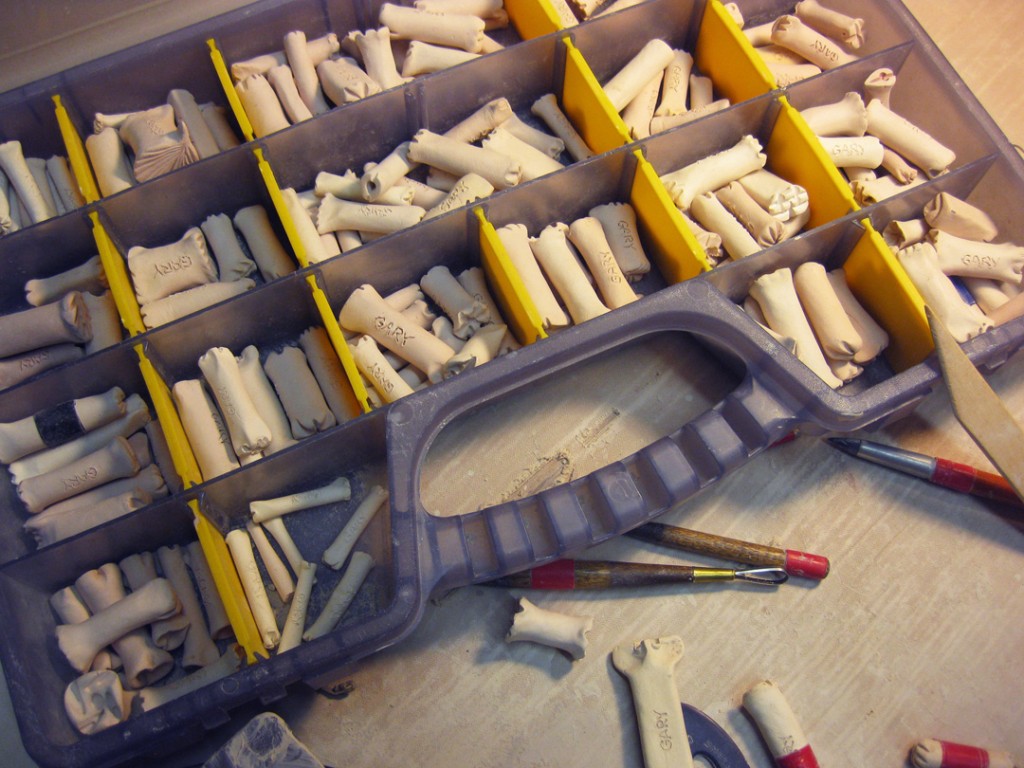
Teapot #1 –

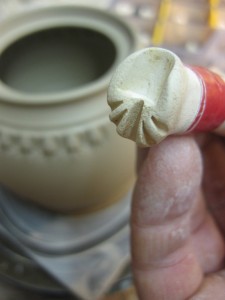
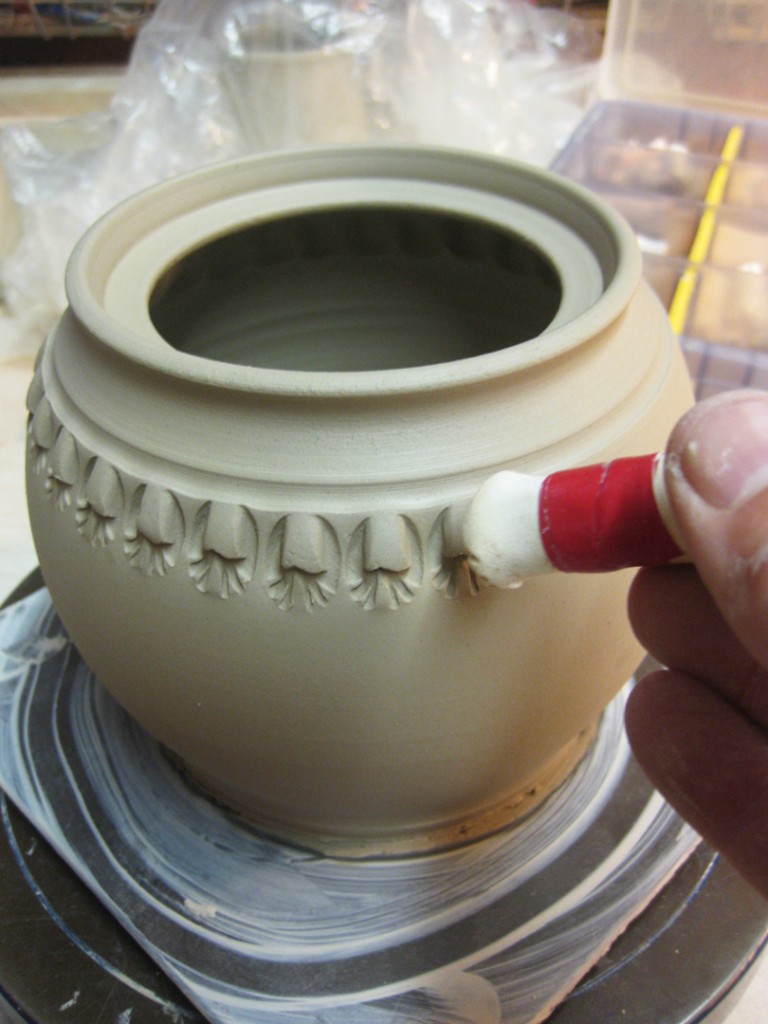
Teapot #2 –
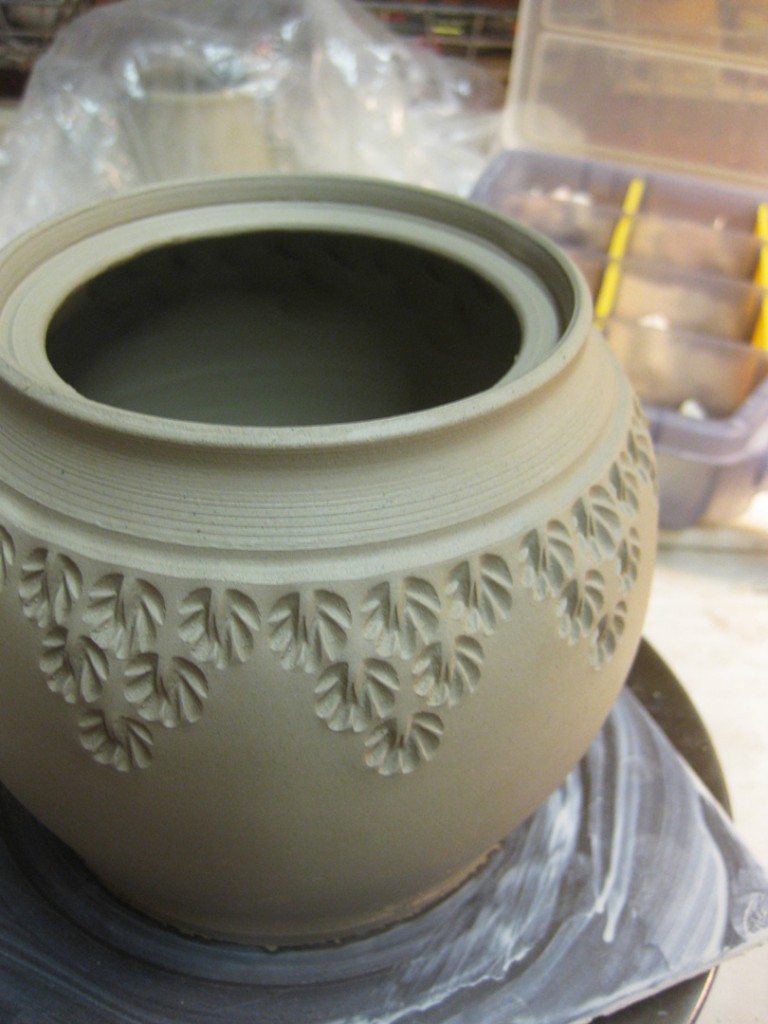
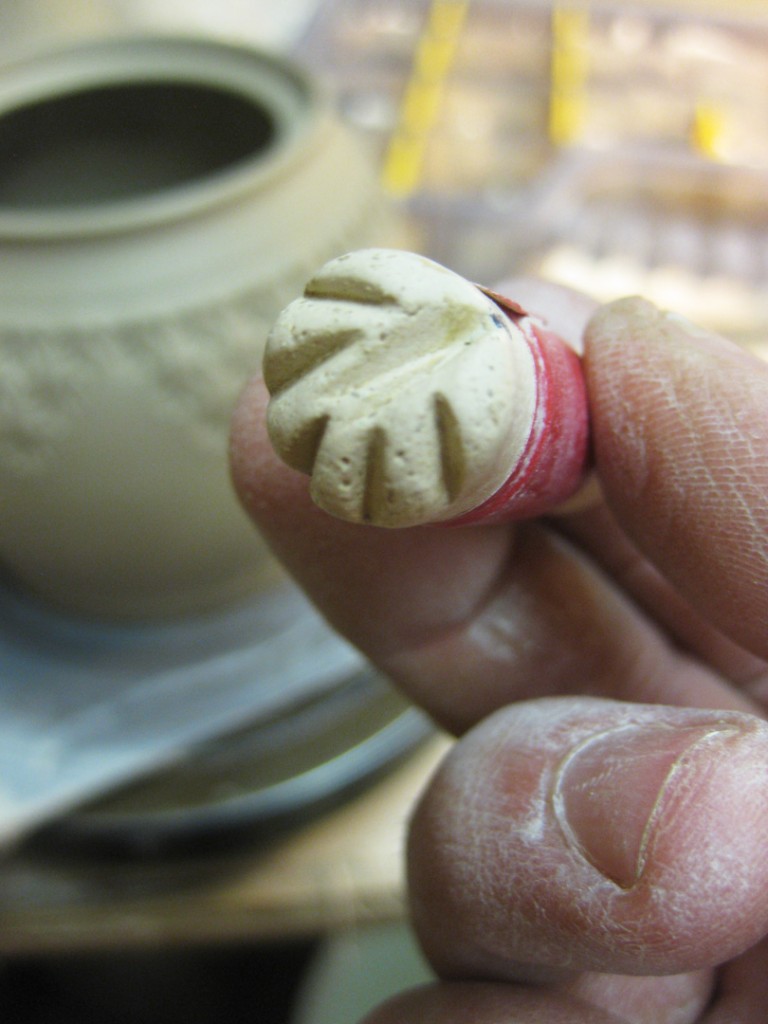
Teapot #3 –
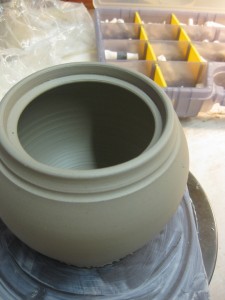
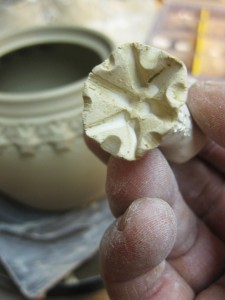
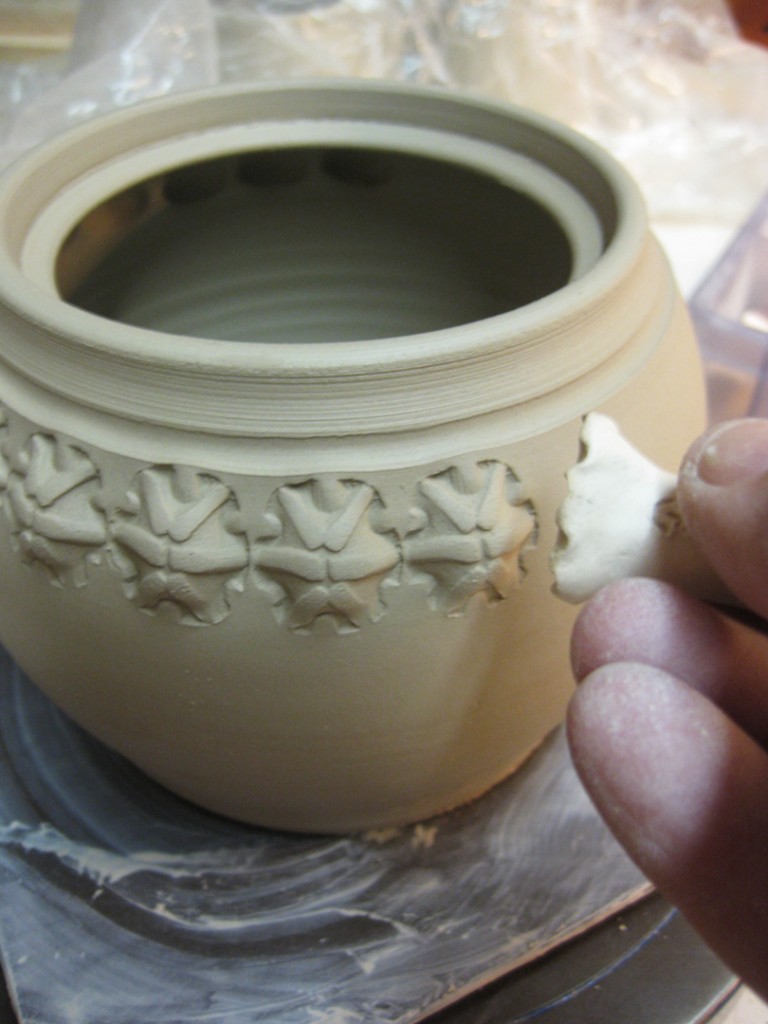
Teapot #4 –

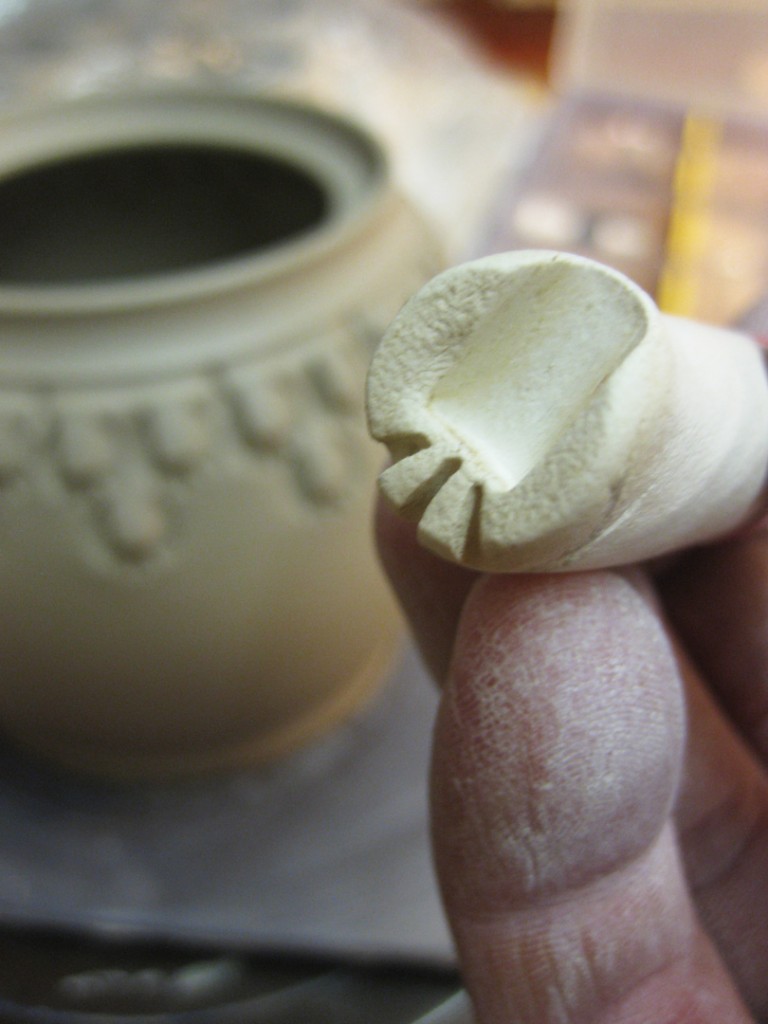
Teapot #5 –
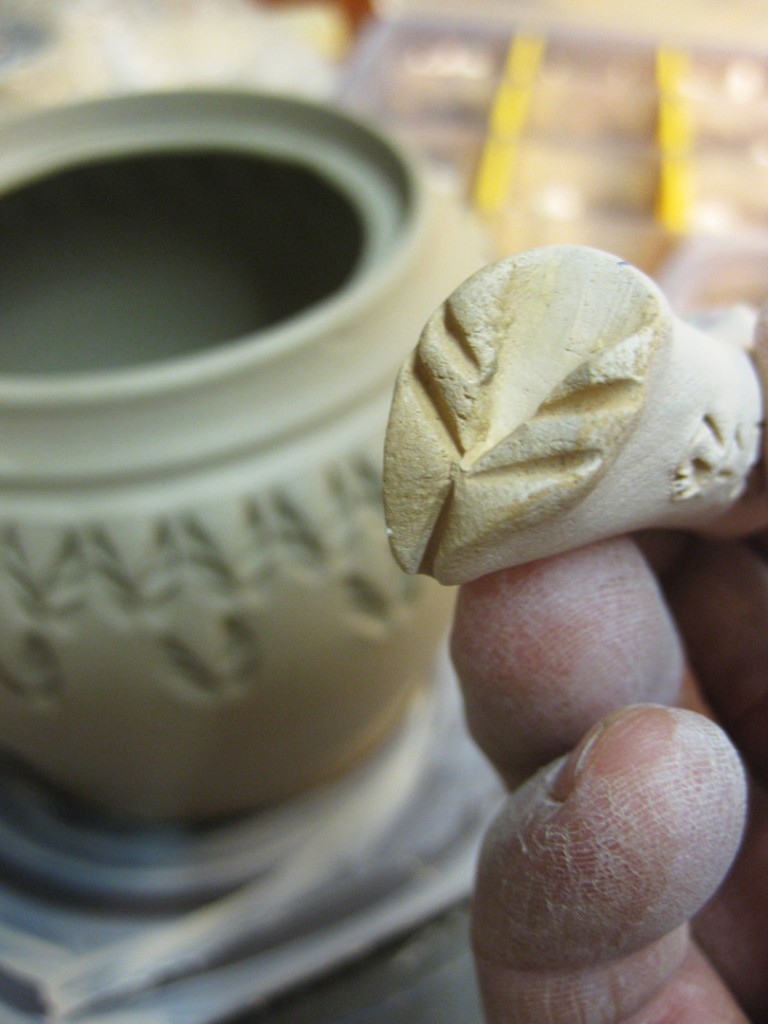
Teapot #6 –
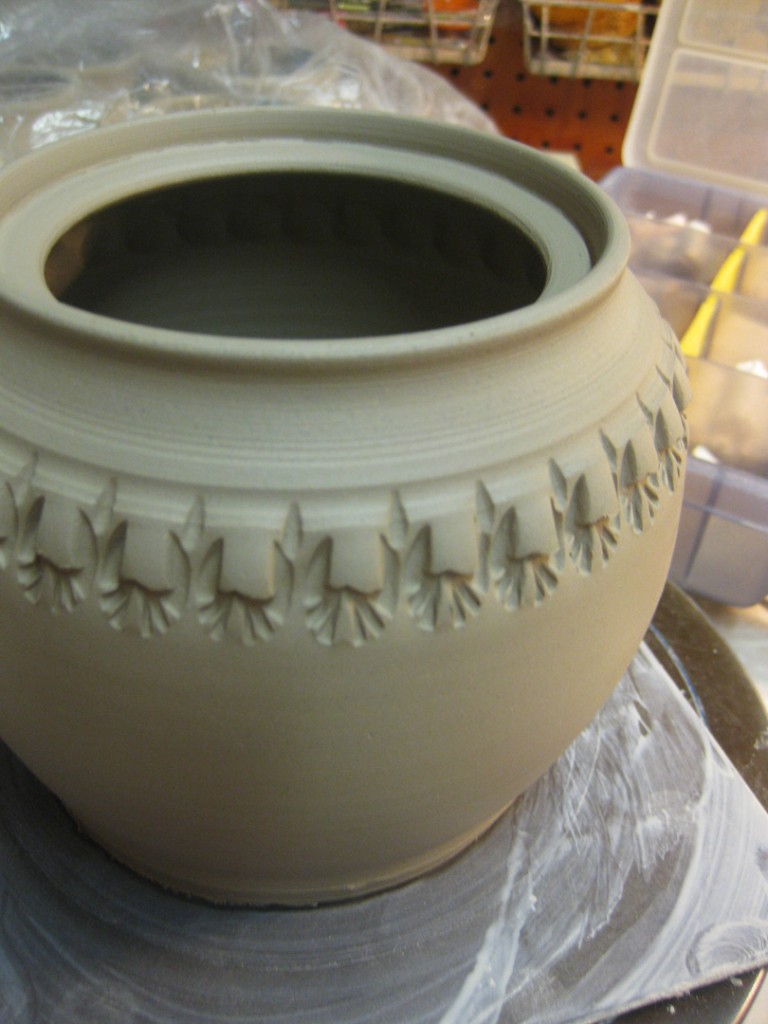
So now everything is wrapped up for the night, drying to leather-hard so I can assemble them later. Lots of pieces & parts to put together to make six new teapots!!!
Today I assembled some new mini “pitcher” creamers. The cylinders are thrown, and then I added some textured pieces here & there to finish them off. Some quick handles… and then they’re back under plastic wrap for the night. I like to keep my work under plastic overnight so that handles & handbuilt add-on’s have a chance to balance out moisture levels with the cylinders before they start to dry together!


Special thanks to my friend Cory McCrory for the “pitcher” creamer inspiration. She never ceases to amaze me with her boundless whimsy & creativity. I’ve loved the black & white pitcher of hers in my “Cory Collection.” So much so that I had to do my own variation on a theme!
|
Gary Jackson: Fire When Ready Pottery
Lillstreet Studios ∙ 4401 North Ravenswood, Chicago, Illinois 60640 ∙ 773-307-8664 gary@firewhenreadypottery.com |