Gary Jackson: Fire When Ready Pottery
A Chicago potter’s somewhat slanted view of clay & play
Categories: patterns, production, stamps, textures

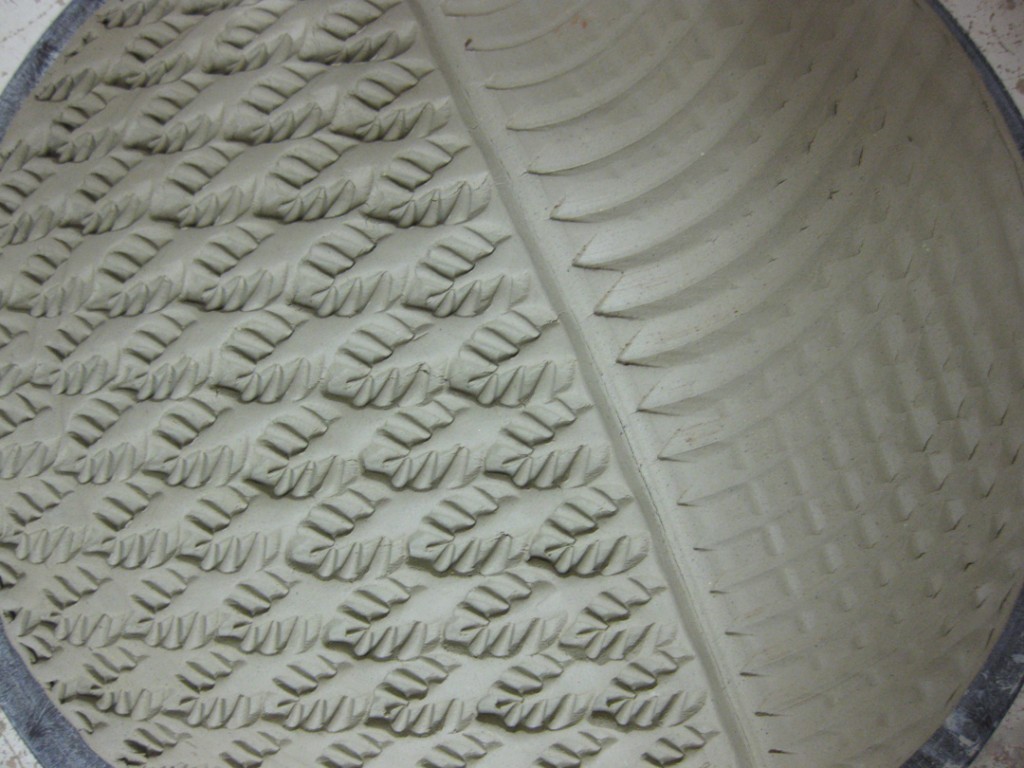
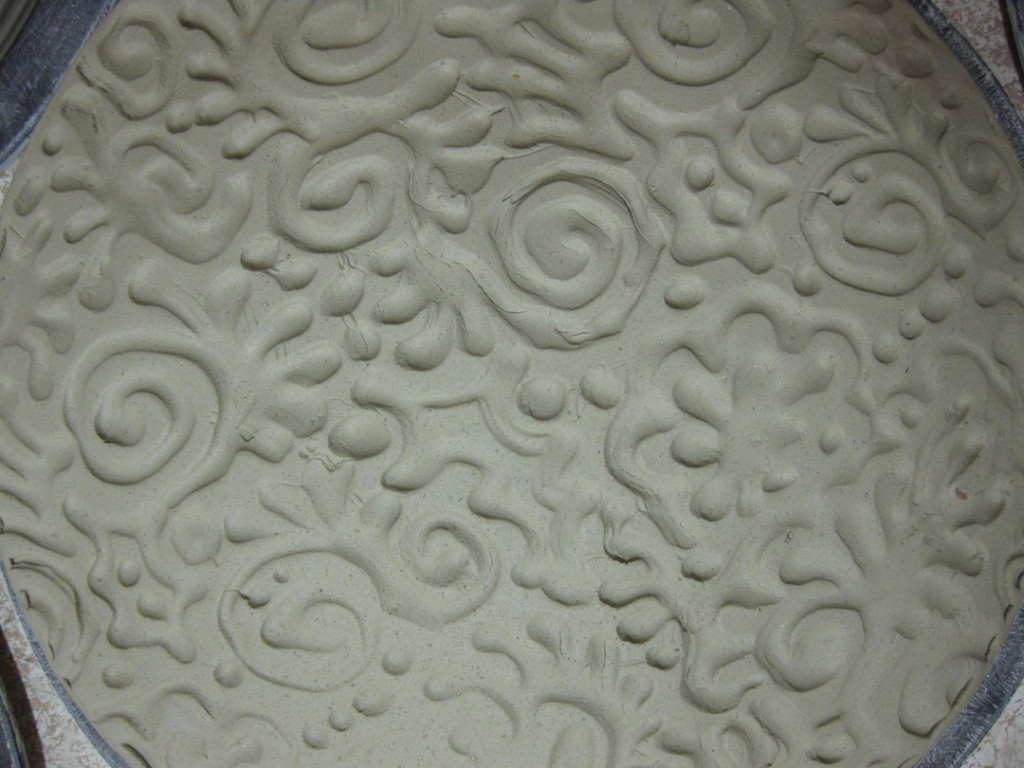
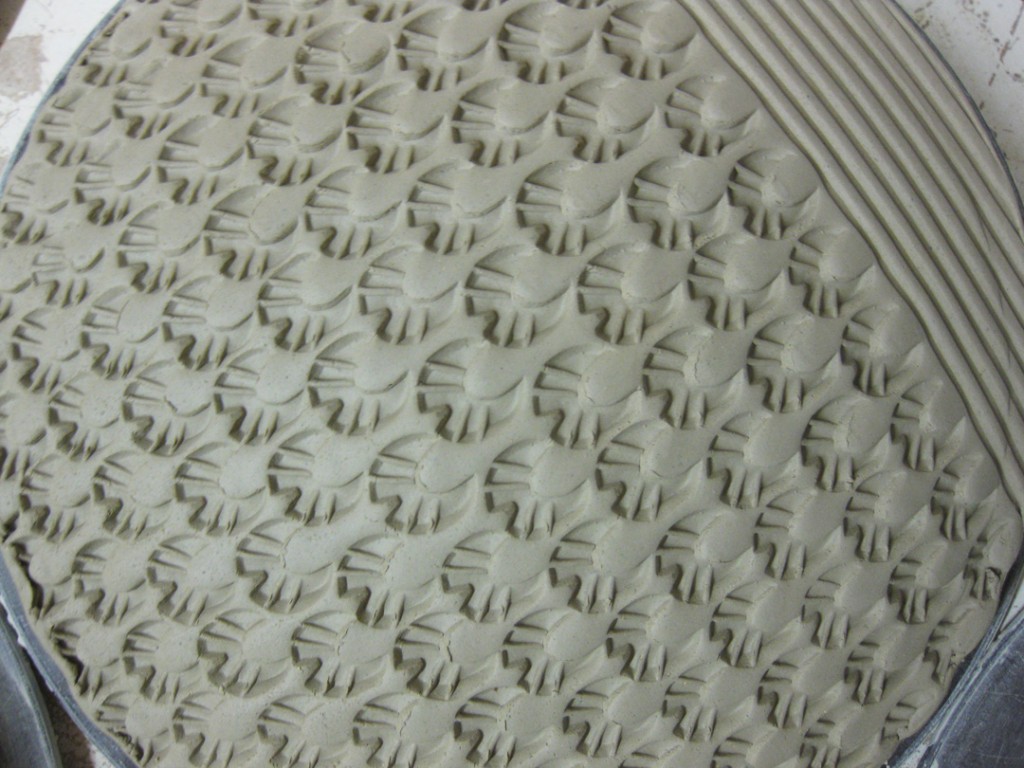
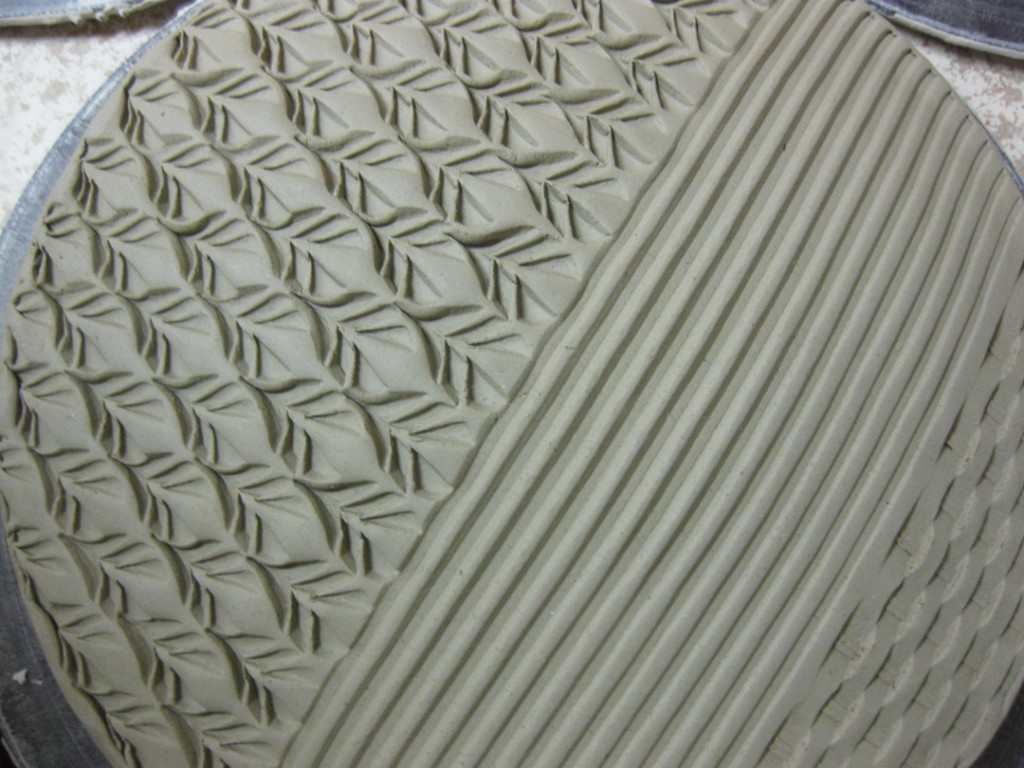
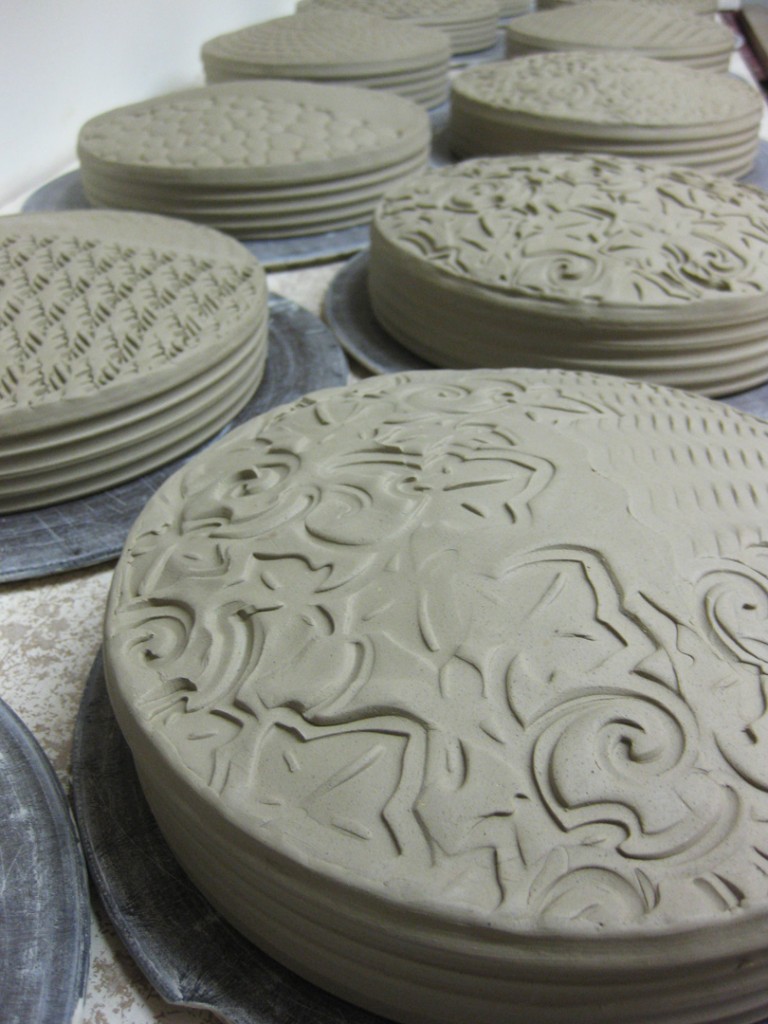
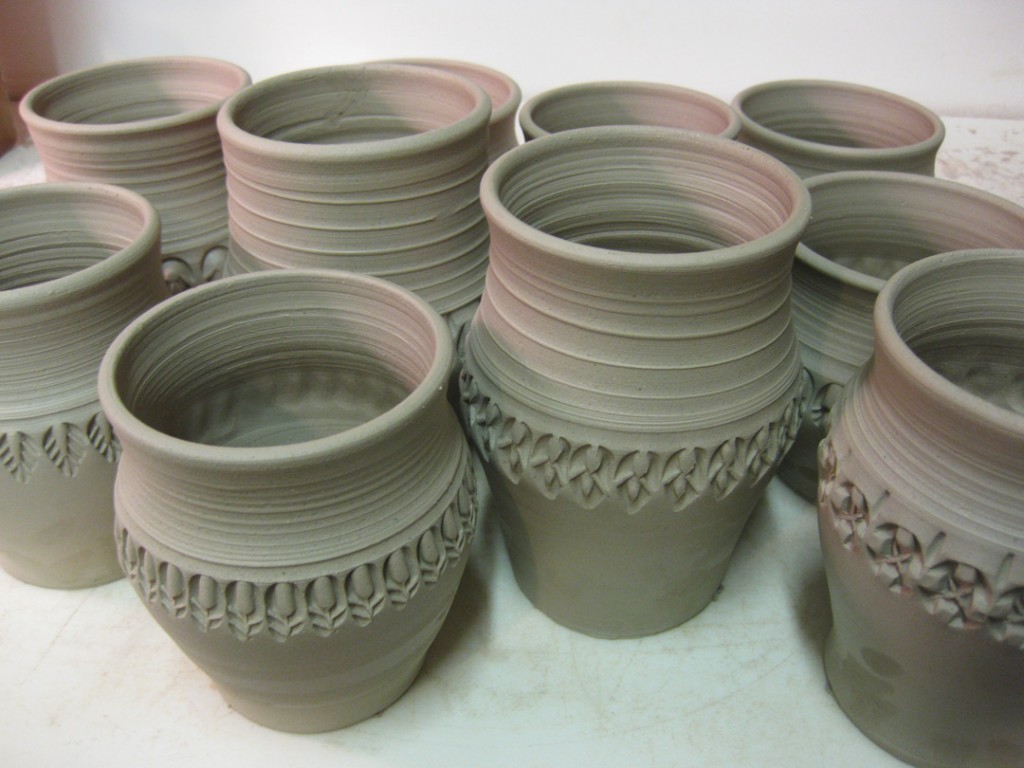
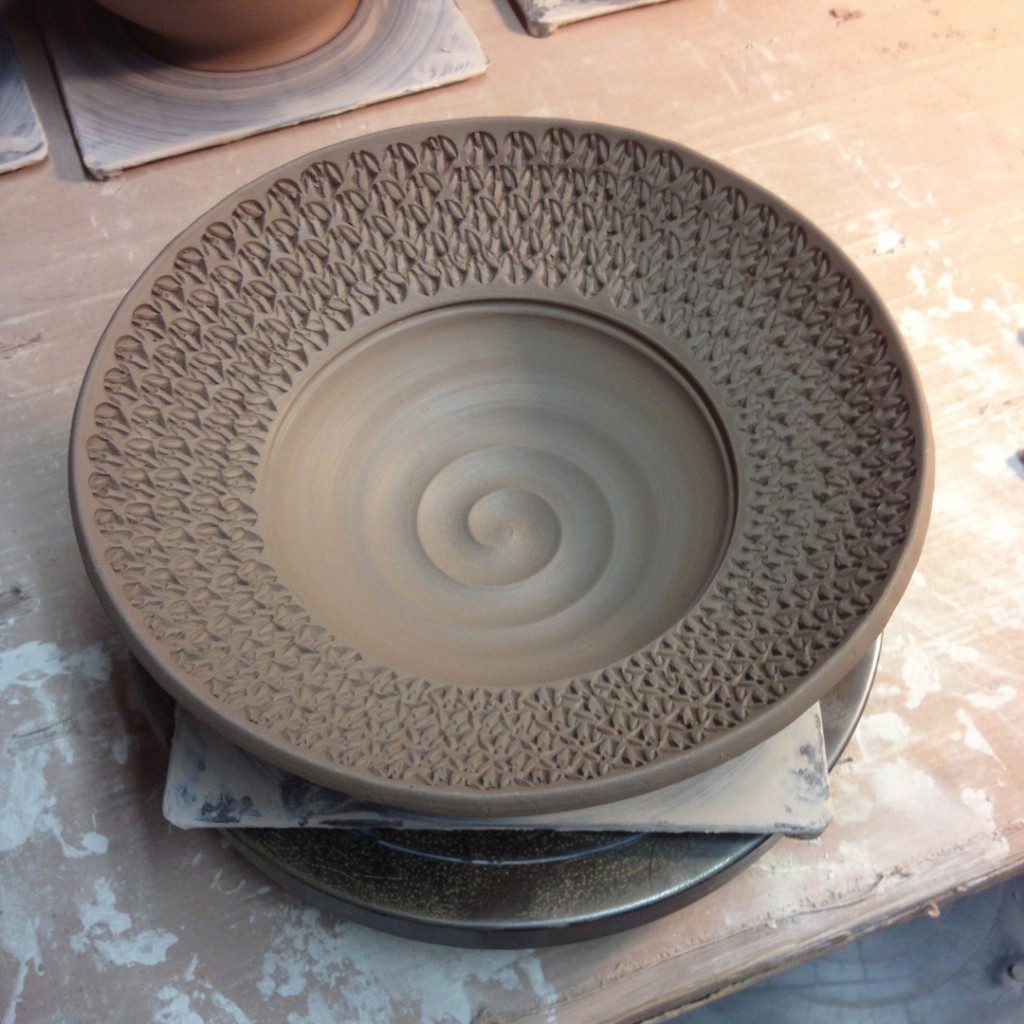
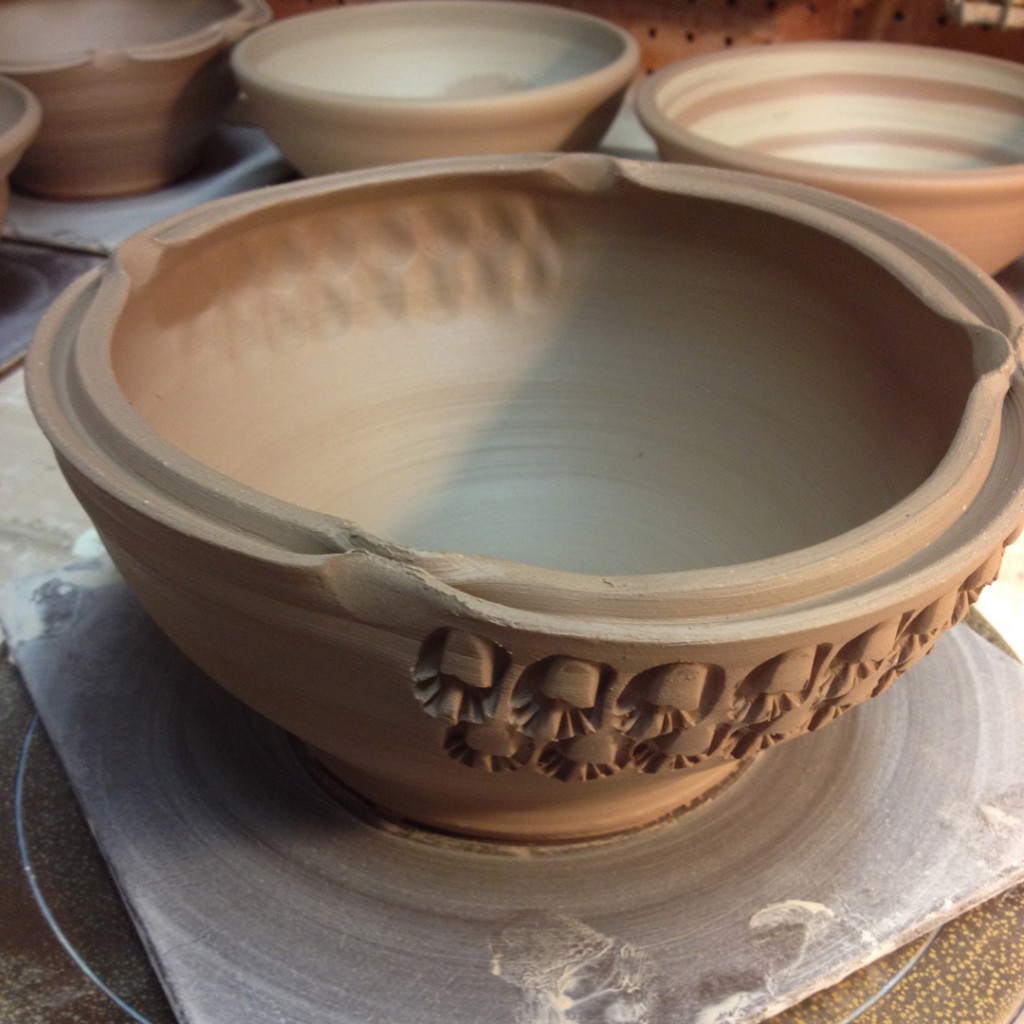
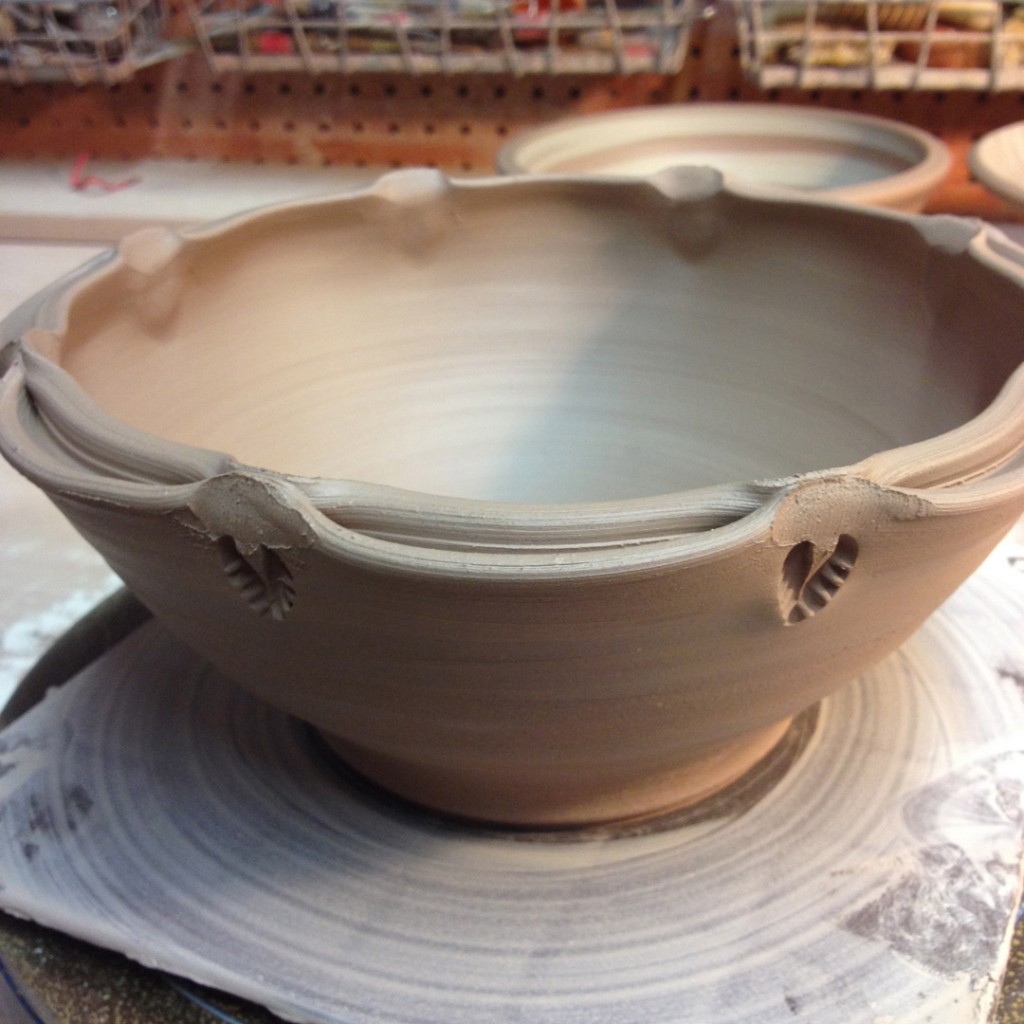
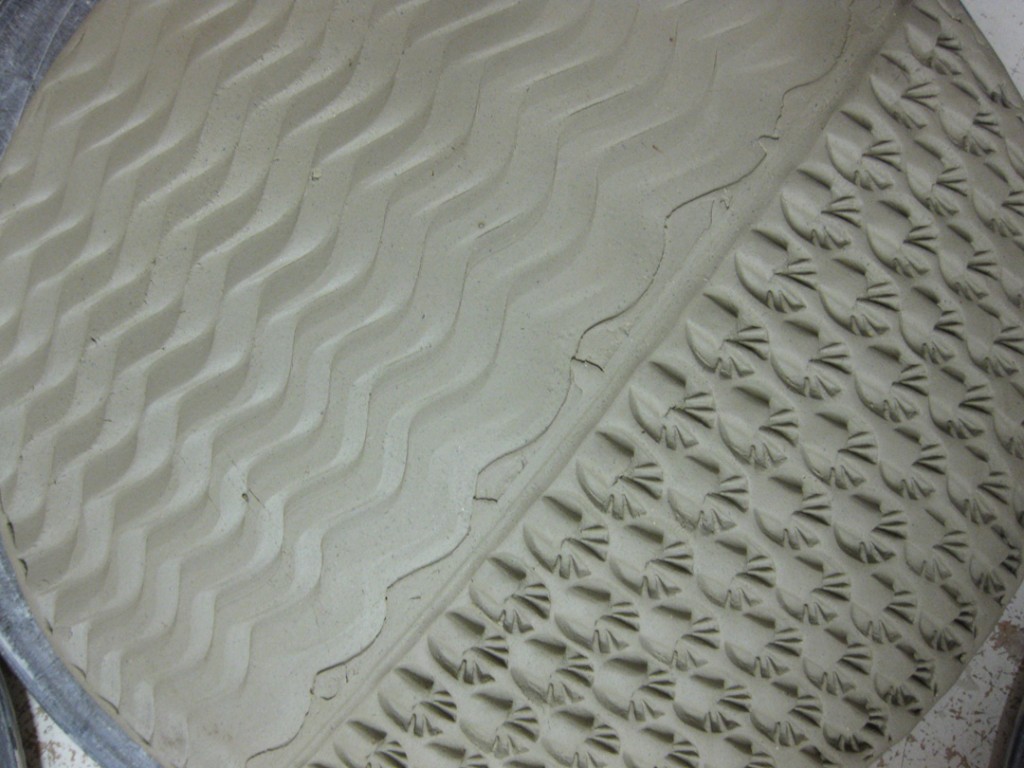
While my computer has been down, I’ve been getting a lot done in the studio. Coincidence?!… maybe I should “break” my computer more often?! Anyway, I’ve been working on some new pieces with a lot of textures & patterns. Here’s a couple sneak-peeks…

So here they are… I’ve been making some pieces that I hope will hang on the wall. My plan is to make them in a couple different sizes so people can put them together for a great wall hanging piece! We’ll see if my plan comes together…

Categories: process, production, stamps

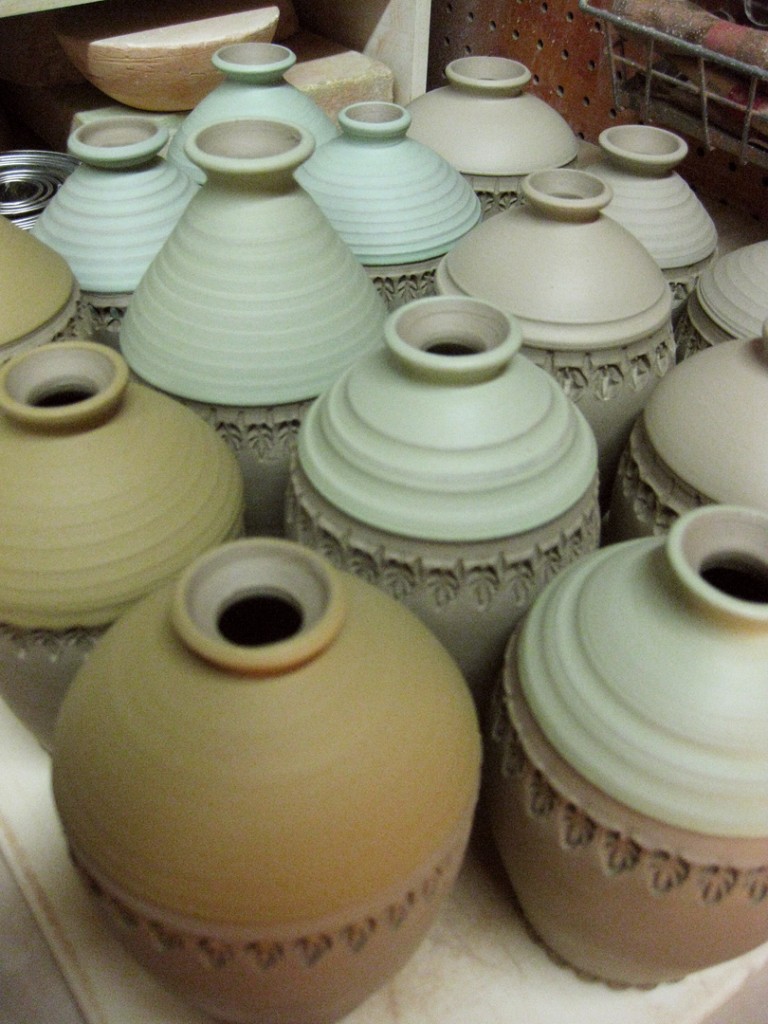
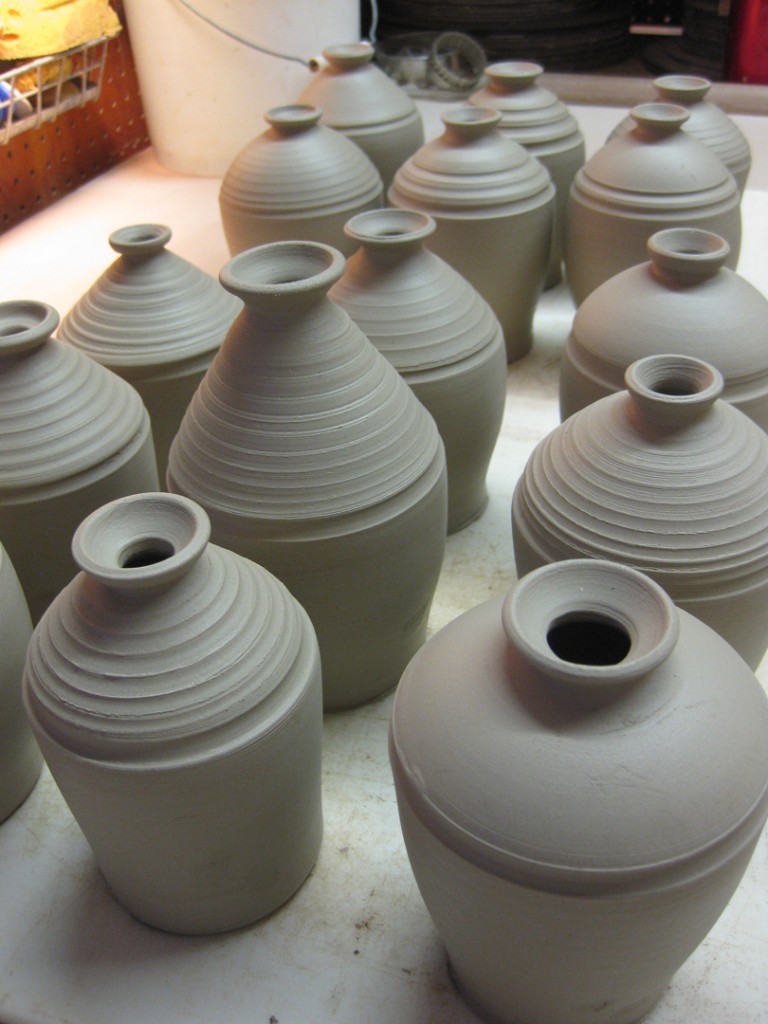
The latest batch of “slender” oil lamps were stamped today… and trimmed…
and “flashing” slipped… and are now drying.  Let the process continue…

Categories: mugs, process, production

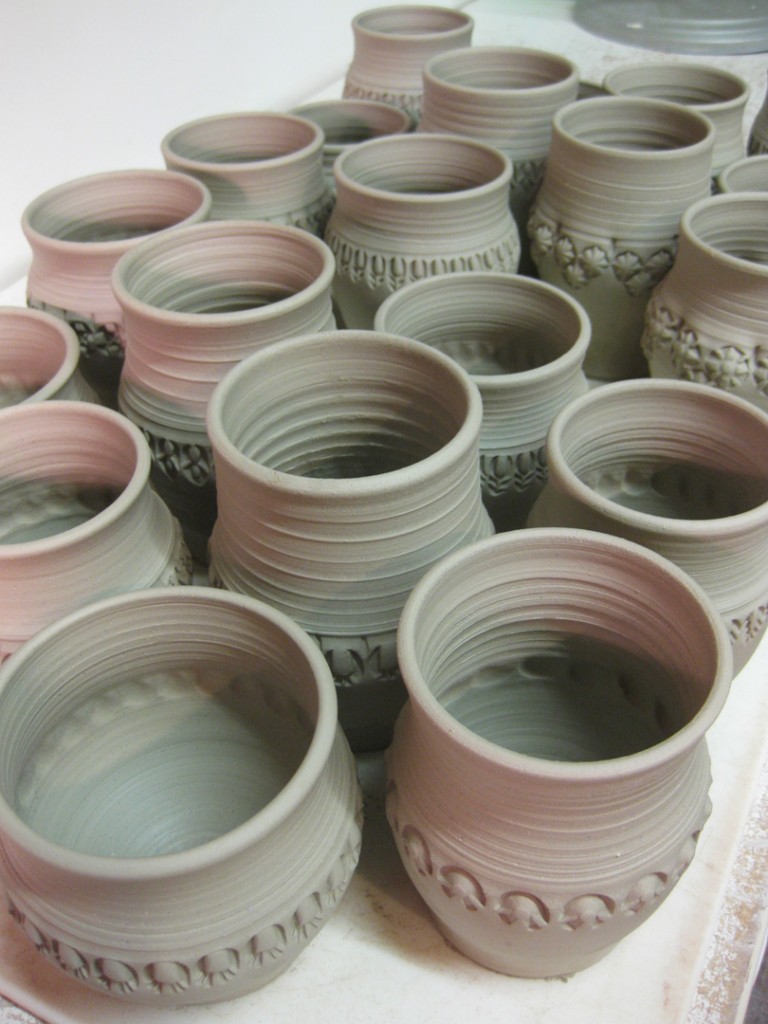
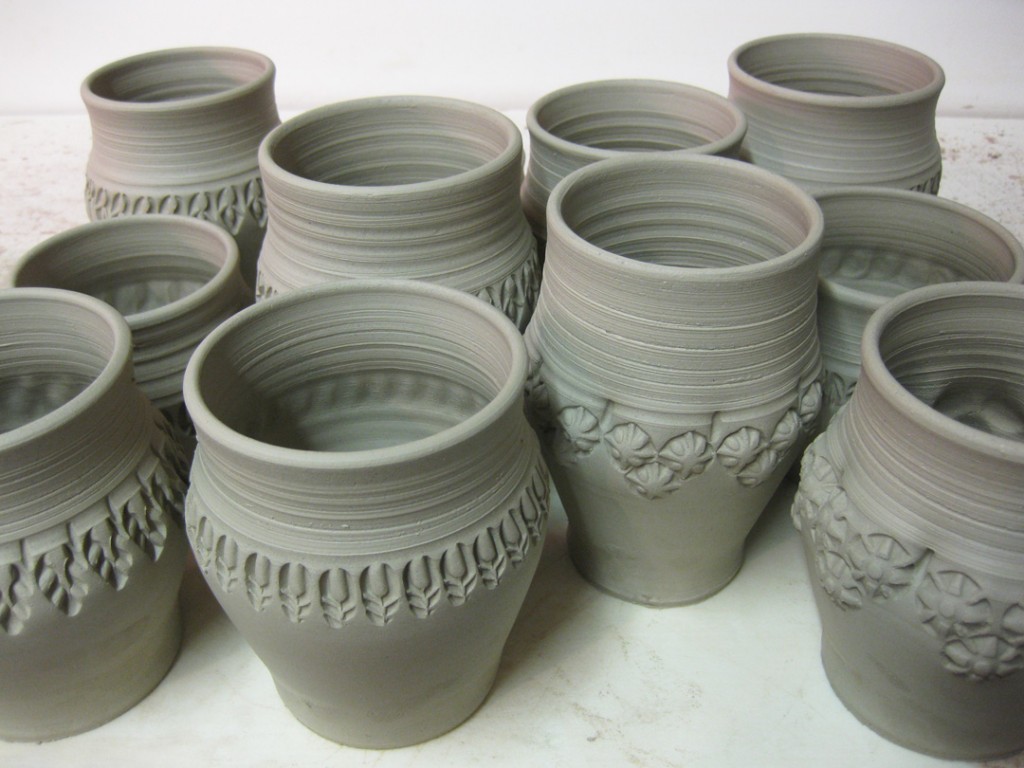
My cylinders have been stamped & trimmed.
But to make them into mugs, they need handles. And tonight was the night.

Twenty-one handles on twenty-one cylinders makes twenty-one mugs!

So I start with small pieces of clay. I pound them on my table and rotate them so they start to form this little “carrot-shaped” wedge of clay. I make enough of them to create handles for all of the cylinders in waiting.

Then I pick them up from the fat end, give them a pinch, and start pulling the handle. With a wet hand, I slide down the clay with a bit of pressure. The friction draws the clay down – stretching it and making it thinner at the same time. Once I get it thinned down to a good “strap handle” width & thickness, I gently give them a “flip” so they can stand up like this. The flip gives them a gentle curve and sets them up pretty close to the curved handle shape I want. It also keeps them out of my way while they set-up a bit. After a few minutes, I put a piece of plastic over them very loosely. Then I start attaching them – oldest & driest handles first. And the plastic keeps the rest from drying out too quickly as I work through them all.

When the freshly pulled handles stiffen up a bit, I cut out the portion I want to use and carefully attach them to the cylinders. After a bit of scoring & slipping, they stick in place and I try to smooth everything in for a neat attachment.

After they’re all attached, I wrap them up overnight so the moisture levels can even out a bit. After a 24-hour rest, I will paint them with some colored flashing slip and then let them dry the rest of the way.

Then it will be off to a cone 06 bisque kiln… then glazing… and then my next soda kiln!

Categories: mugs, pottery, process, production

Now that the Chicago Marathon is over, I’m back in the studio and re-focused.
No more distractions. No more training. No more need to “go for run.”
So now I’m focused on my next soda kiln… throwing pots and replenishing the basics!
Now let’s not get crazy… I’m still going to bike. Let’s be real.

So I threw a “bag” of mugs… this time a new 25-pound bag made twenty-one mugs!
And surprisingly, they dried pretty quickly… and I actually stamped them today as well.

I followed that up with a batch of oil lamps. This time a little more slender… as requested!
These were still too wet to stamp… so I wrapped them up and will stamp them tomorrow.

Categories: artists, glaze, pottery, production, textures

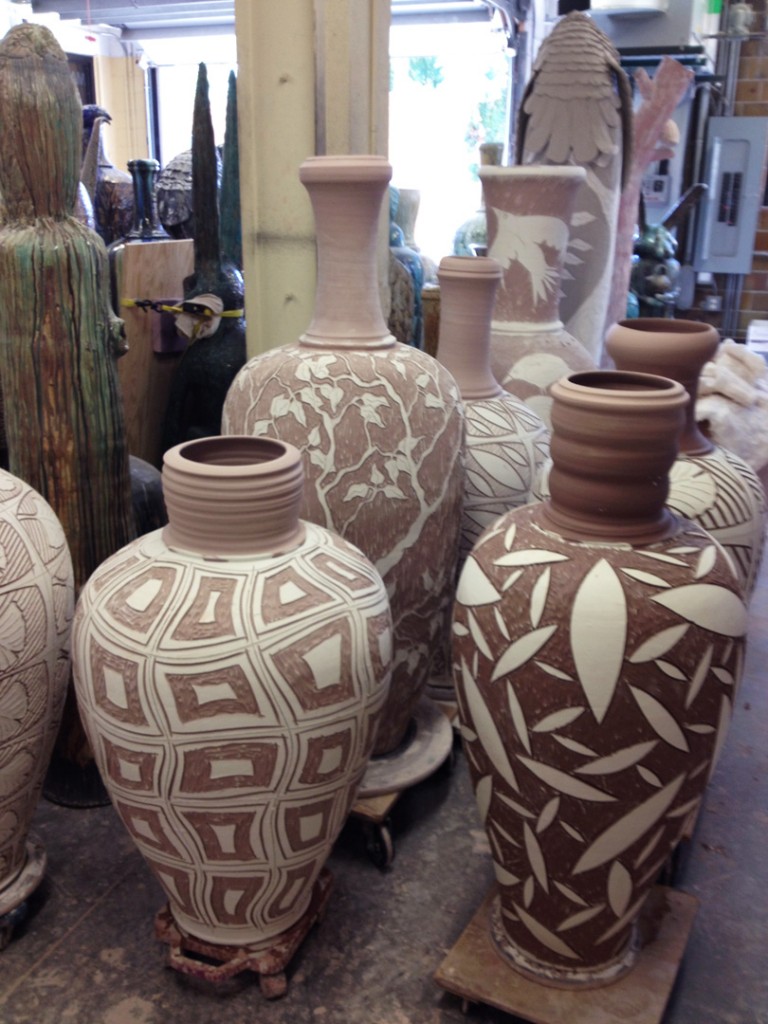
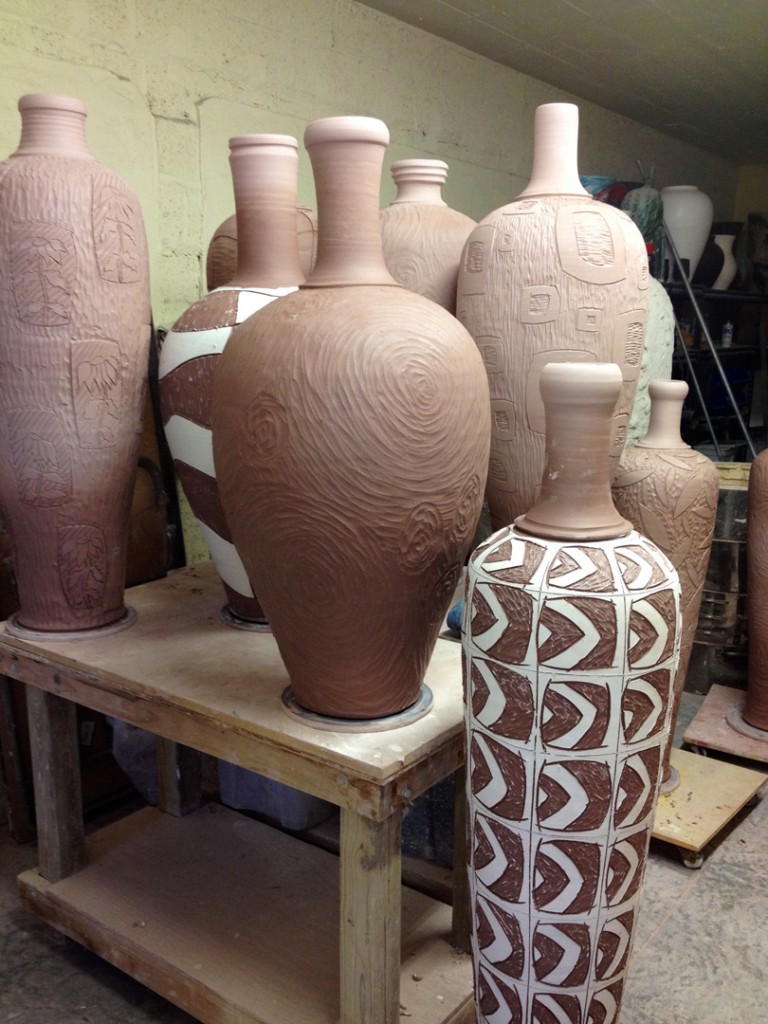
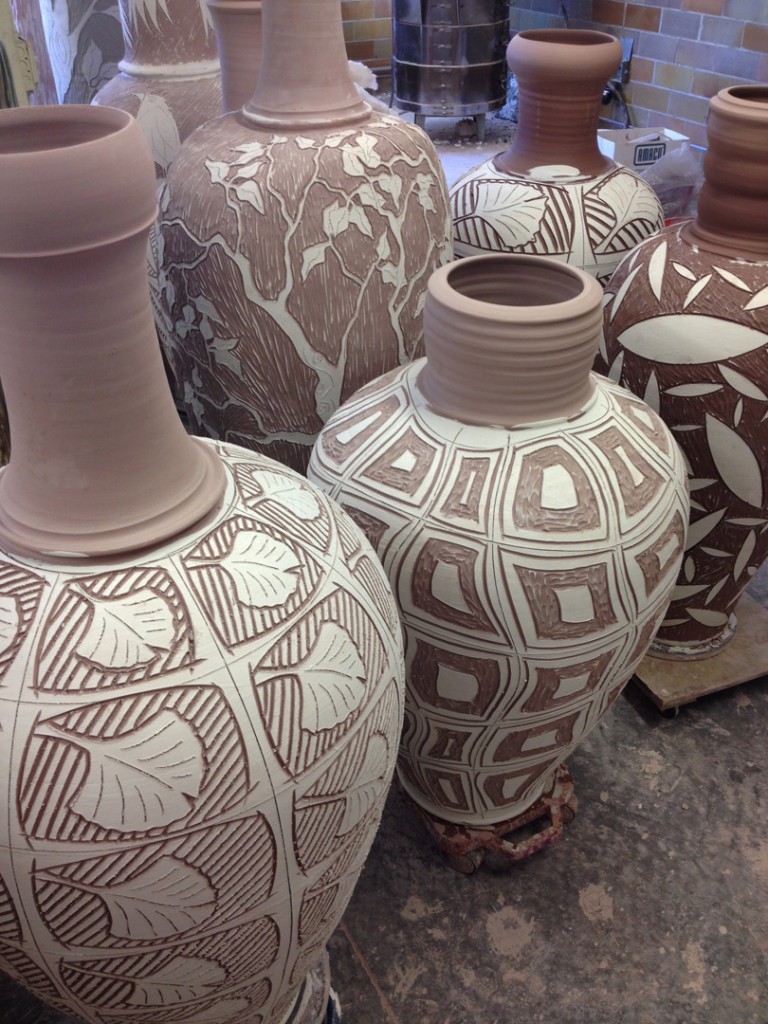
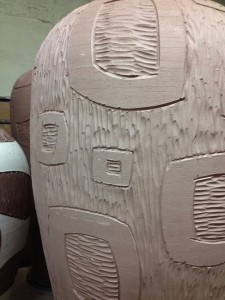
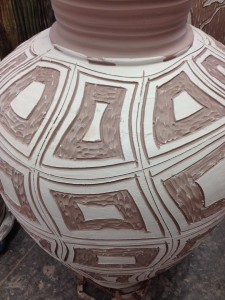
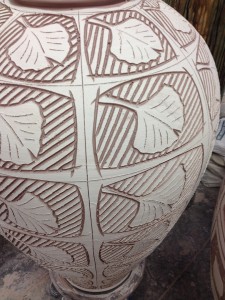
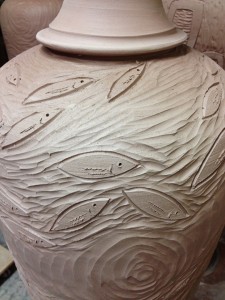
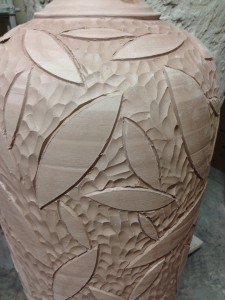
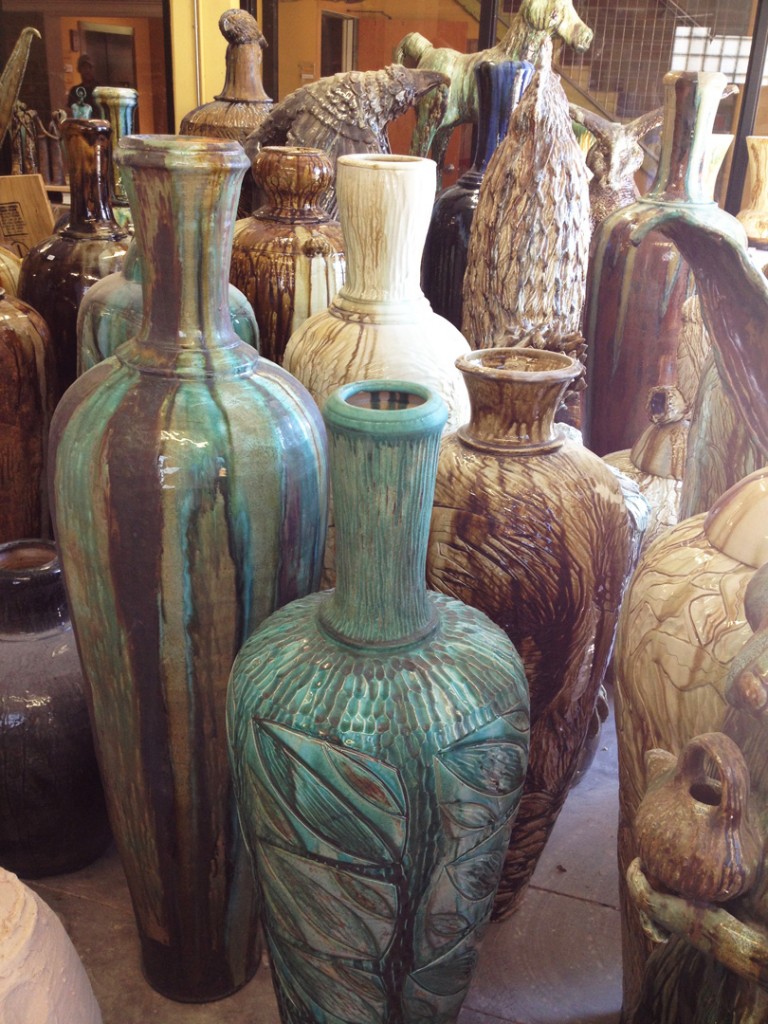
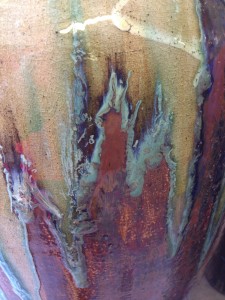
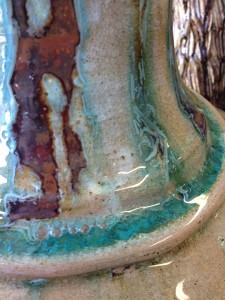
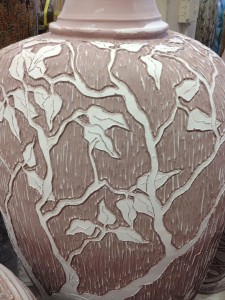
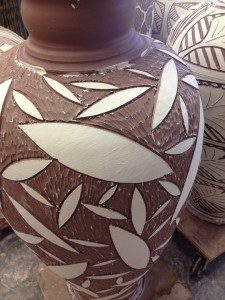
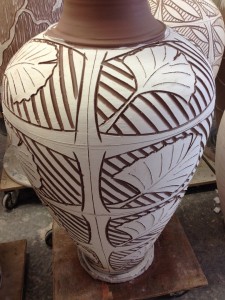
We didn’t get very far… until we stopped at Joe Christensen‘s studio in Hudson, Wisconsin to see some huge pots, vessels & sculptures with wonderful textures, carving, slip patterns & sgraffito. Not surprisingly, larger pots using more clay take a lot more time to dry. So these large vessels have been sitting out for days, and are different stages of dryness. The darker the stoneware clay, the wetter the clay is.

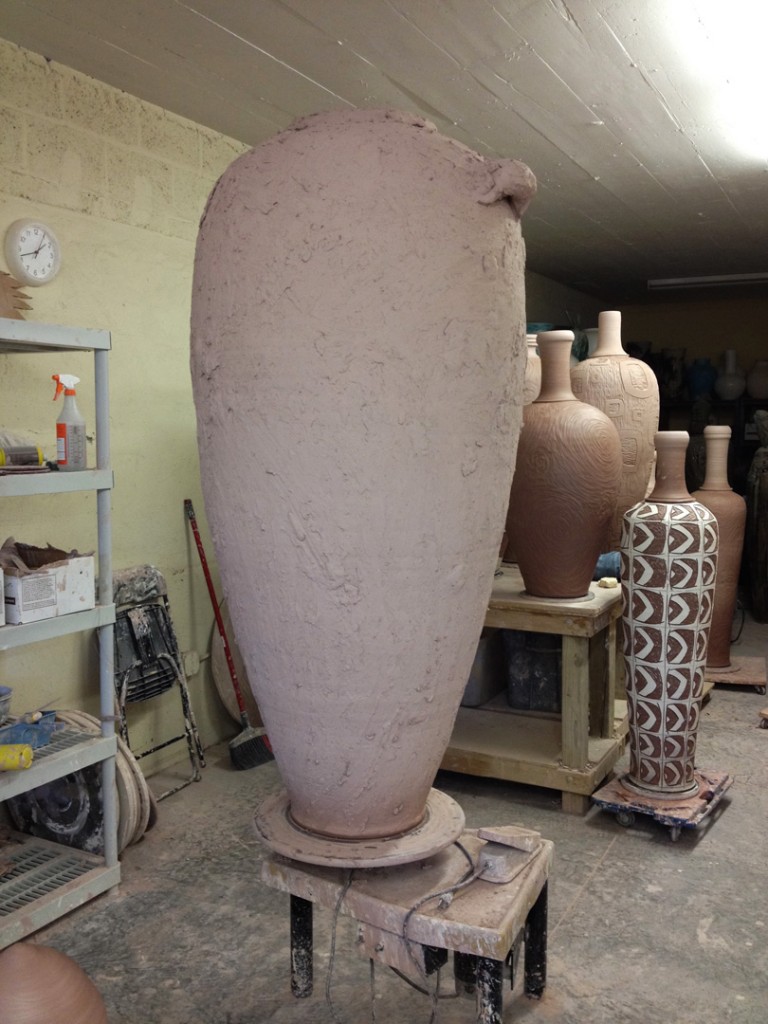
And you thought those ones were big… check out this huge one still sitting on the wheel…

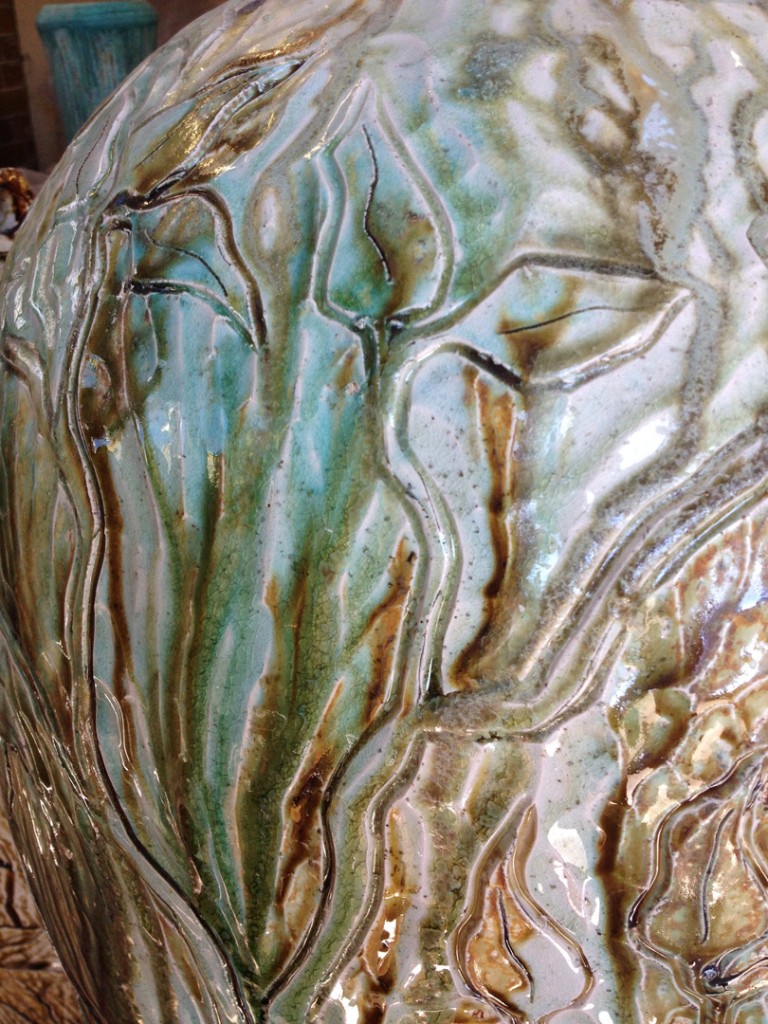
You know how I love texture & pattern… so I knew I had to share these great surfaces with all of you. Some especially wide & deep sgrafitto through the white slip layer.

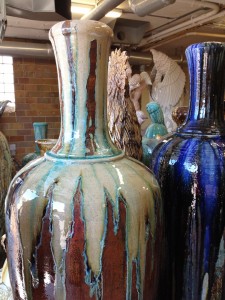
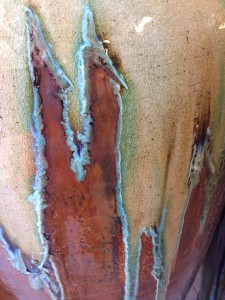
On the other side of Joe’s workspace are some finished pots. Already glazed & fired.
Now just waiting to go home with a satisfied customer!

For those of you in the Chicago area, Joe and his huge pots will once again be on display at “One Of A Kind” over the first weekend of December. Click here for more information about Joe Christiansen.

Categories: bowls, process, production, stamps

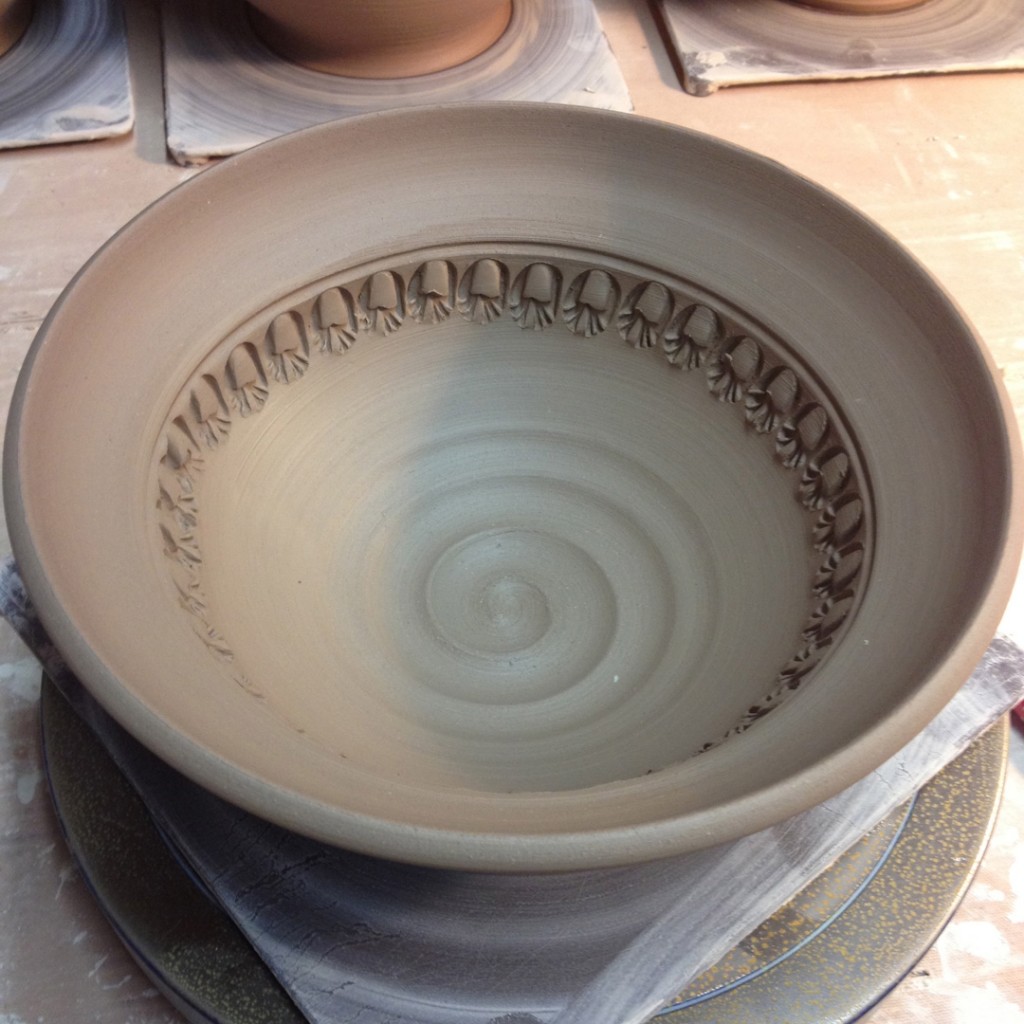
Tonight I stopped in the studio to do a little “refining” of some of my class demo bowls. They were still a little wetter than I would normally like, but they were “almost” ready to be stamped. So I stamped a couple of them… and the others will need to wait a little longer for attachments & trimming.

Bowl #3 – With a simple, single row of stamped impressions just below the flange.

Bowl #4 – And if a single row is good, a lot more of stamps would be a LOT better, right?

Bowl #6 – I took the four-pinched bowl and “ovaled” it a bit, and then stamped two sides opposite each other.

Bowl #9 – Each of the eight pinched points were accented with a single stamp. I’m not a huge fan of actually seeing the pinch marks, so there’s a very good chance that there may be more added to this bowl before we call it done!

Categories: bowls, classes, process, production

Tonight in class we covered throwing bowls… bowls on purpose & not cylinders gone bad!
It’s my favortie demo every session. I start be doing the demo on how to throw a basic bowl. Explaining the difference between a bowl “on purpose”… with a nice smooth curve on the inside of the bowl. Not a flat bottom, corners and straight sides like a cylinder. Once we cover the basics of throwing a bowl, my students return to their wheels to give it a try. While they are tackling their first bowls… I sat down and continued to throw more bowls. It’s a full bag of clay… this time it came out to 15 bowls!!! Looks like Alexa was pretty excited!!!

After throwing the full set of bowls, I have my students come back for Part Two of my demo. That’s the part where I try to “convince” my students to play with their clay a bit more. To squish it, move it, bend it, alter it… and to realize that “it’s just clay.” So I show them some really quick tricks to make each of the round bowls somehow altered and somehow more special.

Bowl #1 – Two Fluted Points
A simple finger flick & twist… one finger inside, one finger outside and twist.

Bowl #2 – Eight Fluted Points
If two points are cool… maybe eight would be cooler?!

Bowl #3 – Flared Flange
Simply taking the top part of the bowl and bending it outward to create the flange.

Bowl #4 – Wide Flared Flange
If a flared rim is cool, maybe a wider flared rim would be even cooler?!

Bowl #5 – Combined Flared & Fluted
Flared first, then fluted at eight points.

Bowl #6 – Split Rim with Four Pinches
So I started by carefully splitting the rim in half with the tip of my wooden knife. I then pinched the split rim back together in four places. Conveniently, lined up with the four corners of my plastic bat for even spacing!

Bowl #7 – Split Rim with Four Pinches… and then re-shaped!
Another split rim, pinched in four places and indented to alter the shape.

Bowl #8 – Indented Rim at eight points… for a floral feeling.
Evenly indented in eight places to give the bowl a softer feeling.

Bowl #9 – Split Rim with Eight Pinches… and curved between pinches!
Another split rim, pinched together in eight places. And then pressed outwards between the pinched points to give a slight curved & undulating edge.

Bowl #10 – Split Rim with Eight Pinches… then indented and “out”dented.
So if it looks good to indent & curve the rim… maybe it would look cooler to add some indentations going the other way.

Bowl #11 – Slip Spiral
I covered the inside of the bowl with white slip, and then dragged the rounded end of my wooden knife through the slip while the wheel was spinning.

Bowl #12 – Slip Spiral, Banding & Solid Sections
Another layer of slip. Another “canvas” to drag my tool through to reveal the original base clay color. Sometimes a spiral, sometimes just banded. Both easy to do while still centered on the wheel.

Bowl #13 – Flared Flange with White Slip Decoration
More white slip around the flared flange. And then decorated by dragging the rounded end of my wooden knife through the slip.

Bowl #14 – Slip With A Stencil Design
A simple shape cut out of the newspaper. The dipped in water and carefully placed on the bowl interior. Gently pressed into place to seal the edges in place. Then covered with slip… and then the newspaper stencil piece is carefully pulled out.

Bowl #15 – Slip Chattering
This one’s my favorite! A simple coat of white slip. And a rythmic tapping of my curved rib as the bowl was spinning to create this groovy pattern. Once you start, you’ve got to commit and keep going!!!

After class ended, I carried all of the bowls up to my studio. Fifteen bowls balanced up a flight of stairs.
They pretty much filled my work table. Good thing I didn’t make more?!

I then wrapped them up with plastic to keep them damp. I will come back in the next day or two to add a few more details & stamping. And then they’ll all be trimmed, dried, fired, glazed & fired again. But for tonight… another fun demo for my beginning students… and another fun batch of BOWLS!!!

Categories: art fair, mugs, pottery, production

Here’s a small sampling of the mugs that will be coming with me to “Art In The Barn.”
I know I’m no good at posting pictures of my finished work… instead, you always see work in progress in my studio. That’s because as soon as the kiln gets unloaded it goes right into a crate. Then it’s priced & packed back into another crate and it’s off to an art fair. I need to build in some time to shoot more pictures of finished pieces to share here. Maybe that’s a good New Year’s Resolution for me?!

Anyway, here’s a dozen mugs that will be up for grabs this weekend in Barrington at
“Art In The Barn.” Yep.. these and a LOT more!!!
Remember, it’s a double booth of pottery fun!!! Lower Barn E4 & E6.
Categories: art fair, production, tiles

Nothing says “time to go to bed” better than a dining room full of freshly stained & varnished wood. More varnish layers tomorrow, then some tiles adhered Friday… and we’ll have some new ClayQuilts for this weekend’s art fair! Right down to the wire… and maybe some vivid dreams tonight from the fumes?!
Categories: holiday, pottery, production, terra cotta

This year’s addition to “The Ghoul Collection” has been a well guarded secret. The identity of which I have kept “under wraps” for a few weeks. I was trying to figure out my Ghoul-ish plan. And I didn’t want to share too much until I knew which direction they were going. Well, now they’re all made & drying. So I feel it’s safe to show off the “new ghoul in town” – The Mummy. Sure, I still need to paint them with underglaze, cover them with clear glaze, dry them and fire them. But I still have a couple days before “Art In The Barn.” Plenty of time, huh?… I hope at least…

As with every “ghoul” in the collection, these will be available in Limited Quantities.
When they’re gone, they’re gone!          At least until they rise from the dead again!