Gary Jackson: Fire When Ready Pottery
A Chicago potter’s somewhat slanted view of clay & play
Categories: glaze, pottery, process, production, stamps

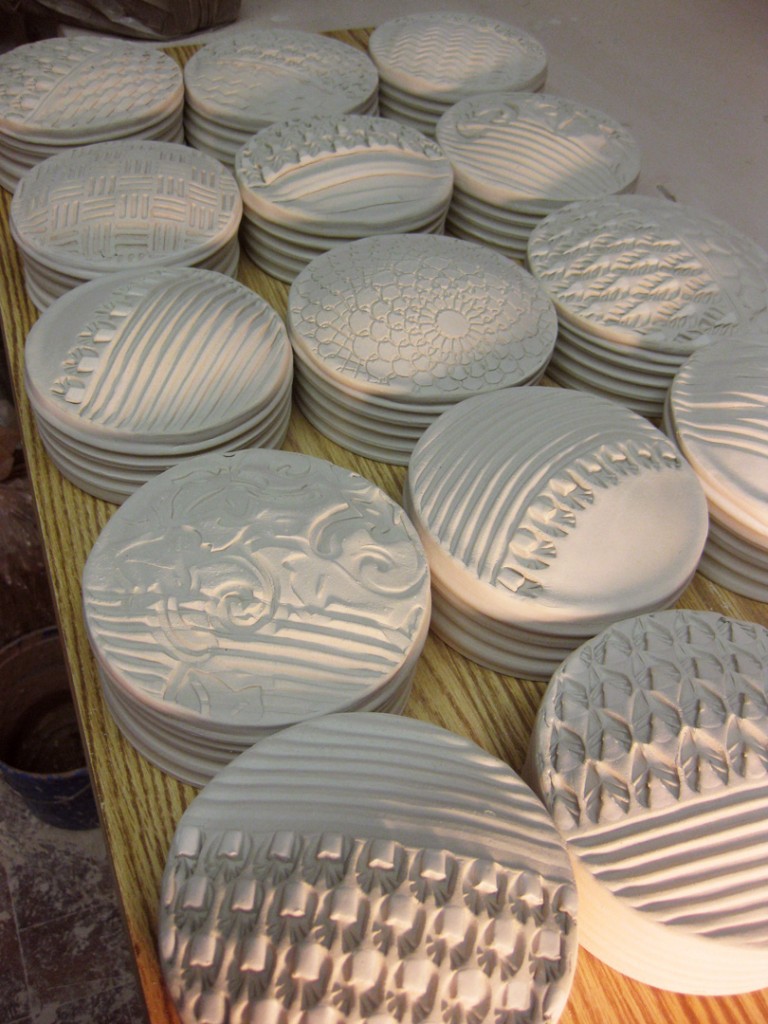
Night two of glazing was quite productive. Things were literally stacking up.

After I added the wadding these pieces went onto my rolling studio cart to make room on the table to glaze even more! Especially since I’m glazing to fill my own soda kiln AND share a cone 10 glaze kiln with two other studio members. Glazing for two different kilns at the same time is a little daunting.

Categories: glaze, process, production

When I finished glazing & wadding the mugs, I moved on to the new pieces. I did the same glaze inlay to help “pop” the stamps. These are the small size… tomorrow I’ll tackle the medium & large ones!

Categories: glaze, mugs, process, production

Let the glazing begin… looks like it’s going to be a long night.

Glaze inlaid into the stamps… and the top surface carefully wiped off to help accentuate the textures.

Next up… liner glazes!!!

Categories: pottery, process, production

Tonight finished building and slip detailing six more casseroles.
They’re done & drying to go into next Tuesday night’s bisque kiln.
My last before next weekend’s soda kiln firing. Just in time for the Holiday Home Show!
Love making the whimsically shaped casseroles… and only one of them is a true oval!

Categories: bowls, process, production, studio

Thrown one night. Stamped the next. Sure, they were a little squishier than I would normally like, but I had to keep them moving forward as I’m kind of rushing to get everything done. I’ve got another bisque kiln in a few days, and then my soda kiln a week from tomorrow. So I’m trying to rush a few last pieces through the process to get these bowls into both kilns… and done in time for my Holiday Home Show which is two weeks from this weekend!

Bowl #1 –

Bowl #2 –

Bowl #3 –

Bowl #4 –

Bowl #5 –

Bowl #6 – Somehow I forgot to photograph this one before I stamped.
Suddenly it was just done?!

Categories: kiln firing, process, production

Tonight I loaded another electric bisque kiln. I’m trying to get everything ready for next weekend’s soda firing. So I’ve got a lot of work to do before then… and filling this kiln to fire overnight just gets me one step closer!

Bisque Kiln Layer #1 – mugs, casseroles & ornaments

Bisque Kiln Layer #2 – more mugs, casserole, oil lamps & ornaments

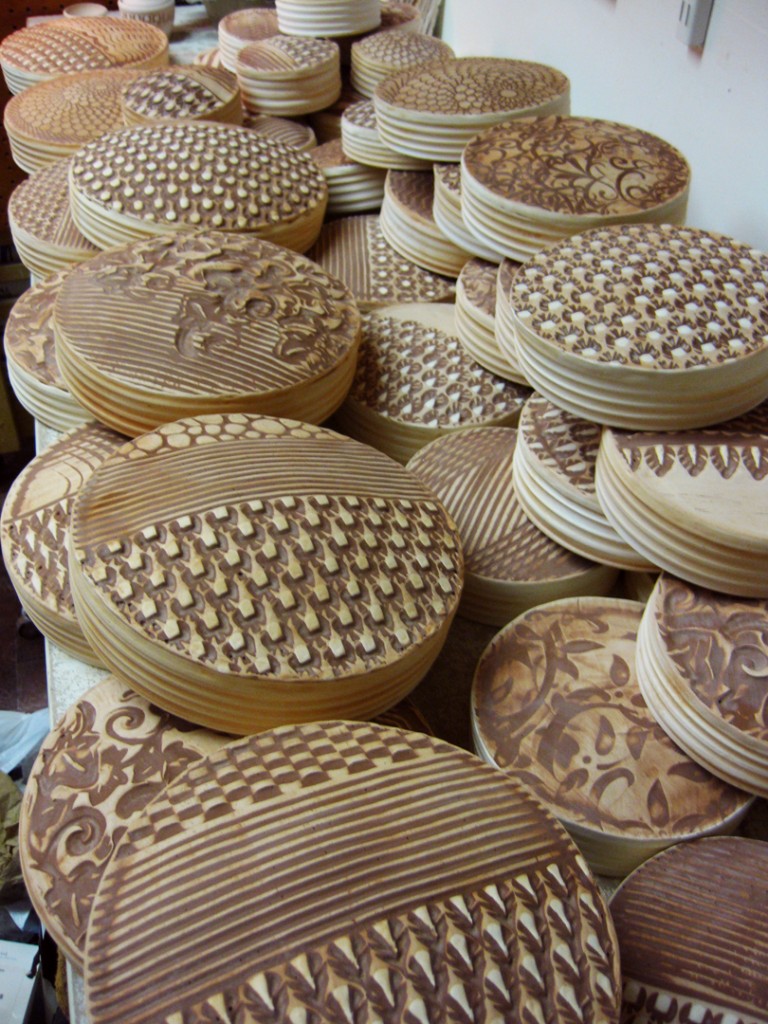
Bisque Kiln Layer #3 – textured wall pillows, ornaments & tiles.

Bisque Kiln Layer #4 – textured wall pillows & ornaments.

Bisque Kiln Layer #5 – more textured wall pillows, more mugs & more ornaments.

And I was pretty pleased when I saw how close I got to the top level of the kiln. You know how I love to pack it tight, and fill every space possible, so as to get the most fired for my money. Nothing bothers me more than a loosely packed kiln with a lot of empty space. Costs the same… packed full or partially empty. I prefer FULL!!!


Categories: patterns, production, stamps, textures

Here’s the third batch of textured pillow tiles… the smallest size of the three. My goal is to have the three sizes so people can pick & choose and create their own “constellations” to hang on their walls. But the BIG question is… What to call them??? The “working title” has been “Textured Wall Pillows.” But I’d like to come up with something a bit catchier. Any suggestions?!


Categories: process, production

Not me.
Now don’t get me wrong. I’ve made plenty of oval casseroles over the past few years. I love making ovals. All sizes. But for this batch I was feeling a little “ovaled-out.” So I decided to follow the same construction process, but to give them a different shape! A little bit of whimsy for your next casserole!

Casserole #1 – So I start out by throwing a bottomless cylinder on a large plastic bat.

When the sticky squishiness is gone, I carefully shape it into my new “non-oval” shape.

Then some decorative stamping to accentuate the shape… no surprise, huh?!

Then I let it stiffen up overnight… and then add a slab bottom.

I keep it wrapped overnight so the moisture levels can even out a bit. Then, I added some flashing slip accents and left it uncovered to dry overnight. Soon… to the bisque kiln!

Casserole #2 – same process, different shape!

Casserole #3 – Another shape, another casserole. Same process, same fun!

Categories: mugs, process, production

Tonight my stamped cylinders became mugs… funny what a few handles can do!!!

Categories: art fair, mugs, production

So you know that one of my personal goals for my Holiday Home Show is to start off with more than a hundred mugs!!! Sure, I could have counted to see how many I have done… but it’s just more fun to make more!

And I was excited today that I threw all of the cylinders AND for some strange reason, they were ready to stamp today too? So I did. Usually it’s overnight under plastic before they’re ready to be stamped. One step closer, and one step faster, in getting ready for the Holiday Home Show. Mark your calendars…

“My Home For The Holidays” Home Show
Saturday, November 23rd & Sunday, November 24th from 10:00am-6:00pm.
More details to come…