Gary Jackson: Fire When Ready Pottery
A Chicago potter’s somewhat slanted view of clay & play
Categories: pottery, process, production, studio

A mug is just a cylinder without a handle.
So to make a mug… you’ve got to get a handle on it.

gary-jackson-handles

Once my cylinders are stamped & trimmed, I make my handles while keeping
the cylinders wrapped in plastic to keep them from drying out too much.
I prefer to pull my handles separately, let them set up a bit and then attach them.
I start with a small wedge of clay, hold it firmly at the top and “pull” it down with
a firm hand and a lot of water. It’s basically just the friction that does it…
kind of the same motion like milking a cow! As the clay begins to stretch and become
more strap-like, I try to shape it and then bend it over to let it set up. Once they
have become a little stiff, the segment that will become the handle is cut out of the
bent strap. That segment is then attached to the side of the cylinder with a little
scoring & slipping. Once attached, I let them dry slowly to avoid cracking.

A  lot of people avoid making mugs because they are afraid of the making handles.
I actually love making mugs. In fact, if I could only make one form for the rest of
my pottery career, I’m pretty sure I would choose mugs. I love making mugs!!!
Categories: inspiration, nature, photography, pottery, process, production, studio, sunrise

Back in the studio… replenishing he inventory… making more mugs!!!
After the pieces are thrown on the wheel, I allow them to dry partially so that they are
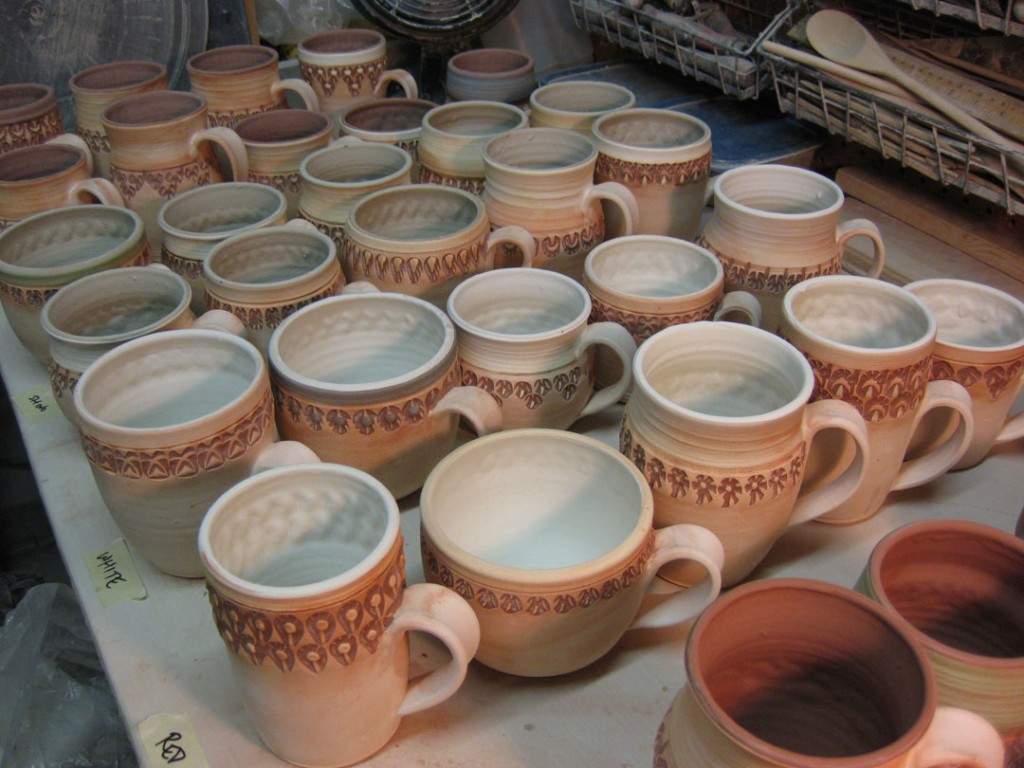
malleable, but not squishy. Once they are at the proper stiffness, I stamp the patterns
into the sides with my handmade stamps. After stamping, the bottoms of the pots
need to be finished to give them a more professional look.

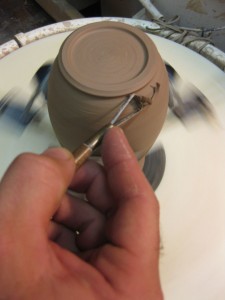
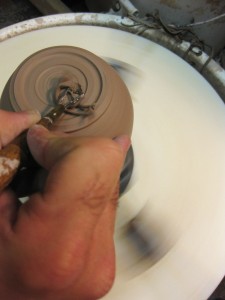
I place the pieces back onto the wheel upside down and re-center them.
They are affixed to the wheel surface and then spun really fast. With a sharp trimming
tool, the clay is cut off the sides and bottom into thin ribbons of clay.

gary-jackson-trimming1gary-jackson-trimming2

As the cylinder spins, and the ribbons of clay removed, you can finish off the bottom,
the sides and create a nice footring. The footring is the circle of clay that is left on
the bottom for your pot to stand on. This is your last chance to “finish off” the pot
before you let it begin to dry. Once dried… it’s off to the bisque kiln firing.

Categories: art fair, inspiration, kiln firing, photography, pottery, process, production, studio

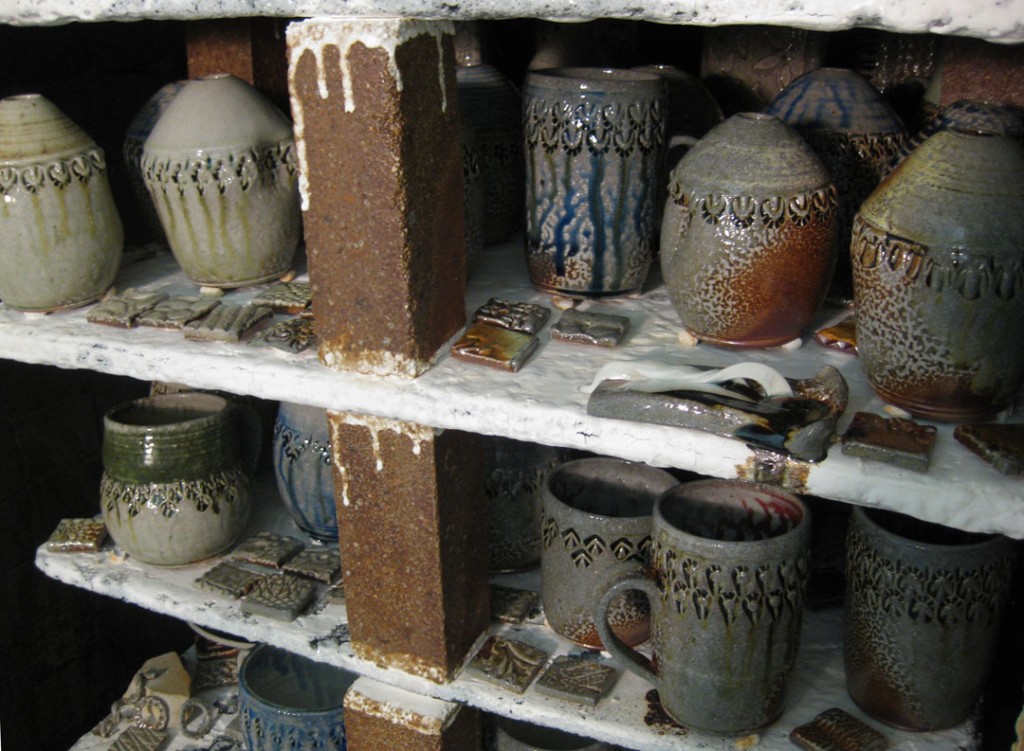
Tonight I opened up my soda kiln to finally see the treasures inside.
After a night of unbricking, unloading, grinding shelves, kiln washing shelves,
sweeping, mopping, packing, boxing, shlepping, and moving all of the work home…
it is now time to admire and start prepping everything for this weekend’s art fair!

fired-kiln-92109

Categories: kiln firing, pottery, process

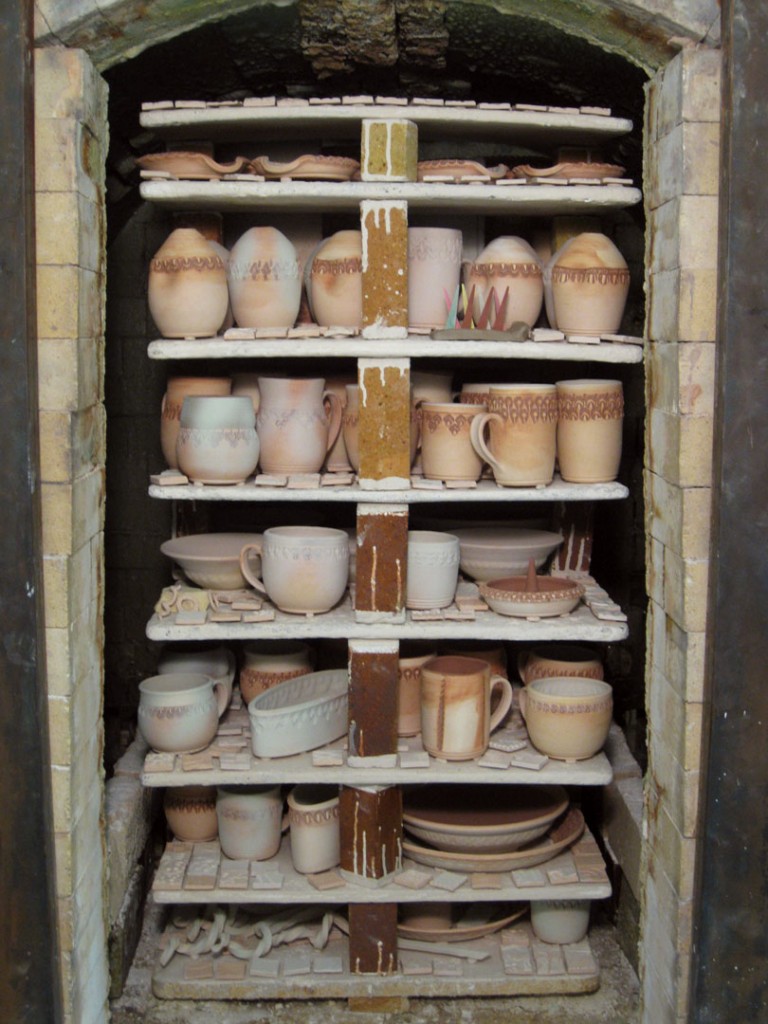
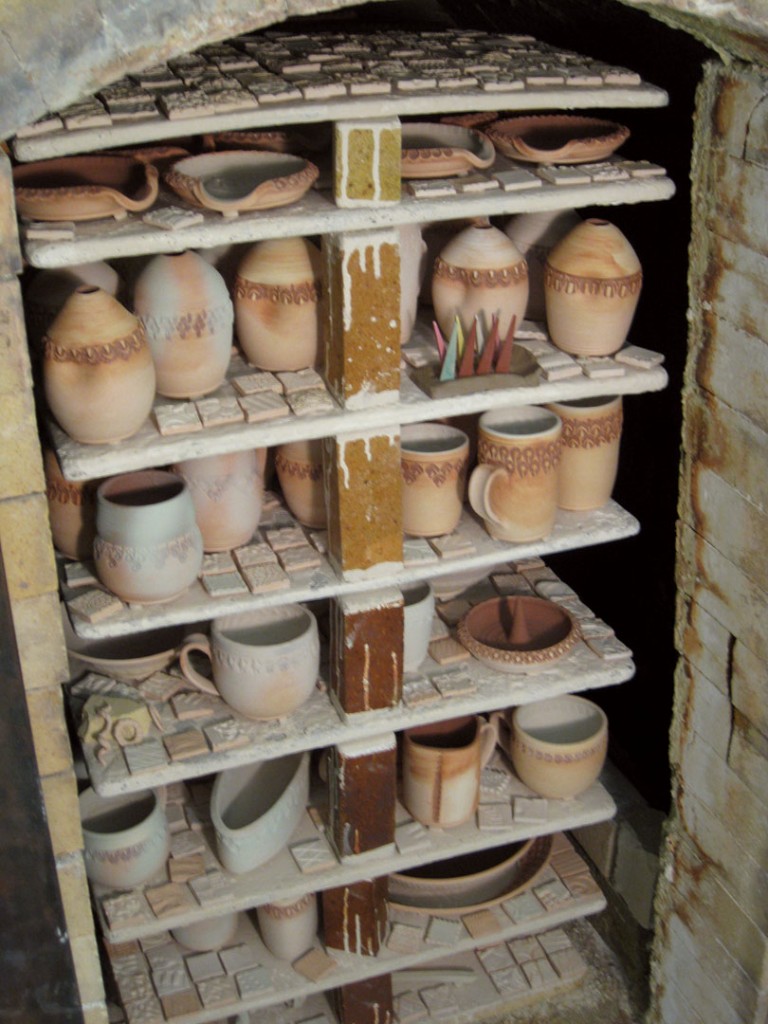
Tonight I loaded the soda kiln with all my work for next weekend’s art fair.
Every piece is glazed & wadded – ready to go! Each shelf is placed, filled with pots
then ready to raise the next shelf on the brick posts. I love loading kilns.
It’s a three-dimensional puzzle trying to get as many piece into the kiln
without packing it to tight. If it’s too tight, the soda vapors will not travel through
the stack as well. So it’s a fine balance of keeping enough air space… while packing
it full so I “get my money worth” of the kiln fee!

gary-jackson-kilngary-jackson-kiln-angle

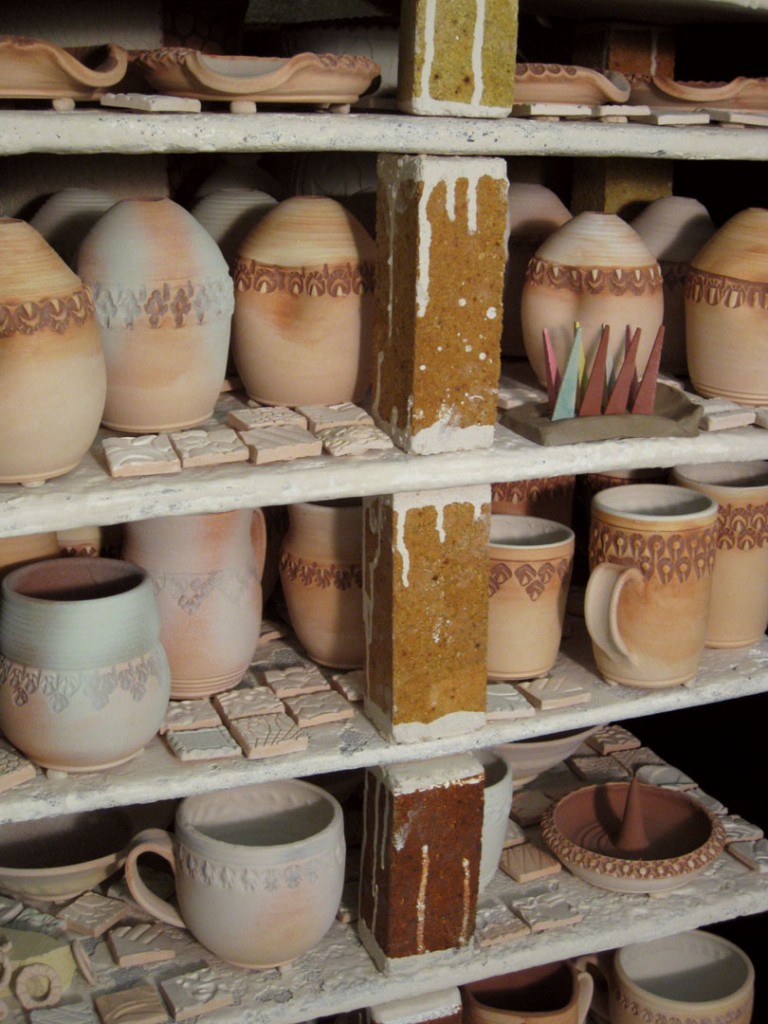
And all the while packing pots… I’m covering every exposed surface of shelf
with as many small tiles as possible!!! Including that very last shelf I had to squeeze
in there at the very tip-top of the kiln!!! There’s never enough tiles…

gary-jackson-kiln-closeup

Categories: nature, photography, pottery, process, production, stamps

Still getting ready for next weekend’s Art In The Barn… and tonight I was glazing!!!
I typically start by inlaying glaze into all of the stamps by filling them all
with glaze and then wiping off the top surface… allowing the glaze that is actually inside
the stamp to stay there. I find that it really helps accentuate the stamp pattern!

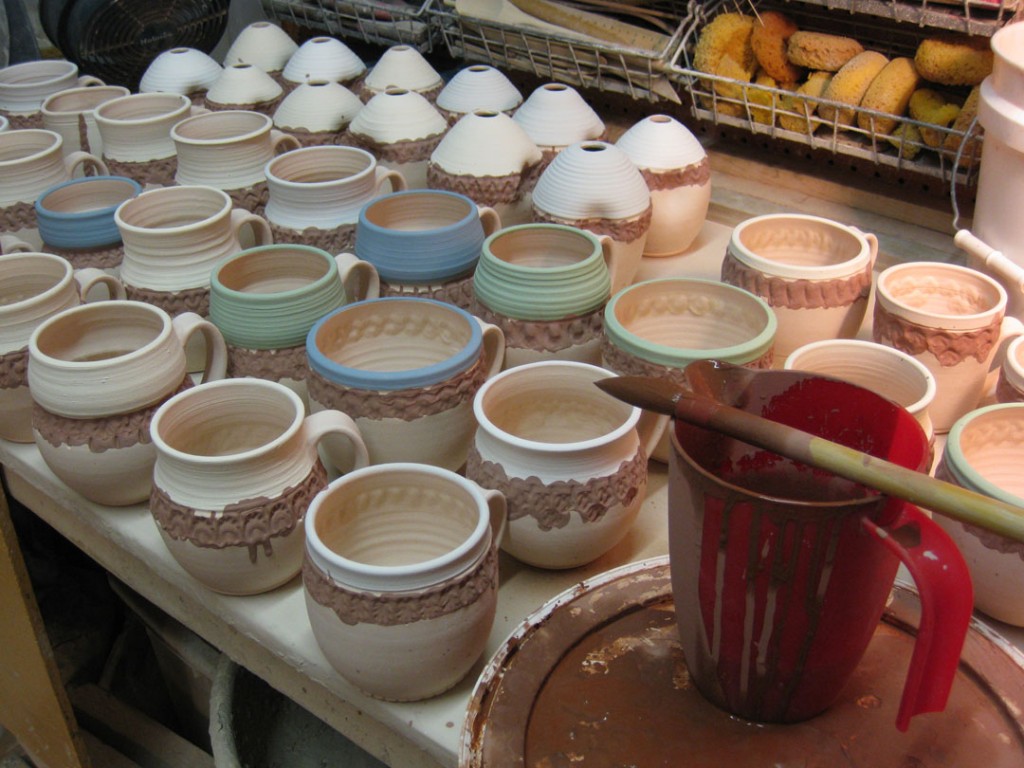
gary-jackson-mug-glazing1

gary-jackson-mug-glazing2

After the stamps have been inlaid & wiped, then they each get a liner glaze on the inside.
Some of them might even get a little accent color sprayed on the exterior… and then every
pot needs to be wadded before it can go into the soda kiln. Still have a long ways to go…

Categories: art fair, pottery, process, production

So I’m still working in the studio and  getting ready for Art in the Barn…
my last outdoor show of the summer – this time in Barrington!
Tonight I loaded my bisque kiln of freshly made pieces. Remember,
the bisque firing is the first firing that makes the work solid, yet porous.
The bisqued pieces are then glazed and fired on more time.

The beauty of the bisque firing is that you can pack the kiln pretty tightly.
Things can touch, things can stack… it’s a 3-D stacking puzzle to fill the kiln
effectively. And luckily… I’m pretty good at it if I do say so myself!!!

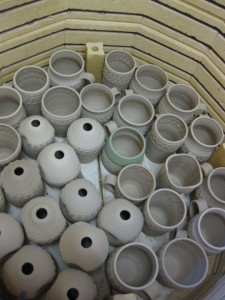
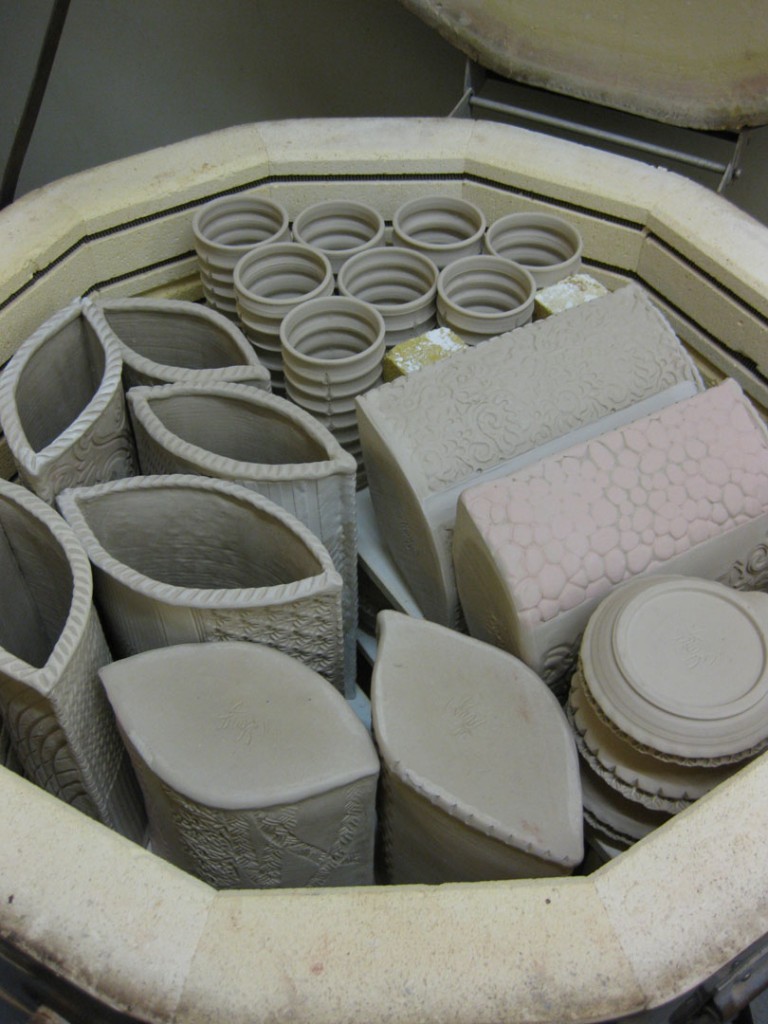
The first layer of my kiln was filled with mugs and soap dispensers…

kiln-bottom-layer11kiln-bottom-layer2

A couple more layers, after stacking bricks & shelves, pots, more bricks & shelves…
then the kiln was finally topped-off with some tumblers, spoon rests and the large
textured slab vases that I made this past week. With two on their sides…

kiln-top-layer

Luckily, everything fit… barely. My pieces are stacked right up to the top.
Just barely clearing the lid when it closes! So this kiln will fire for about 12 hours
tomorrow, then cool overnight and be unloaded Tuesday night. A couple days
to glaze & wad everything… then I load my soda kiln on Friday night and
fire all day Saturday!

Categories: bike, process, sunrise
Categories: pottery, process, production, studio

So I spent the afternoon in the studio today after spending the morning visiting
friends who were in the Bucktown Arts Festival. So after chatting, shopping, laughing…
I locked myself away in the studio to finally put handles on those darn mugs!!!
They’ve been “haunting” me for weeks now. You can only spray them
with water so many times… so today it was now or never…

So when I got there, I pulled enough handles for all of the cylinders.
I like to pull them in the traditional way, then bend them over on themselves
so they are curved like a handle as they set up. Once a bit less sticky, I then
attach the handles to the cylinders.

gary-jackson-pulled-handles

So after a long afternoon of “scratching & attaching”…
the cylinders are now officially mugs!!!

gary-jackson-handled-mugs

Categories: pottery, process, production

Okay… so I threw all of those “soon-to-be-mug” cylinders over a week ago.
They’re stamped & trimmed… but I haven’t had time to put the handles on!
So I’m spraying them with water everyday and wrapping them back up
in plastic to keep them moist… and considering the option of leaving them
“handleless”… we all need more tumblers?… cups?… cylinders?…. right?!!!

They’re starting to dry too fast – and I’m too busy playing… uh oh.

Categories: bike, process, sunrise

Another morning ride. Another sunrise.
And a great chance to loosen up my still tight & tired legs from yesterday’s ride!
A little “hair of the dog that bit ya” so to speak…
which would be a little funnier if it weren’t so true!!!   almost…

82409-early-sunrise2

82409-horizon