Gary Jackson: Fire When Ready Pottery
A Chicago potter’s somewhat slanted view of clay & play
Categories: pottery, process, terra cotta

Tonight I glazed the interior of my terra cotta flower boxes with a new
brown low-fire glaze that I purchased from Chicago Ceramic Supply this morning.
I’ve never used this color before, so I hope they turn out “somewhat similar” to the
glaze test tiles they had there! As usual, I went right ahead with “reckless abandon”
and glazed them all… no need to test it on just one, right?!!!

Once glazed, I loaded them all into the kiln along with the long trays.
An overnight, electric kiln firing… and they should be cooled & done this weekend!

Categories: pottery, process, terra cotta, textures

So my terra cotta trays & flower boxes are finally bone dry.
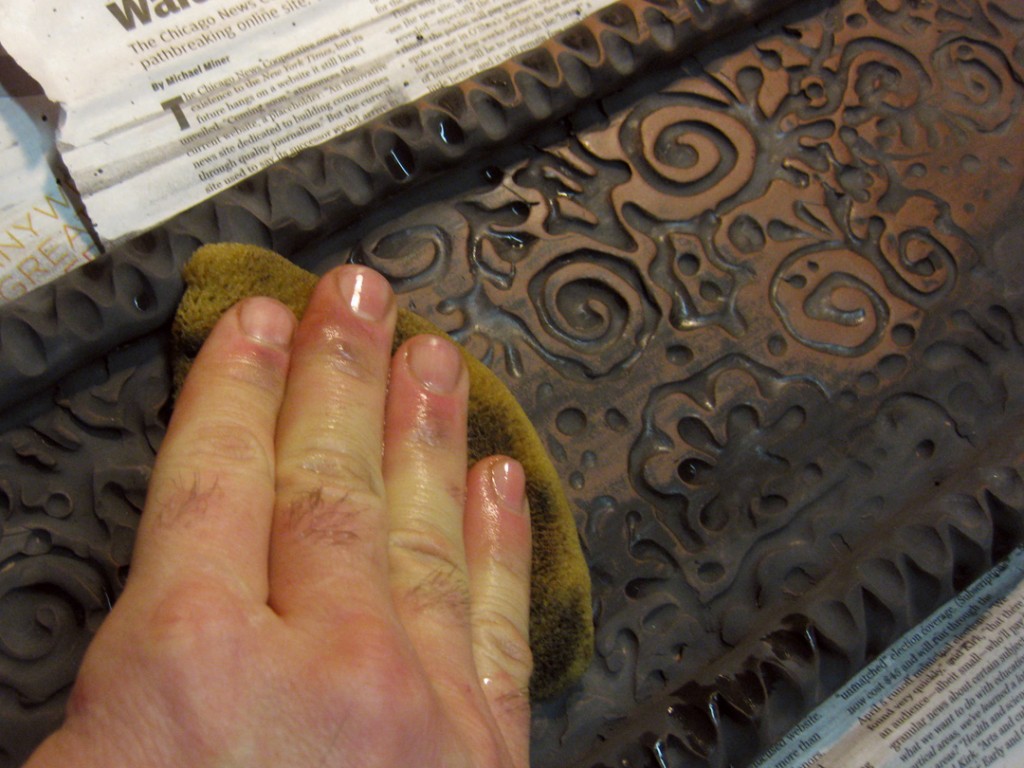
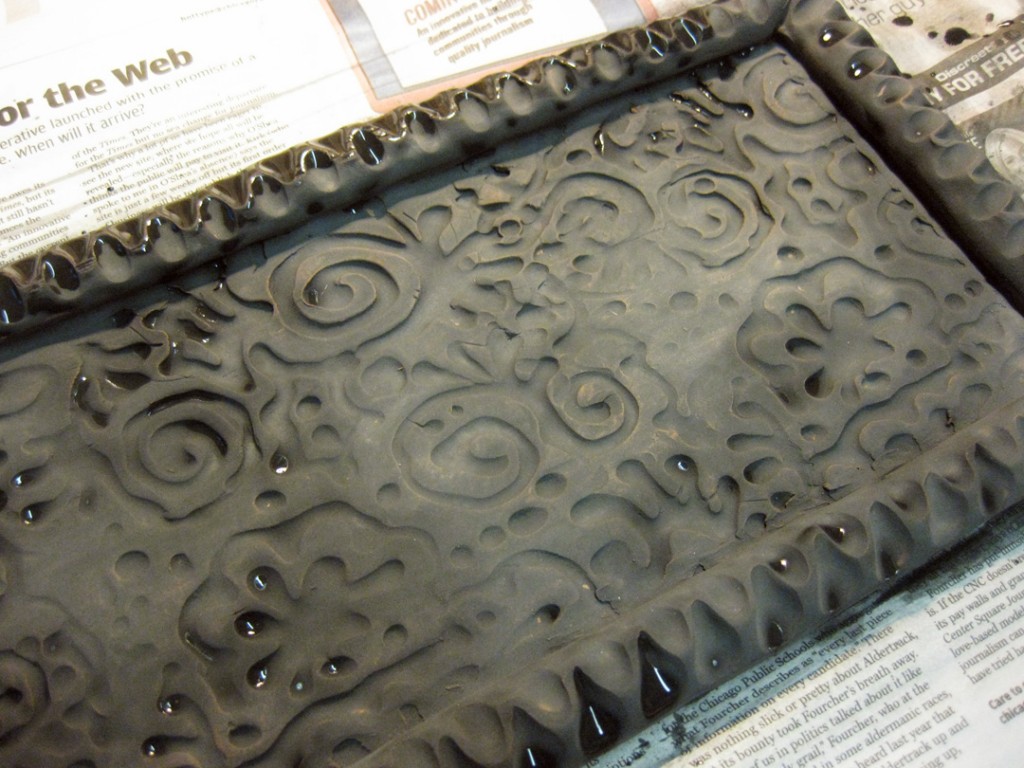
So tonight I decided it was time to “stain” them with some black underglaze.
I like the look of the unglazed terra cotta after it has been stained, colored &
antiqued a bit with some black underglaze rubbed into them.

I start with covering the entire piece with water-down black underglaze.
I then let it sit for just a few minutes and then gently wipe off the top surface.
Making sure to to wipe off too much, or too deeply. The idea is to leave some
underglaze in all of the grooves and indentations. Really making the textures
and patterns “pop” without having to cover the terra cotta beauty with glaze

Once they were all stained, I called it a night. They need to dry again completely
overnight. Tomorrow I’ll glaze the interiors with a low-fire brown glaze. They can
then be loaded into the kiln and fired once. If all goes as planned…
they should be done by this weekend. My first kiln of the new year!

Categories: clay, process

So I tackled my pile of reclaim clay this afternoon. Fun, huh?
It had sat out open to the air for a couple days on a large plaster bat.
And it was still a little wetter & gooier than I would normally use.
But this time, I had a plan…

Knowing that I have a couple older bags of clay that are a little hard, I decided to use
this opportunity to soften it up with the reclaim. So I pulled it off the plaster bat,
cut it into smaller pieces and did very little wedging to get it more reconstituted.
All in all, my pile of “goo” weighed in at just shy of 90 pounds of new clay! Love it.
So I cut thin slices of reclaim and layered them with thin slices of the stiffer soda clay.
Fun with a wire tool. And lots of layers.

So the trick is to cut the thin layers of clay and alternate the clays you’re trying to incorporate.
Once you have a tall stack, it’s just a matter of slamming it down on the table to “compress”
the layers together. Then you slice the stack in half vertically through all the layers, and place
one half on top of the other half. Pick up the new stack and slam it again. Slice it in half again
vertically and stack it again! Slam it again. Slice it again. Stack it again. Got it?

Several repetitions of this simple task will surprisingly mix your clays effectively. Each time
you re-stack the two halves, it doubles the number of layers. So when you slam it down, the
layers get thinner. Double it again, double the layers and slam it so each layer gets thinner.
Over and over again! I then pounded them into simple blocks of new clay and put them into
clay bags. I’ll keep them sealed up far a week or so before I start using them. But after that…
the possibilities are endless. And I now have a LOT of “new” clay with just a little work!

Categories: clay, process, studio

I’ve always said “I like to play in the mud”…
so I’m starting the New Year with a big pile of mud!!!
I couldn’t decide what to do when I got into the studio today. So it was a bunch of cleaning
and organizing. Prepping for production to begin. Cleaning. Scrubbing. Refilling. Sweeping.
And “cookin’ up” some nice new clay…

Actually, it’s my latest pile of reclaim clay. Having slaked for a couple months over the
holidays, it’s all nice a gooey and ready to start turning it back into clay. So today I turned
it all out onto a large plaster slab to get the drying process started. A couple days on the slab,
and my clay should be “sturdy” enough to start wedging it back up into some nice “new” clay.
And then the possibilities are endless… and I love “free” clay!!

Categories: process

Even with my afternoon “hiatus” bike ride… I’ve finally gotten all of the pottery,
boxes, shelves, crates, masks and everything else downstairs to my basement storage
room. I was so glad that the weather today was warm, the stairs were clear & dry,
and that I’ve got that “New Year’s” bug to start cleaning everything!!!
So, I finally have my condo back to being a condo – and not a retail store.

But now you should see the mess in the storage room!!! Yikes!!!
Not to mention the Christmas decorations that are next to go!

Categories: kiln firing, pottery, process, production

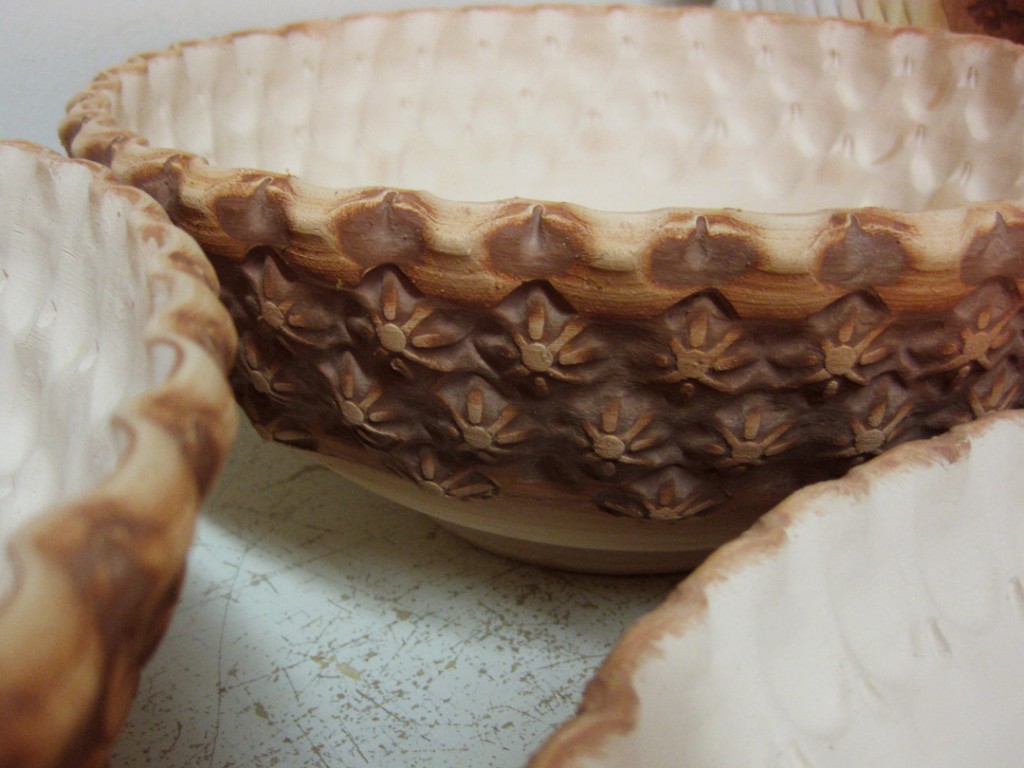
Kiln Favorite #1 – Large Stamped Bowls
I’m pretty excited about the new bowls that just came out of the kiln!
Probably the largest and most stunning bowls I’ve ever made?!… if I do say so myself.
With dramatic stamping, deep finger impressions, beautiful glaze reactions and more.
I love ’em!!! I’m so excited… Here’s a little teaser…

Kiln Favorite #2 – Holiday Ornaments
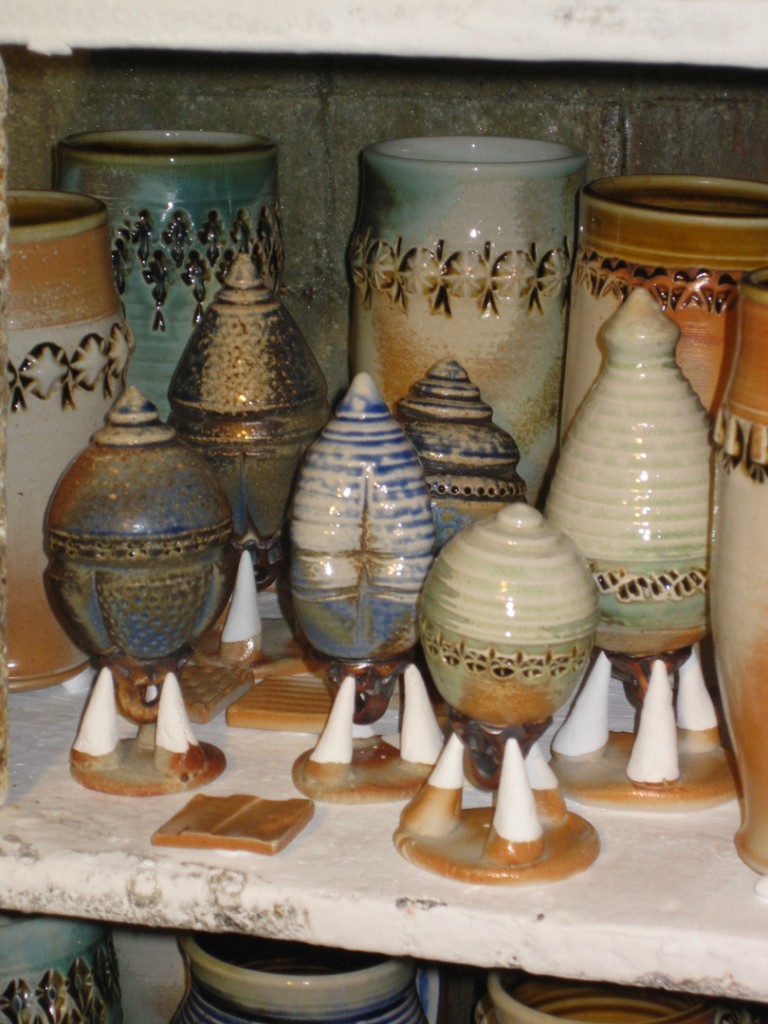
And I’m more than a little enamored with my new holiday ornaments!
I’m trying really hard to not keep them all for myself. I was a little concerned that they
may “jump off” their firing tripods during the volatile soda firing. I am happy to report
that there was only one jumper! So now I need to finish them off and get them ready
for the upcoming Holiday Home Show! And “convince myself” that I can’t keep them all!

Categories: kiln firing, pottery, process, production

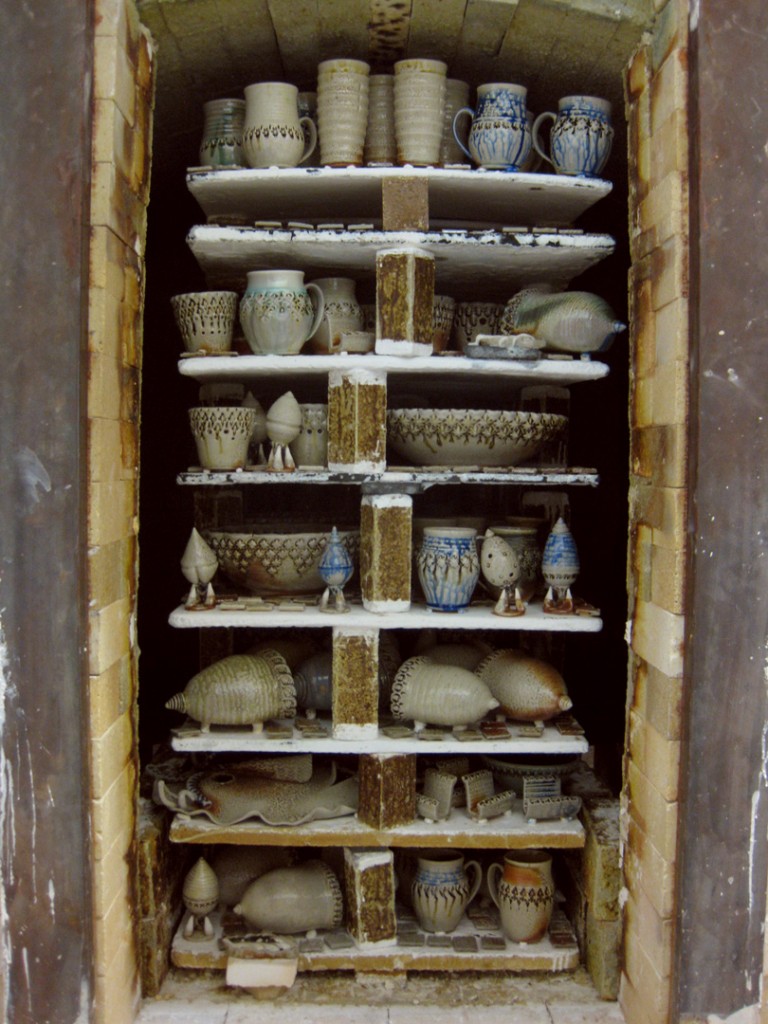
So after two days of waiting… my latest soda kiln was finally cool enough to unload
late this afternoon. So I cracked it open, then unbricked the door – layer by layer.
It’s always so much fun to open a kiln and slowly reveal the contents one layer at a time!
To see the final results of all your hard work – throwing, decorating, trimming, glazing, etc.
So I was thrilled when I opened up my kiln and saw nothing but beautiful pots!
Just in time for my Holiday Home Show – only one week away!

Categories: kiln firing, pottery, process, production

I was originally planning on loading my soda kiln on Tuesday night after class.
And I wasn’t looking forward to starting after 10:00pm for the long process. With all the
pieces and hundreds of tiles… it takes quite awhile!

But then I found out that the classroom kiln before me fired a day early, and was therefore
being unloaded a day early. So lucky me! So I glazed a little faster. Wadded a little quicker.
And then went down to load my kiln… err, maybe I should say “pack” my kiln! It’s a little
tighter than usual. Let’s hope that the soda vapors can find their way around the kiln?!

I’m a little apprehensive though about my new ornaments and their support tripods.
In theory I think they’re pretty cool… I just hope the “volatile” soda atmosphere doesn’t
knock them over during the firing. I don’t want to find wayward ornaments glaze-fused
to the insides of bowls and stuck to the sides of other pieces?!

Categories: process, production

Tonight I continued glazing… with still more to go!
This time it was inlaying glaze into the stamped textures on some new bowls
and taller slab vases. Tomorrow, I’ll do liner glazes and sprayed color accents.

It’s looking like the soda class’s latest kiln firing might be unloaded tonight?…
so I can actually do some loading of my kiln tonight too? Which would be ideal
to have more time to load “strategically” instead of rushing through it Tuesday
night after teaching class. Either way… my firing is on for Wednesday!!!

Categories: classes, process

Technical difficulties resolved… and now retroactively catching up!

Tonight is the night we get to “Fall back” and get an extra hour to play!
With that “bonus” hour thrown into the mix, I decided to glaze up some of my long overdue
class demo pieces. I worked my way through my teacher shelf and glazed about 2/3 of the
pieces that have been stacking up there. Some on which were made two or three sessions
ago! My lack of glazing has kind of become a running joke with many of my students. I get
close enough by waxing the bottoms, teaching about glazing, explaining the processes and
pitfalls… and then promptly put the waxed pots back on my shelf because I’ve run out
of time from talk too much! Yep, I like to ramble, and not glaze…