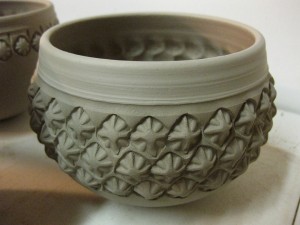
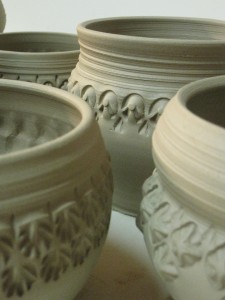
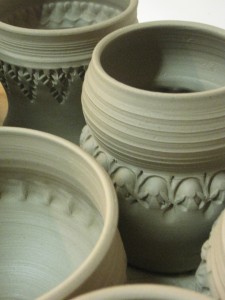
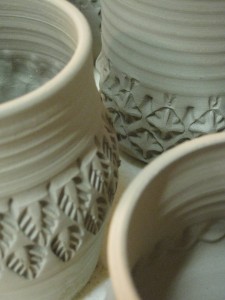
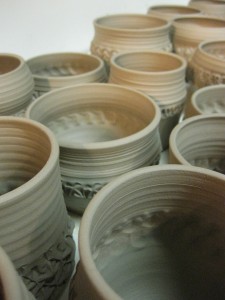
Tonight we worked on making basic bowls. It’s Week Six… and it was time
for my beginners to learn how to make real bowls – and not a cylinder gone bad!
So we started out with my demo of throwing basic bowls. With a nice smooth
curve inside, instead of a flat bottom & corners! So everyone made bowls…
but anyone can make a bowl. So we went a little further and worked on some
basic decoration techniques to make their bowls a little more special!
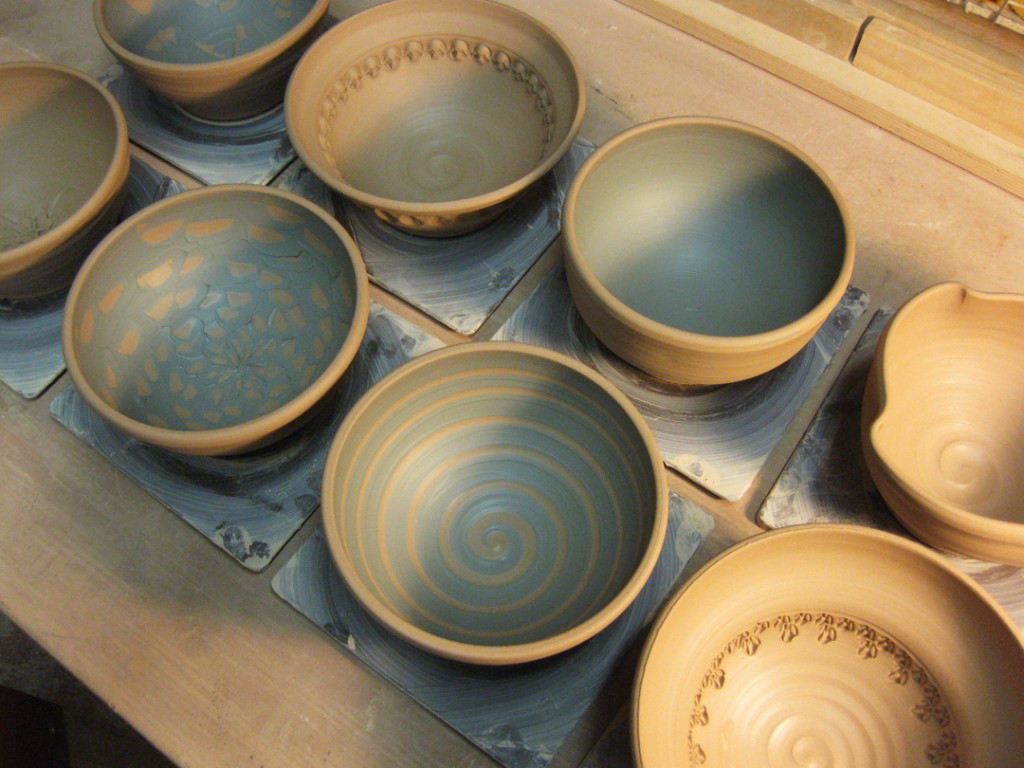
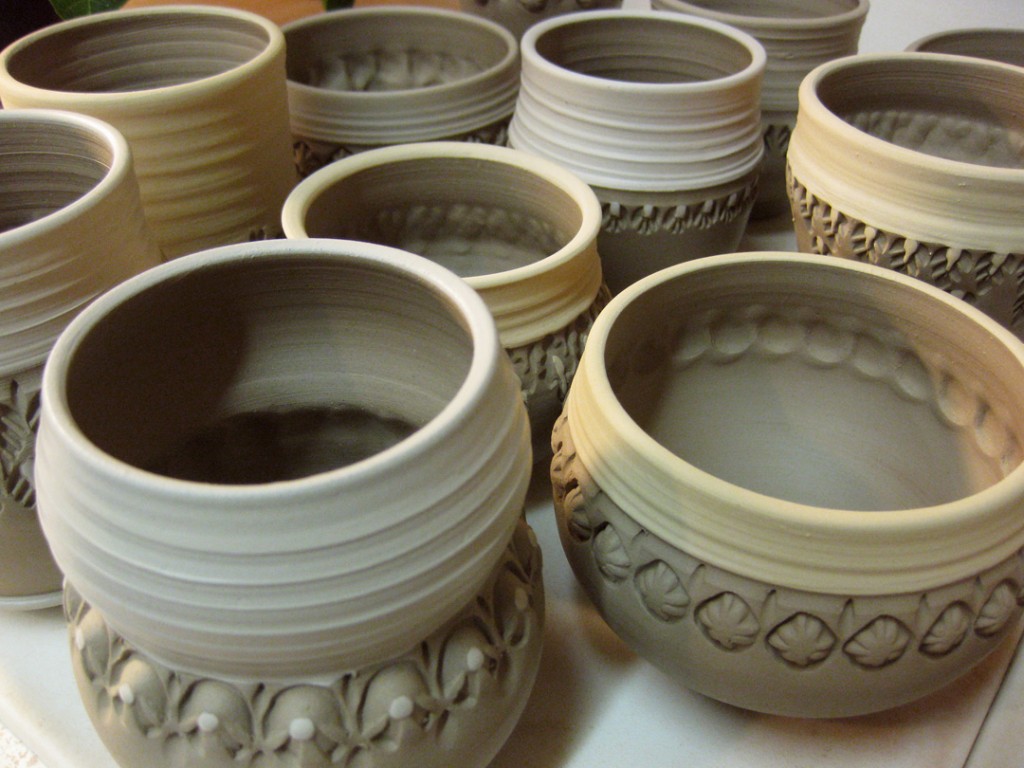
I started by quickly throwing eight bowls… all quick, all round, all plain.
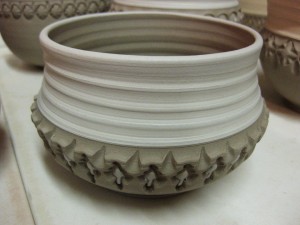
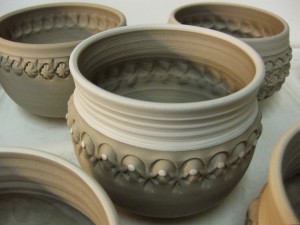
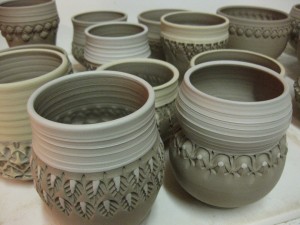
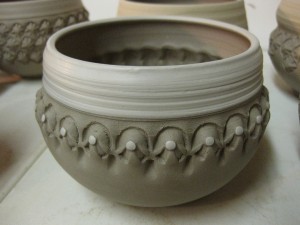
And then we started playing… flanges & stamping, and dragging spirals through slip!
Chattering a rib through slip , and pressing in a “fish scale” tool to make a flower!
Then fluting the rim in four places, and a layer of black slip waiting for some sgraffito!
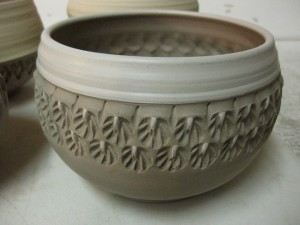
Then folding out the rim & stamping which I did a little after class when the bowls were
a little drier… as well as chattering done by one of my beginners Hanna!
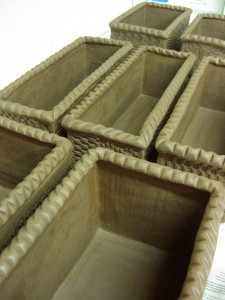
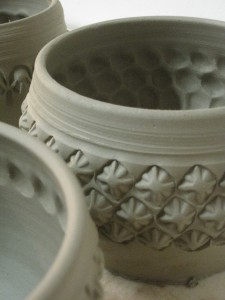
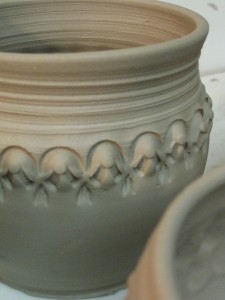
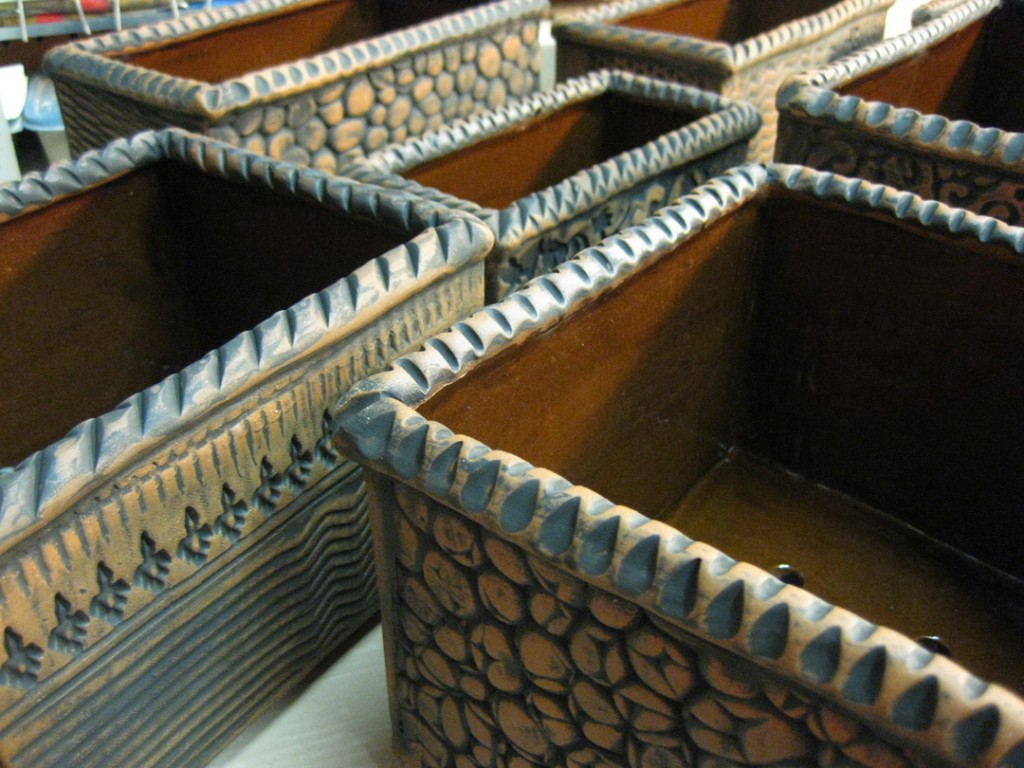
Last night at the studio, I finally got around to adding the textured rims around
the top of my new planters. Coil, attach, texture. Coil, attach, textures. Repeat.
Today I’m headed back to the studio to add feet and drainage holes… and then start
on the water drainage trays that will go with this batch of planters! After the online
discussion about the last batch, the response was mixed as to whether or not terra cotta
planters even need water trays?! So we all kind of decided to leave the first batch
“trayless” and make a second batch with trays. Then we’ll see how they sell…
and if there is a definitive answer after the first couple art fairs this spring?!
After the comments & discussions over the last batch of terra cotta planters,
the consensus was that I should leave the first batch as it was. Tray-free.
And then make a second batch with drip trays! So that’s where I’m at.
Tonight I started constructing the textured terra cotta planters. Walls done.
Bottoms added before I left for the night… finishing details in the next couple days!
Yes… in that order.
Generally that’s the sequence I like to do it in.
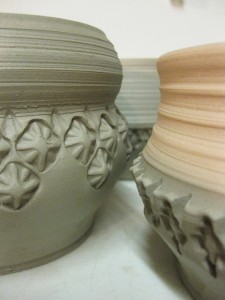
I stamp my pots when the clay is considered “wet” leather-hard.
No longer sticky, no longer squishy. Yet still moist enough for a good impression.
Too wet and stamps stick, the shape gets all warpy and it’s no fun.
Too dry and the stamp impressions aren’t deep enough and the pot can crack.
Okay, this time they were still a bit squishy… but I digress…
After I stamp the last pot in the batch, the first pot is typically ready to be trimmed.
So I trim them all, and if they are going to be soda-fired, I add some colored slip accents.
Then I set them aside so they can dry… and that’s where we’re at as of tonight!
So I spent tonight at the studio stamping pots… okay, squishy pots.
I was kind of in a hurry and wanted to get them all stamped tonight.
For some reason?! Not sure why… I could have done them tomorrow?
Typically I stamp when the pots are a “damp” leatherhard. But since these
were some of the pots I threw yesterday, they were wetter than I would have liked.
So I unwrapped them, let them sit out for a little while and then stamped them
as they slowly stiffened up a bit. But I couldn’t wait.
So instead, I stamped very cautiously!!!
Tonight I made it back to the studio with one primary focus… handles!
The stamped cylinders were all trimmed and ready… waiting for tonight.
So I came in and quickly pulled all 27 handles – and setting them up so they could
stiffen up a bit. The key to attaching “clean” handles is waiting for them to be
a soft leatherhard, bendable, yet not squishy. Luckily, by time I made it to the end
of pulling all 27 handles… the first ones were already stiffened a bit and ready to go!
So I started attaching handles… score, slip, attach, repeat…
but then I had to take a quick break. My friend & fellow potter Emily Murphy is
in town this weekend and visiting Lillstreet… her former pottery home! And by the way,
she’s huge!!! Very pregnant. Very cute. Looking like she’s ready to pop… but still has
a couple months to go! So after a very quick visit, it was back to attaching handles…
score, slip, attach, repeat… And after a lot of scoring… handles are now in place
and all cylinders are now mugs! Under wraps while the moisture-level balances out
until I can make it back in to add some colored slip accents.
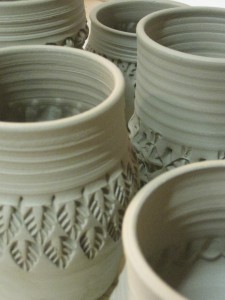
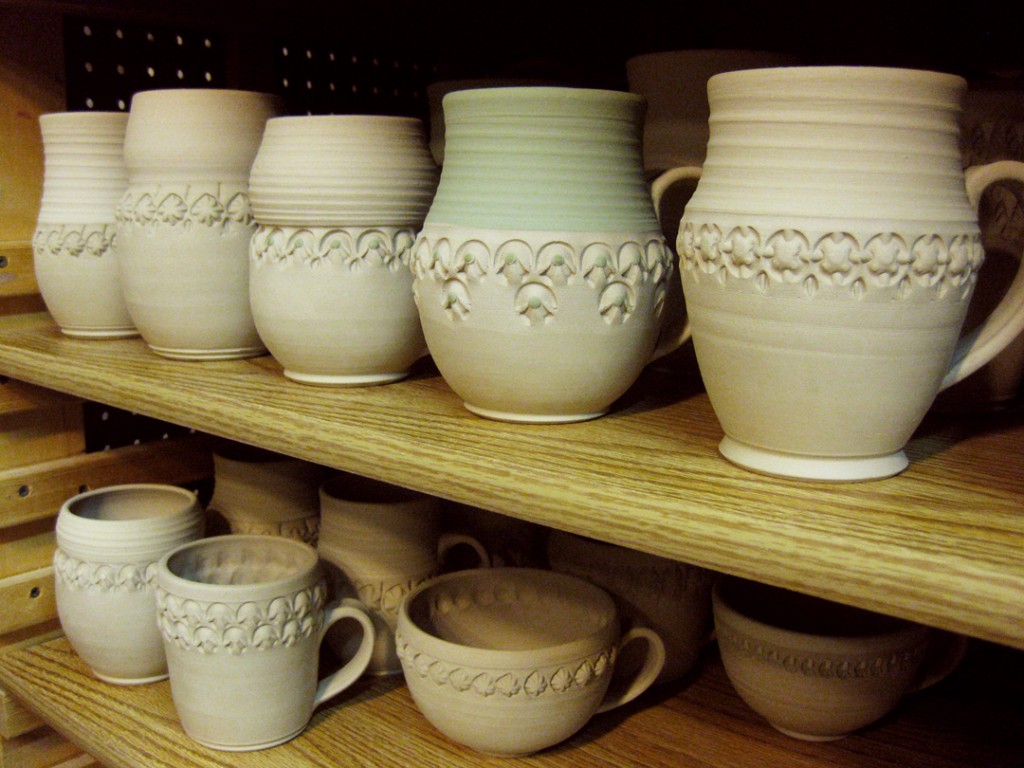
When I unloaded my electric kiln, I finally got my bisqued stamps back.
The newest batch of stamps ready to use. And lucky for me, I had twenty-seven
mug cylinders ready to be stamped! So I set forth and started stamping…
I “forced myself” to only use the new stamps for this go-around. Trying to figure out
which patterns I liked and which ones might not work out so well. I must say,
I was pleased with the results so far…
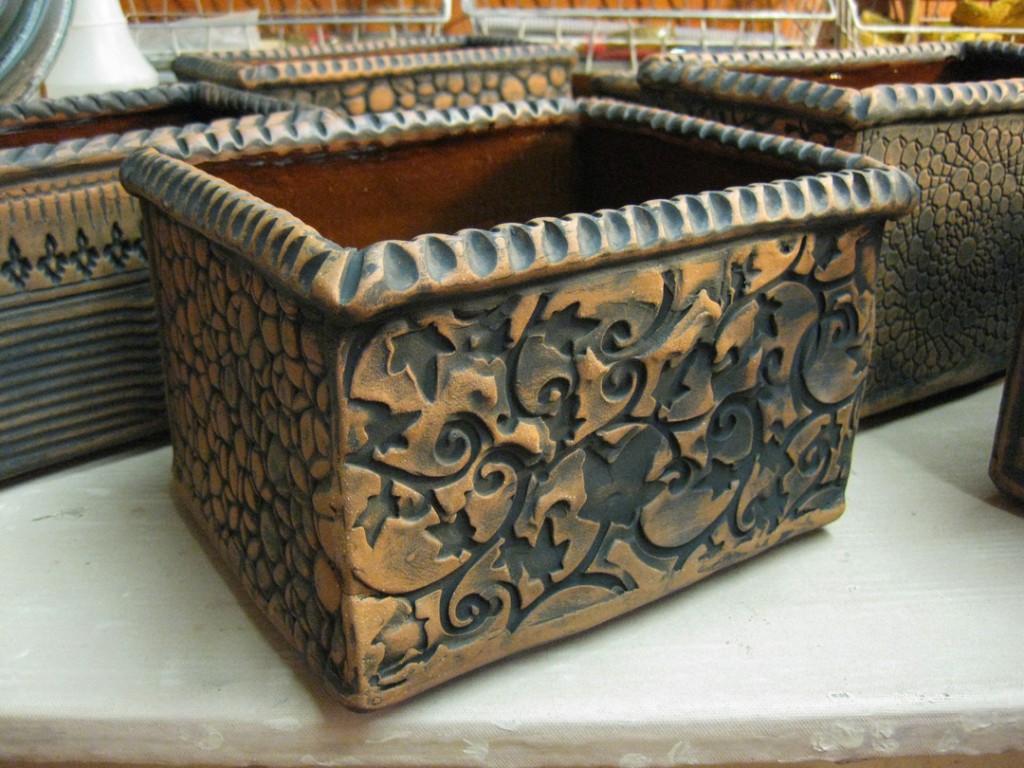
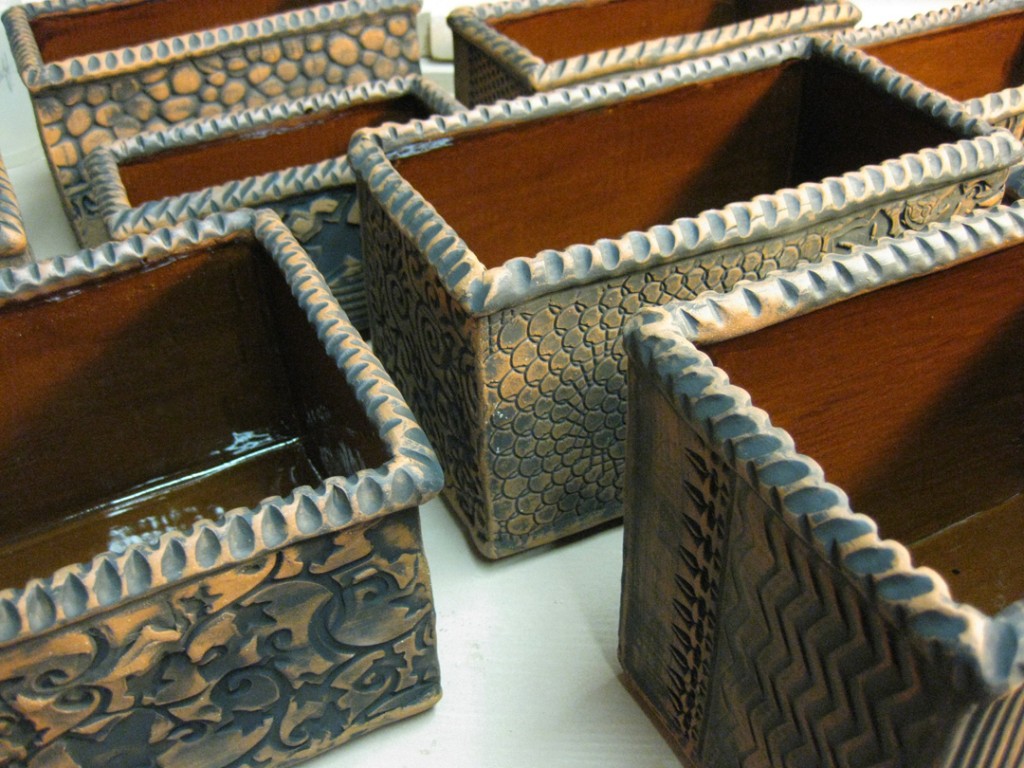
This afternoon I unloaded my electric kiln full of terra cotta – and some new stamps!
So my first kiln of the New Year is finally done. And everything turned out great!
I especially love the rustic orange color of the terra cotta and the “antiqued” quality
that the black underglaze gives it.
So here’s my dilemma… In my head these were intended to be planters for outside
on your deck or patio. And I know that I don’t like my outdoor plants to have trays
as they collect water and sit in puddles after it rains. So I didn’t make water trays to match.
Should I have made matching trays?! A couple people at the studio have asked
about the trays – and now I’m kind of second-guessing myself. Keep in mind, that not
everyone would need the tray. But if I were to make trays to match, it not only means
I need to make trays to the correct sizes and keep them together as pairs, but it also
increases the price point by nearly double! Is it worth it?!