Gary Jackson: Fire When Ready Pottery
A Chicago potter’s somewhat slanted view of clay & play
Categories: bowls, classes, process, stamps

Tuesday night I showed my class how to make larger bowls and platters.
I made three pieces for them… but I felt two of them needed a little somethin’-somethin’.
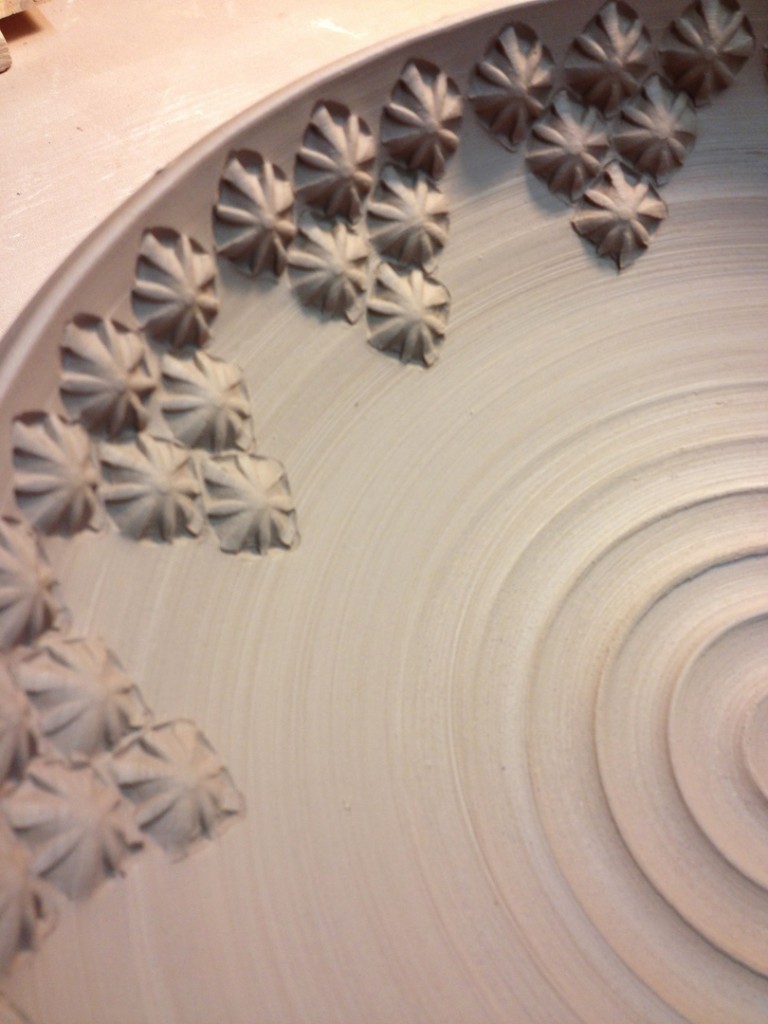
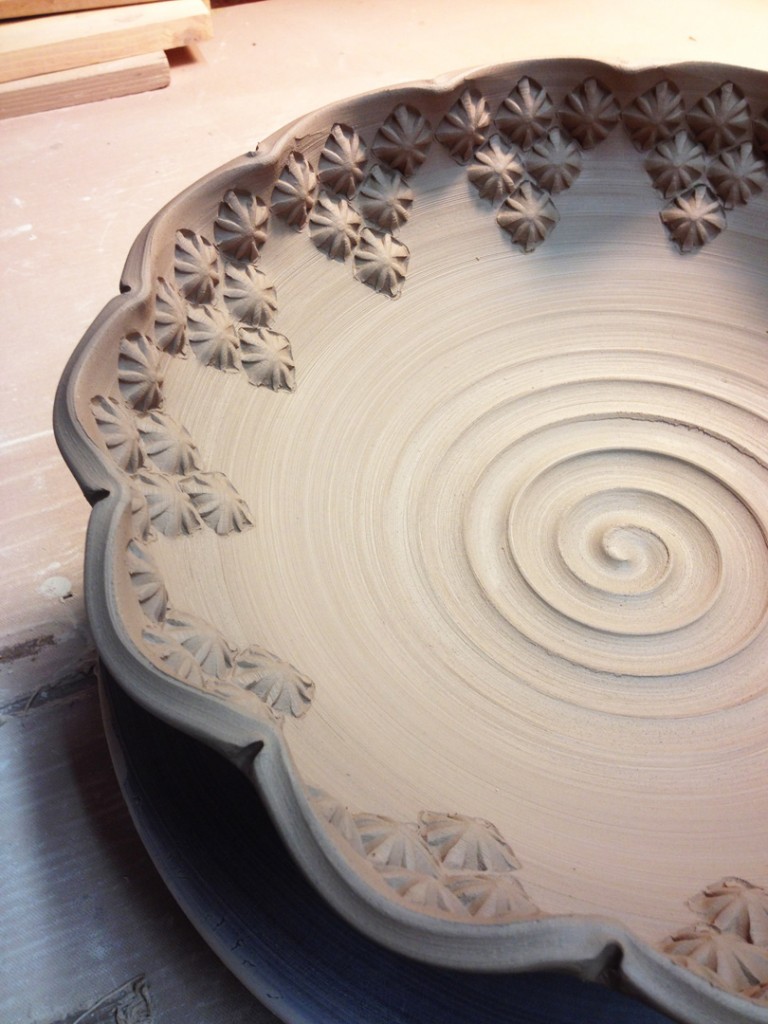
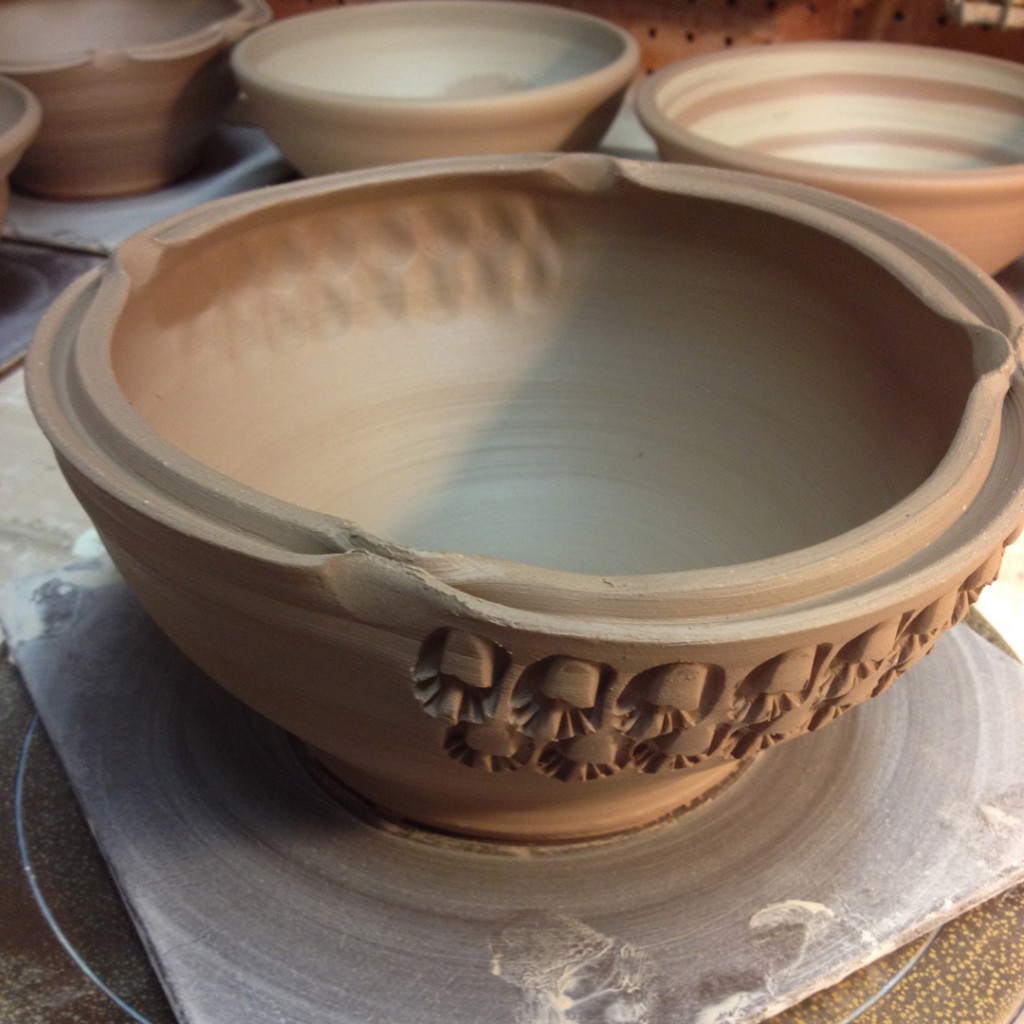
Tonight I pulled out some stamps and did a bit of decorating. So here goes…

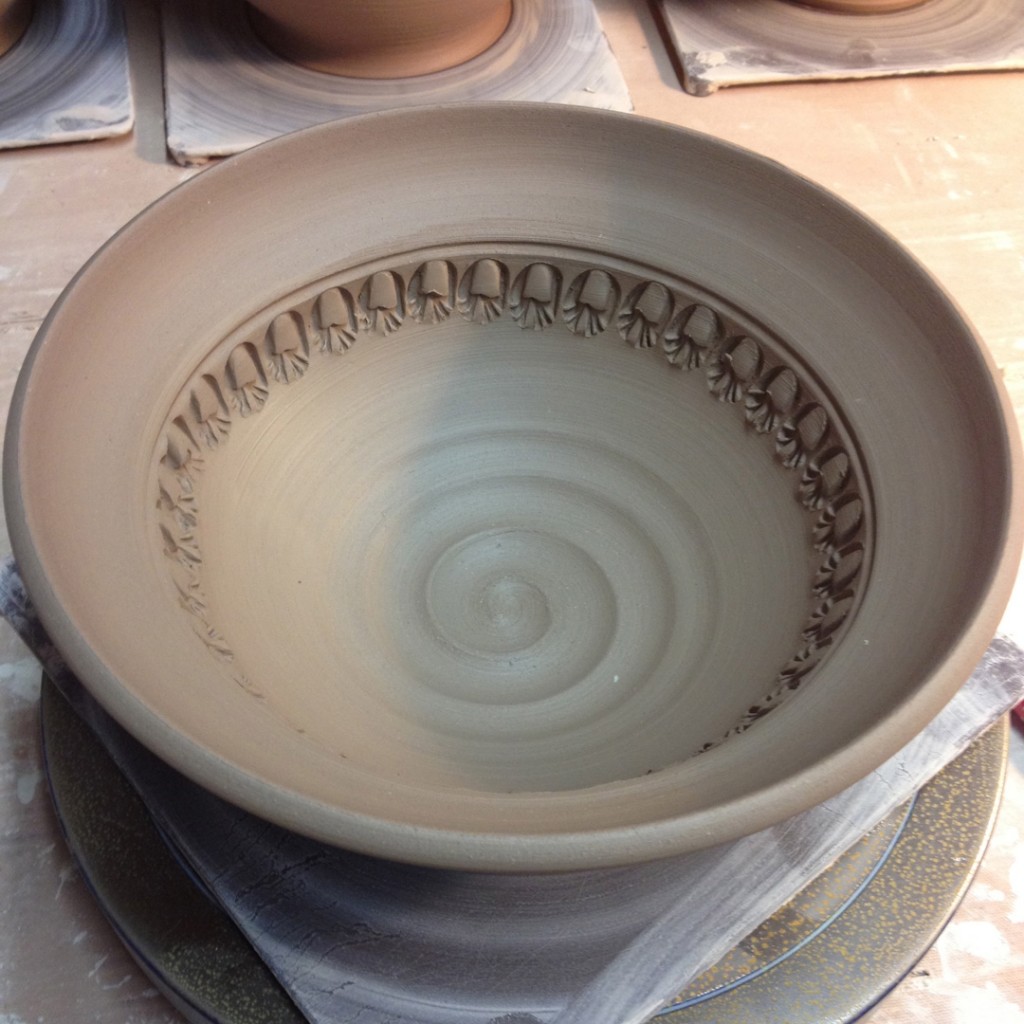
Starting with the plain bowl that I threw Tuesday night. It was wrapped up under plastic and tonight it was on the “wetter-side” of leather heard. Perfect for stamping!

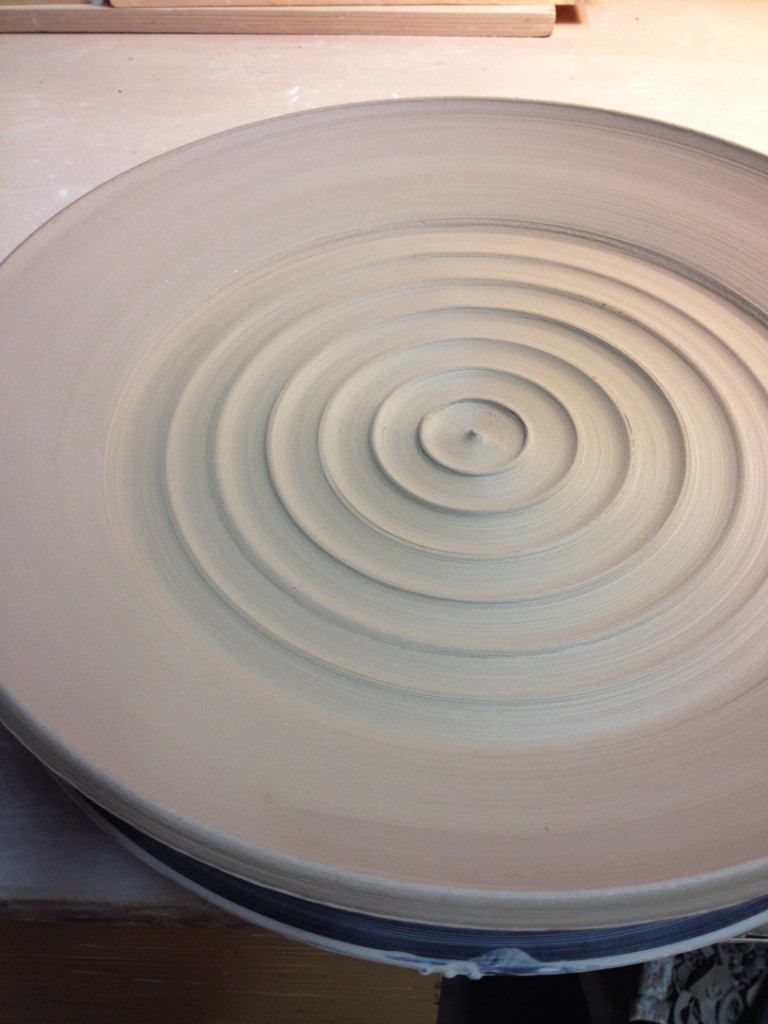
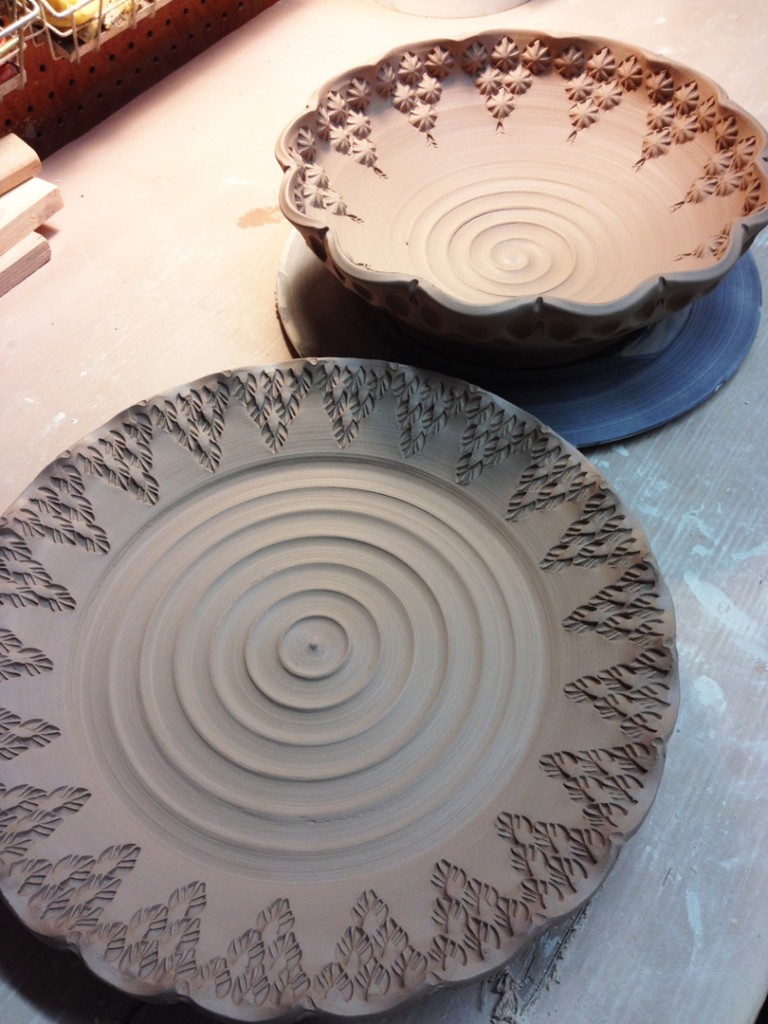
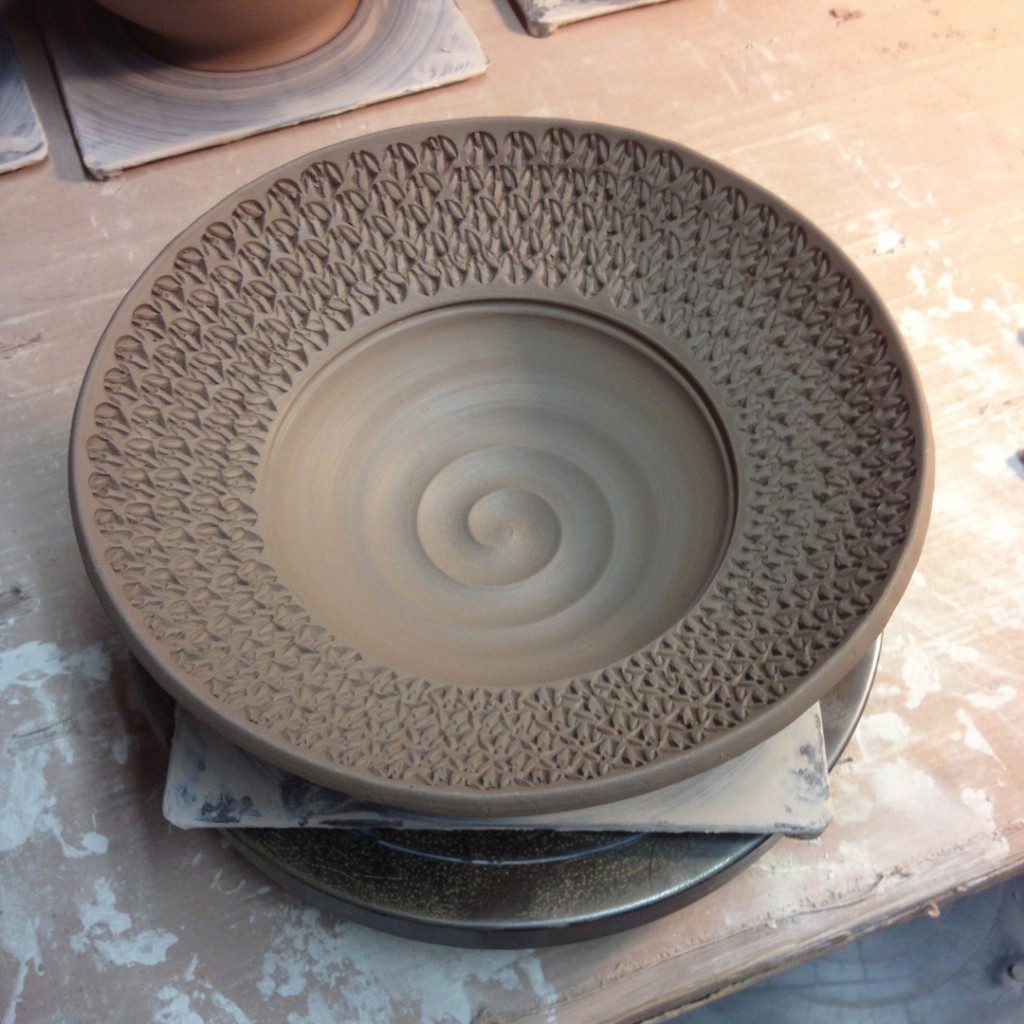
Once the bowl was all stamped, I moved on to stamp the platter too. So I found the stamp I wanted and began indenting one by one by one… all the way around!!!

Eventually both of these class demo pieces were stamped and done for the night. So I put them both back under plastic so they can dry a bit slower. I’m hoping that tomorrow I might be able to trim both of them.

Categories: family, glaze, pottery, process

Sadly, my cousin Kim’s favorite cat of all time passed away earlier this year. Rudy.
After years of cherished memories & warm nights snuggled together.
Luckily, her boyfriend Don knew that Rudy was so very special in Kim’s life, and that his passing was a momentous occasion in her life, so he had to be cherished, celebrated & memorialized. With that said, Don called me and asked if I would be willing to create a special, custom urn to hold Rudy’s cremated ashes. How could I say no? Although I’m not a fan of custom orders, this one was so touching & heartfelt… I knew I had to say ‘yes.’

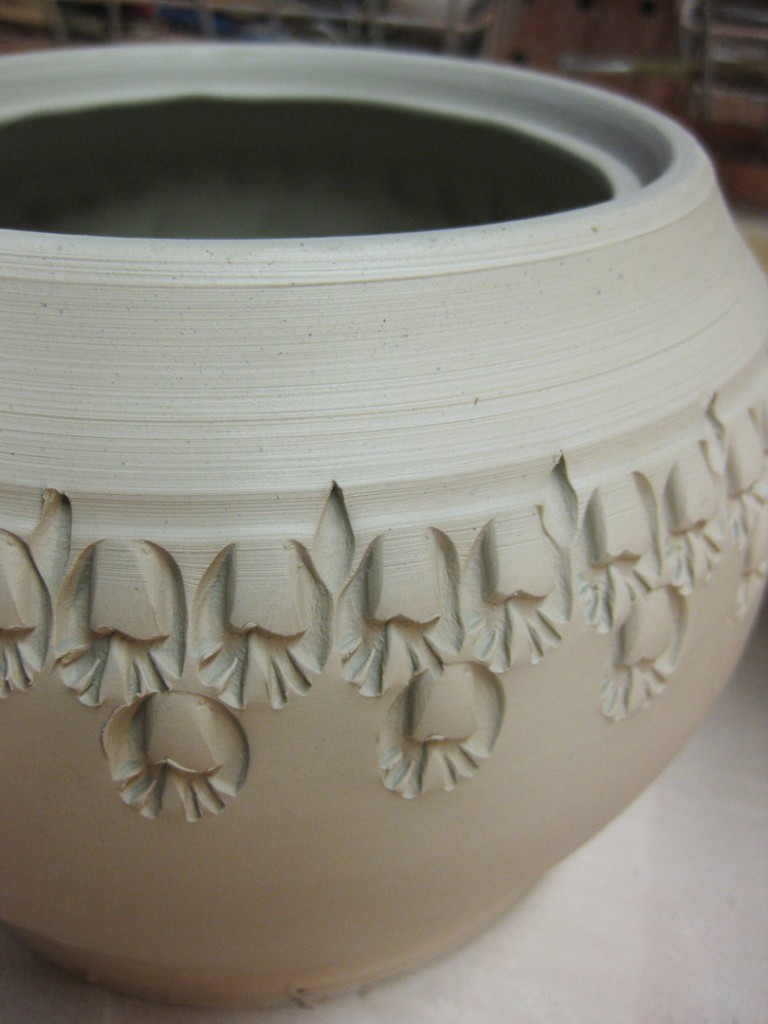
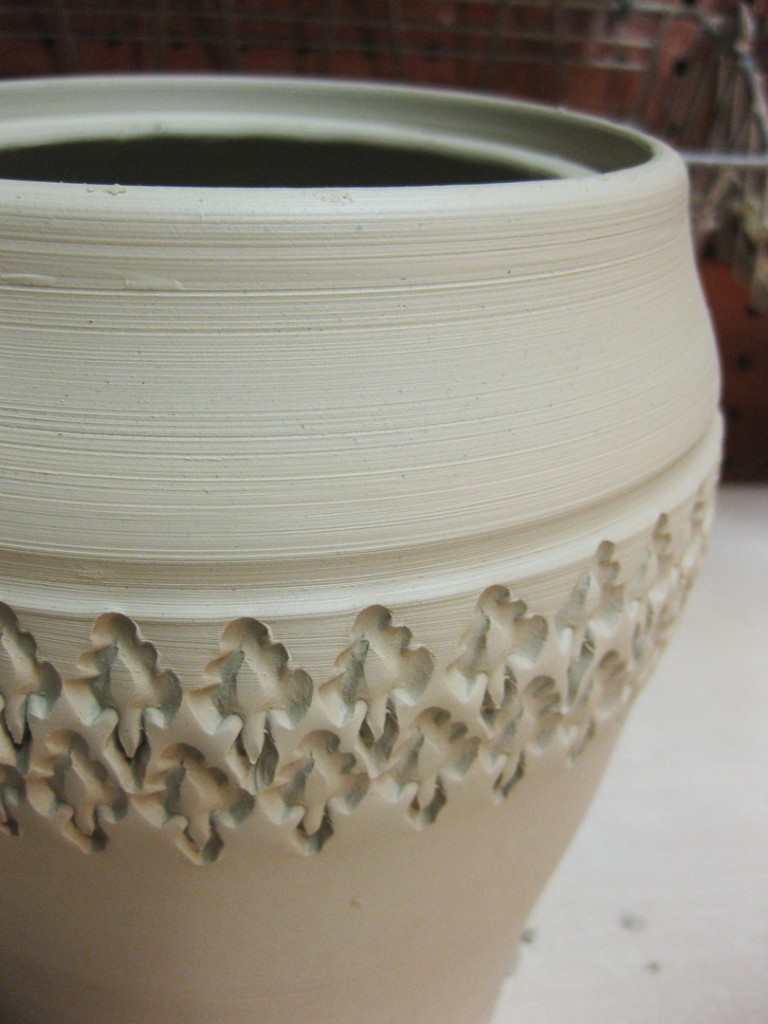
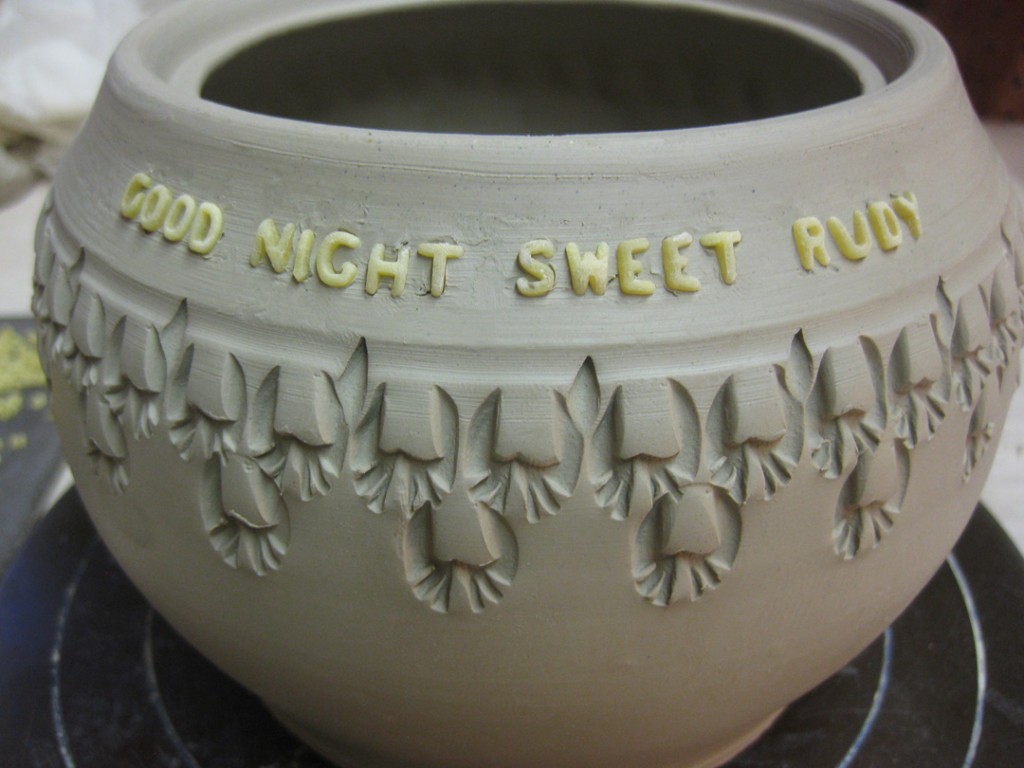
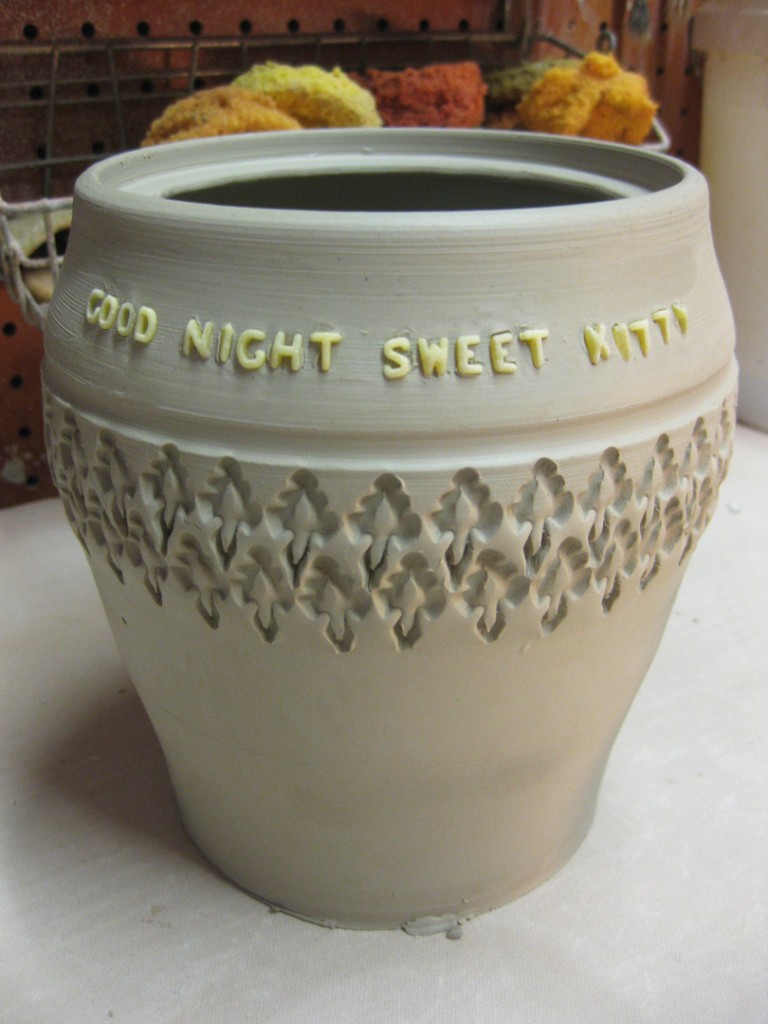
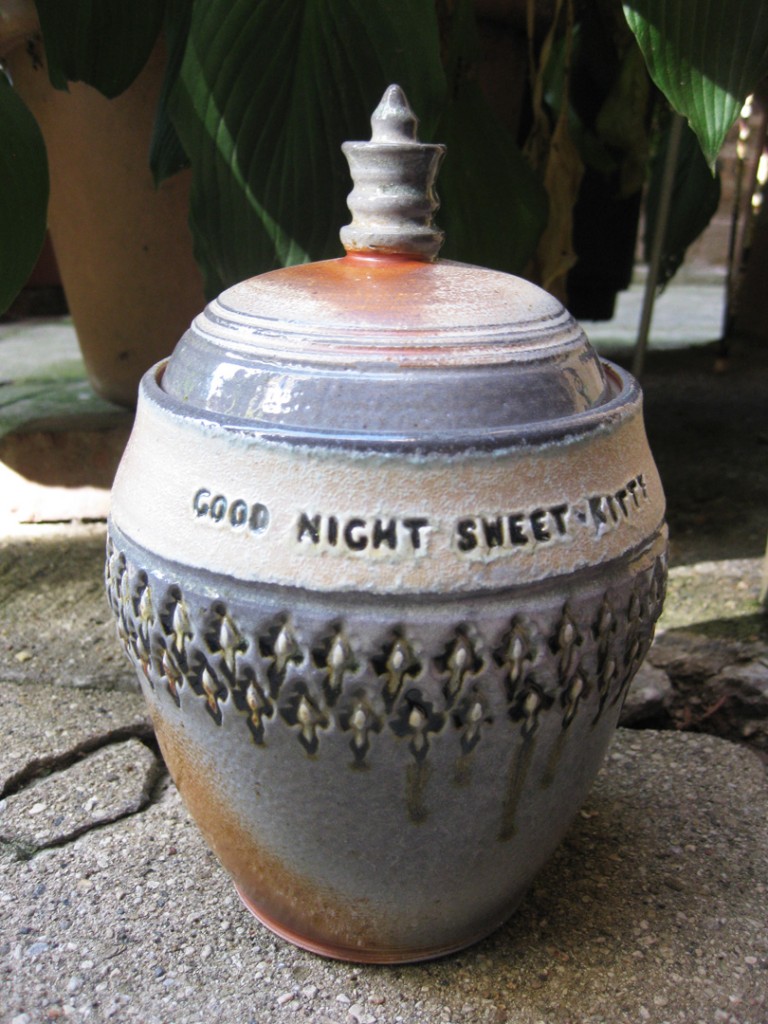
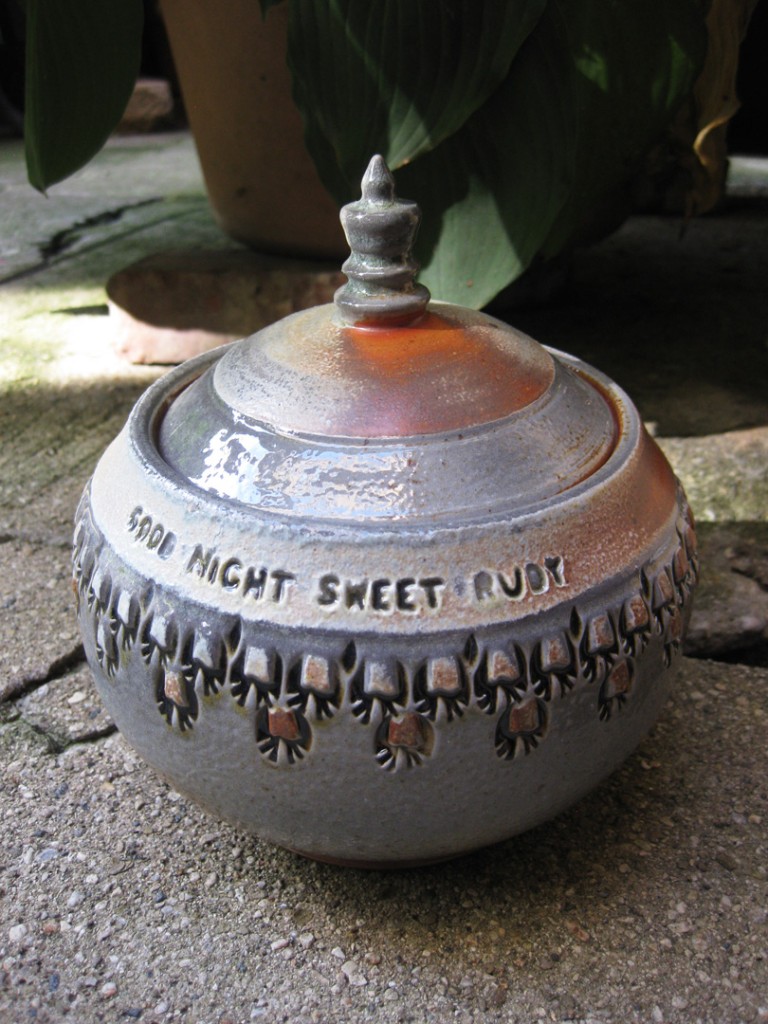
I started by throwing two lidded jars. I knew that it would be better to hedge my bets and make two, knowing that at least one of them would turn out fine. There are so many opportunities along the way for a pot to get messed up, especially when soda firing. So I made two. One lower & rounder, the other taller and more statuesque. Each one was stamped with a nice repetitive pattern.

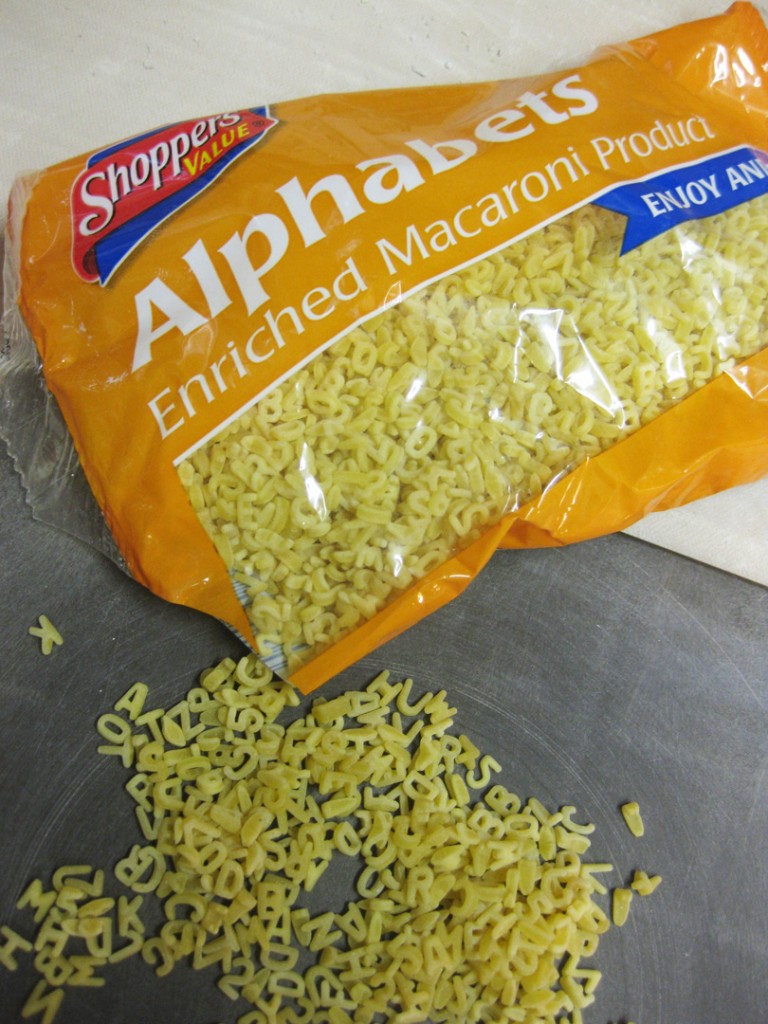
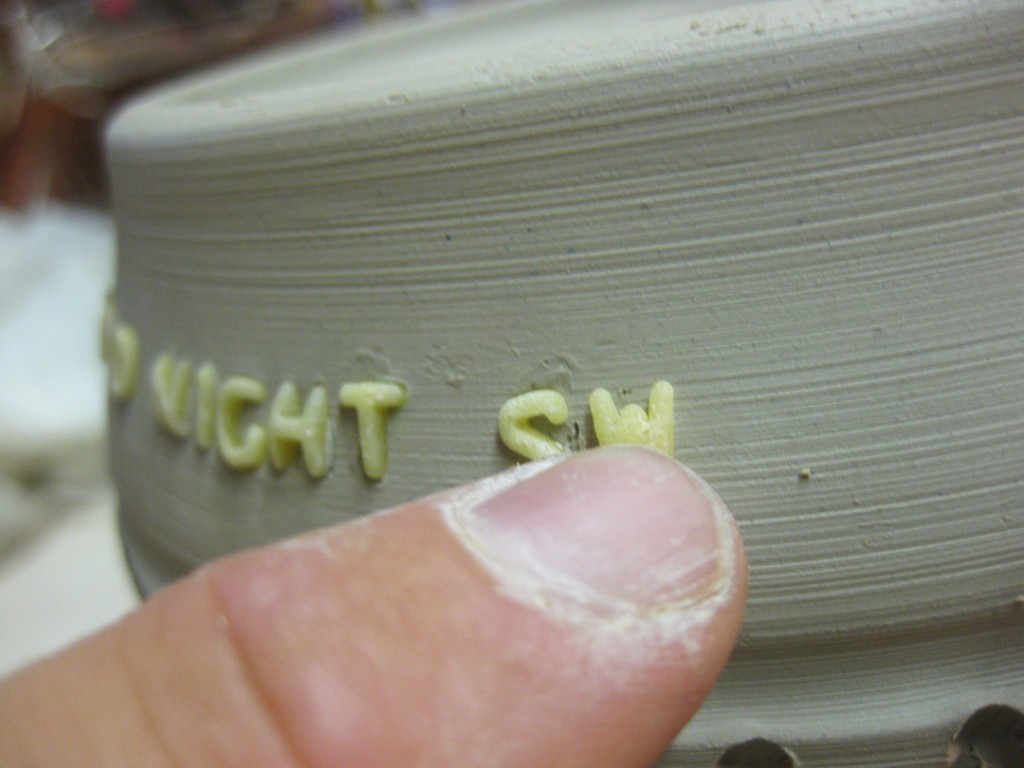
And then, I decided to customize them with some alphabet pasta letters… thanks to my former student Tracey who turned us onto the simple process.

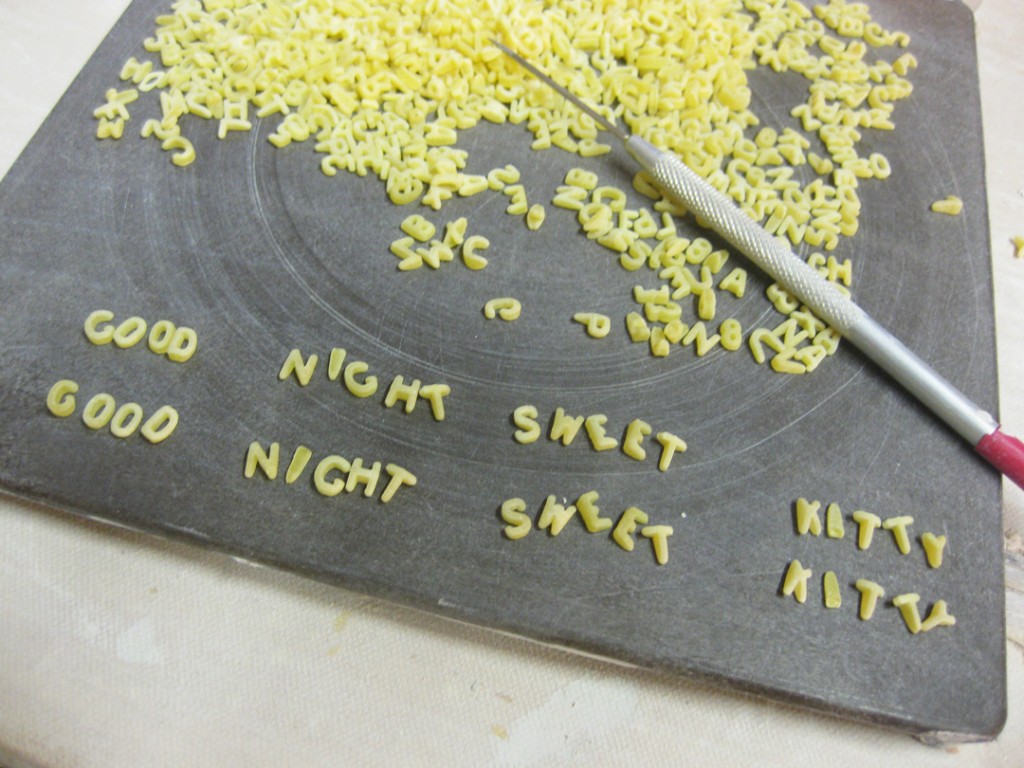
So I separated letters and tried to find all the ones I needed.

Then I started pressing them into the leather-hard pots… okay, they were on the wetter-side of leather-hard. Along the way, I decided to hedge my bets one more time. To make one for “Rudy” and the second one for a more generic “Kitty.” I like the lower rounder jar better, so I was hoping for that one to be the finished piece for Rudy. But if that one doesn’t work out, “Kitty” would still be a viable option.

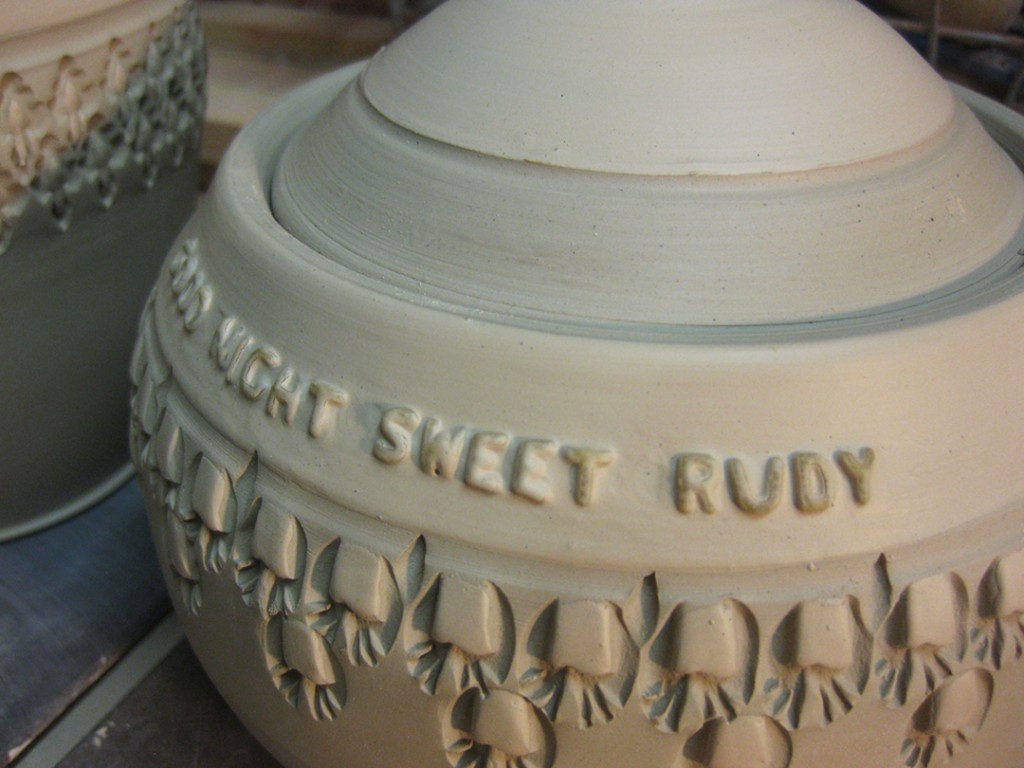
Once the letters were all pressed into the clay, I covered them with a band of colored flashing slip. A colored slip band across the jar and another one on the lid… with some accents in each an every stamp.

I left the pasta in place as they dried… and again when I bisque fired them. When the pieces came out of the kiln, they were a little scratchy around the letters where the slip had “built-up” around the pasta. A quick bit of sandpaper did the trick to even them out.

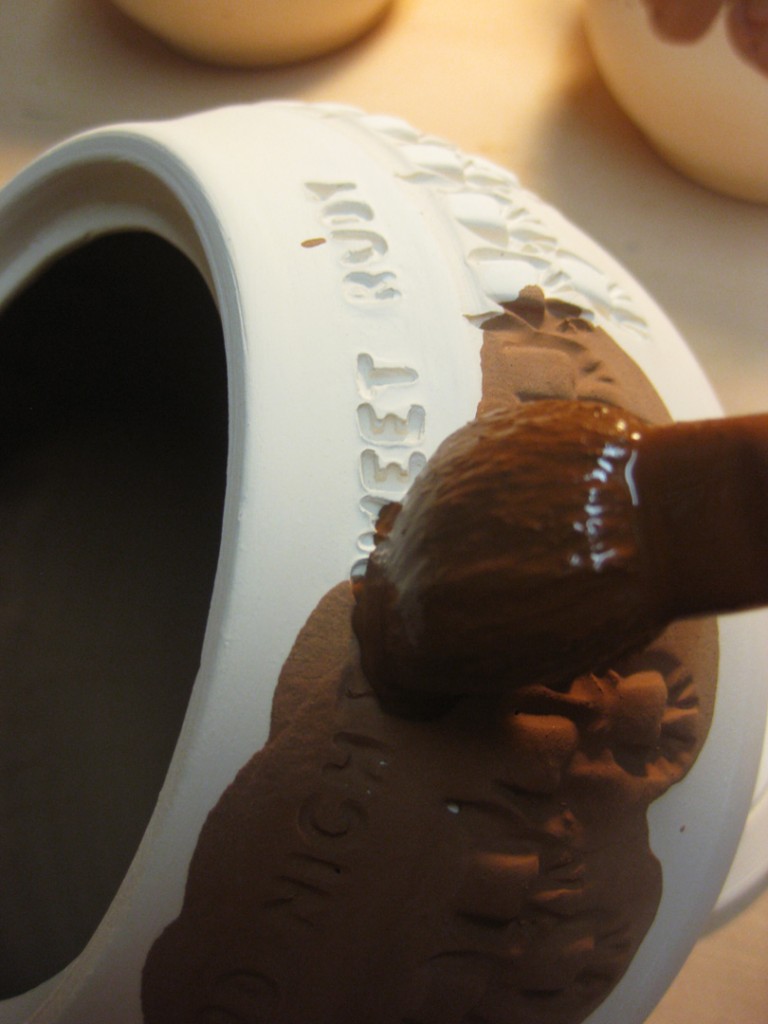
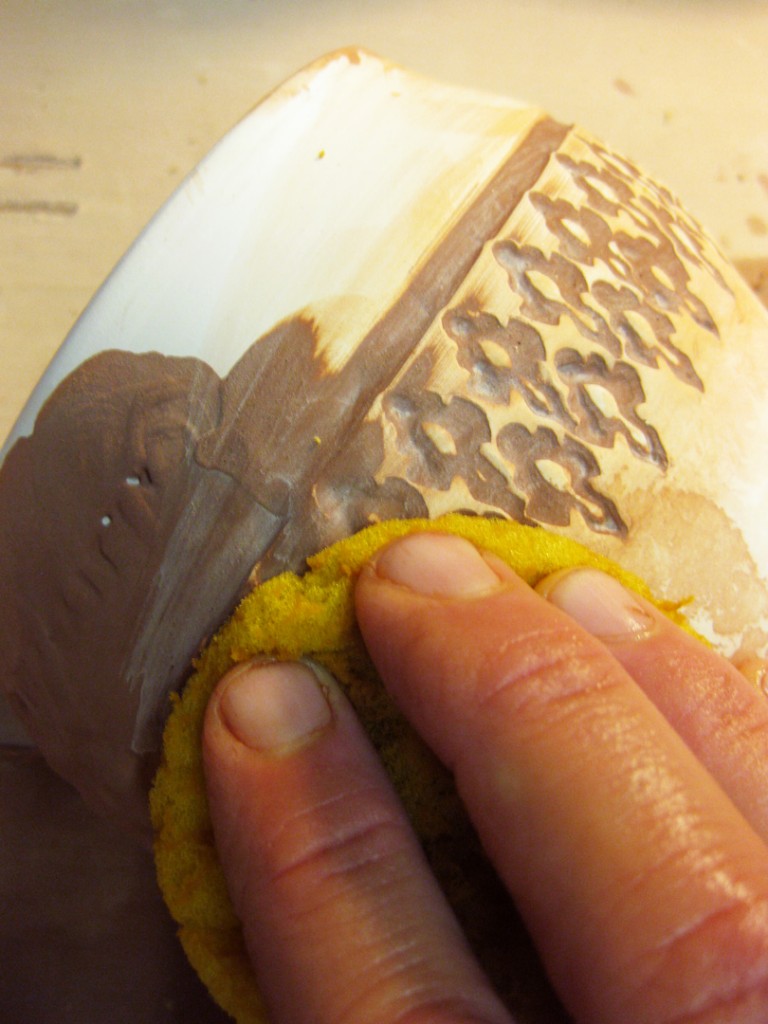
I then covered the stamps and letters with temoku glaze. Filling the indentations completely with glaze.

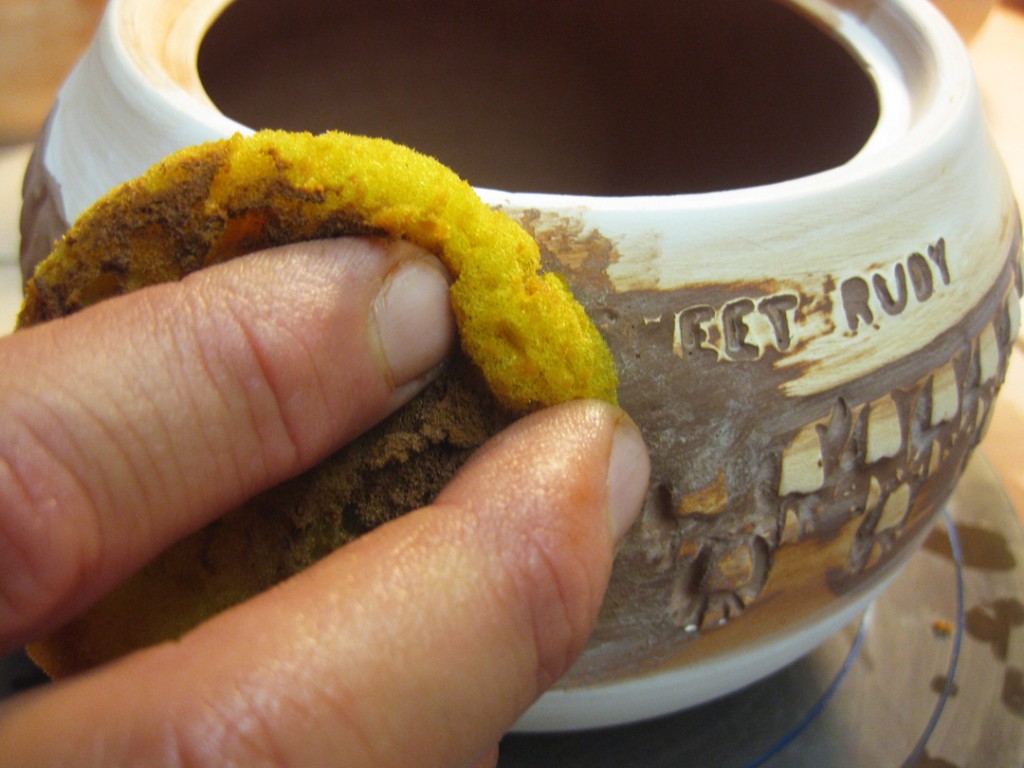
Then with a damp sponge, I wiped off the top layer of glaze to reveal the patterns & indentations now filled with glaze.

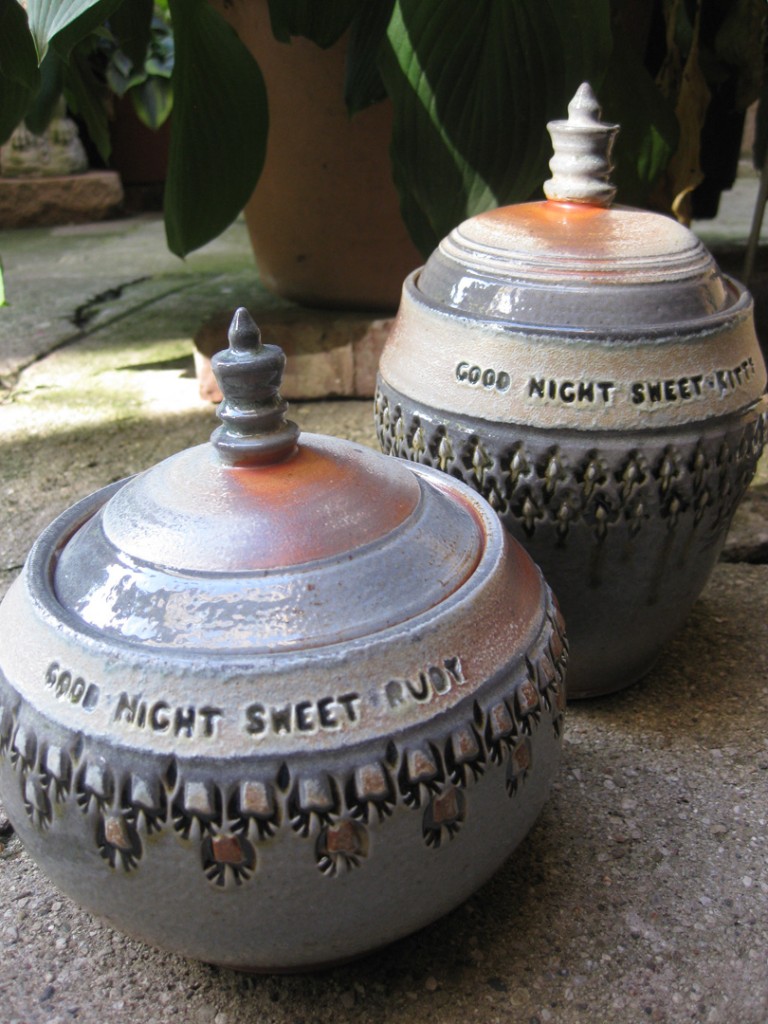
After a quick soda firing, both lidded jars turned out great. I’ve had to keep them “under wraps” for a few weeks so as not to ruin the surprise for Kim. The jars were in my last soda firing, but I had to wait until Kim received her gift before I could post them here

So this one now turns out to be an “extra”…
anyone have any ashes in a box somewhere that need a good home?!

And here’s the one that brought my cousin Kim to tears…
I gave the jar to her boyfriend Don during “Art In The Barn.” He proceeded to give it to her in front of all of us… my parents, her Mom, and more family & friends. She was so touched by the gift that she immediately turned into a sobbing mess. So touching. So emotional. So appreciative. Exactly the reaction one would like to get.  And now Kim’s favorite cat Rudy has a fitting resting place. RIP Rudy.

Categories: bowls, process, production, stamps

Tonight I stopped in the studio to do a little “refining” of some of my class demo bowls. They were still a little wetter than I would normally like, but they were “almost” ready to be stamped. So I stamped a couple of them… and the others will need to wait a little longer for attachments & trimming.

Bowl #3 – With a simple, single row of stamped impressions just below the flange.

Bowl #4 – And if a single row is good, a lot more of stamps would be a LOT better, right?

Bowl #6 – I took the four-pinched bowl and “ovaled” it a bit, and then stamped two sides opposite each other.

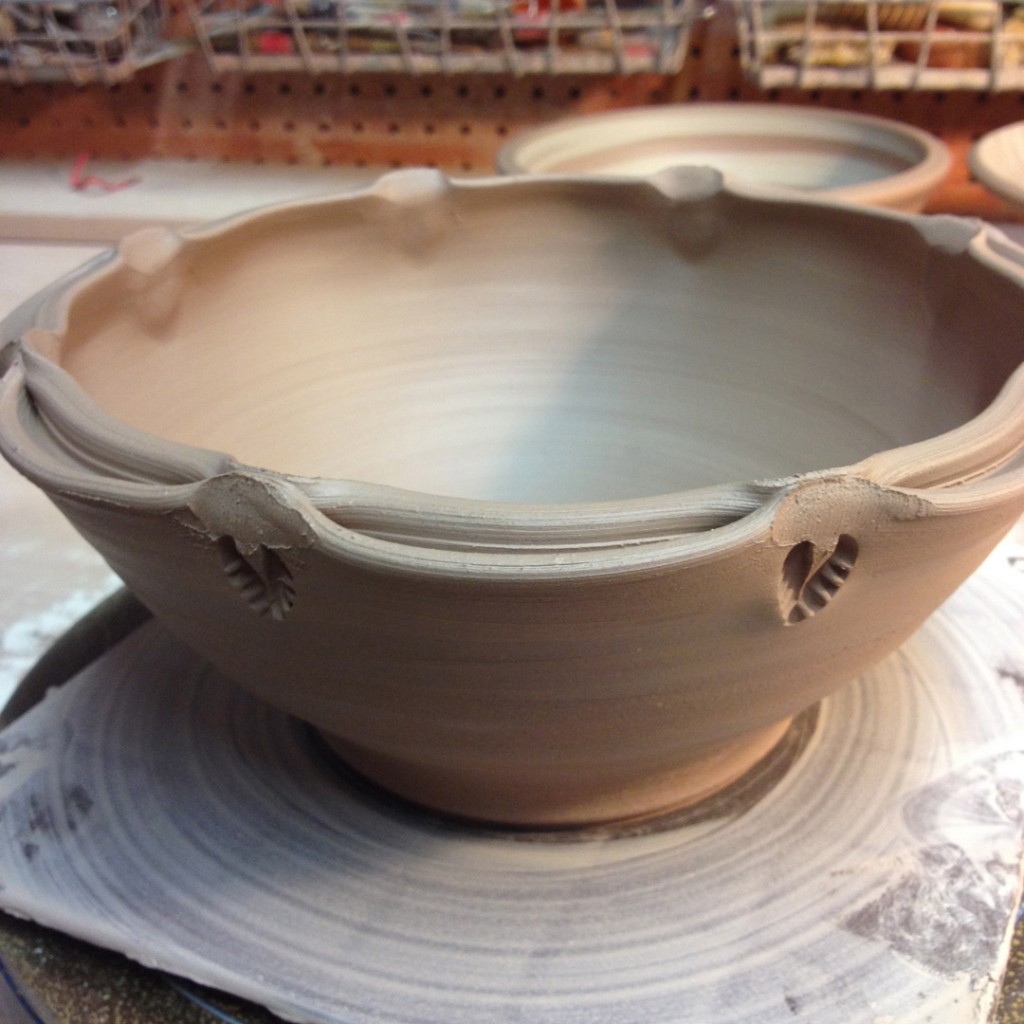
Bowl #9 – Each of the eight pinched points were accented with a single stamp. I’m not a huge fan of actually seeing the pinch marks, so there’s a very good chance that there may be more added to this bowl before we call it done!

Categories: bowls, classes, process, production

Tonight in class we covered throwing bowls… bowls on purpose & not cylinders gone bad!
It’s my favortie demo every session. I start be doing the demo on how to throw a basic bowl. Explaining the difference between a bowl “on purpose”… with a nice smooth curve on the inside of the bowl. Not a flat bottom, corners and straight sides like a cylinder. Once we cover the basics of throwing a bowl, my students return to their wheels to give it a try. While they are tackling their first bowls… I sat down and continued to throw more bowls. It’s a full bag of clay… this time it came out to 15 bowls!!! Looks like Alexa was pretty excited!!!

After throwing the full set of bowls, I have my students come back for Part Two of my demo. That’s the part where I try to “convince” my students to play with their clay a bit more. To squish it, move it, bend it, alter it… and to realize that “it’s just clay.” So I show them some really quick tricks to make each of the round bowls somehow altered and somehow more special.

Bowl #1 – Two Fluted Points
A simple finger flick & twist… one finger inside, one finger outside and twist.

Bowl #2 – Eight Fluted Points
If two points are cool… maybe eight would be cooler?!

Bowl #3 – Flared Flange
Simply taking the top part of the bowl and bending it outward to create the flange.

Bowl #4 – Wide Flared Flange
If a flared rim is cool, maybe a wider flared rim would be even cooler?!

Bowl #5 – Combined Flared & Fluted
Flared first, then fluted at eight points.

Bowl #6 – Split Rim with Four Pinches
So I started by carefully splitting the rim in half with the tip of my wooden knife. I then pinched the split rim back together in four places. Conveniently, lined up with the four corners of my plastic bat for even spacing!

Bowl #7 – Split Rim with Four Pinches… and then re-shaped!
Another split rim, pinched in four places and indented to alter the shape.

Bowl #8 – Indented Rim at eight points… for a floral feeling.
Evenly indented in eight places to give the bowl a softer feeling.

Bowl #9 – Split Rim with Eight Pinches… and curved between pinches!
Another split rim, pinched together in eight places. And then pressed outwards between the pinched points to give a slight curved & undulating edge.

Bowl #10 – Split Rim with Eight Pinches… then indented and “out”dented.
So if it looks good to indent & curve the rim… maybe it would look cooler to add some indentations going the other way.

Bowl #11 – Slip Spiral
I covered the inside of the bowl with white slip, and then dragged the rounded end of my wooden knife through the slip while the wheel was spinning.

Bowl #12 – Slip Spiral, Banding & Solid Sections
Another layer of slip. Another “canvas” to drag my tool through to reveal the original base clay color. Sometimes a spiral, sometimes just banded. Both easy to do while still centered on the wheel.

Bowl #13 – Flared Flange with White Slip Decoration
More white slip around the flared flange. And then decorated by dragging the rounded end of my wooden knife through the slip.

Bowl #14 – Slip With A Stencil Design
A simple shape cut out of the newspaper. The dipped in water and carefully placed on the bowl interior. Gently pressed into place to seal the edges in place. Then covered with slip… and then the newspaper stencil piece is carefully pulled out.

Bowl #15 – Slip Chattering
This one’s my favorite! A simple coat of white slip. And a rythmic tapping of my curved rib as the bowl was spinning to create this groovy pattern. Once you start, you’ve got to commit and keep going!!!

After class ended, I carried all of the bowls up to my studio. Fifteen bowls balanced up a flight of stairs.
They pretty much filled my work table. Good thing I didn’t make more?!

I then wrapped them up with plastic to keep them damp. I will come back in the next day or two to add a few more details & stamping. And then they’ll all be trimmed, dried, fired, glazed & fired again. But for tonight… another fun demo for my beginning students… and another fun batch of BOWLS!!!

Categories: art fair, holiday, process

I’ve been trying to finish up some of my holiday ornaments. Many of them have been fired and waiting for their wire hoop or ribbon attachments. Many of these ornaments will be making their art fair “debut” at “Art In The Barn” next weekend. But one of my dilemmas was “how to price them?” I didn’t really want to attach a price sticker to each and every one. I don’t really want to make a sign for each individual style. Or even worse, designate pricing levels based on size within one ornament style. Too many prices. Too many variations. Too many sizes. Too many price stickers.

But I think I may have come up with a brilliant solution.
I love color-coding… so why not color-code the ornaments? Brilliant, right? So I’ve decided to attach a colored paper clip to each ornament to signify which color-coded price that ornament corresponds to. That way, the paper clip easily shows the price, is easy to remove, and won’t leave a sticky residue like a price sticker would. So the color-coding has begun. Six different price points. Six different colors.

Categories: glaze, holiday, kiln firing, process, production

With a quick coating of clear glaze, my Jack O’Lanterns went into the kiln tonight. Sure… they may look green right now, but that green glaze will turn clear in the firing. I hope…

Categories: art fair, family, process

Today was one of the most beautiful Fall days ever.
Yes, it feels like Summer is over. The weather has cooled off, the humidity is gone, and today was perfect. Such a wonderful “Fall” day… to be “stuck” in my basement all day long.

Yes, I spent the day today with my best art fair assistants prepping, pricing & packing all of the pieces from my last soda kiln. We had a LOT of pots to tackle. Lots of pieces in milk crates with lots of protective foam sheeting.  It was a long day. We talked, we chatted, we solved all the problems of the world. But by the end of the day, we’re pretty much already packed up for “Art In The Barn.” Which is a pretty great feeling knowing that we’re almost weeks ahead of schedule!!!

And as a quick Thank You for their hard work… I took my Mom & Dad out to dinner!

Categories: process, production

Tonight was a really fun night. My own personal “pumpkin carving party.”
And the best part?… I didn’t have to dig out the seeds and pumpkin guts.
Just the fun of carving one pumpkin after another!

And so much fun to see all of these smiling faces looking back at me as they’re piling up all around my studio. Every shelf, every table. Pumpkins everywhere!!! Each one with a different personality. Each one making me smile.

So now they’re all carved & “warted” and ready to start drying slowly. Next up?… a few color accents here & there. But that’s fun for another night!

Categories: kiln firing, pottery, process, production

I unloaded my kiln late this evening. It was nice & cool by the time I came back from my fun day at the Renaissance Faire. Unbricking the door is always kind of exciting as you see more & more of the pieces revealed layer by layer. When the door is gone, it’s time to start unloading… and re-loading into crates to get it all home! The front of the kiln is a little heavy on the soda… but I knew I had to add a little extra & force it through if I was ever to get it into the tightly packed kiln. And it worked… even though the front & top has a bit more soda than I personally like, the majority of the middle & back was perfect!!!

Unfortunately, I got a little caught up in the unloading and didn’t do so well with the picture taking?! So, there will be more photos to come when I unpack at home…

Categories: kiln firing, process

Glazing is done. Thankfully. I hate glazing! So I’m always thrilled when it’s done!!!
Equally pleased when I eventually get my studio cart down into the kiln room – and all of the pots made it there in one piece! I “strap ’em in” with strips of masking tape. Kind of a “safety belt” for the glazed pots so they can survive the bumpy trip downstairs from my studio via the rickety freight elevator!!!

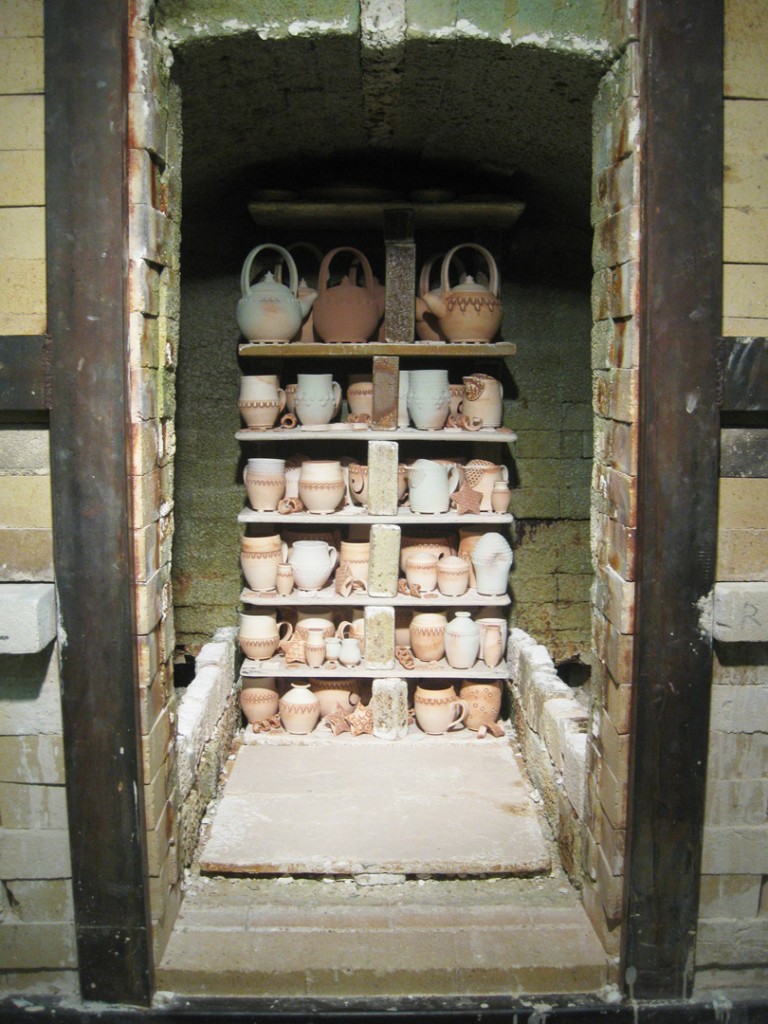
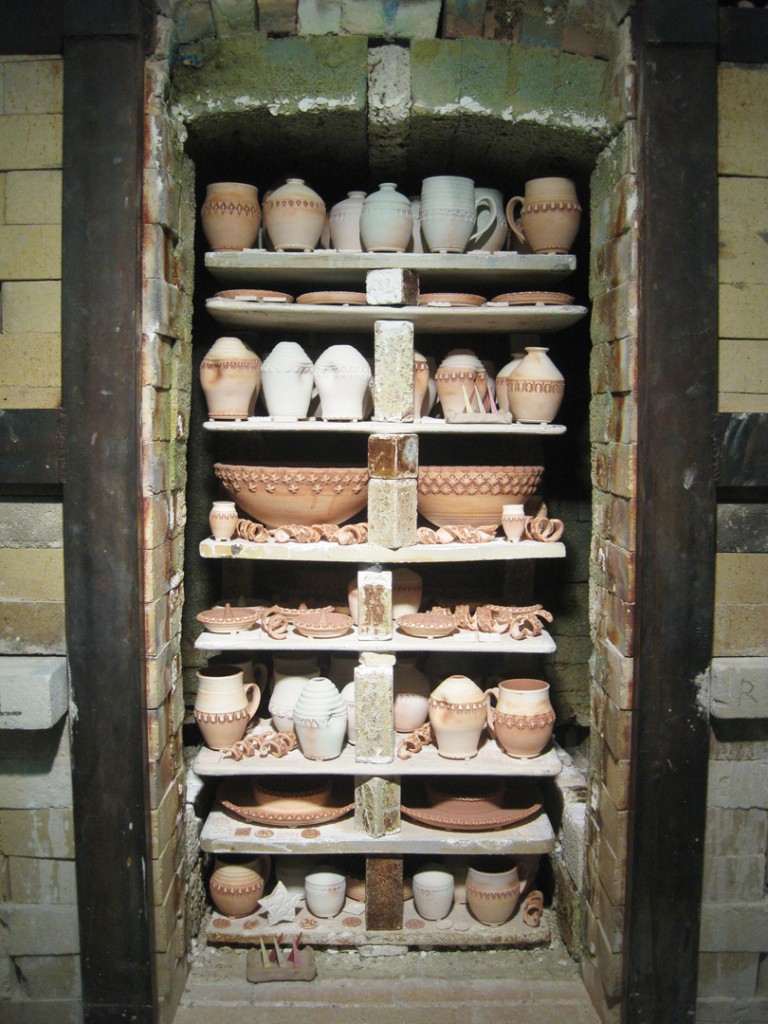
So first up… stacking the back set of shelves. It’s always like a game of Tetris fitting in as many pieces as possible, while pacing yourself to mix the big & small pieces evenly throughout the kiln. And don’t forget about leaving a little space for air-flow so the soda has some way to travel through the pots. I have a tendency to pack the kiln as tight as I can… and I think I’m off to a good start.

Once the back stack is done, it’s time to start the front stack which is two shelves deep. More space to fill with more pots! Again… get in as much as you can without packing it too tight. Delicate balance… that I always err on the side of packing too tight!!! Especially when you’re getting ready for another art fair where I’ll have a DOUBLE booth space!!!

“Art In The Barn” in Barrington, Illinois – September 28th & 29th, 2013
More details to come…

So it’s packed all the way to the top where I always try to fit in right up to the curve of the arch. Or in this case… lack of arch!!! In fact, as soon as I unload my kiln on Monday night, this kiln is being demolished Tuesday morning to be rebuilt woith a better & safer kiln arch. This kiln has been “well-used” and too many of the bricks have been moving around. So it’s time to be replaced. I’m just glad that I got in for this firing BEFORE they tear it down!