Gary Jackson: Fire When Ready Pottery
A Chicago potter’s somewhat slanted view of clay & play
Categories: mugs, process, production

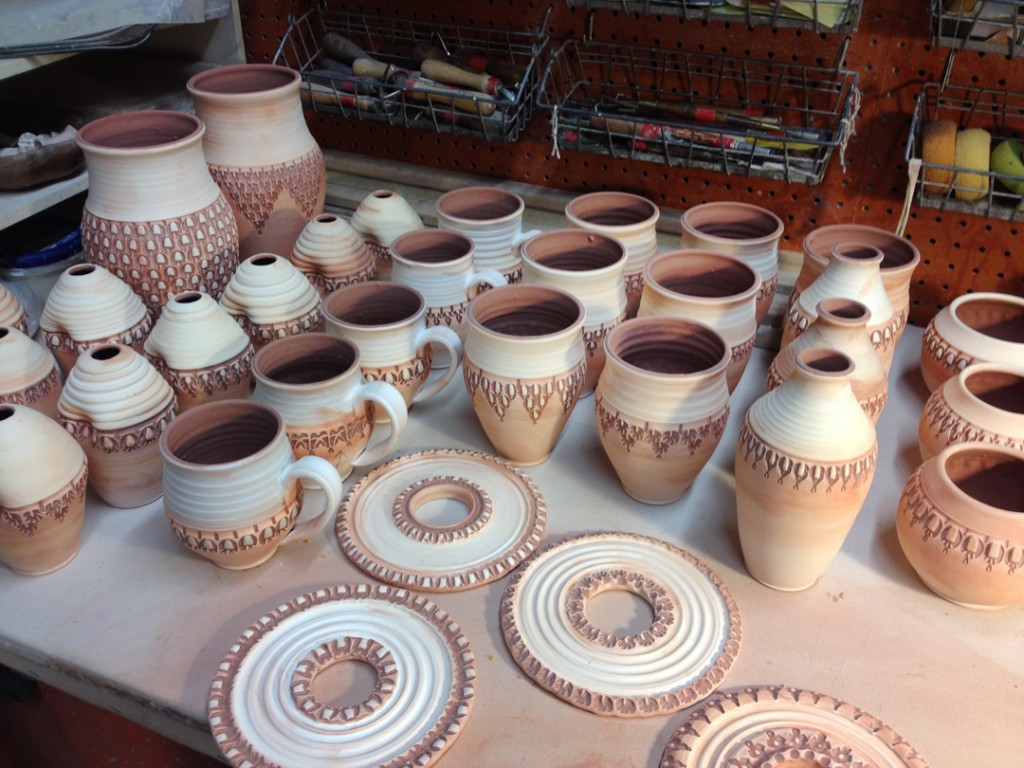
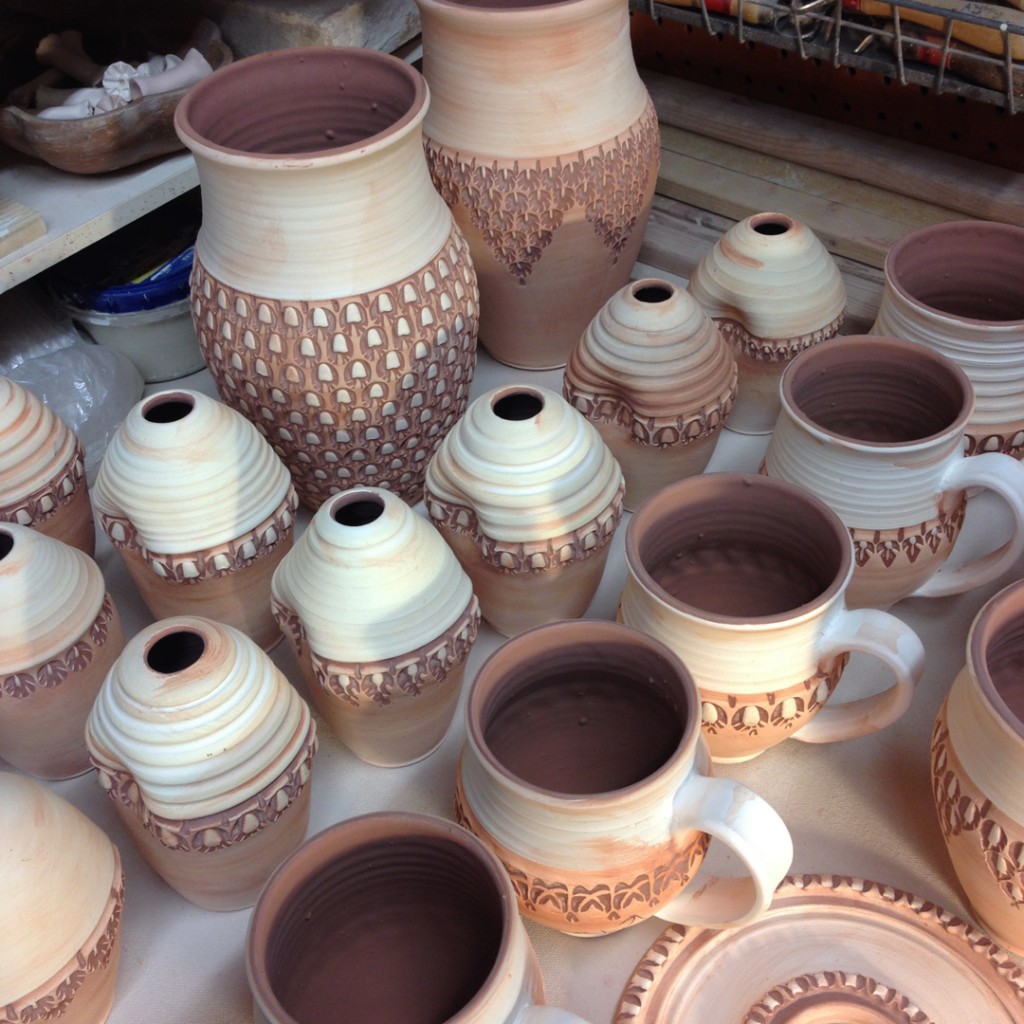
So my latest batch of stamped cylinders are ready to become mugs!
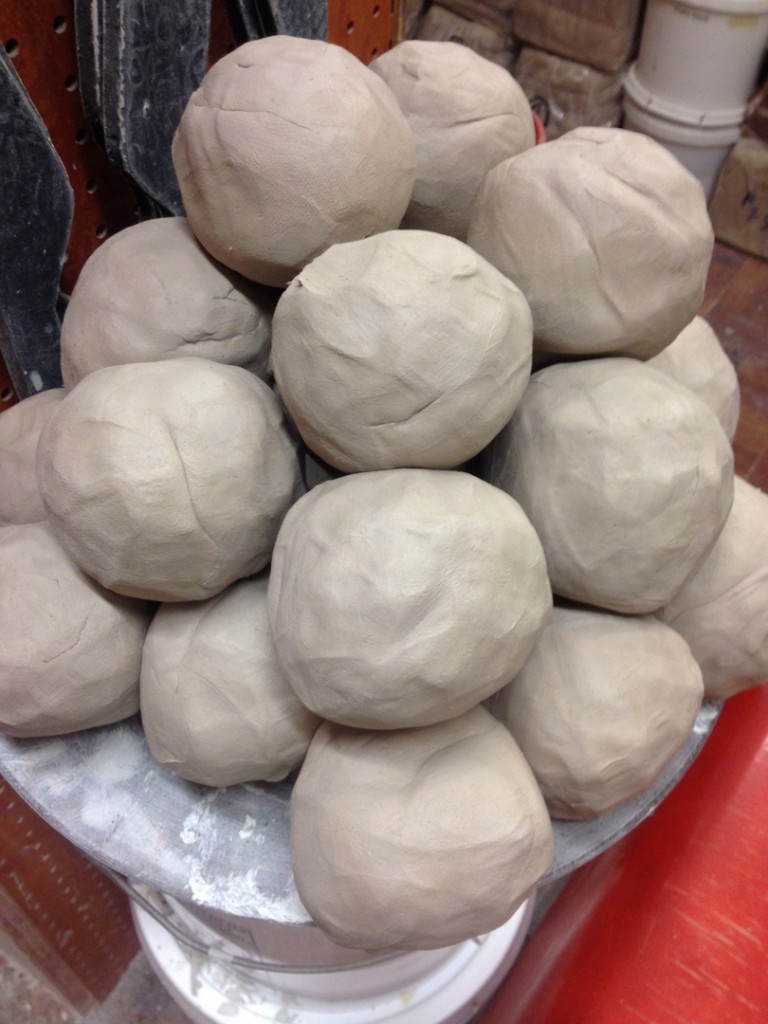
We need some handles first… so I start with some wedged and shaped “carrots” of clay.

I pull my handles separate from the cup. Starting with the wide end of the “carrot” in your fingers tips, I gently slide down the clay with wat hands a bit of fiction. A little more friction and the clay begins to stretch into a handle. I like mine to be more of a strap than a tube. They need to set-up a bit before they can be attached to the mugs. So I carefully prop mine up with a nice “mug handle curve” already established. When they are no longer wet & squishy, I start attaching them.

Score, slip, attach, refine… REPEAT.
Score, slip, attach, refine… REPEAT… REPEAT… REPEAT…         did I say REPEAT???

Soon enough I’ve got a LOT of mugs!!! My favorite thing to make.

Next up?… some color accents with flashing slips painted on the top portions and in some of the stamps.

Categories: mugs, process, production, stamped

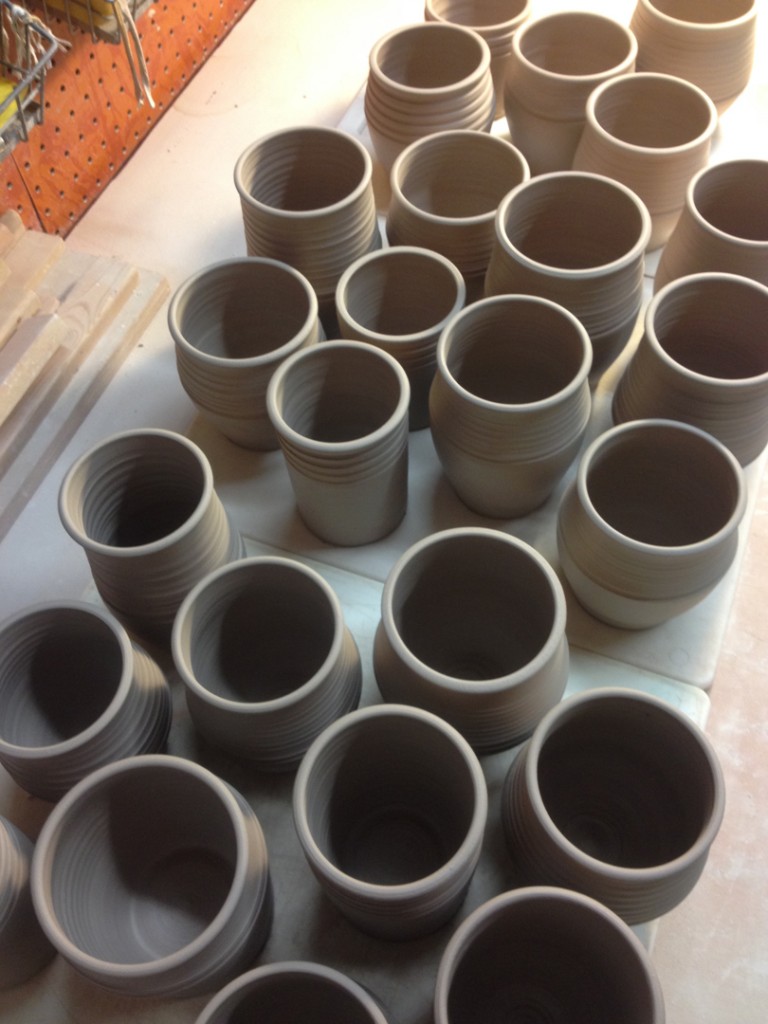
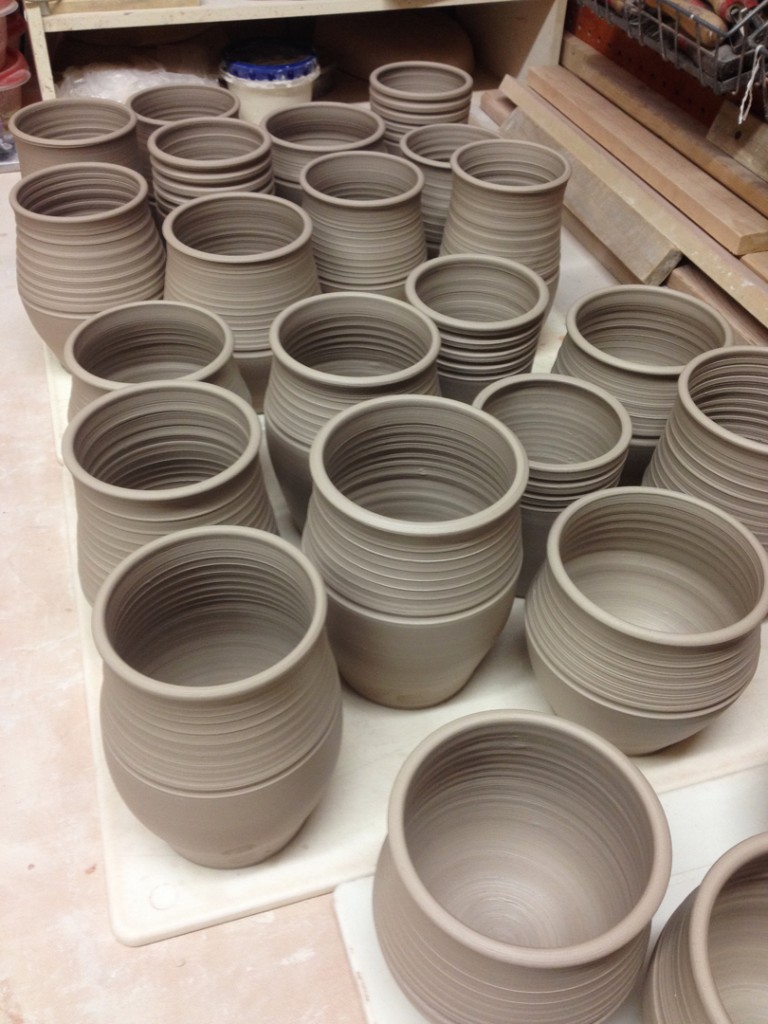
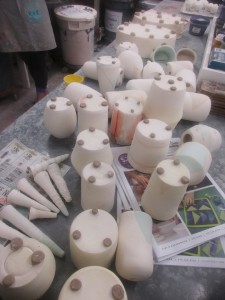
Two dozen cylinders in need of some stamping. Luckily, I have several tool boxes full of stamps… and some time this afternoon to do some texturing. So here we have some cylinders before & after… each destined to become a mug after trimming & handles!

Save

Save

Categories: clay, process, production

Starting to wonder if it was smart to throw tonight, or if I should be home relaxing, carbo-loading and preparing for tomorrow’s race?!

Categories: clay, porcelain, process, studio

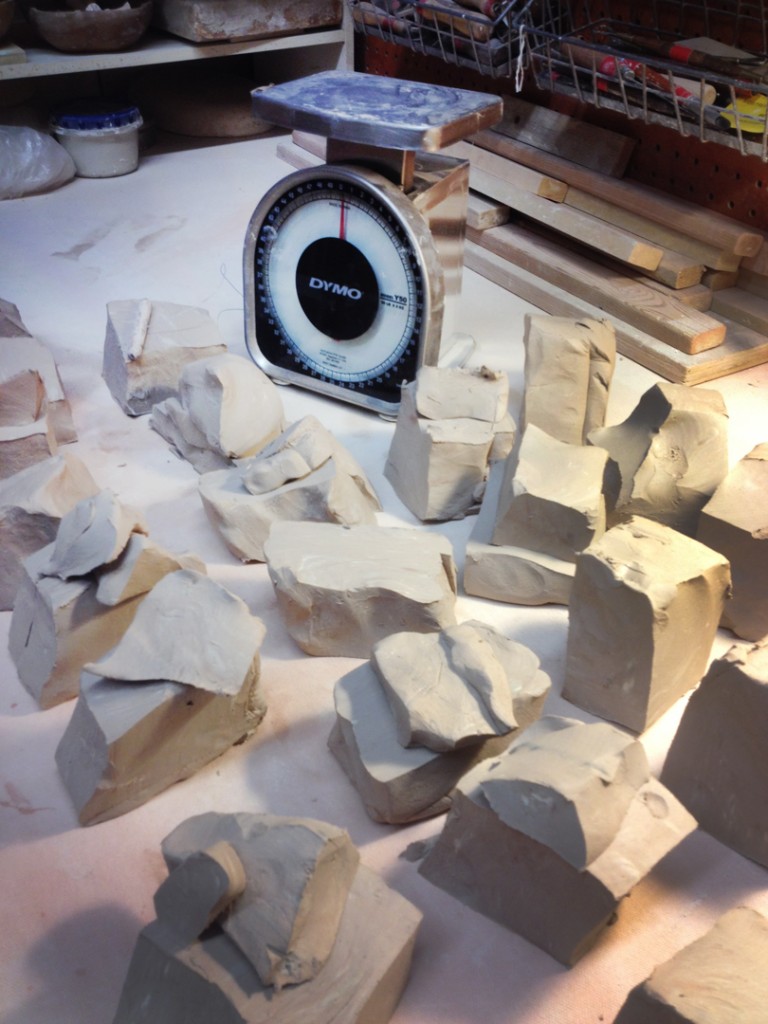
My reclaim bucket was full of slaked down porcelain scraps. Pulverized porcelain scraps soaked in water, and then evaporated until it was gooey, but not puddley. So I thought today would be a good day to glop it all out onto a large plaster bat to get it to start setting up. After a few days of drying, I will be able to start wedging. You gotta love free clay!!! Especially when it’s porcelain… Thanks again Emily!

Save

Categories: mugs, process, production

Sure, I could have glazed the bowls… but instead I decided to throw more cylinders for another batch of mugs!!! You know how I LOVE making mugs!!! So much better than glazing!!!

Save

Categories: classes, glaze, kiln firing, process, soda-fired, workshop

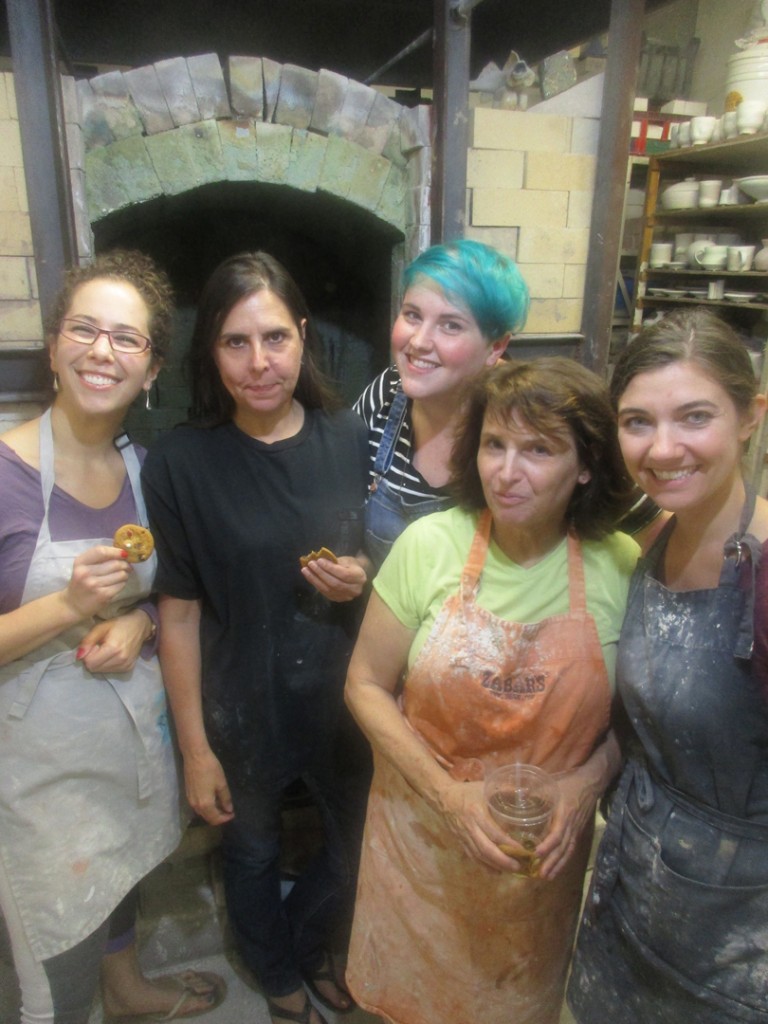
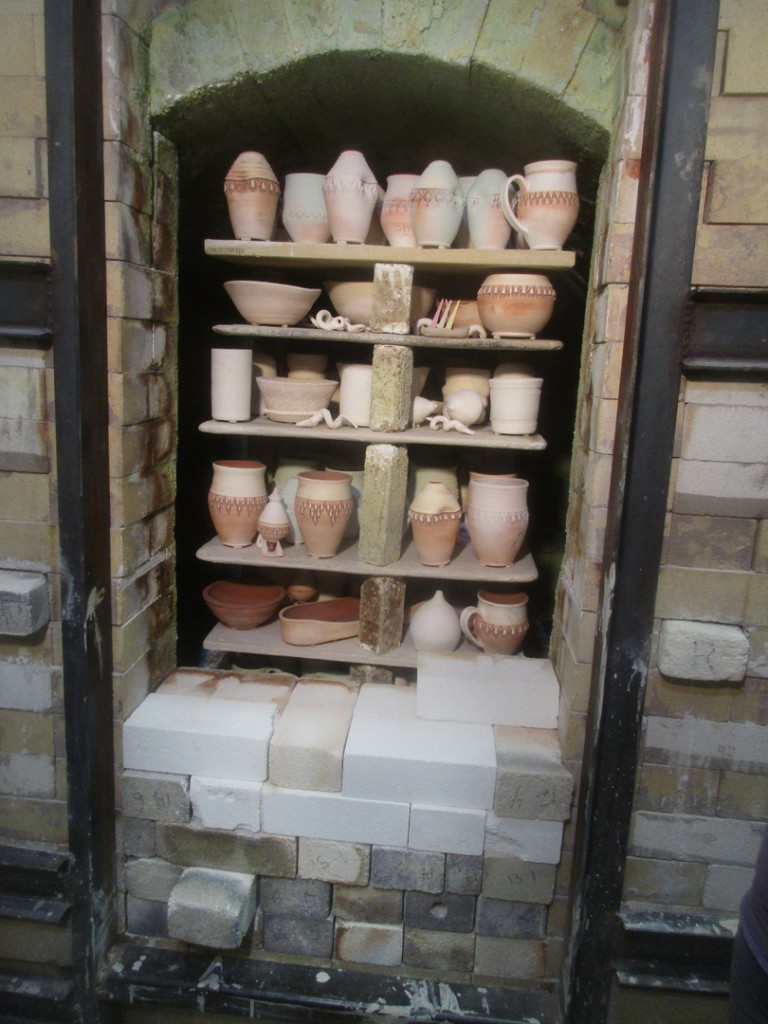
After much discussion, I finally decided it was time to teach a Three-Day Soda-Firing Workshop. Many of my Tuessday night Advanced Beginners were looking for a little soda-firing experience. So we’re kicking off the Three-Day Workshop.

Day One – Friday : Glazing, wadding & loading.
Day Two – Saturday : Firing & potlucking
Day Three – Monday : Unloading, kiln cleaning & admiring of pots!!!

We started the evening with a discussion about glazing & wadding for the soda kiln. They had all come with a collection of bisqued pots… so they set about to glazing & wading. With LOTS of reminders to take good notes and keep track of what they’re doing so we can discuss the results after the firing.

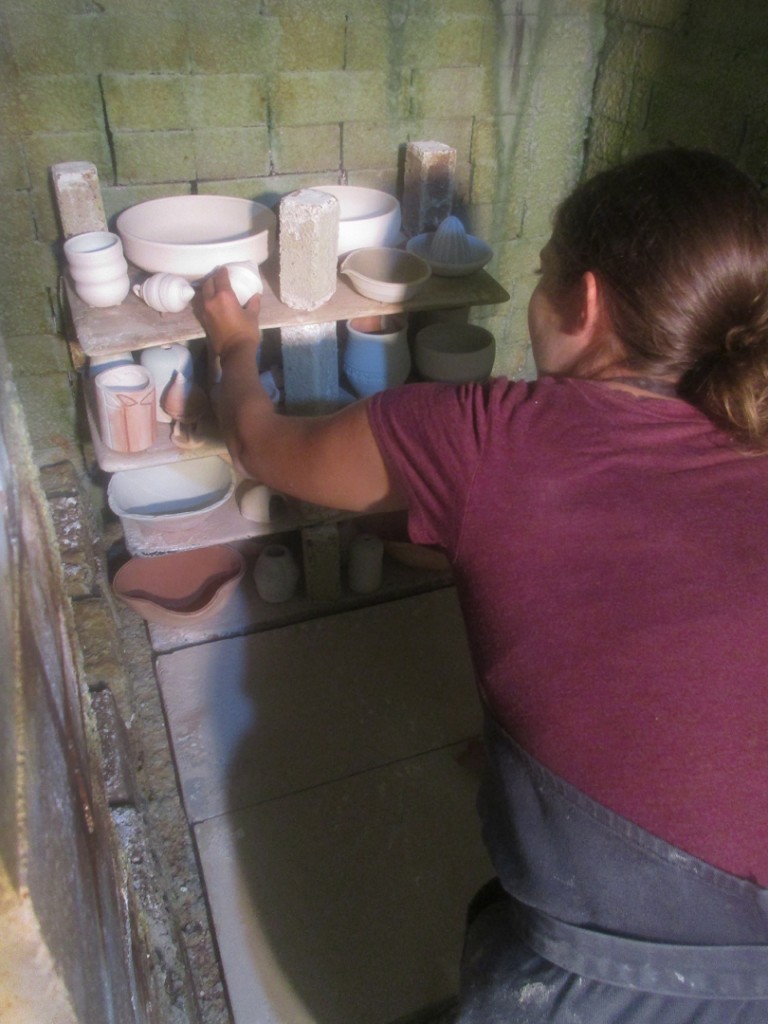
Once everything was glazed & wadded, we moved pots into the kiln room. More discussions about the soda-firing process, air-flow patterns, reduction/oxidation… and other kiln loading basics like how to stack with shelves & posts.


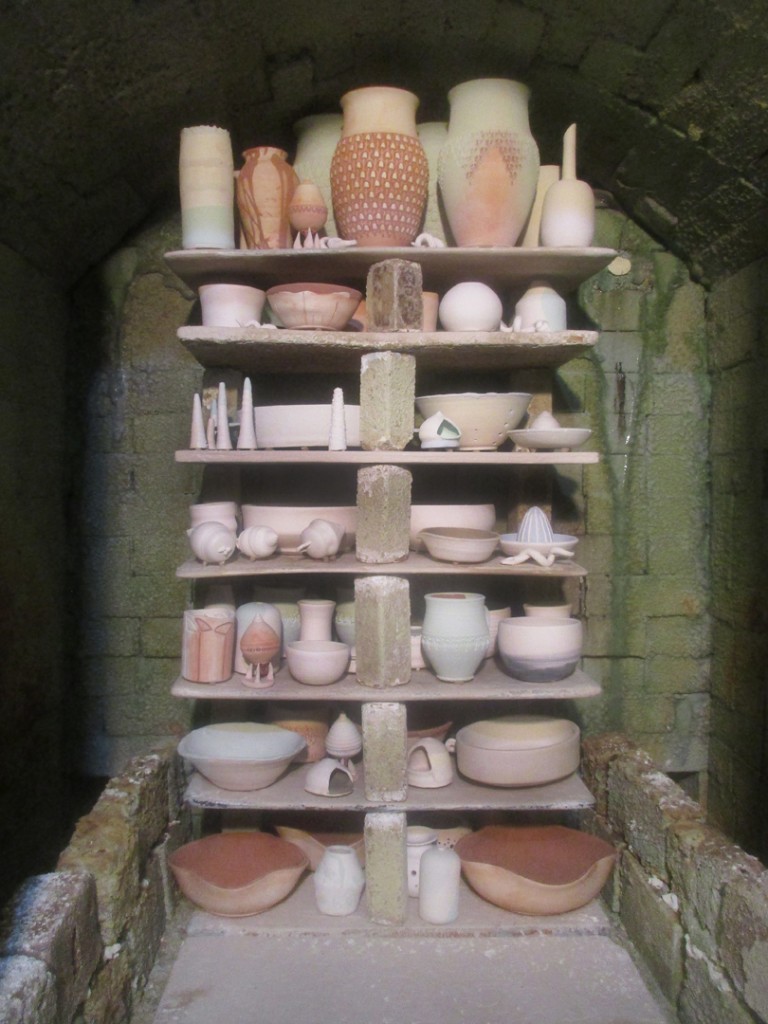
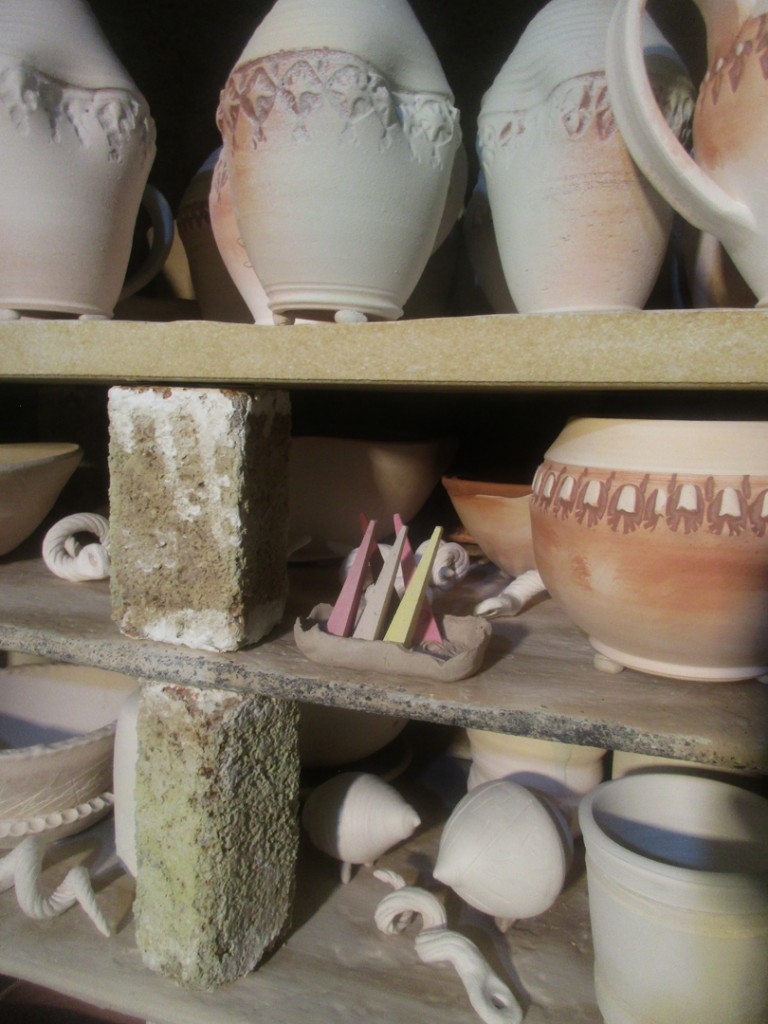
Back stack done… time to move onto the front stack of two shelves. Lots of discussions amongst the workshop participants. Trying to determine which pots should go where, and figuring out how to get everyone’s pots into the kiln evenly and fairly.
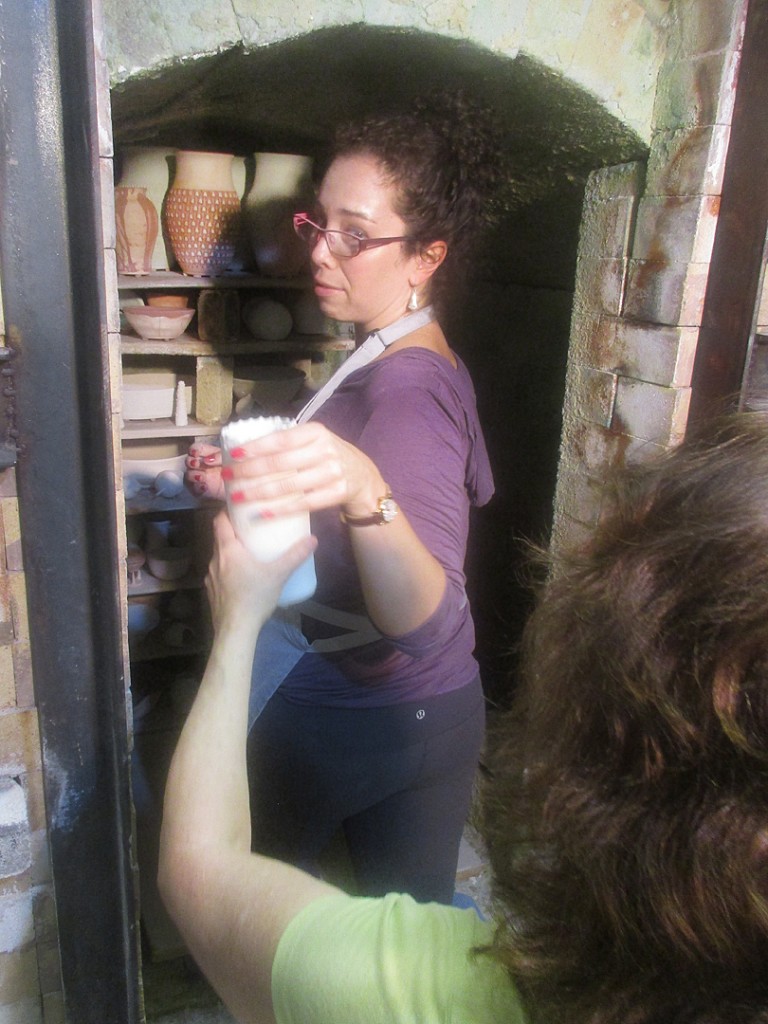
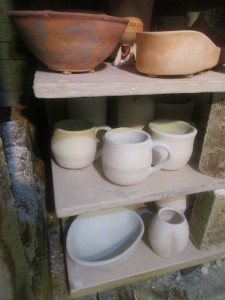
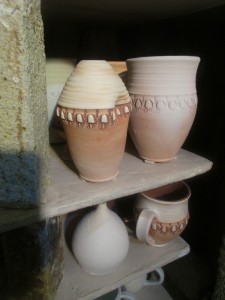
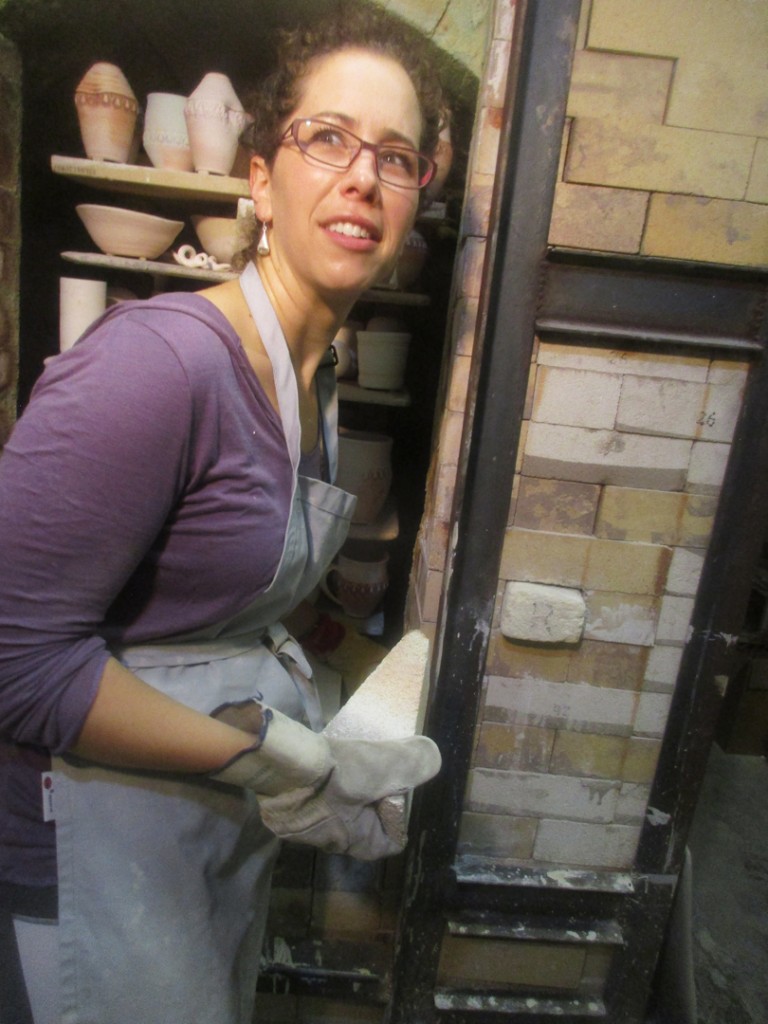
After many-repeated conversations about soda-firing & kiln loading, the workshop participants finally got the kiln loaded.  I think they all have a new realization & appreciation for all the work our Monitors do with loading & firing all of the classroom kilns. For the first time, they had to load kilns themselves… instead of their work just “magically” getting fired. I think it was a LOT more work than they expected… but hopefully they’ll appreciate the process more when they get their finished pieces out of the kiln Monday night.

Excited to have the kiln loaded… and now on to bricking the door.
One-by-one… brick-by-brick…

So now it’s all closed up. Ready to go.
Firing begins early tomorrow morning to kick-off Day Two of the Soda-Firing Workshop.

Save

Save

Save

Save

Save

Save

Save

Save

Save

Categories: glaze, process, production, studio

Did a little glazing & wadding in my studio after camp prepping for this weekend’s Three Day Soda-Firing Workshop. My students should be glazing their work too… I just want to be ready with a few extra pieces for kiln filler. Just in case.

Save

Categories: glaze, process, production

Fresh out of the bisque… and now with a layer of green wax on the bottoms. A few drops of food coloring in the wax makes it so much easier to see!!! Gotta let this dry and the the glazing frenzy can begin! Under a little “time crunch” to get these into a cone six glaze kiln in time for this weekend’s art fair in Evanston.

Categories: bowls, process, stamped

Another bowl getting a few finishing touches…
just in time for one last firing before the Evanston Lakeshore Fine Arts Festival!!!

Save

Save

Categories: bowls, process, stamped, studio

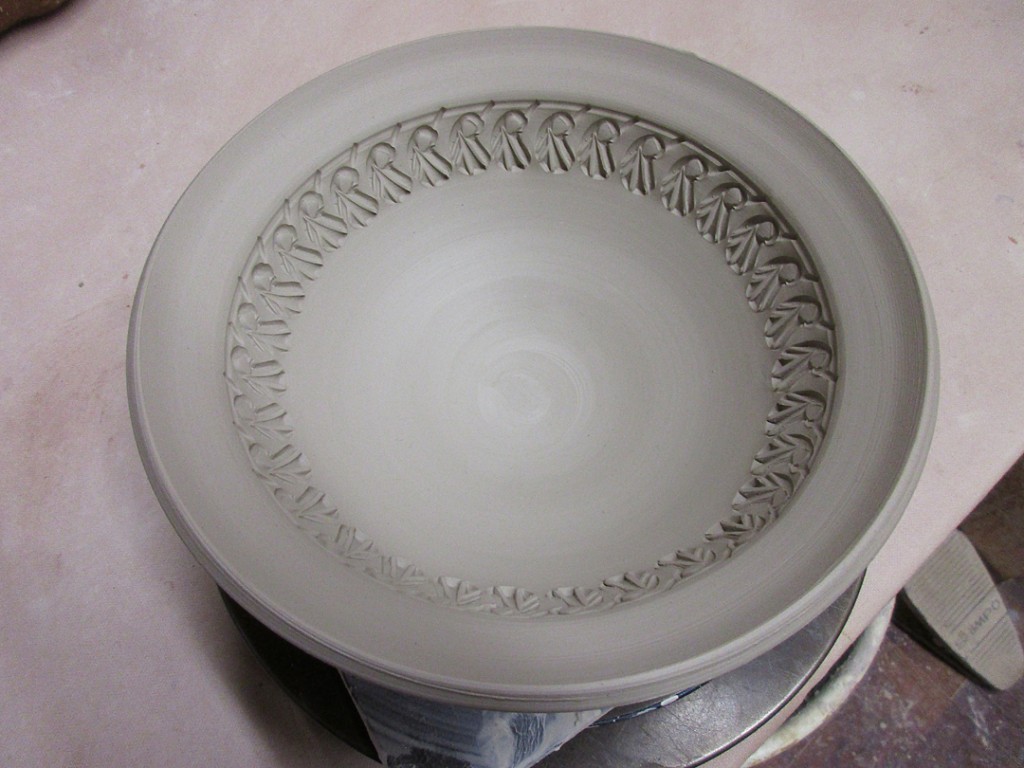
So the class demo bowls have been “under wraps” in my studio for a few days. But I finally got around to do doing some stamping & detailing. Making the “not-so-basic” bowl demo even MORE not so basic!!!

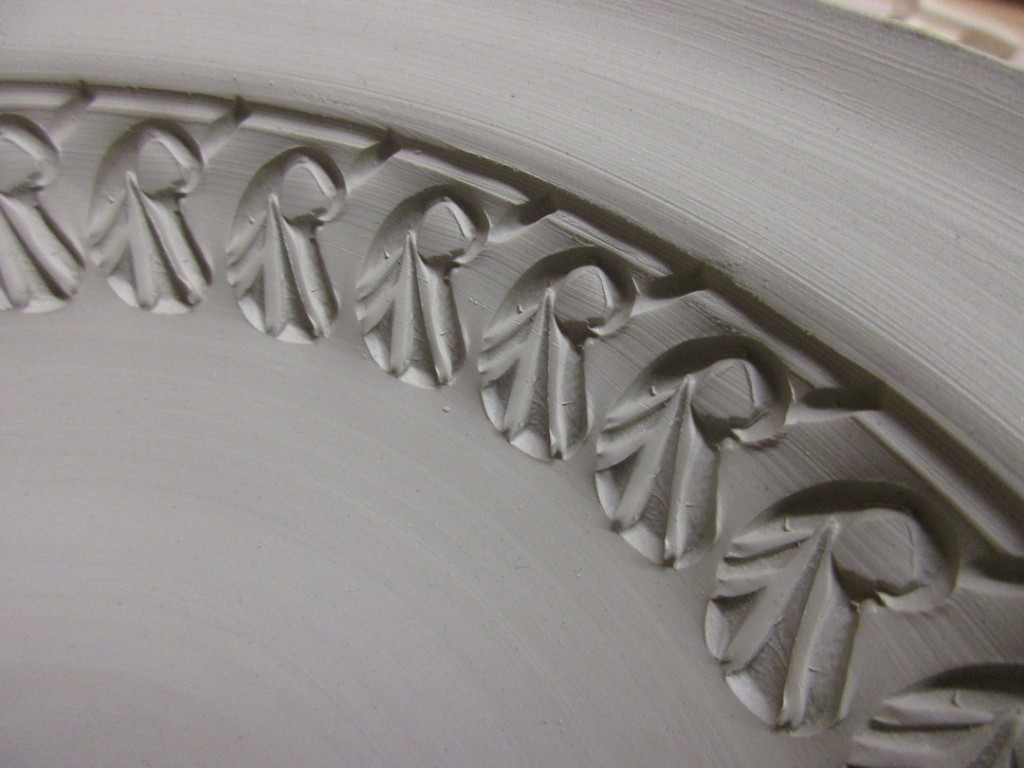
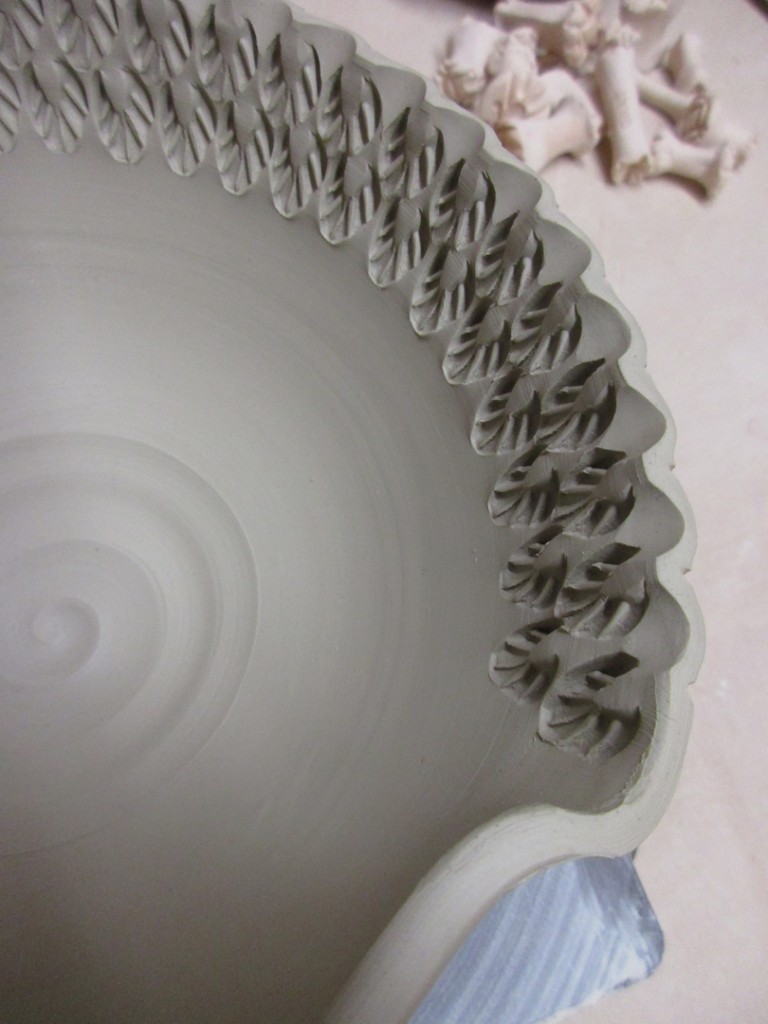
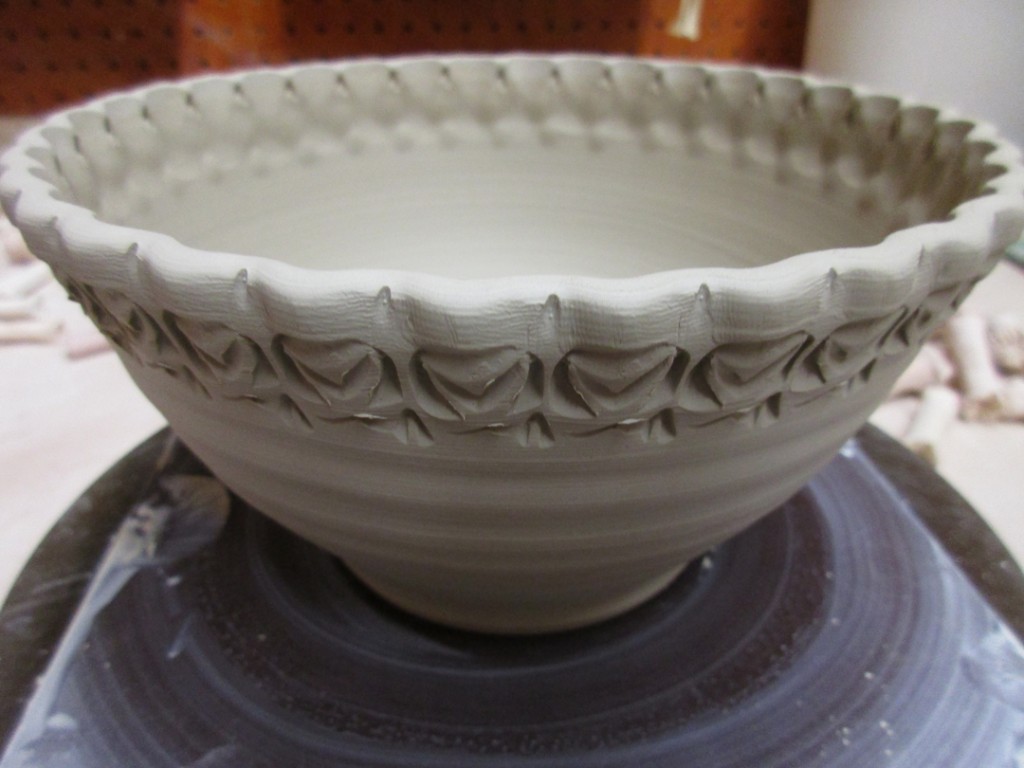
A quick row of stamps around the edge of a thin flared rim.

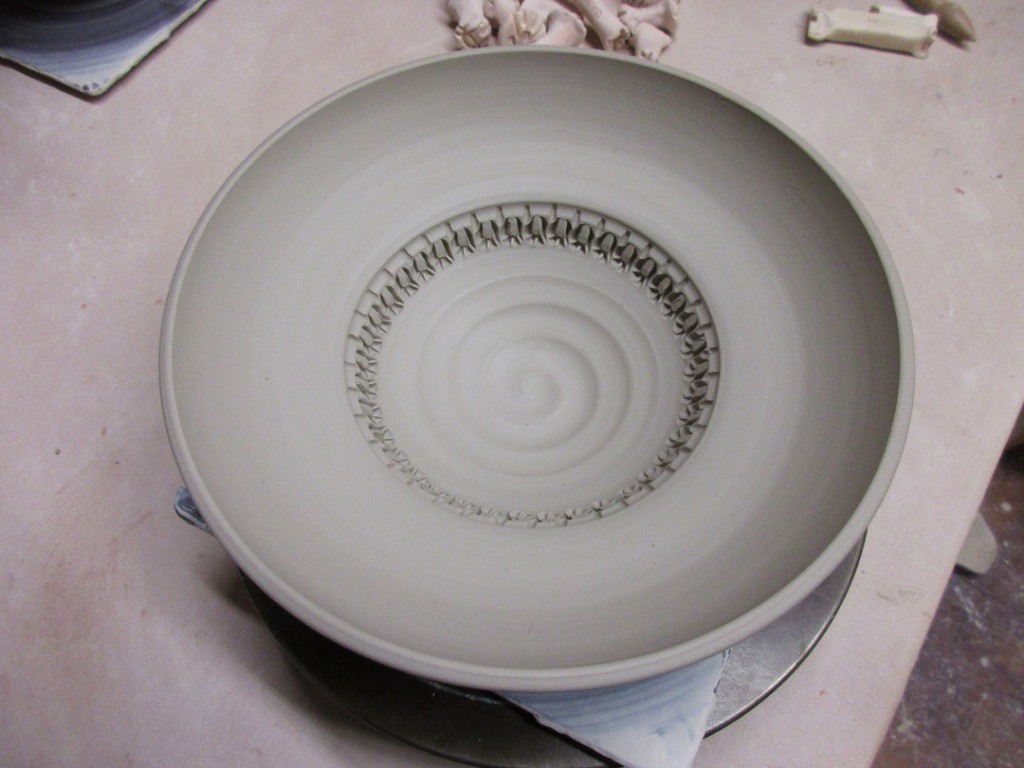
A thinner row of stamping on the smaller section of the bowl.

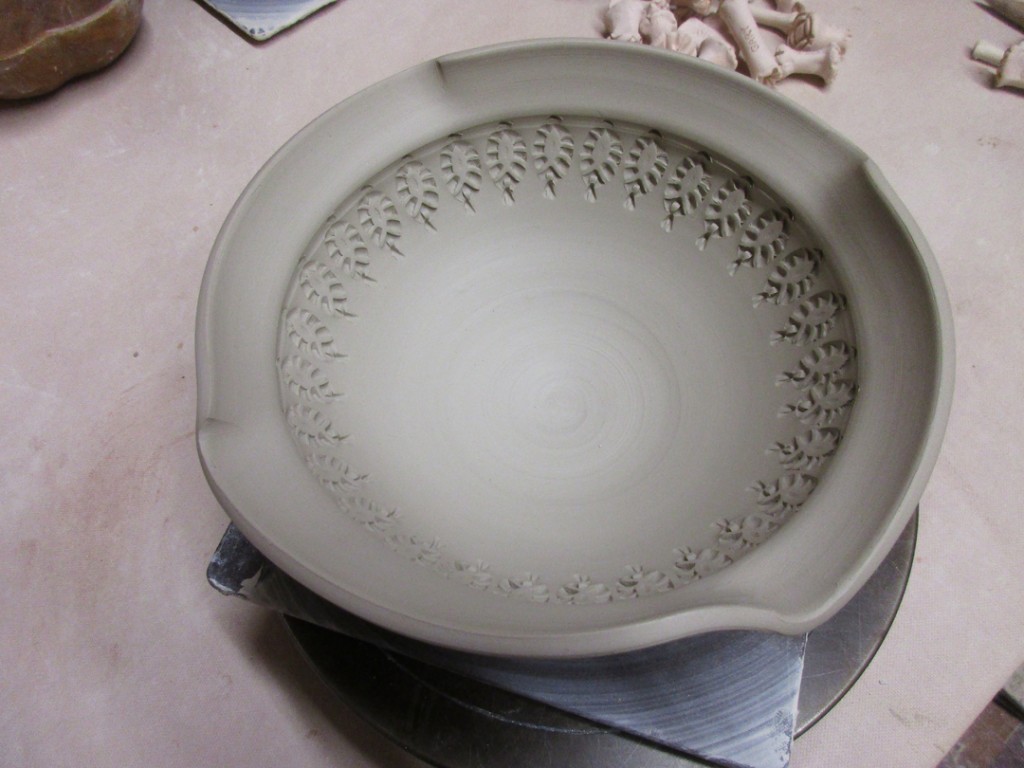
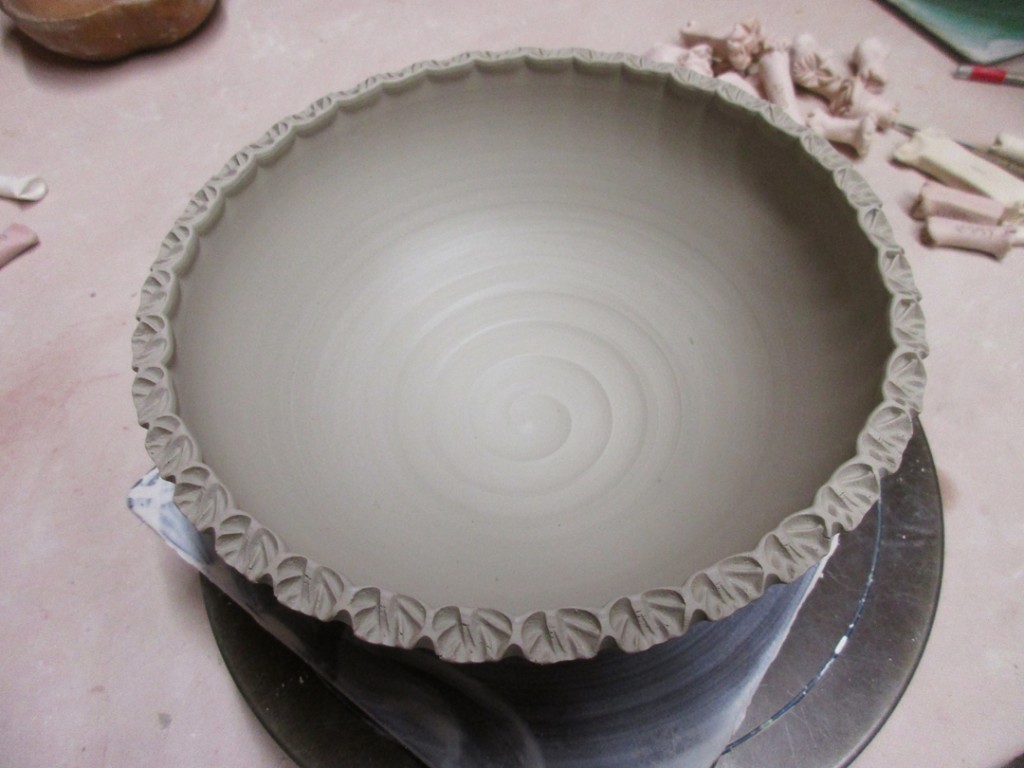
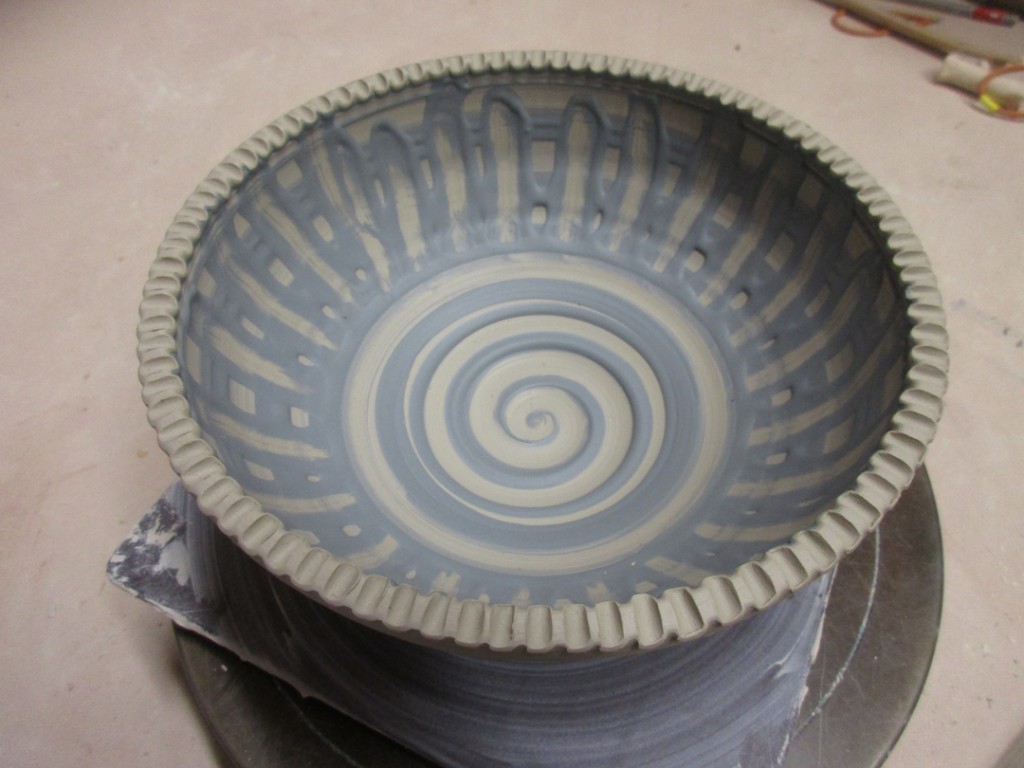
Another row of stamps around the interior of this bowl with a fluted flange.

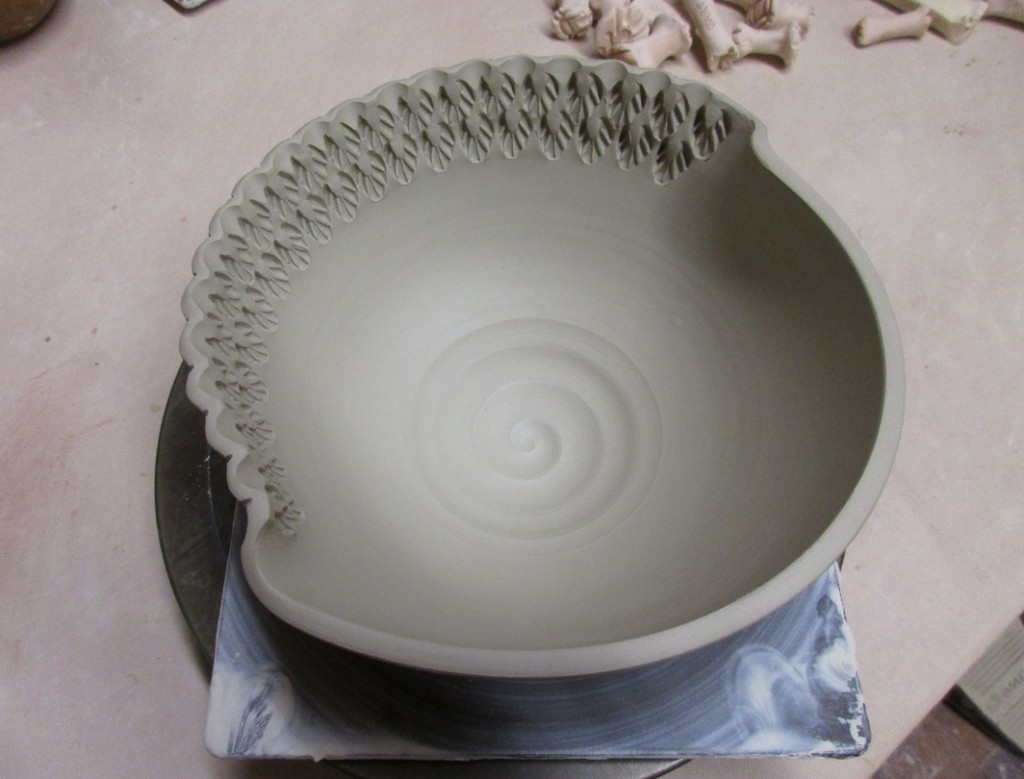
This bowl had two finger-twists… so I decided to stamp HALF, and only half!!!

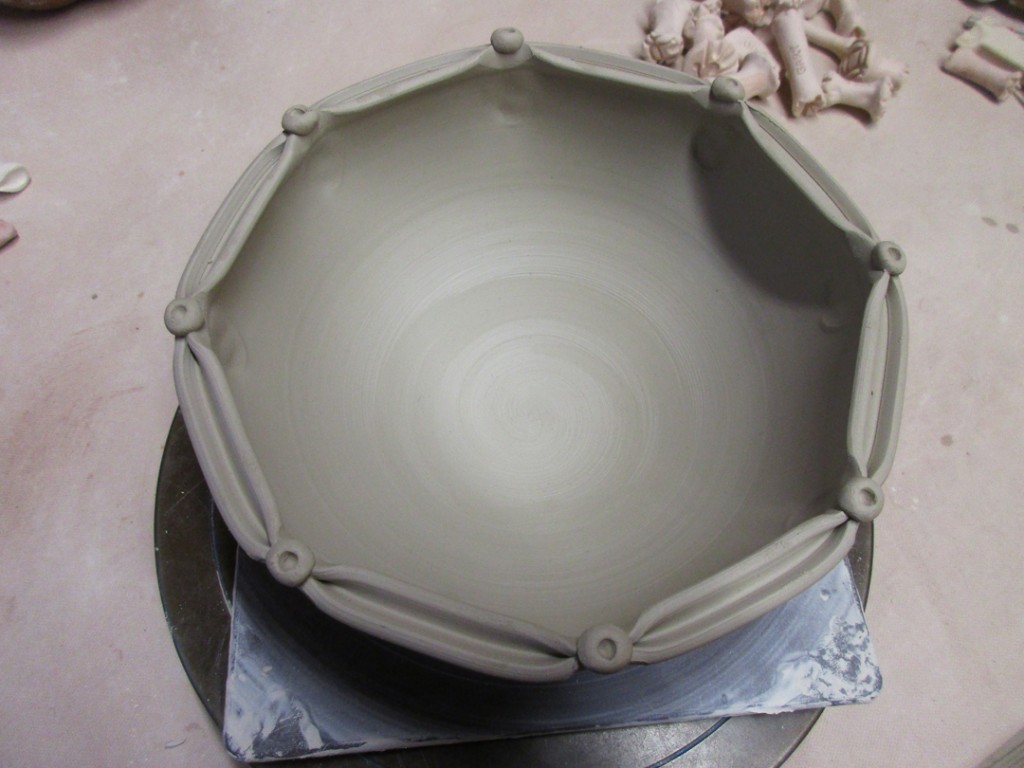
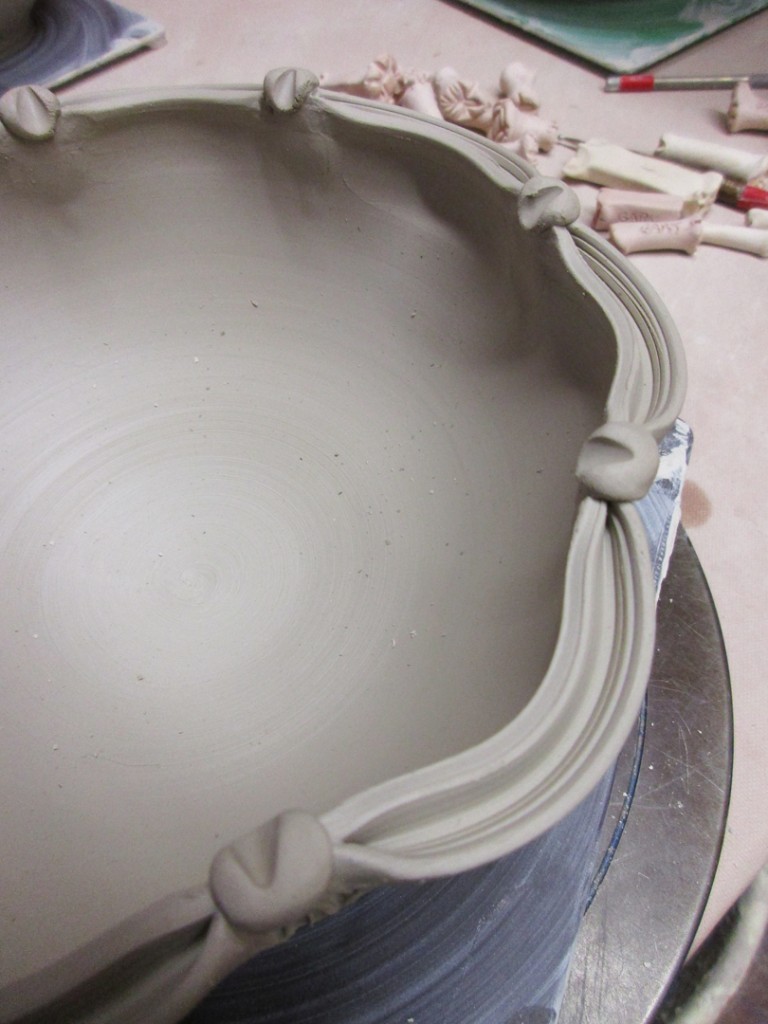
Eight fluted accents… now with angled stamps & little button accents.

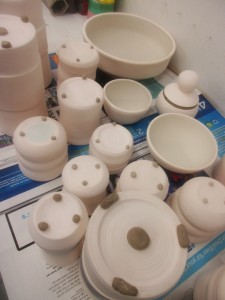
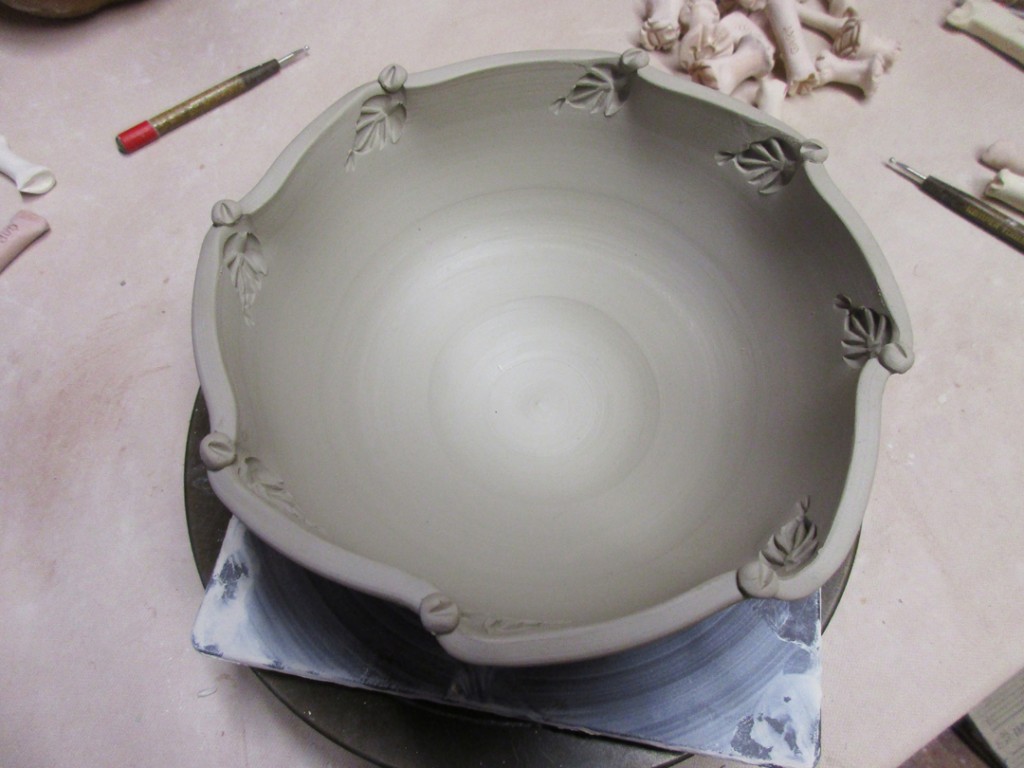
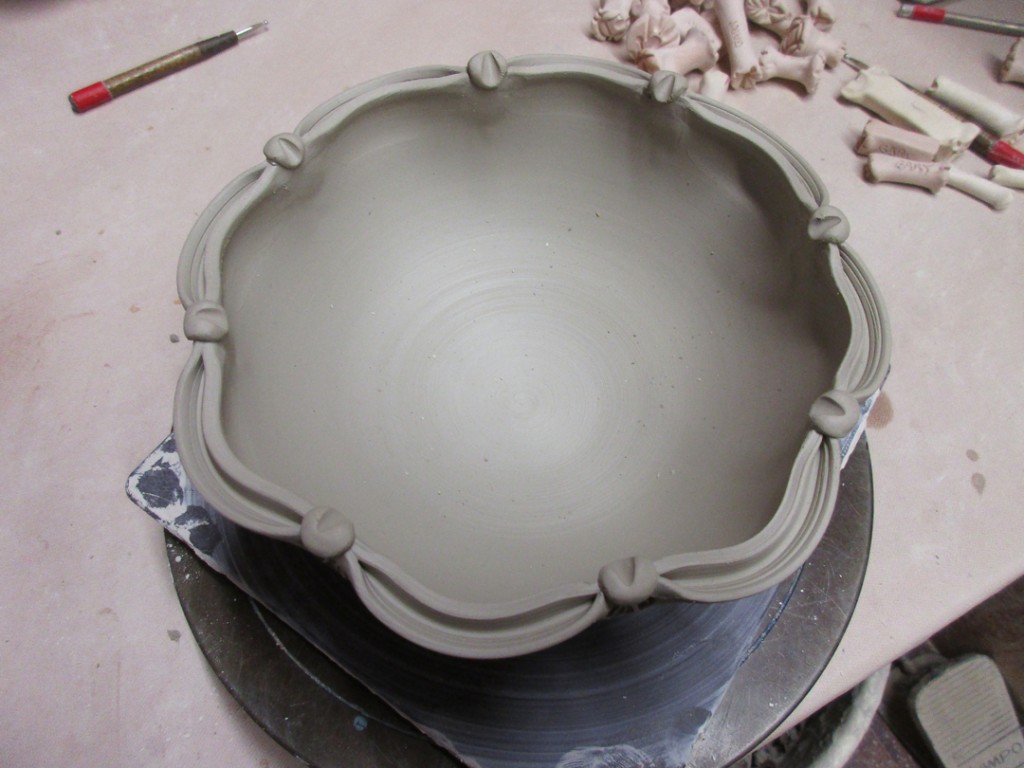
The basic split-rim bowl now has little “buttons” attached where it was pinched back together. You can’t really see it, but there’s also a stamp on the exterior just below each pinch point.

Same deal here… a small stamp on the exterior and “buttons” added at the pinch points.

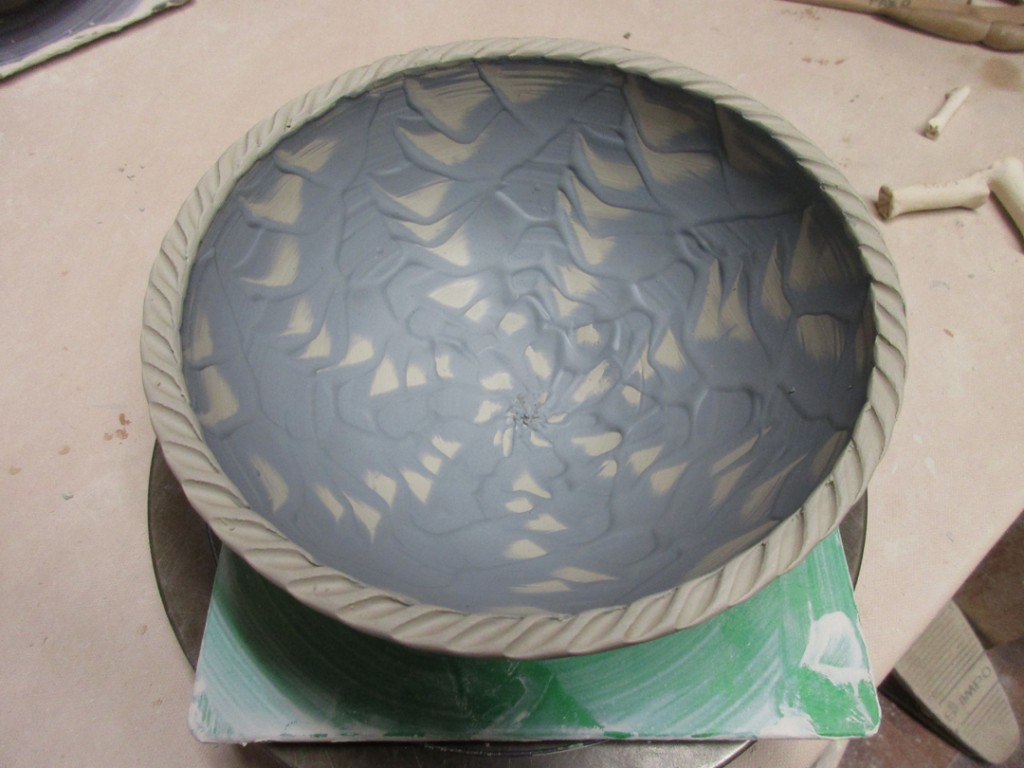
The bowl with the dragonscale “flower” got a simple “grooved” rim.

The basic bowl with solid white slip inside got a simple row of stamps along the top exterior.

A simple bowl… a simple rim… no longer so simple with a row of stamps!

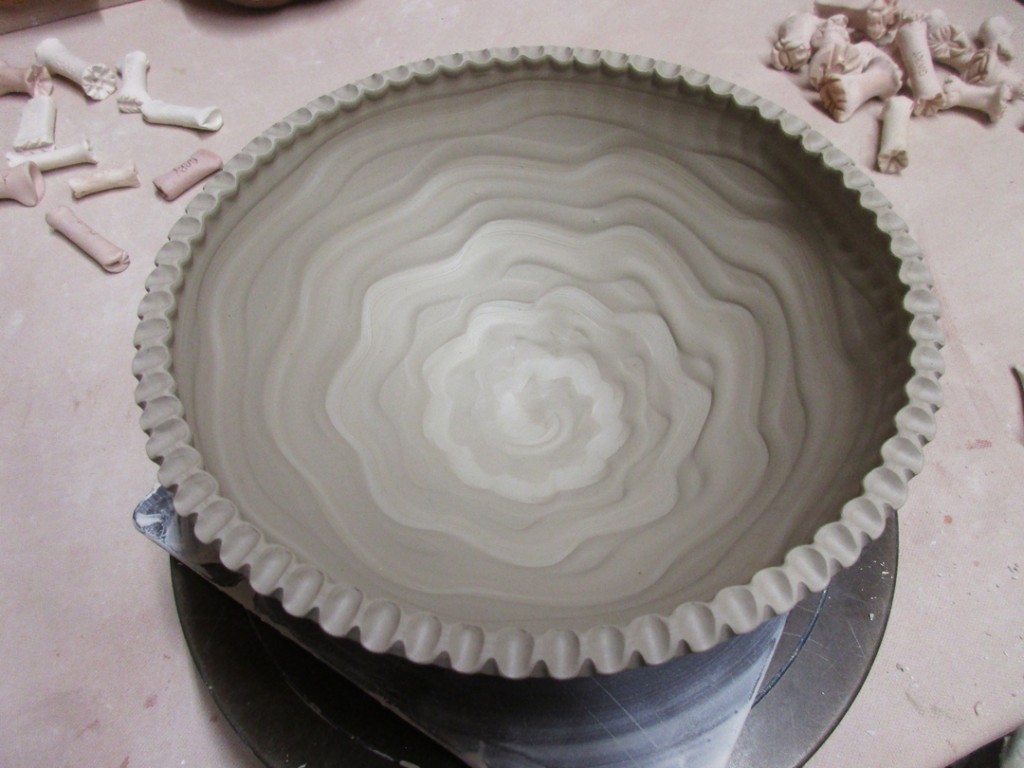
Grooved rim should catch & hold some glazes in a pretty cool way.

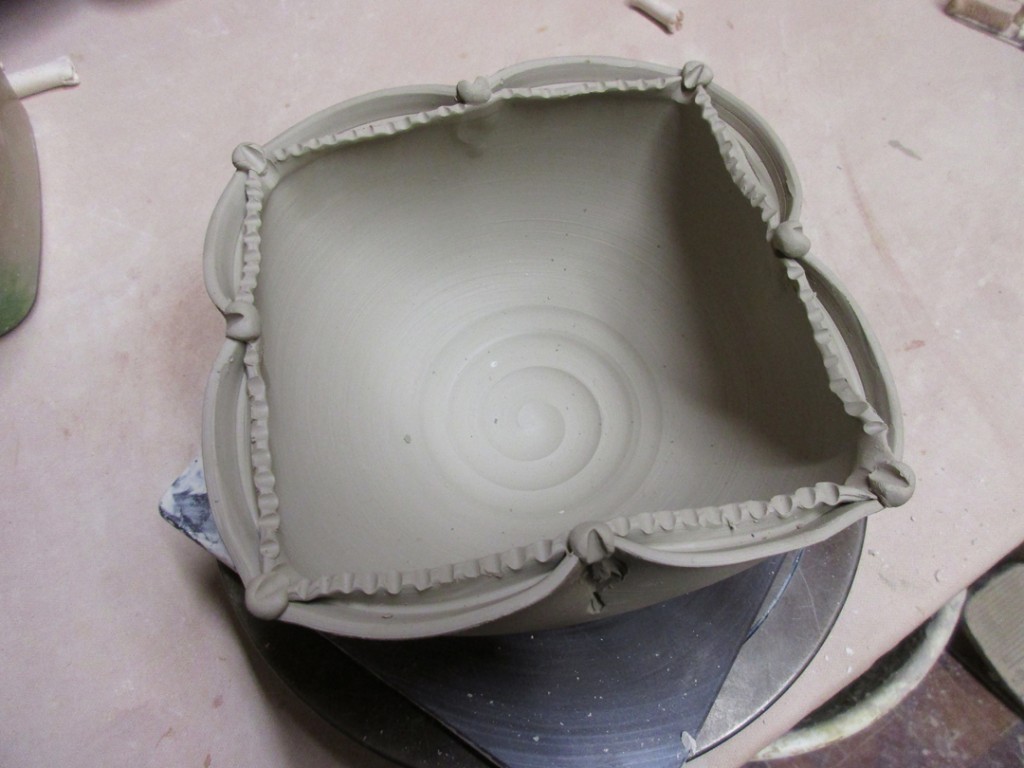
The split rim square has been detailed… but only on the inside is the rims!

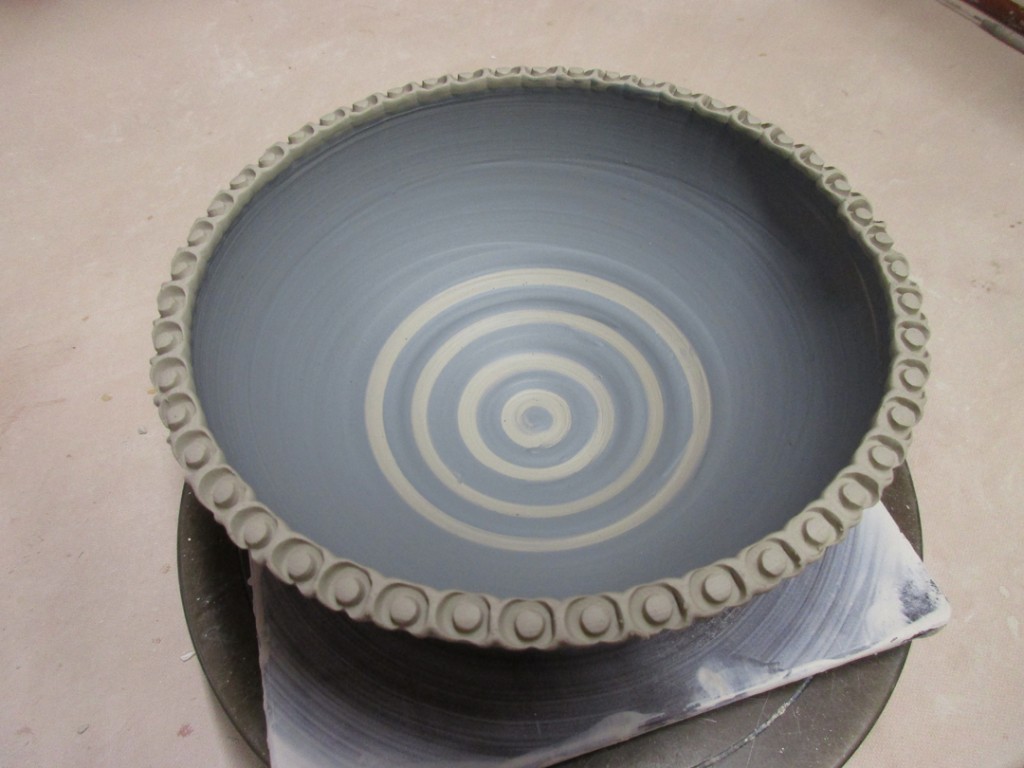
With some concentric circles in the bottom, I though circular dot stamps were perfect!

The chattering pattern has a certain “motion” to it… so I tried to accentuate the movement with some angled grooves around the rim.

Vertical stripes dragged through the slip are mimicked with the grooved rim.

So now they’re drying and waiting to be trimmed. One step closer to done.