For tonight’s “Simply Soda” class, we tackled colored flashing slips as a decorative accent for the soda-firing process. Many of my students are new to soda-firing and don’t really know yet how colored slips can accentuate their work. So tonight’s demo was to explain some basic “concepts” in slip decoration and how they will work together when they get soda-fired. It was a great opportunity to push my students a bit out of their comfort zone. Including myself… as we were doing some demos & techniques that I’ve never really done before either.
Slip Demo #1
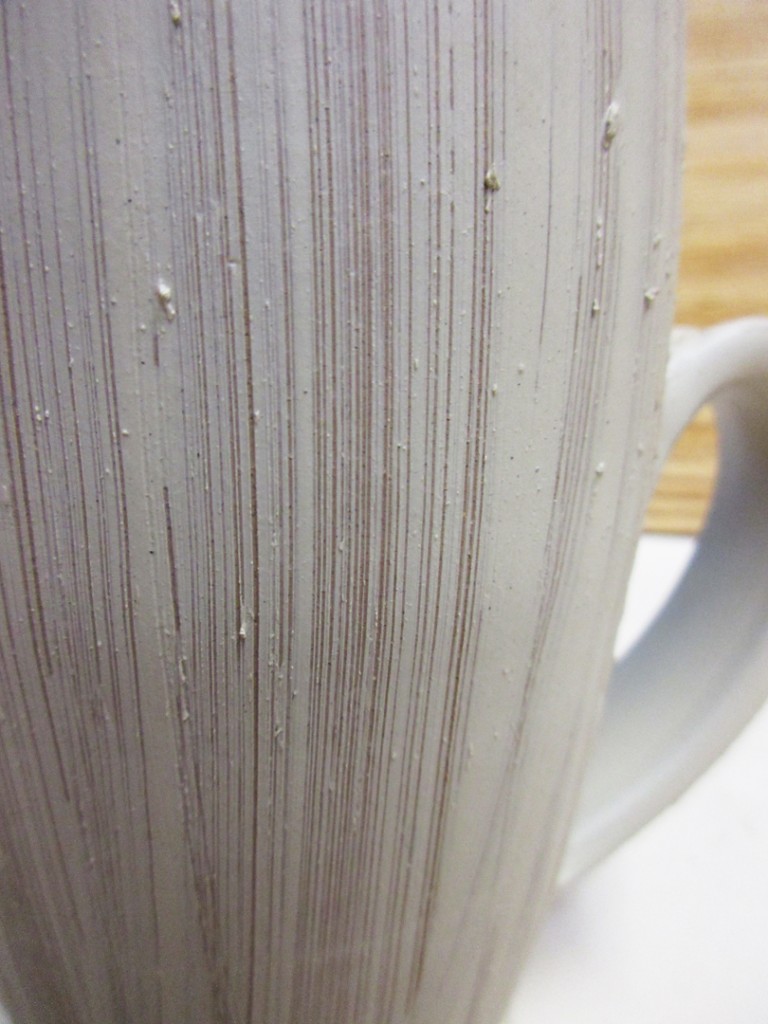
First the mug was dipped into a colored flashing slip. I let it set-up a bit..
and then dipped it a second time. As the second dip was setting up, I dragged a stiff wire brush across the surface to reveal the original stoneware color.

Slip Demo #2
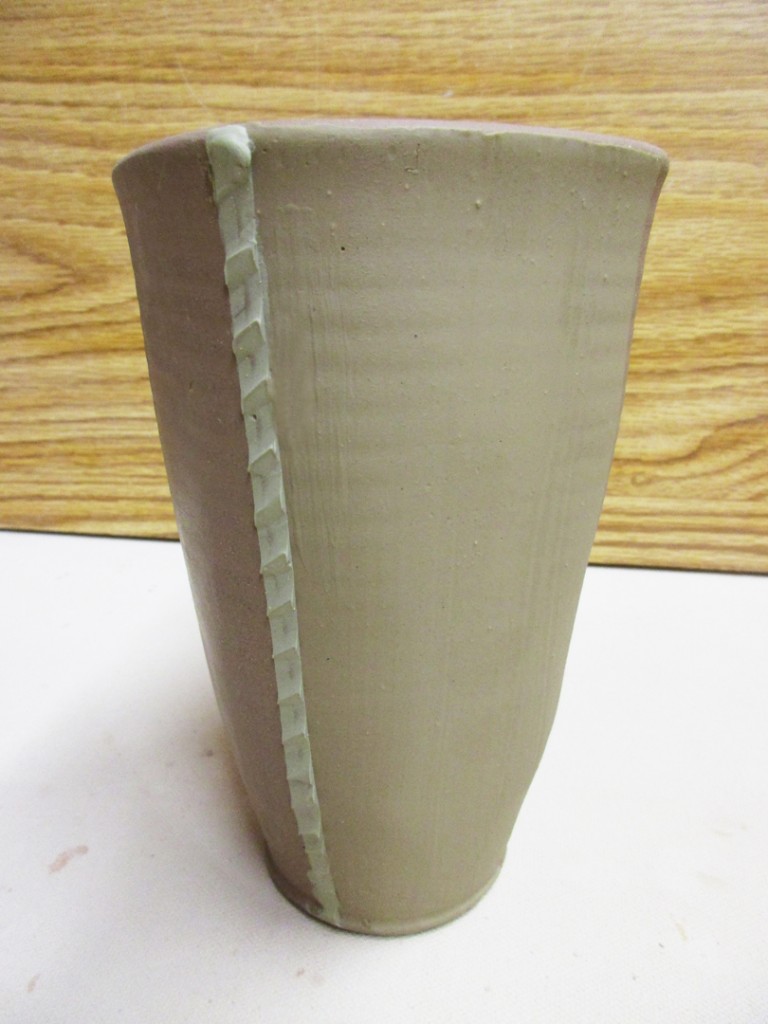
On this squared off tumbler, I masked off the corners using wet nespaper stuck in place for my stencil. I painted a smooth layer on the tow opposing sides. After that had set-up, I masked the thin stripe again with wet strips of newspaper. I dabbed on a thivk layer of the lighter slip making a thick coat. I then dragged my fingertip through the slip to create the slight diagonal texture. Remove the newspaper strips… and voila’.
Slip Demo #3
Again using wet newspaper strips as my stencil, I cut a wavy line and placed them slightly off-kilter to create the wave pattern. Dabbed on the thick slip, dragged my finger through to make the diagonal texture. Peel off the newspaper and you’ve got crisp edges and a great textural accent.


Slip Demo #4
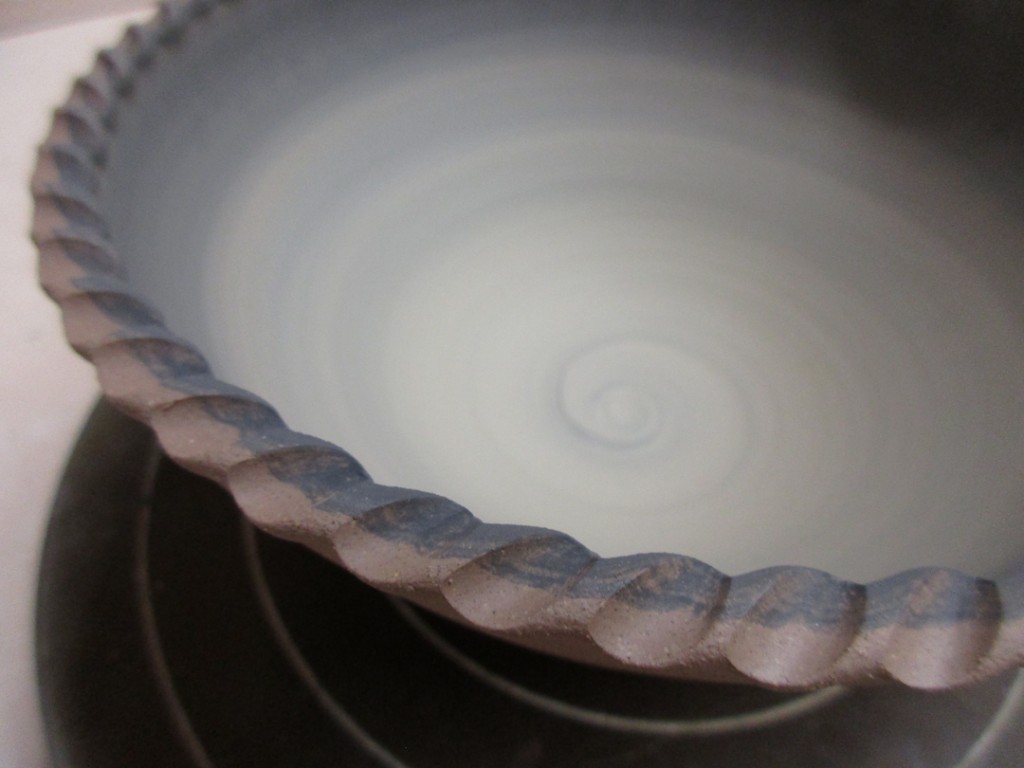
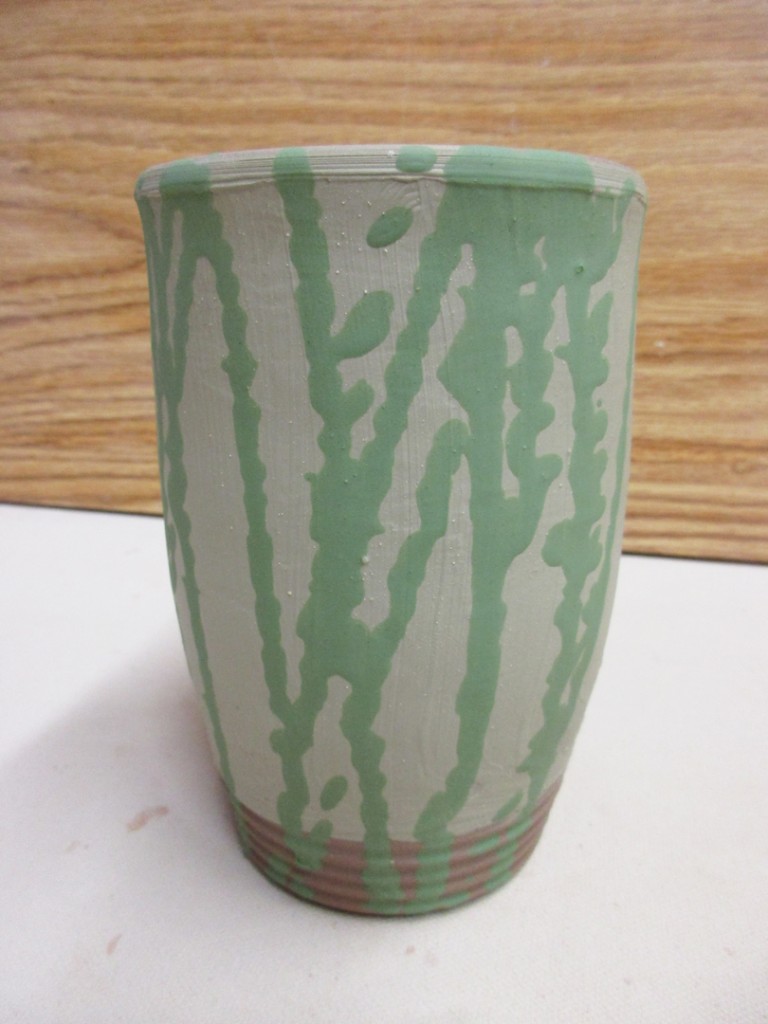
First I dipped the top portion in a colored flashing slip. After it had set-up, I filled a squirt bottle with the blue-green slip. On a spinning banding wheel, I squirted the slip into the pot. I’m hoping for some great contrast between the base color and the blue-green accents
Slip Demo #5
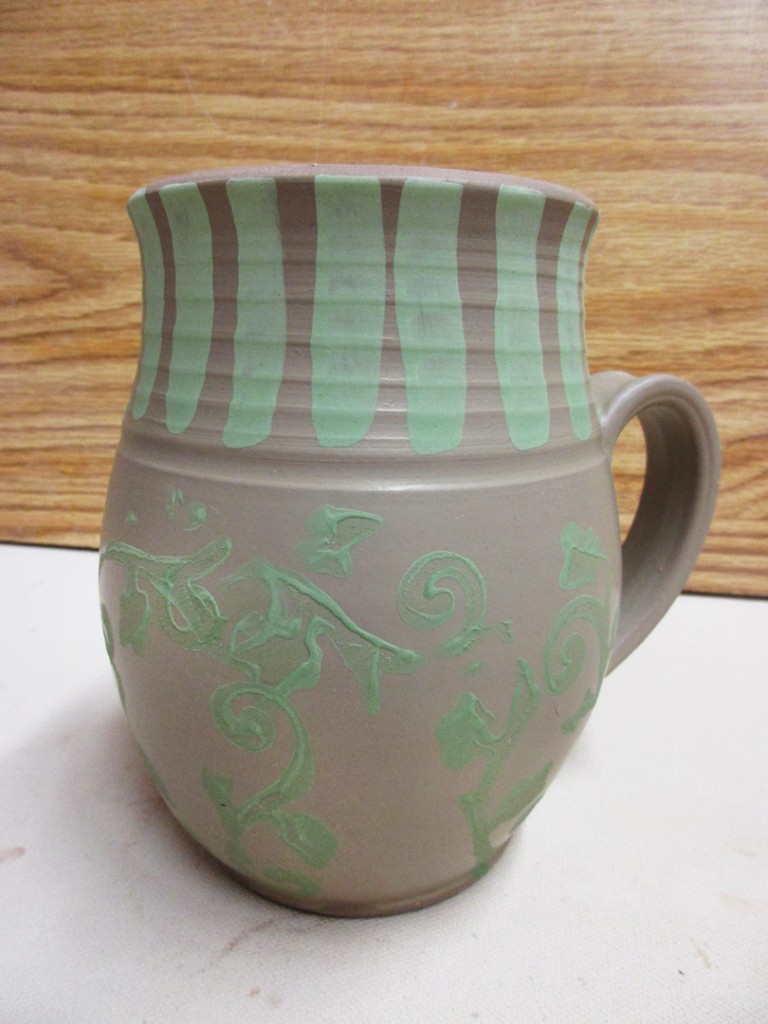
I dipped the entire mug on a colored flashing slip first. After it had set-up, I used a foam stamp from the craft store for the lower pattern. I painted some colored slip onto the foam stamp, and then carefully press it onto the sides. In hind sight, I think the pattern would have shown up clearer if I had not dipped the base layer of slip… it was a little too “slippery”… all pun intended. At the end, I felt that the top portion needed something, so I painted some vertical lines with a paint brush.

Slip Demo #6
You know how we’ve loved bubble glazing… so why not bubble slip?!
A small cup of thin colored slip with some Dawn dishwashing detergent mixed in. Then you blow into it with a straw and make some bubbles overflow from the small cup. You then get the overflowing bubbles to “land” on the sides of the cup without too much dripping or smudging. As the bubbles burst, the lines of slip are created.


Slip Demo #7
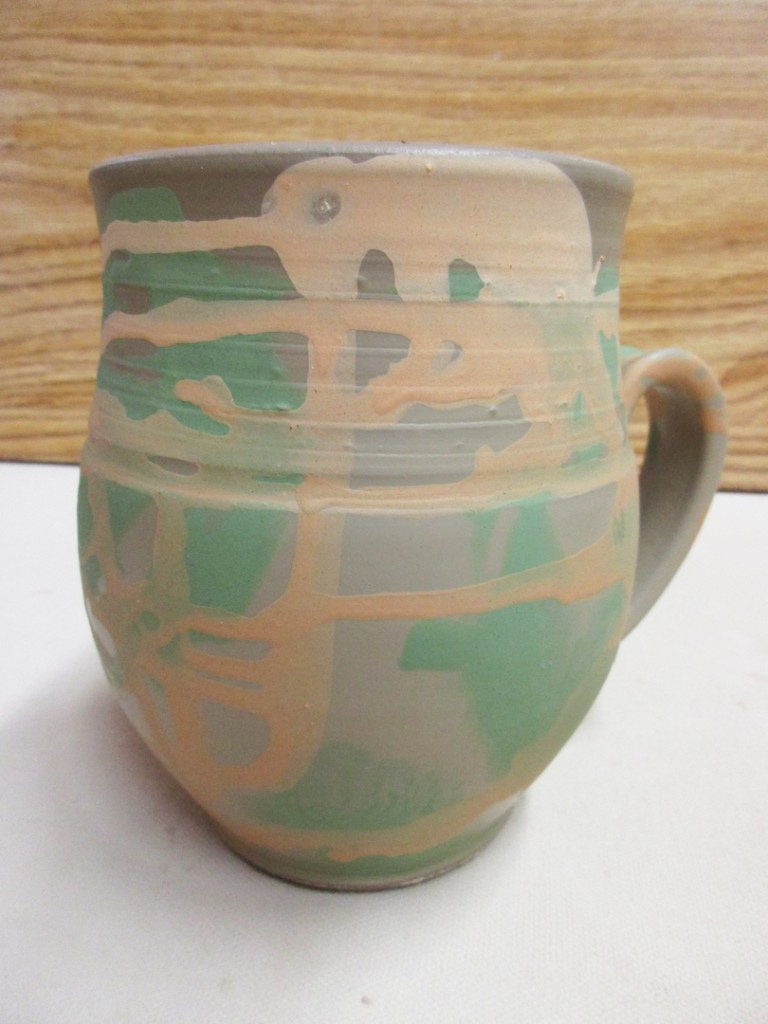
Okay, so the plan here was to do some “marbled” slip effects. So I dipped the pot into a colored flashing slip. I gave it a second dip, and while it was wet, I used a squeeze bottle to put on the blue-green slip. Since they were both wet, they slid around nicely on the surface and mixed with each other. I should have stopped there… but instead, I decided to go one step further and add another layer of colored slip. Unfortunately, the base was too dry and the “orange” slip didn’t marble into the others…. instead, it just kinda ran in drips.
Slip Demo #8
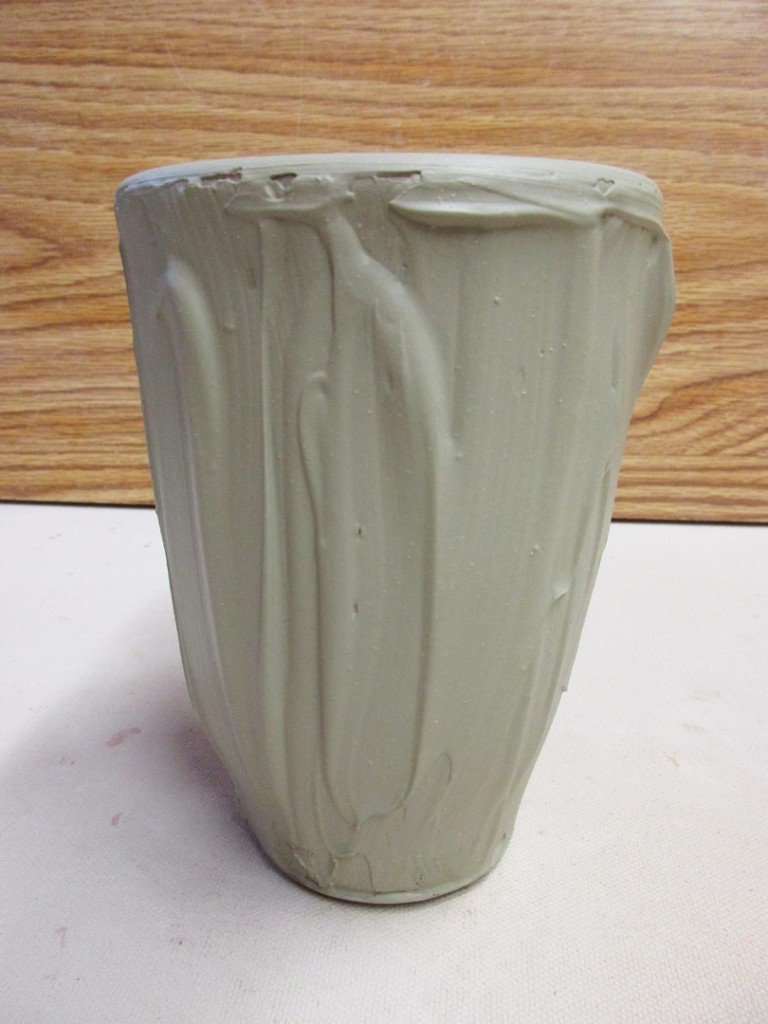
Thick layers of thick colored slip. Letting the heavy brushstrokes make the difference. Hoping that the depth and thickness is accentuated during the soda-firing process.
Slip Demo #9
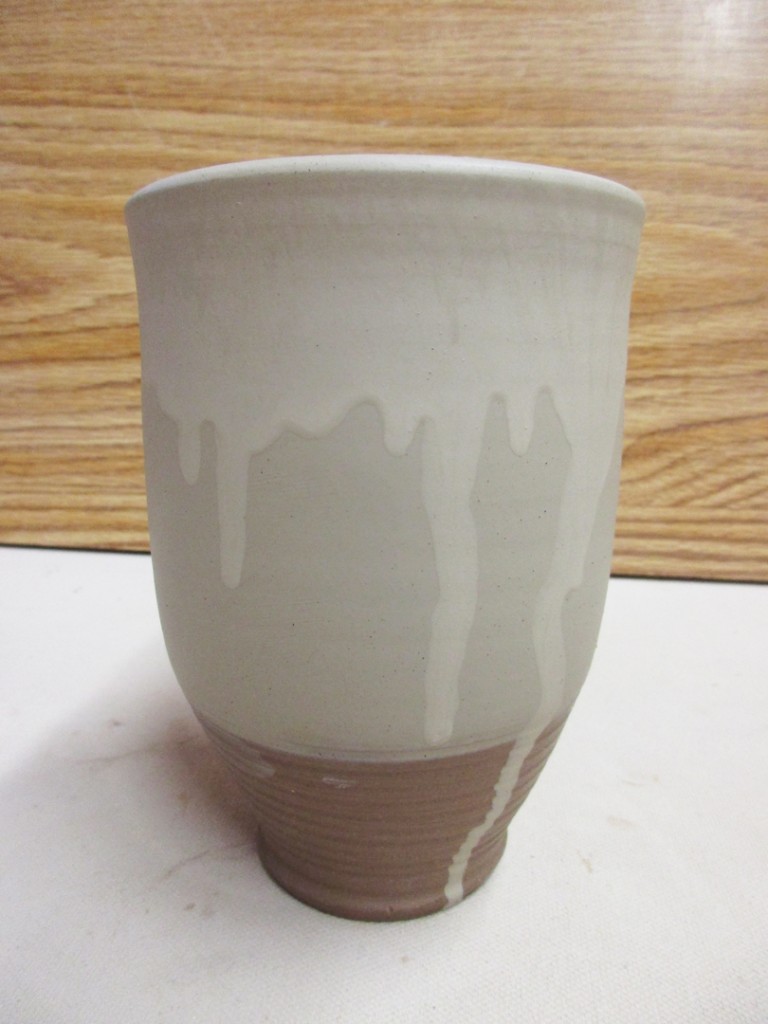
Very simple. A quick dip into the colore flashing slip to make the base layer. And then a second dip of the base, followed by the “drippy” dip of the second lighter color.
Slip Demo #10
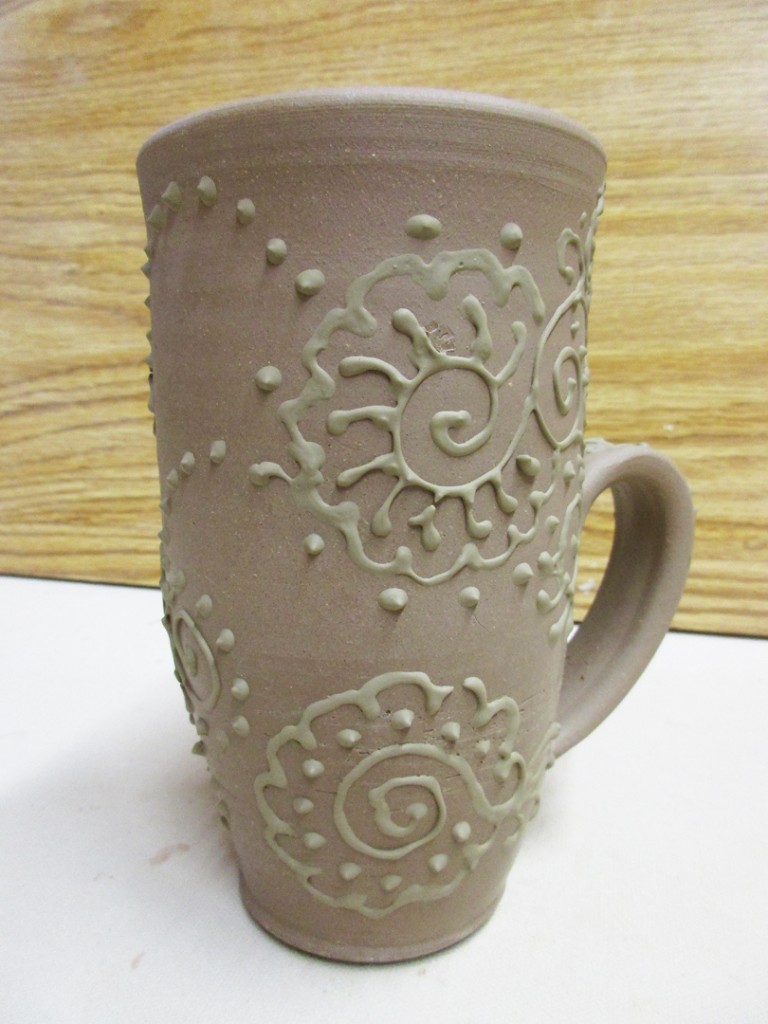
Fun with slip trailing… thick slip in a squeeze bottle. If I were doing more of this, I would press the slip through a fine sieve before putting it in the bottle. It wouldn’t sputter so much if it were smoother.

So there we have it… ten different quick “tricks” using a variety of colored soda slips. Hopefully one or two of these might turn out nice after the soda firing. And again, my goal was to show my students some new ideas. And to encourge them to try new & different things. To experiment and to play with their clay! It’s not precious… it’s just clay!!!
Save
Save