Gary Jackson: Fire When Ready Pottery
A Chicago potter’s somewhat slanted view of clay & play
Categories: clay, patterns, soda-fired, stamped

So I did the MUD
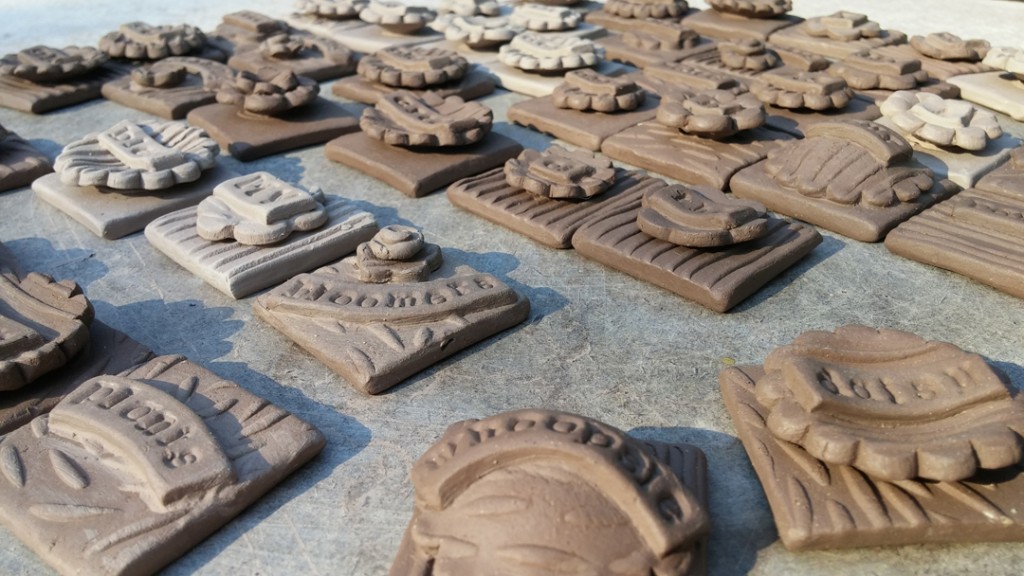
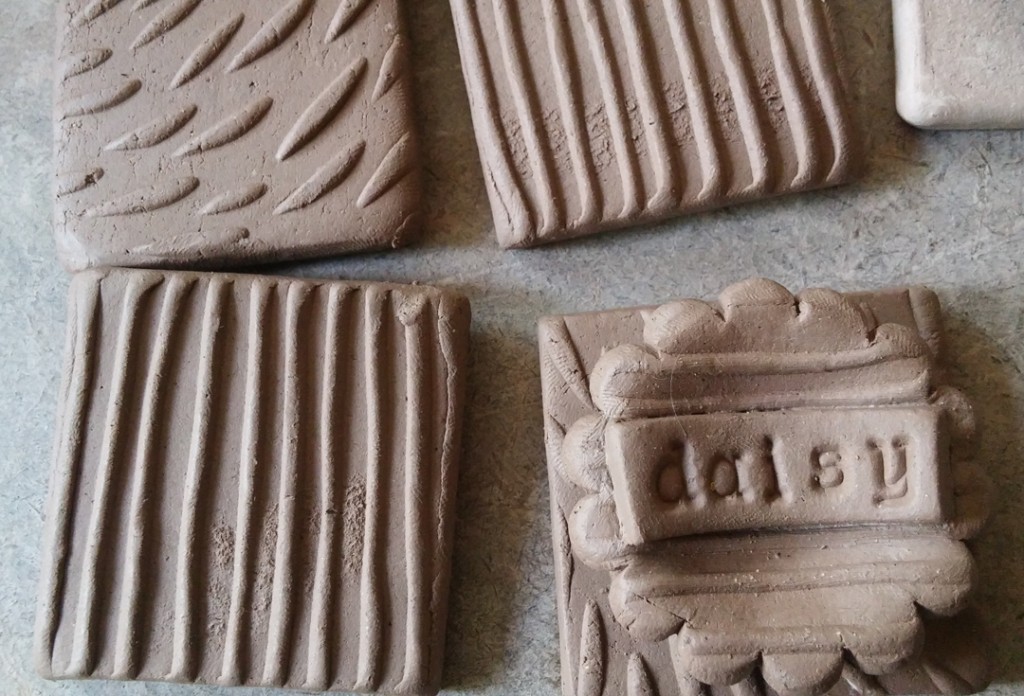
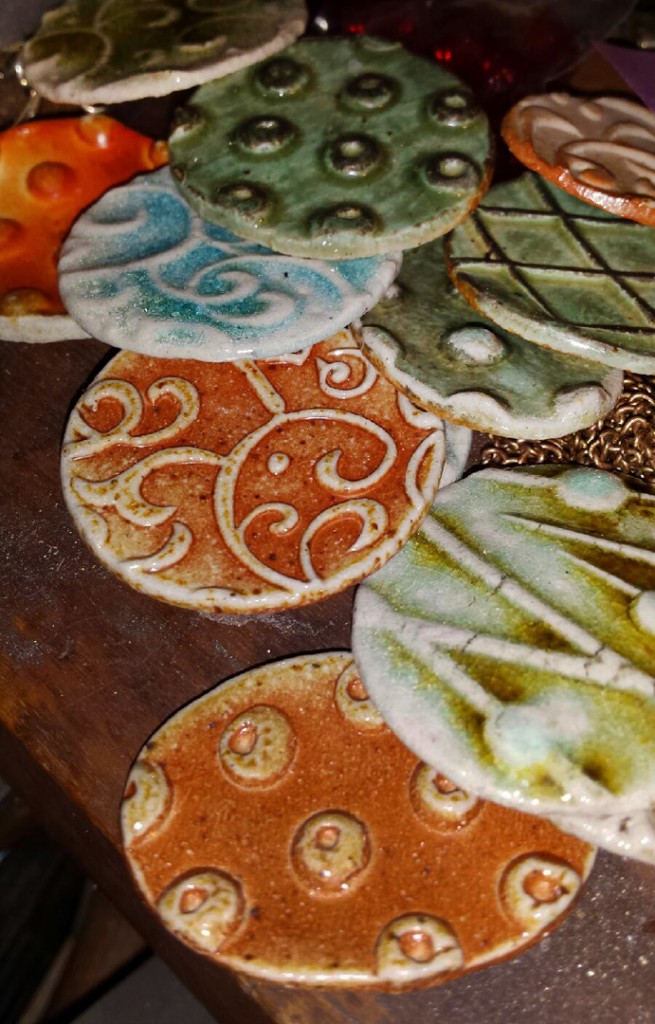
and now Amy Taylor is figuring out her METAL side of the project. We decided to do a little collaboration for our “MUD & METAL” Collaborative Holiday Home Show. We’ve been trying to keep it under wraps… but I can’t resist. So here’s a quick glimpse of my part of the project. And I can’t wait to see what Amy does with them…

Mark your calendar for this Saturday 12/12 at my place for the Big Reveal.
MUD & METAL :  A Collaborative Holiday Home Show
Saturday, December 12th from 10:00-6:00pm.
At my condo : 1353 West Rosemont #3, Chicago, Illinois 60660

Categories: clay, porcelain

A pile of porcelain potential. Just throwing a quick batch to replenish a bit for the
Second Holiday Home Show on Saturday, December 12th.
Mark your calendars… and bring your friends!!!

Categories: artists, clay, creativity

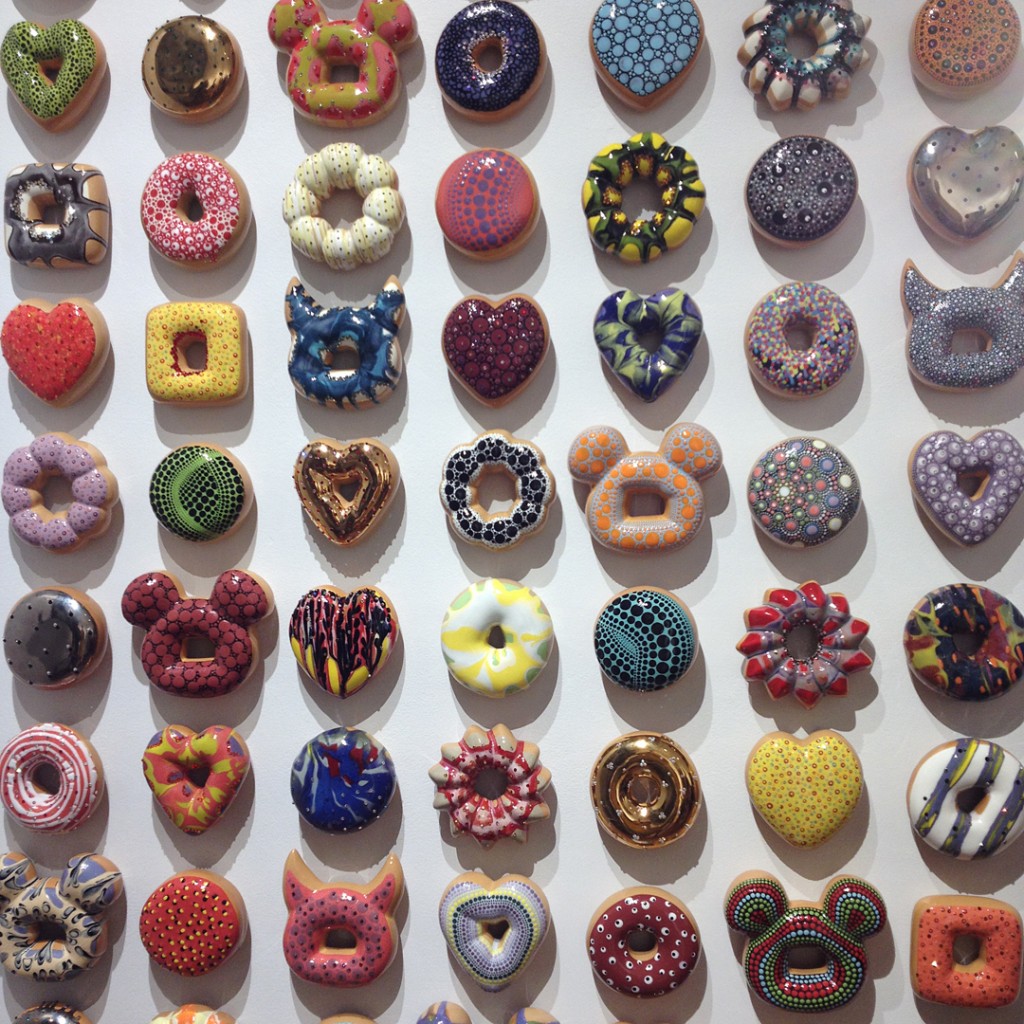
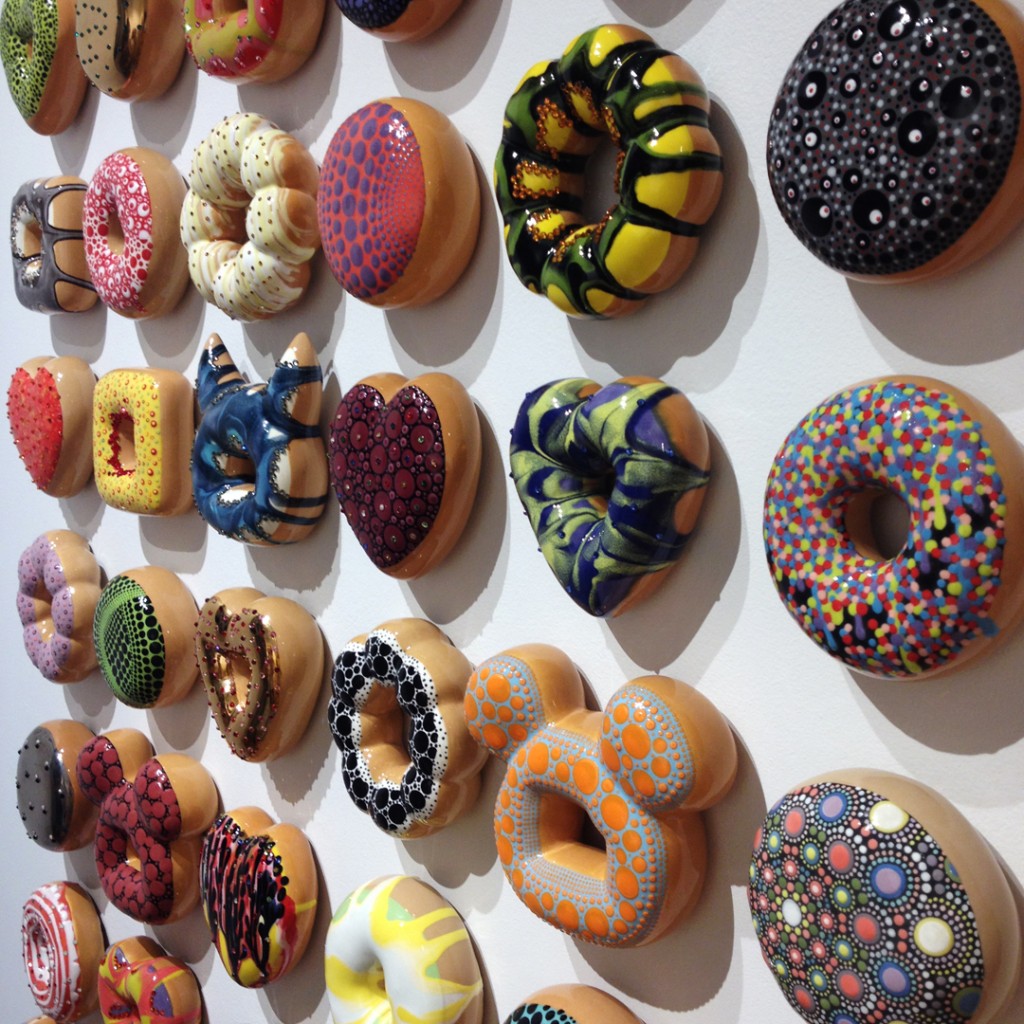
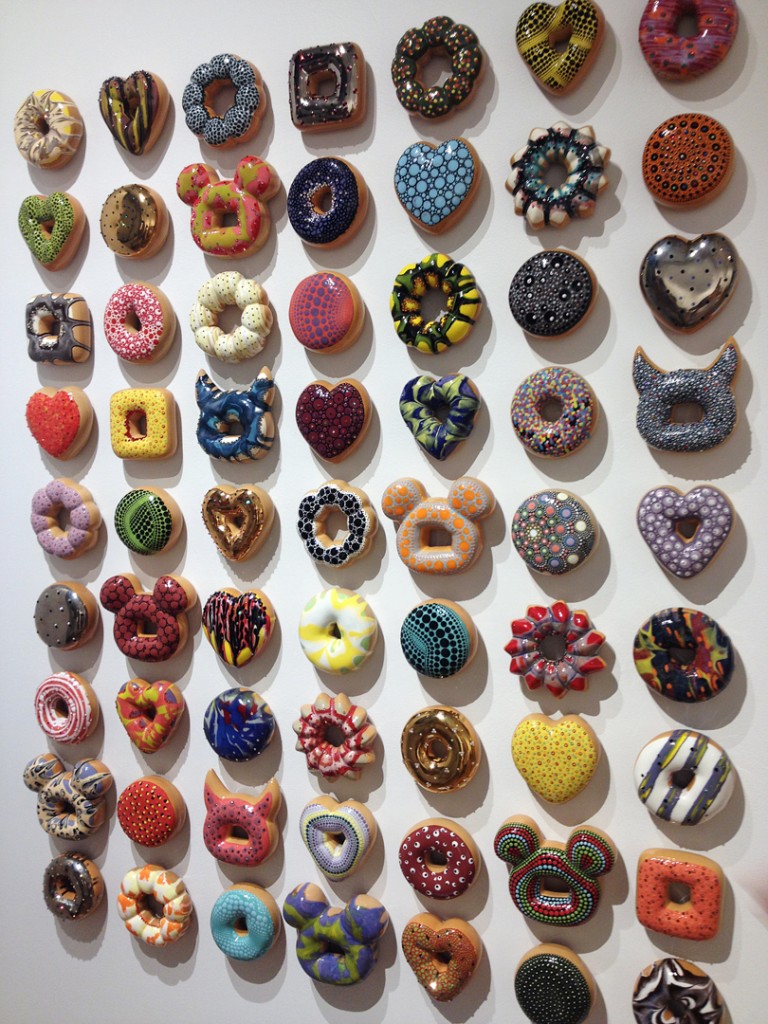
C’mon now, so who DOESN’T love a good doughnut?
Well, there’s a great installation of “glazed” doughnuts currently in The Gallery of Lillstreet Art Center. The non-edible treats were created by Jae Yong Kim. Each one more yummy than the next!!! My Beginning Wheel class got a little “sneak peek” at them as Gallery Director Brian was installing the collection. My stomach has been grumbling over them ever since!

Some even have “sprinkles” which are REAL Swarovski crystals!!!

If you would like to see them in person, there is a Closing Reception tomorrow evening in the Gallery. And then sadly, the doughnuts will most likely be packed up and shipped off this weekend. So you’ve only got a few days left to see them. Be sure to swing by after seeing all of the crazy-cool art at SOFA Chicago this weekend!!!


Categories: artists, clay, creativity

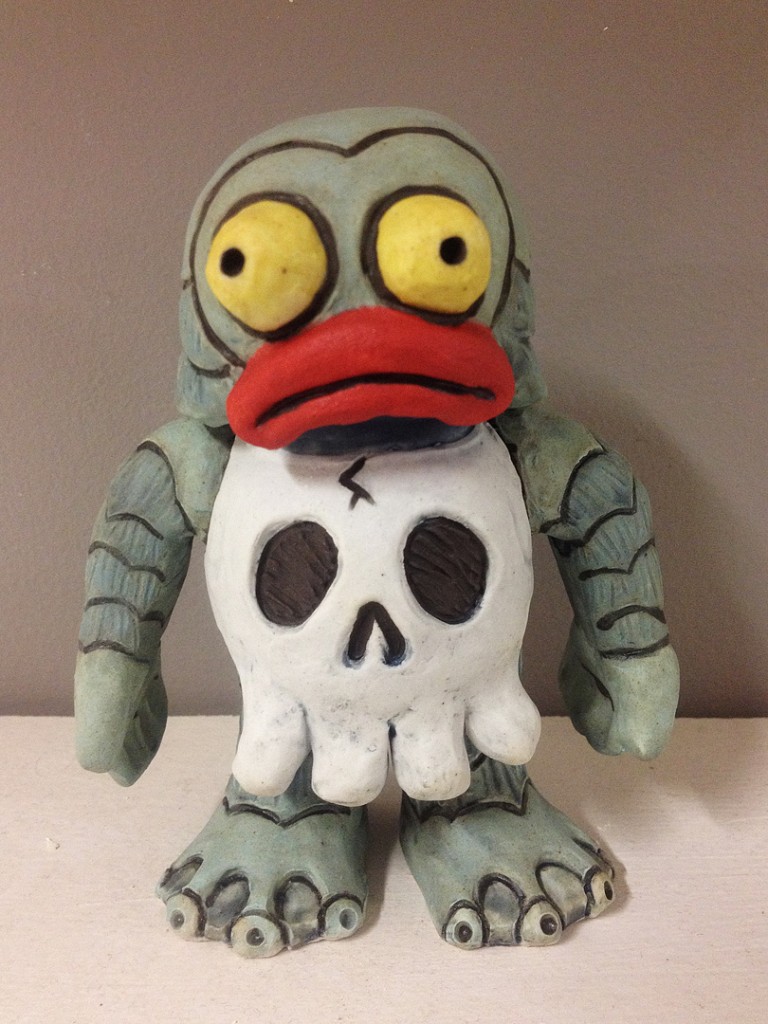
Another great clay creature on the student “Brag Shelf” at Lillstreet last night.
Someone is making adorable little monsters!


Categories: clay, porcelain, process

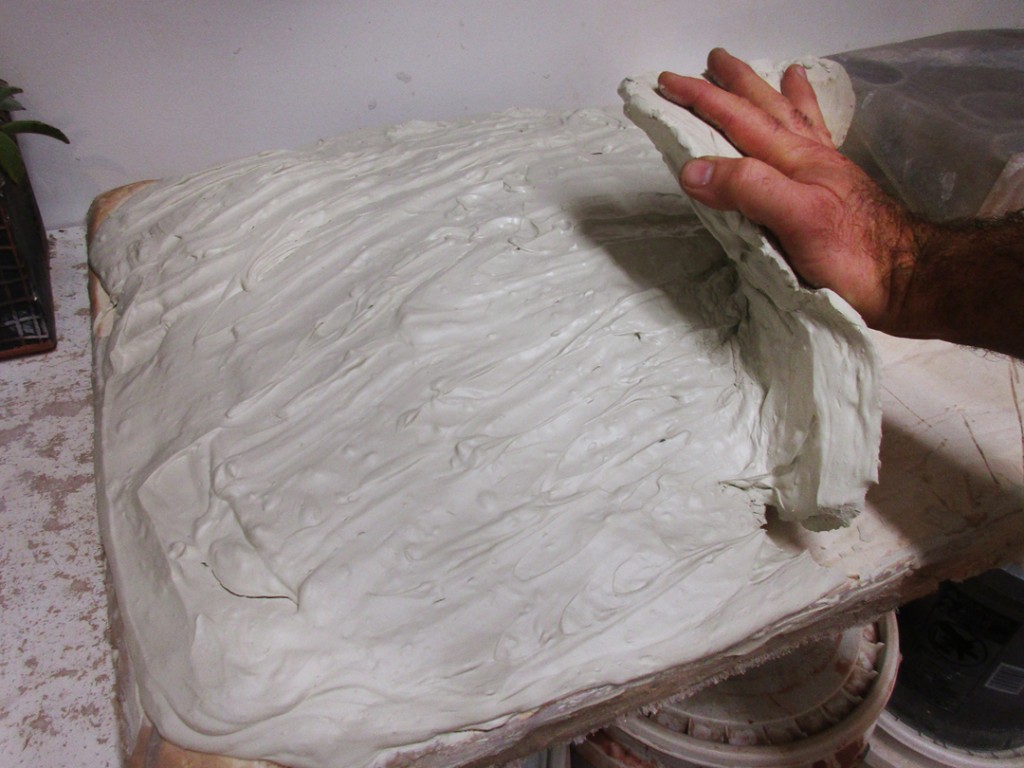
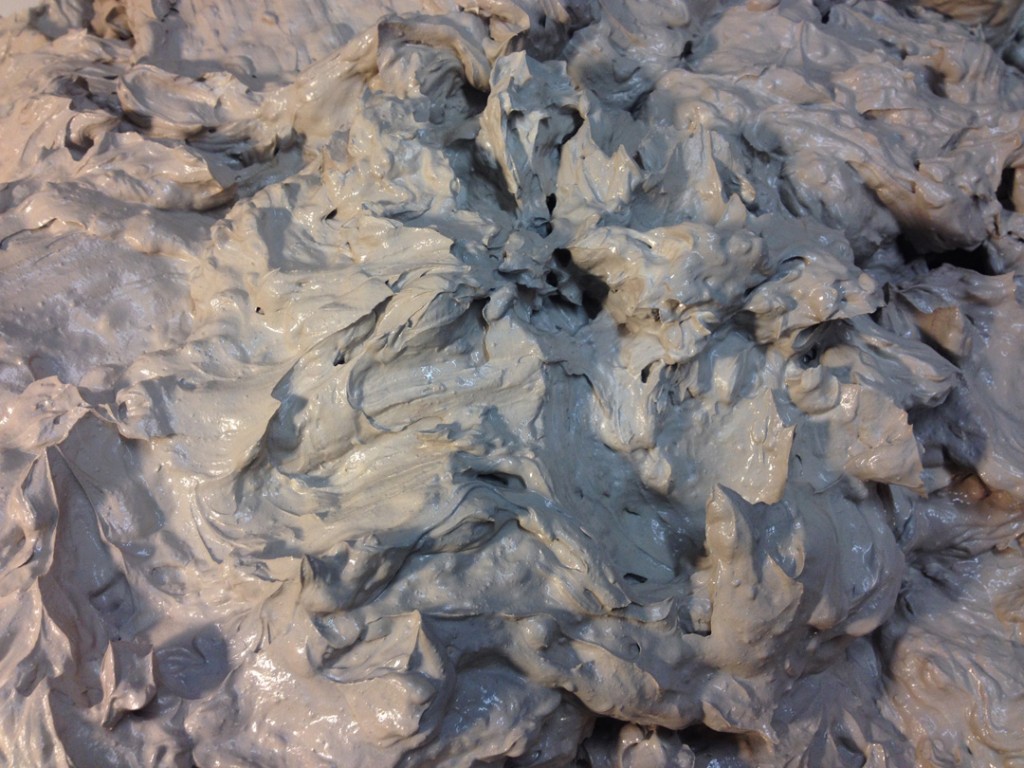
Working up another batch of porcelain reclaim clay. It’s been slaking down in my reclaim tub, and then turned out onto a large plaster bat. I love how the clay “releases” from the plaster and kind of rolls right up when it’s ready to be wedged. Batch #1 done… about four more of the same still to do. Gotta love FREE CLAY!!!

Categories: classes, clay

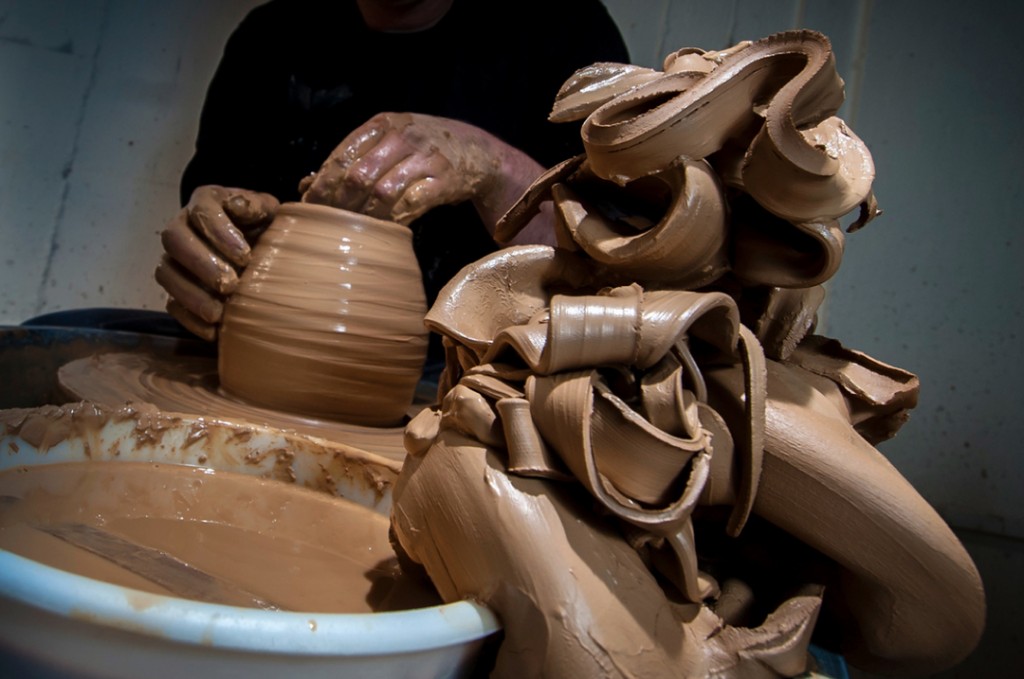
Here’s a great little article about learning to throw clay on the wheel.
To some the process is magical, relaxing & zen-like. To others there’s frustration, aggravation & a big dirty mess. I love working with my Beginners to get the through the tough first few weeks of class. We’re now in Week 7 and it’s great to see them having fun & creating great pieces… and breathing.

Click here to read the article – “The Clay Will Tell You How You Are.”

Categories: bowls, clay, process, production

Last night was my favorite demo of every session. The night we discuss making “bowls on purpose” instead of a cylinder gone bad. So I start with a simple demo of the basic bowl and how to use a rib inside to shape & refine. My students then go back to their wheels to practice while I throw a bunch of very similar basic bowls. Once I have a “full bag of clay”s worth of bowls, I call them all back for part two of the evening’s demo.

The second part is where we talk about making some creative alterations to their bowls. To add some design & interest. To play with their clay – and not be satisfied with that plain old round bowl that the wheel pretty much made for you. Instead, we talked about some simple tricks and introduced the use of colored slips for even more decoration. And how to “commit” to the process, have fun and don’t think of the clay as being “too precious” to try new things. It’s just clay. Here are my demo pieces…

Bowl #1 – A simple bowl… made more fun with two simple pinched flutes.

Bowl #2 – Fluted in eight places… a simple two-finger flip & twist.

Bowl #3 – Flared flange rim.

Bowl #4 – Flared flange with four fluted edges.
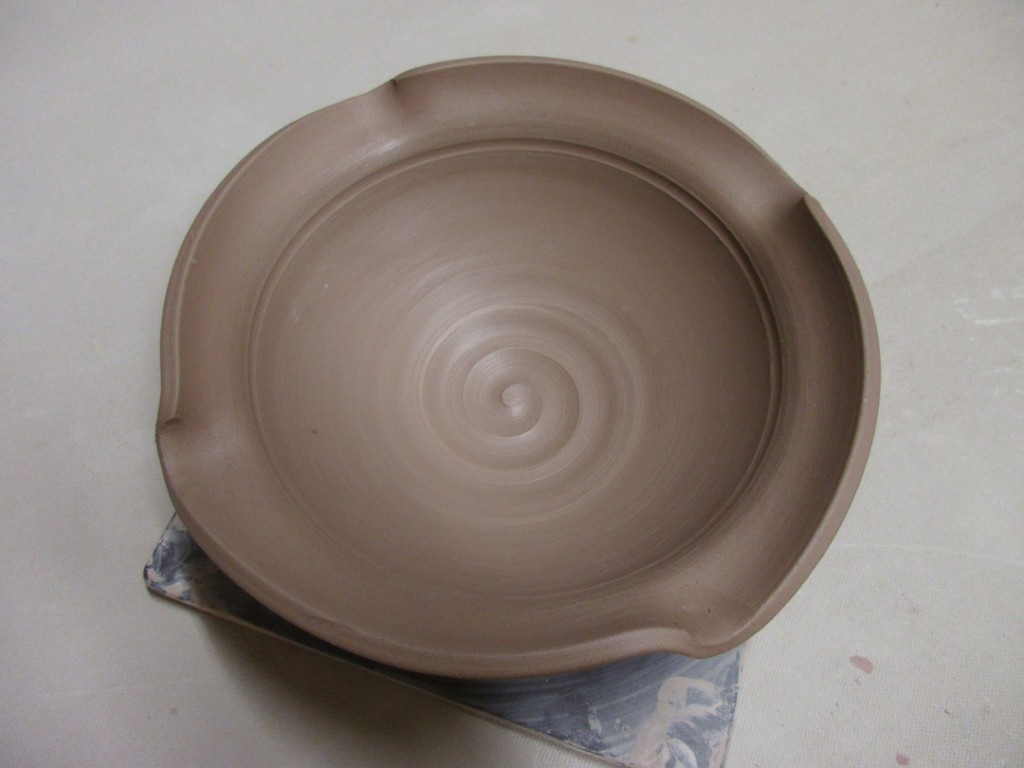
Bowl #5 – Simple concentric bands pressed in to give the glaze a place to puddle & pool… using the rounded end of my wooden knife.

Bowl #6 – Wide flange flared out.
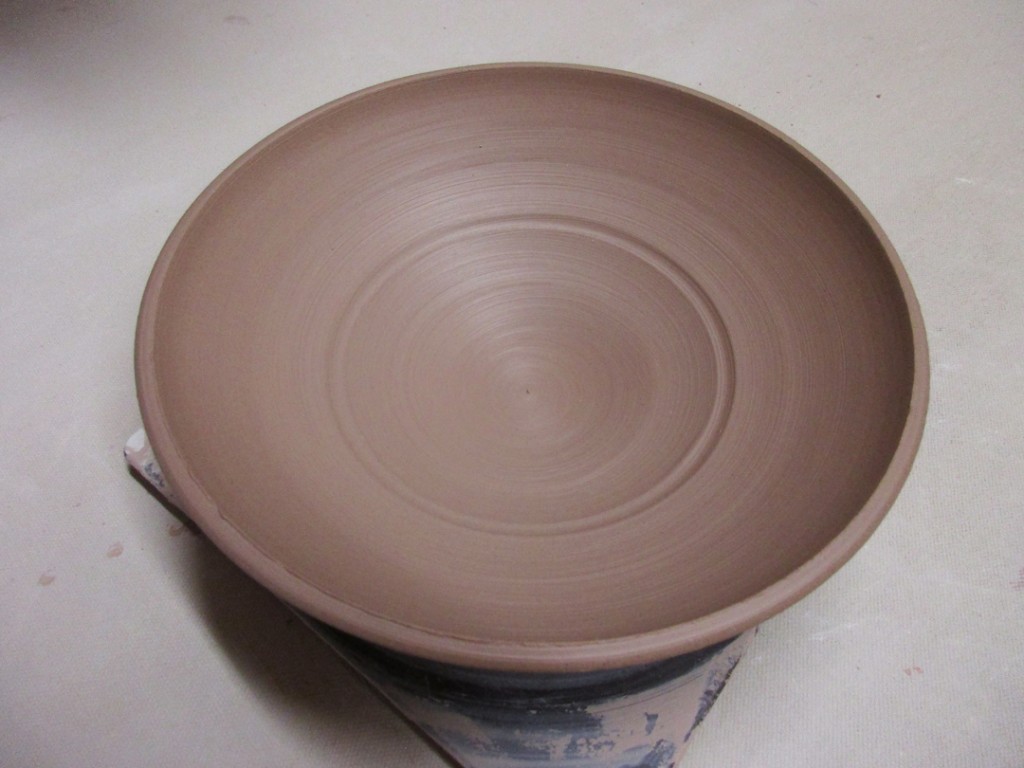
Bowl #7 – Patterned texture created with the edge of a rounded rib… pressed in all the way around. Then a small concentric circle in the middle to “hide” the random points created during the texturing.

Bowl #8 – Simple flower texture impressed with a dragon scale tool.
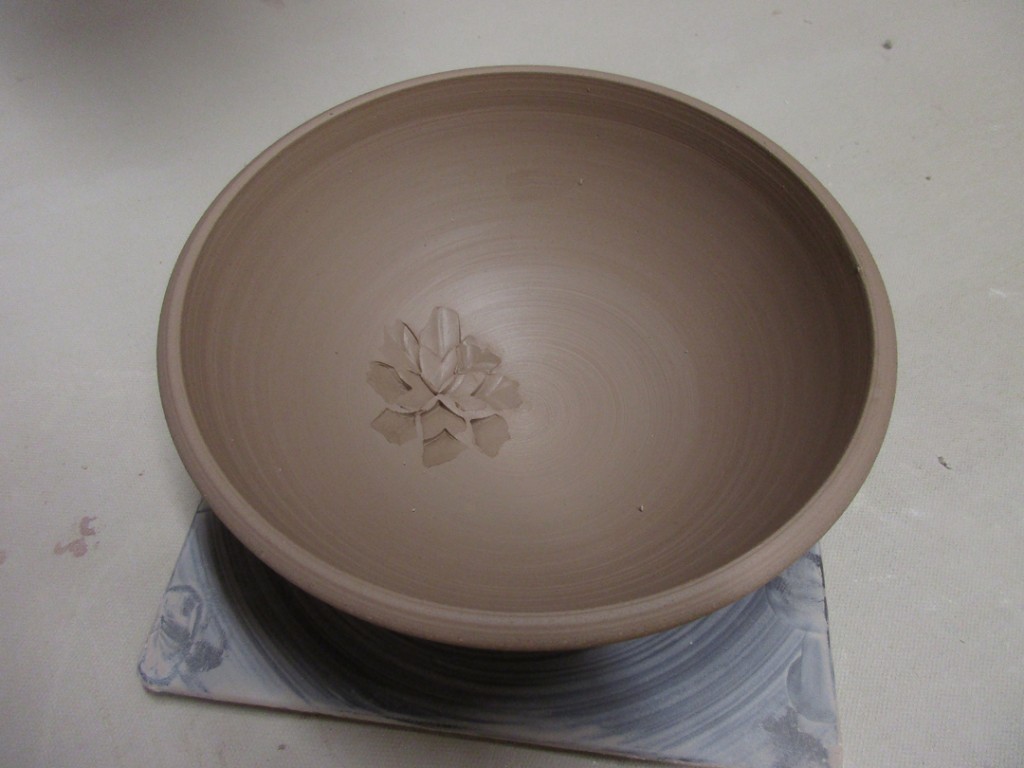
Bowl #9 – Split rim pinched back together in eight places.

 Bowl #10 – Split rim fluted outwards in four corners, and then gently curved further outwards in between the fluted points.
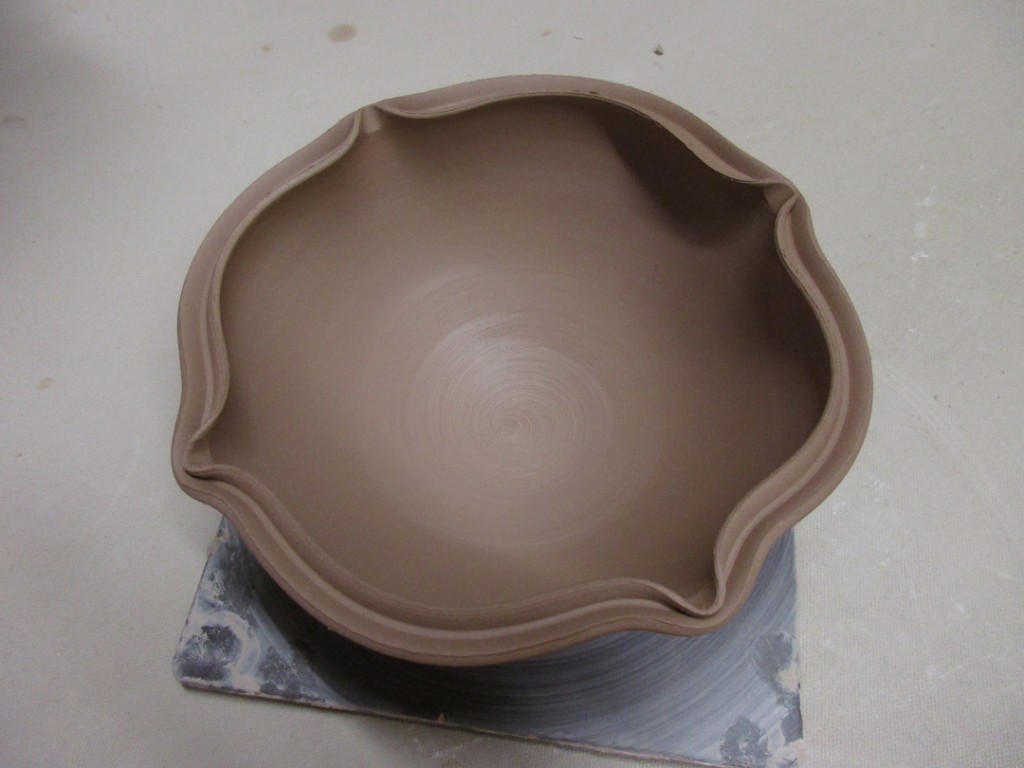
 Bowl #11 – Split rim fluted both inwards & outwards.
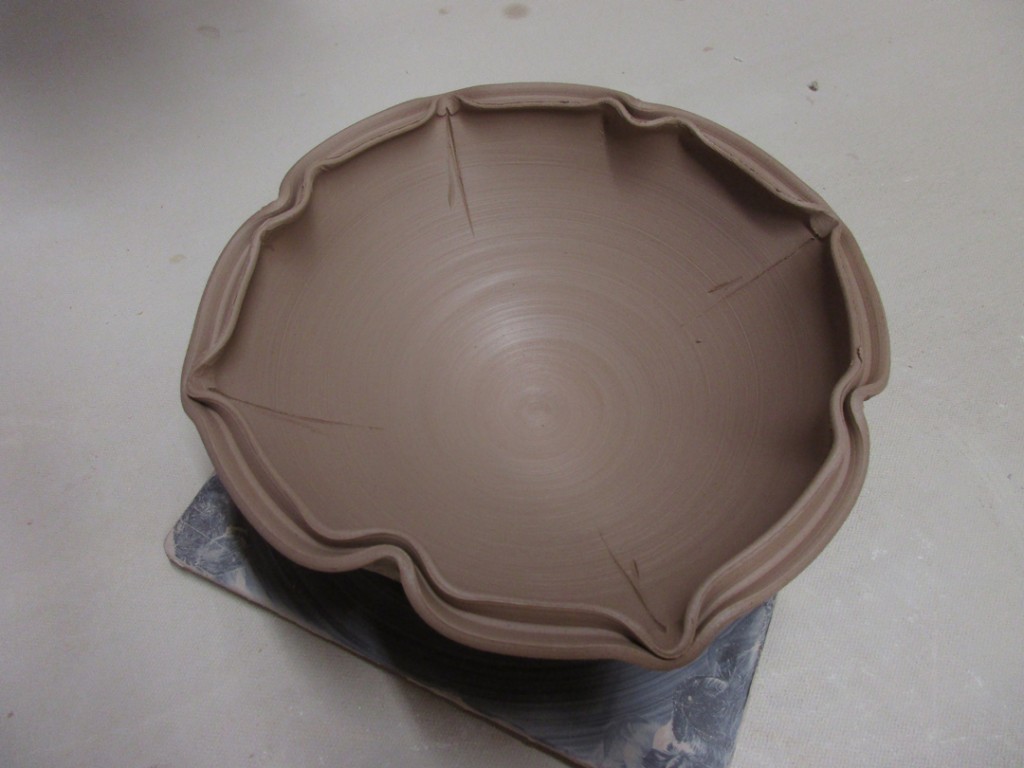
 Bowl #12 – Thick white slip with a simple spiral dragged through while spinning on the wheel.

Bowl #13 – Thick white slip covering the interior. The banded lines & squiggles using a thin wooden tool with a rounded end.

Bowl #14 – Thick white slip covering the interior. And then a repetitive “chattering” with a plastic rib. Tapping through the white slip as the bowl is rotating on the wheel. Start in the center and work your way out towards the rim.

Bowl #15 – Several layers of thick white slip, then a finger squiggle through the slip while rotating on the wheel.

Bowl #16 – White slip painted over a “newspaper” stencil letter. Wet the newspaper stencil, carefully press it onto the bowl, paint the edges with slip and then cover the whole surface. Let sit for a few minutes and then carefully pull out the newspaper stencil.
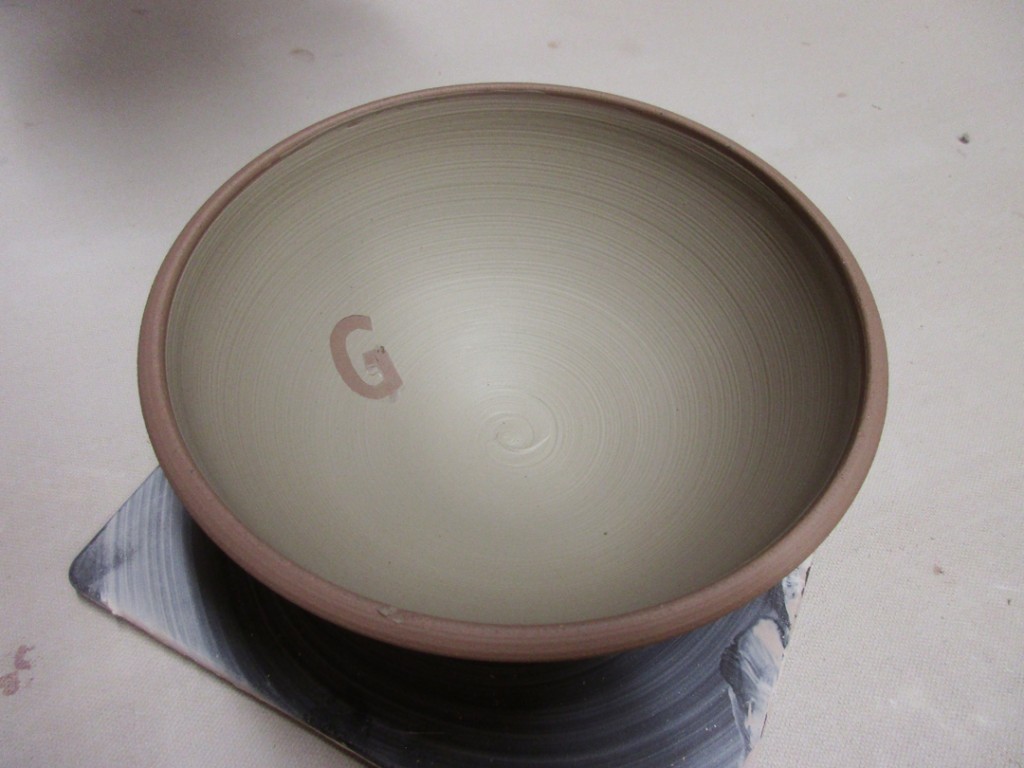
Bowl #17 – White slip & blue slip in a blended ombre effect.

 

Categories: clay, porcelain, process

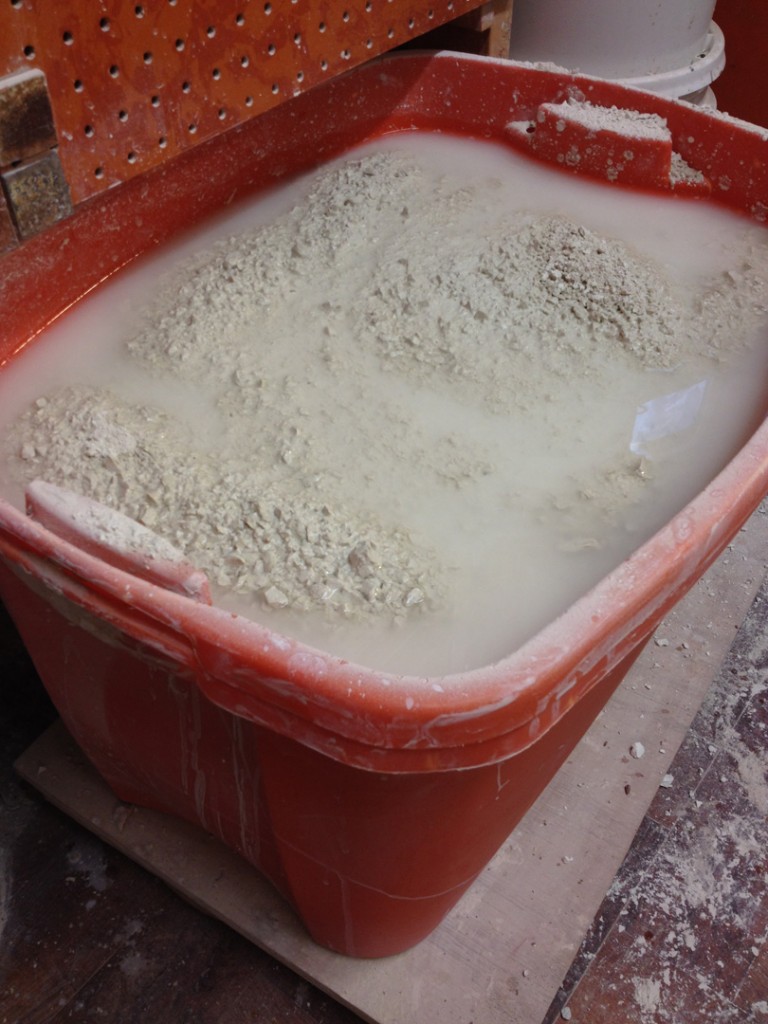
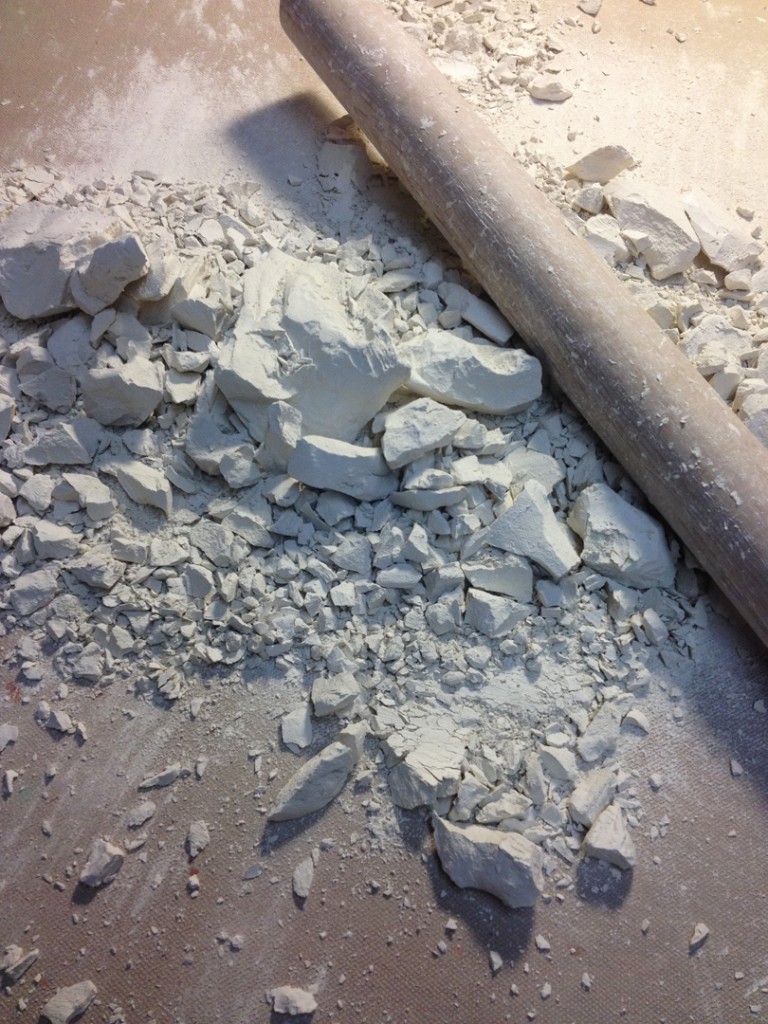
Tonight I tackled all of the porcelain reclaim I dried over the past two days. It was a lot of hammering, smashing & pulverizing to get it down to small pieces & powder. A good workout that will pay off with a lot of FREE clay! And look, it already filled up my large reclaim bin… plus a bit more in another bucket too!

Categories: clay, porcelain, process, studio

After cranking through a lot of work getting ready for ART IN THE BARN, I found that I had a lot of clay scraps to reclaim.I’ve been breaking them up and submerging them in my reclaim bucket. So the scraps have slaked down & re-hydrated to a very wet, gooey clay. So I turned it out onto a large plaster bat. The plaster will draw the water out of the clay quicker… and in a couple days I can start wedging it up for a LOT of “free” clay.

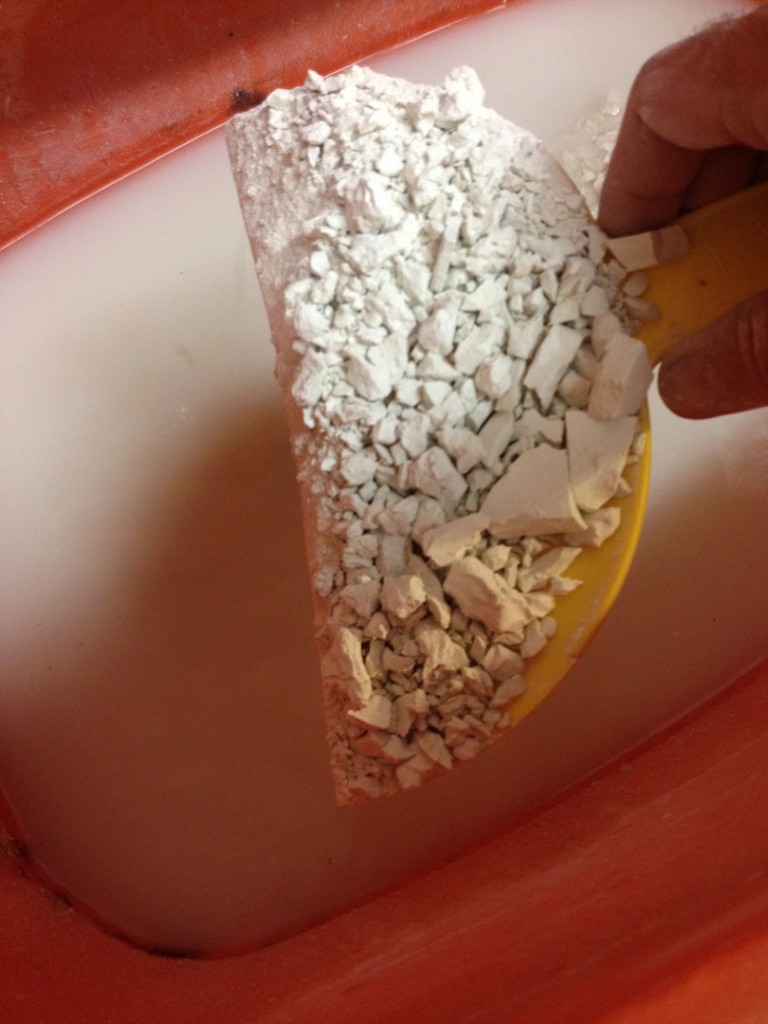
And then since I had an empty reclaim bin… I decied to wash it out and switch to reclaiming some porcelain. I had a few scraps of my own to break up. But I also had several clay bags full of porcelain from my friend & potter Emily.

So I started breaking them all up all of the scraps… and then dumped them into my reclaim bin with water.

But then I found several of Emily’s bags had clay that wasn’t quite dry yet. Reclaiming clay works so much better when you start with dry scraps. The water seems to soak in more evenly and faster. So I spread out the rest of Emily’s porcelain scraps so they can dry overnight.

More breaking, crushing, smashing and submerging tomorrow!!!

Categories: artists, clay, My Talented Friends, tiles

Layers of clay… and layers of fun are coming out of Cory McCrory’s studio…
More teaser photos of the collaboration we’re working on for ART IN THE GARDEN.