Last night was my favorite demo of every session. The night we discuss making “bowls on purpose” instead of a cylinder gone bad. So I start with a simple demo of the basic bowl and how to use a rib inside to shape & refine. My students then go back to their wheels to practice while I throw a bunch of very similar basic bowls. Once I have a “full bag of clay”s worth of bowls, I call them all back for part two of the evening’s demo.
The second part is where we talk about making some creative alterations to their bowls. To add some design & interest. To play with their clay – and not be satisfied with that plain old round bowl that the wheel pretty much made for you. Instead, we talked about some simple tricks and introduced the use of colored slips for even more decoration. And how to “commit” to the process, have fun and don’t think of the clay as being “too precious” to try new things. It’s just clay. Here are my demo pieces…
Bowl #1 – A simple bowl… made more fun with two simple pinched flutes.
Bowl #2 – Fluted in eight places… a simple two-finger flip & twist.
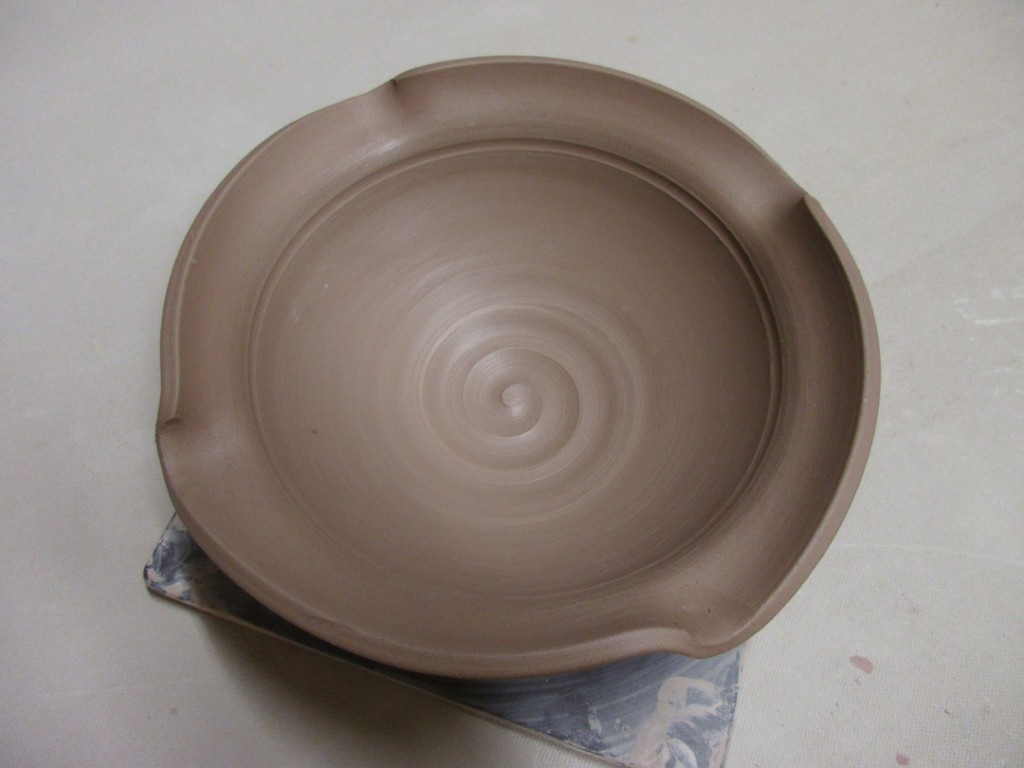
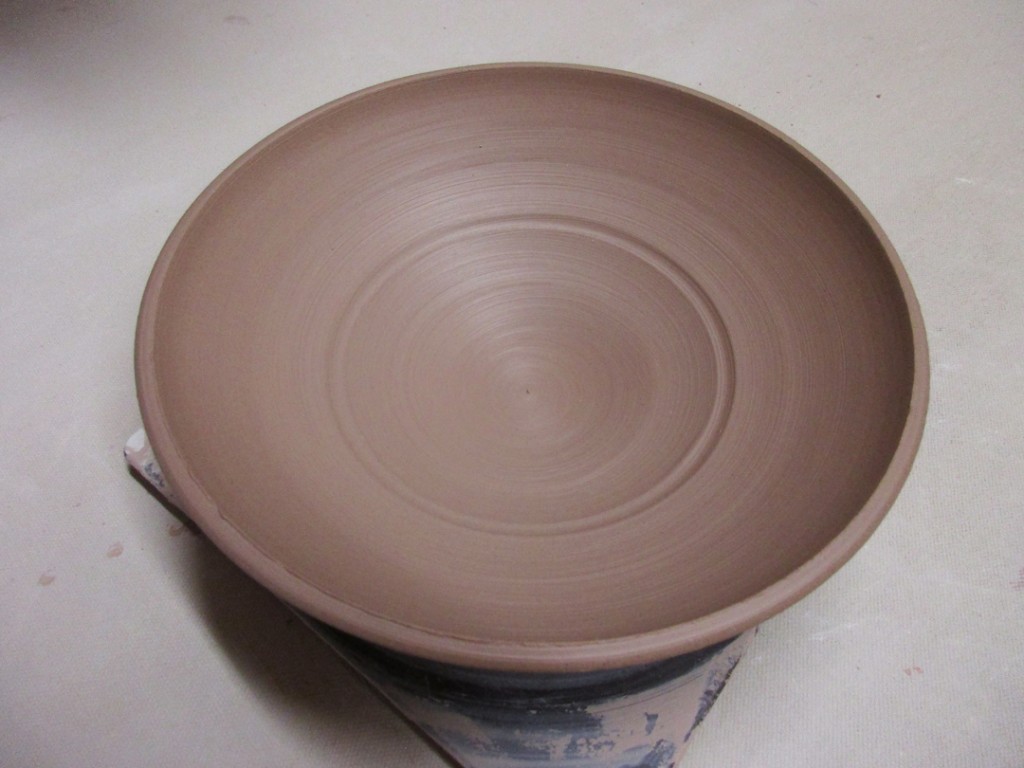
Bowl #3 – Flared flange rim.
Bowl #4 – Flared flange with four fluted edges.
Bowl #5 – Simple concentric bands pressed in to give the glaze a place to puddle & pool… using the rounded end of my wooden knife.
Bowl #6 – Wide flange flared out.
Bowl #7 – Patterned texture created with the edge of a rounded rib… pressed in all the way around. Then a small concentric circle in the middle to “hide” the random points created during the texturing.
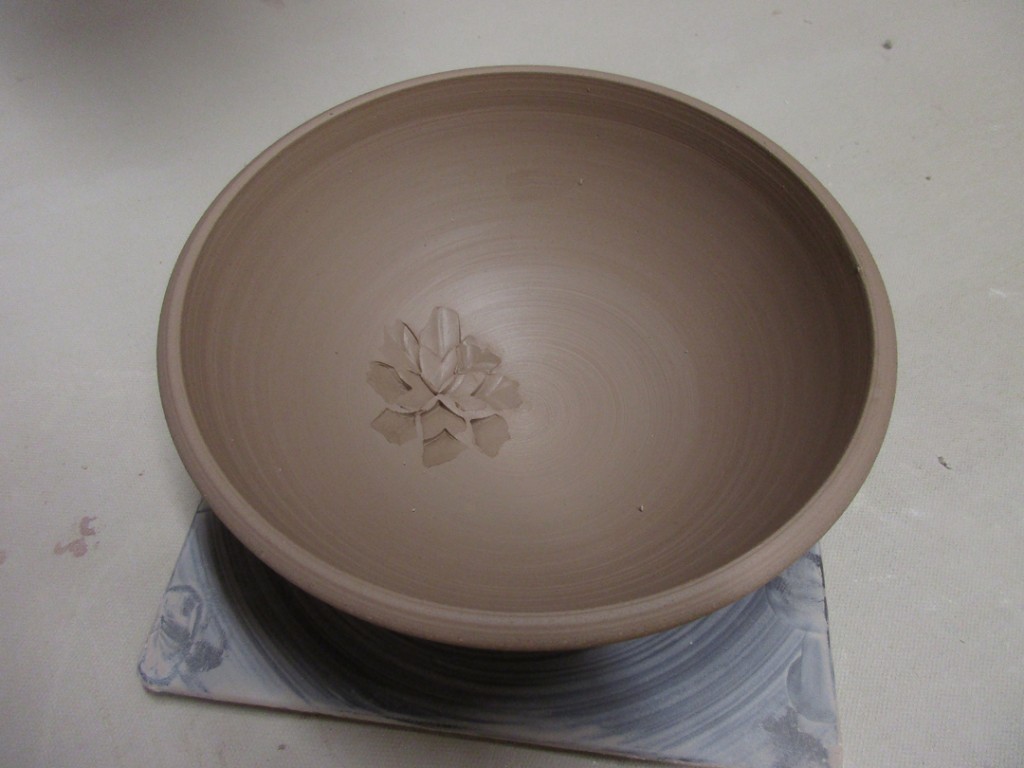
Bowl #8 – Simple flower texture impressed with a dragon scale tool.
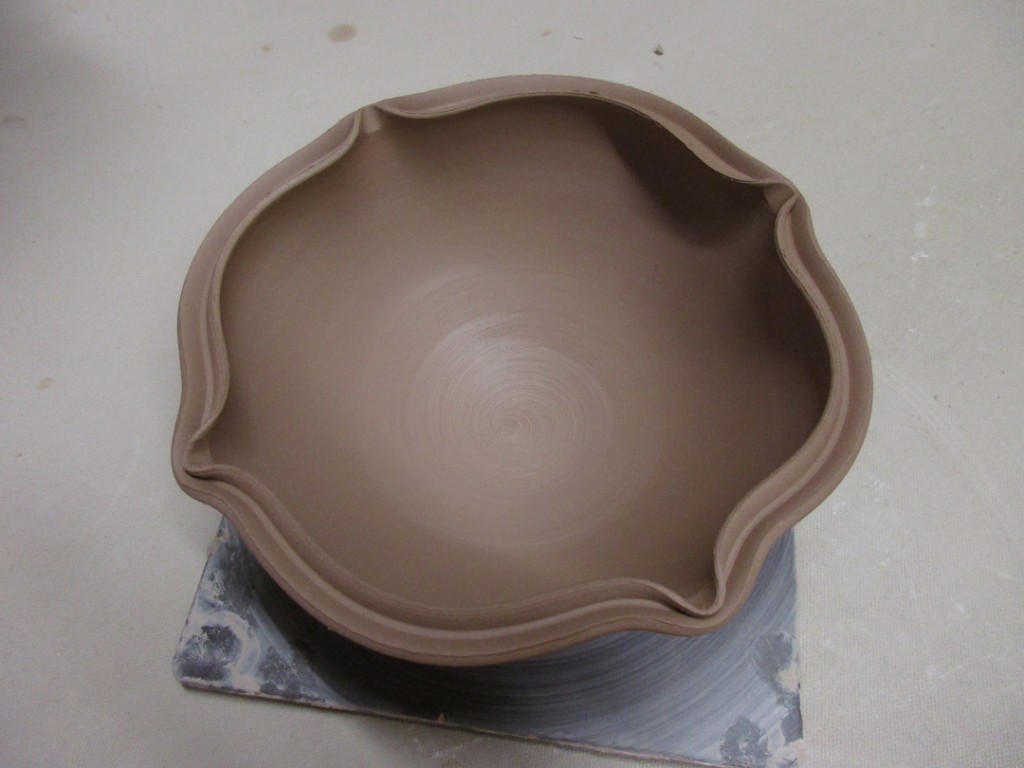
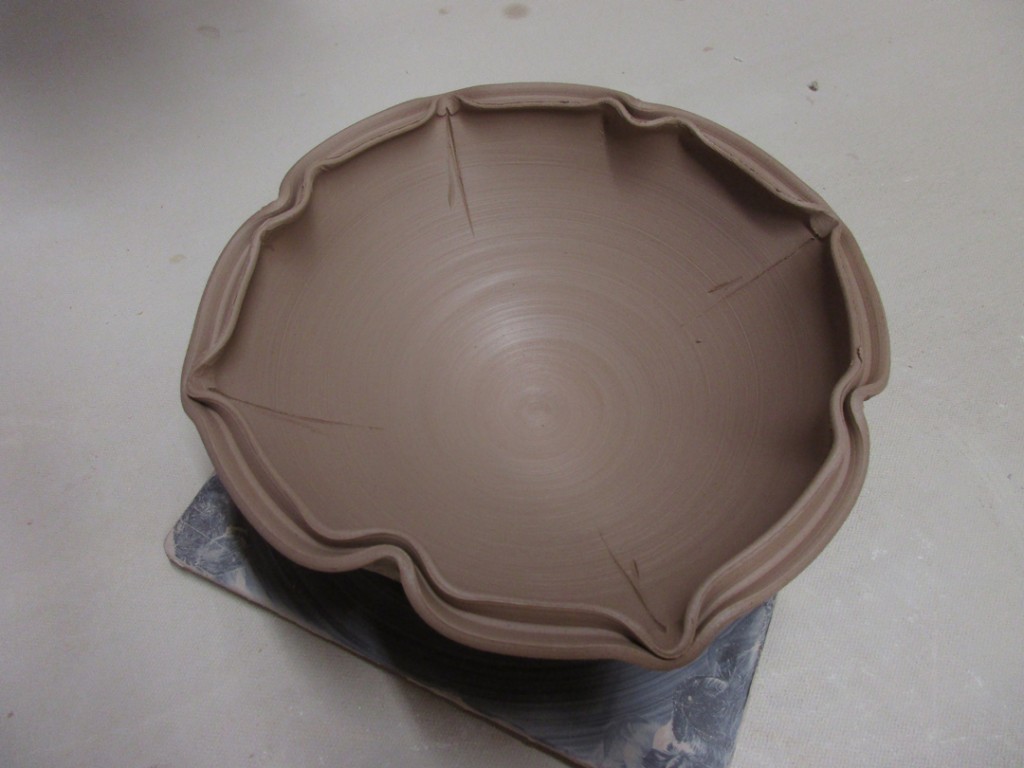
Bowl #9 – Split rim pinched back together in eight places.
 Bowl #10 – Split rim fluted outwards in four corners, and then gently curved further outwards in between the fluted points.
 Bowl #11 – Split rim fluted both inwards & outwards.
 Bowl #12 – Thick white slip with a simple spiral dragged through while spinning on the wheel.
Bowl #13 – Thick white slip covering the interior. The banded lines & squiggles using a thin wooden tool with a rounded end.
Bowl #14 – Thick white slip covering the interior. And then a repetitive “chattering” with a plastic rib. Tapping through the white slip as the bowl is rotating on the wheel. Start in the center and work your way out towards the rim.
Bowl #15 – Several layers of thick white slip, then a finger squiggle through the slip while rotating on the wheel.
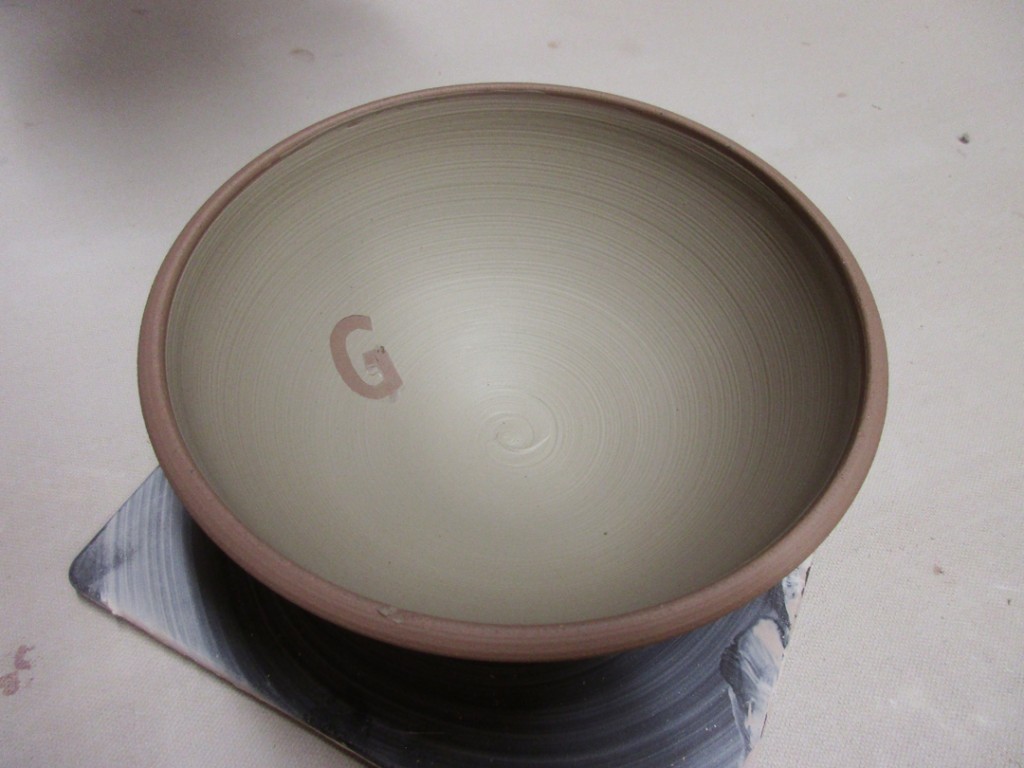
Bowl #16 – White slip painted over a “newspaper” stencil letter. Wet the newspaper stencil, carefully press it onto the bowl, paint the edges with slip and then cover the whole surface. Let sit for a few minutes and then carefully pull out the newspaper stencil.
Bowl #17 – White slip & blue slip in a blended ombre effect.


