Gary Jackson: Fire When Ready Pottery
A Chicago potter’s somewhat slanted view of clay & play
Categories: summer camp, terra cotta

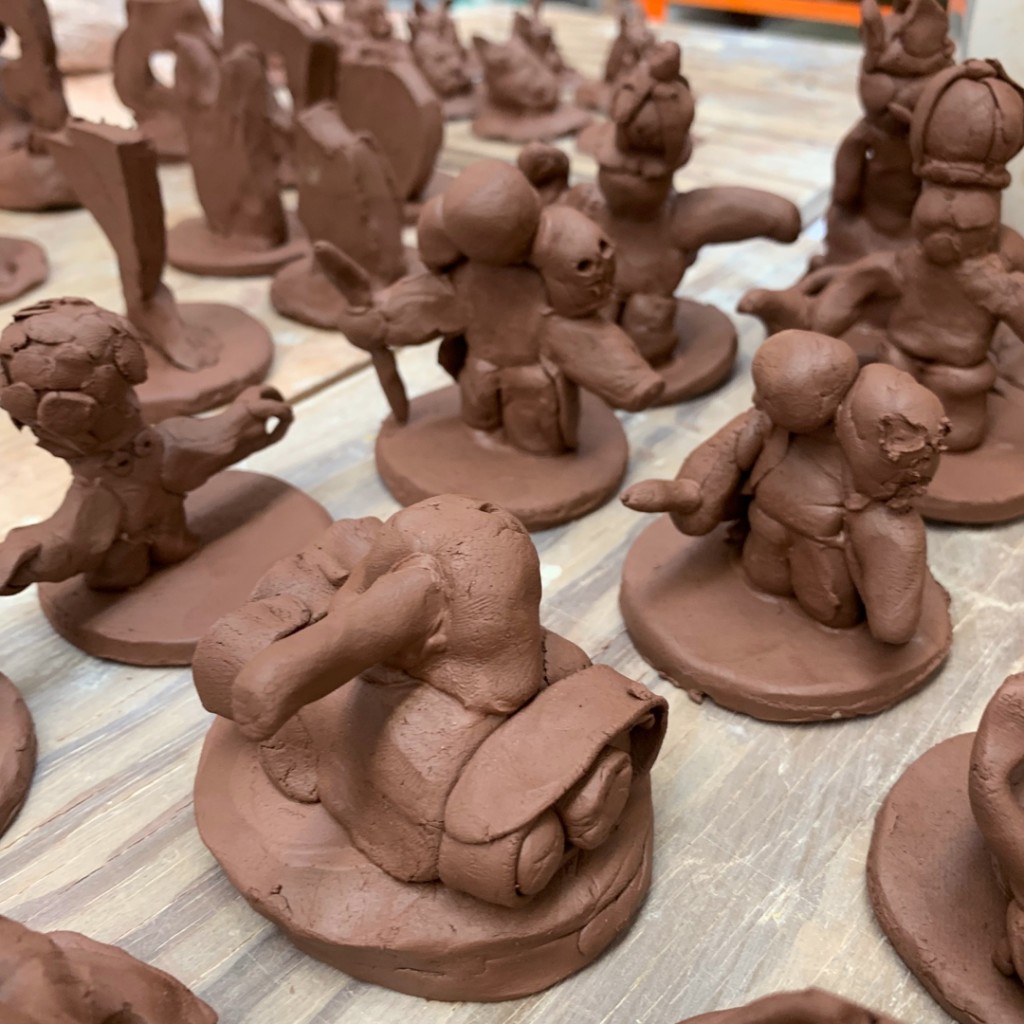
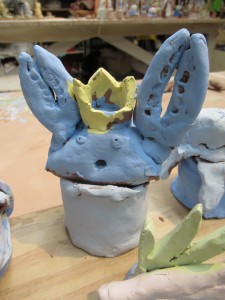
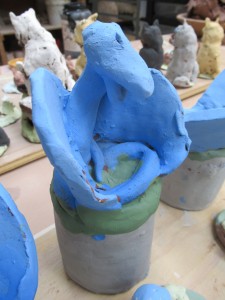
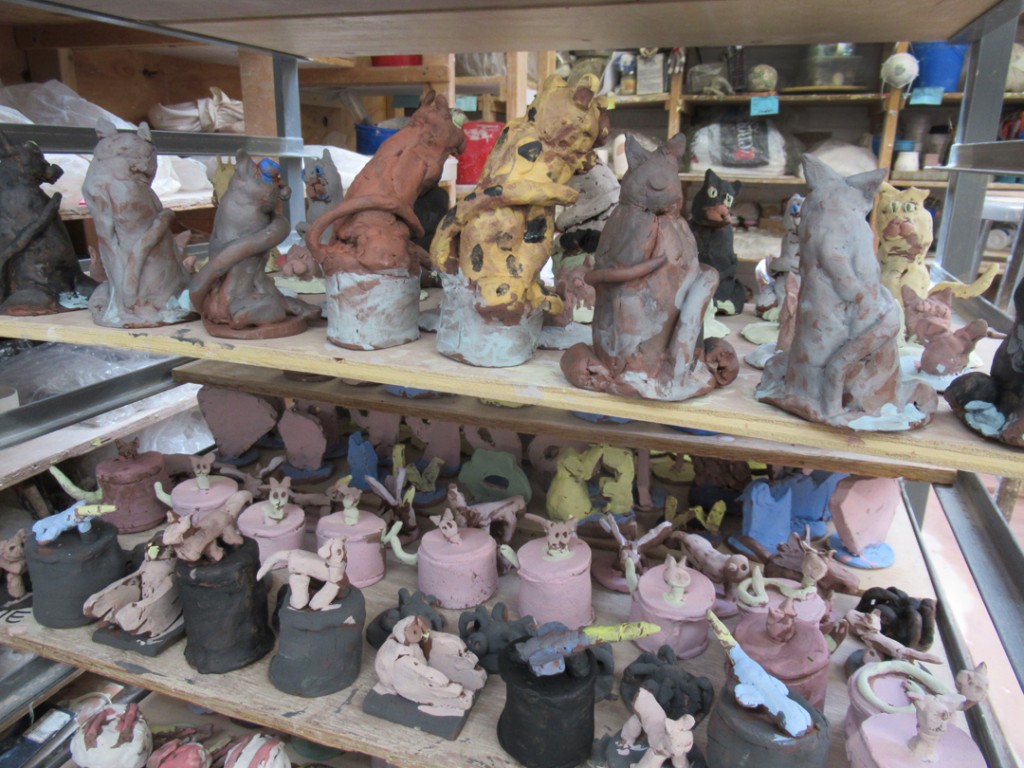
On this week’s episode on THE GREAT POTTERY THROW DOWN, the potters had to do some handbuilding to build a complete chess set! They had 4-1/2 hours to build them all, and then another 3-1/2 hours to glaze them after bisque firing. And the whole time I was watching the show, I kept thinking about how great my Summer Camp kids are… and that many of them have done the same project as these adults on the show. And then I realized that I never posted pictures from last summer’s camp!!! So here we go… a fun flashback to last summer when my campers cranked out their Chess Sets in one week of fun!!!

MONDAY
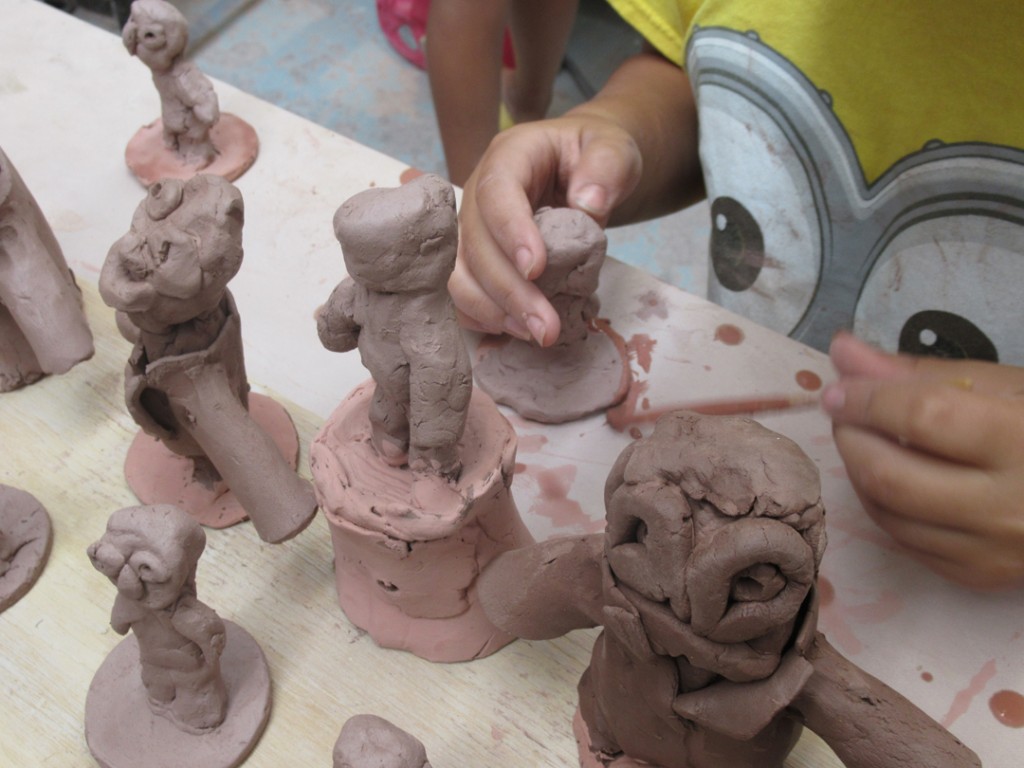
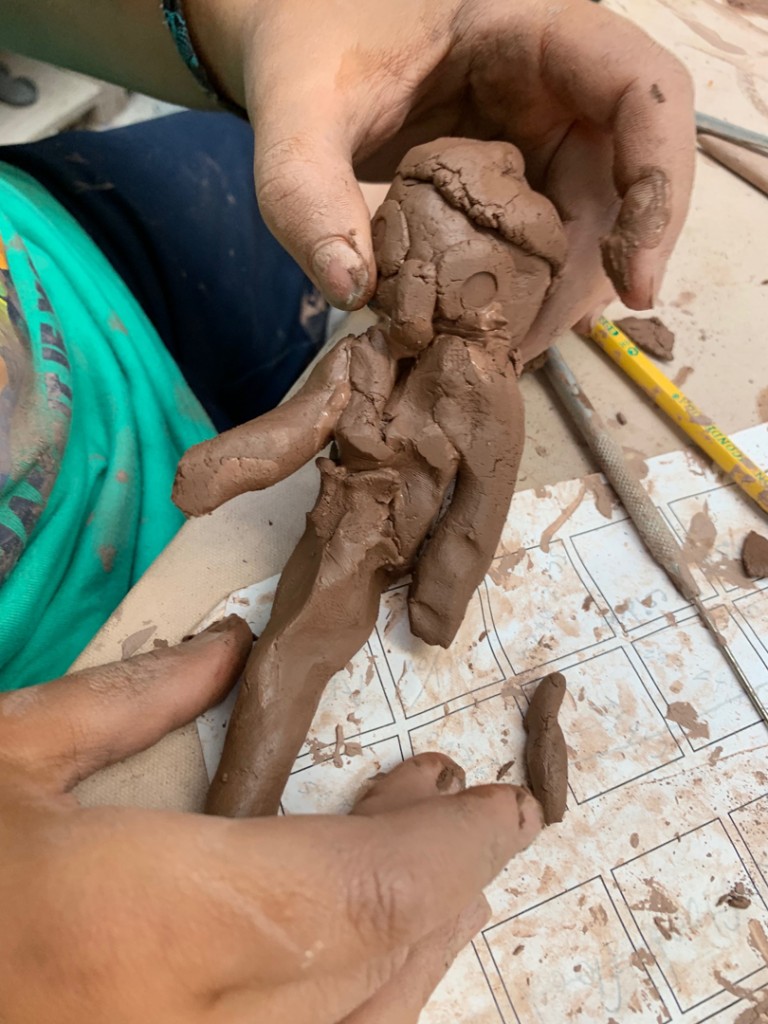
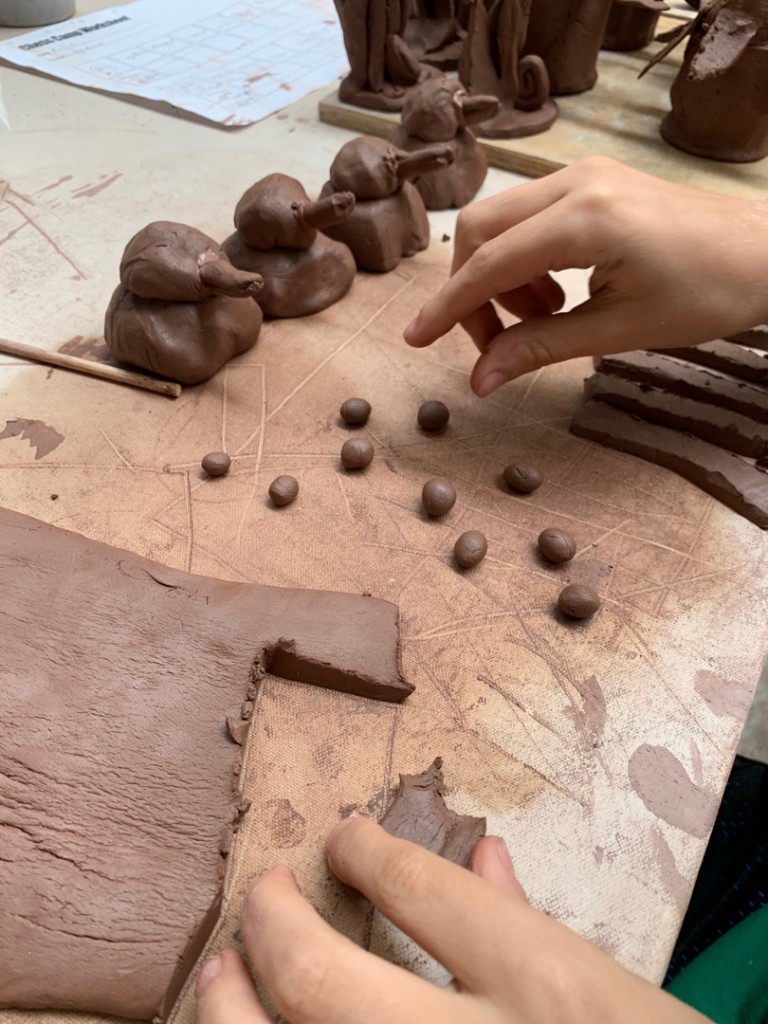
We always start the camp with some discussion of rules & expectations… followed by some fun brainstorming to come up wth the themes the kids will be using to make their chess sets. Once they have their set all planned out, I do some demos for them to show off some basic handbuilding skills they’re going to need. And then I set them loose!!! Eyes on the prize… they need to stay focused as we start building & cranking out all of their pieces.
TUESDAY
We continued building their pieces… as well as RE-building a few of them that might have fallen apart overnight as they dried. I mean, I keep telling the kids that they MUST score & slip everything really well or they will fall apart with they dry. Frequently a couple of them will think they know better… until they come back on Tuesday to see some of their pieces fell off… from NOT scoring & slipping! Told ya’ so!!!

WEDNESDAY
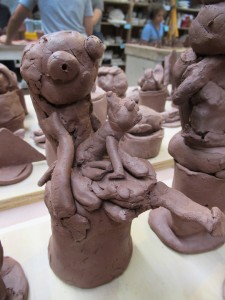
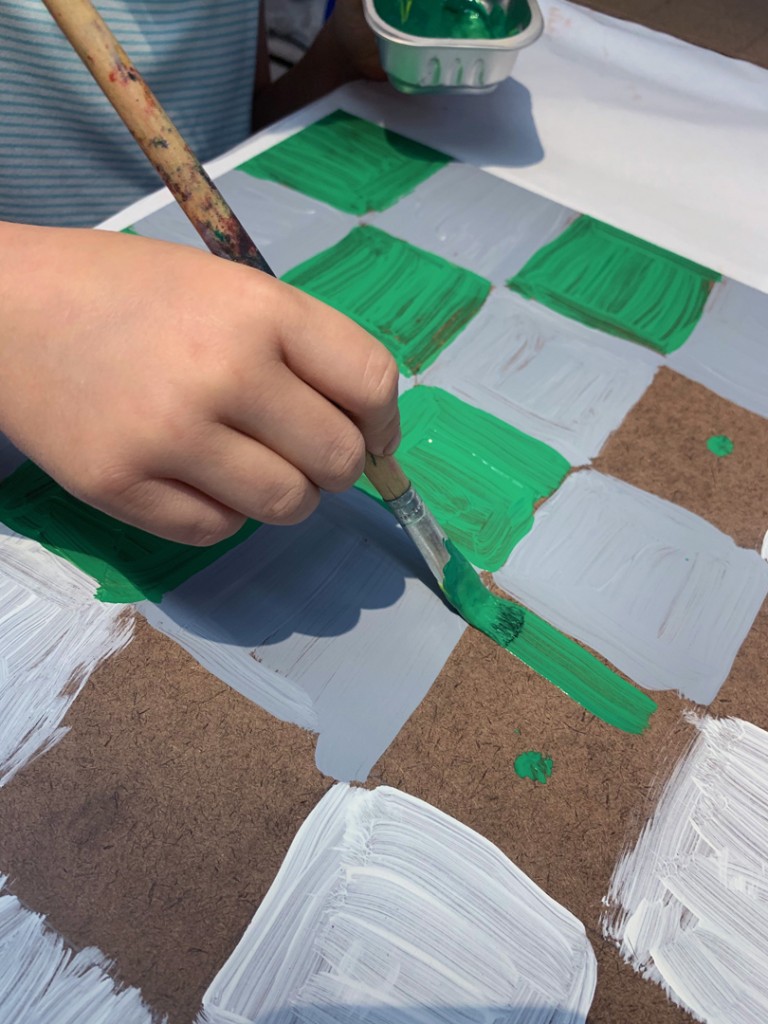
We started the day with working on their chess boards. They had to decide what colors they wanted to go along twith their chess set theme. And then today’s goal was to paint the first set of squares.

They’ve also made more pieces today… working towards our goal of having all (or at least most) of their pieces completed by the end of the day.

THURSDAY
We started the day with finishing up the painting of their chess boards…
And then returned back to the pieces… as we started lining up all of their pieces in the right order so they could see how their chess sets are really coming together! As they completed construction, I had them start painting with underglazes. Unfortunately, as they are painting their pieces, occasionally something mght break off if they’re not careful enough… or if something wasn’t scored & slipped well. So along the way, there are some repairs & rebuilds that happen too!!!
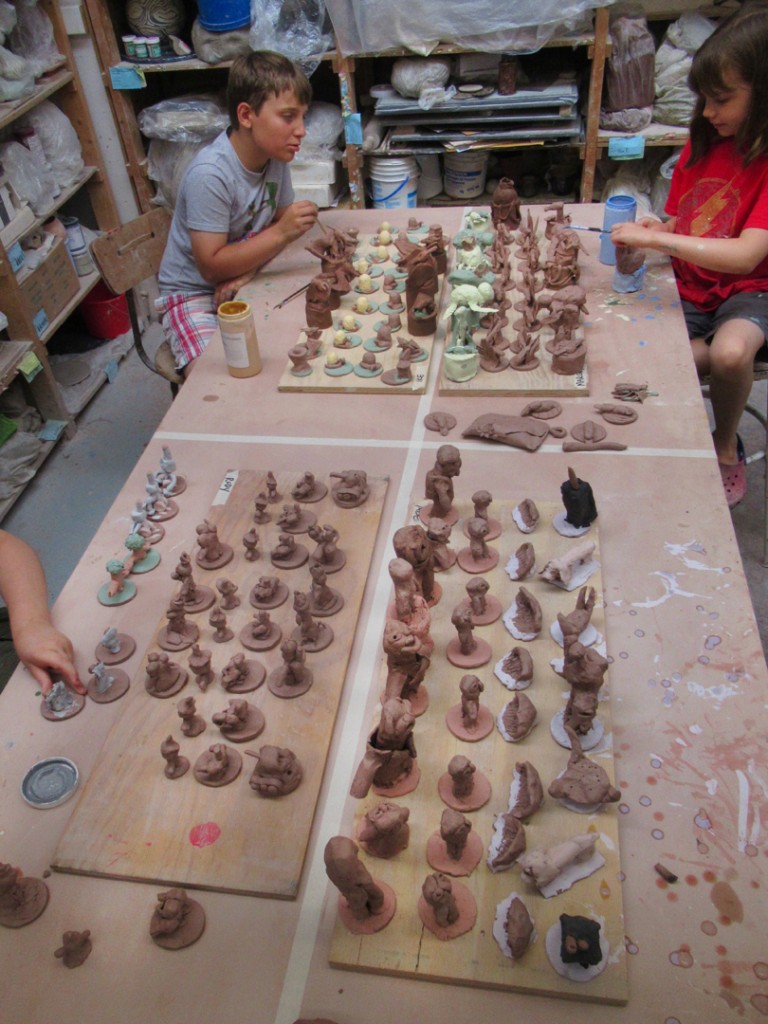
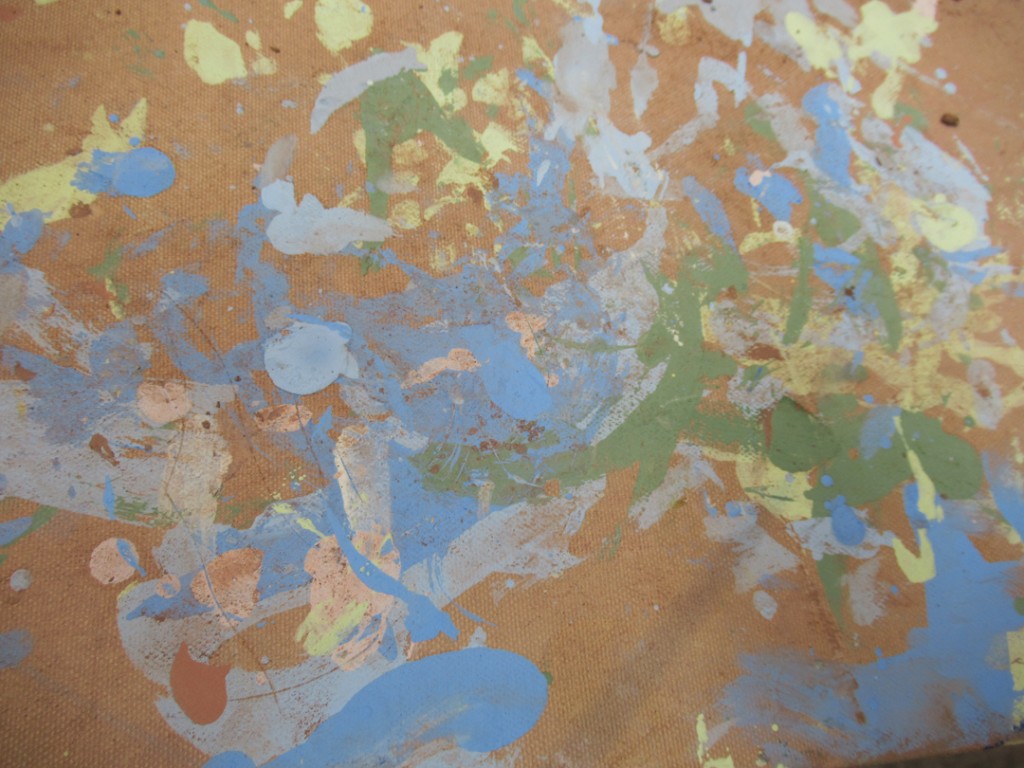
At several points throughout the day, I had to remind them that the underglazes
was supposed to go on their pieces… and NOT the table!!!
FRIDAY
The final day… and always a LOT still to finish! By the end of class they need to have all 32 pieces consturcted & underglazed. I also encourage them all to make a few “extras” in case something breaks along the way… whether in the kiln or at home paying the game! It’s always so much fun at the end to see all of their themes really coming together!

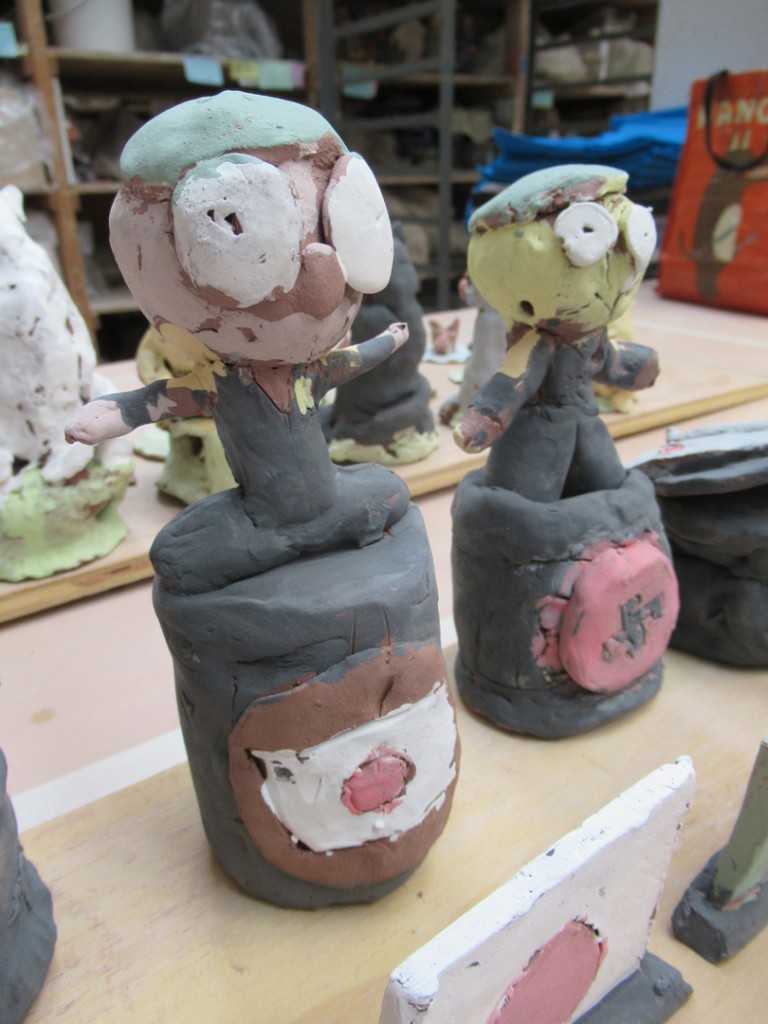
And then we carefully put them all on the rolling studio cart… very carefully…
So proud of my Summer Campers and all of the hard work they put in this week!!!

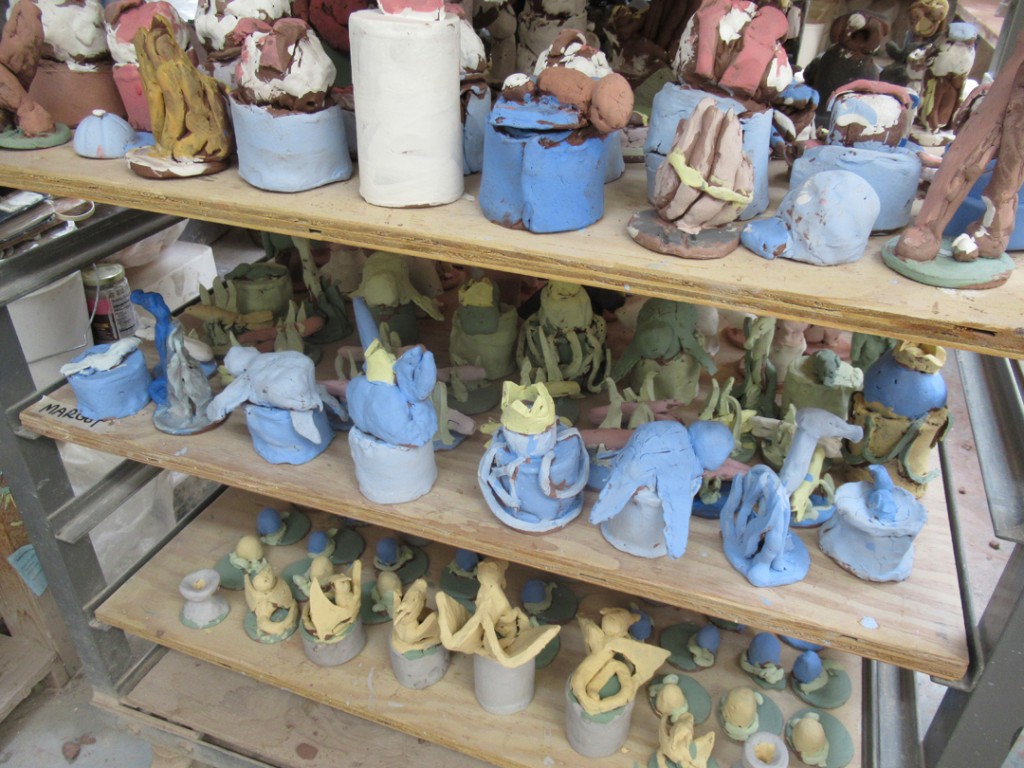
So for now they’re sitting on the cart ready to be glazed. One of our studio monitors will carefully glaze them all with a low-fire clear glaze and fire them. The kids will just have to wait a few more days to get their AMAZING Chess Sets back!!!
 

Save

Save

Categories: pottery, television, YouTube

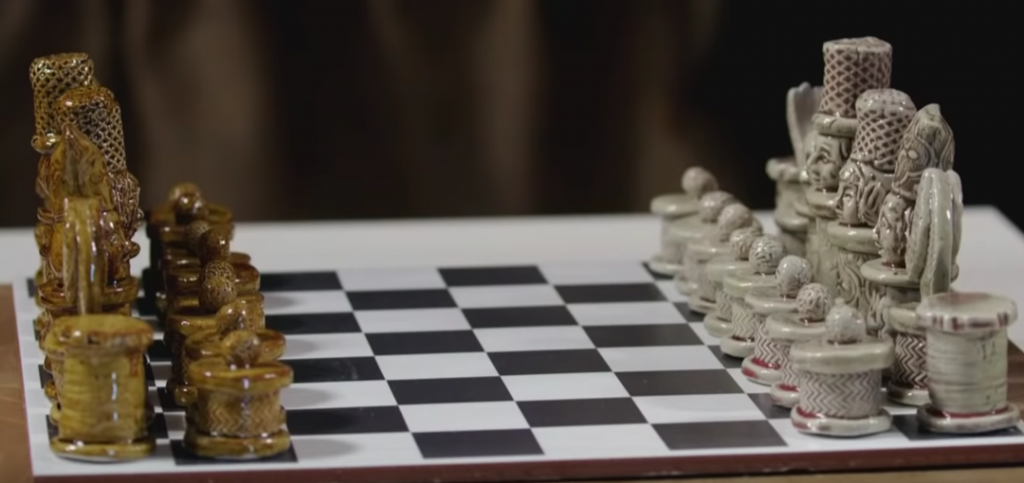
Last night I watched the second episode of THE GREAT POTTERY THROW DOWN
season three… and loved watching as the creative Brits were challenged to make ceramic chess sets.

Click here to watch the second episode on YouTube!


Save

Categories: clay, process, studio

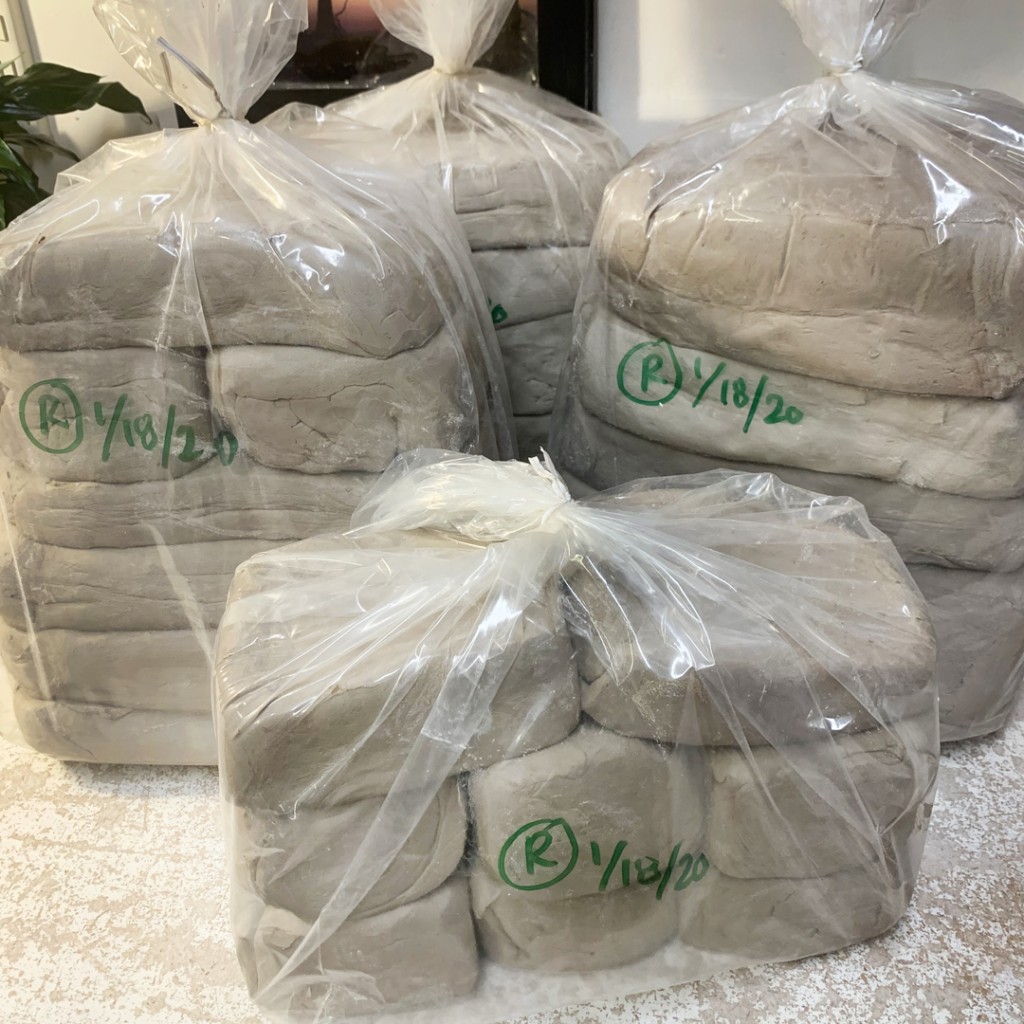
So my reclaim pile of clay has been sitting on my plaster bat for awhile…
as the extra moisture settles out and the clay stiffens up. It was still a bit sticky to the touch, but firm enough to get started with the cutting, wedging & bagging part of the process. I start by shaving off large chunks of the clay with my wire tool.

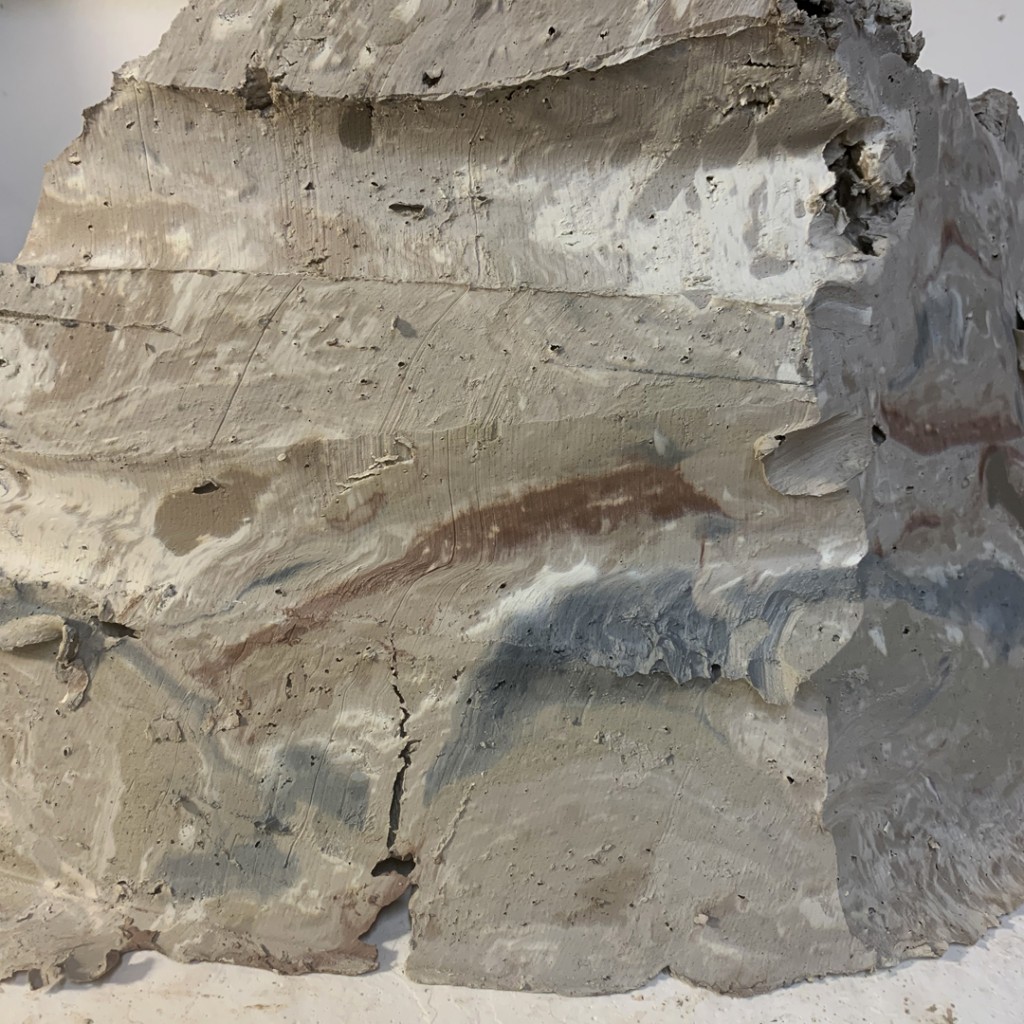
You can see that my reclaim clay mixture is just that… a MIXTURE.
I am more than willing to mix-up all of my assorted reclaim scraps. I will add in any kind of clay as long as it’s a high-fire cone 10 clay body. So you can see there are still some sections of porcelain, darker, ochre clay, lighter B-clay, some organic grayness… and unexpectedly, some blemishes of terra cotta red that must have gotten in there accidentally. Luckily, there wasn’t a lot… so I figure it will just blend in and add a bit of iron-richness to the clay… and it won’t affect the final firing temperature of the mixed clay.

Cause after all… as I tell my students… IT’S JUST CLAY!!!

I take the large chunks and lay them out on my wedging table so the canvas can soak out some more of the extra moisture. I do a very brief wedging of the clay, and then shave off layers and re-stack them into small piles.

I take the stacked piles, cut them in half and stack them back on themselves. Cut the stack in half and layer them on top of themselves again. Repeat a couple times and the layers begin to get thinner & thinner as the clay mixes evenly. It’s a LOT quicker & easier than just straight wedging. The layers squish together easily with a little bit of gravity & slamming down on the table to help along the way!

A bit of quick wedging, and then I set it aside to carve off another chunk from my reclaim pile.
Piece by piece… slice by slice… chunk by chunk…

As I wedge up the piles, the clay is still a bit wetter than I want, so I throw them out stretched as a quick slab… and stand them up so they get some extra air exposure.

Some more wedging of the pieces and they get placed in clear bags. I don’t worry too much about a “perfect” wedging at this point, as I know I will do more wedging when I get around to actually using the clay.

So after a couple hours of cutting, layering & wedging…
I now have well over a hundred pounds of reclaimed clay.
FREE CLAY just from a little work… my favorite kind of clay!!!


Save

Save

Save

Categories: bowls, classes, wheelthrowing

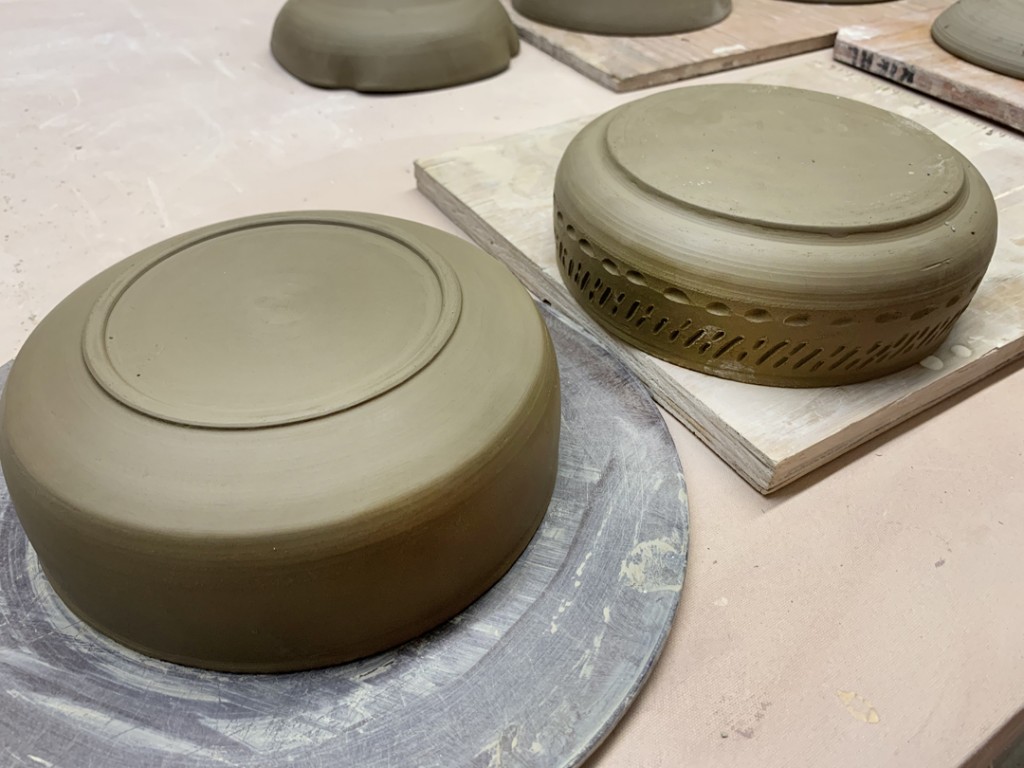
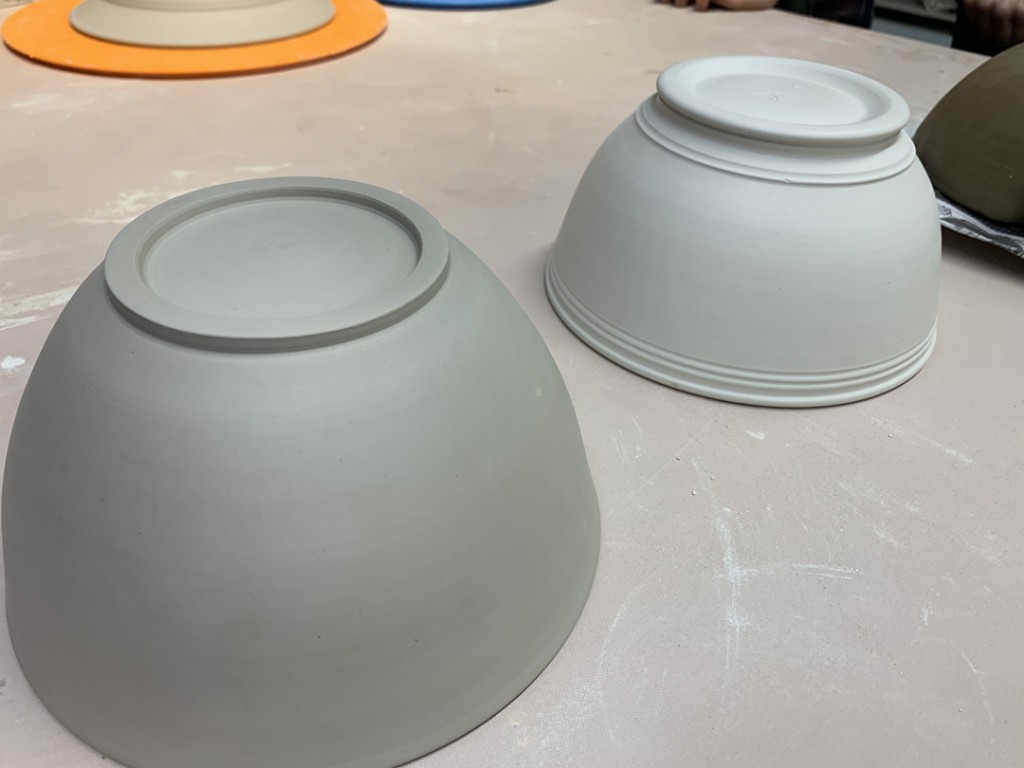
Last night in our LILLSTREET THOWDOWN class, we started with critiquing the bowls that they had finished after last week’s challenge. Remember, they had each thrown two matching bowls, but then passed one of them down the table to another student to mix it up a bit. The task was to trim & refine both bowls. Fun to see how they each approach the “matching” bowls… and how they’ll inevitably turn out different when finished by different hands.

Congrats to Dana & Tracy for placing & earning points as our Top Two!!!

And while surface decoration was NOT actually part of our challenge parameters…
you know how I LOVE the ones that went just a bit further…. like these four….
because MORE IS MORE!!!

We then started with our throwing challenge for Week Two.
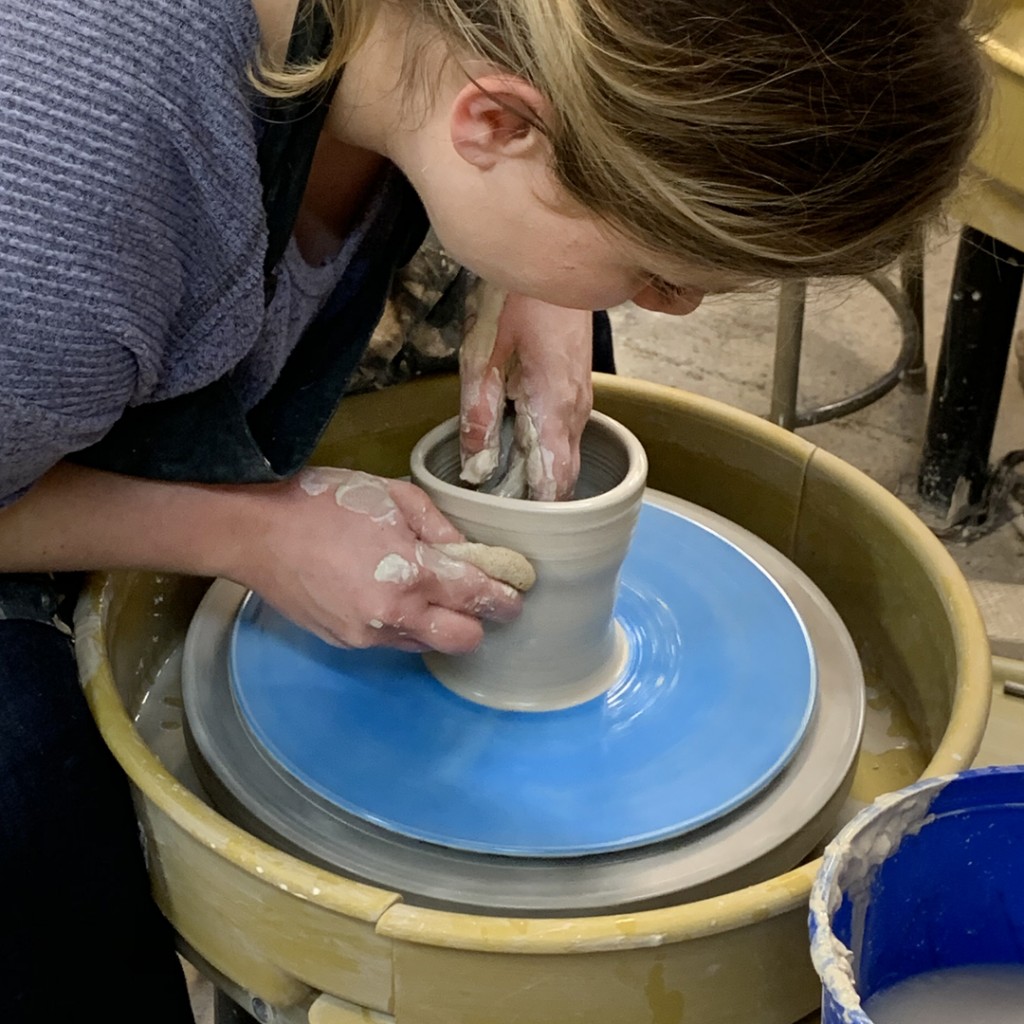
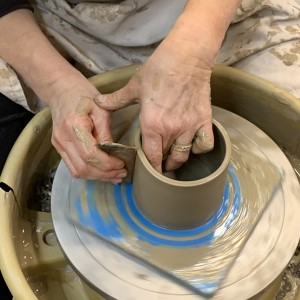
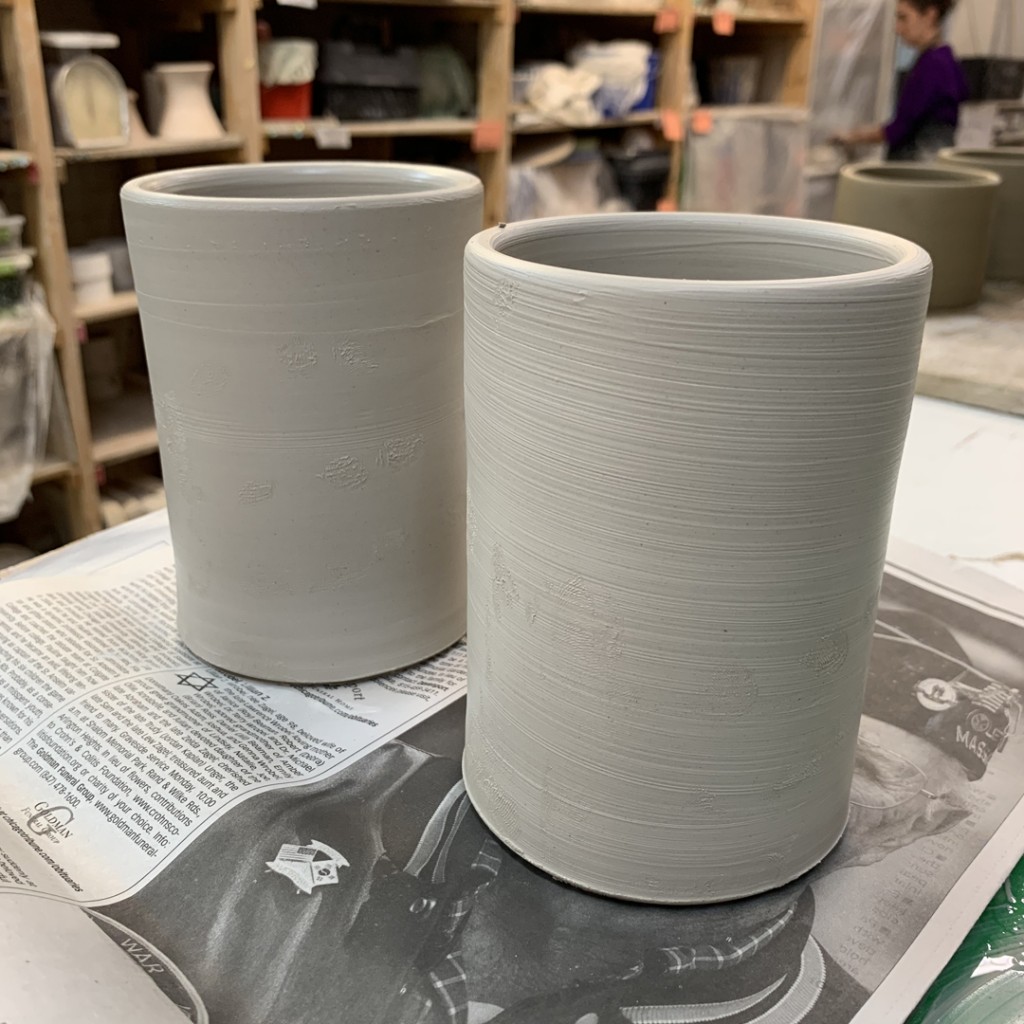
The task was to use 1-1/4 pounds of clay to throw their “most perfect” cylinder… with even wall thickness, straight sides, flat bottom, nice corner inside around the base and a refined rim. They had 10 minutes for that one “perfect” cylinder… so they were all quite focused while throwing!

Once they had that one cylinder done, we regrouped at the table to look at them.
We looked at the technique & results… determining which ones best met the parameters.
I think they all assumed we would be “judging” this cylinder &  awarding points…
but I never quite said that.   Instead…

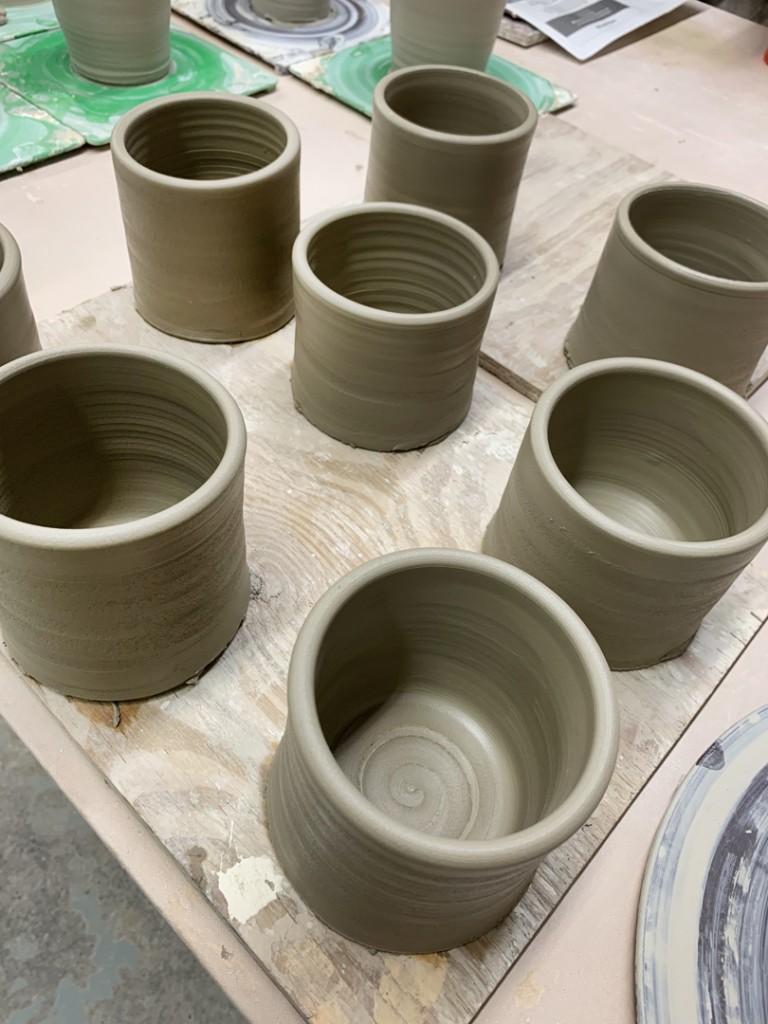
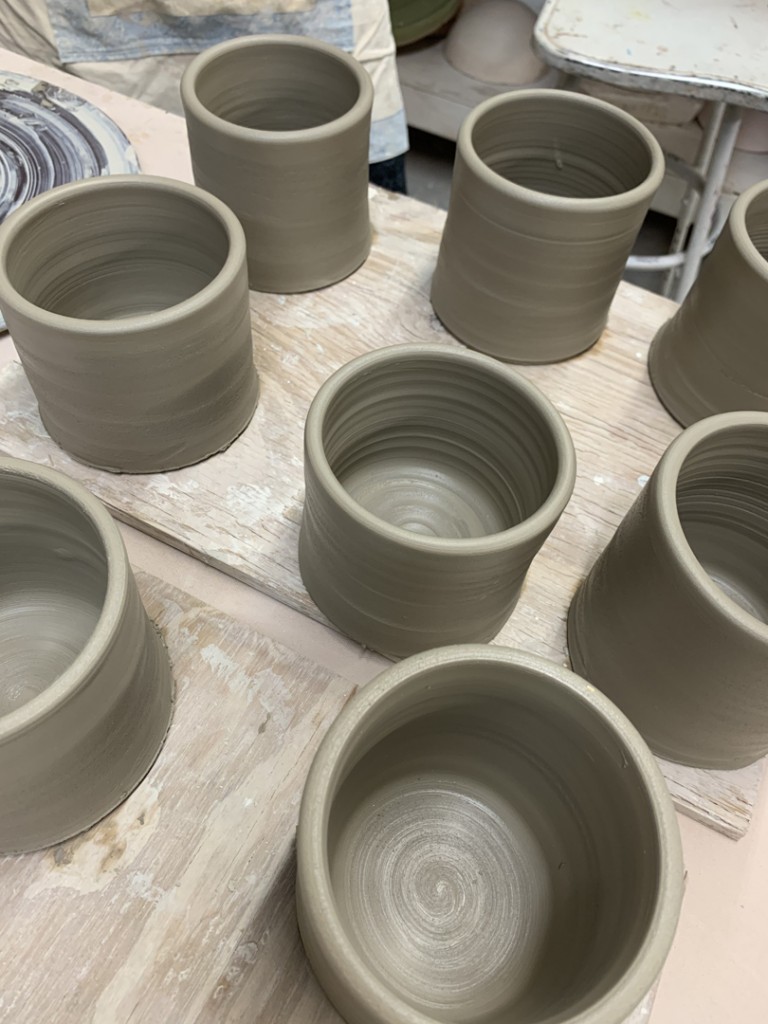
Part two of the challenge was to take the next hour and throw as many MATCHING cylinders to that first “most perfect one.” I mean… they had “set the standers” by throwing that one “perfect” cylinder, so they should be able to make more, right???

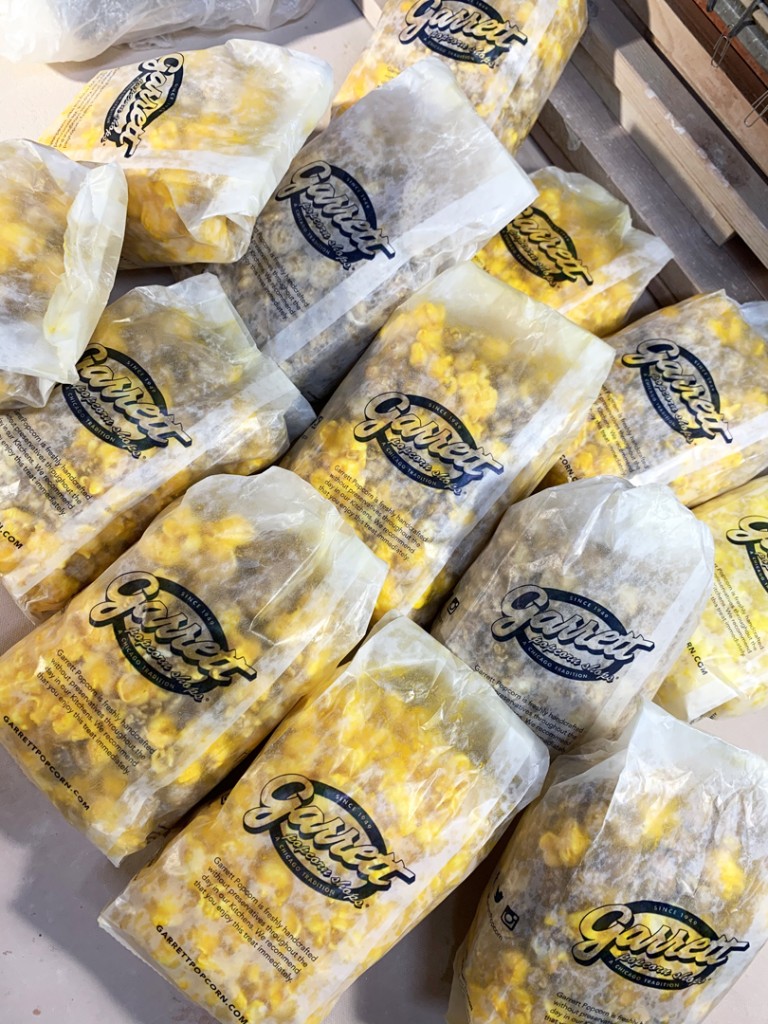
After a very quick hour of throwing… while I ate an entire bag of Garrett Popcorn
we pulled them all together to look at the matching sets of cylinders.
Some more matching than others.

After looking at all of the cylinders… a whopping total of 74 cylinders in one hour!!!…
we critiqued & counted how many “matching” ones they had. We didn’t count the ones that were taller… or the ones that were wider… or the ones that were just different all over the place!

Congratulations to Christine who came away with seven matching cylinders,
and Jacob who came away with six!

And oh, but wait there’s more!
They all got their next homework assignment… to take their favorite Top Four matching cylinders to turn into MATCHING MUGS! They need to trim, finish and add handles to make four matching mugs, And then decorate them too! Sure, they could decorate them however they wanted to… but what fun would that be for me??? Instead, I decided to make the decoration challenge a bit more challenging. So they need to us at least four of the following five design patterns… stripes, polka dots, plaid, paisley and spiral. So they need to incorporate multiple patterns to complete their set… but each mug can’t match and must be stand-alone beautiful on it’s own. A lot of challenges & parameters for this one. It might be a tough week for my homework-bound students. Can’t wait to see what they bring back to class next Thursday night!

Save

Save

Save

Categories: classes, food

Last night for our LILLSTREET THROWDOWN class, I arrived with a large black bag with secret goodies inside. They all assumed it was going to be the next challenge or big twist. Turned out to be a lot yummier than they had presumed.

Turns out the big bag was full of smaller bags of Garrett Popcorn!!!

They’ve been selling small bags for a dollar all week to celebrate National Popcorn Day. Sure, it may be “one bag per visit”… but no one said you couldn’t go through the line “a couple” times!!! So they all got their own individual bag of Garrett’s! And we all went home with the ever-popular cheesy orange-stained fingers!!!

Categories: studio

And no, I didn’t order an accordion.
But this would be the perfect box!!! I was scared when I saw this box in my studio…
but luckily all is well inside the crumpled cardboard.

Categories: nature, platters, stamped, stamps, textures

It’s another Texture Tuesday… and another two-fer!
One in the studio and one at the Conservatory.

Categories: artists, creativity, inspiration, sculpture

Now if only we had a little more snow…
I could totally get outside to make one of these “tasty” snow sculptures! HA!!!
Thanks to Snow Art Zone for the inspiration!

Categories: mugs, soda-fired, stamped, weather

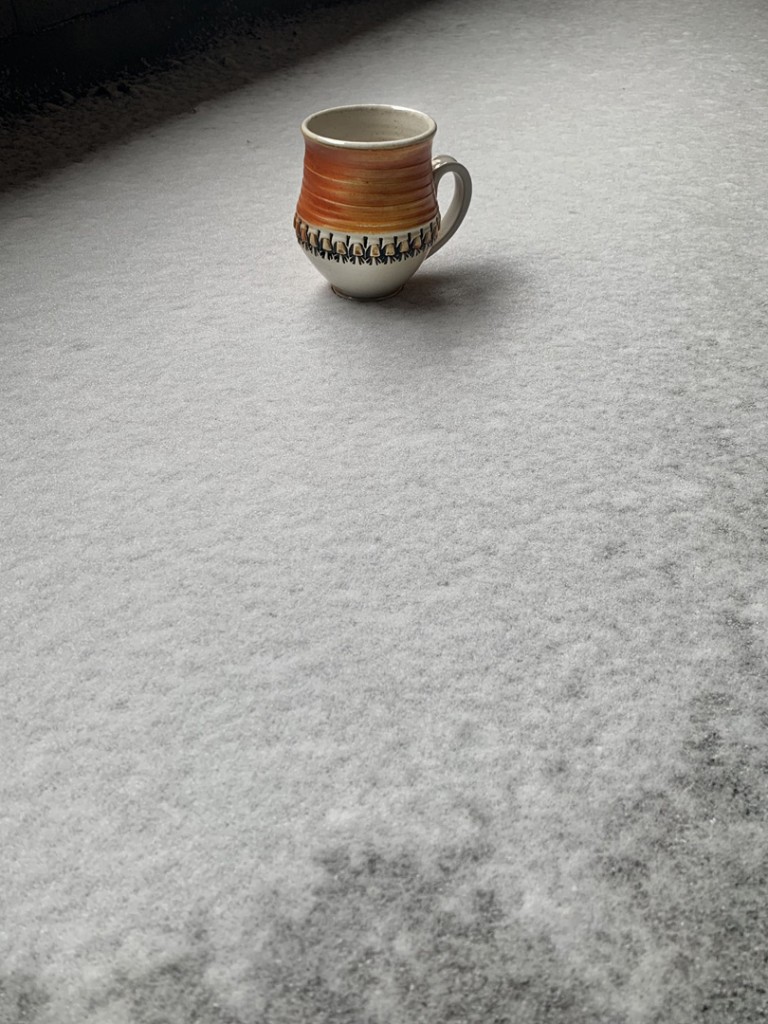
Kicking back enjoying a quiet, white, snowy day for another Mugshot Monday!
Looks like I might need to make some hot chocolate while my new Roomba
is making its maiden voyage around my place! Just a little Christmas Gift to myself…
as I had completely worked my previous Roomba to death!!!

Categories: classes, kiln firing, lillstreet, soda-fired

Ever wanted to try soda-firing your pottery but don’t have access to a soda-kiln?
Wanna come play with us and learn about soda-firing at the same time?
Like playing with fire???

Well lookey here… I’m teaching a 3-Night Soda-Firing workshop at Lillstreet Art Center
in a few weeks! You bring some bisqued pots and we’ll soda-fire them together.
Just a few spaces left!!!

From the Lillstreet Ceramics Instagram news feed…
Get an introduction to the processes involved in soda firing. Friday night, bring in bisque for slip, glazing, and wadding. Then load and close the kiln. Return Saturday evening for two hours for the adding of the soda to the kiln. Monday evening, set aside four hours to unload, clean the kiln, potluck & critique.

This workshop will meet:
Friday, February 21 from 6-10pm
Saturday, February 22 from 7-9pm
Monday, February 24 from 6-10pm

This is an intermediate/advanced workshop. Students must have one year of ceramics experience to register.

Click here for more information & registration details!

Save

Save

Save